My latest moebius pattern is available thru my Ravelry Shop “Infinite Grande Cowl”. This a super simple long cowl designed in a luscious baby alpaca chunky yarn, Plymouth Yarn’s Baby Alpaca Grande. The hardest aspect of this pattern is the Foundation Single Crochet length and being sure you get your moebius twist correct. The rest of the pattern is single crochet, chains and slip stitches. Pattern instructions are in text using U.S. crochet terminology and stitch diagrams.
You can find the pattern on Ravelry, Click here to buy it now.
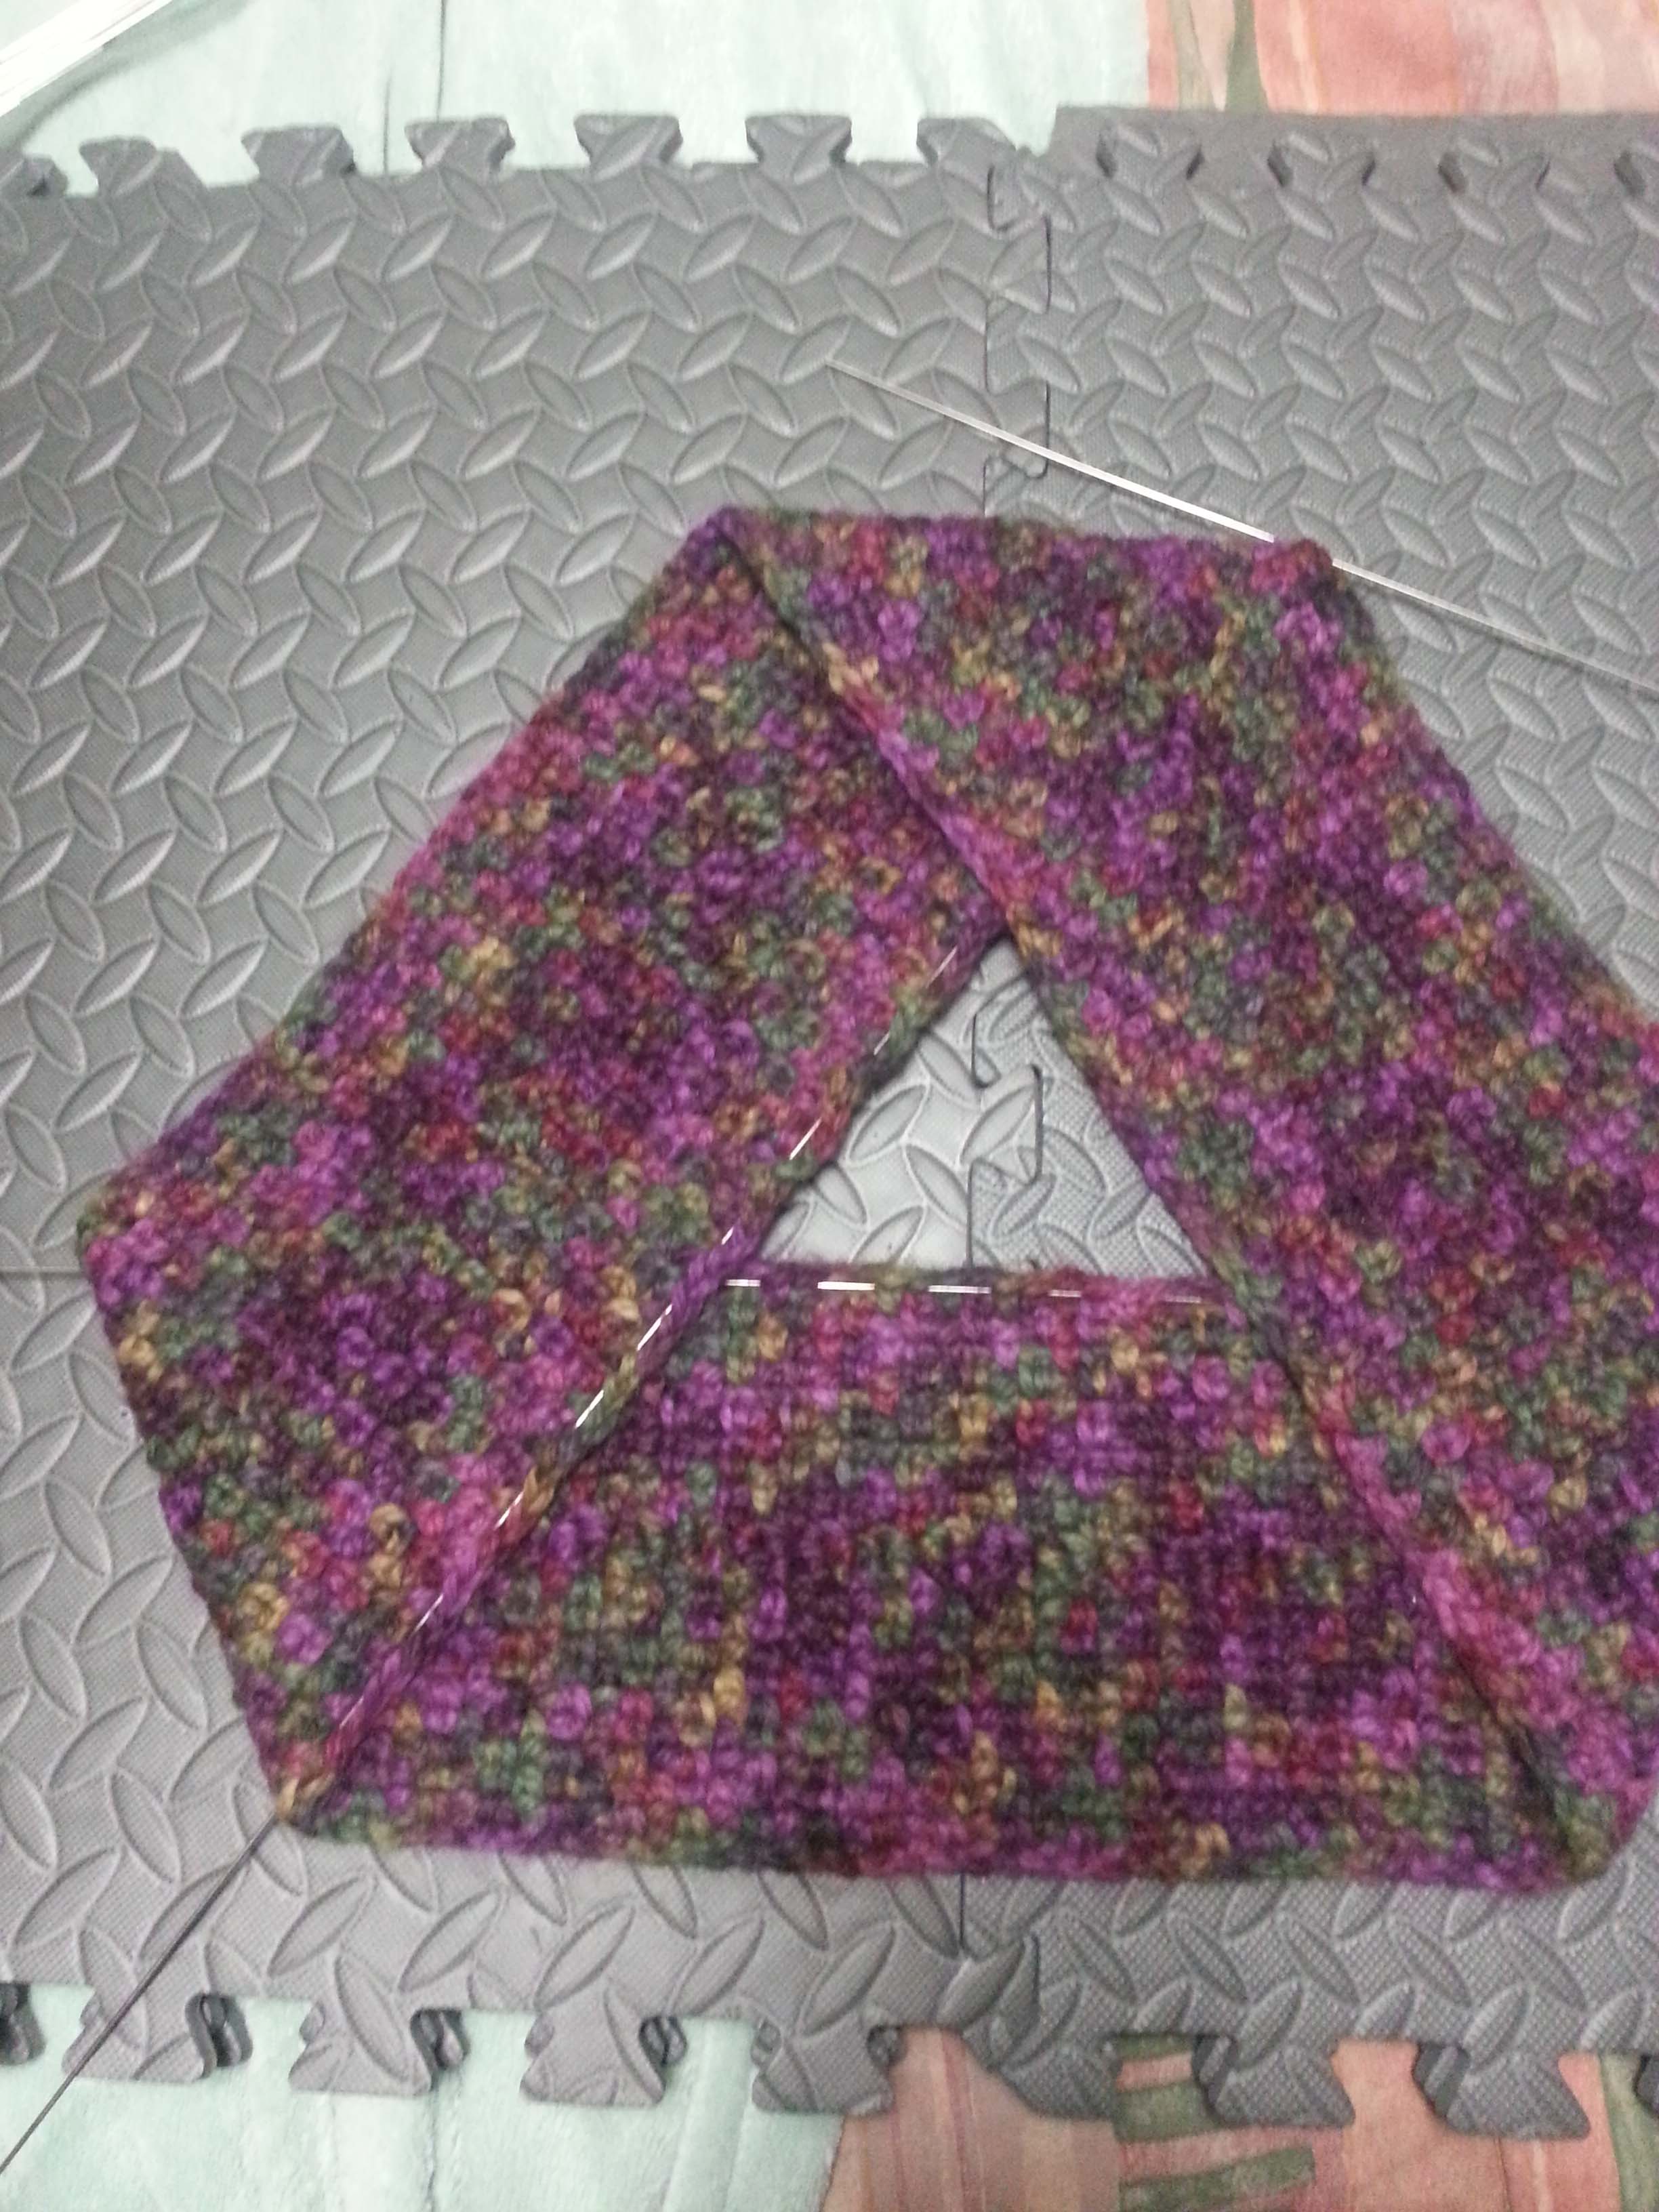
Looking at the patterns I have available you can see that my favorite foundation to use for a cowl or “infinity” scarf is a moebius. But a moebius does present you with some interesting challenges when it comes to blocking your finished project.
Because of the twist in the fabric a moebius doesn’t lay flat like most other projects. The best way to “flatten” a moebius is to lay it out in a triangular shape like above.
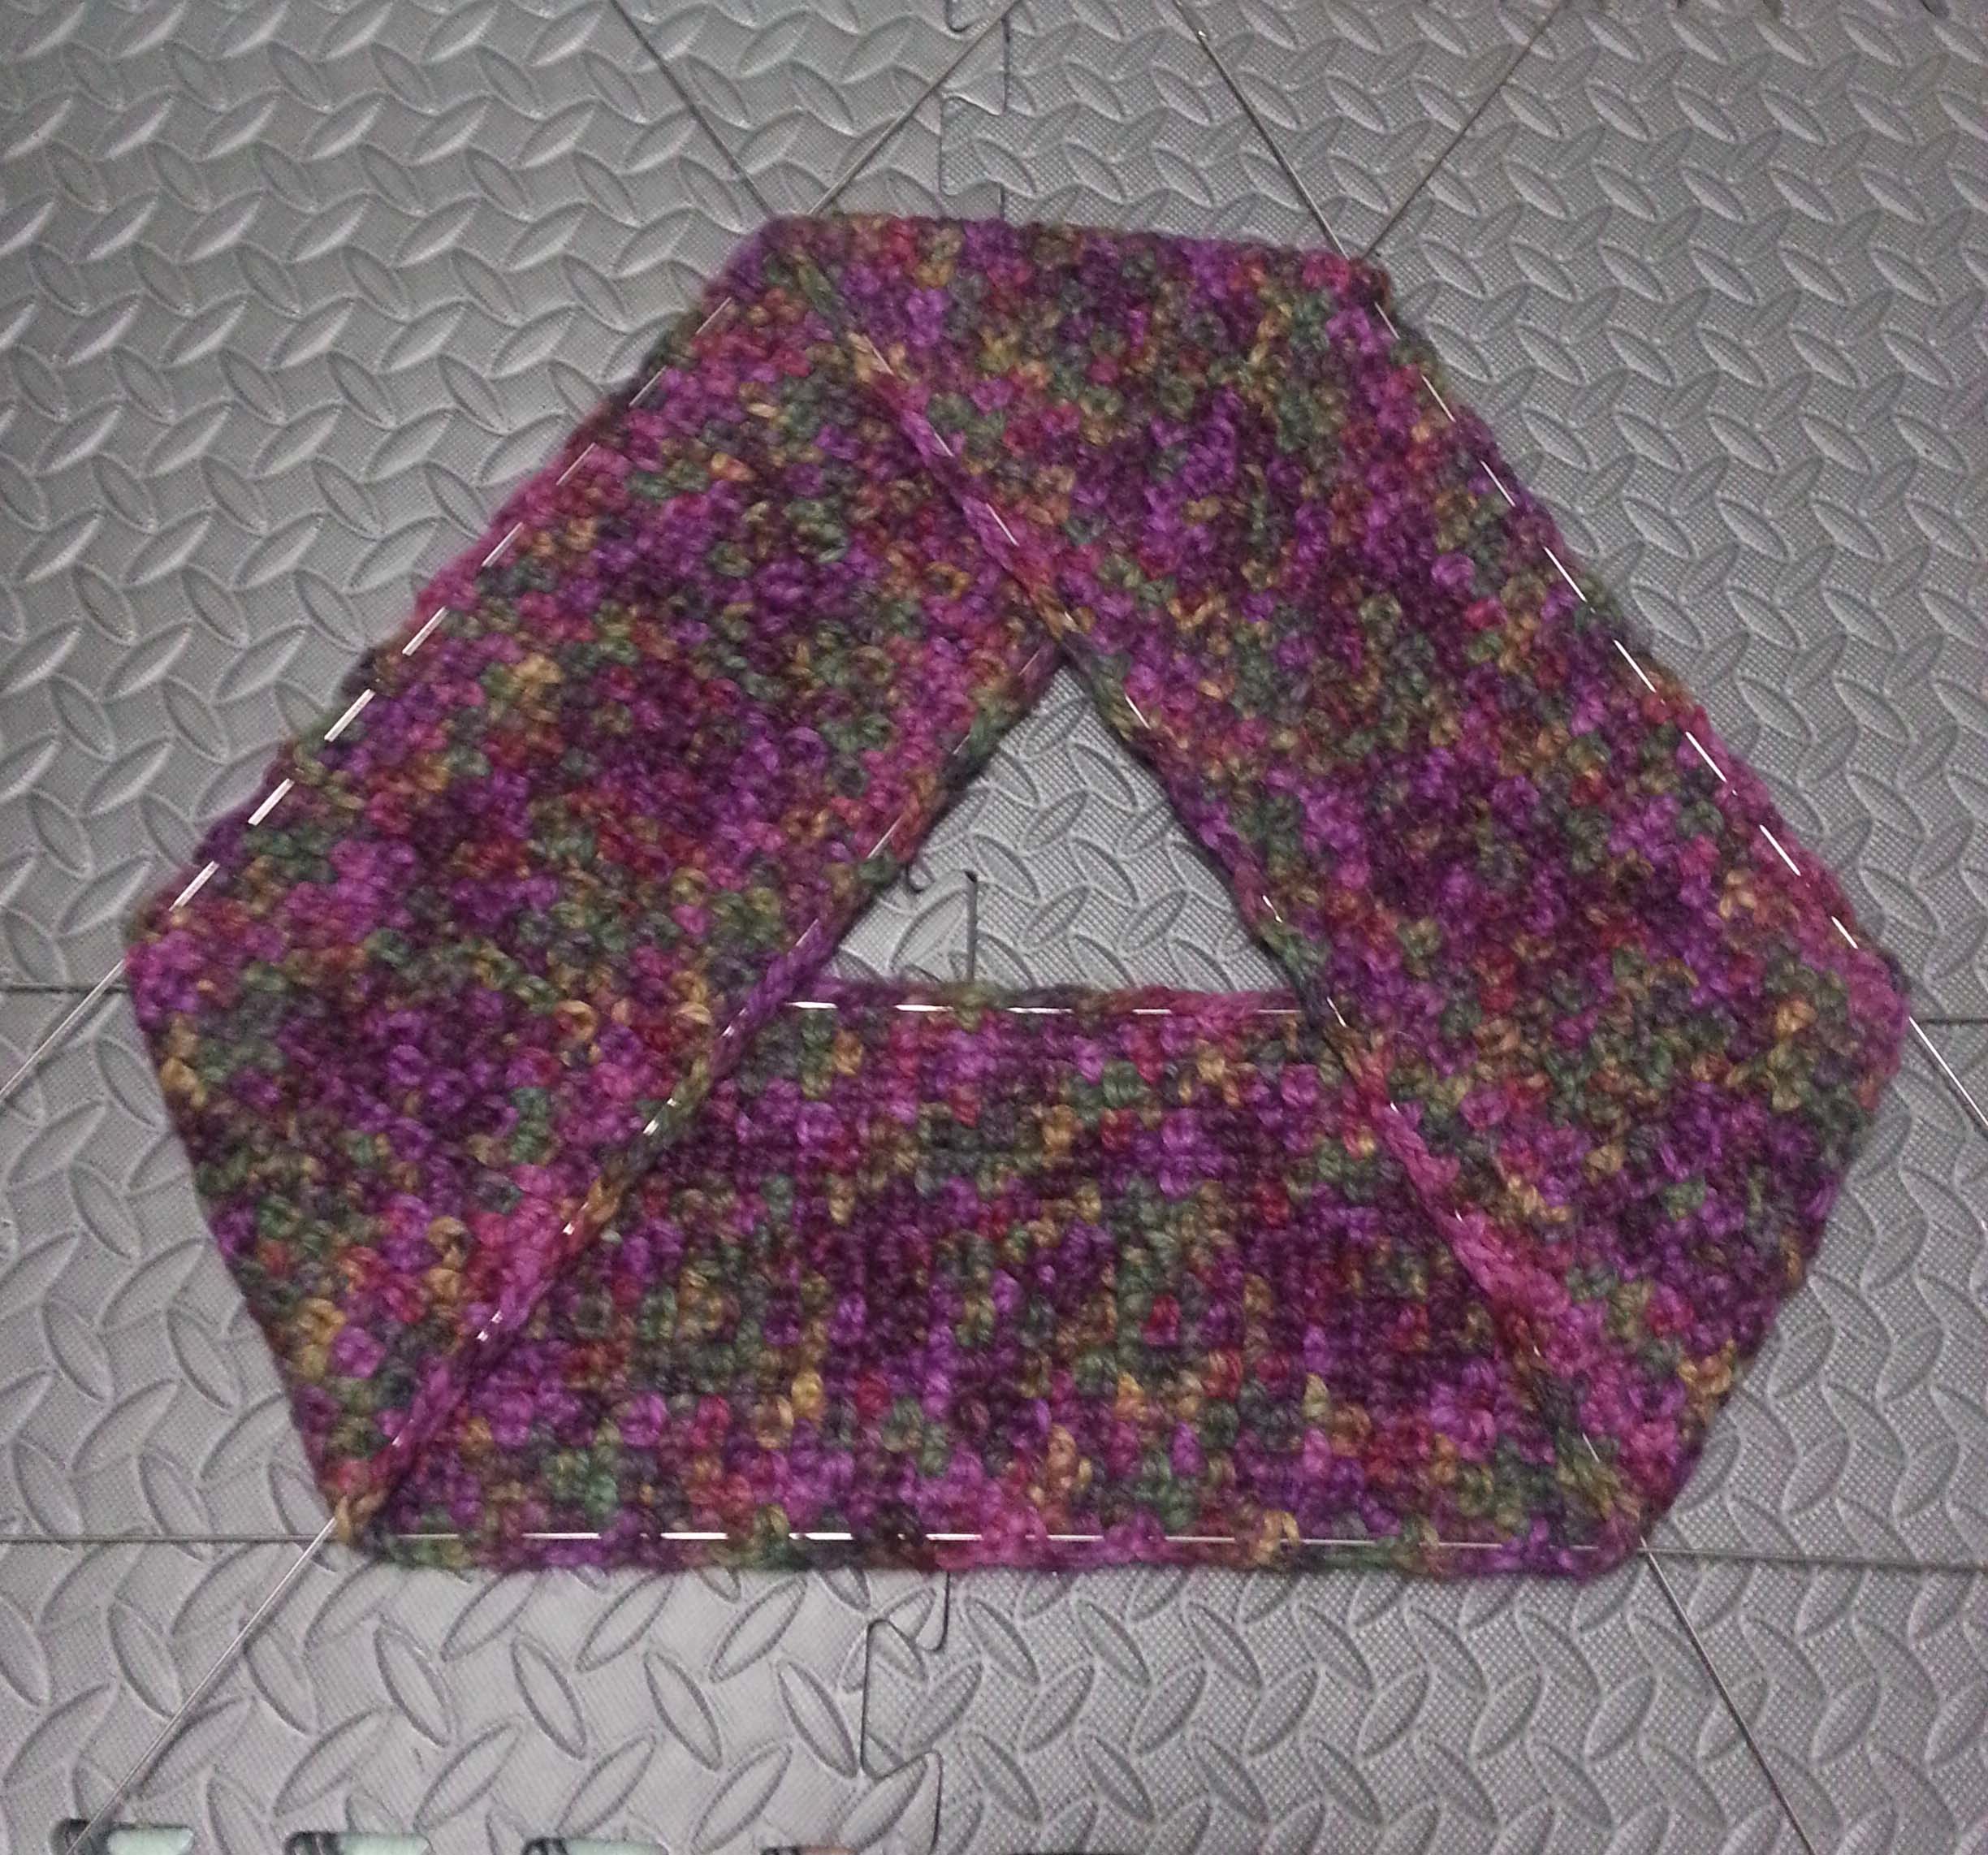
I like to block using my blocking wires. So my next step in blocking a moebius is to fold the “top” of the triangle down to expose the top edge of the bottom strip in the triangle. I then wove in one of my long blocking wires along that edge.
I then return the top of the triangle to the mat and flatten it out. The first wire sticks out of the corners on the bottom strip. I marked the top corner then weave my next wire along the inside edge of the next level of my moebius strip.
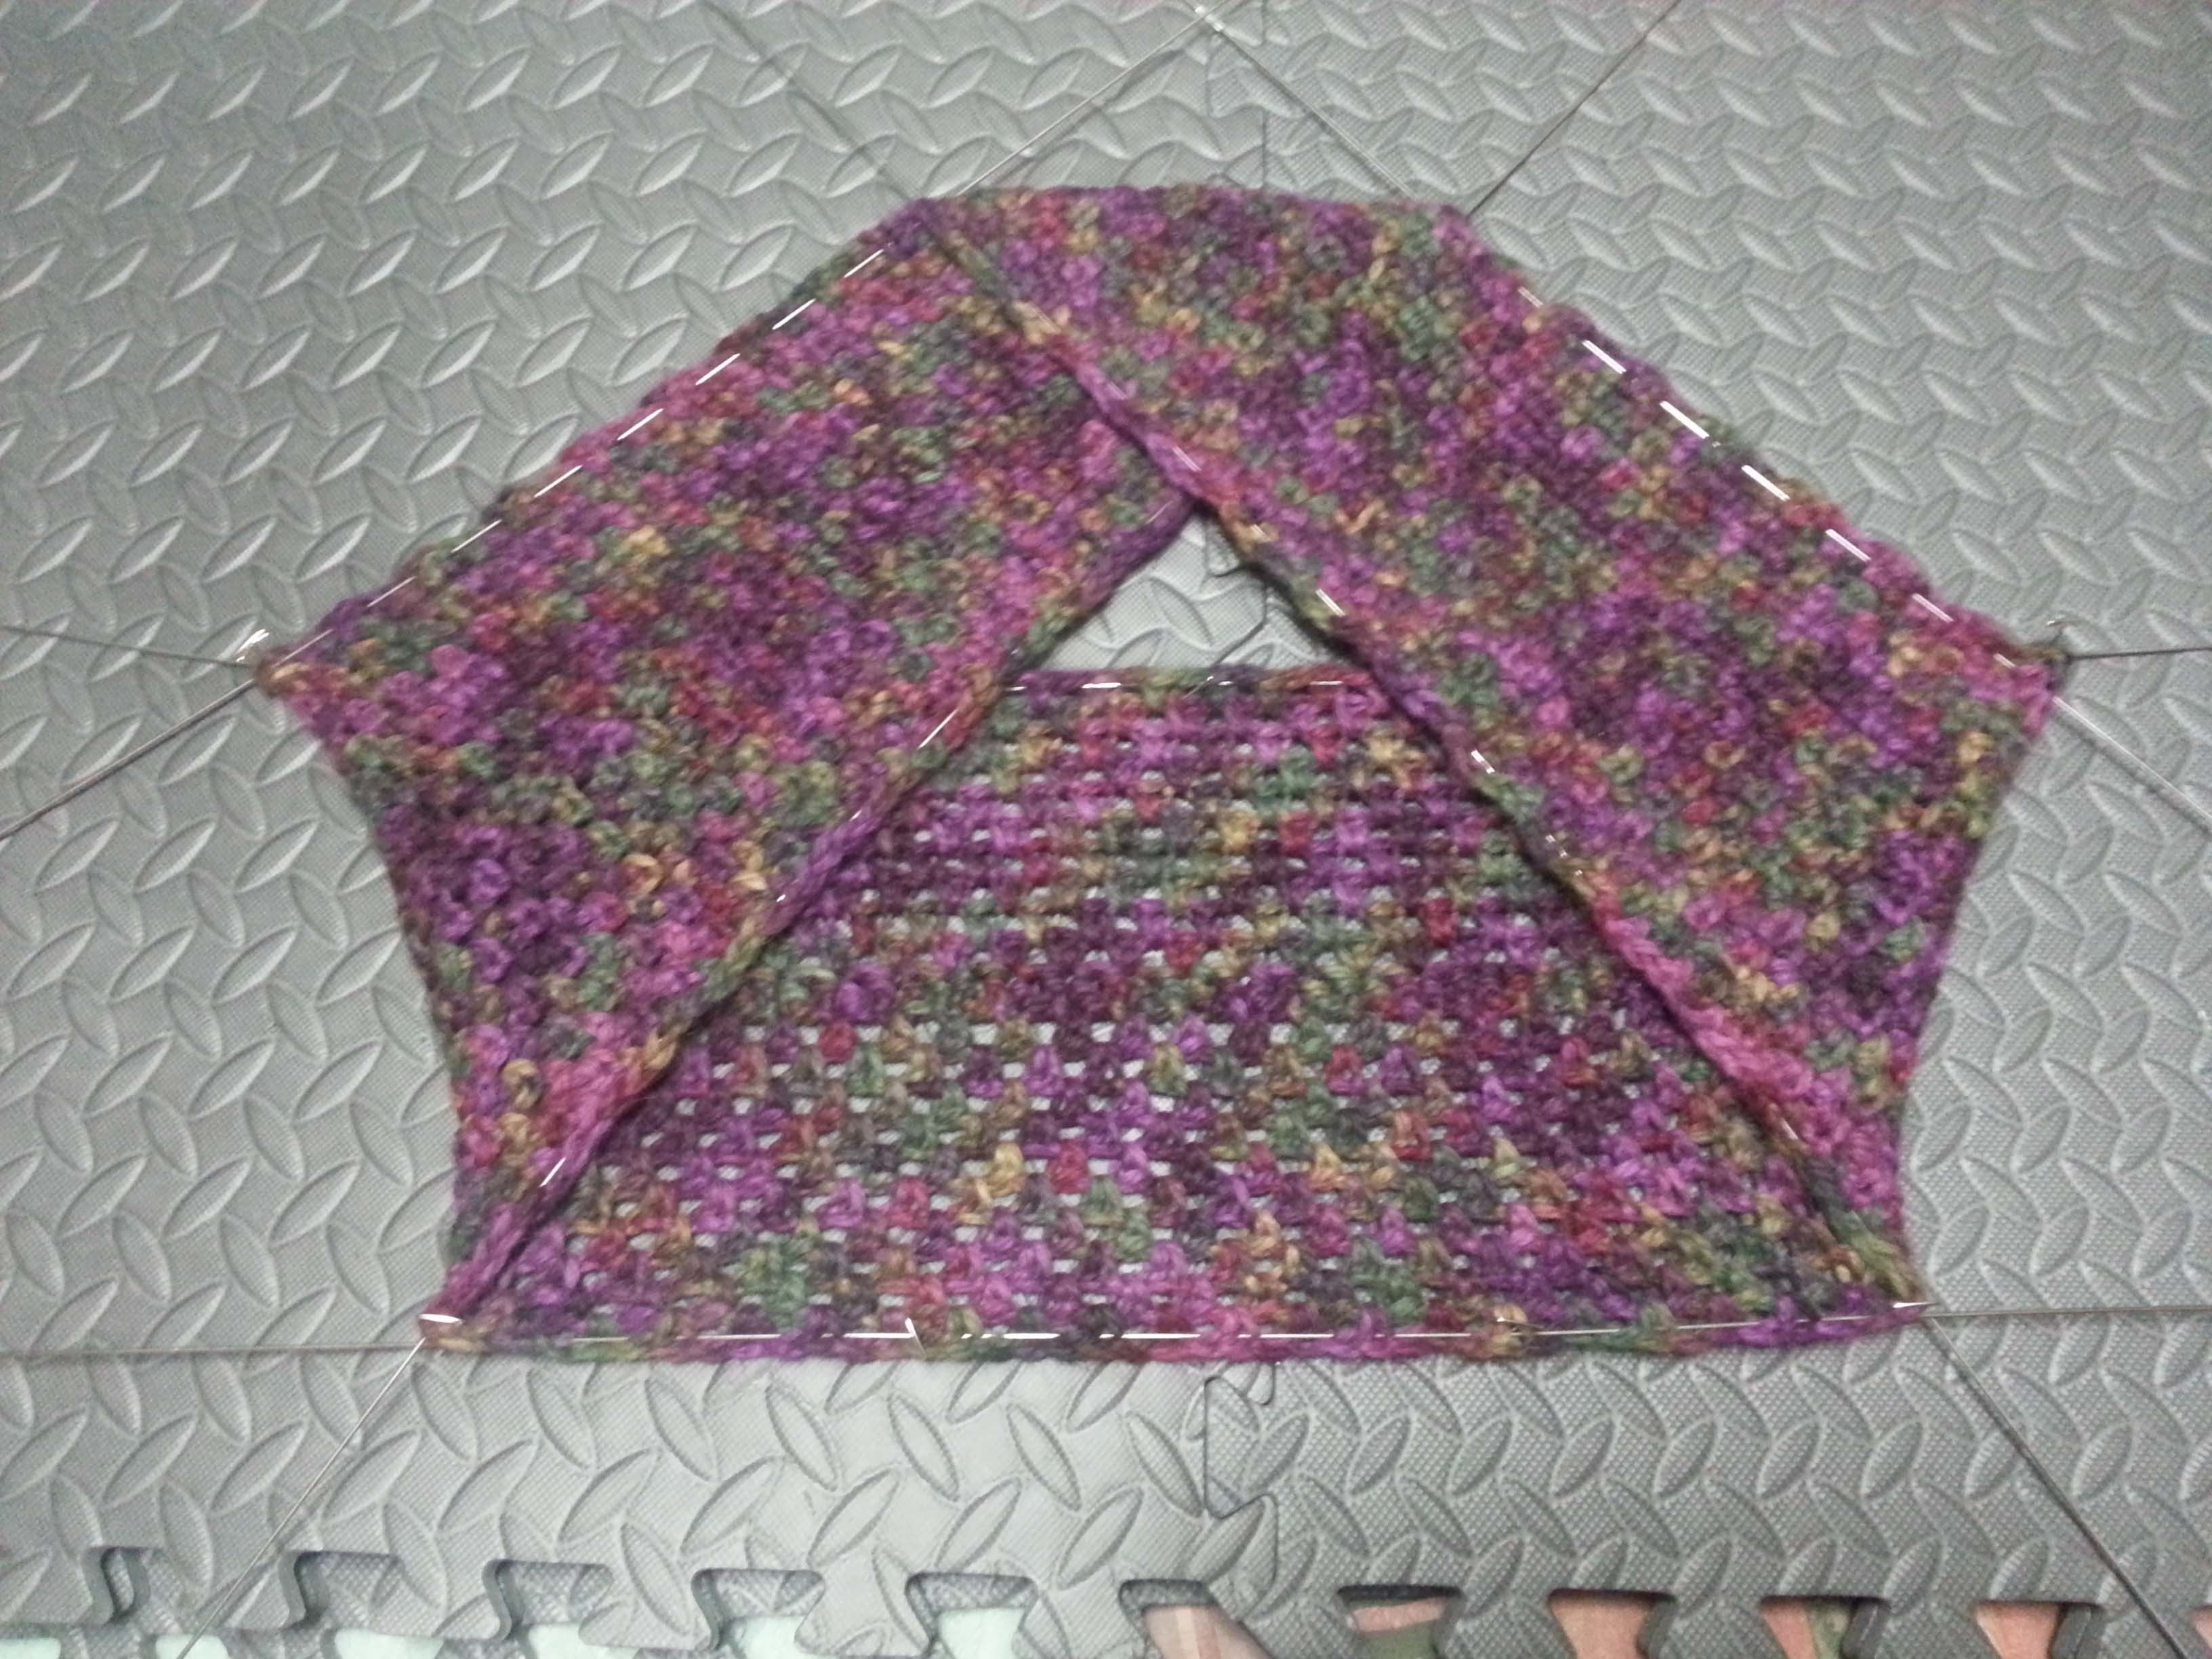
Last inside edge gets it’s wire next.
Now I weave wires thru the outside edges. We are ready to begin stretching out the project for blocking.
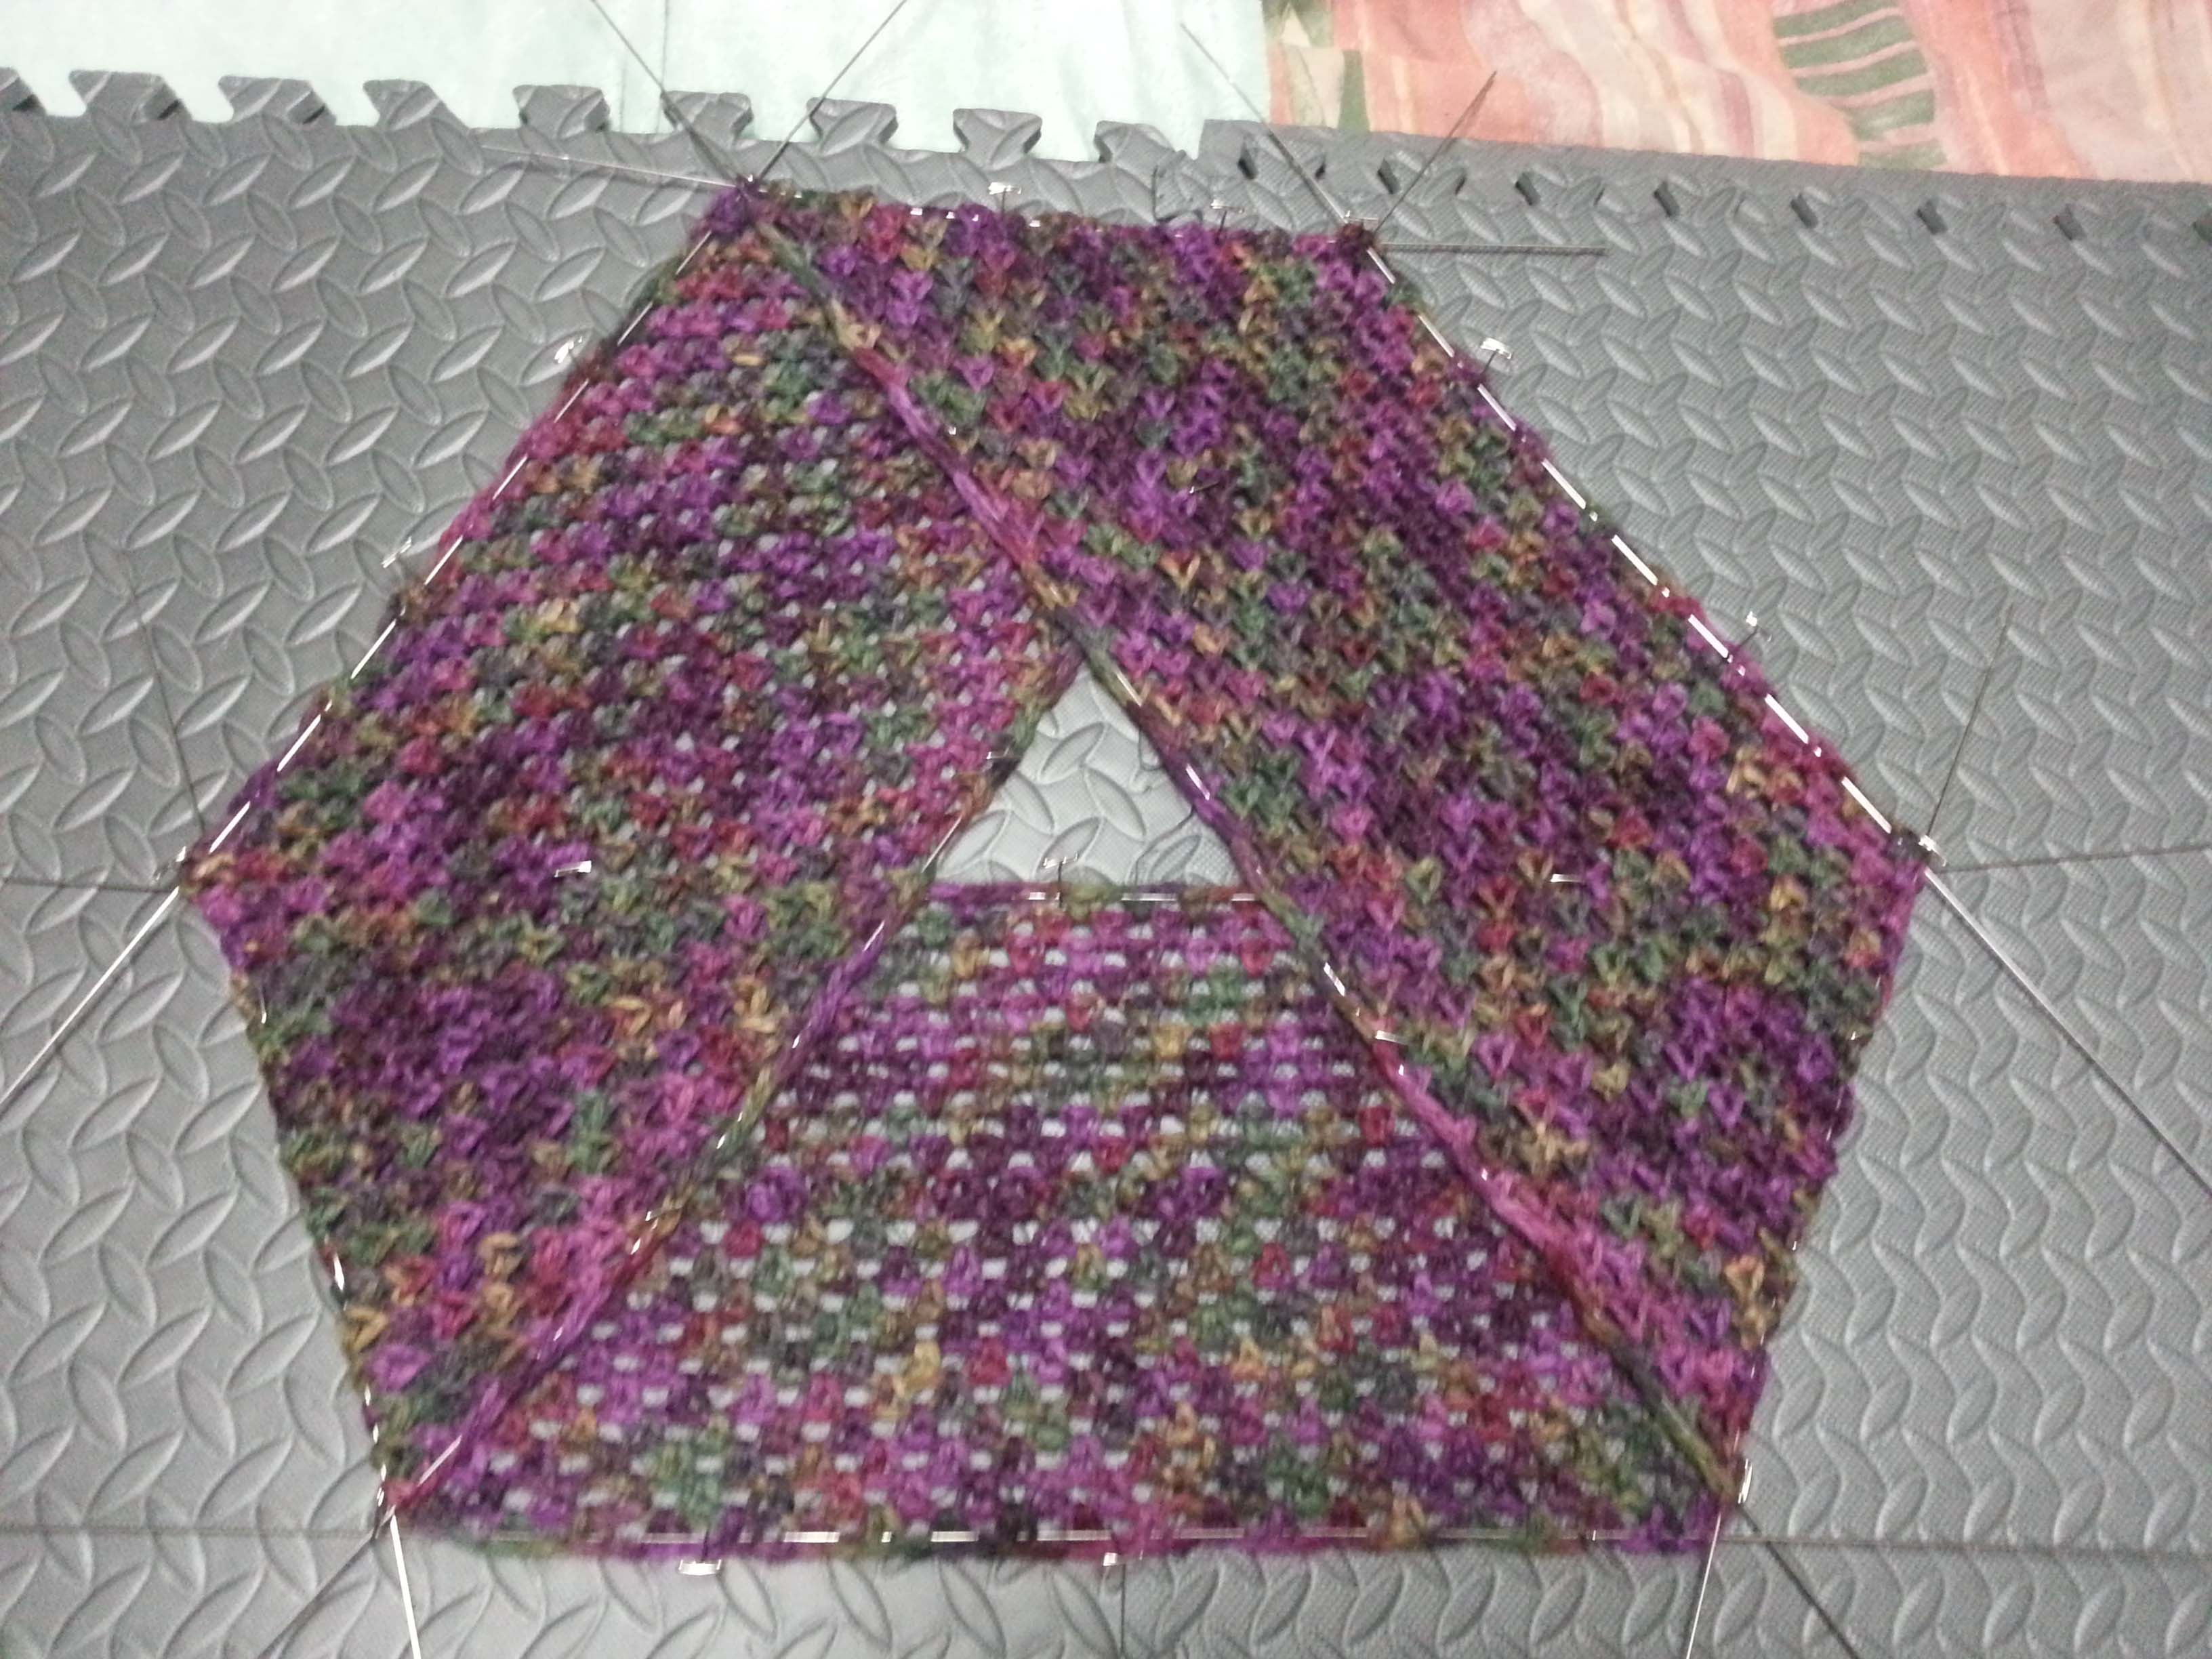
I tend to be pretty aggressive when I block and open the stitches as much as possible. I pin the bottom outside edge in place, then shift the inside wire upward to stretch open the fabric. I use nickel-plated T-pins to hold the wires in place. Nickel is important to use in blocking as it doesn’t rust and won’t mark your fabric when it is wet.
I work my way around the moebius pinning and stretching until I am happy with how much I’ve opened the stitches. Part way thru the stretching I realized I needed to place wires thru the “folds” at each corner of my triangle to keep the stretch from deforming the fabric. I just slipped the wires under the top layer of the strip at the corners.
Once everything is pinned out how I wanted I heated up my hand-held steamer and steamed the open fabric. I let it sit for about an hour to dry completely and then my cowl was ready to be photographed. Being this cowl is alpaca the stitch work didn’t open up tremendously, but the overall fabric was smoother and draped nicer afterward.
Now you know one of the ways to block a moebius. I hope you enjoy crocheting some in your projects. They are one of my favorite shapes to crochet.
When I spend time with other yarn enthusiasts I am often asked how I became a professional crochet designer.
The beginning of my journey as a designer was learning to crochet nearly 44 years ago. I loved to crochet, but never followed a pattern (which drove my mom nuts). I would just play with the yarn and stitches until an idea popped in my head for how to use what I was doing to make something I wanted. Whether that was a toy, a piece of jewelry or a garment.
By the time I was in junior high and on thru high school I was more interested in sewing, so I rarely crocheted. Instead I increased my knowledge of sewing and tailoring garments. My mother gave me my own sewing machine at age 15 and it became my favorite toy. I would sketch out ideas for garments and then modify existing sewing patterns to create the actual garments. I still sew occasionally, but as my life has become busier with motherhood and working as a crochet designer and teacher, my time for sewing has decreased.
I returned to crocheting about 15 years ago when I tripped over my dog and severely sprained my ankle. To avoid going out of my mind with boredom, while stuck on the sofa with my foot elevated, I started playing with yarn and hook again. I wasn’t great at reading patterns, but I could look at photos of garments or other crochet projects and get the gist of the pattern. After a month I was up and about again, but I was hooked on crocheting again.
I made lots of afghans for my house as well as for many members of my extended family. I made a blanket for our King Size Bed, which was a massive undertaking. There were also lots of scarves. Finally I decided to try tackling some shaping and made a hat, I kept messing with the stitches and working in the round until I had a hat I liked. In all my experiments I would write down what I did, but it wasn’t in the conventional sense of a pattern.
One day at the grocery store I discovered some crochet magazines on the newsstand beside the check-0ut. Someone else must have been looking at them and decided not to purchase them. Instead they went home with me. One of those magazines was “Crochet Today” which had stitch diagrams accompanying the patterns.
I had always found text instructions for crochet patterns to be rather tricky to follow, but the stitch diagrams made immediate sense to me. By using the stitch diagram I could finally figure out the text instructions. Suddenly it was all coming together for me.
I began to write down my creations in more conventional crochet pattern styles. And I would draw up my design notes in rough hand drawn stitch diagrams. These notes were not organized in any real way and often were on odds and ends of scrap paper tucked into a project bag with the yarn and hook.
In the back of my mind was the thought that someone had to be writing these patterns in the crochet magazines. I thought it would be great to be one of the people doing that. Then I discovered Ravelry.com, and joined the site in April 2008.
Jenny’s Books
Because of Ravelry I discovered all sorts of wonderful crochet artists and designers and became very interested in Free Form Crochet. One of the artists that I met on Raverly was Jenny Dowde from Australia. I purchased her books on Free Form Crochet and when I heard she was going to be teaching in the United States that Autumn I was very excited.
It turned out that one of the places she would be teaching was the Fall Knit & Crochet Show in Portland, Oregon. That was a short plane ride from Denver, so I decided I would go take classes with her there. That show really did change my life.
When I signed up for Jenny’s classes I discovered the Crochet Guild of America (CGOA) and joined it in order to get the discounts for the class fees, little knowing that a whole new world was about to open up for me. I was excited to go to the show even though I was traveling alone for the first time in 10 years. I was excited to meet other Ravelers and had even made arrangements to meet one of my Ravelry friends there.
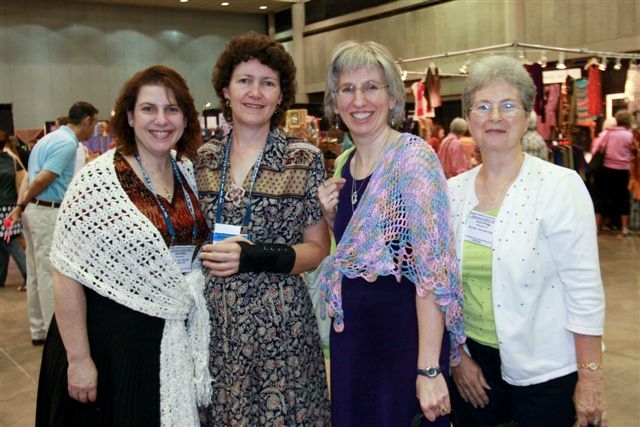
In my first class with Jenny, I met Pam Shore and Janet Bates, both who have become two of my very dearest crochet friends. We kept bumping into each other around the show. They were very bad influences when perusing yarn and/or hooks on the market floor. I had such a wonderful and inspiring time at the show, it really marked the end of me “crocheting alone”.
Pam recommended that I join the live chat room during Mary Beth Temple’s “Getting Loopy” podcast on Monday evenings. So I did and became one of the “Loopy Groupies” plugging in my headphones and typing away for 45 minutes each show. Then Mary Beth offered a class thru Crochetville called “Designing for Print Publishing”.
I decided to take the class, even though I wasn’t 100% sure how to even write a pattern yet. The class was about how to put together a proposal and present it to potential markets. As part of the class we had to create a proposal and send it out to a potential market.
I sent my proposal to “Crochet! Magazine” where Carol Alexander was the editor. I was very excited when I got an email from her saying that they weren’t able to use it in the issue that I had submitted it for, but wanted to hold it for consideration for their next issue. I contacted Mary Beth to see if this was the good news I thought it was. She said it was. A couple of months later I had sold my first design to Carol.
Lace With A Twist Wrap – Photo courtesy of Annie’s Publishing
That was how my “Lace with a Twist Wrap” came to be in the March 2010 issue of Crochet! Magazine. Of course there were other adventures with this as it was my first time writing a pattern. I think it was assumed by the Technical Editor, since I was a “new” designer, that I wouldn’t write the pattern correctly. Unfortunately the corrections that were made to the pattern actually introduced errors to it. Fortunately, many folks have successfully made this wrap and it spawned one of my most popular posts on my blog: “The Twists and Turns of a Mobius”
I had to turn in the sample and pattern in July of 2009 for that design, so as soon as it was out of the way Mary Beth was telling me not to sit on my laurels. She advised that I keep working on proposals for other designs and encouraged me to attend the Knit & Crochet Show that August in Buffalo, New York. I put together some ideas in a notebook and despite some nervousness went to the Meet & Greet at the show, where designers can meet magazine editors and others from the publishing business.
Shari White, Susan Lowman, Me, Joyce Bragg Waiting for Editors at Meet & Greet
While waiting in line I met a number of my colleagues who have become good friends over the years since. This show was also the first time that Mary Beth Temple and I got to meet face to face. I had only met her online before then.
Crochet Lace Fingerless Mitts – Photo courtesy Coats & Clark
I got leads on selling 3 different designs at that event, and made the contacts that led to many other publication opportunities later on. My first ever published design was sold to Bobbie Matela of Coats at the Meet & Greet. My “Crochet Lace Fingerless Mitts” this pattern came out in October 2009.
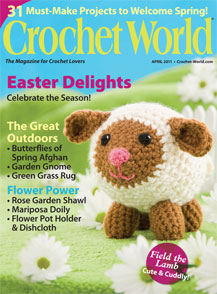
Cover of “Crochet World”
And Michele Maks (who was with Crochet World at the time) was very interested in my “Field the Spring Lamb” who went on to be on the cover of the April 2011 Issue.
I felt pretty confident at the end of that show that I could call myself a professional designer. Since then I have had over 100 designs published in magazines, Ezines, yarn company websites and my own pattern line: M2H Designs available thru my Ravelry shop or on this blog.
I know many of you are experiencing record-breaking hot weather right now and colder temperatures seem a dream. Up here on the mountain though the temperatures are beginning to feel a bit nippy. We are getting emails reminding us that school is starting up again in one short month. Augh! Summer always zips by so quickly.
Of course for those of you that are super organized it’s time to think about projects for your holiday gift giving. I’ll be releasing 5 patterns over the next week that are wonderful gift items that don’t take a lot of yarn or time to work up.
Anna Moebius Cowl
My crochet friend V was looking for quick projects for last-minute gifts for Christmas this past November. So I created this design. The cowl is worked off a moebius strip foundation with one ball of chunky size yarn and a large hook so you can make one in an evening. I named this design after my friend’s grand-daughter because she really loved the cowl and liked to wear ones with a shorter foundation as an ear-warmer.
My sample is worked using one ball of Plymouth Yarns “Gina Chunky” with a size L /8mm hook. The 100% wool of this yarn means you get a wonderfully warm cowl (or with a shorter foundation, ear-warmer), and the color changes in “Gina” make the shells in the stitch pattern stand out individually. Or go with a solid color yarn for a subtle textured look to your cowl.
This pattern is available in my Ravelry Shop for $3.99 BUY NOW
I’m heading to San Diego for the Knit and Crochet Show this coming Tuesday, but I will have more patterns posting while I am on my trip. Be sure to check back.
Last night my family and I went to the Colorado Rockies Fireworks game. Usually it is on the 4th of July or very close to it, this year the Rockies were out-of-town on the 4th so it was scheduled for the 10th. My friend Terie and I have made a tradition of going to Rockies games together since before I was married. So we got tickets for my family, her and her husband. The fireworks after the game is over are always spectacular and we almost make ourselves hoarse cheering during the game.
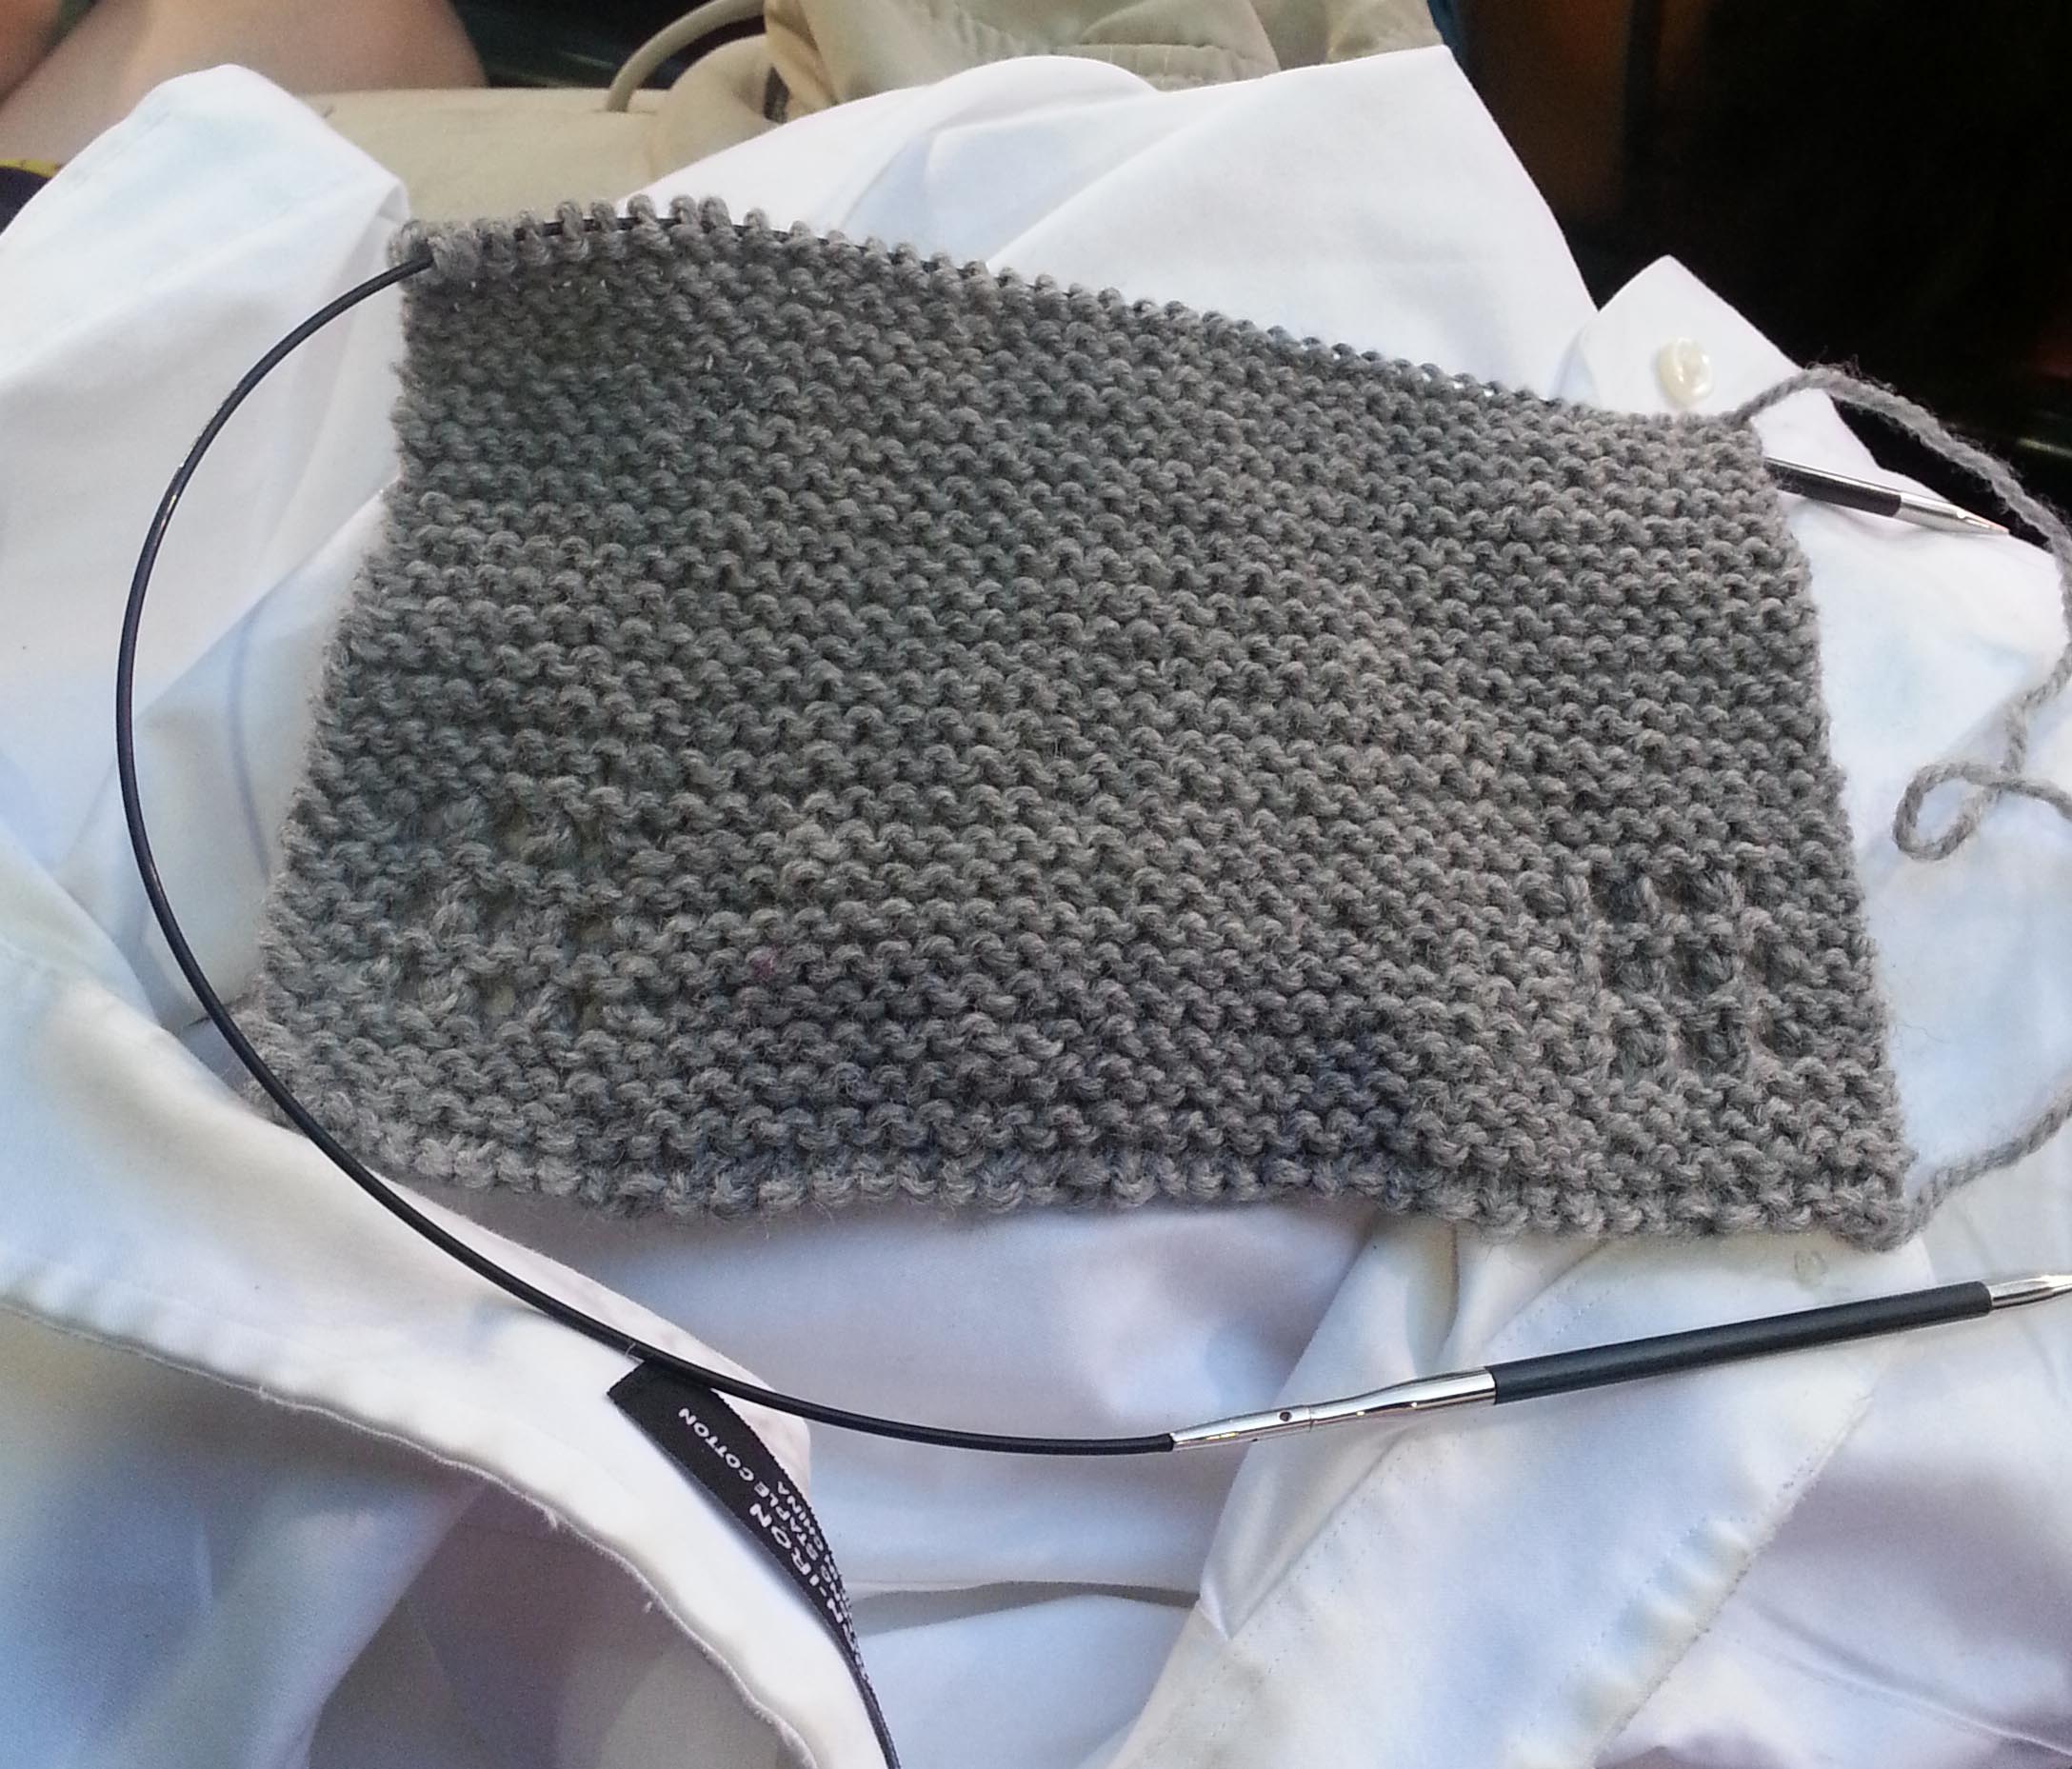
Of course, baseball is a very stop and start game, so I always bring along a crochet project to keep my hands busy during the stops. Right now I don’t have any simple crochet projects in progress (more about that later this week), so I decided to take along my current knitting project. It is a simple garter stitch scarf for my son. If I finish this scarf it will be only the second knitting project that I have finished.
The game finished up without any delays, and the Rockies Won…Yay! Unfortunately, toward the end of the game the weather started to get a little wicked. Lots of thunder and lighting and a little bit of rain. The lighting was close enough that everyone in the top levels of the stadium were asked to leave their seats and seek out shelter elsewhere in the stadium. The fireworks were still planned to happen, they were just going to be delayed while the weather passed by.
Fortunately, I had my knitting project with me so I just kept knitting along on the scarf as we waited in the massive stairway of the stadium. Which meant that I basically knit for 40 minutes straight. By the end of the evening I was feeling some aching in my hands, and had to remind myself to do some stretches to relieve my hands.
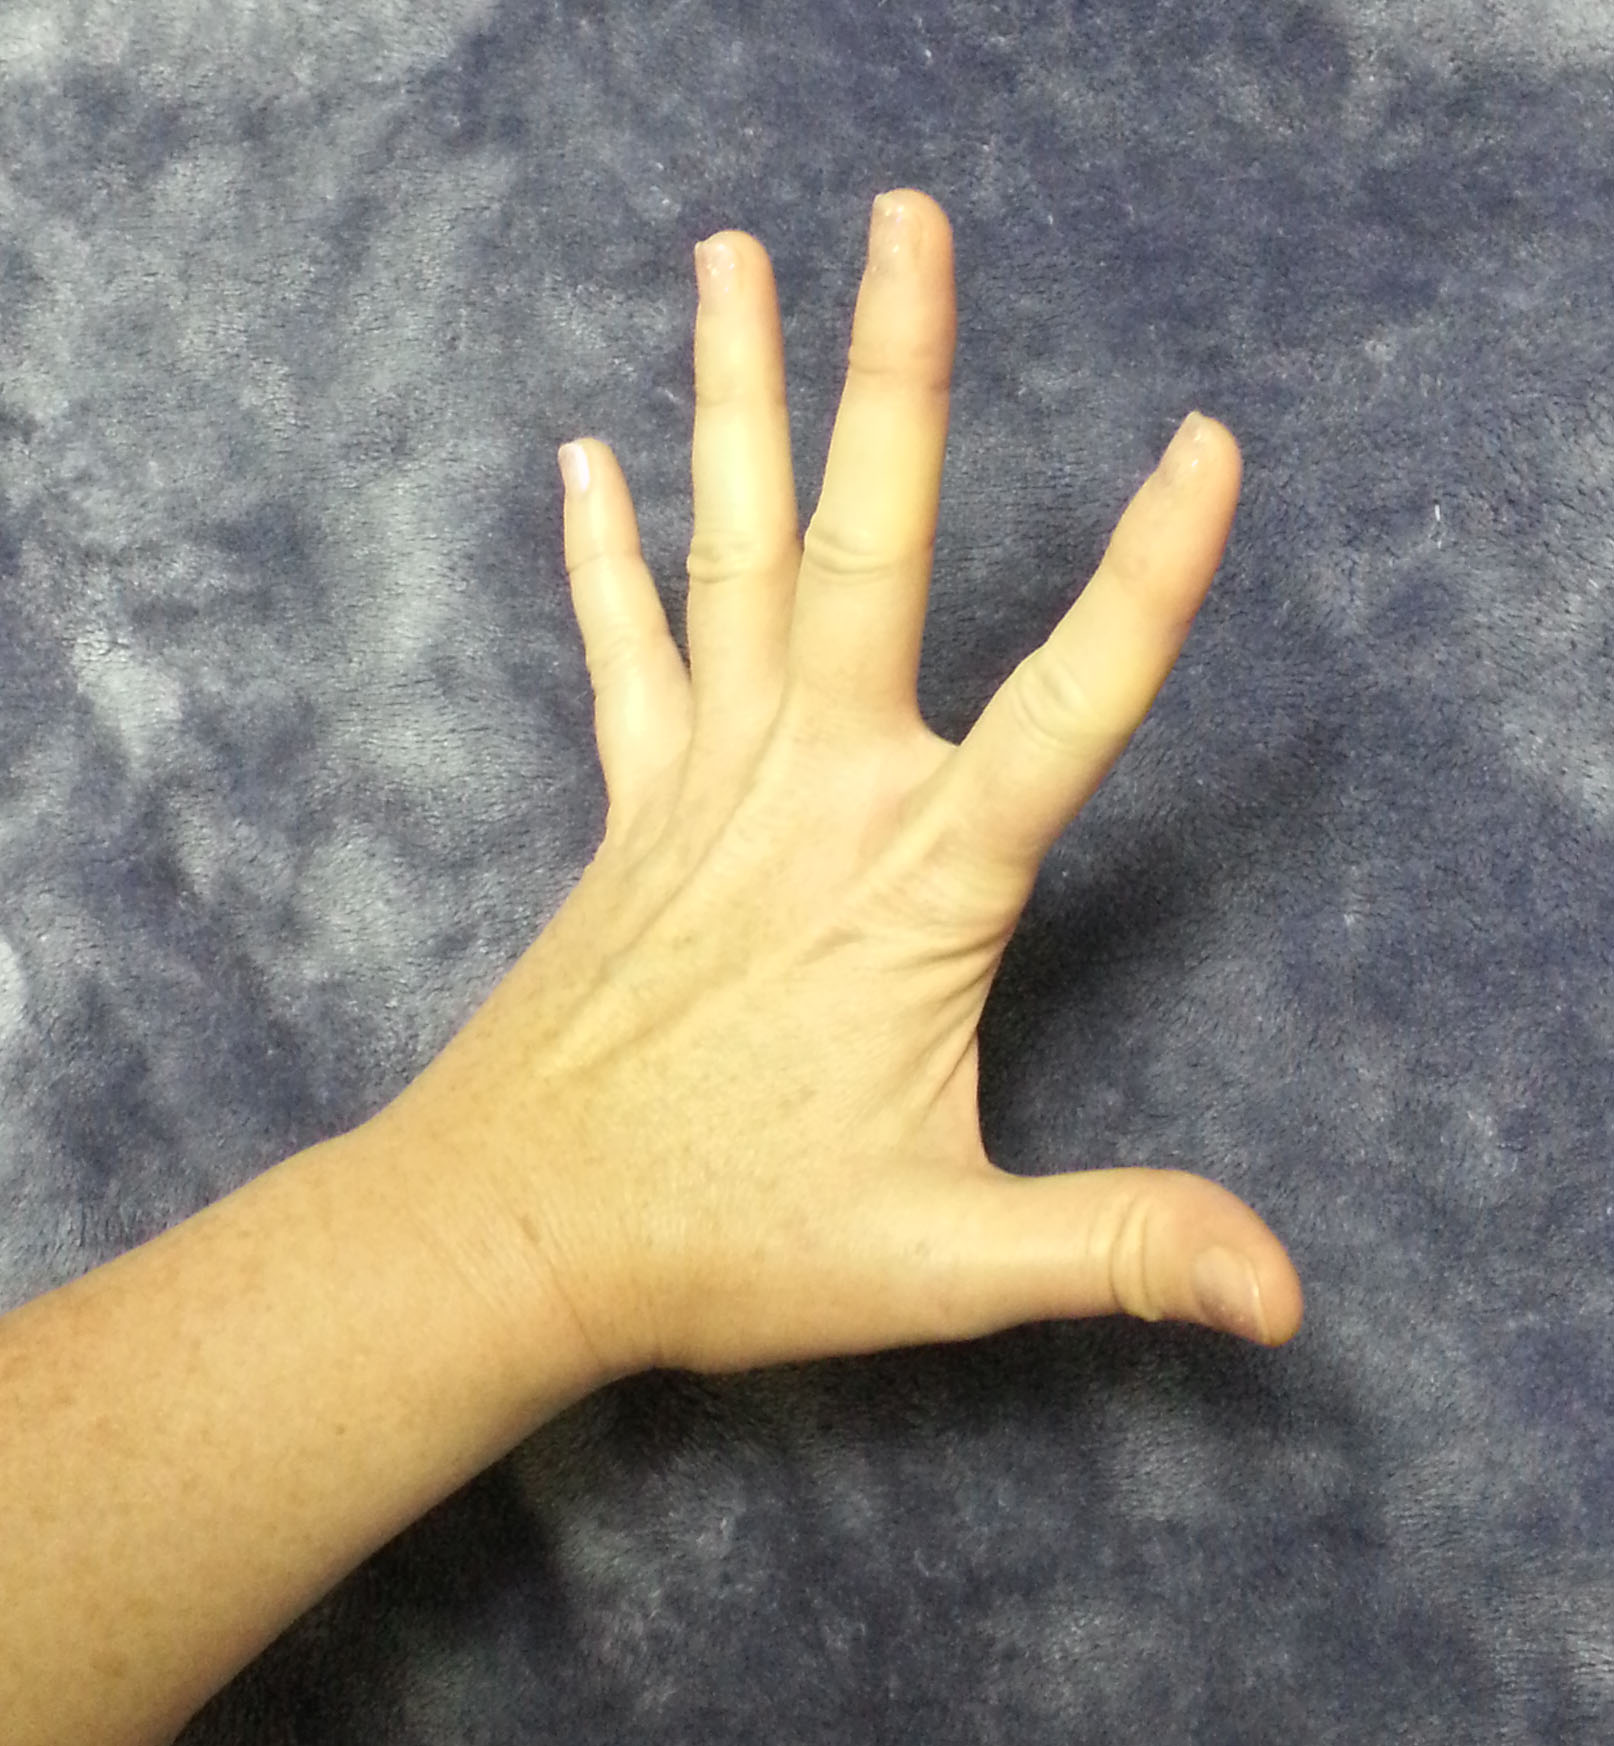
Stretches are a great way of helping prevent injury to your hands and to alleviate soreness in your hands when you’ve over done things. Ideally you would do these simple stretches every 20-30 minutes when you are crafting or doing any hand intense activities, such as typing at the computer.
Pushing Open – Spread the fingers as wide as you can and arch them backwards toward the top of your forearm.
First Fold – Fold down fingers to touch top of palm.
Repeat Pushing Open.
Second Fold – Fold down fingers over palm of hand touching base of palm.
Repeat Pushing Open.
Tight Fist – Squeeze your fingers and thumbs into your palms as tightly as possible.
Repeat Pushing Open.
Remember when you are doing any stretching/strengthening exercises you should only take the exercise to the point that is comfortable for you. You should feel a good stretch when you do these exercises. If you have severe pain from even attempting them, please stop and make an appointment to consult your healthcare provider.