I’m participating in the Christmas in July Make Along with Underground Crafter. Come join the fun! 28 bloggers have teamed up to bring you a month full of free patterns to kick start the handmade holiday season — including crochet, knitting, and sewing projects. There’s something new to make every day in July. Each week will have a theme.

Week 1 (July 1-7): Babies, Kids, and Teens
Week 2 (July 8-14): Women
Week 3 (July 15-21): Gifts for Anyone
Week 4 (July 22-28): Home
Week 5 (July 29-31): Pets
We’ve also partnered with some of our favorite companies to get some great prizes for you. Find out more information about participating designers, the schedule, and how to enter to win the prizes on Underground Crafter. The deadline for entering the giveaway is Thursday, August 4, 2022 at 11:59 p.m. Eastern.
How To Join the 2022 Christmas in July Make Along
- You can join in by crocheting, knitting, sewing, or making the projects as you have time.
- Share your progress and post pictures of your finished projects. Tag your projects and posts #CIJMakeAlong2022 on all social media.
- If you’d like to chat with other crafters, join the Underground Crafters Facebook group
- By the end of the Make Along, you’ll have up to 31 awesome projects. Get ready for the handmade holiday season while having fun with us!
Visit Underground Crafter to learn more about the prizes, enter the giveaway, and to get links to each Christmas in July Make Along post as it is released.
Today I am sharing with you my pattern for making the “Cuddlebug Pet Bed”. As many of you know my old dog Kenna left us for her journey over the Rainbow Bridge back in early February. We found a very young dog (10 months old) at the Humane Society of Boulder in late February.
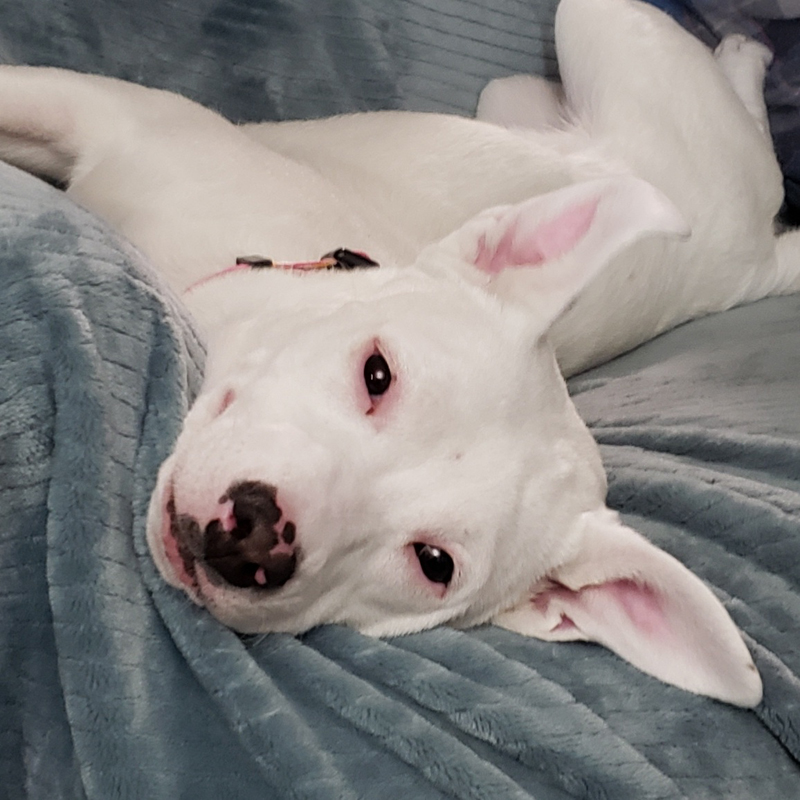
This is Daisy Mae, she has completely stolen our hearts. She is a super sweet doggie, but she can be pretty destructive with her chewing overnight. So she stays in her kennel while we are all sleeping. I decided to make a new bed pad for her kennel to spoil her. Yes it may get chewed on, though she has been pretty good with her kennel bedding so far.

This project is also about using up scrap yarn and re-use of other materials I had around the house. You can use any scraps of worsted weight yarn you have on hand to make your own pet bed. I recommend using acrylic yarns as they can be machine washed with ease. You’ll be using 4 strands of yarn together, so you won’t have to worry about weaving in tails except at the beginning and end of the project.
I cut up a piece of foam padding that was part of an old folding futon we had in my youngest kiddo’s room. The cover of the futon had been destroyed in one section, but the foam was still in decent shape. I measured the kennel and then used an old bread knife to saw the foam to the size I needed.
You can adjust the size of the pet bed pattern for your pet. You just need to know the size of the rectangle you want the final bed to be.

Draw out your rectangle on the foam you are using, if not using foam then draw your rectangle size on an appropriate size sheet of paper. Find the center of the rectangle along the length. See photo above.

Then draw 45 degree lines from the corners intersecting the center line.

The length between the intersections is the length you need your foundation to be (see photo above). Crochet the stacked rows foundation to that length. You need an even number of stitches for the foundation, so add 1 row to foundation if needed to get an even number.
Cuddlebug Pet Bed
Designed by Andee Graves
SKILL LEVEL: Easy
FINISHED SIZE: 31 x 19 x 4 inches (77.5 x 47.5 x 10 cm)
YARN:
Caron “One Pound” (100% Acrylic; 812 yds / 16 oz, 742 m / 453.6 g)
Project used approximately 2850 yards of yarn.
CROCHET HOOK: US N/P (10 mm) or size needed to obtain gauge.
ADDITIONAL MATERIALS:
Yarn needle, Stitch markers, 4 – 1 inch buttons
GAUGE: In Up & Down Stitch pattern: 7.5 stitches 7 rows = 4″ (10 cm)
SPECIAL STITCHES
Up & Down Stitch: Alternates single crochet stitches worked into double crochet stitches, and double crochet stitches worked into single crochet stitches.
PATTERN NOTES
This project is crocheted holding 4 strands of yarn together the whole time. It is is a great way to use up scraps, when one strand gets close to running out, overlap the new strand about 8 – 10 inches and continue crocheting. Both the ending strand and new strand will be caught up in the body of the stitches. No weaving in ends except at the end and beginning of your project.
The bed is worked center out in the round from a long stacked rows foundation as a large rectangle in up & down stitch (also known as Grit or Griddle stitch). The first round of the sides is work as front post single crochet to make a sharp turn along the top edge. Then rounds are worked in single crochet to get to the height of the foam being used to stuff the bed.
A second rectangle is worked for the bottom of the bed, then sewn to the last round of the sides, leaving one end open. Buttons are sewn along the bottom piece at the opening and chain loops are attached to the side to close the open end.
Tip: Mark the beginning stitch of the round to help you find it at the end of round. Every round should start with single crochet.
INSTRUCTIONS
Bed Top
Stacked Rows Foundation
Row 1: Ch 2, sc in 2nd ch from hook.
Row 2: Ch 1, turn, sc in previous row sc.
Row 3 – 20: Rep Row 2.
Turn to work into the sides of the Stacked Rows Foundation stitches.
Rnd 1: Ch 1, sc in first st, dc in next st, *sc in next st, dc in next st*, repeat from * to * until reaching end of foundation, ch 1, turn 90 degrees to work in end of foundation, sc & dc in end, ch 1, turn 90 degrees to work along opposite side of stacked rows foundation, Repeat from * to * beginning in first st until reaching end of foundation, ch 1, turn 90 degrees to work in end of row, sc & dc in end of row, ch 1, turn 90 degrees, join with slip st to first st of Rnd PM in corner ch-1 sps. (22 dc, 22 sc, 4 ch-1 sp)
Rnd 2: Ch 1, turn, *(sc, ch 1, dc) in marked sp, move st marker up to ch-1 sp just made, sc in dc, dc in sc until reach next marked ch-1 sp; repeat from * around, join with slip st to first st of Rnd. (26 dc, 26 sc, 4 ch-1 sp)
Rnd 3: Ch 1, turn, [*sc in dc, dc in sc* until reach marked ch-1 sp, (dc, ch 1, sc) in marked sp, move st marker up to ch-1 sp just made] 4 times, repeat from * to * until reach end of Rnd, join with sl st to first st of round. (30 dc, 30 sc, 4 ch-1 sp)
Rnd 4: : Ch 1, turn, [*sc in dc, dc in sc* until reach marked ch-1 sp, (sc, ch 1, dc) in marked sp, move st marker up to ch-1 sp just made] 4 times, repeat from * to * until reach end of Rnd, join with sl st to first st of round. (34 dc, 34 sc, 4 ch-1 sp)
Rnds 5 – 16: Alternate repeating Rnd 3 and Rnd 4. (Rnd 16: 82 dc, 82 sc, 4 ch-1 sp)
Rnd 17: Ch 1, turn, [FPsc in each st until reach marked ch-1 sp, skip marked sp, remove st marker] 4 times, FPsc in each st until reach beginning of Rnd, join with slip st to first st of Rnd. (164 FPsc)
Rnd 18: Ch 1, turn, sc in each st until reach beginning of Rnd, join with slip st to first st of Rnd. (164 sc)
Rnds 19 – 23: Rep Rnd 18. Fasten off at end of Rnd 23.
Bed Bottom
Repeat Foundation and Rnds 1 – 15 from Bed Top. Fasten off.
FINISHING
Weave in all ends.
Sew Bed Bottom Round 15 stitches to top of Bed Top Rnd 24 stitches using a whip stitch. Leave one short end of bed open. Chain 15 with 1 strand of yarn and H (5mm) hook to make button loops. Attach button loops to last round of Bed Top along opening. Sew buttons on Bed bottom aligning with button loops.
