Today I’m honored to be a part of the 2014 Crochetville NatCroMo Designer Blog Tour. Amy Shelton and Donna Hulke of Crochetville included me last year in their National Crochet Month tour to celebrate crochet and it was great fun. These two are the right women to lead the celebration of all things crochet, visit them at the Crochetville site or their blog and you’ll know just what I mean.
My focus this year for NatCroMo has been teaching others to crochet. It’s been very exciting that my youngest son is learning. Above is his latest effort, he wanted to make a scarf so I got him started with the first row of this little V-stitch scarf and he is amazing me at how well he is doing. It’s also a great excuse for some cuddle time as we snuggle together on the sofa and crochet.
Today I will be at the Longmont Yarn Shoppe from 12p – 1:30p with my local CGOA Chapter showing folks how to get started crocheting. We will be making quick fun little beaded bracelets that students can make and take away with them. Beaded crocheted chains are a fun easy project that give beginners the chance to make something beautiful with minimal crochet skills.
Our projects for the “Make & Take” will use plain worsted weight yarn and plastic pony beads.
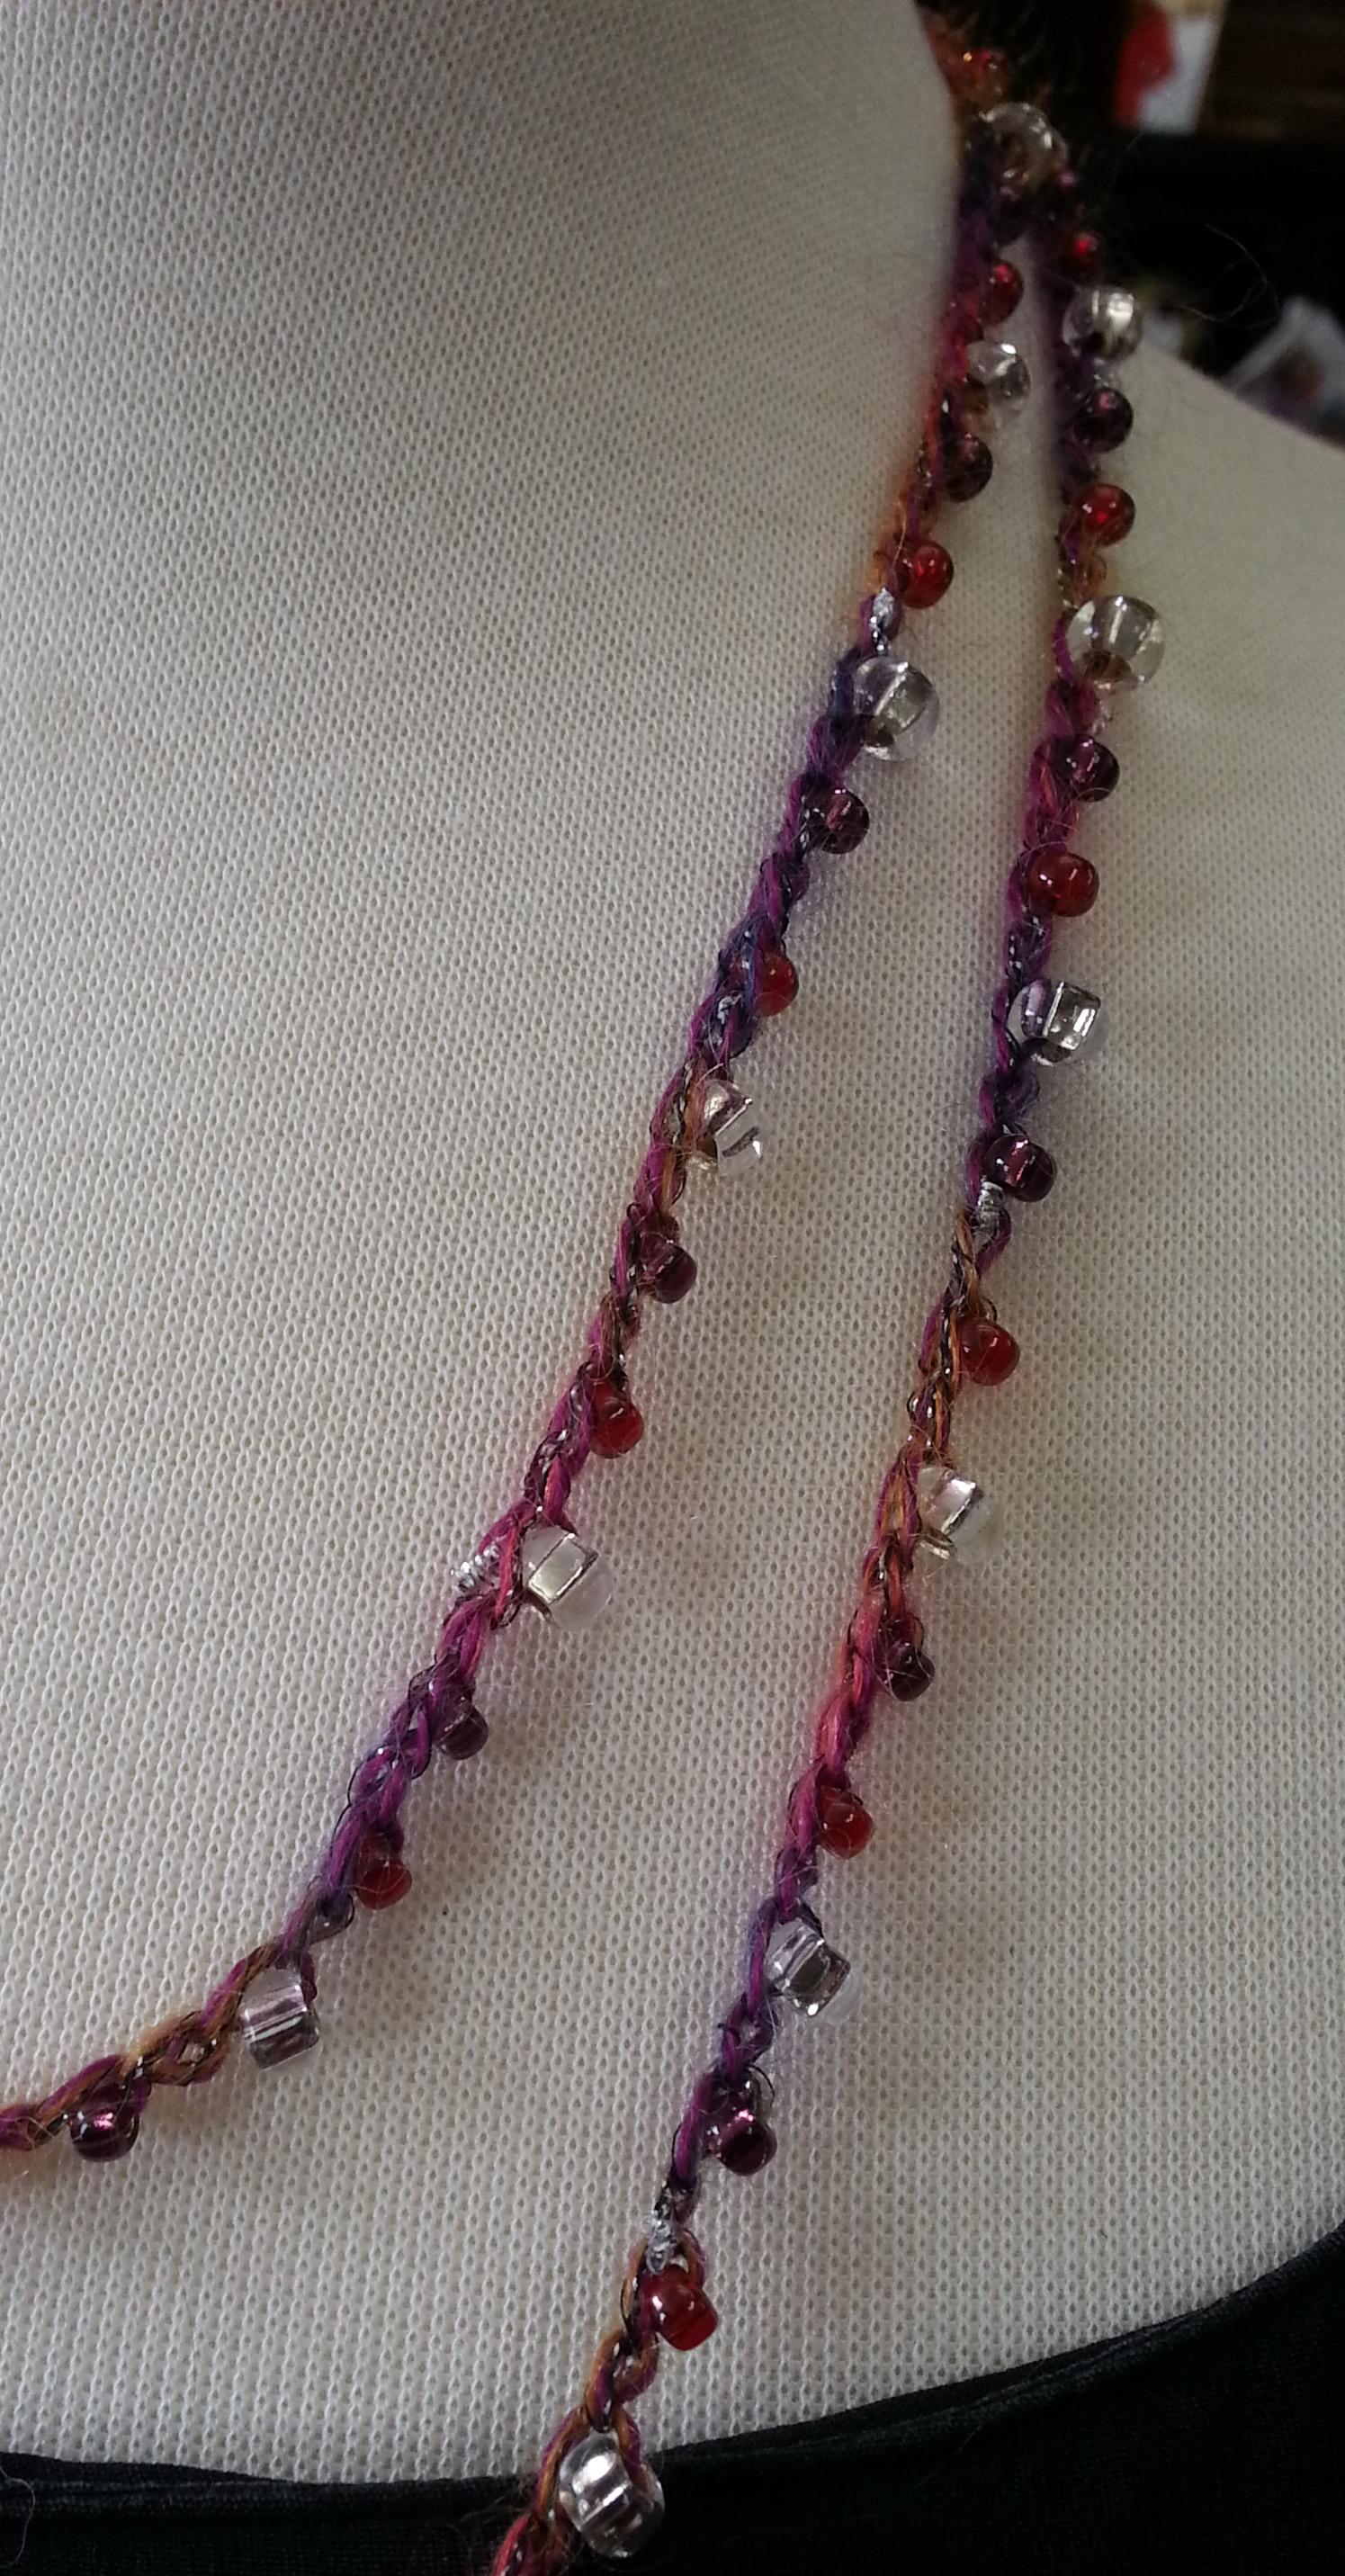
Switch out the yarn to something with silk or glimmering threads and the beads for lovely glass or semi-precious beads (just need holes big enough for the yarn to go thru), and you’ve got a beautiful piece of jewelry.
Look at the lovely necklaces we have on display at the shop, these were all made just by stringing beads on the yarn then working crocheted chains to the desired length.
For those of you that can’t be with us today I have included photos and instructions for you to practice at home. Or if you are an experienced crocheter teaching some one else how to get started, this is a great starter project as they get accustomed to working with the yarn and hook.
If you’ve never crocheted, or it’s been a long time since you crocheted, you may have forgotten how to hold your hook and yarn. These photos Show how to hold the yarn and hook if you are right-handed. For left-handed crocheters just reverse which hand holds the yarn and hook. The most important thing to remember when crocheting is to keep your hands relaxed.
Making a slip knot to place on your hook
I create a loop with the working yarn (coming from the ball of yarn) going over the top of the beginning tail, then reach thru the loop with my hook (or fingers) to pull up a loop from the working yarn, I place that loop over my hook and gently pull on the working yarn to snug the loop on my hook.
Holding your hook
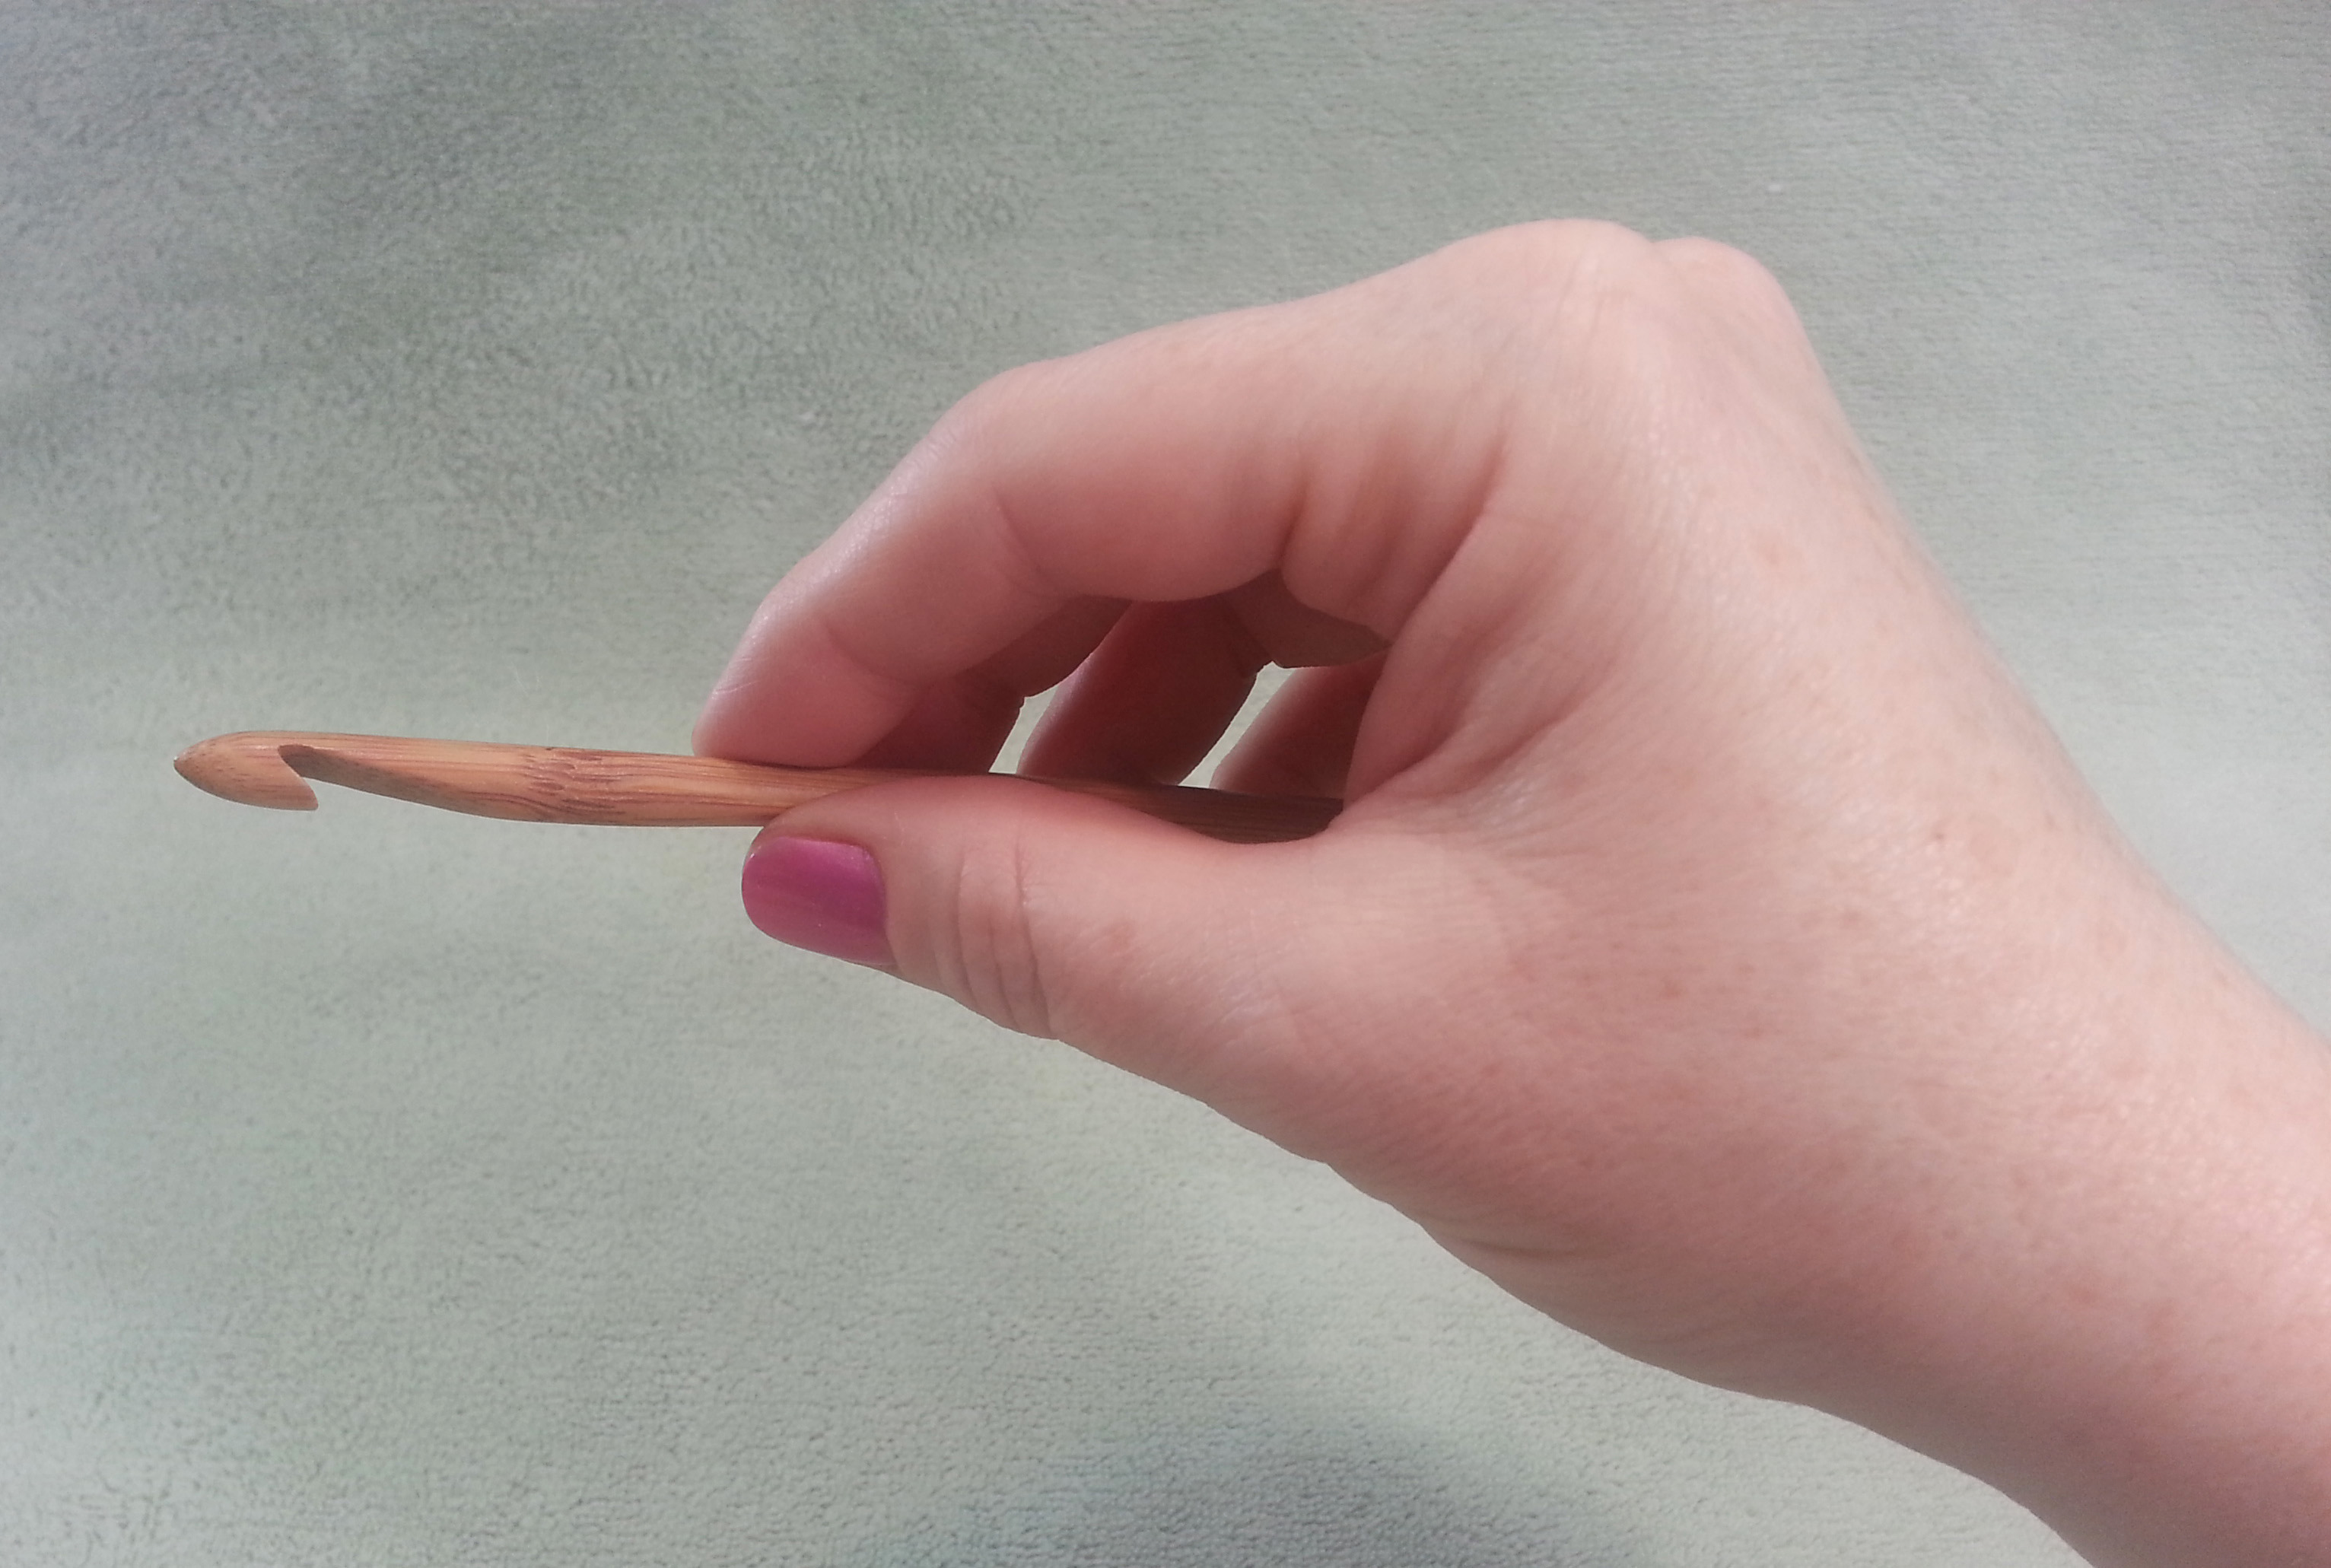
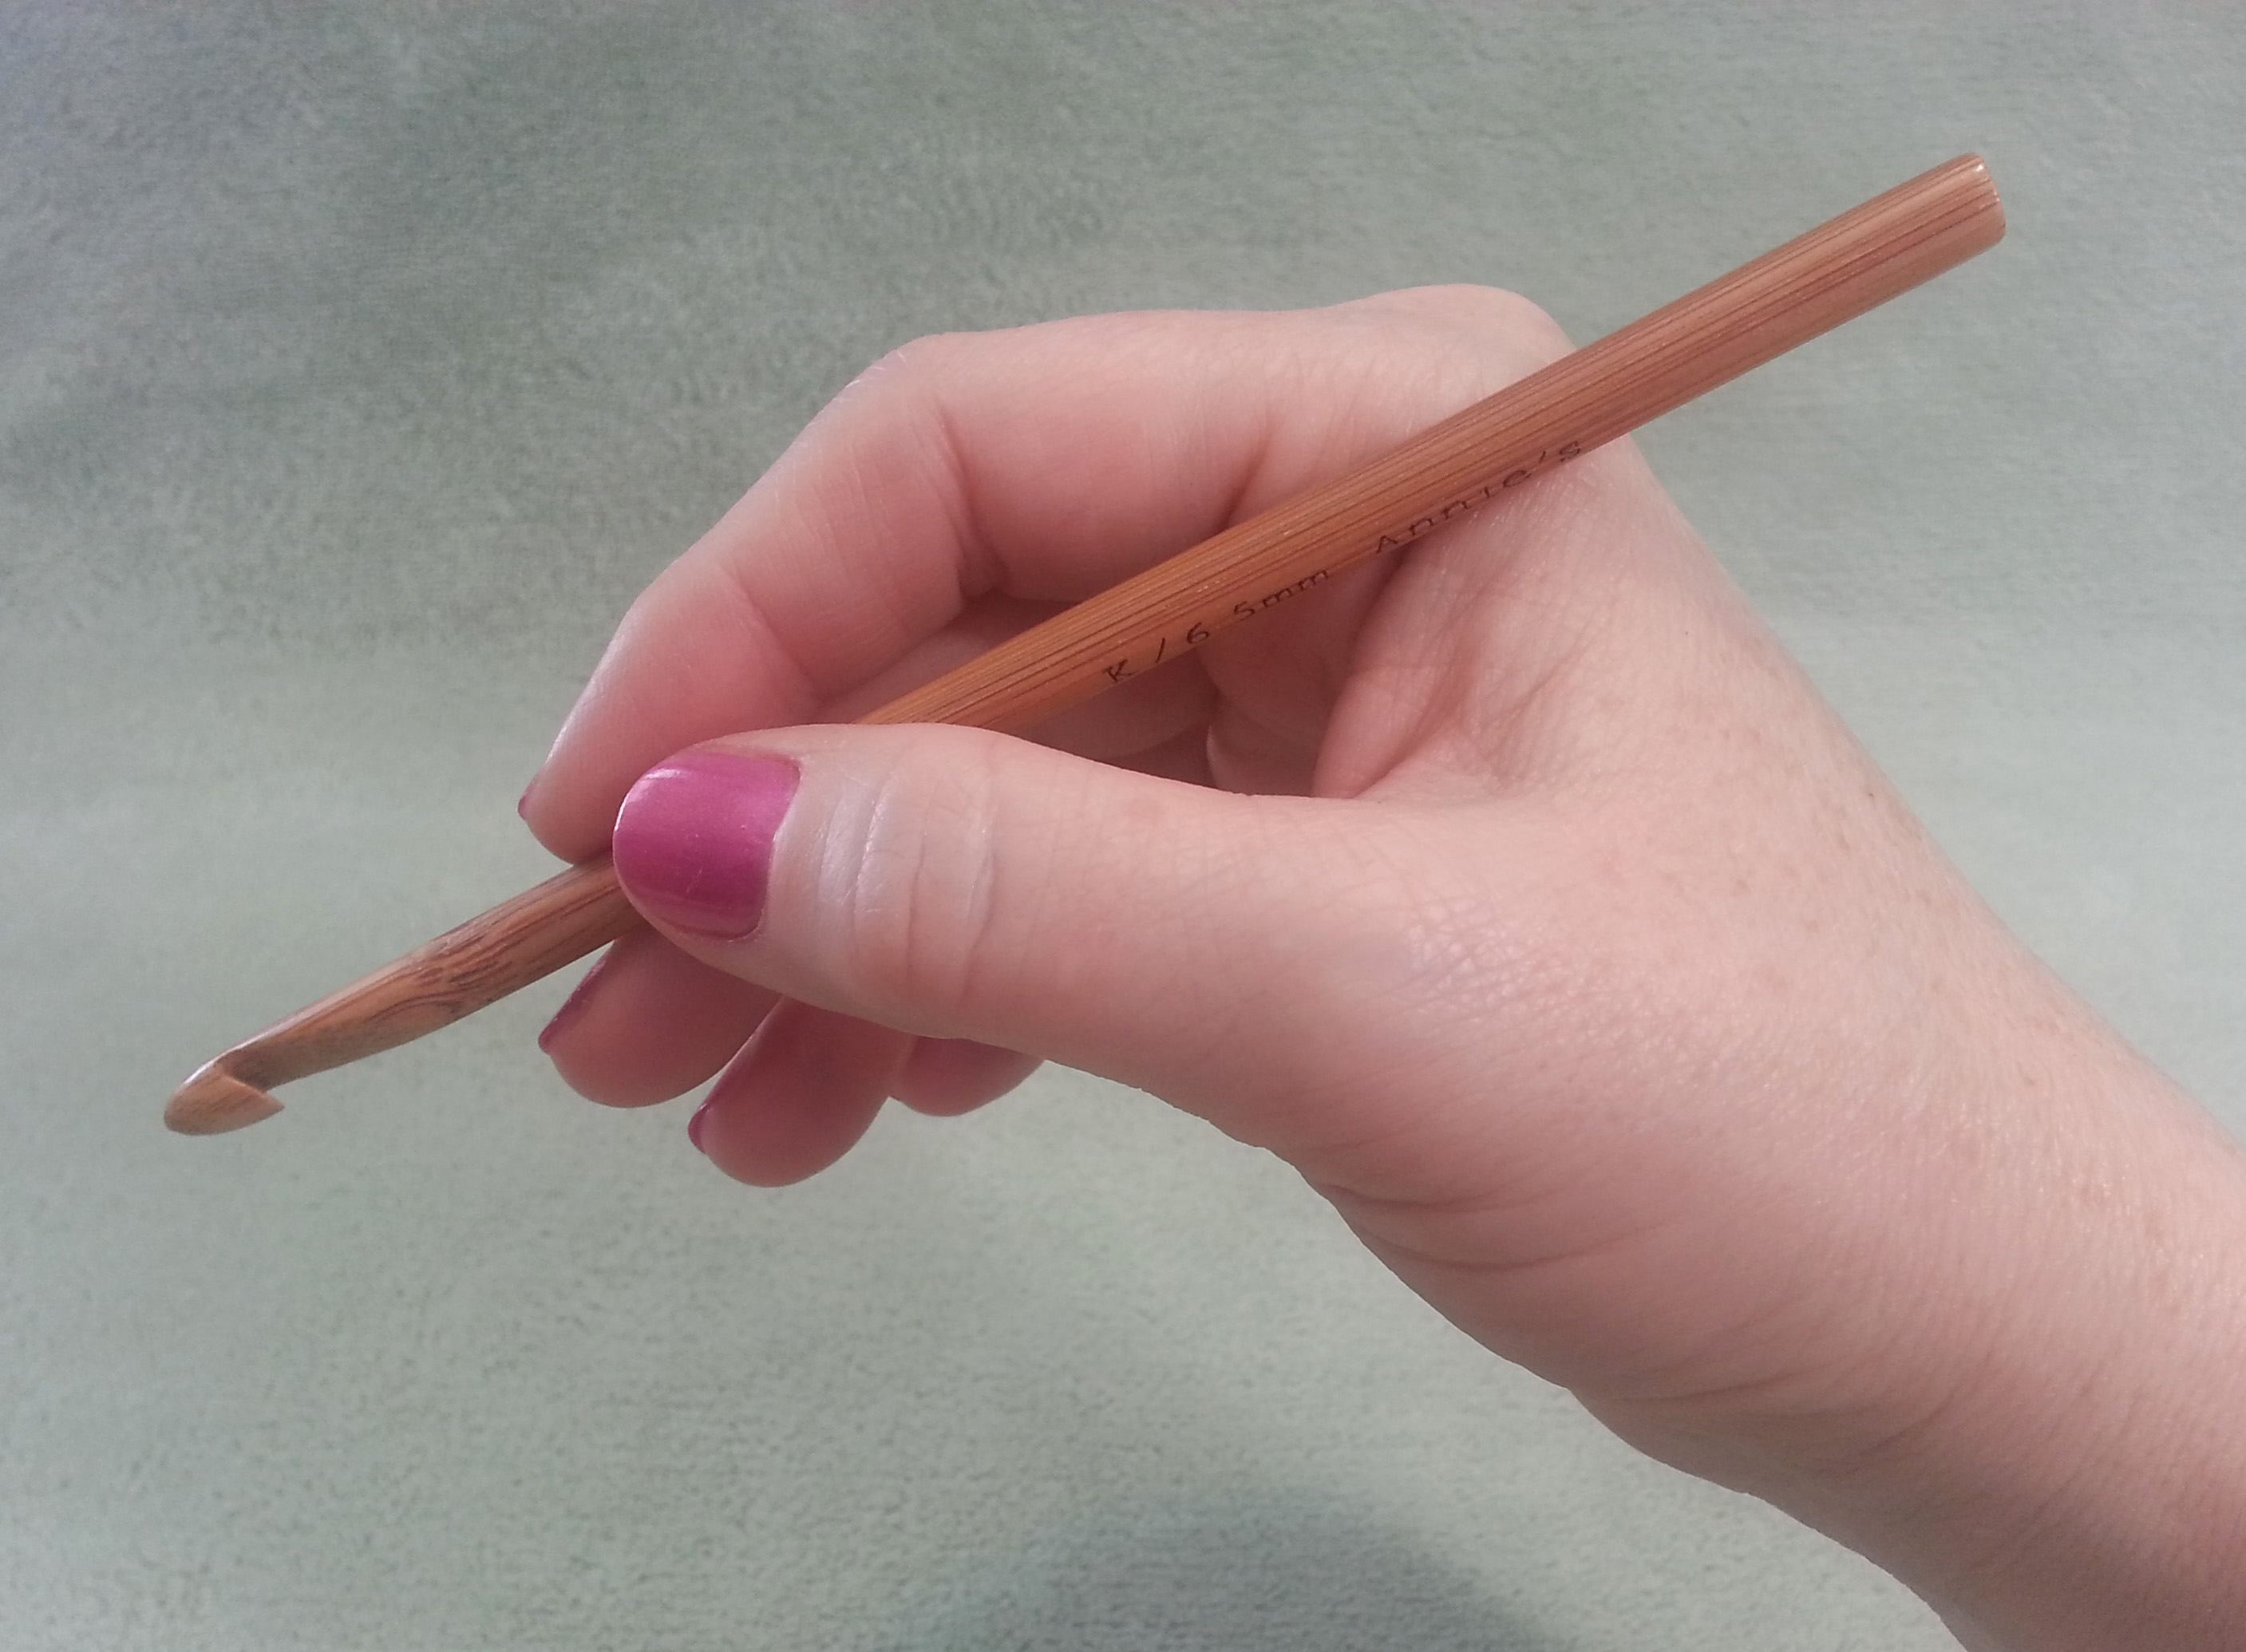
There are 2 fairly common ways to hold your crochet hook…
The Knife or Toothbrush hold….
Or the Pencil hold.
Try them both out and see which is most comfortable to you.
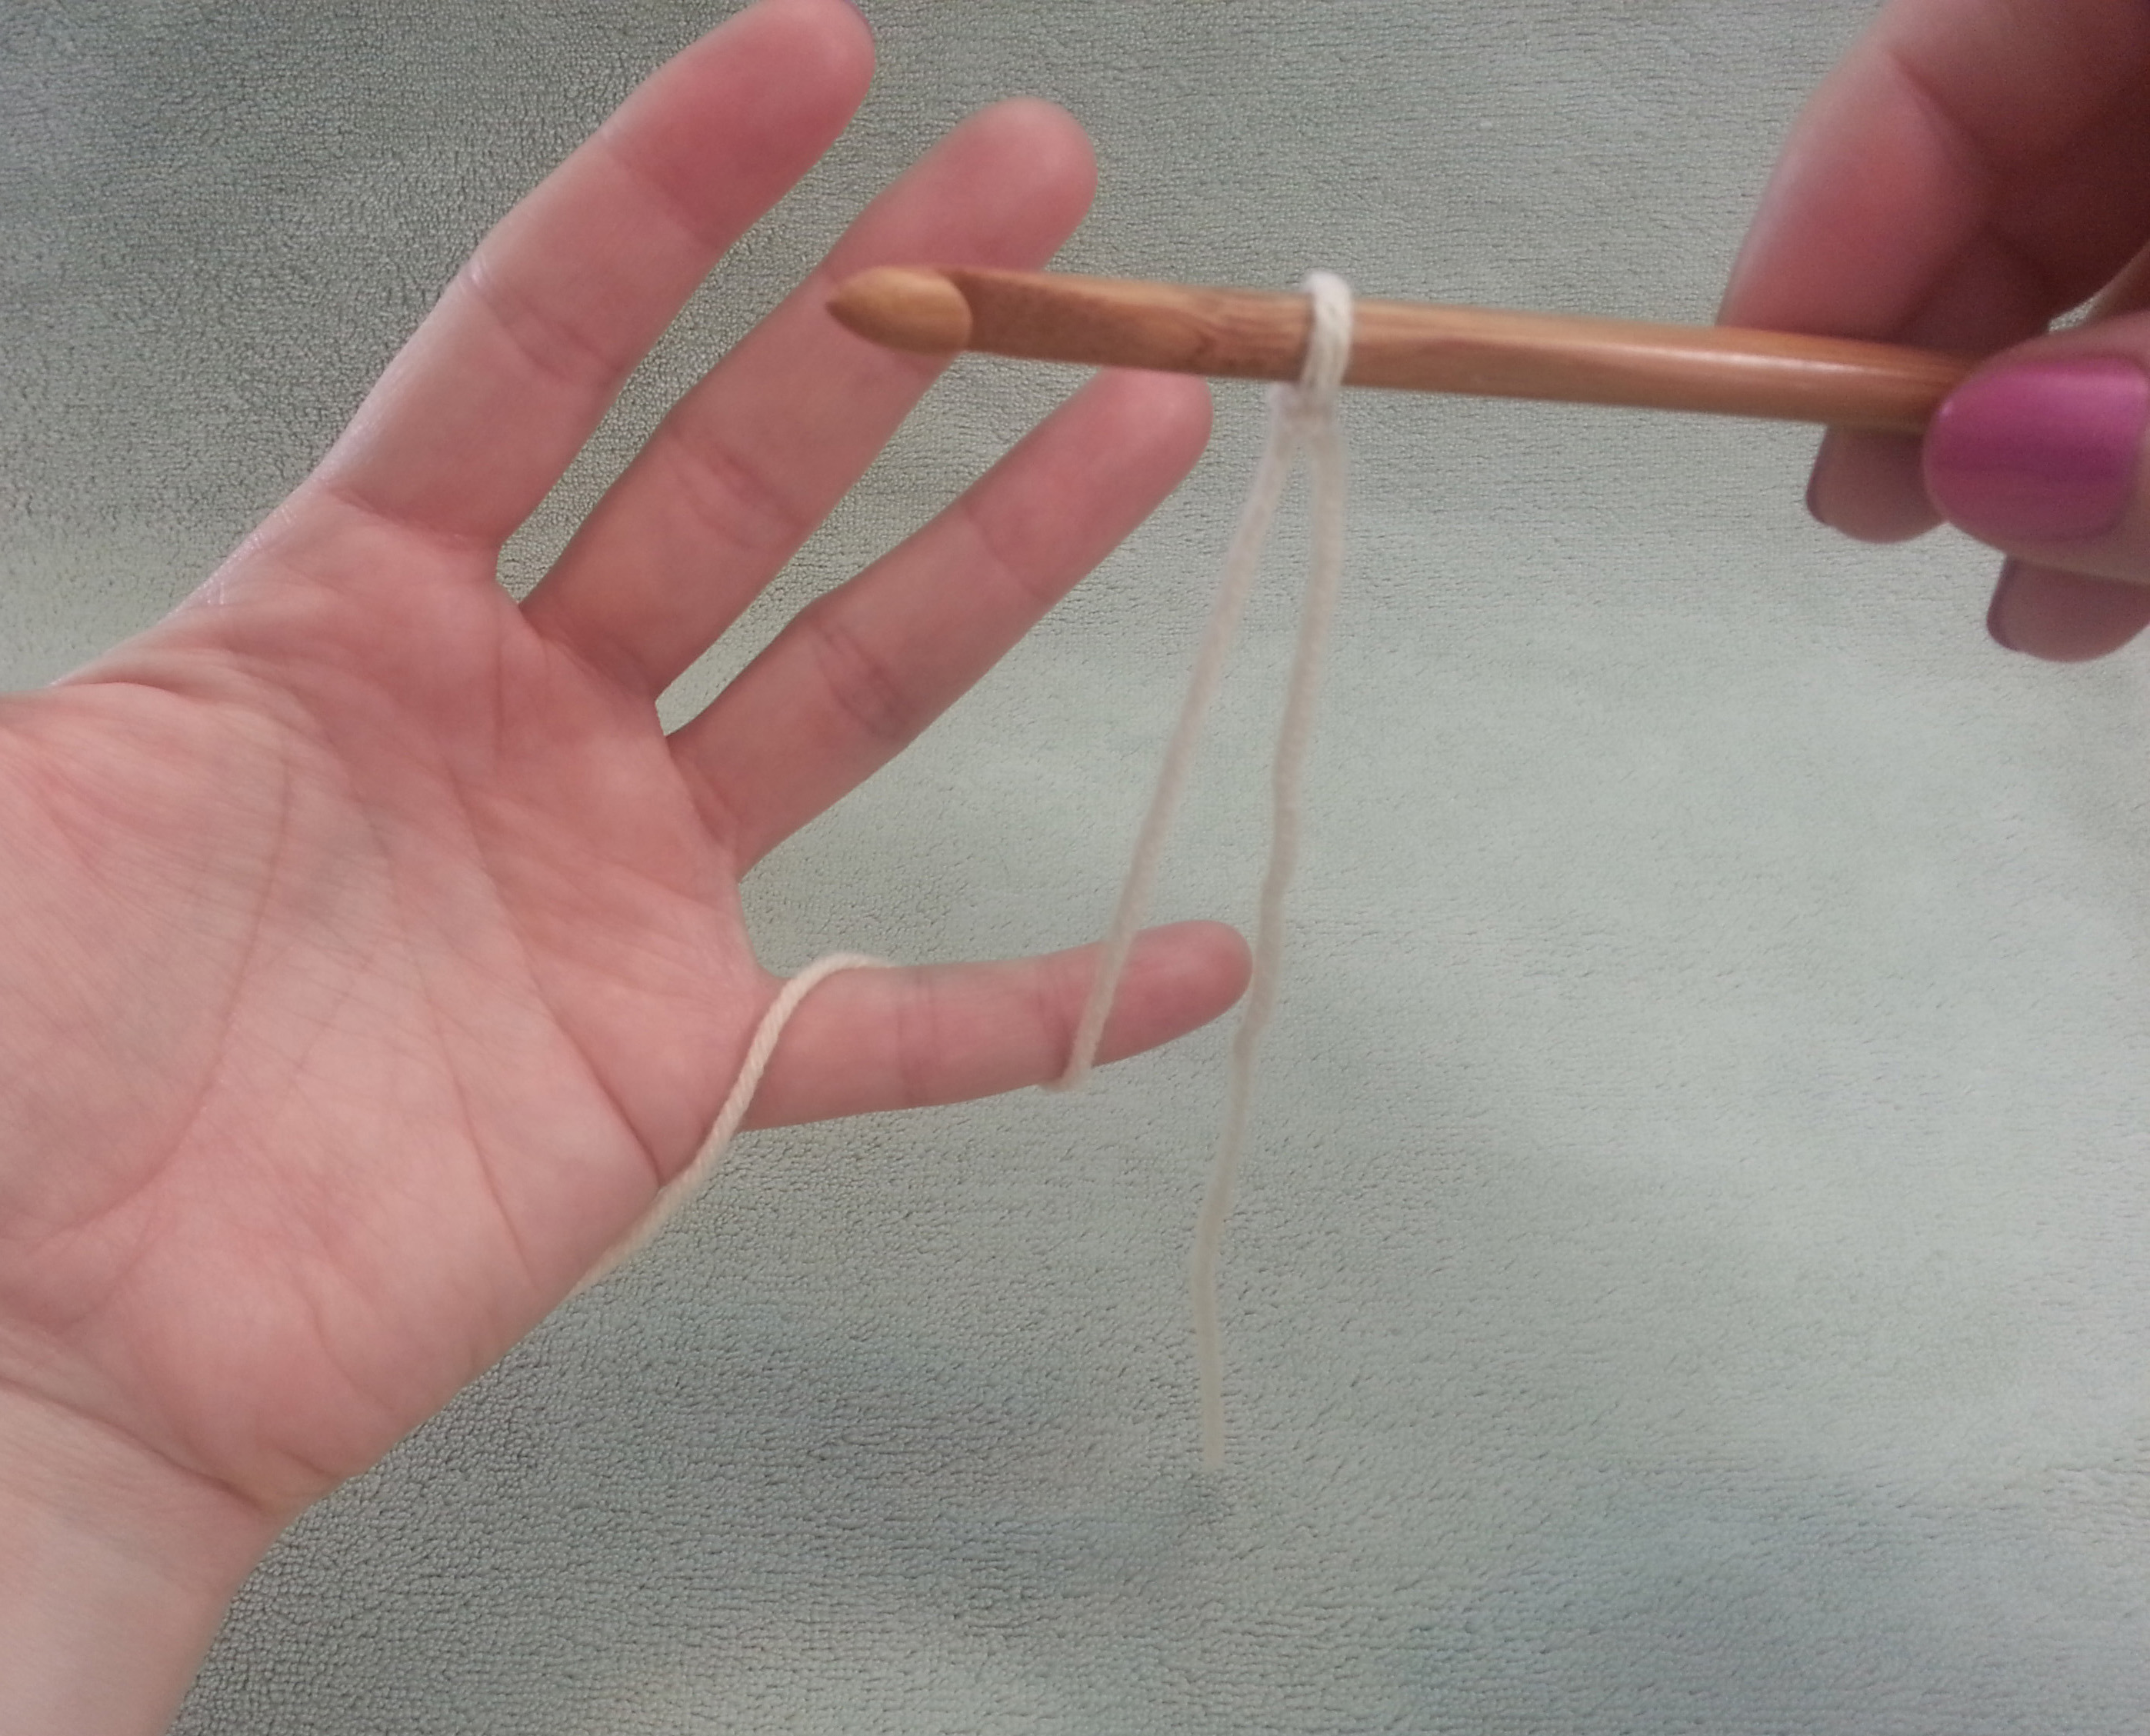
Tensioning (holding) the yarn
You may need to adjust how you hold the yarn depending on how dry your skin is and the texture of the yarn you are working with.
I loop the yarn around my left-hand pinkie…..
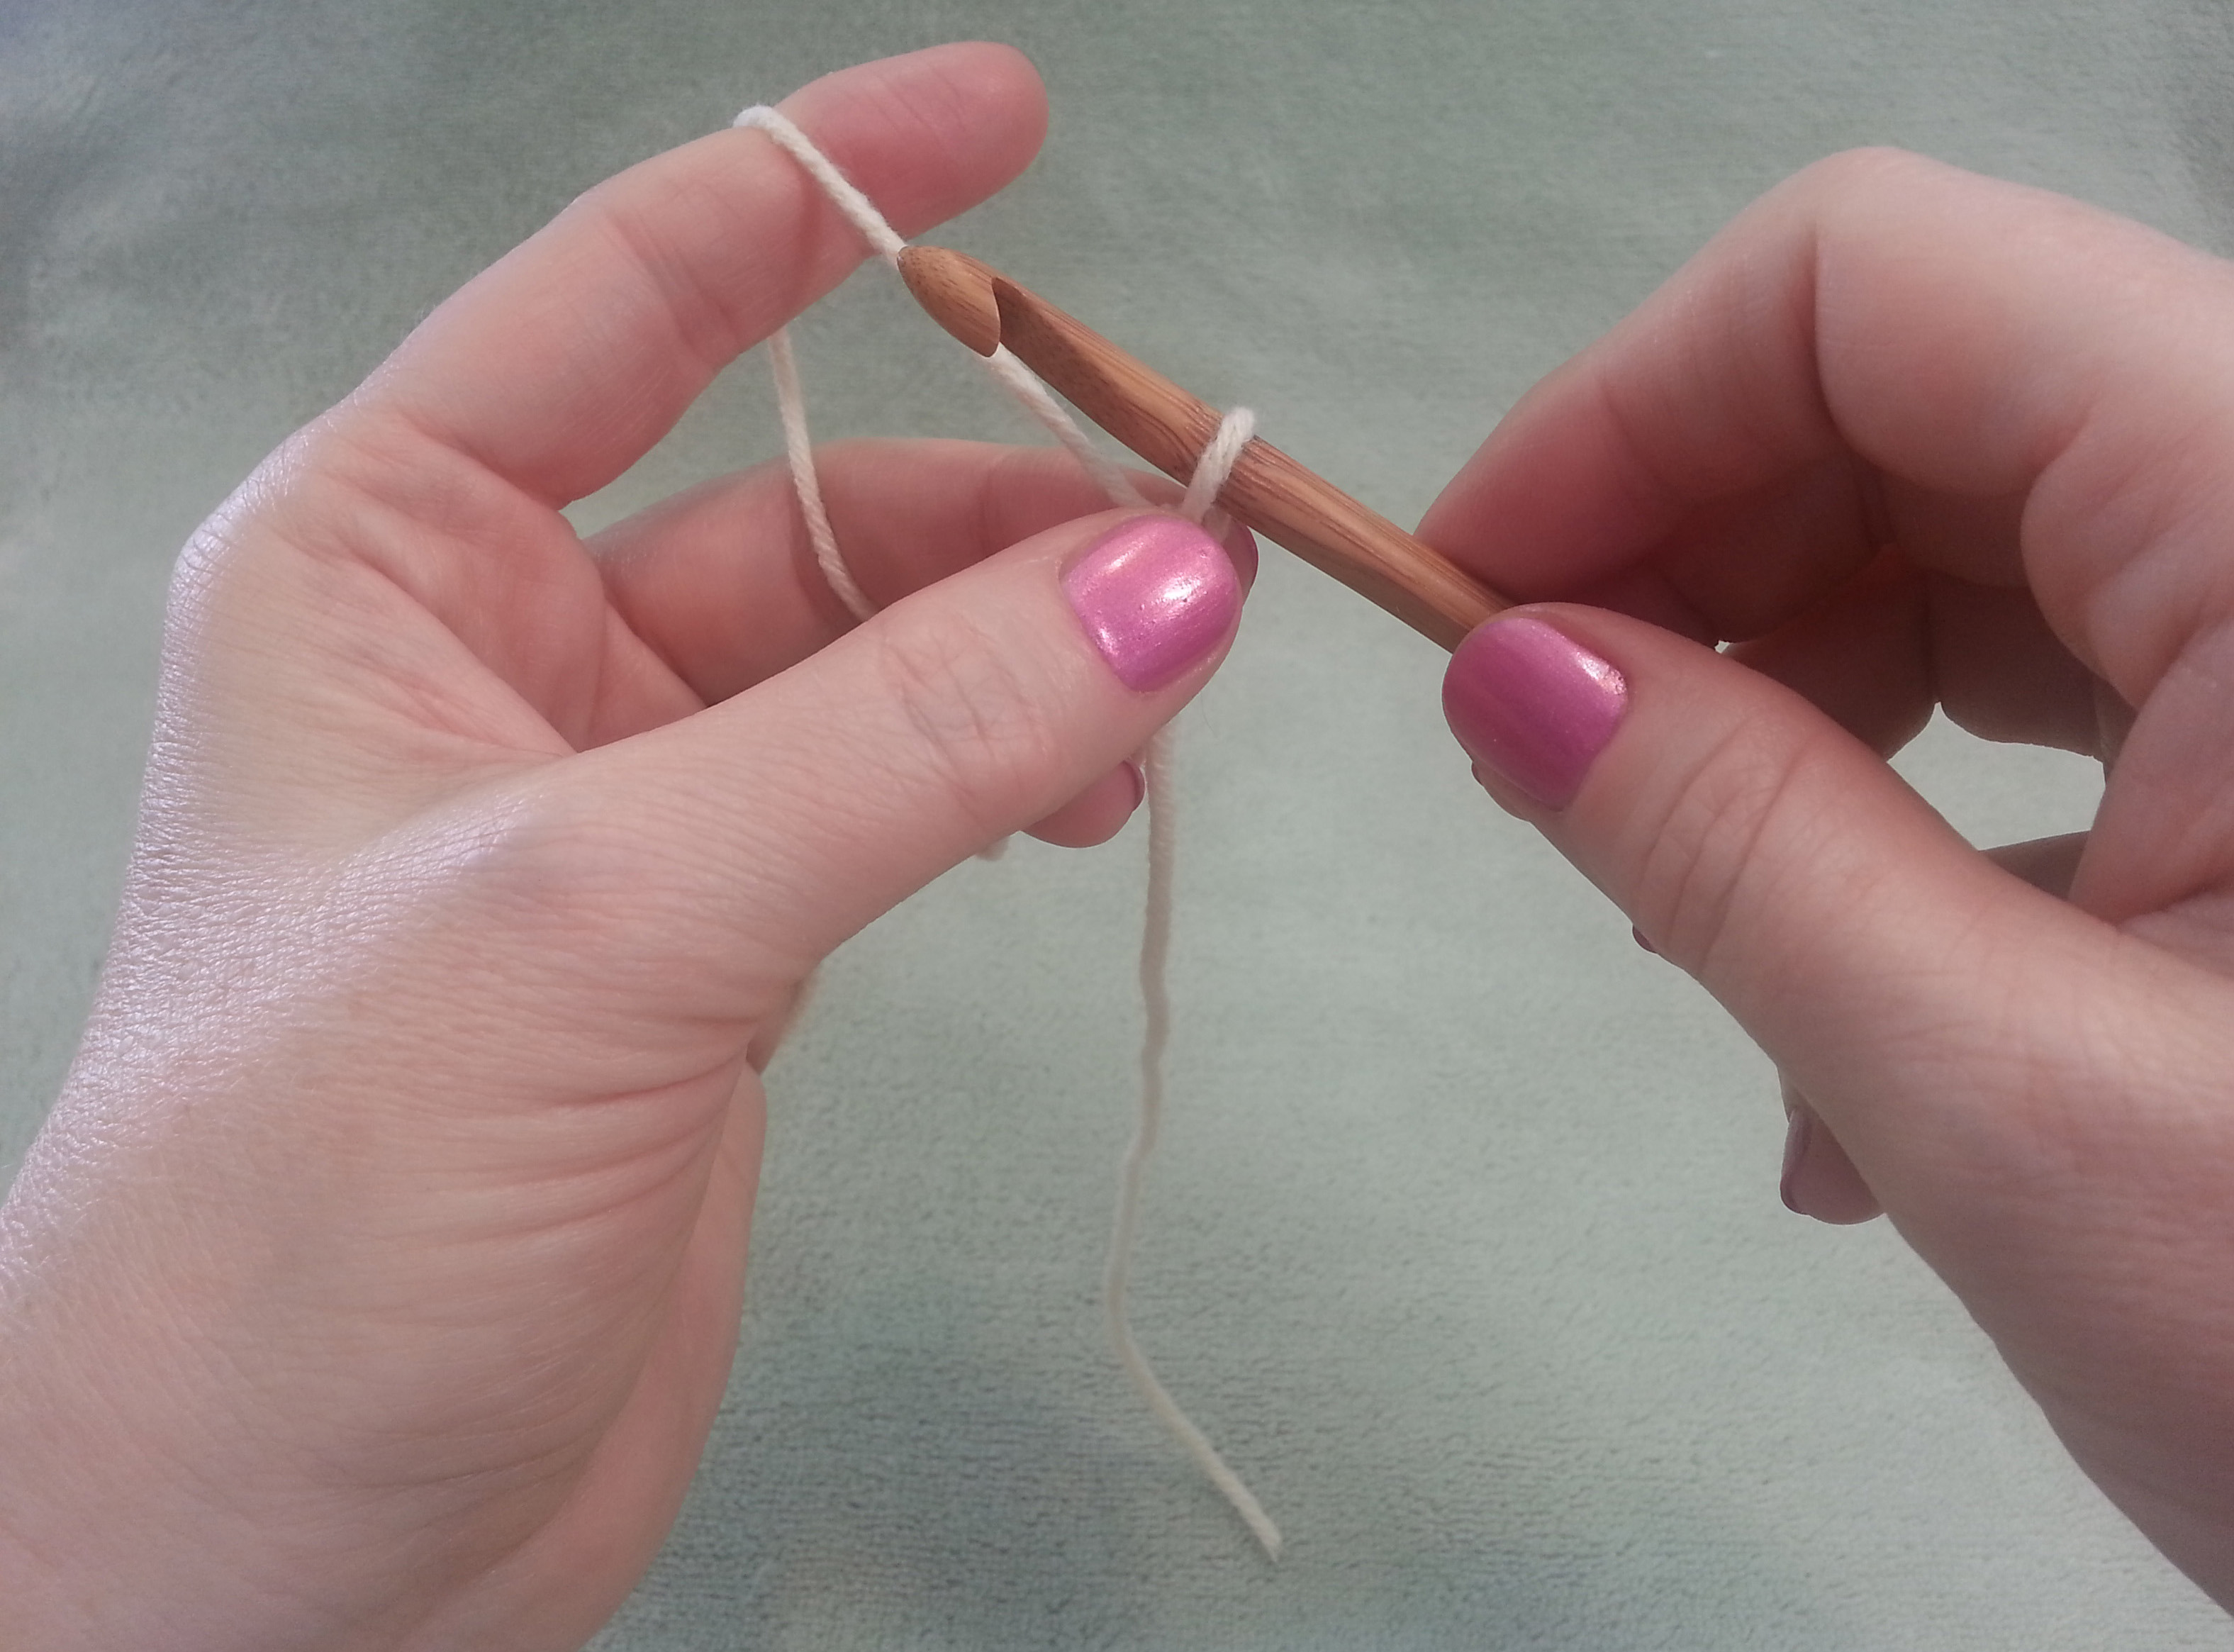
then weave it thru my fingers over and under so the yarn going to my hook comes over the top of my index finger.
I then use the middle finger and thumb of my left hand to hold at the base of the loop on my hook. This allows my hook to move freely in the loop.
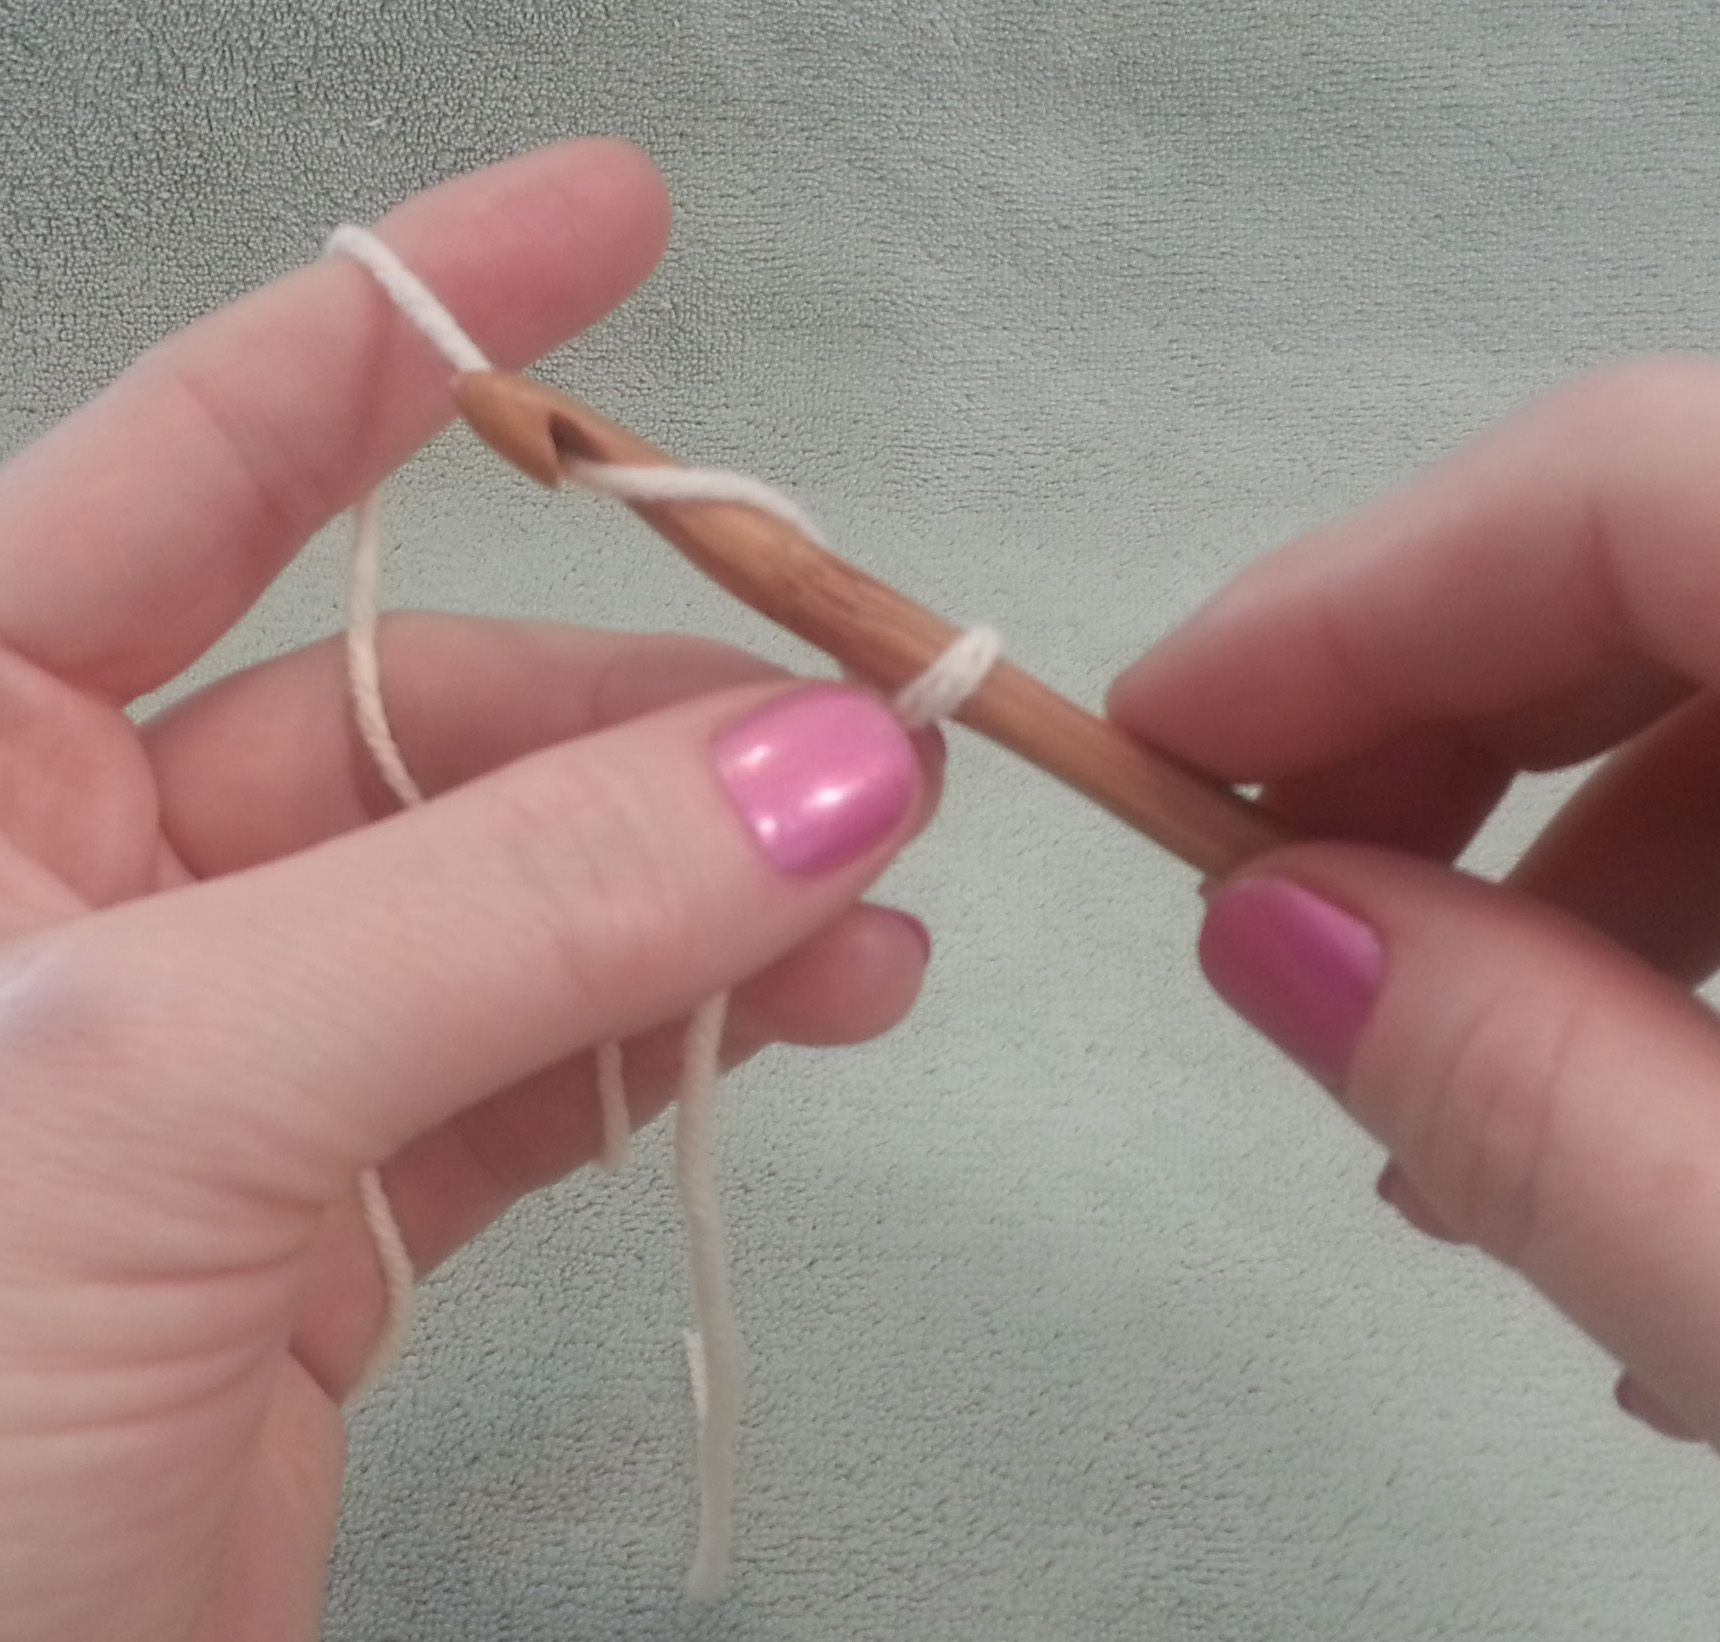
To make a chain stitch
I scoop the tip of my hook from the front to the back of the strand of yarn coming from my index finger, then “hook” the yarn and pull it thru the loop on my hook.
Now you are ready to start on your bracelet project.
Simple Beaded Chain Bracelet
Slide bead up close to hook.
Materials needed:
Worsted weight yarn
Approximately 15 “pony” beads in desired colors
Size I (5.5mm) or J (6mm) hook
Instructions:
String 15 pony beads on yarn (note you may have beads left-over once your reach your ideal bracelet length).
Chain 1 and capture bead.
Make a slip knot in yarn, ch 1, slide 1 bead up close to hook, ch 1 capturing bead, continue with alternating plain chain stitch and beaded chain st until strand measures 7 inches long (or long enough to fit loosely around wrist), finish with a final plain ch 1. Fasten off.
Tie ends together using a square knot, trim ends to 1″ long.
You can read more about my initial beaded chain projects in my post: The Beauty of Beads
Thanks again for making my blog one of your visits for our blog tour. I hope you come by to visit again soon. Meanwhile if you are a more experienced crocheter, and like to make hats, please join us during NatCroMo in crocheting (or knitting) hats to support the Halos of Hope organization. There are many patterns at the Halos of Hope website to use for this effort or you can use my “Pi Recipe” to create a simple stretchy hat that will be very appreciated.
Crochetville has received a lot of support from the crochet community over the years. They believe strongly in the importance of giving back. In 2013, Crochetville became a corporate sponsor of a wonderful organization called Halos of Hope. You can read more about Crochetville’s fundraising efforts and hat collection on the Crochetville blog.
Halos of Hope is a 501(c)3 not-for-profit organization founded by Pam Haschke, herself a survivor of inflammatory breast cancer. Halos of Hope’s mission is to provide volunteer-crafted hats to cancer centers across the country. – See more at: Halos of Hope website and the Halos of Hope Facebook Page.
As Amy said, ” Wouldn’t it be cool if we could somehow reach all of the 1.7 million crocheting households in the United States? If you’re going to dream, dream big, I say!”