Lights, Camera, Action

No, I haven’t gone Hollywood on you. But I am doing quite a bit of video work these days.

As some of you may be aware I am writing the “Technique 1-2-3” articles for “Crochet 1-2-3” now.  Issue #11 coming out this May will be my first article in my new role.  As part of this assignment I needed to make videos demonstrating the techniques.

I had been wanting to do crochet videos for a long time. But being a recovering perfectionist was getting in my way. Fortunately, the job offer from “Crochet 1-2-3” forced me to finally jump in and give it a try.

At first I thought I would need a fancy digital camcorder, then Kimberly McAlindin (the editor in chief at Crochet 1-2-3) told me that she recorded her videos with her smart phone. Really? That surprised me, and got me wondering how well my smart phone would work.

Last March I had splurged and purchased the Samsung Galaxy Note 2 phone for my business. I’m still exploring all the bells and whistles on it. I was delighted to discover that I could shoot good quality video with it. I still needed a tripod so that I could use both hands in my demonstrations. I figured the local camera shop in Boulder (Mike’s Camera) would have something that would work.

1 jobympodmini

When I got to the shop I found the types of tripods I was looking for right away. There were loads of ones designed for use with the IPhone. Unfortunately the options for a phone as large as my Note were very limited. With some help from one of the camera specialist though we finally matched a tripod to my phone.

My Smartphone held in the tripod from the back.
My Phone held in the tripod from the back.

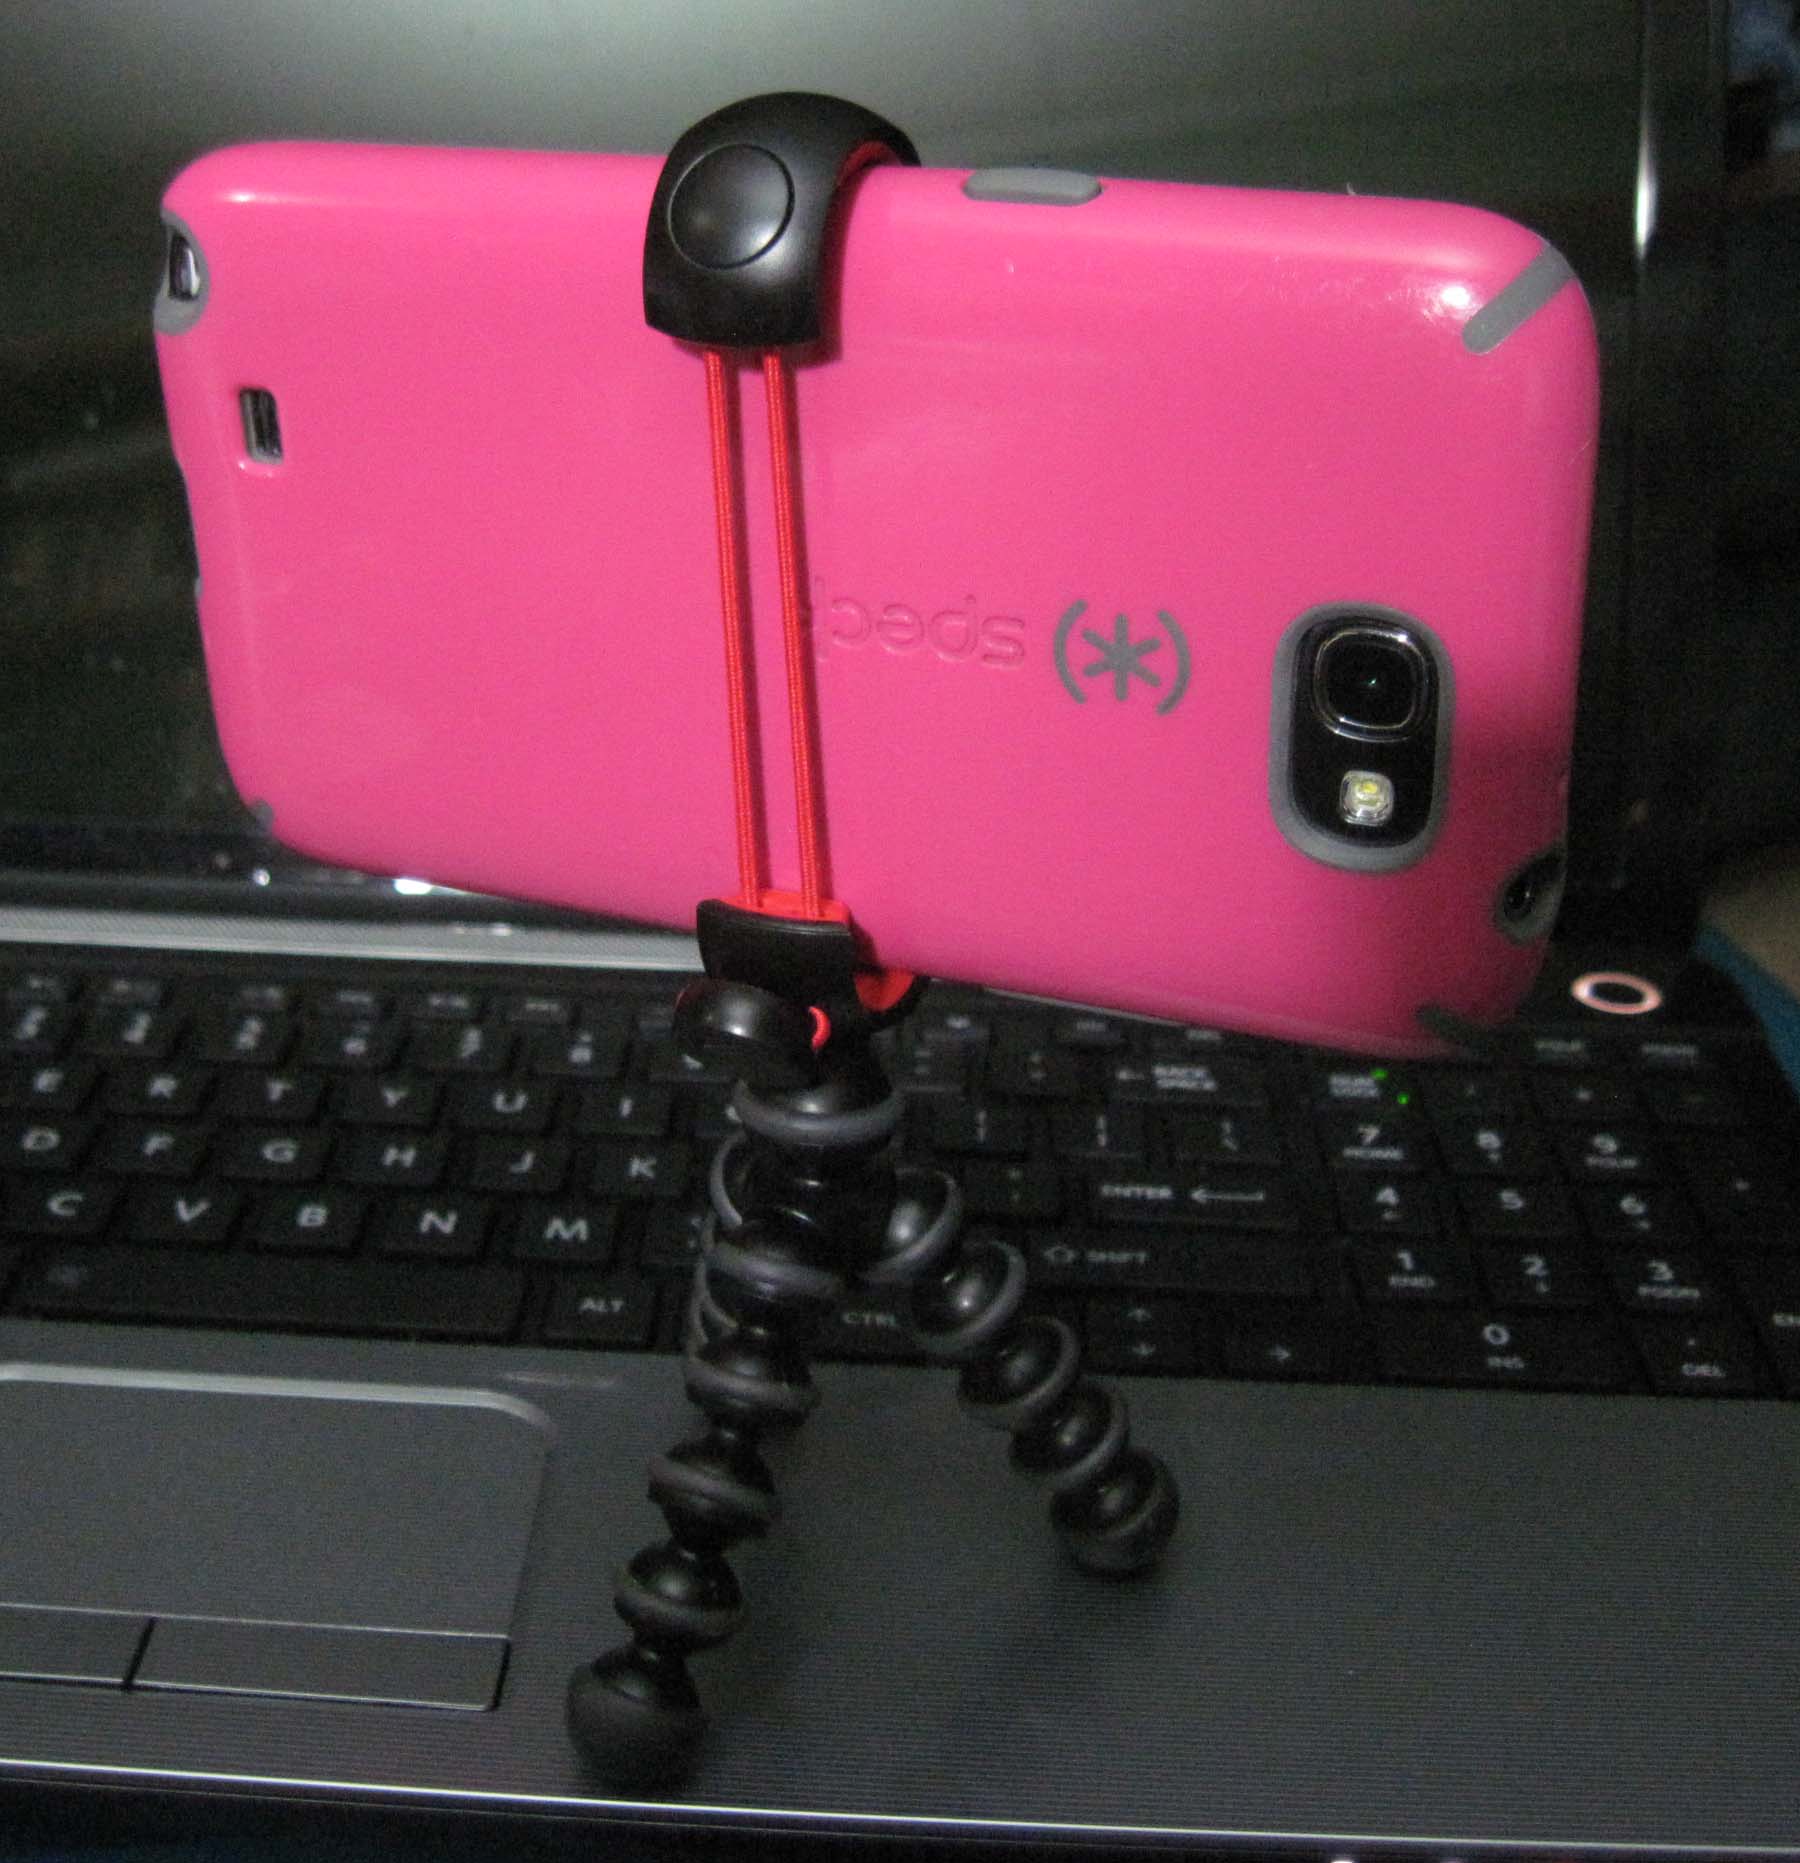
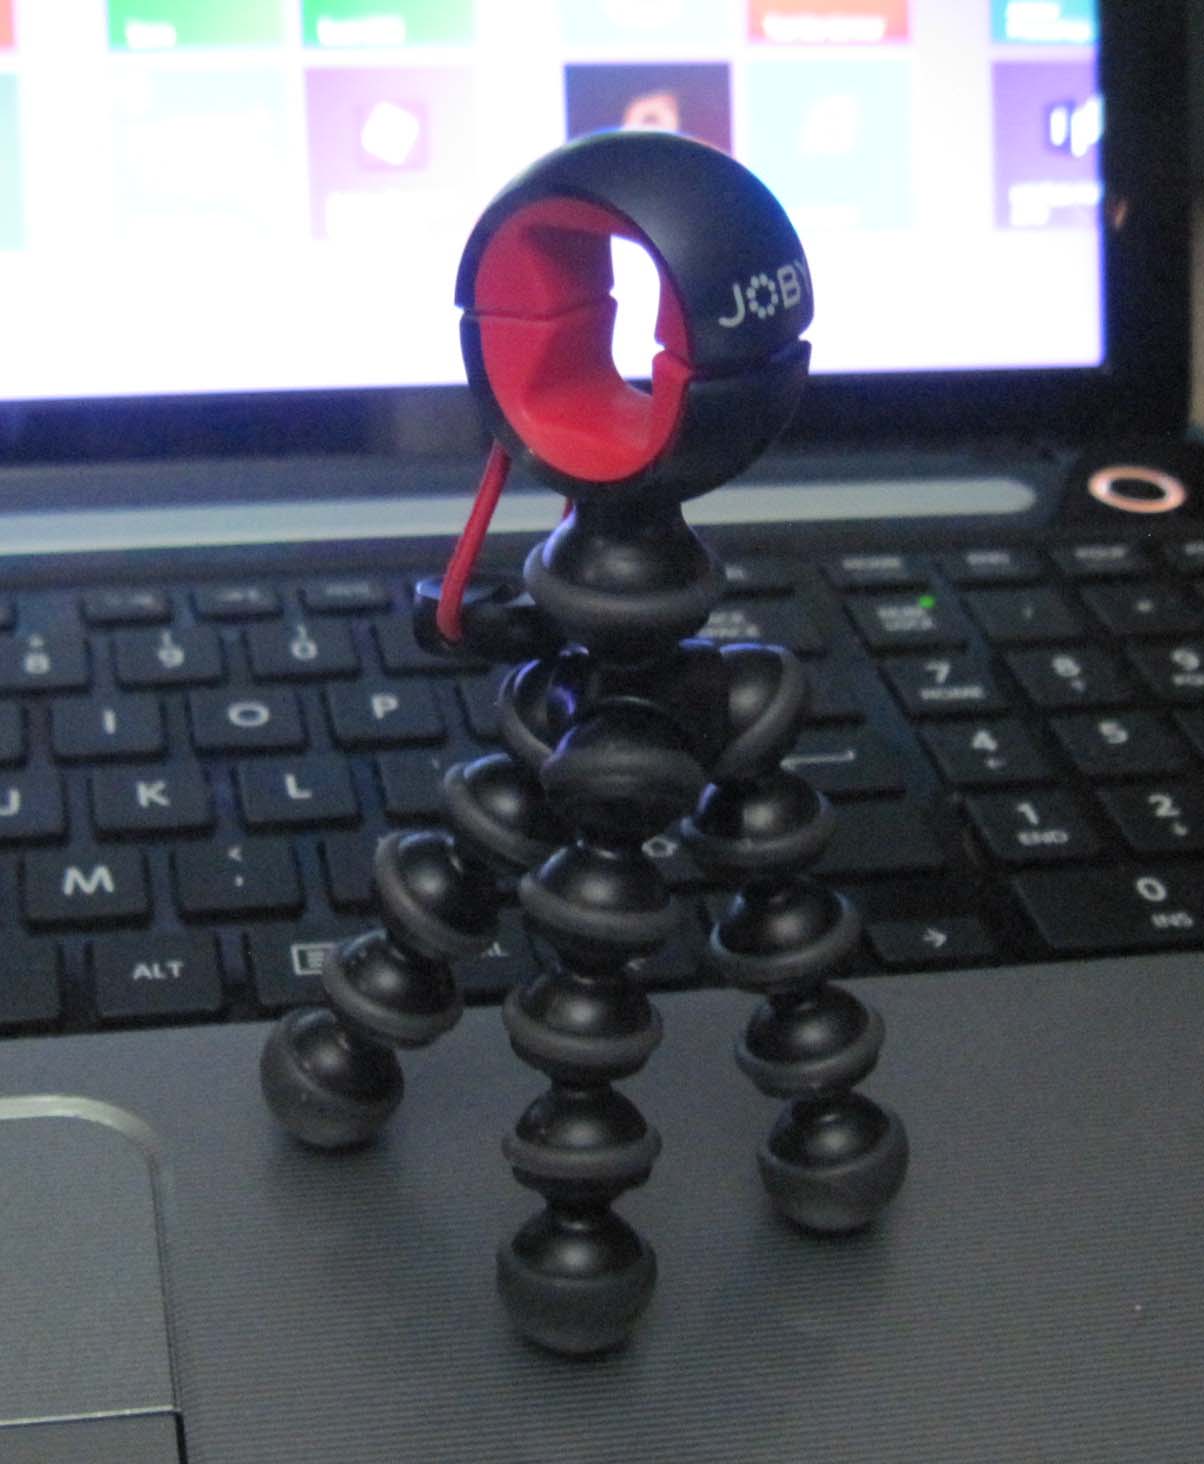
I wanted one of these with the bendable legs so that if needed I could grip it around the top of my regular camera tripod. This is the Joby Mpod Mini.

Smartphone in the tripod from the front.
Phone in the tripod from the front.

I really liked how this tripod allowed me to see the screen of my phone without any obstructions.

When I got home I started experimenting with how to get the right angle and distance from my hands for filming. The little tripod was great, but it wasn’t high enough off the table. My regular tripod was too tall for what I wanted. I know, it all sounds a bit Goldilocks.

Then I hit upon sitting the camera on top of a little box, perfect height, but it kept wanting to tip over and was wiggly when I was filming. I needed something sturdier. So I dug out a glass jar, filled it with pennies and decorative glass marbles to give it plenty of weight. Popped the tripod on the top and squeezed the bendable legs tightly around the lid. Unfortunately, when the camera was at the proper angle the little tripod and camera wanted to topple off the top.

5 Tripod height solution

Never fear, there is always Duct Tape (and mine is Purple).  Taped up the little tripod and suddenly every thing was perfect. Setting up the rest of my “studio” was easy after all the tripod drama.

4 My Video Studio

Currently my filming studio is my dining room table, nice big window to my left lets in loads of natural light and there is room for my backdrop, additional light and the necessary project supplies. Eventually I hope to be filming in my design office or art studio. Who knows it might be both locations, depending on the craft and technique I’m showing.

Check out the Crochet 1-2-3 website in May to see my first videos. For my first foray into the waters of video work I think they came out fairly decent.

Celebrating Crochet by Teaching

Today I’m honored to be a part of the 2014 Crochetville NatCroMo Designer Blog Tour. Amy Shelton and Donna Hulke of Crochetville included me last year in their National Crochet Month tour to celebrate crochet and it was great fun. These two are the right women to lead the celebration of all things crochet, visit them at the Crochetville site or their blog and you’ll know just what I mean.
You can find the links and dates of the other designers participating in the blog tour at the Crochetville Blog and on the Crochetville Facebook page.
 Thing 2s Scarf
My focus this year for NatCroMo has been teaching others to crochet. It’s been very exciting that my youngest son is learning. Above is his latest effort, he wanted to make a scarf so I got him started with the first row of this little V-stitch scarf and he is amazing me at how well he is doing. It’s also a great excuse for some cuddle time as we snuggle together on the sofa and crochet.
Wall w Crochet Sign
 Today I will be at the Longmont Yarn Shoppe from 12p – 1:30p with my local CGOA Chapter showing folks how to get started crocheting. We will be making quick fun little beaded bracelets that students can make and take away with them. Beaded crocheted chains are a fun easy project that give beginners the chance to make something beautiful with minimal crochet skills.
Bracelet sample
Our projects for the “Make & Take” will use plain worsted weight yarn and plastic pony beads.
Close up Tahki necklace
Switch out the yarn to something with silk or glimmering threads and the beads for lovely glass or semi-precious beads (just need holes big enough for the yarn to go thru), and you’ve got a beautiful piece of jewelry.
Tahki Necklace
Look at the lovely necklaces we have on display at the shop, these were all made just by stringing beads on the yarn then working crocheted chains to the desired length.
Mother of Pearl n Silver beads
For those of you that can’t be with us today I have included photos and instructions for you to practice at home. Or if you are an experienced crocheter teaching some one else how to get started, this is a great starter project as they get accustomed to working with the yarn and hook.
If you’ve never crocheted, or it’s been a long time since you crocheted, you may have forgotten how to hold your hook and yarn. These photos Show how to hold the yarn and hook if you are right-handed. For left-handed crocheters just reverse which hand holds the yarn and hook. The most important thing to remember when crocheting is to keep your hands relaxed.
Making a slip knot to place on your hook
making sl knot
I create a loop with the working yarn (coming from the ball of yarn) going over the top of the beginning tail, then reach thru the loop with my hook (or fingers) to pull up a loop from the working yarn, I place that loop over my hook and gently pull on the working yarn to snug the loop on my hook.
Holding your hook
There are 2 fairly common ways to hold your crochet hook…
Knife hold
The Knife or Toothbrush hold….
Pencil Hold
Or the Pencil hold.
Try them both out and see which is most comfortable to you.
Tensioning (holding) the yarn
You may need to adjust how you hold the yarn depending on how dry your skin is and the texture of the yarn you are working with.
Holding the Yarn 1
I loop the yarn around my left-hand pinkie…..
Holding the Yarn 2
then weave it thru my fingers over and under so the yarn going to my hook comes over the top of my index finger.
Holding the Yarn 3
I then use the middle finger and thumb of my left hand to hold at the base of the loop on my hook. This allows my hook to move freely in the loop.
To make a chain stitch
Step 1 Ch stitch
I scoop the tip of my hook from the front to the back of the strand of yarn coming from my index finger, then “hook” the yarn and pull it thru the loop on my hook.
Now you are ready to start on your bracelet project.
Simple Beaded Chain Bracelet
Slide bead up close to hook.
Materials needed:
Worsted weight yarn
Approximately 15 “pony” beads in desired colors
Size I (5.5mm)  or J (6mm) hook
Instructions:
 String 15 pony beads on yarn (note you may have beads left-over once your reach your ideal bracelet length).
Chain 1 and capture bead.
Make a slip knot in yarn,  ch 1, slide 1 bead up close to hook, ch 1 capturing bead, continue with alternating plain chain stitch and beaded chain st until strand measures 7 inches long (or long enough to fit loosely around wrist), finish with a final plain ch 1. Fasten off.
Tie ends together using a square knot, trim ends to 1″ long.
You can read more about my initial beaded chain projects in my post: The Beauty of Beads

Thanks again for making my blog one of your visits for our blog tour. I hope you come by to visit again soon.  Meanwhile if you are a more experienced crocheter, and like to make hats, please join us during NatCroMo in crocheting (or knitting) hats to support the Halos of Hope organization. There are many patterns at the Halos of Hope website to use for this effort or you can use my “Pi Recipe” to create a simple stretchy hat that will be very appreciated.

Crochetville has received a lot of support from the crochet community over the years. They believe strongly in the importance of giving back. In 2013, Crochetville became a corporate sponsor of a wonderful organization called Halos of Hope. You can read more about Crochetville’s fundraising efforts and hat collection on the Crochetville blog.

Halos of Hope is a 501(c)3 not-for-profit organization founded by Pam Haschke, herself a survivor of inflammatory breast cancer. Halos of Hope’s mission is to provide volunteer-crafted hats to cancer centers across the country. – See more at: Halos of Hope website  and the Halos of Hope Facebook Page.

As Amy said, ” Wouldn’t it be cool if we could somehow reach all of the 1.7 million crocheting households in the United States? If you’re going to dream, dream big, I say!”

Boys can Crochet Too

I always chuckle when people tell me it’s too bad I only have boys, assuming that only girls are interested in hand crafts.  I hope to teach my boys that they can do and learn anything they want to, regardless of other folk’s assumptions of gender related roles.

It is interesting how there is an assumption, in American culture at least, that only women knit, crochet or sew.  Historically that hasn’t been the case.

Up to and during World War II many men knitted and sewed.  Darning and knitting their own socks was a regular occupation for WWII soldiers. Before the industrial revolution most of the Knitting Guilds were male only.

And closer to home, when I taught a “Crochet Club” at our local school my star pupil was a 5th grade boy.  It was so fun to see the boys (and the girls too) getting excited about crochet and building on their skills each week. The mother of  my star pupil said that he and his sister won gift certificates at our local Michael’s Hobby and Craft store.  When they went to use their prizes they both headed straight to the yarn section and had a wonderful time picking out yarns to purchase.

Today was a real celebration and time to bond with my youngest. He finally decided he wanted to learn to crochet. I had some of those big pink Lion Brand hooks and some nice chunky yarn that he was fascinated by. He will soon be turning 8 years old, so it’s a perfect age to learn to crochet.

Flamingo Bites the Yarn

He named his hook “Flamingo” (because it is pink and has a pointy head) and made up a whole story to remember the steps of making a chain stitch. “Flamingo goes under the yarn, then bites the yarn, puts his nose down and pulls it into his den”. He was having so much fun crocheting that he didn’t want to stop. Truly he is my son.

Is there a youngster in your life that would like to learn to crochet? A great way to celebrate National Crochet Month is helping others learn the joy of playing with yarn.

Whoot! It’s National Crochet Month

Saturday was the first day of March and the beginning of NatCroMo. An entire month to celebrate all things crochet.

Outside Window

I didn’t get a blog post up because I was out celebrating crochet. I was at the Longmont Yarn Shoppe to do a book signing of my “Texting Mitts” booklet and to teach an afternoon class on the Granny Fans Scarf.

Had a really great time with my students and it’s always fun to hang out at the yarn store. I even bought a couple more balls of yarn. Both were for projects I already had in the works.

CP Mochi Plus

I needed an additional ball of Crystal Palace Mochi Plus in the beautiful blue/green toned colorway. I had started a short version of my Granny Fans Scarf, but one ball wasn’t quite enough. Fortunately LYS had a ball of the same colorway and dye lot that I had started my project in.

Boboli Lace w fabric

I had purchased 2 balls of Berocco Boboli Lace, but needed a third ball for the project I wanted to create. But LYS didn’t have a 3rd ball of the color I had selected so I returned the 2 balls (I hadn’t actually started crocheting with them yet) and picked out 3 balls in a different colorway. Actually it was a happy accident, because I think I like the new colorway better. It is crocheting up beautifully and I can hardly wait to show all my wonderful readers what I’ve made. That’s for later this month though.

So how are you planning on celebrating NatCroMo? Look around your area for events to crochet with others or learn to crochet if you’ve always wanted to. I’ll be at LYS quite a bit this month, as well as making a trip down to Denver to visit all my stitching friends at the LambShoppe. If you are in the Denver or Longmont area stop by and say hello. You’ll get to meet lots of people that love to play with yarn.