
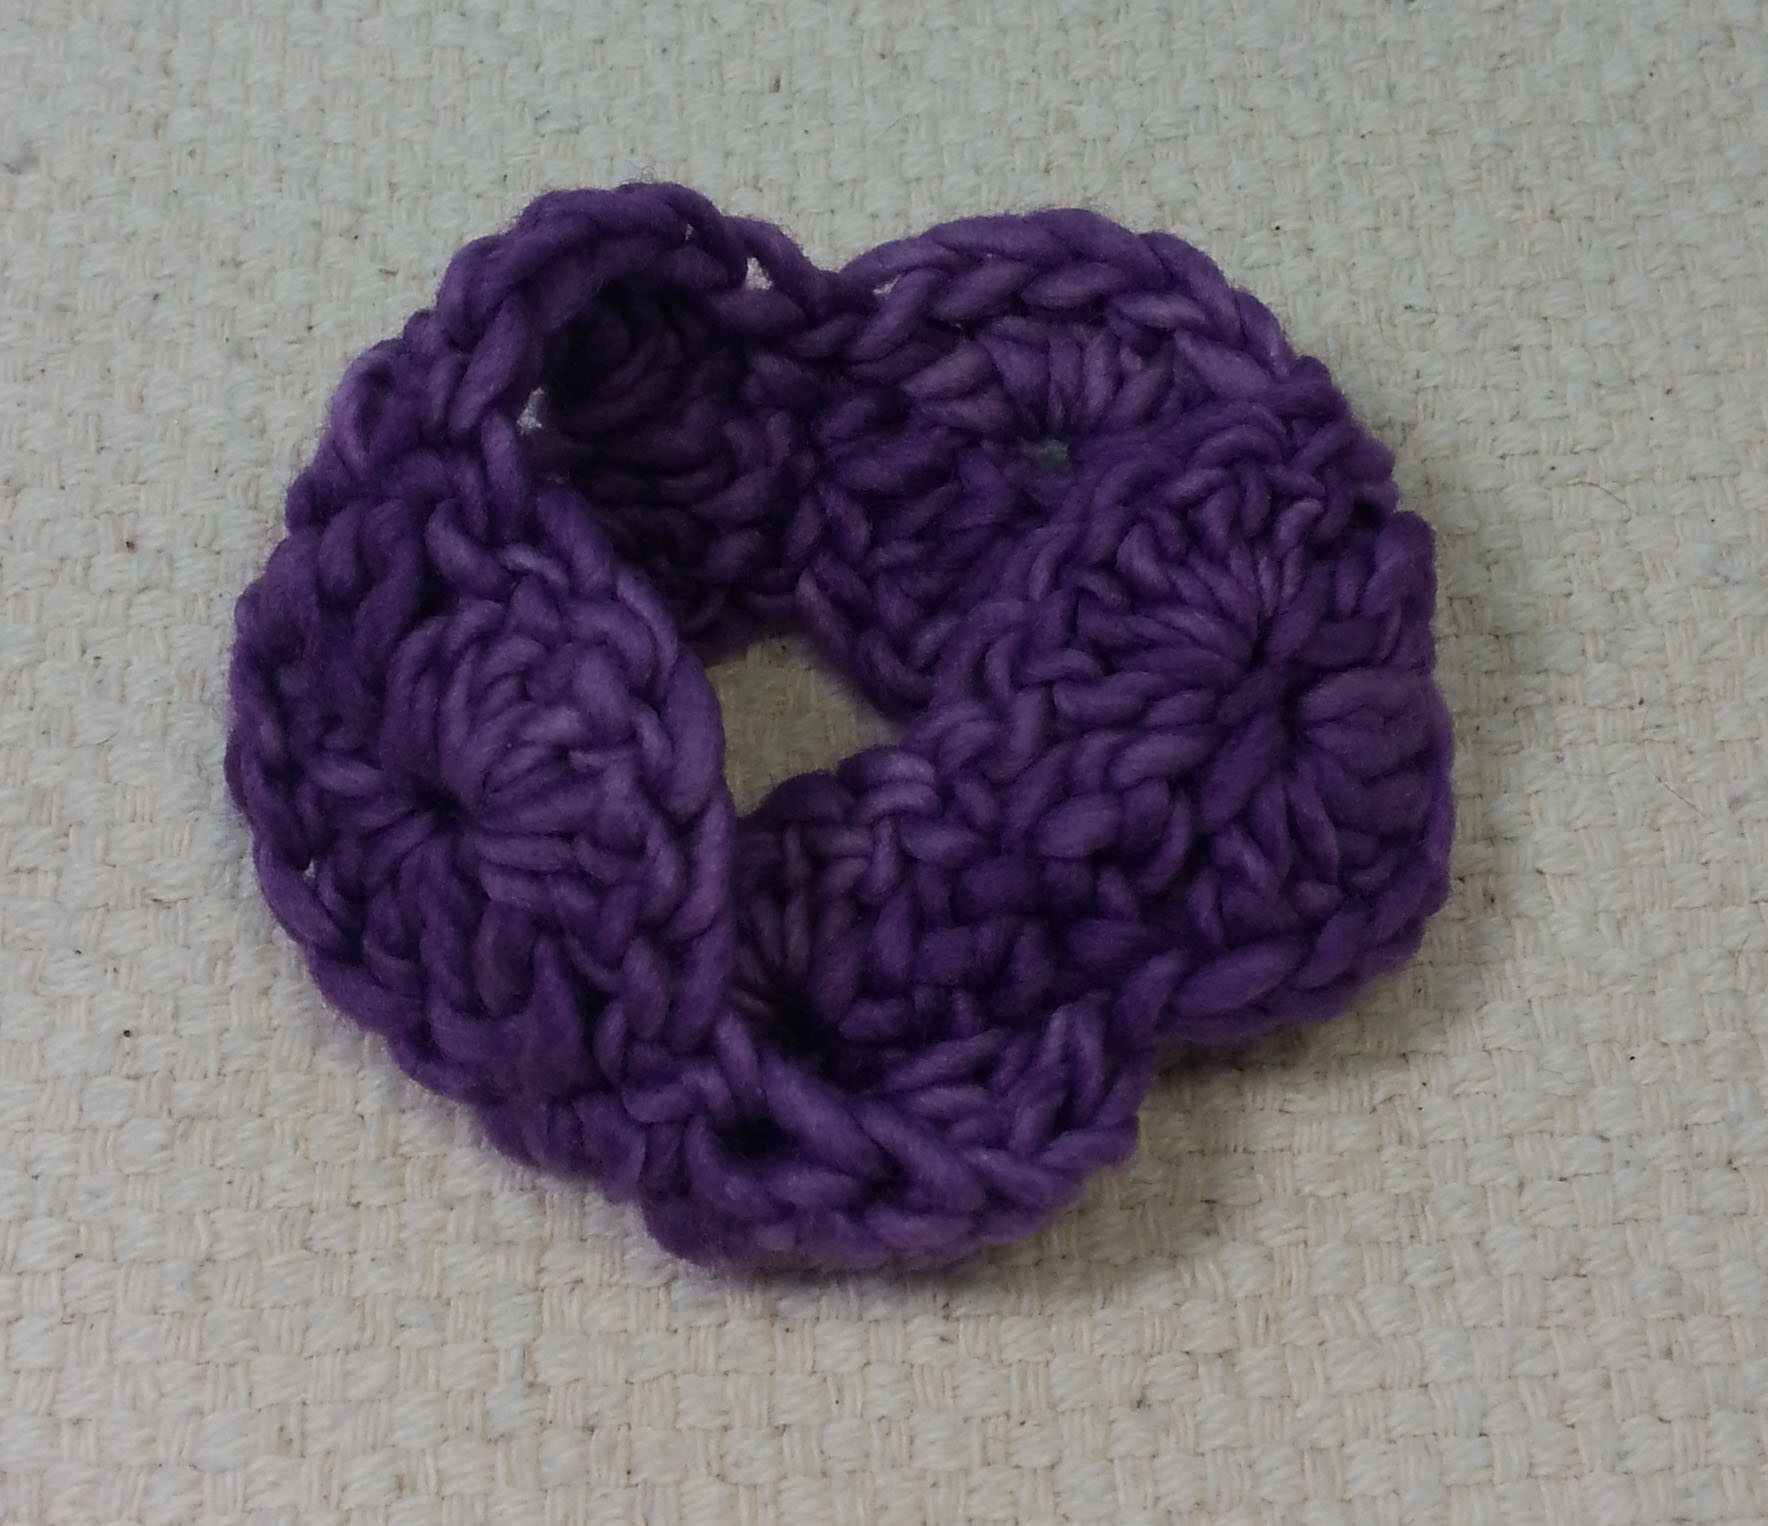
Hopefully most of you reading this post got to participate in the “Hop” I was part of last Tuesday, and now you are the proud owner of my pattern for the “Anna Moebius Cowl”. The moebius is one of my favorite shapes to use in designs as you can see below, all 3 of these designs (as well as the Anna Moebius Cowl) start the same.


Today I’ve created a little photo tutorial with tips on creating your foundation to begin any of these cowls. I use this same foundation in almost all of my moebius designs, so once you get the hang of it you’ll be set to try my other patterns.

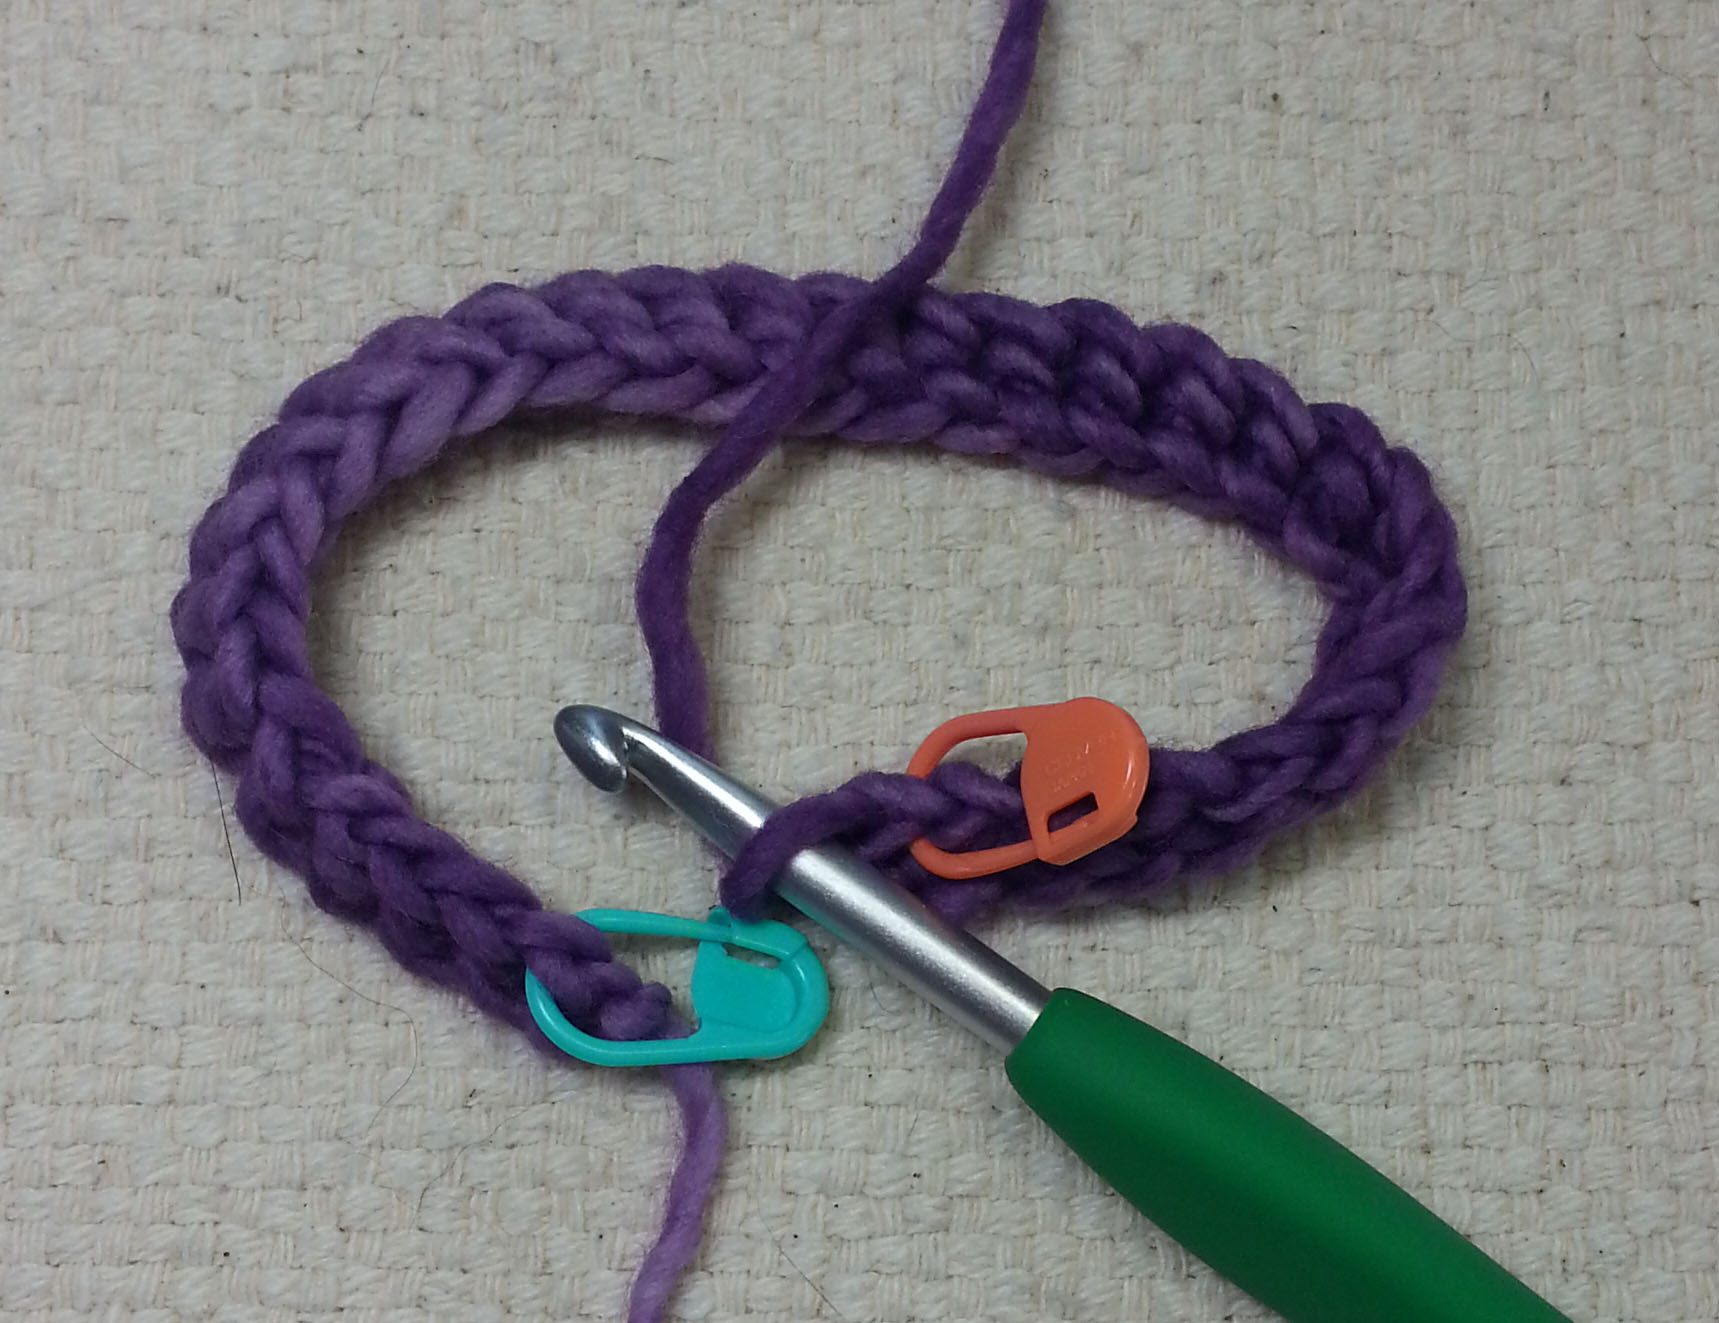
When you finish the length of foundation single crochet that the pattern specifies lay it out flat. The stitches have a top and bottom. The green stitch marker is in the bottom of the first stitch and the orange marker shows the top of the last stitch.

Fold the foundation to bring the 2 ends together.
To get the moebius twist you only want to add 180 degrees of twist. Which means you join the top of the stitch where your hook is, to the bottom of the first stitch you made.
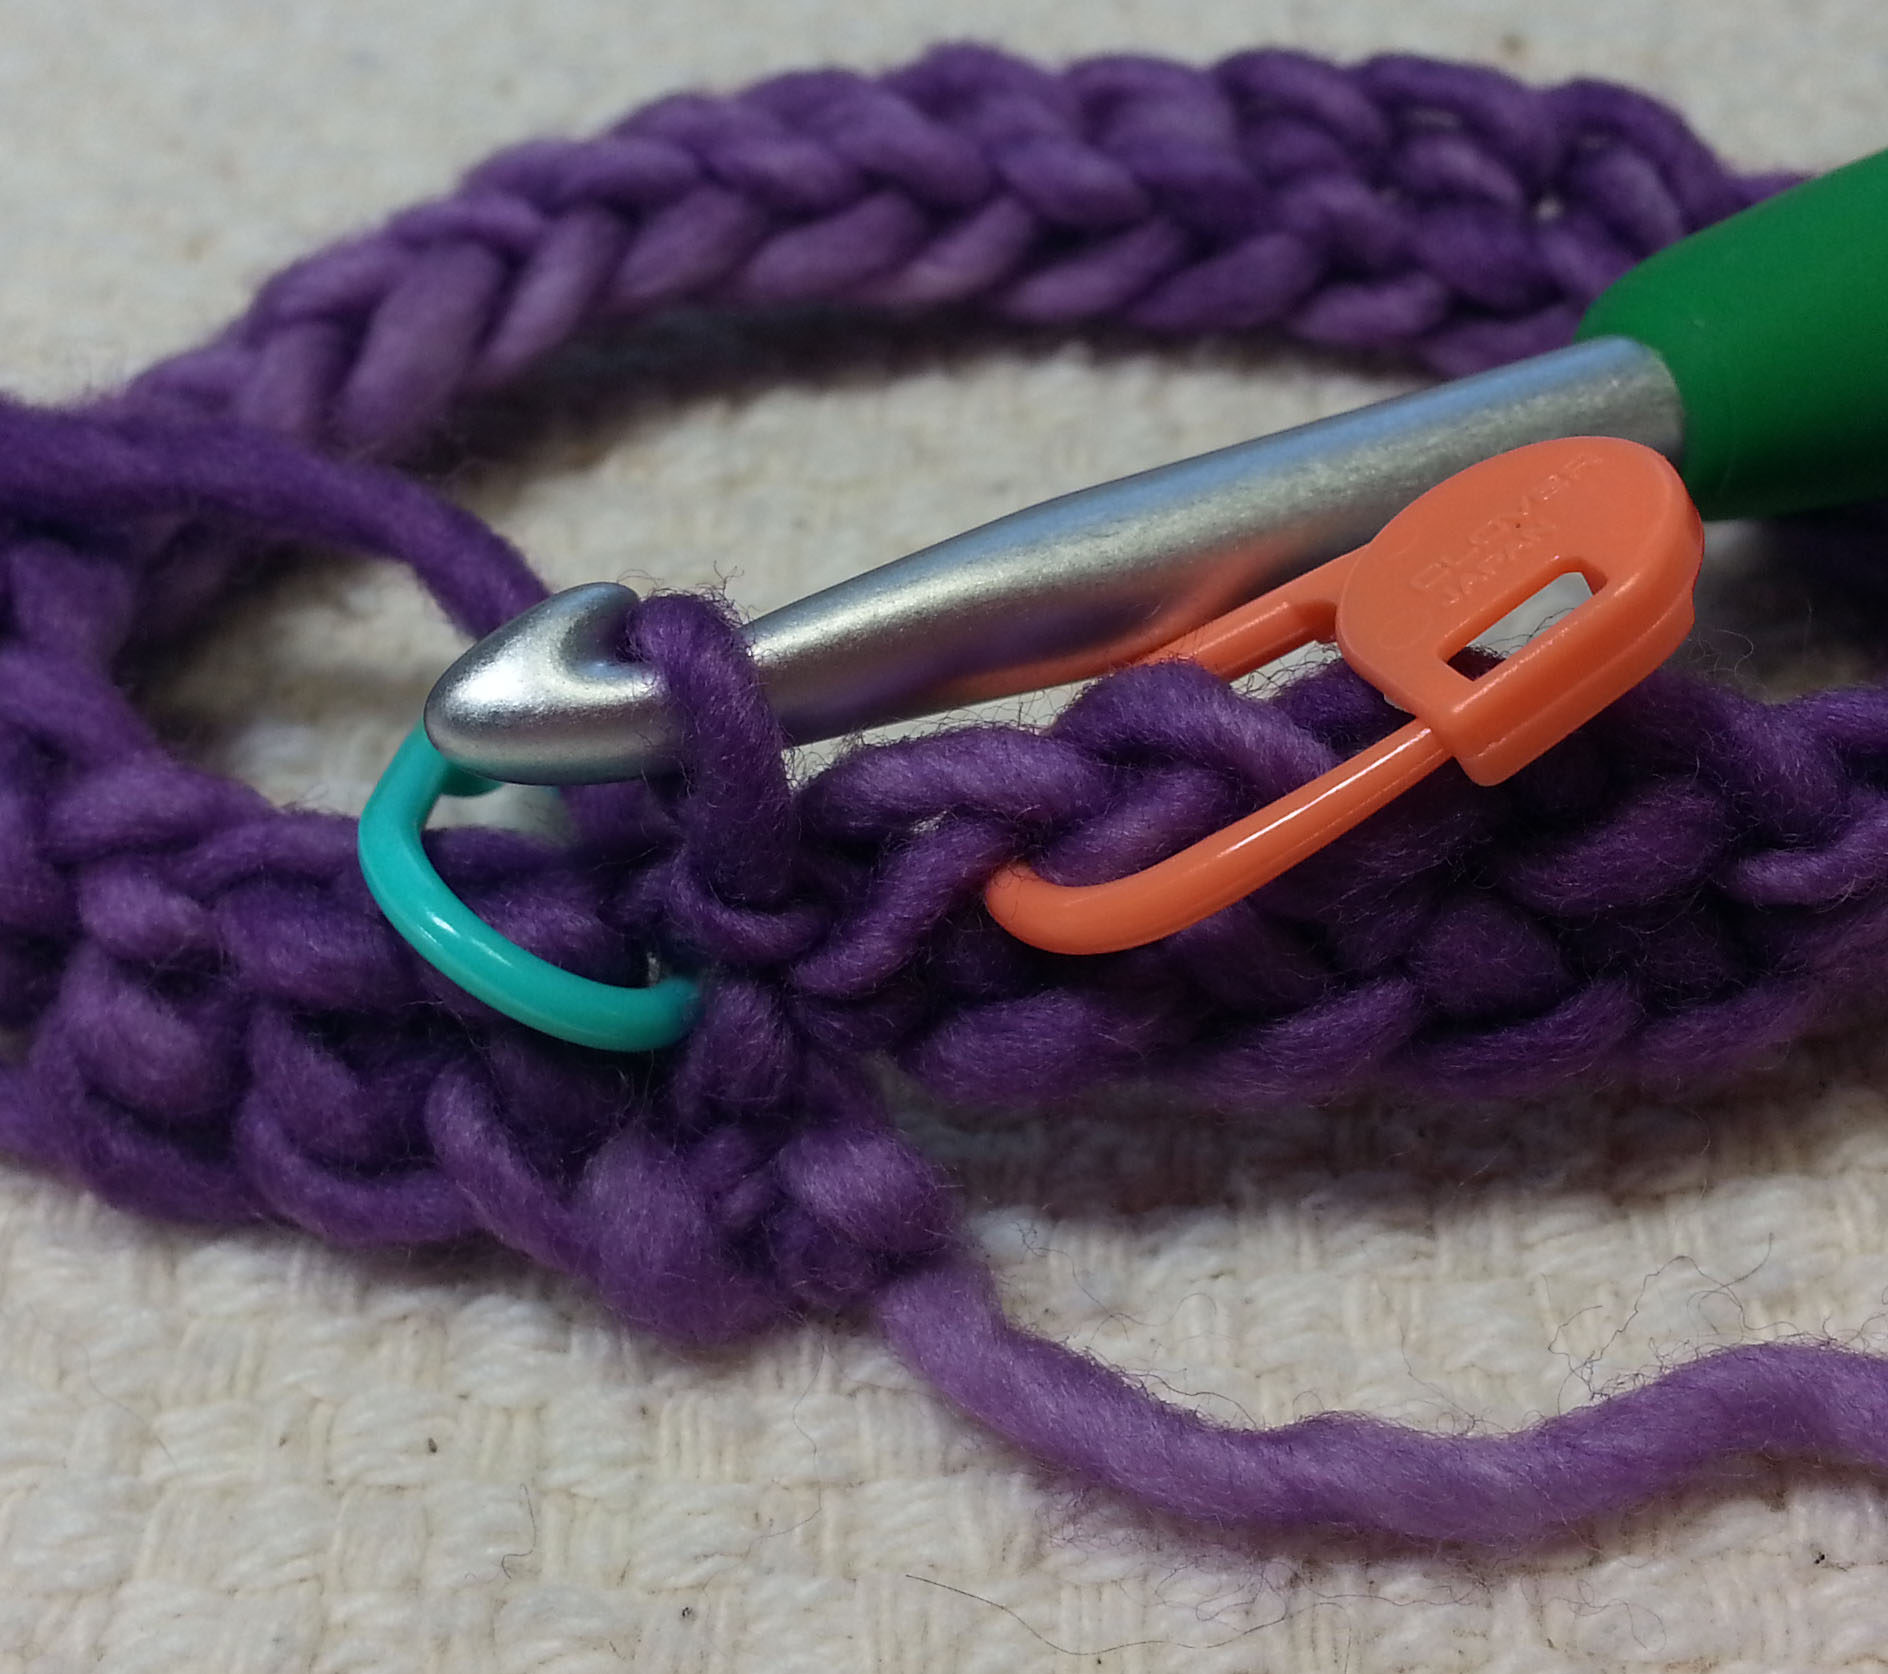
I use a very tight slip stitch.

I usually let the beginning tail hang and then later use it to tidy up the join between the ends of the foundation. Meanwhile I just start crocheting my moebius.
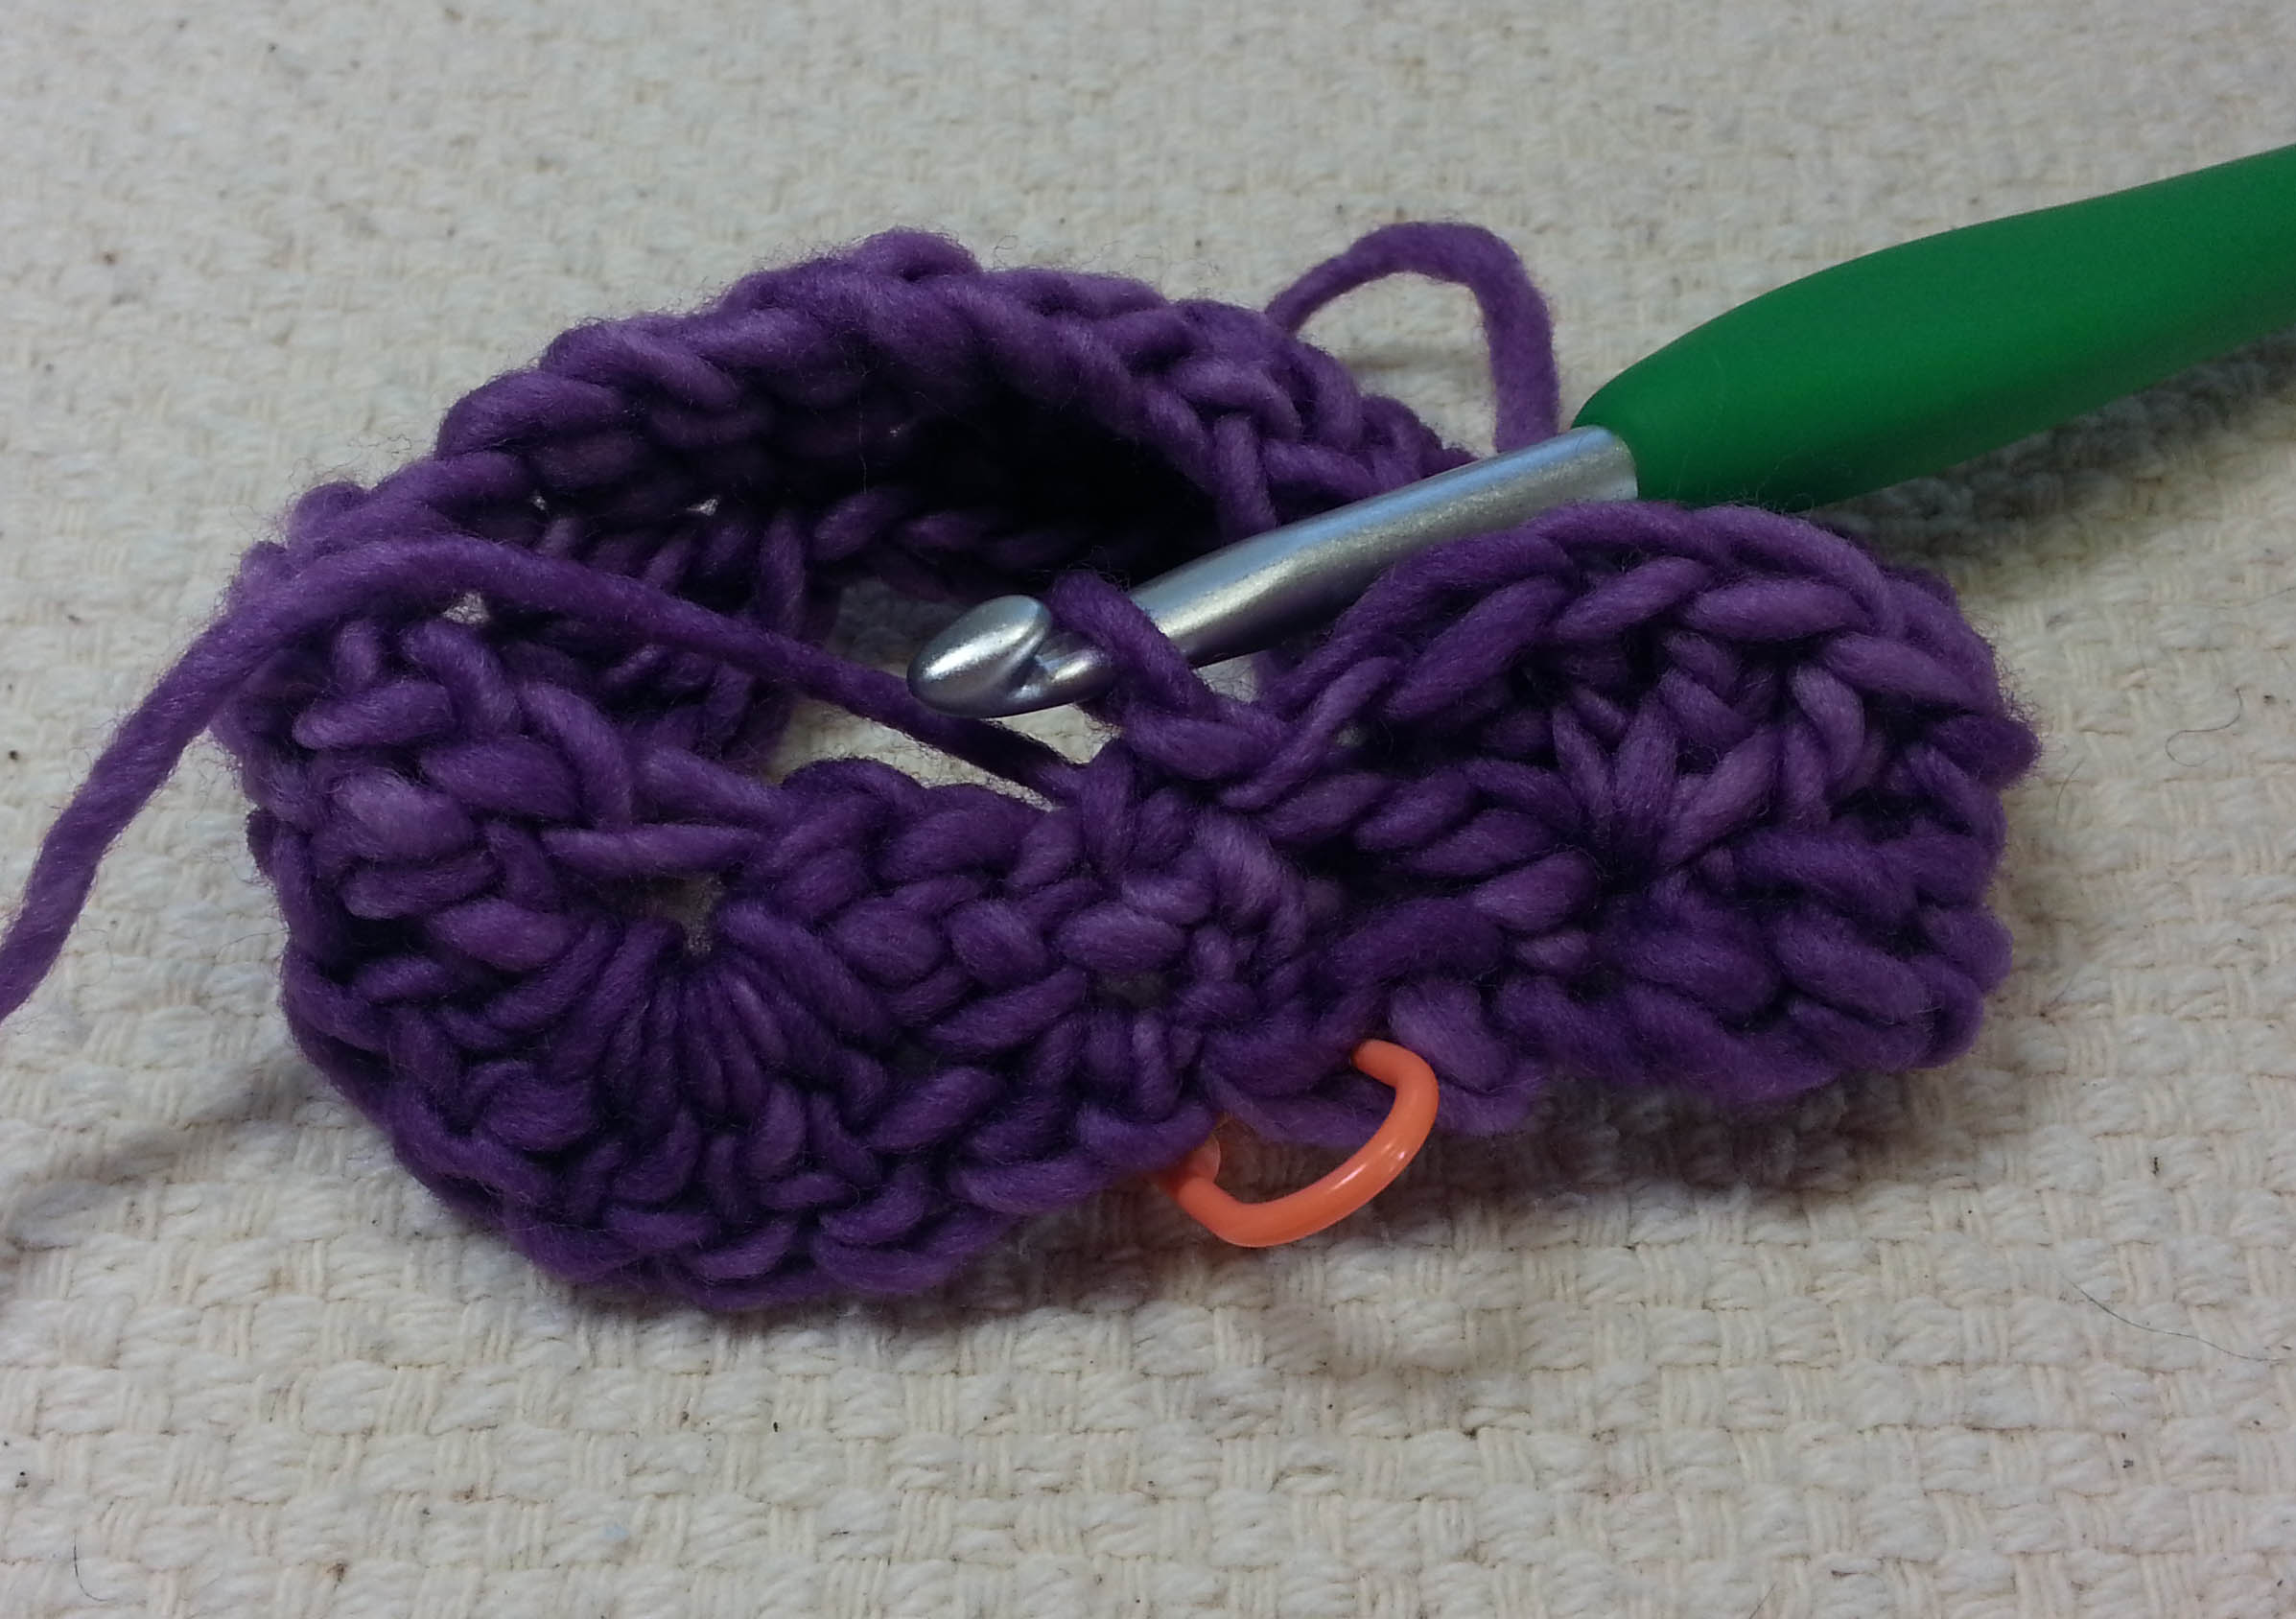
When you get to the join you will be on the opposite side of the foundation from your beginning.

You are working into the bottoms of your foundation stitches and then into the tops of those same stitches as you crochet your first round. You will have doubled the number of stitches in your first round from the number you made for your foundation.

If you want to learn more about moebius strips and my geeky fascination with them take a look at my post: The Twists and Turns of a Moebius.
