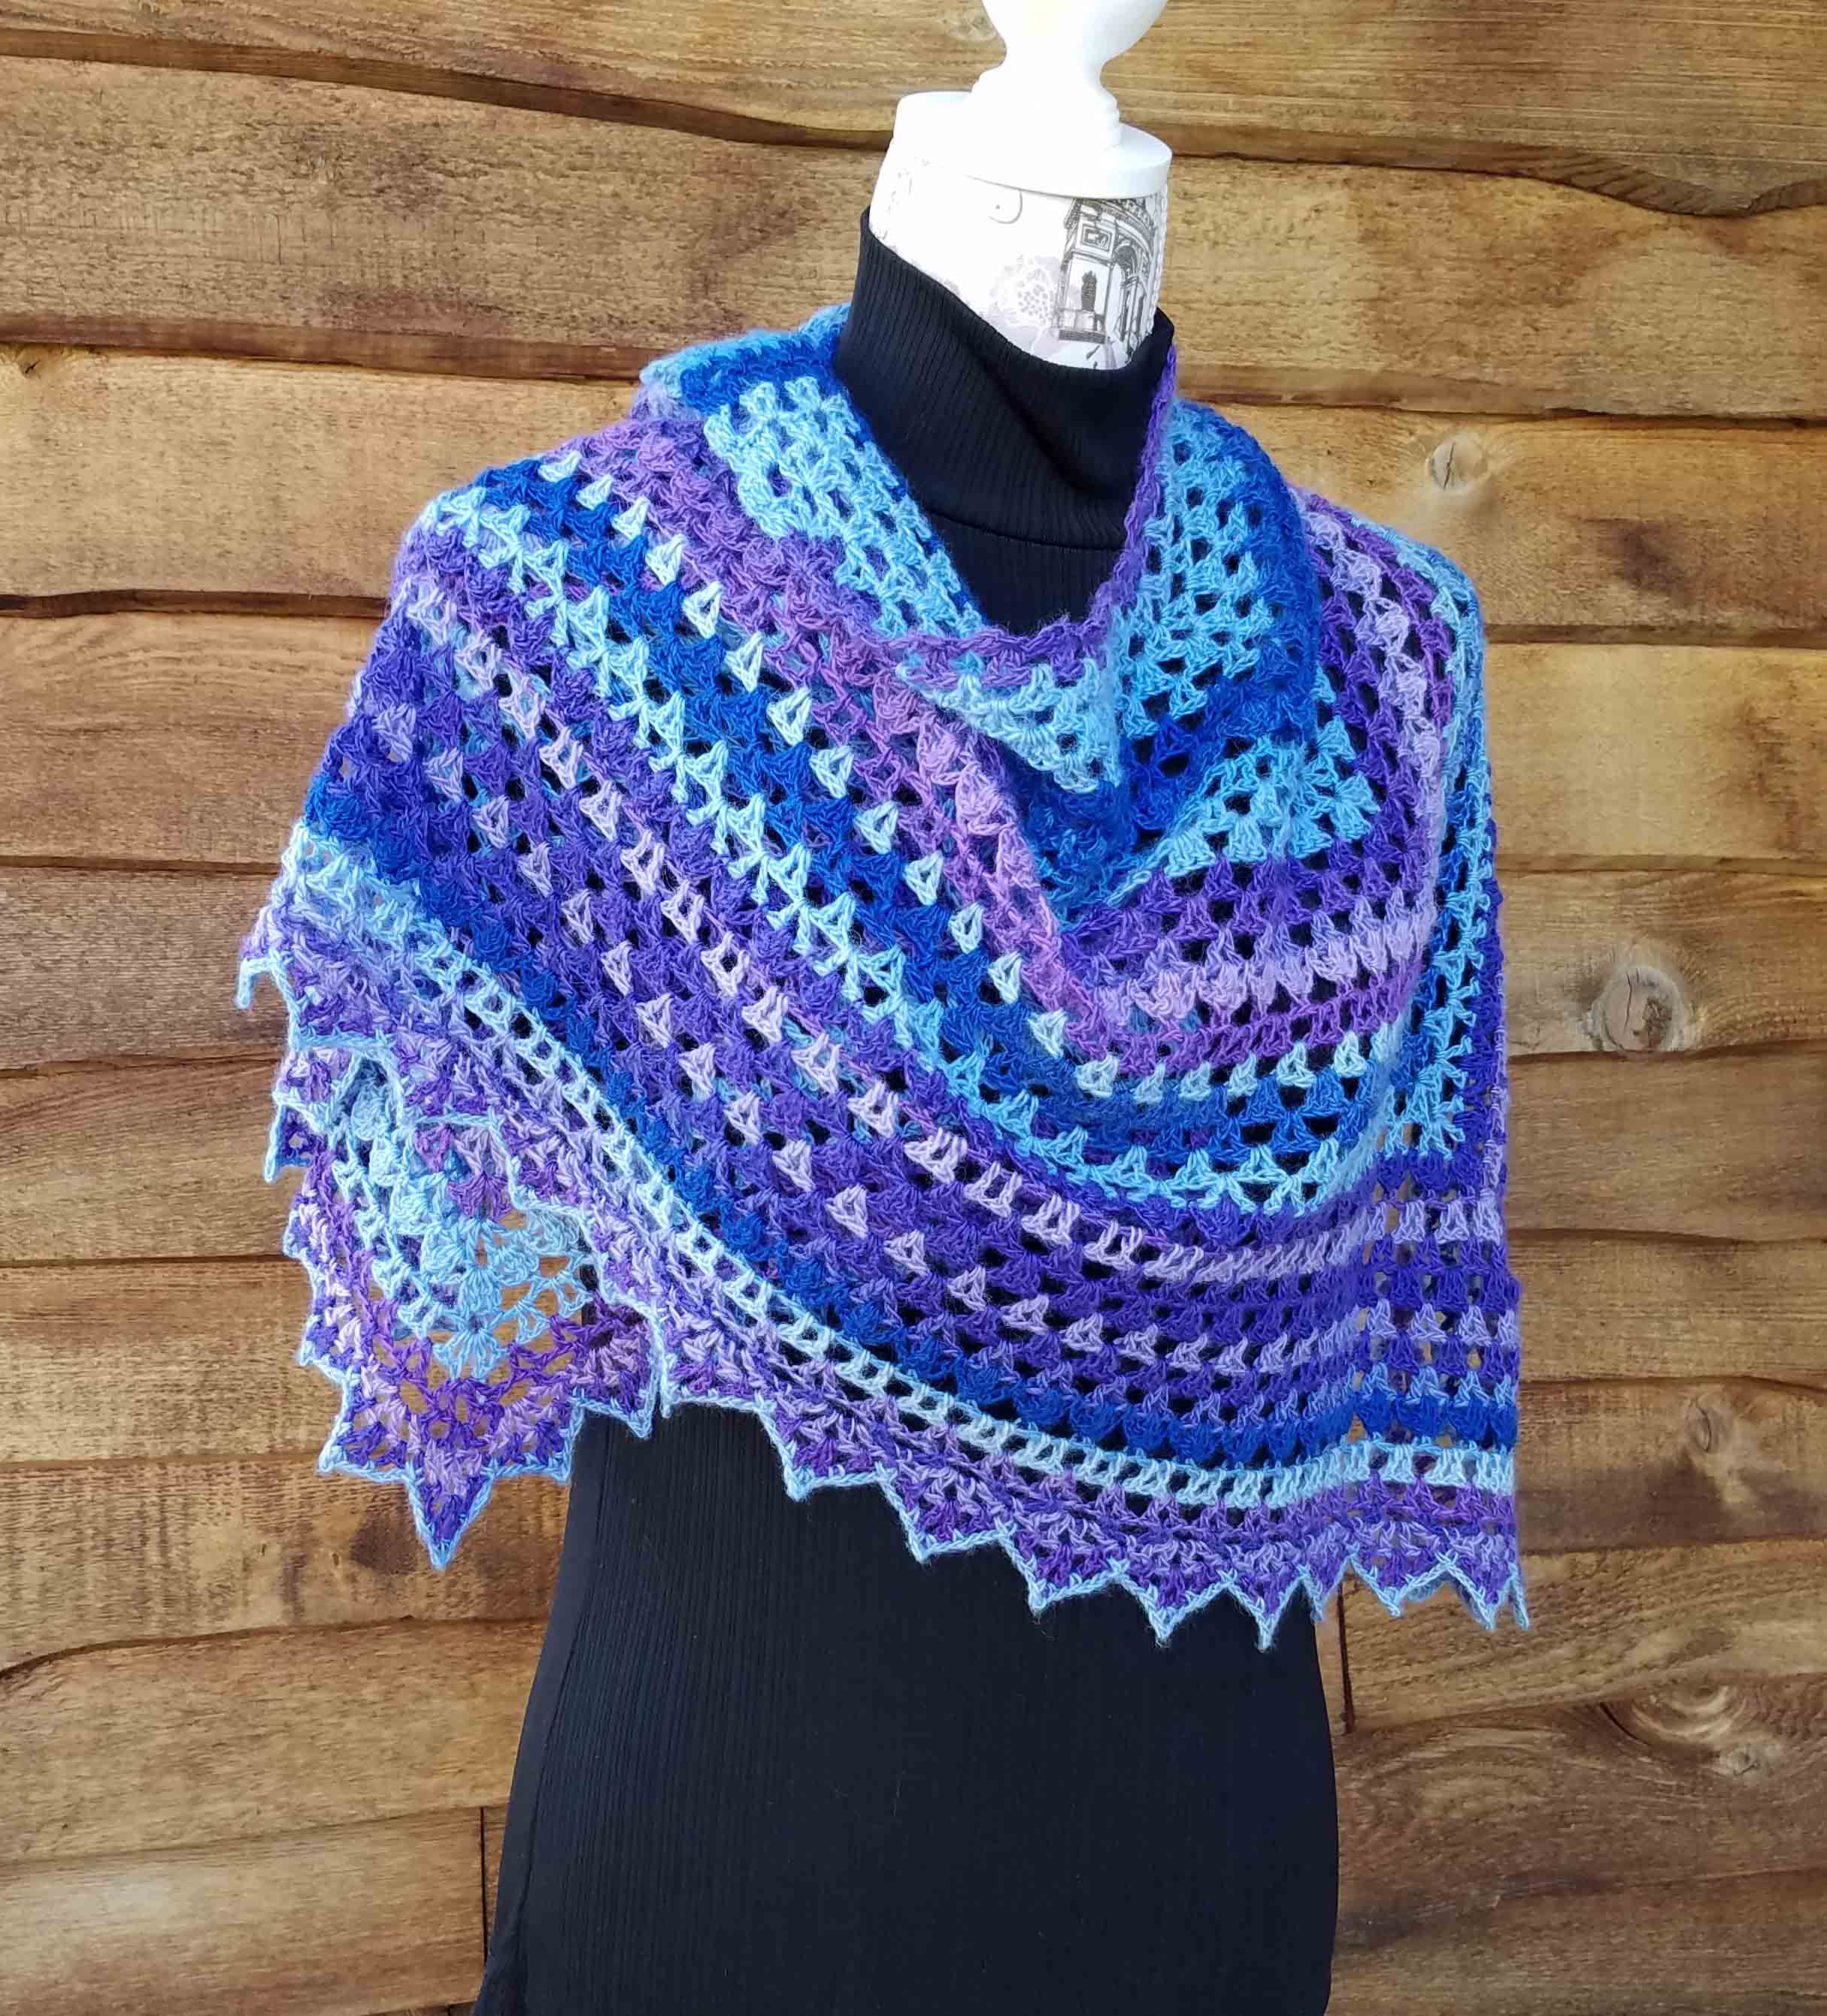
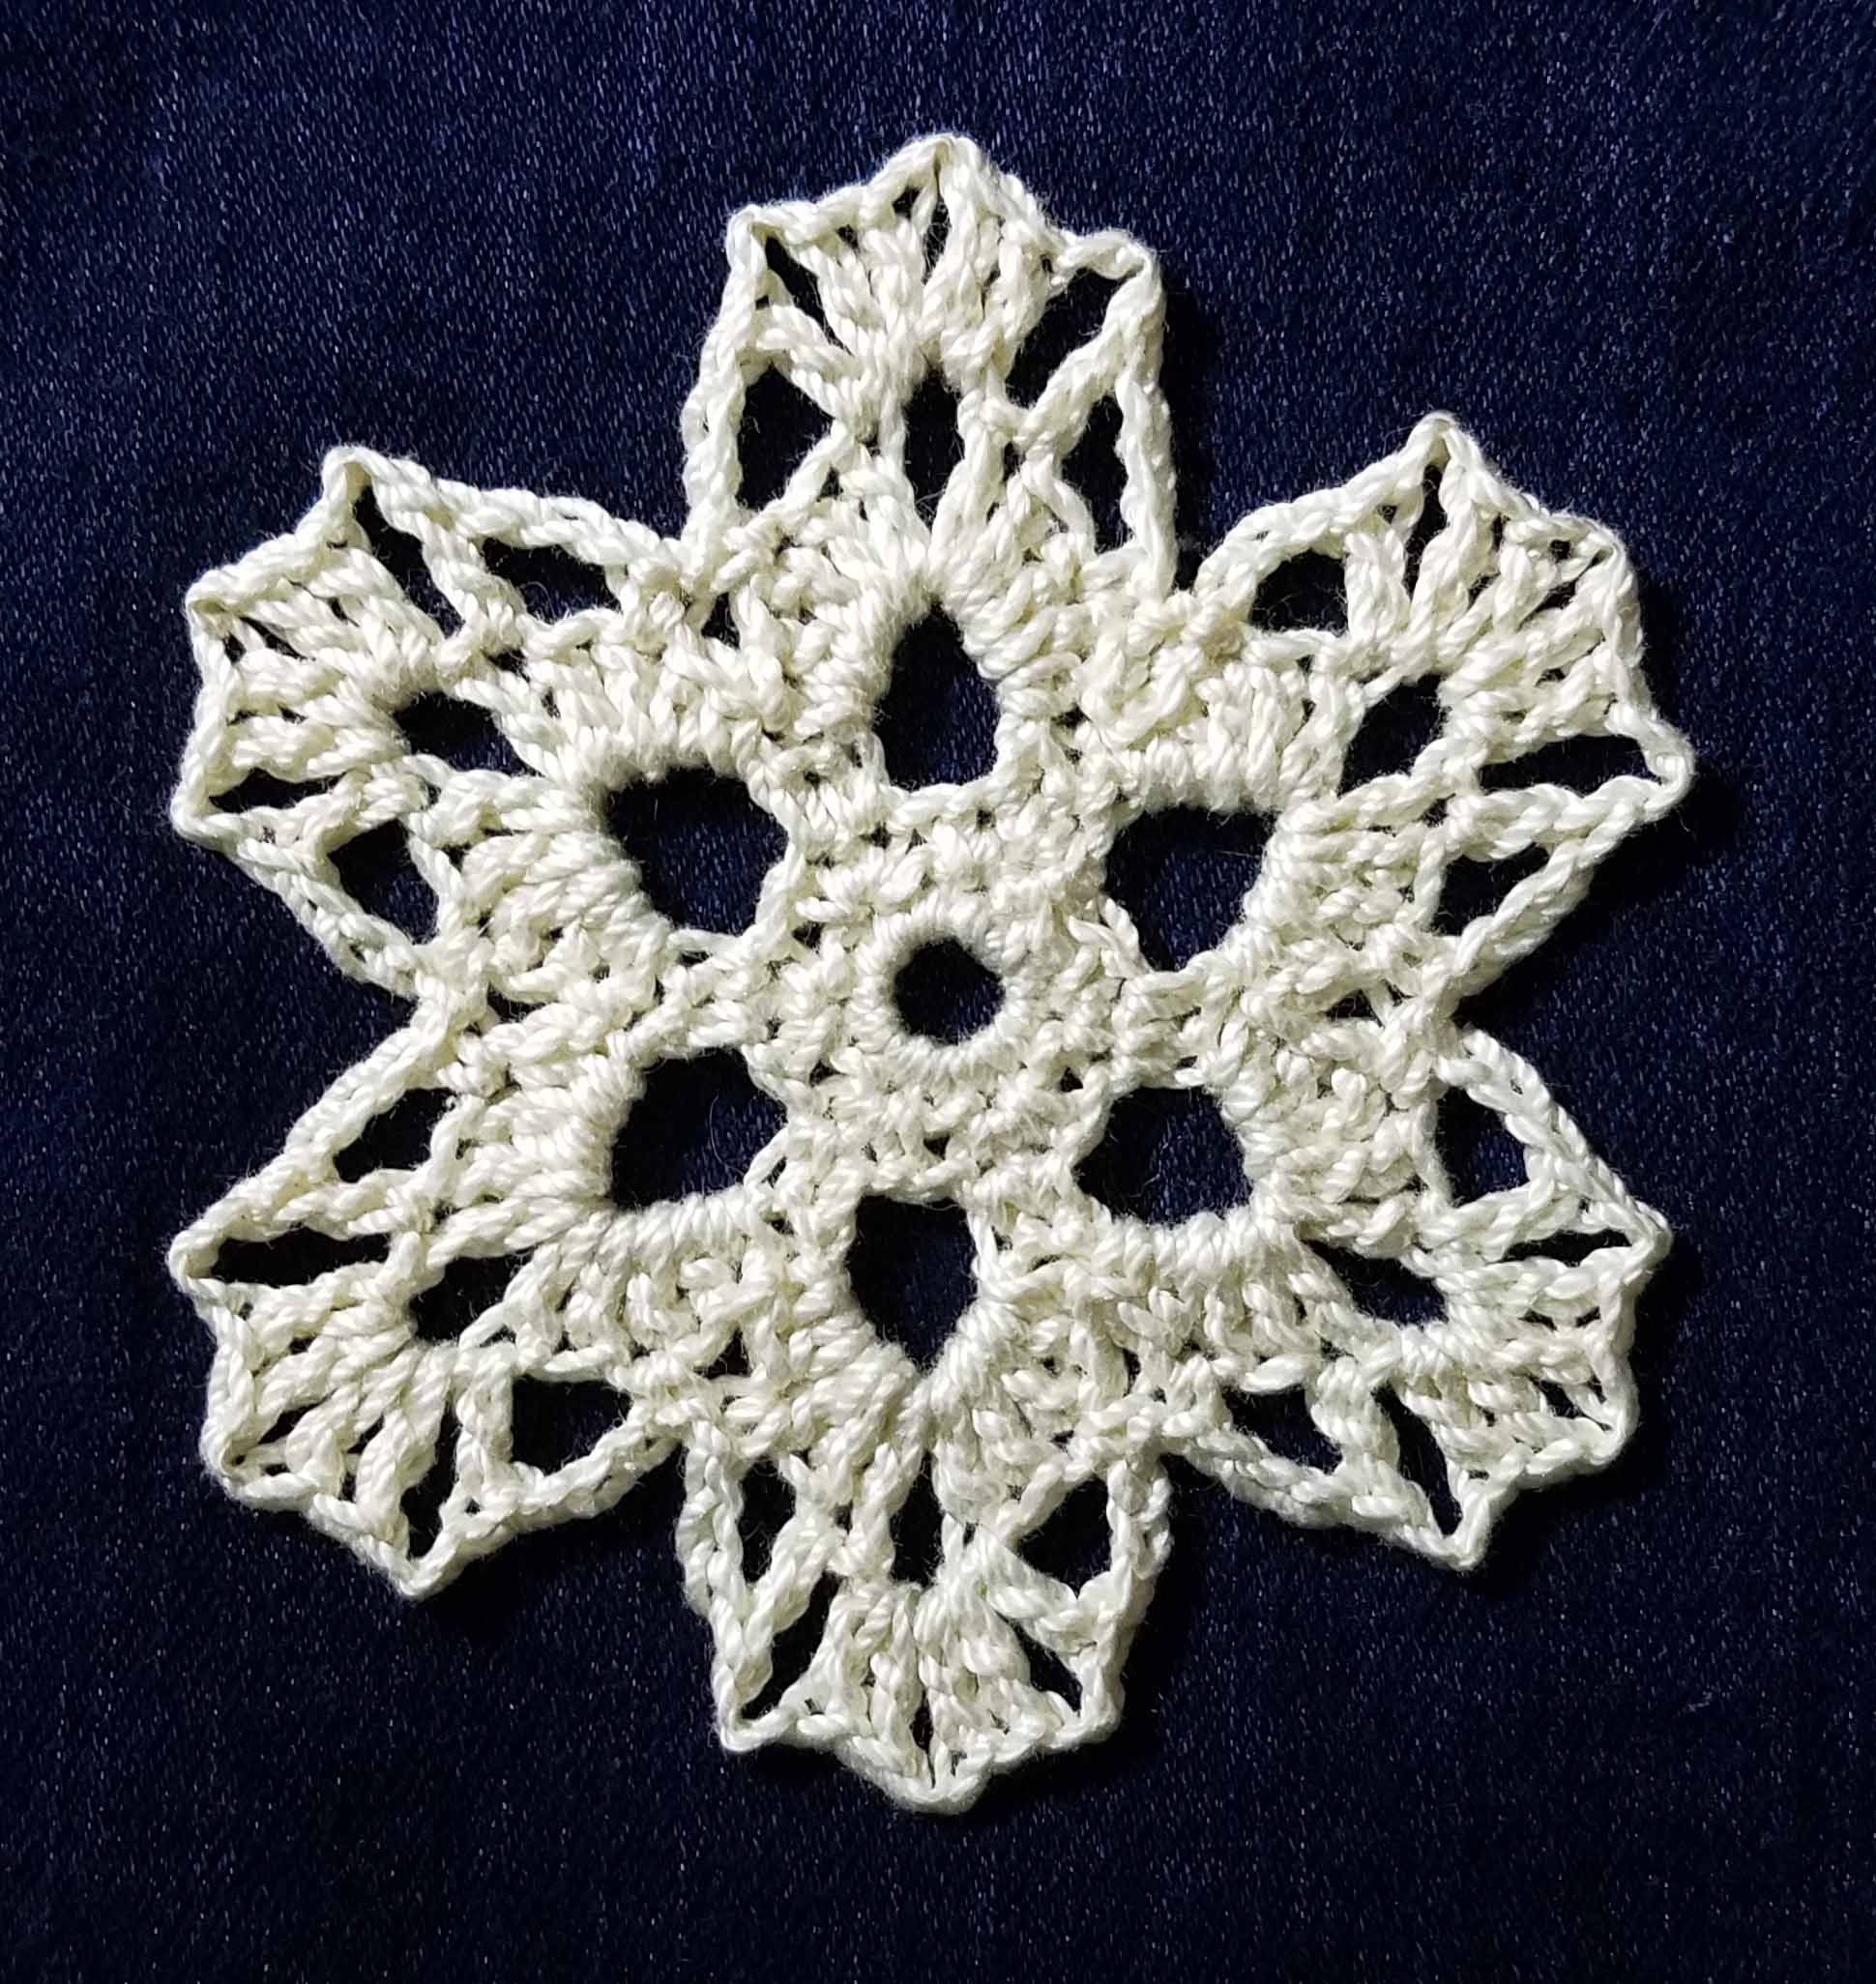
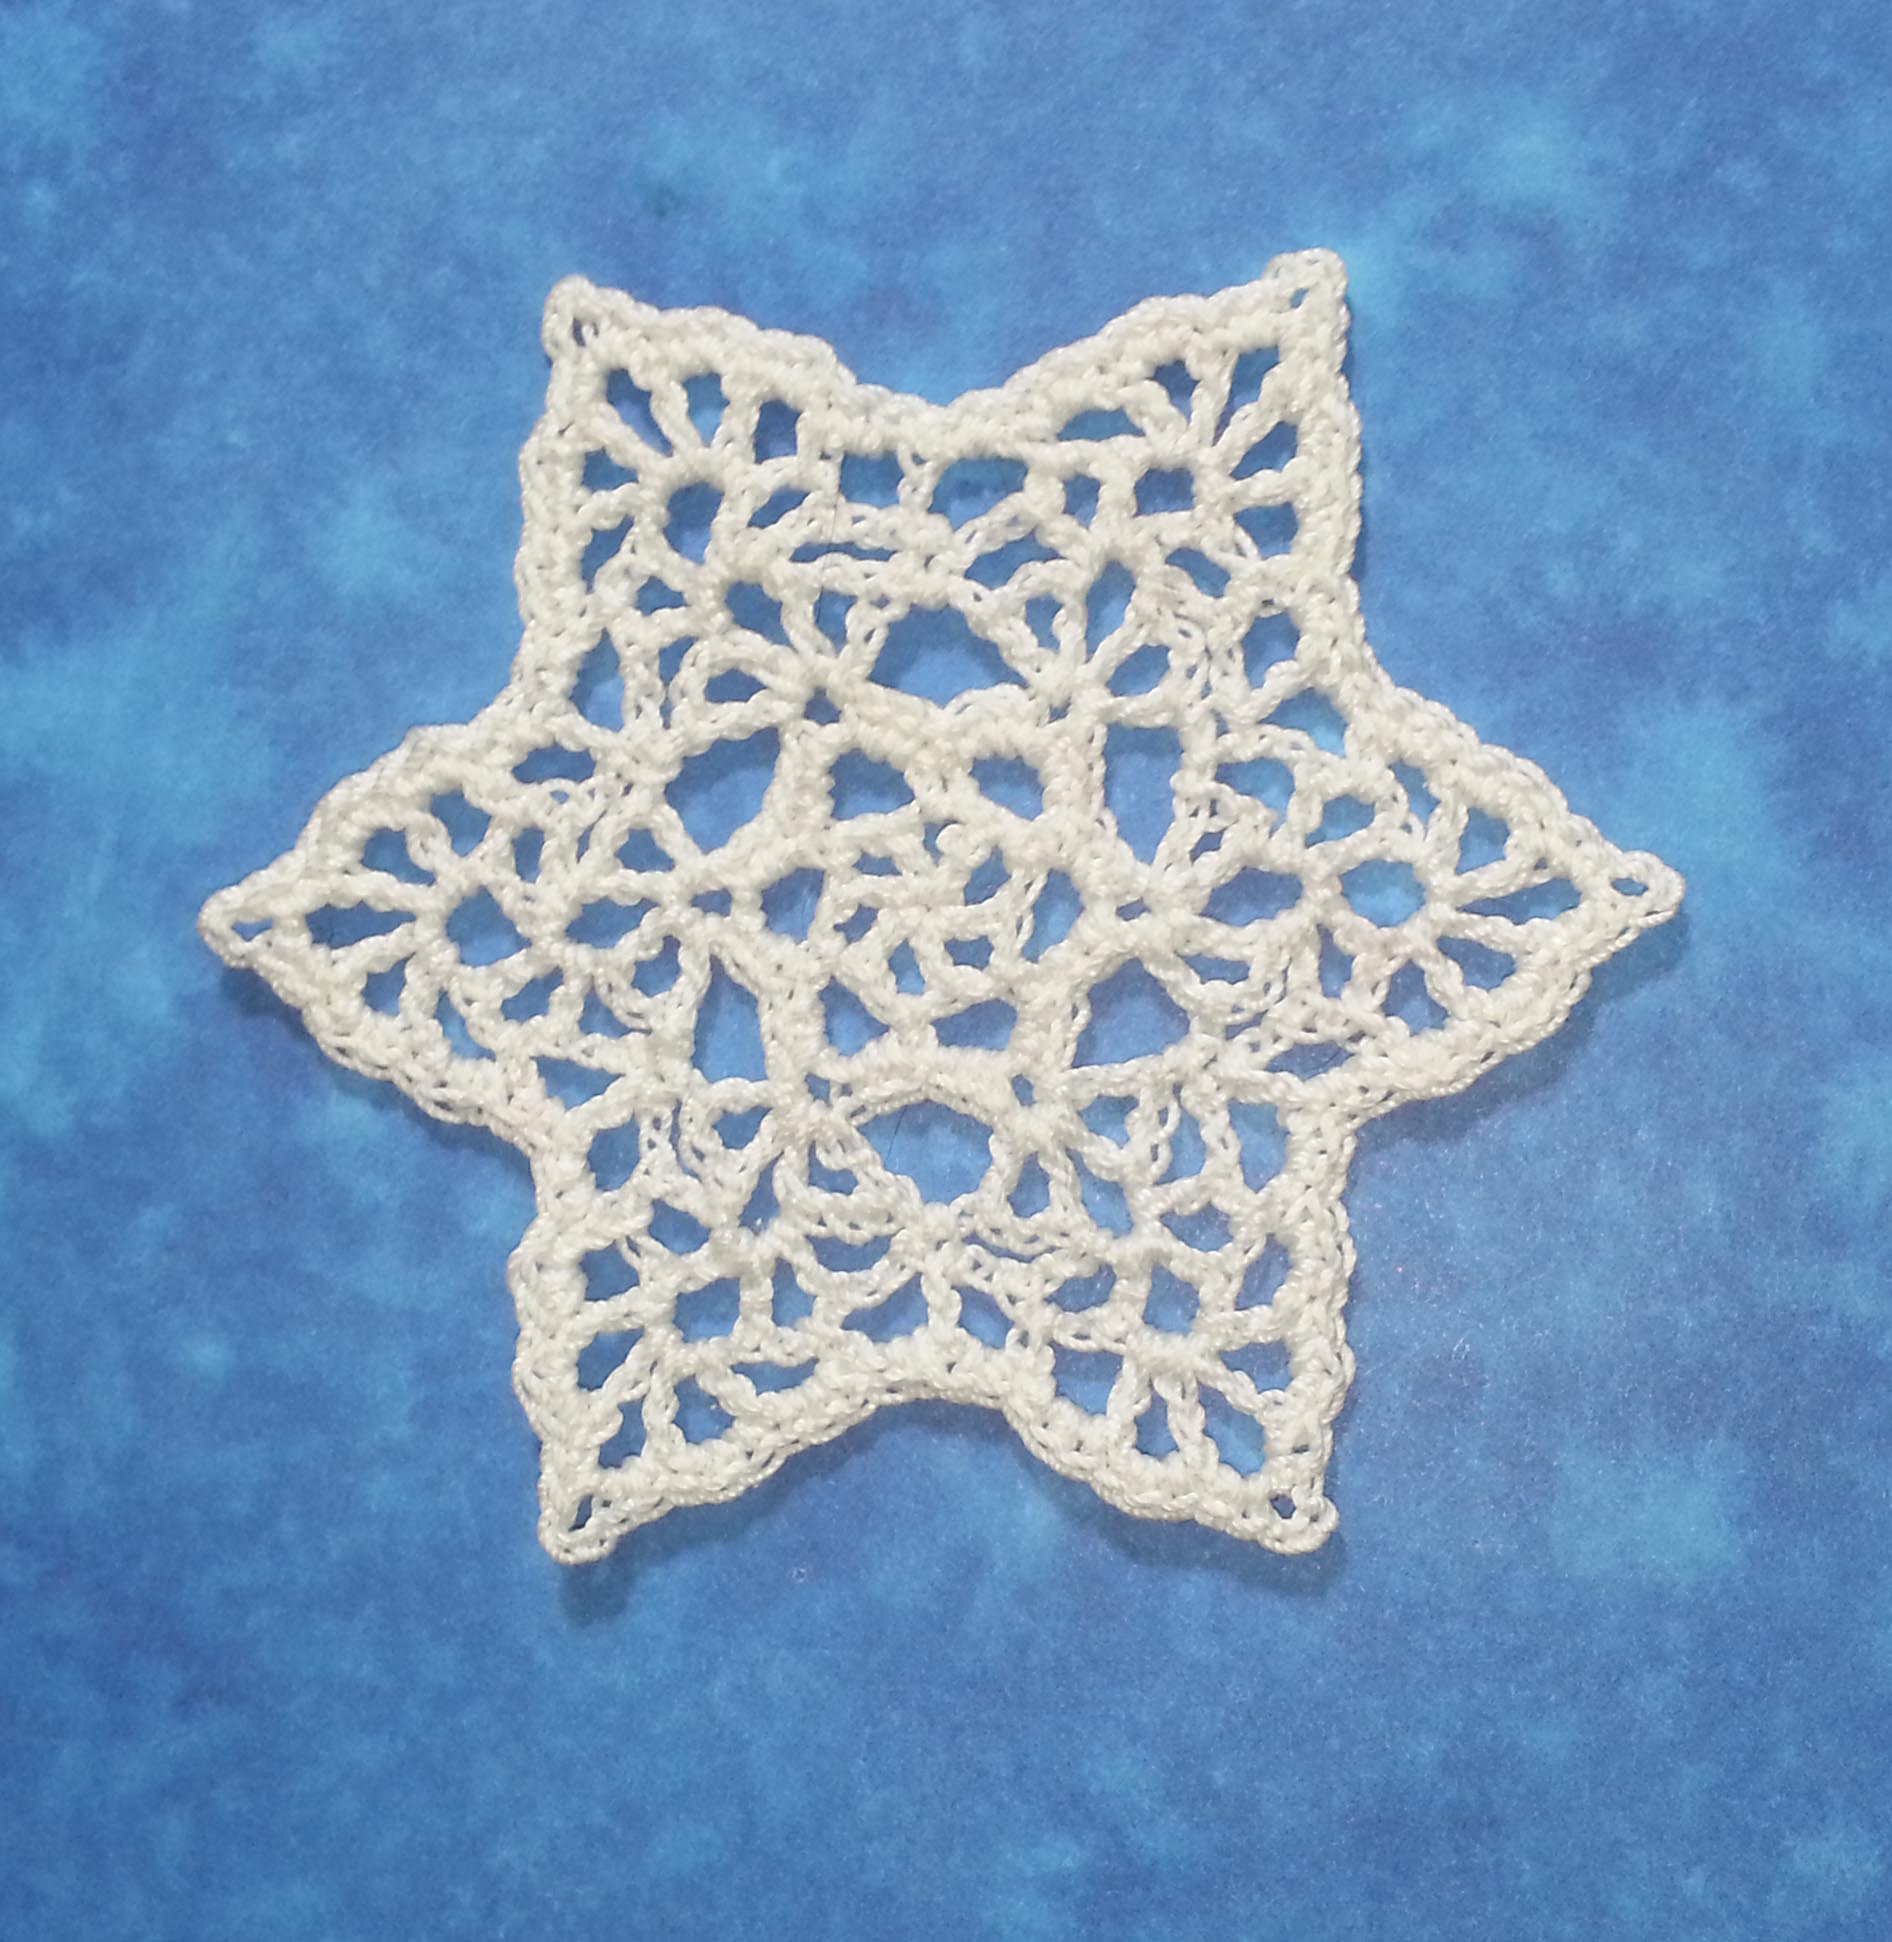
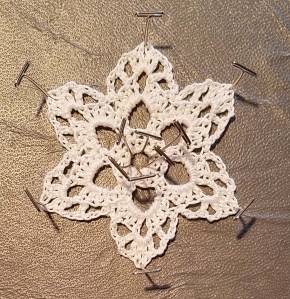
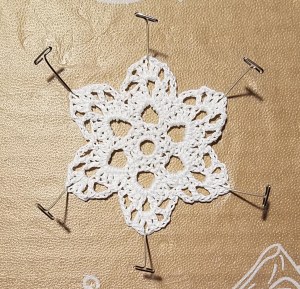
Blocking is a great way to give a professional appearance to your finished projects. Especially if you are crocheting something with a lot of open space in the design, like lace. Wire blocking is my favorite way to block lace as it allows me to use fewer pins and to stretch the fabric aggressively to really showcase the lace. It can be transformative to see how a piece changes before and after wire blocking.
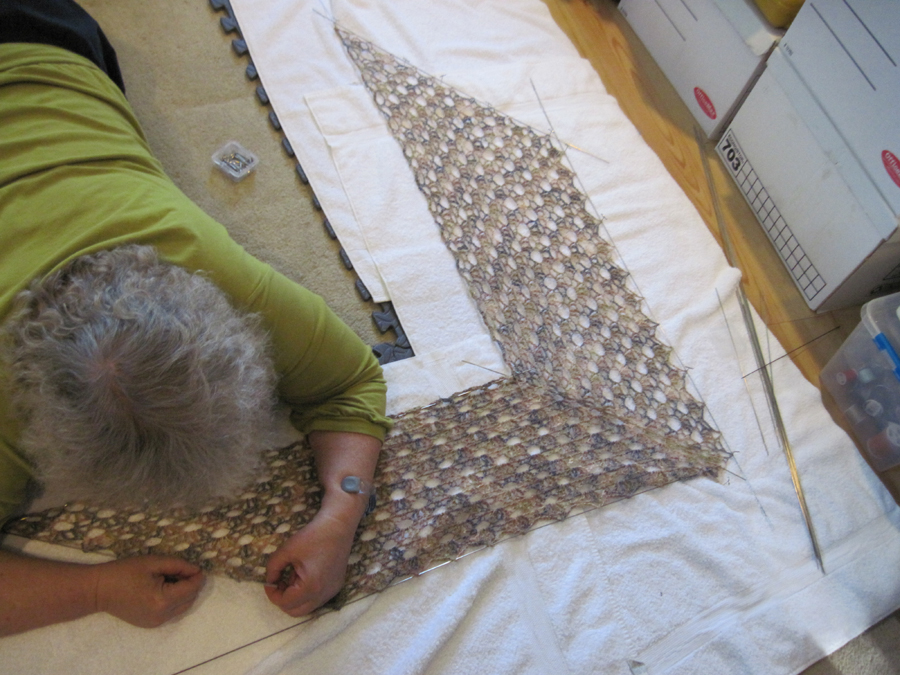
During one of my friend Jan’s visits to Colorado we had a lot of fun wire blocking her version of the “Right Angle Wrap”. You can read all about that project in this blog post: Water, Pins and Magic. You can see in that post how much the fabric changed after blocking.

I also really like using wires to block unusual shapes, like a moebius. You can see how I use the wires to keep the moebius shape and it’s fabric open in this blog post: Blocking with a Twist. This is the method I used for the Anna’s Moebius that I just made.


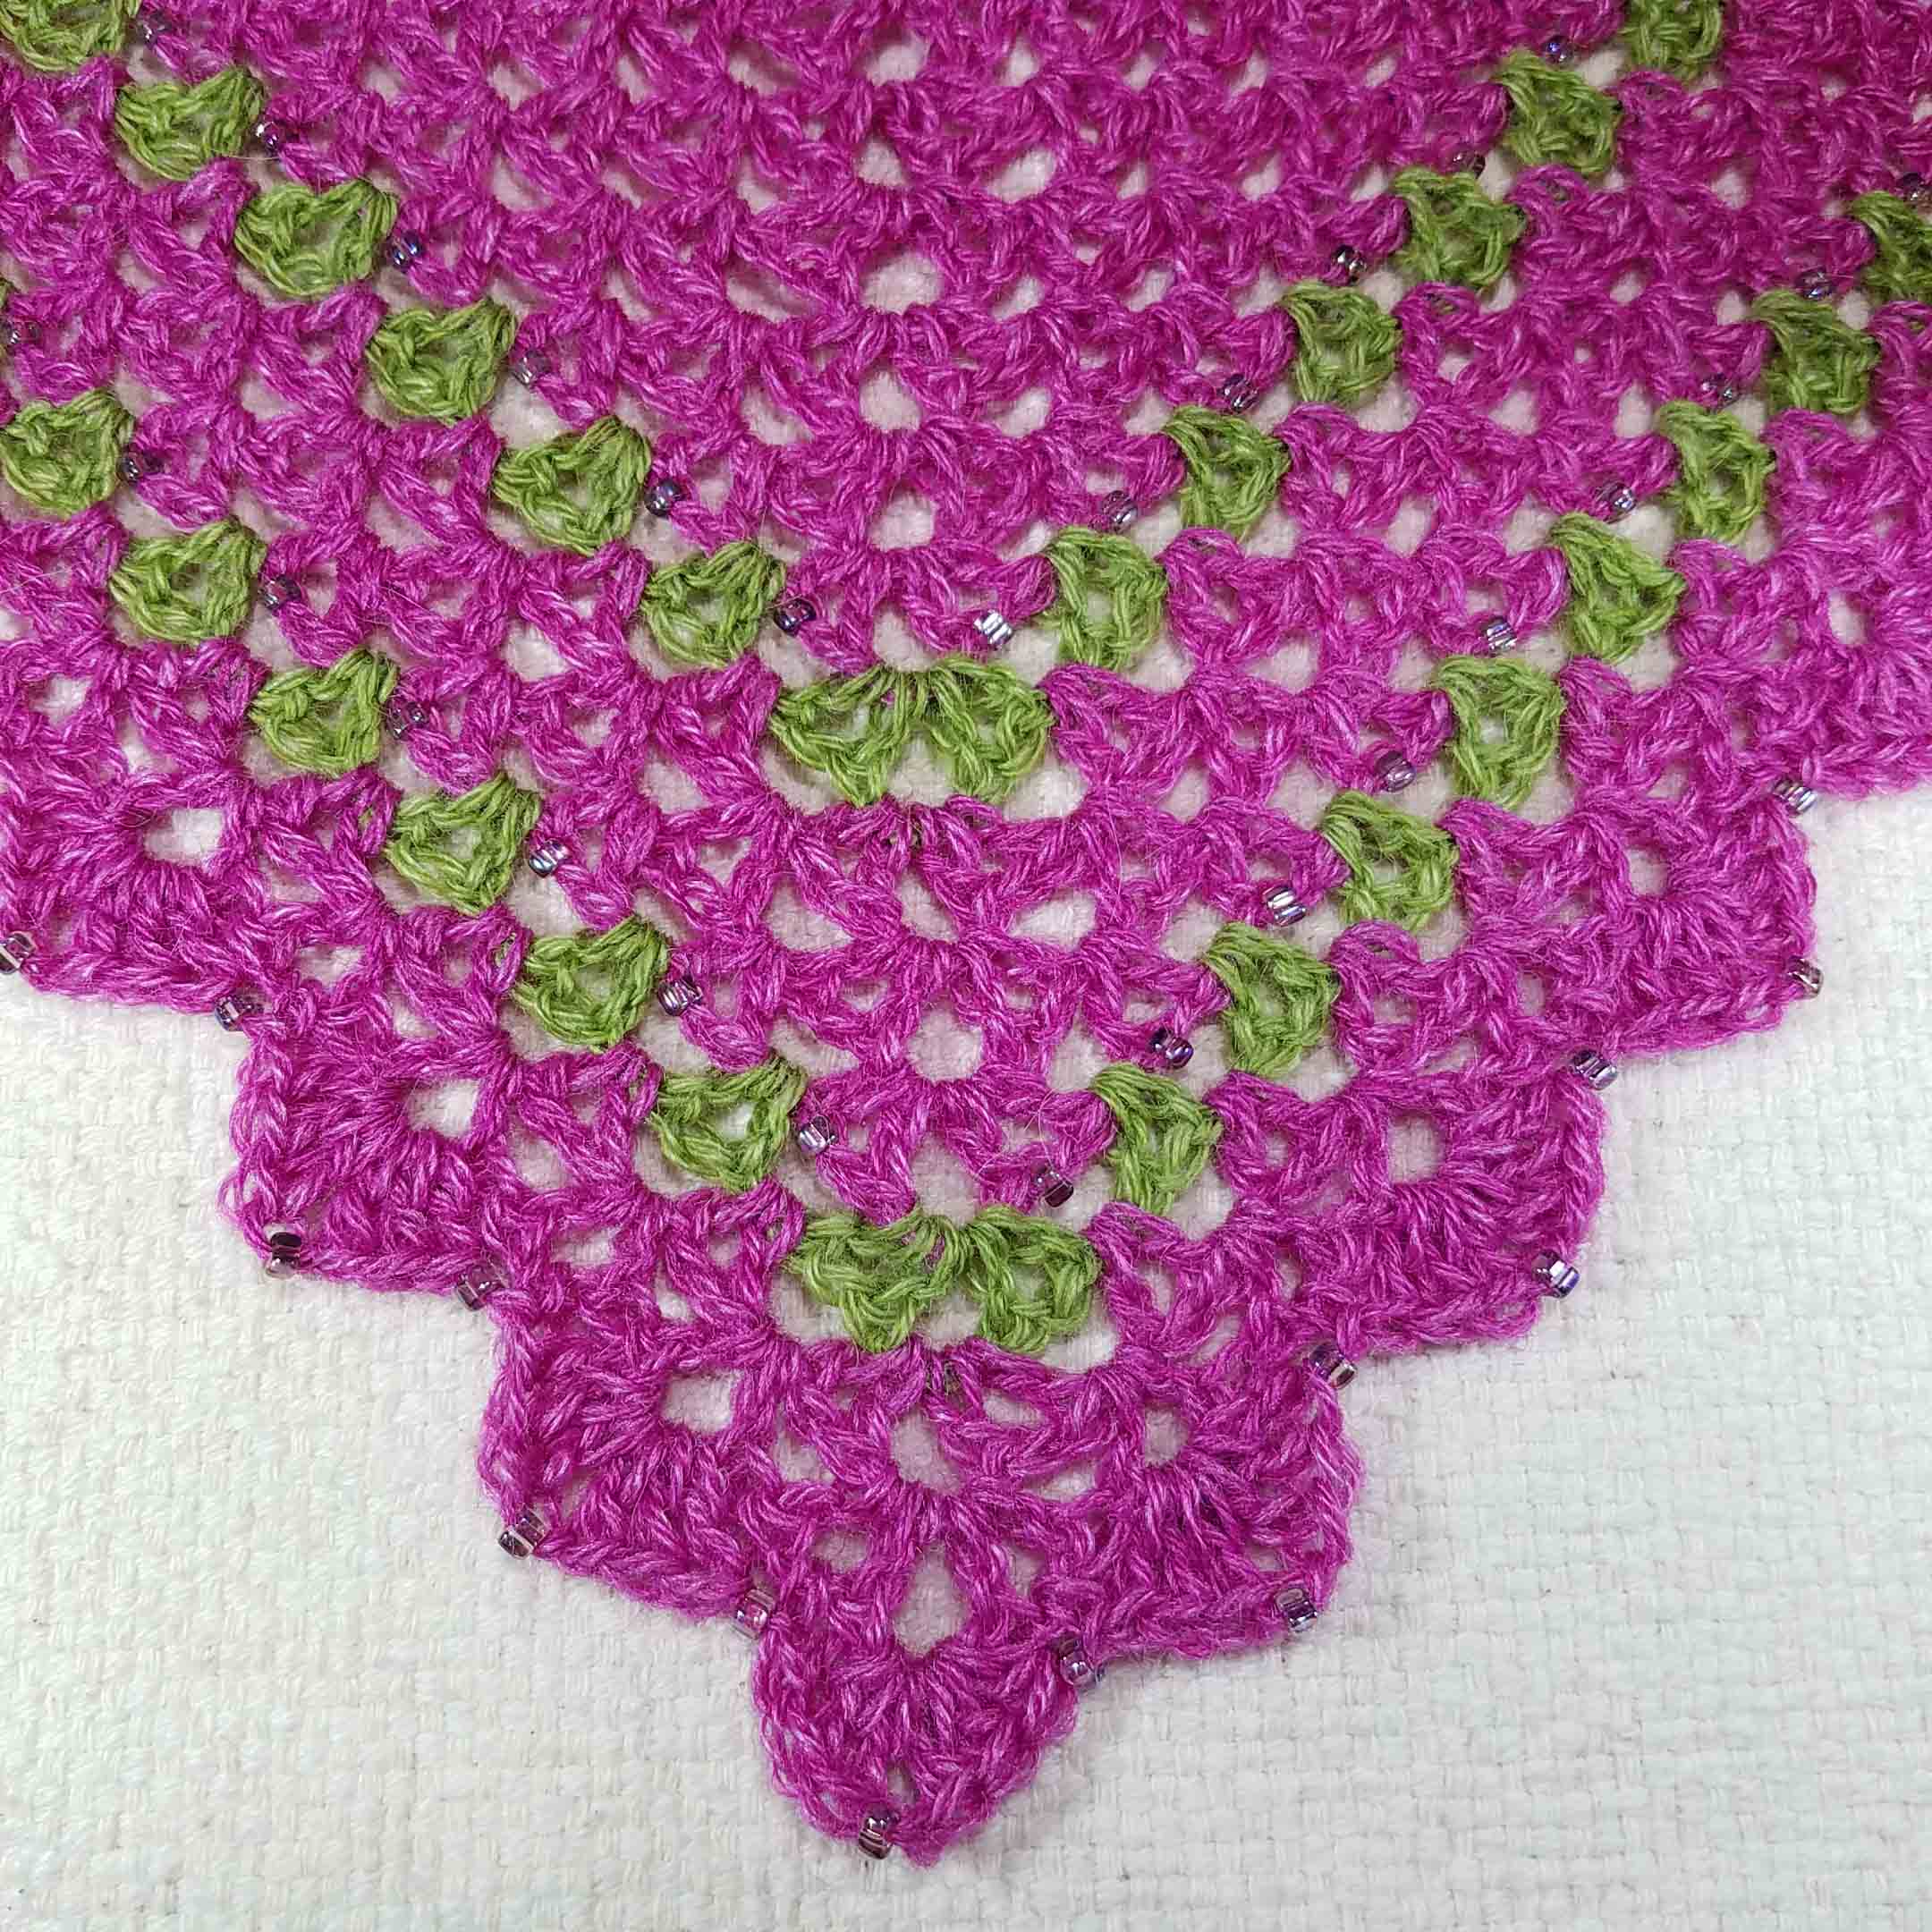
My design Floating Diamonds Shawlette was worked in a cotton/silk/rayon blend and really met it’s full potential with blocking. You can get the free version of the pattern in this blog post: Floating Diamonds Shawlette or purchase the version with a stitch chart in my Ravelry Shop.
When blocking using wires you can start with your project wet or dry. Generally you can get a more dramatic change to the fabric by starting with your project wet. If you prefer a more gentle block, you can lay out the dry project and then mist it with water or use a steamer. I live on a mountain in arid Colorado so I tend to really soak my project before wire blocking as it takes some time to weave the wires and pin them out. Oftentimes I find my project has almost dried before I have finished setting it up. If you are in a dry climate you may want to also soak your project.
In humid climates you are generally going to want to use steam for blocking. Some of my friends that live in hot humid climates have had good luck letting the natural heat and moisture activate their blocking. Once they have the blocking result they want while the project is stretched with the wires, they let it sit in a protected outdoor location for 24 hours, then bring it indoors in the air-conditioning to let it dry.
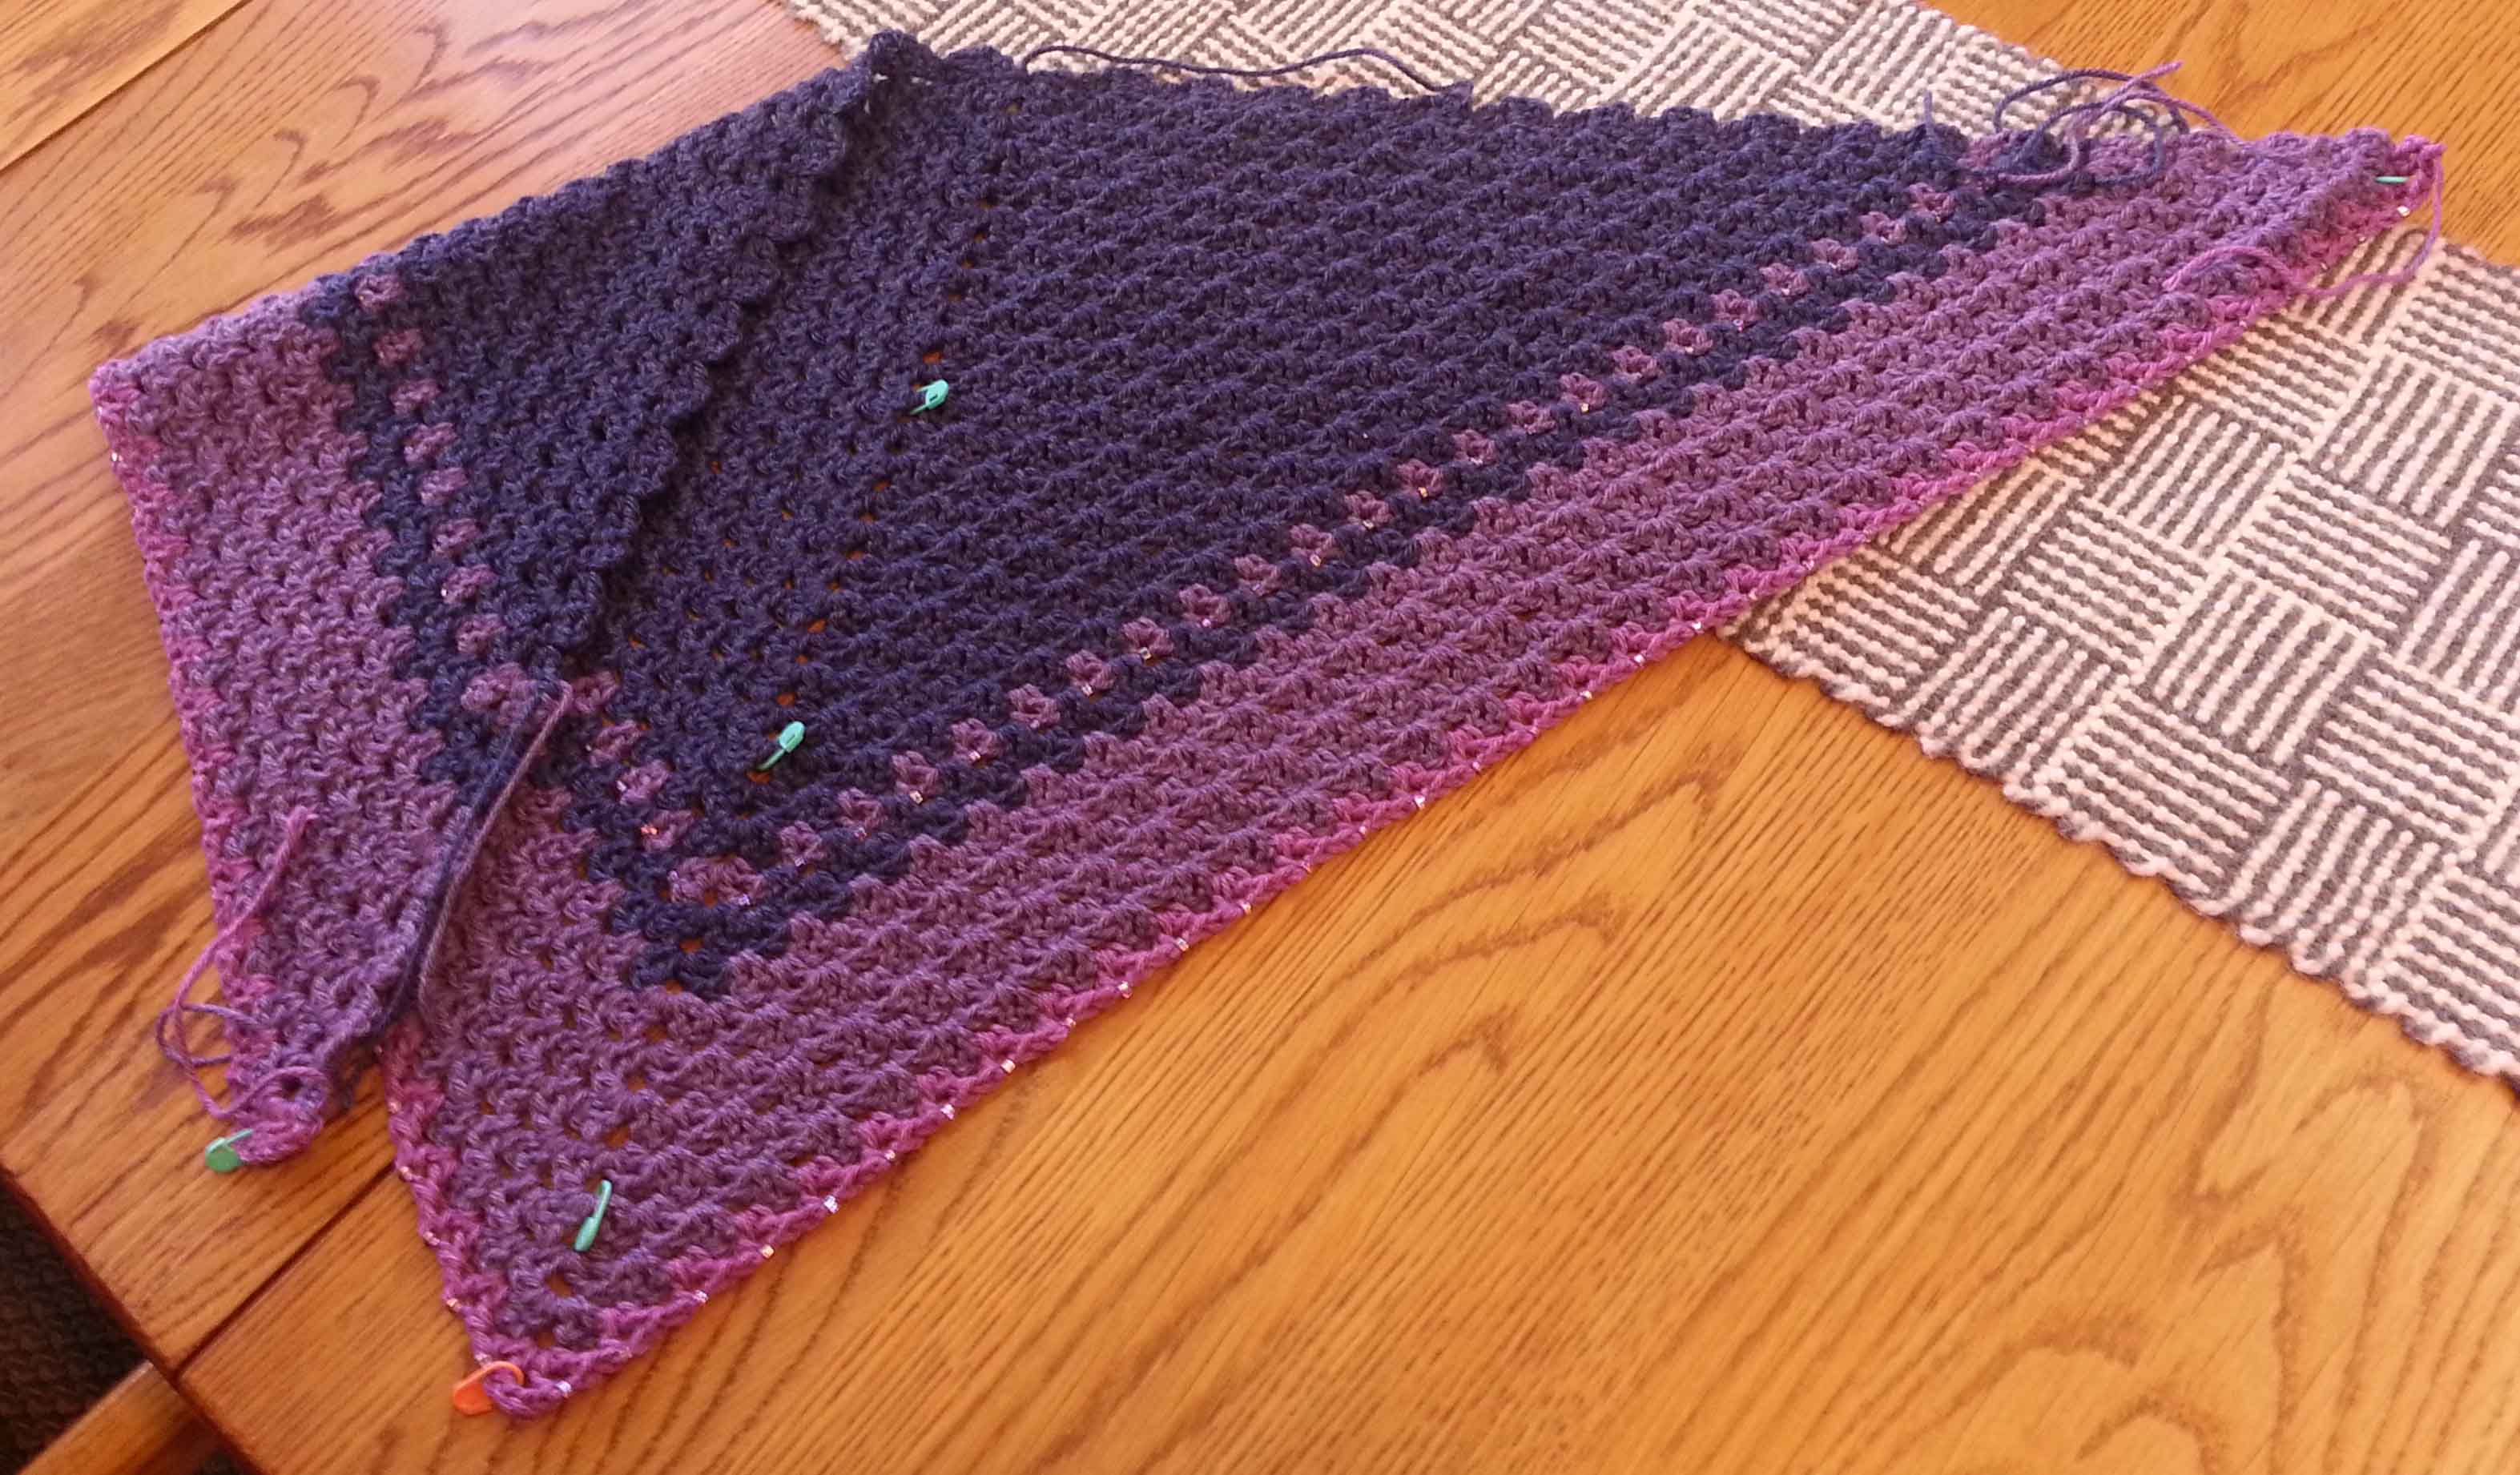
I usually leave all my tails unwoven until after my project has been blocked and dried. Especially if I am blocking a lacy fabric that I want to open a lot. I have found that if I weave in the tails ahead of time it can create tight spots in the fabric that restrict the blocking.
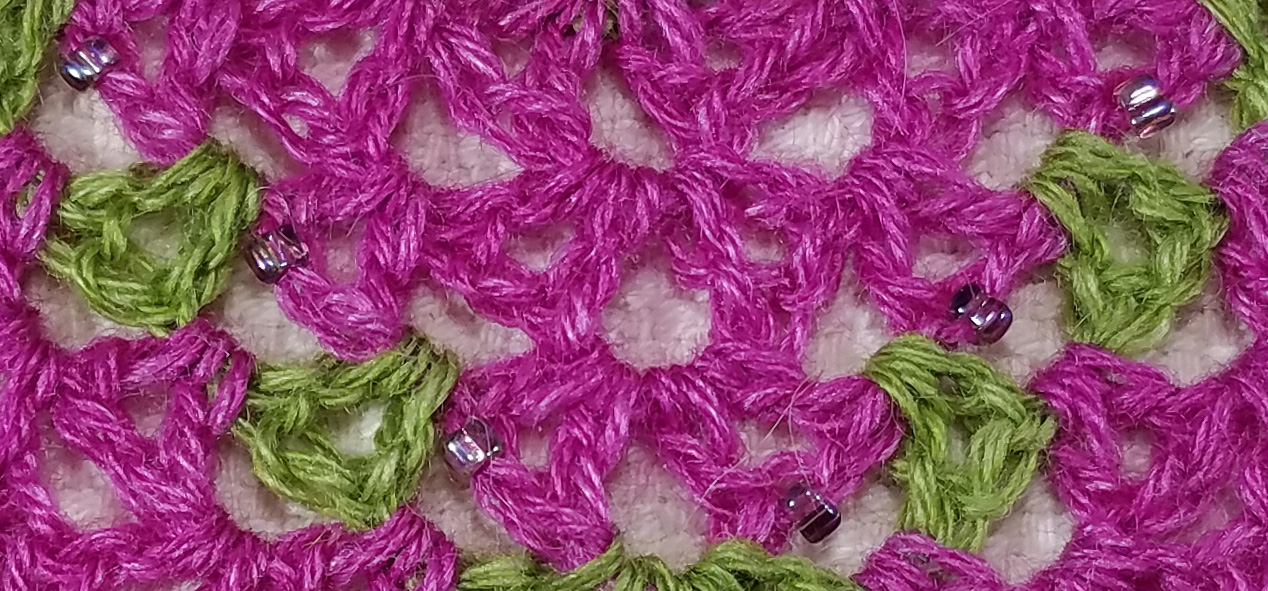
Blocking isn’t just for natural fibers like cotton, linen, silk or wool. You can also get beautiful results with blocking synthetic fibers like rayon, polyester or acrylic. With acrylic and polyester you will get the best results using a steamer once you have the wires inserted and pinned for your project.
What do you need to wire block?
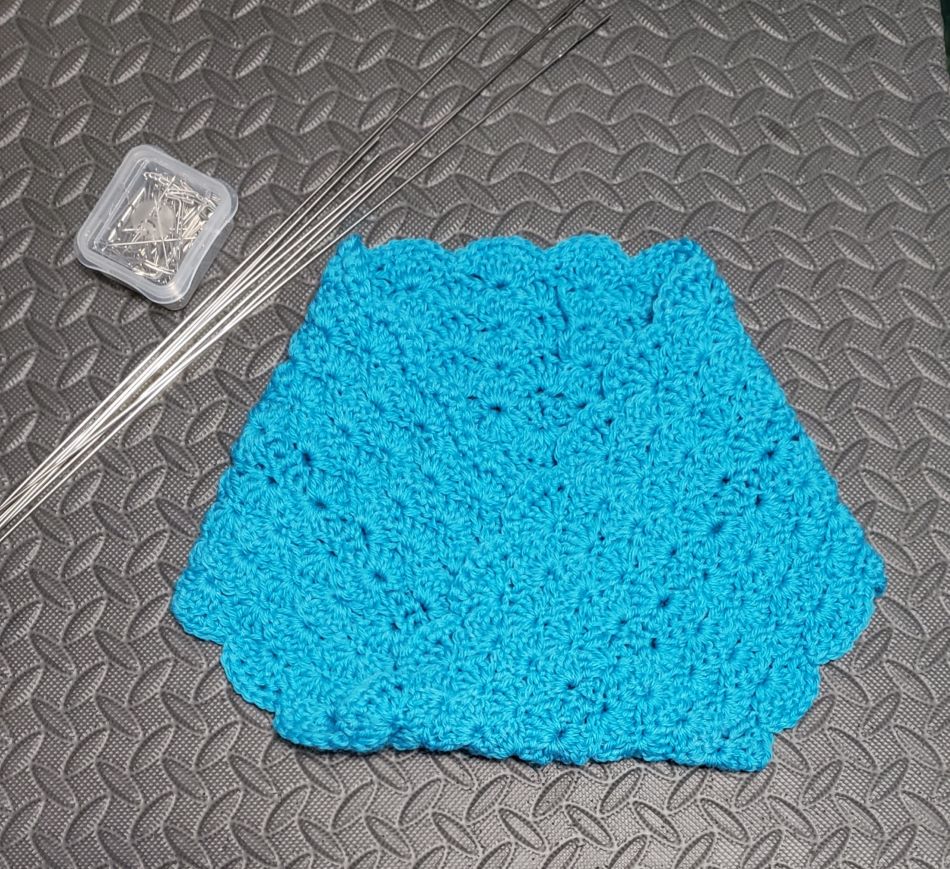
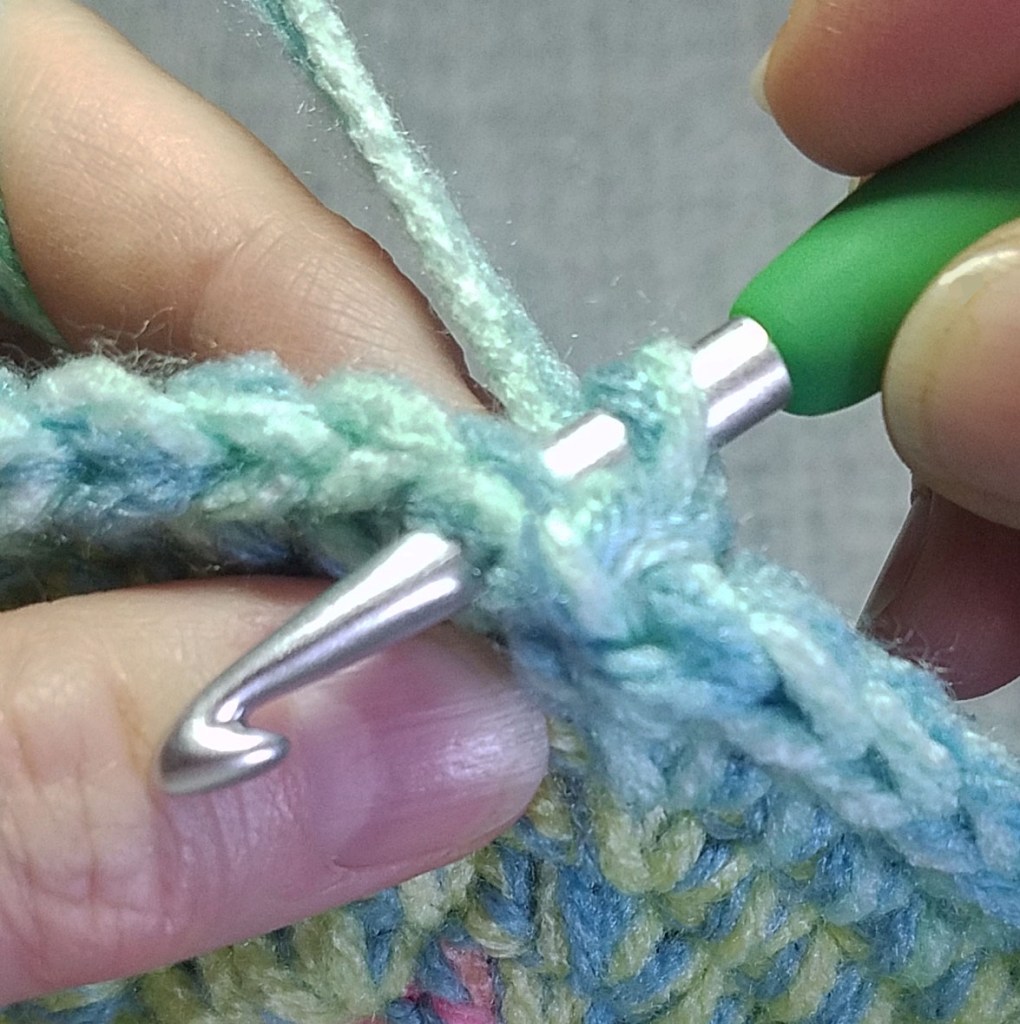
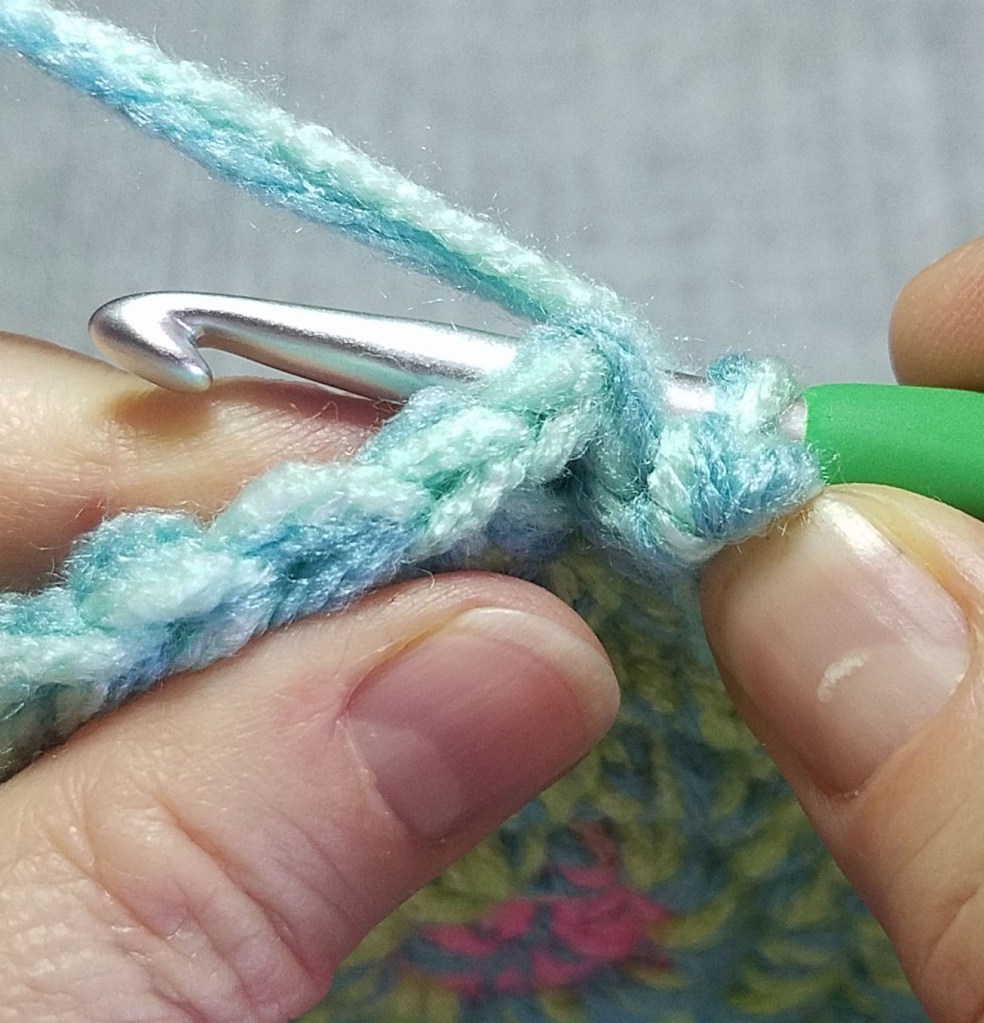
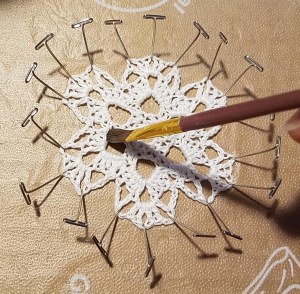
Obviously you’ll need some blocking wires, you can purchase a variety of blocking wires on Amazon, you just want to be sure that the wires you are going to use are rust proof, especially if you will be using the wet method of blocking. The last thing you want is to end up with rust spots everywhere the wires touched your project. You will also need some nickel-plated T-pins. These are for anchoring the blocking wires as you stretch your fabric.
For the most secure hold of the pins you need a blocking mat. The size of mat needed depends on the size of the project you are blocking. Again you have quite a few options for blocking mats on Amazon, but I tend to use 18″ x 18″ foam rubber floor mats that are made to use on concrete floors. I have purchased mine over the years at Costco. Much more affordable and they work great for me.
For larger projects you need either floor space, or in my case I use my bed, where you can spread out your blocking mats. If you are fortunate enough to have a large work table that is even better. Crawling around on the floor to block a project can be a bit tiring and hard on the back.
Now you are ready to use wires to block your crochet project. Just weave the wires through the edges of your fabric or where you need to stabilize the shape. Then use T-pins to secure the wires. Once you have pinned the wires you may want to adjust to add more even stretch to your fabric. Mist or steam as needed to relax the fabric, then let it dry completely before releasing the wires.
I hope you feel ready to wire block your next crochet project.


