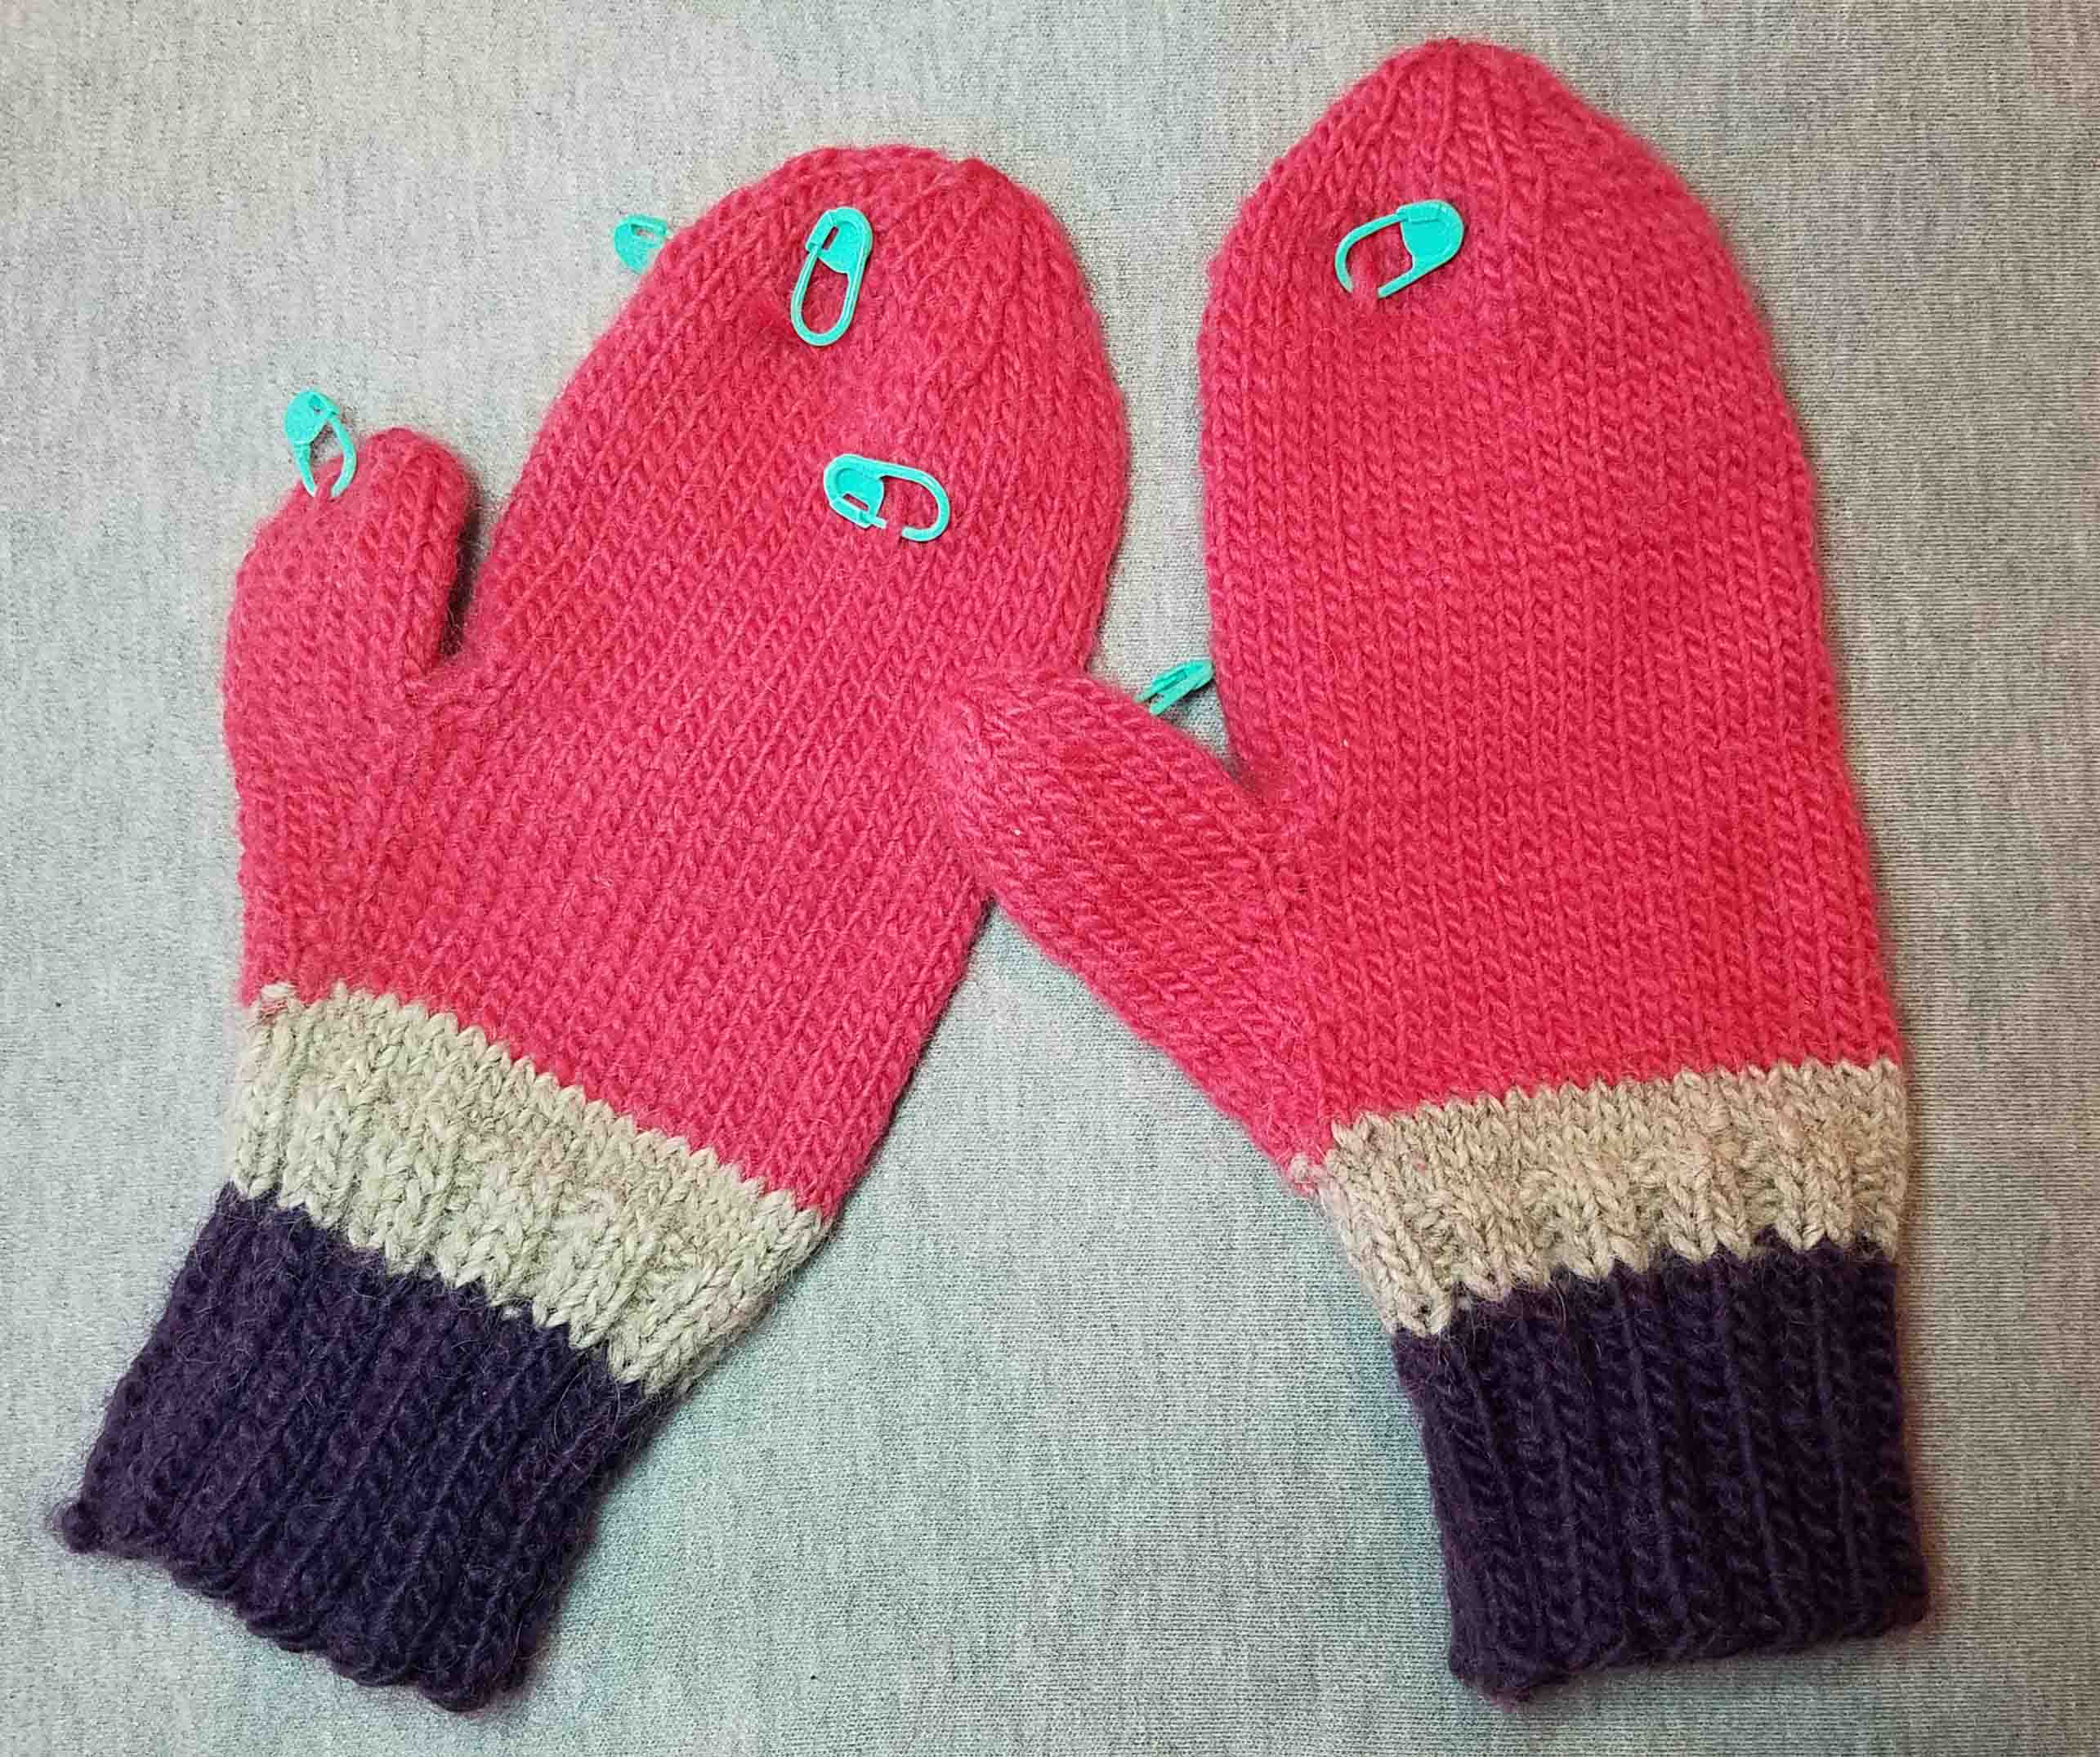
Summer is officially over, though here in Colorado we are still having some pretty hot days. The weather is predicted to start cooling off nicely in the next week. My kiddos are both back at school, and I’m back to teaching classes at my local yarn shop; Longmont Yarn Shoppe.
I taught my first class last weekend: Learn to Crochet Level 1 – Getting Started. I have 9 other classes coming up in the next 4 months. 3 of them will be Hybrid classes that will have seats both in-person and via Zoom. All the times listed below are in Mountain Time, Zoom classes include the other US time zones on the registration page at LongmontYarn.com.
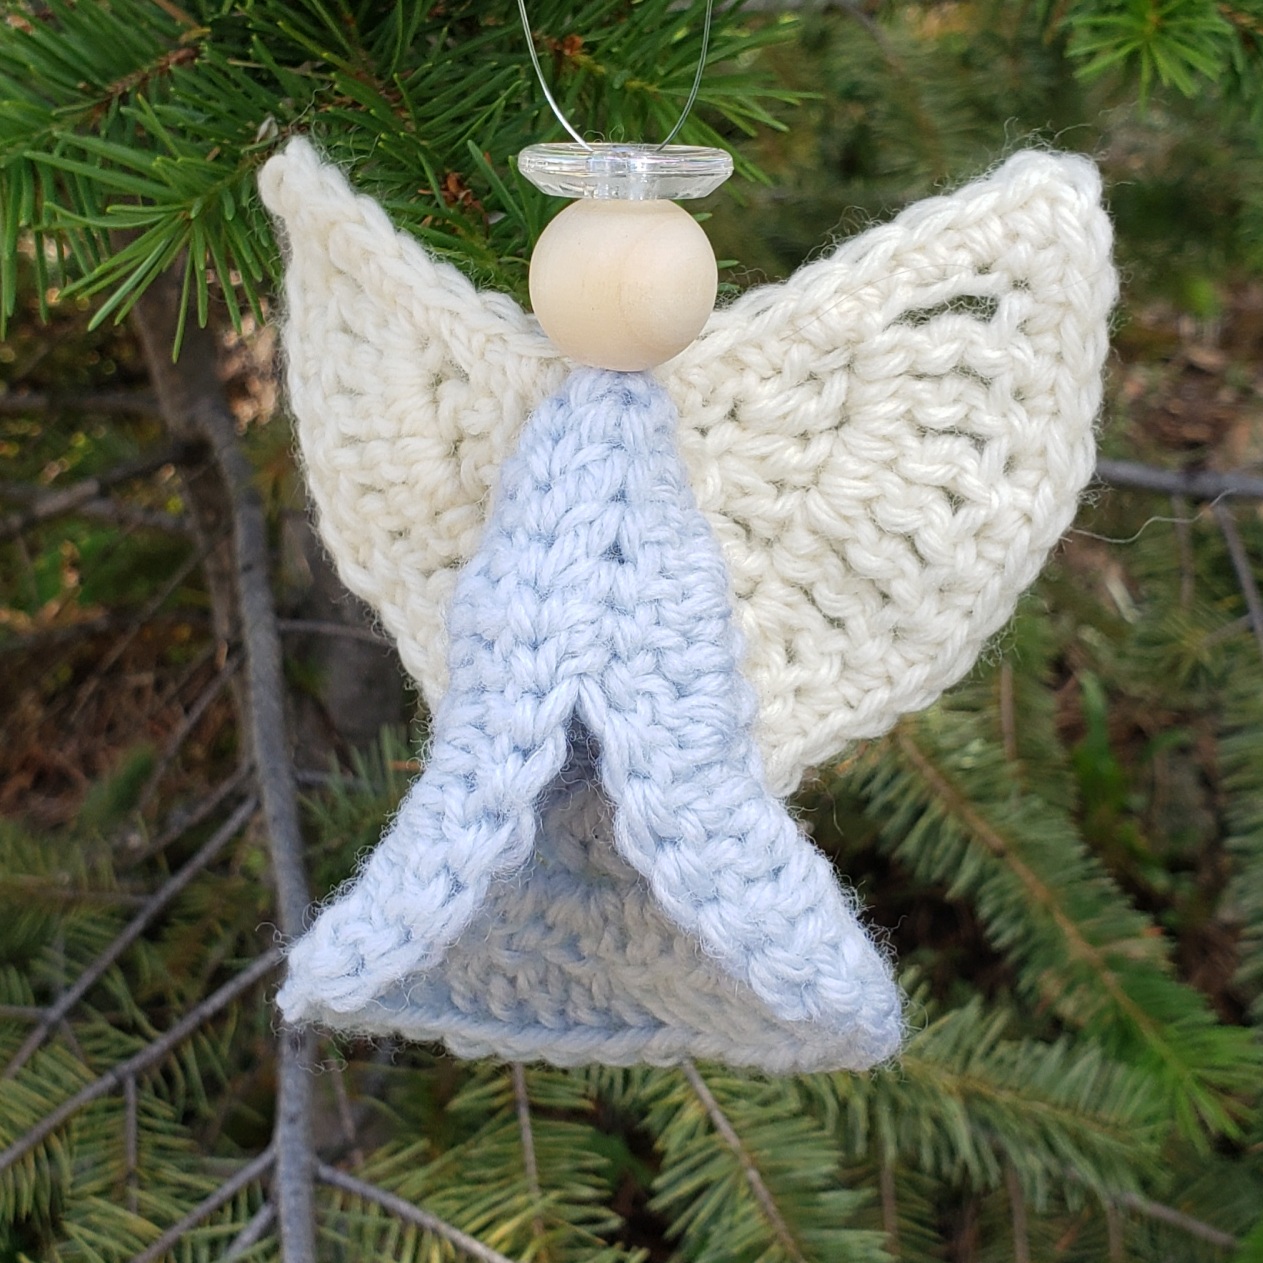
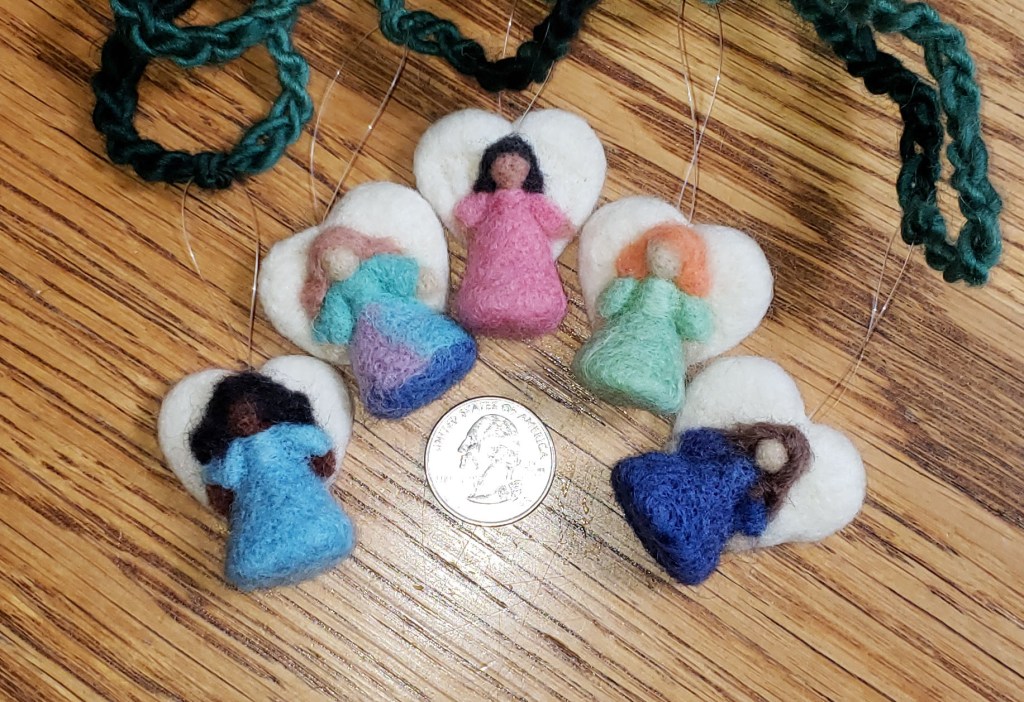
Memory Angel Ornament (in-person): Sunday September 17th, 1 p.m. to 4 p.m.
I updated my Memory Angel Ornament pattern to use a large wooden bead and a button for the head. This class includes a class kit for $8 payable at the time of class and is in-person at the shop classroom. The kit booklet includes the pattern for the angel as well as additional tips and tricks on making your angel.
If you missed the class you can purchase the pattern in my Ravelry shop here.
Learn to Crochet Level 2 – Working in Rows (in-person): Saturday September 23rd, 9:30 a.m. to 12:30 p.m.
This is the next step in learning to crochet. If you already know how to comfortably make chain stitches this is the class for you. You’ll learn how to make slip, single, half-double, double and treble crochet stitches along with working into a foundation chain and the basics of reading a pattern. The class cost includes the kit for class, so all you need to bring is a crochet hook.
Learn to Crochet Level 3 – Working in Rounds (in-person): Saturday September 30th, 9:30 a.m. to 12:30 p.m
This class is all about getting comfortable working the stitches you picked up in Level 2 in concentric rounds. You’ll learn all about starting and joining your rounds and how to make the motifs in your hand-out in a variety of sizes.
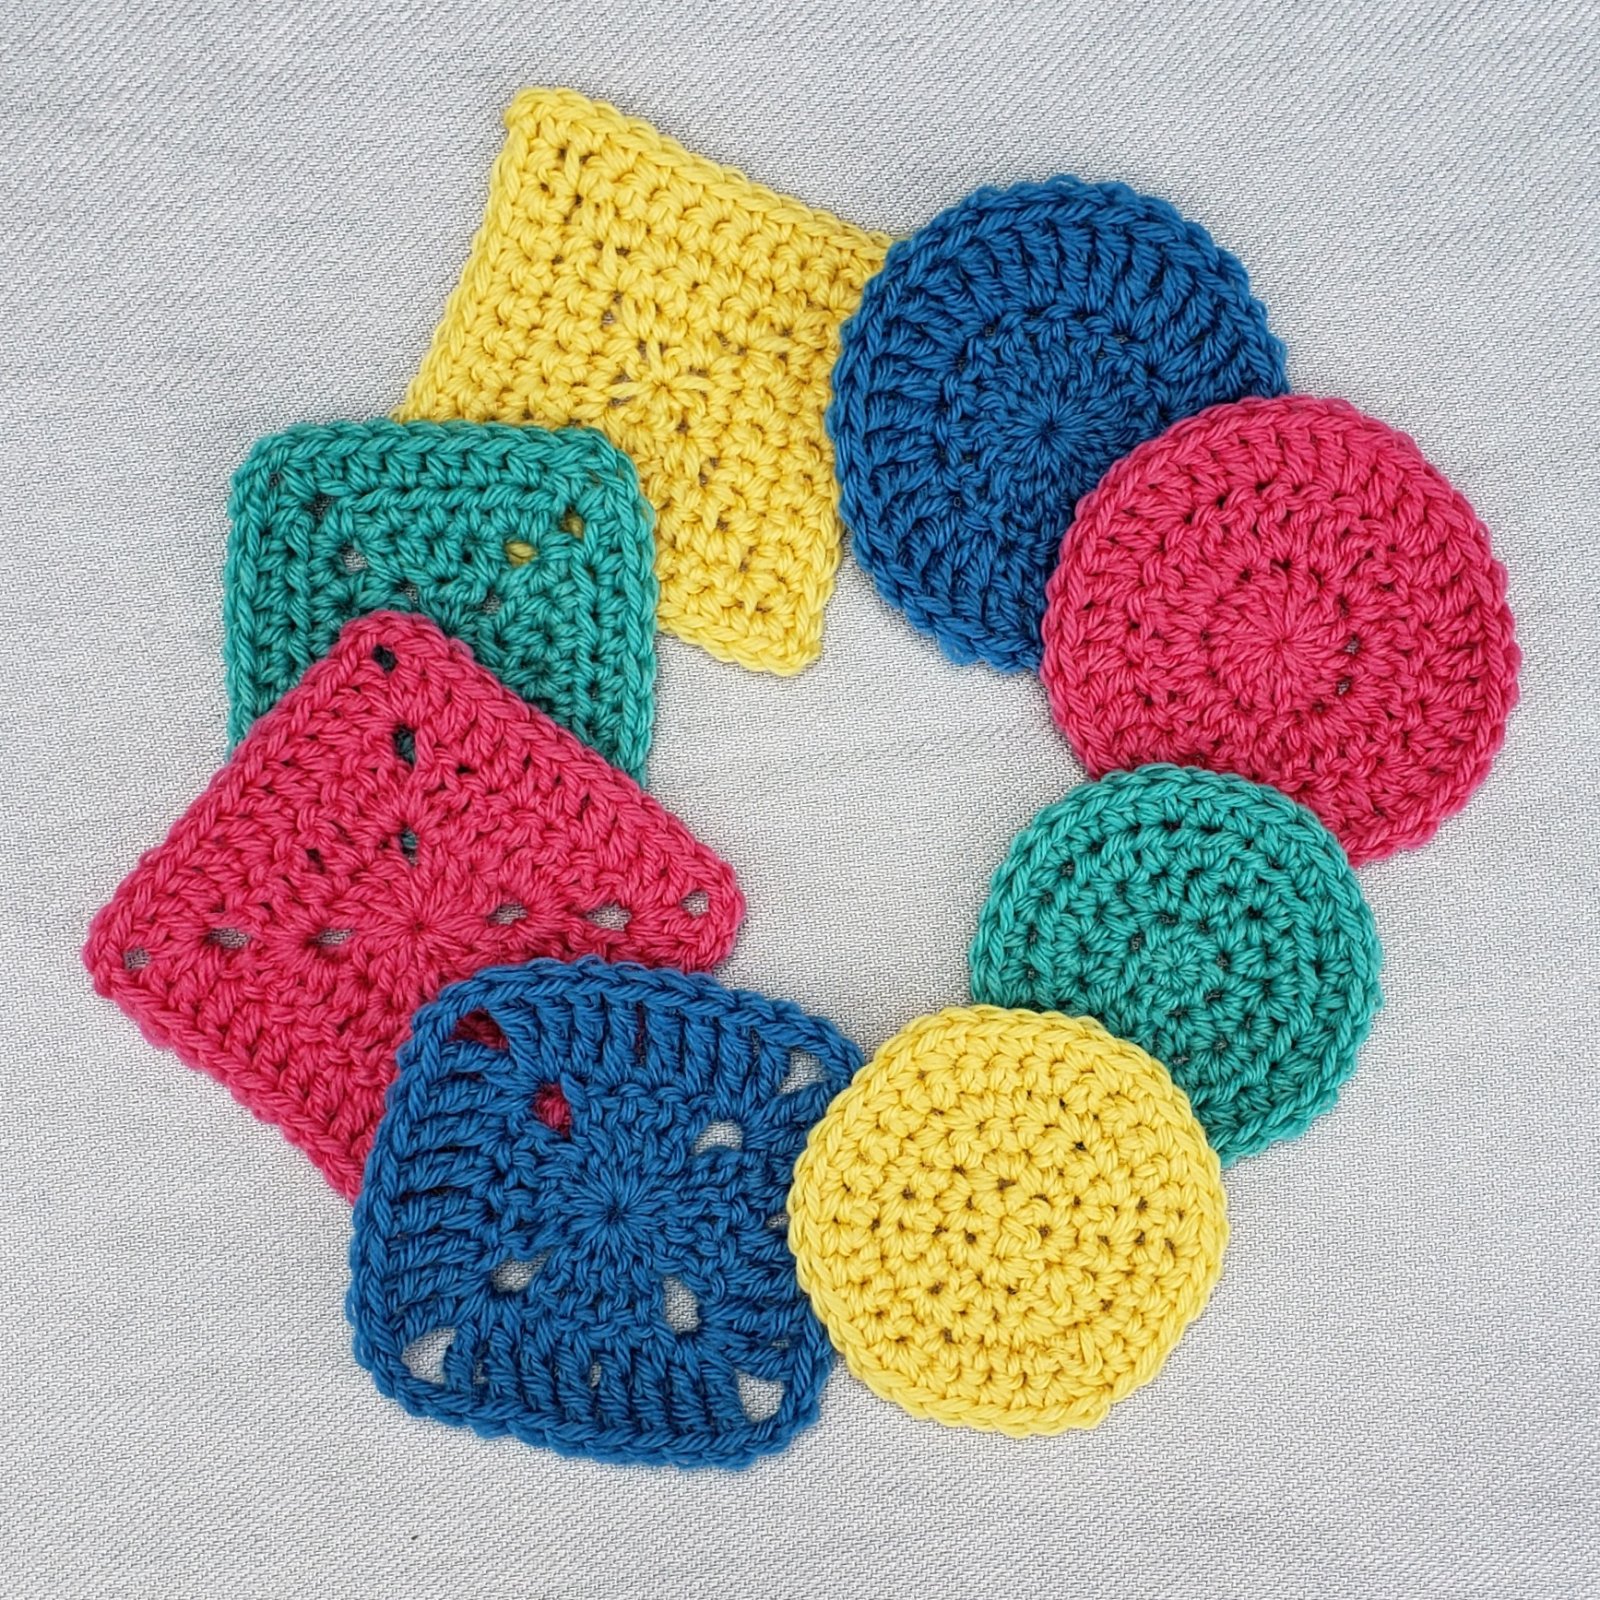
Granny Square Basics with Andee (hybrid) : Saturday September 30th, 1:30 p.m. to 4:30 p.m.
There are 6 seats for In-person students and 6 seats for Zoom students.
For this class you will need the “Helen’s Yarn Adventures” granny square blanket pattern. The pattern includes stitch diagrams and directions for making granny squares.
Granny Squares are a classic crochet motif that has been used since the mid-1800’s to make blankets and other projects. The squares are worked in the round with 4 corners and are great for using up bits of yarn left from other projects. In this class you will learn how to crochet the classic granny square as well as modifications to the granny square pattern for more drape in your project. We will cover 2 methods of joining a new color at the beginning of a round including standing stitches, invisible joins for the last round of a square, easy ways to weave in all those tails and working multiple rounds in one color.
Learn to Crochet Level 4 – Crocheting a Hat (in-person): Saturday October 14th, 9:30 a.m. to 12:30 p.m.
This class is a great introduction to making a basic crocheted hat. The class kit includes a booklet with everything you need to know to make any size of hat with any yarn of your choice.
Inside Out Rectangles (in-person): Saturday, December 16th, 10 a.m – 1 p.m.
Rectangles are one of the most useful shapes to crochet, depending on their size they can be a scarf, wrap, throw or blanket. Working in the round, from the inside out, like a granny square makes it easy to change colors and add a fun border. But how do you get the rectangle started and how do you determine how big your finished project will be? Come join Andee for this class and you will learn everything you need to know to get the size rectangle you want.
Class tuition includes a full color workbook. We will cover beginning your project with the Stacked Rows Foundation and how long you need it to be for the finished size you want. You will even learn a No Math version using your workbook in class. As well as learning how to figure out the size project you can create with the yardage you have available. The workbook will include 3 different stitch patterns to use to make your projects.
Joining Your Granny Squares with Andee (hybrid): Saturday October 28th, 9:30 a.m. to 12:30 p.m.
There are 6 seats for In-person students and 6 seats for Zoom students.
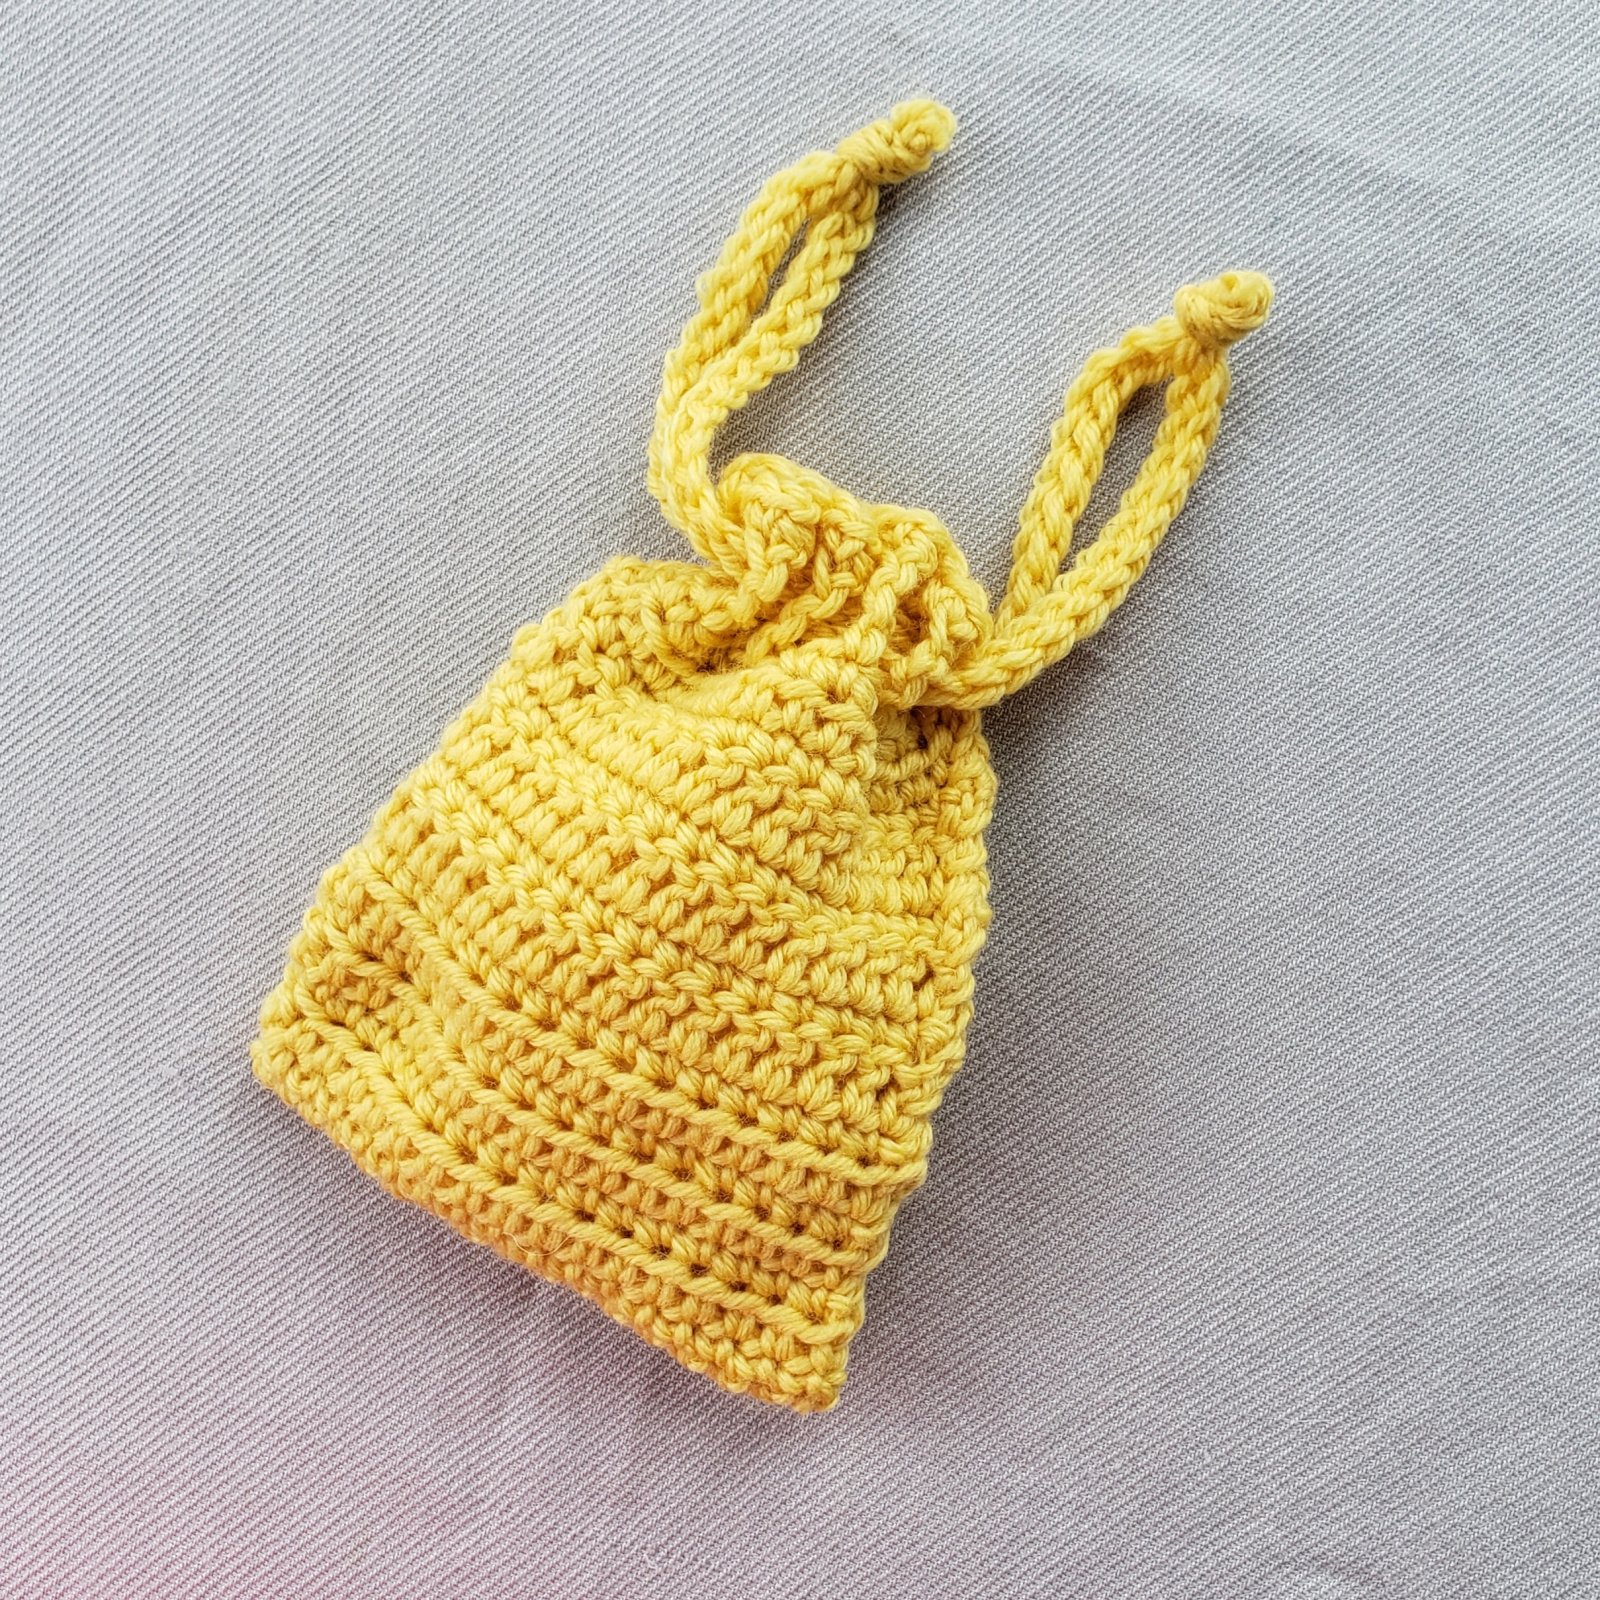
For this class you will need the “Helen’s Yarn Adventures” granny square blanket pattern. The pattern includes stitch diagrams and directions for making granny squares. For this class you will need to make 12 squares that have 4 rounds and 4 squares that have 3 rounds before class so you can practice the various joins. For those that want, I will show how the 16 squares from the homework can be made into a bag.
You’ve gotten comfortable with crocheting the classic Granny Square, so now it’s time to learn all the tips and tricks for joining your granny squares together to make a blanket or other projects. Class will cover 4 methods for joining squares together: Sewing, 2 Crochet joins and a Join-as-you-Go method. We will also cover how to weave in all those ends to create a fabric that is both beautiful and long wearing, plus tricks for blocking and edging your granny square project.
Linked Stitches Hat with Andee (hybrid): Sunday November 5th, 12:30 p.m. to 3:30 p.m.
There are 6 seats for In-person students and 6 seats for Zoom students.
For this class you will need the Snowy Rainbow Hat pattern.
Hats are fun, and quick projects to crochet and make wonderful gifts, but if you have crocheted a hat using double crochet stitches you may have been disappointed with how holey the fabric is. You need Linked Stitches!
Come learn how to work linked double crochet stitches in this hat project. You will have a fun hat that is warm and stretchy without any holes. During class you will crochet an infant size hat to practice the techniques and leave with the skills to make your hat in 4 additional sizes (Toddler, Child, Small Adult, Large Adult). Students will also learn how to adjust the size of their hat to use different weights of yarn.
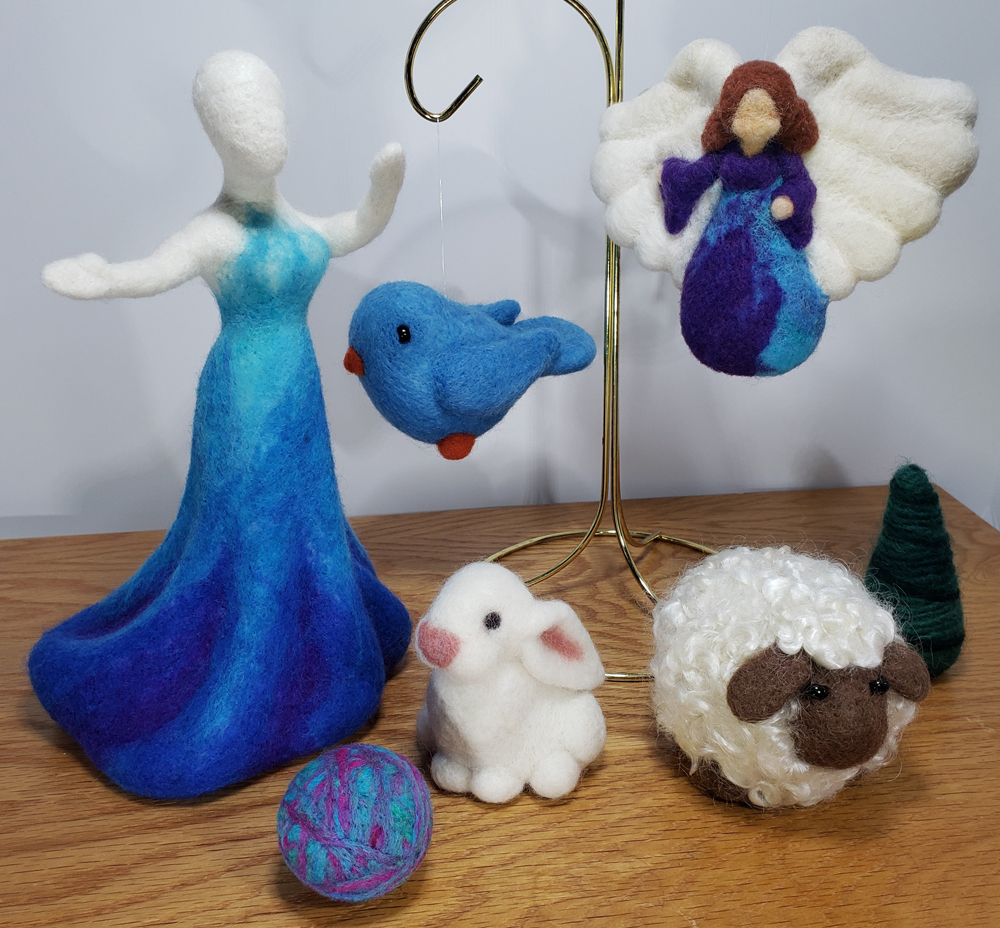
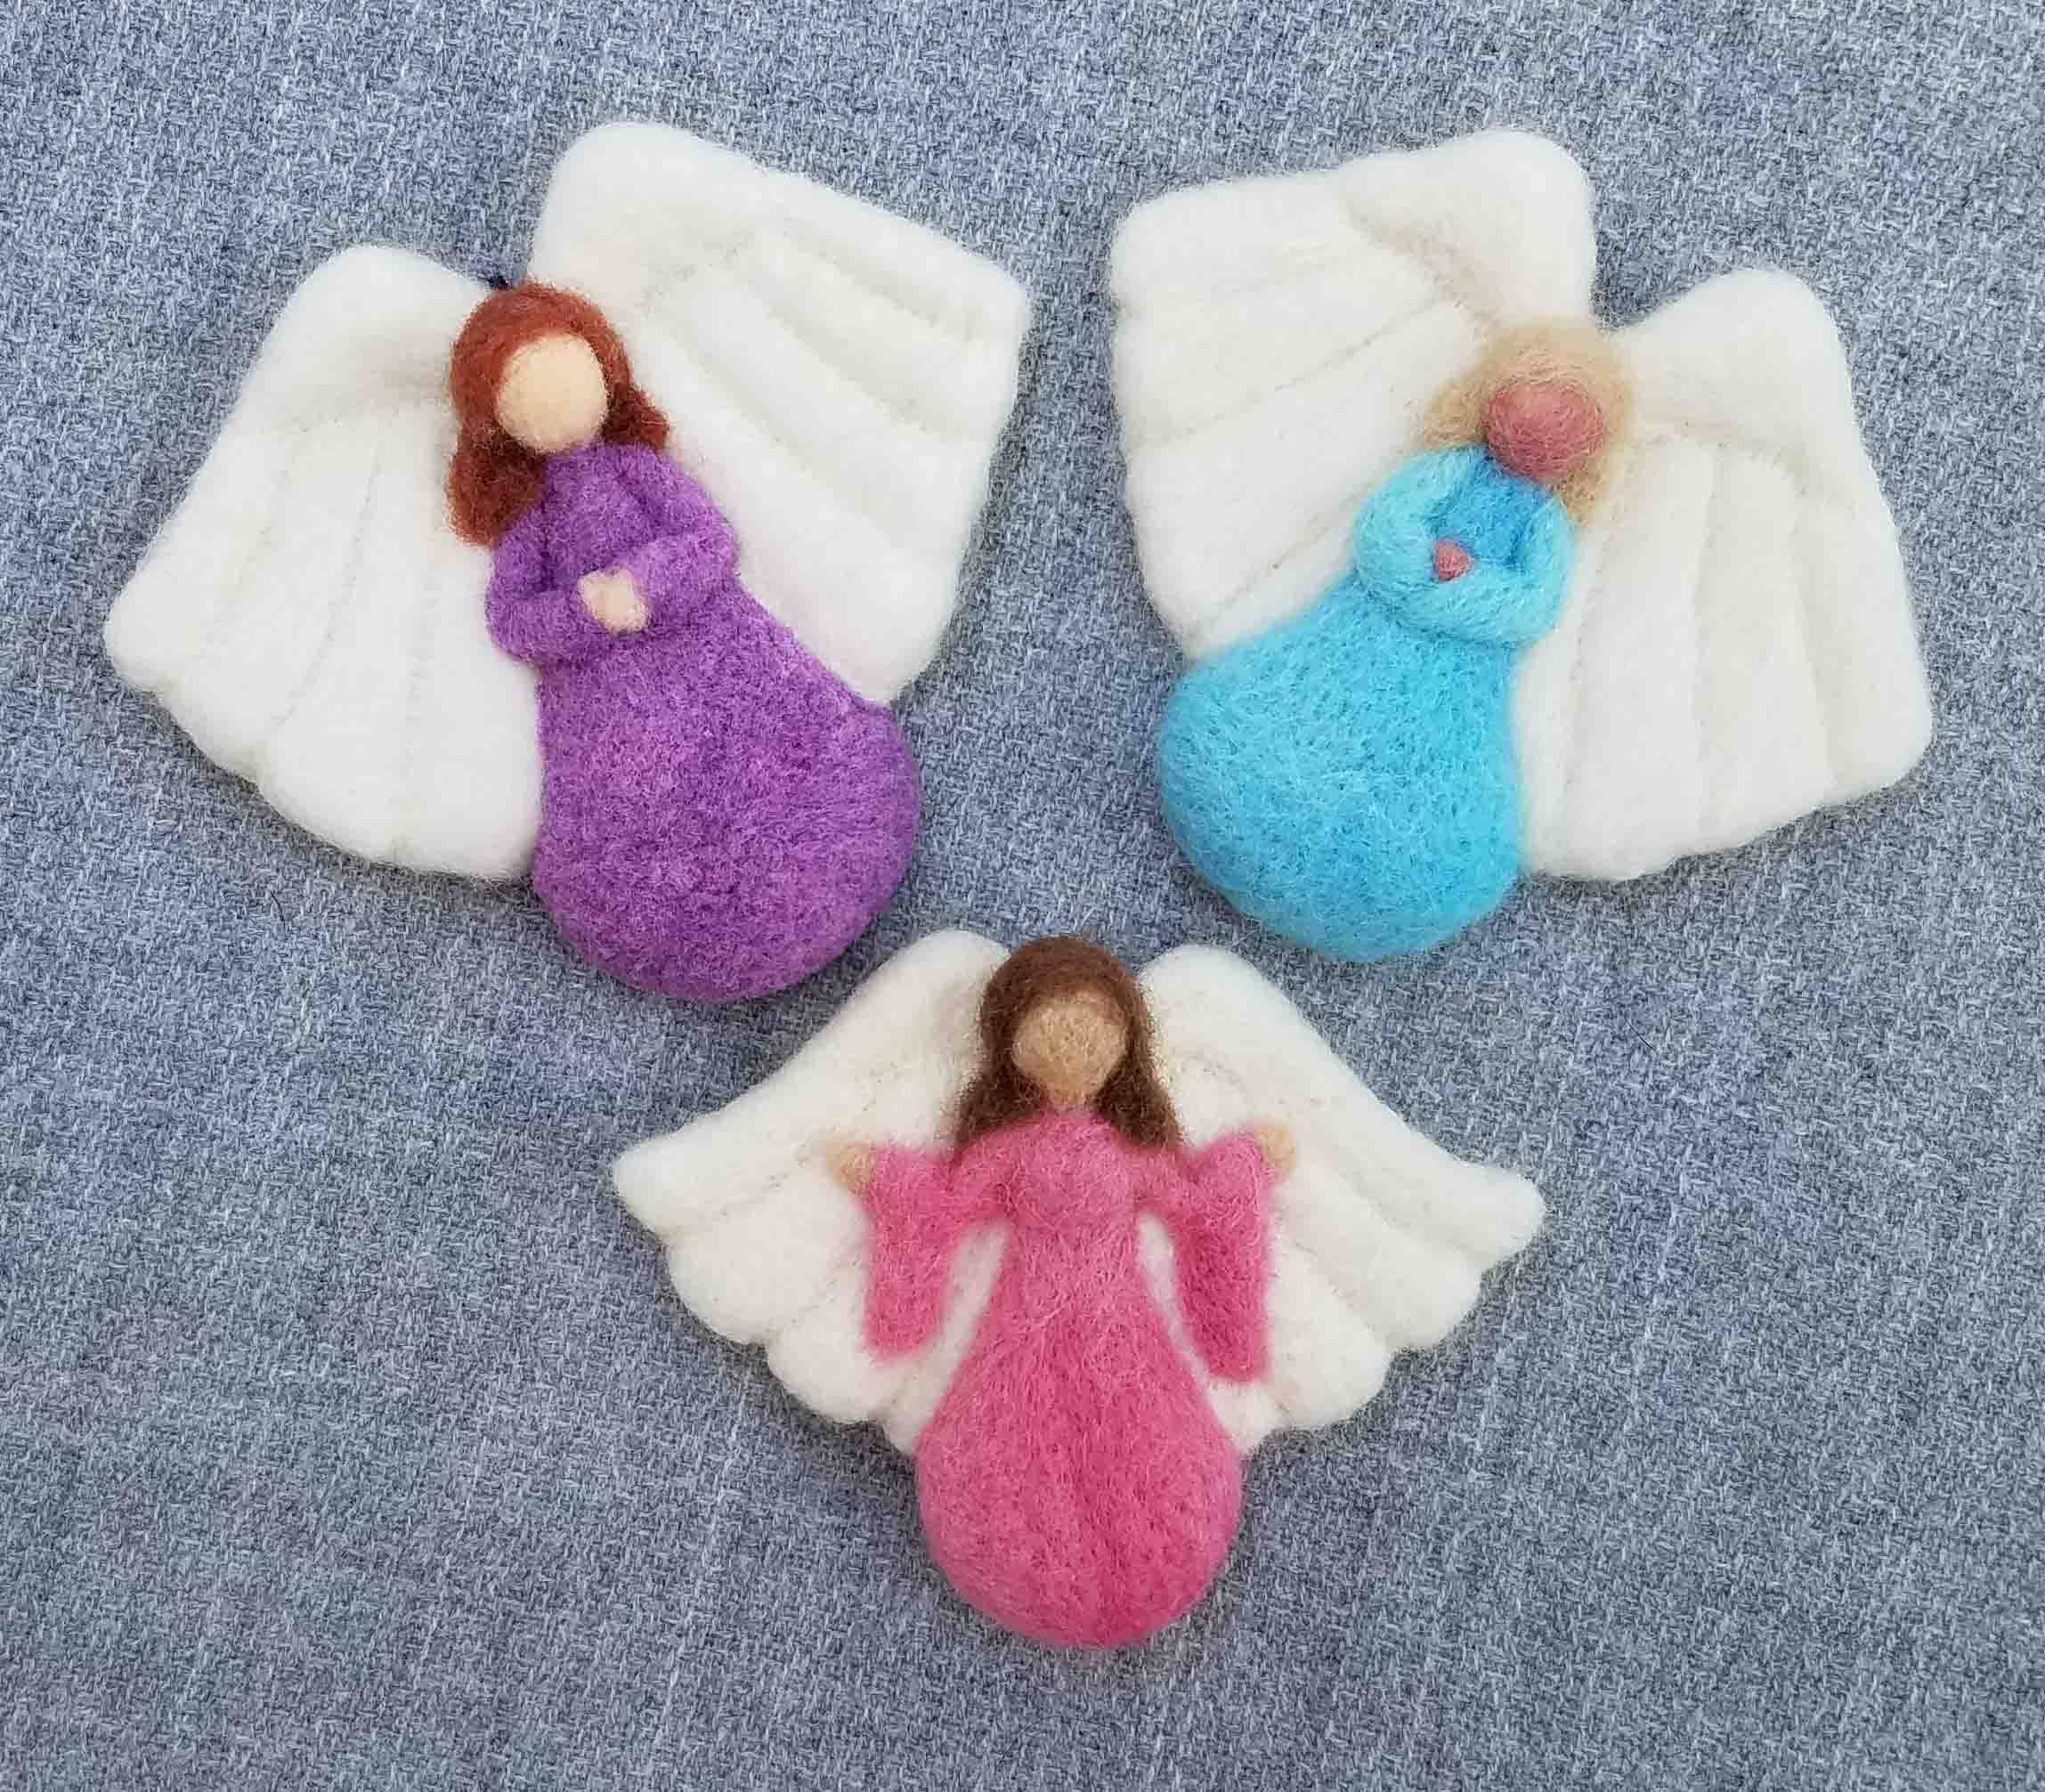
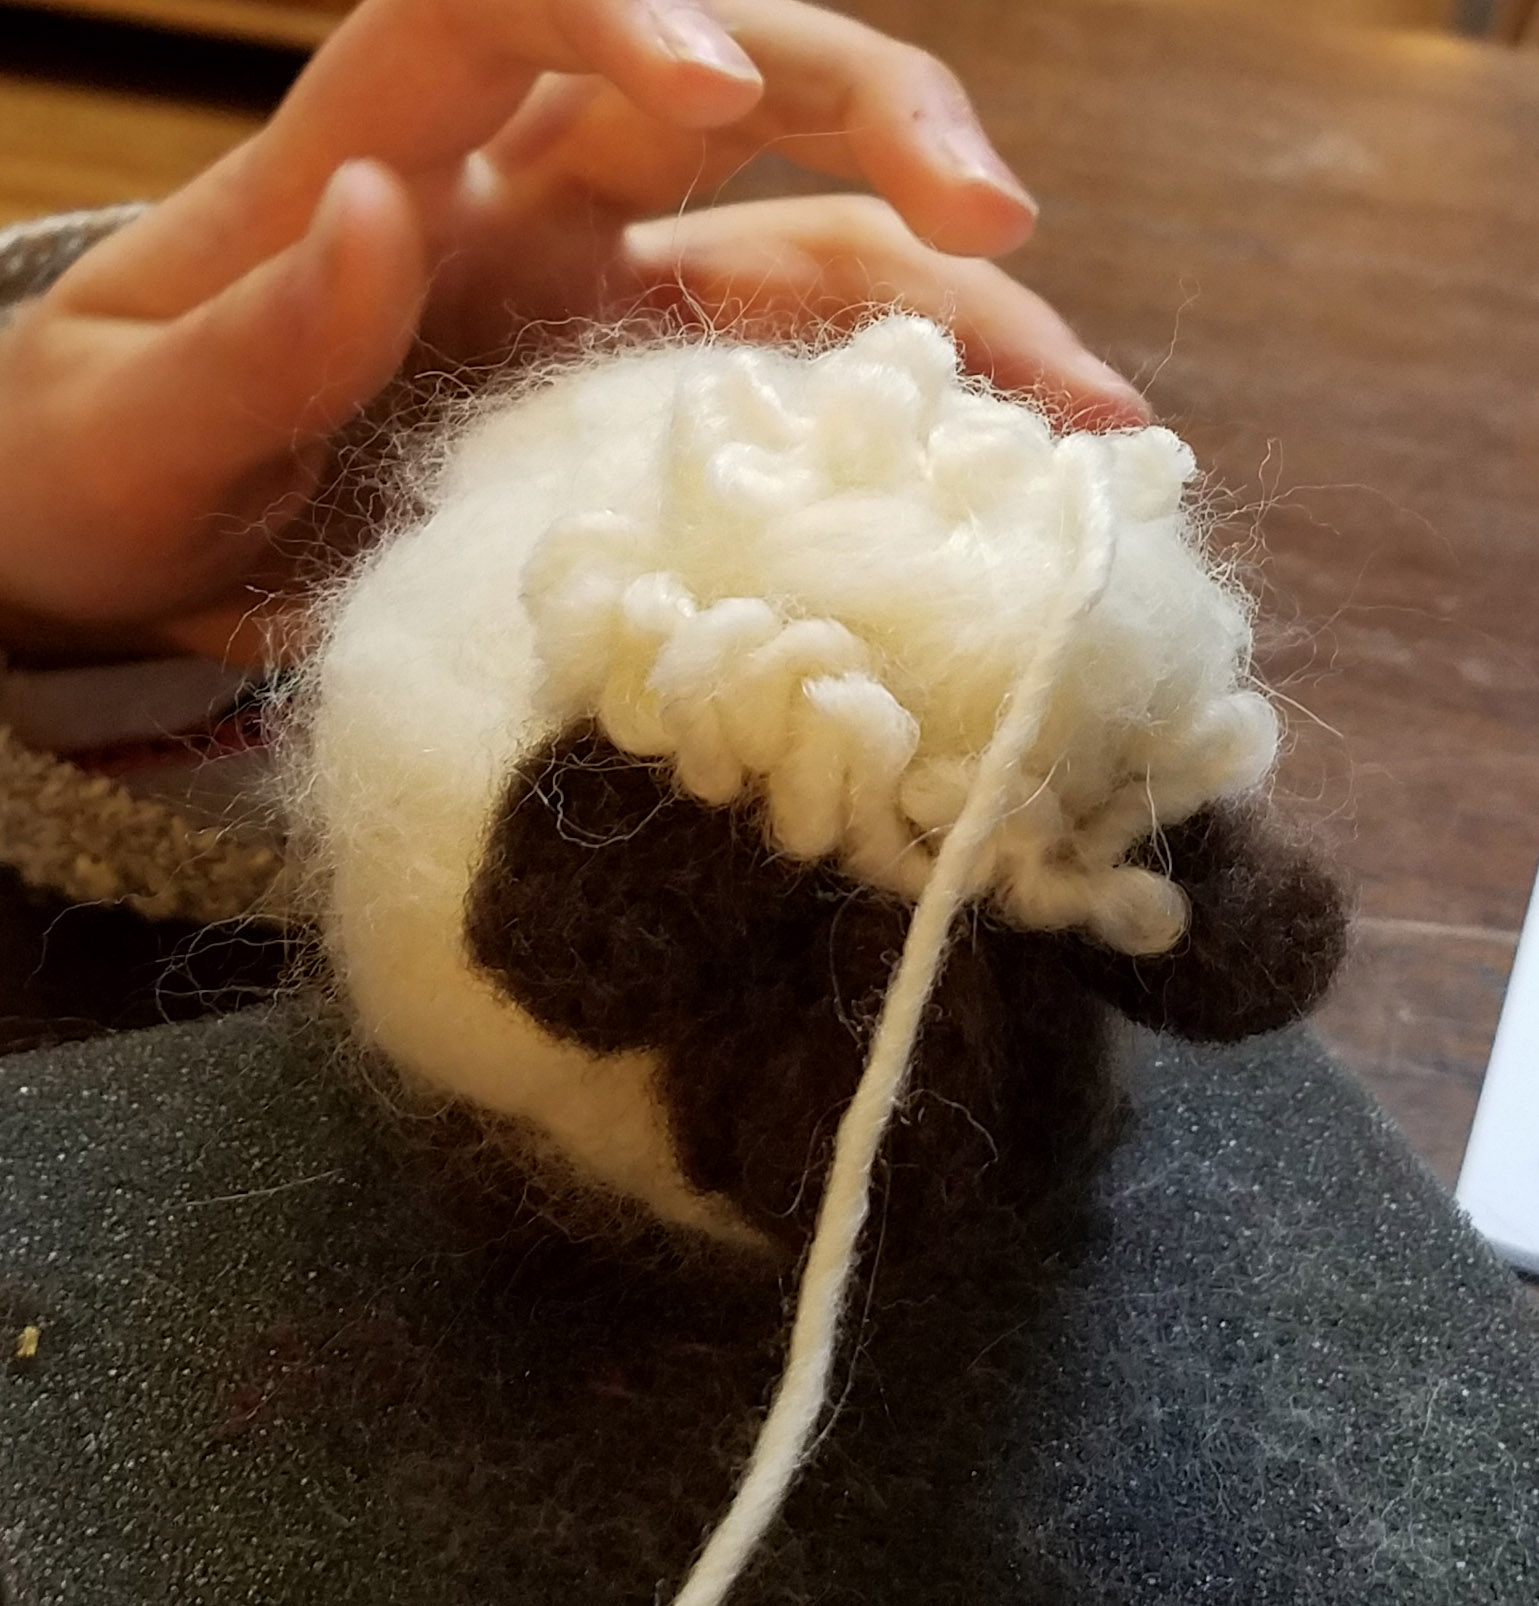
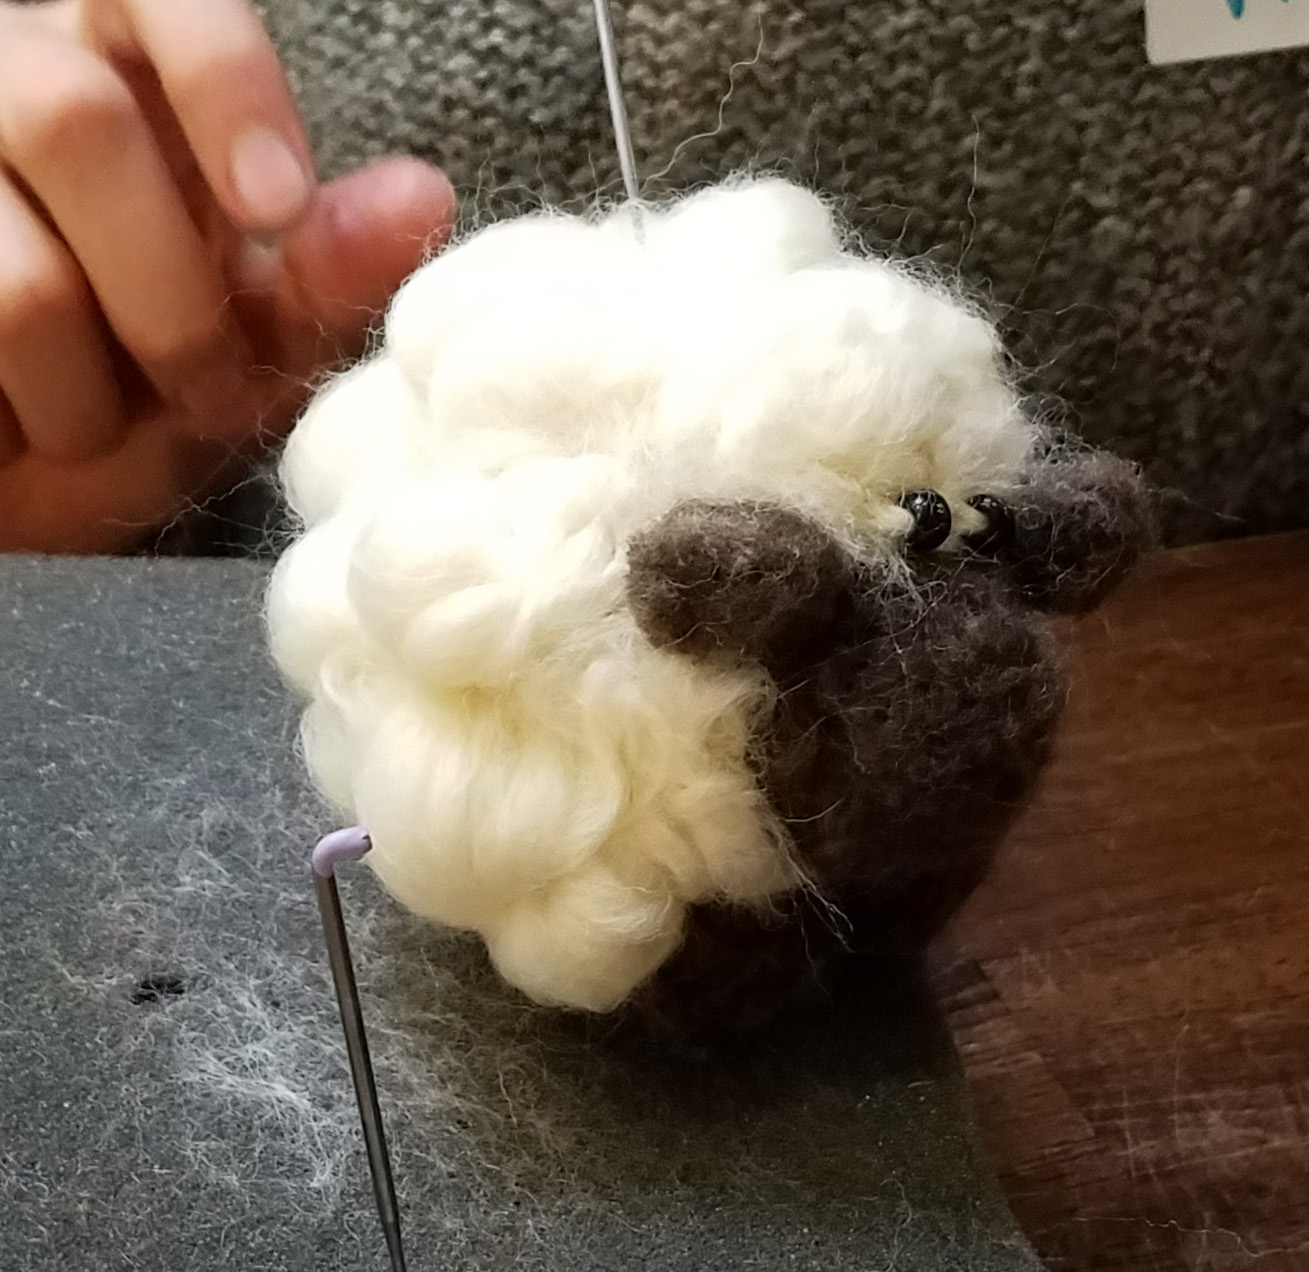
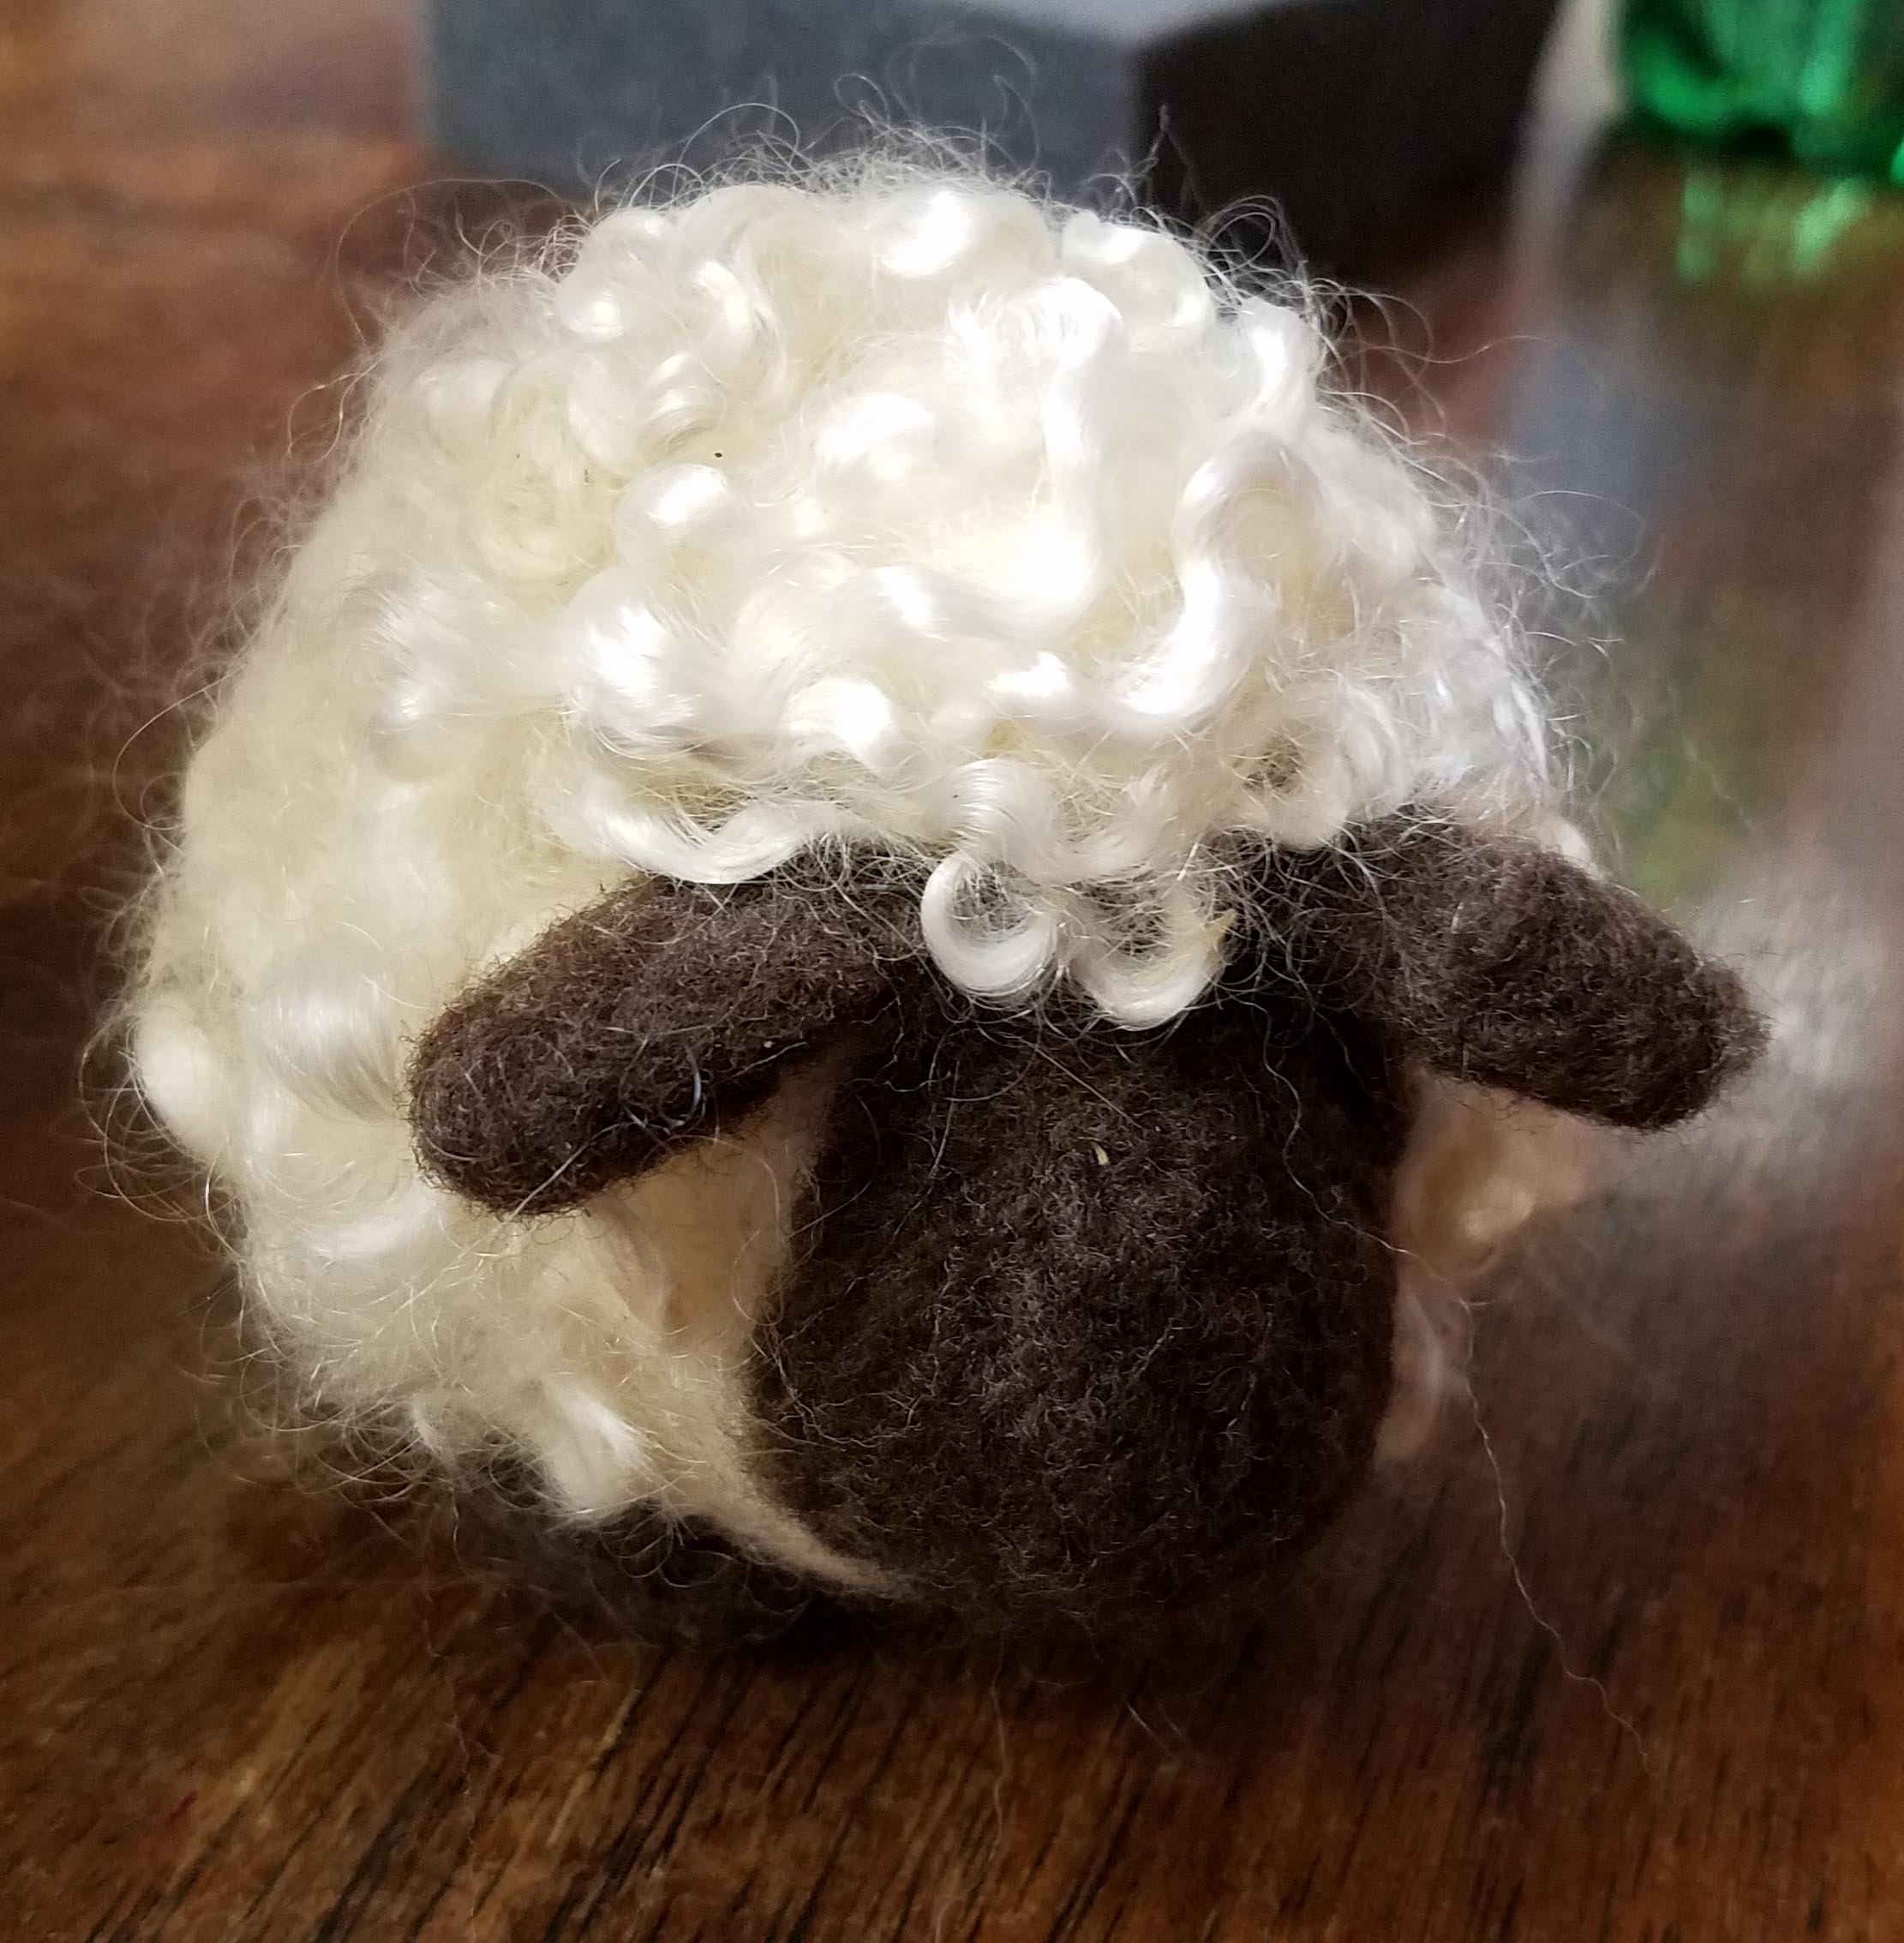
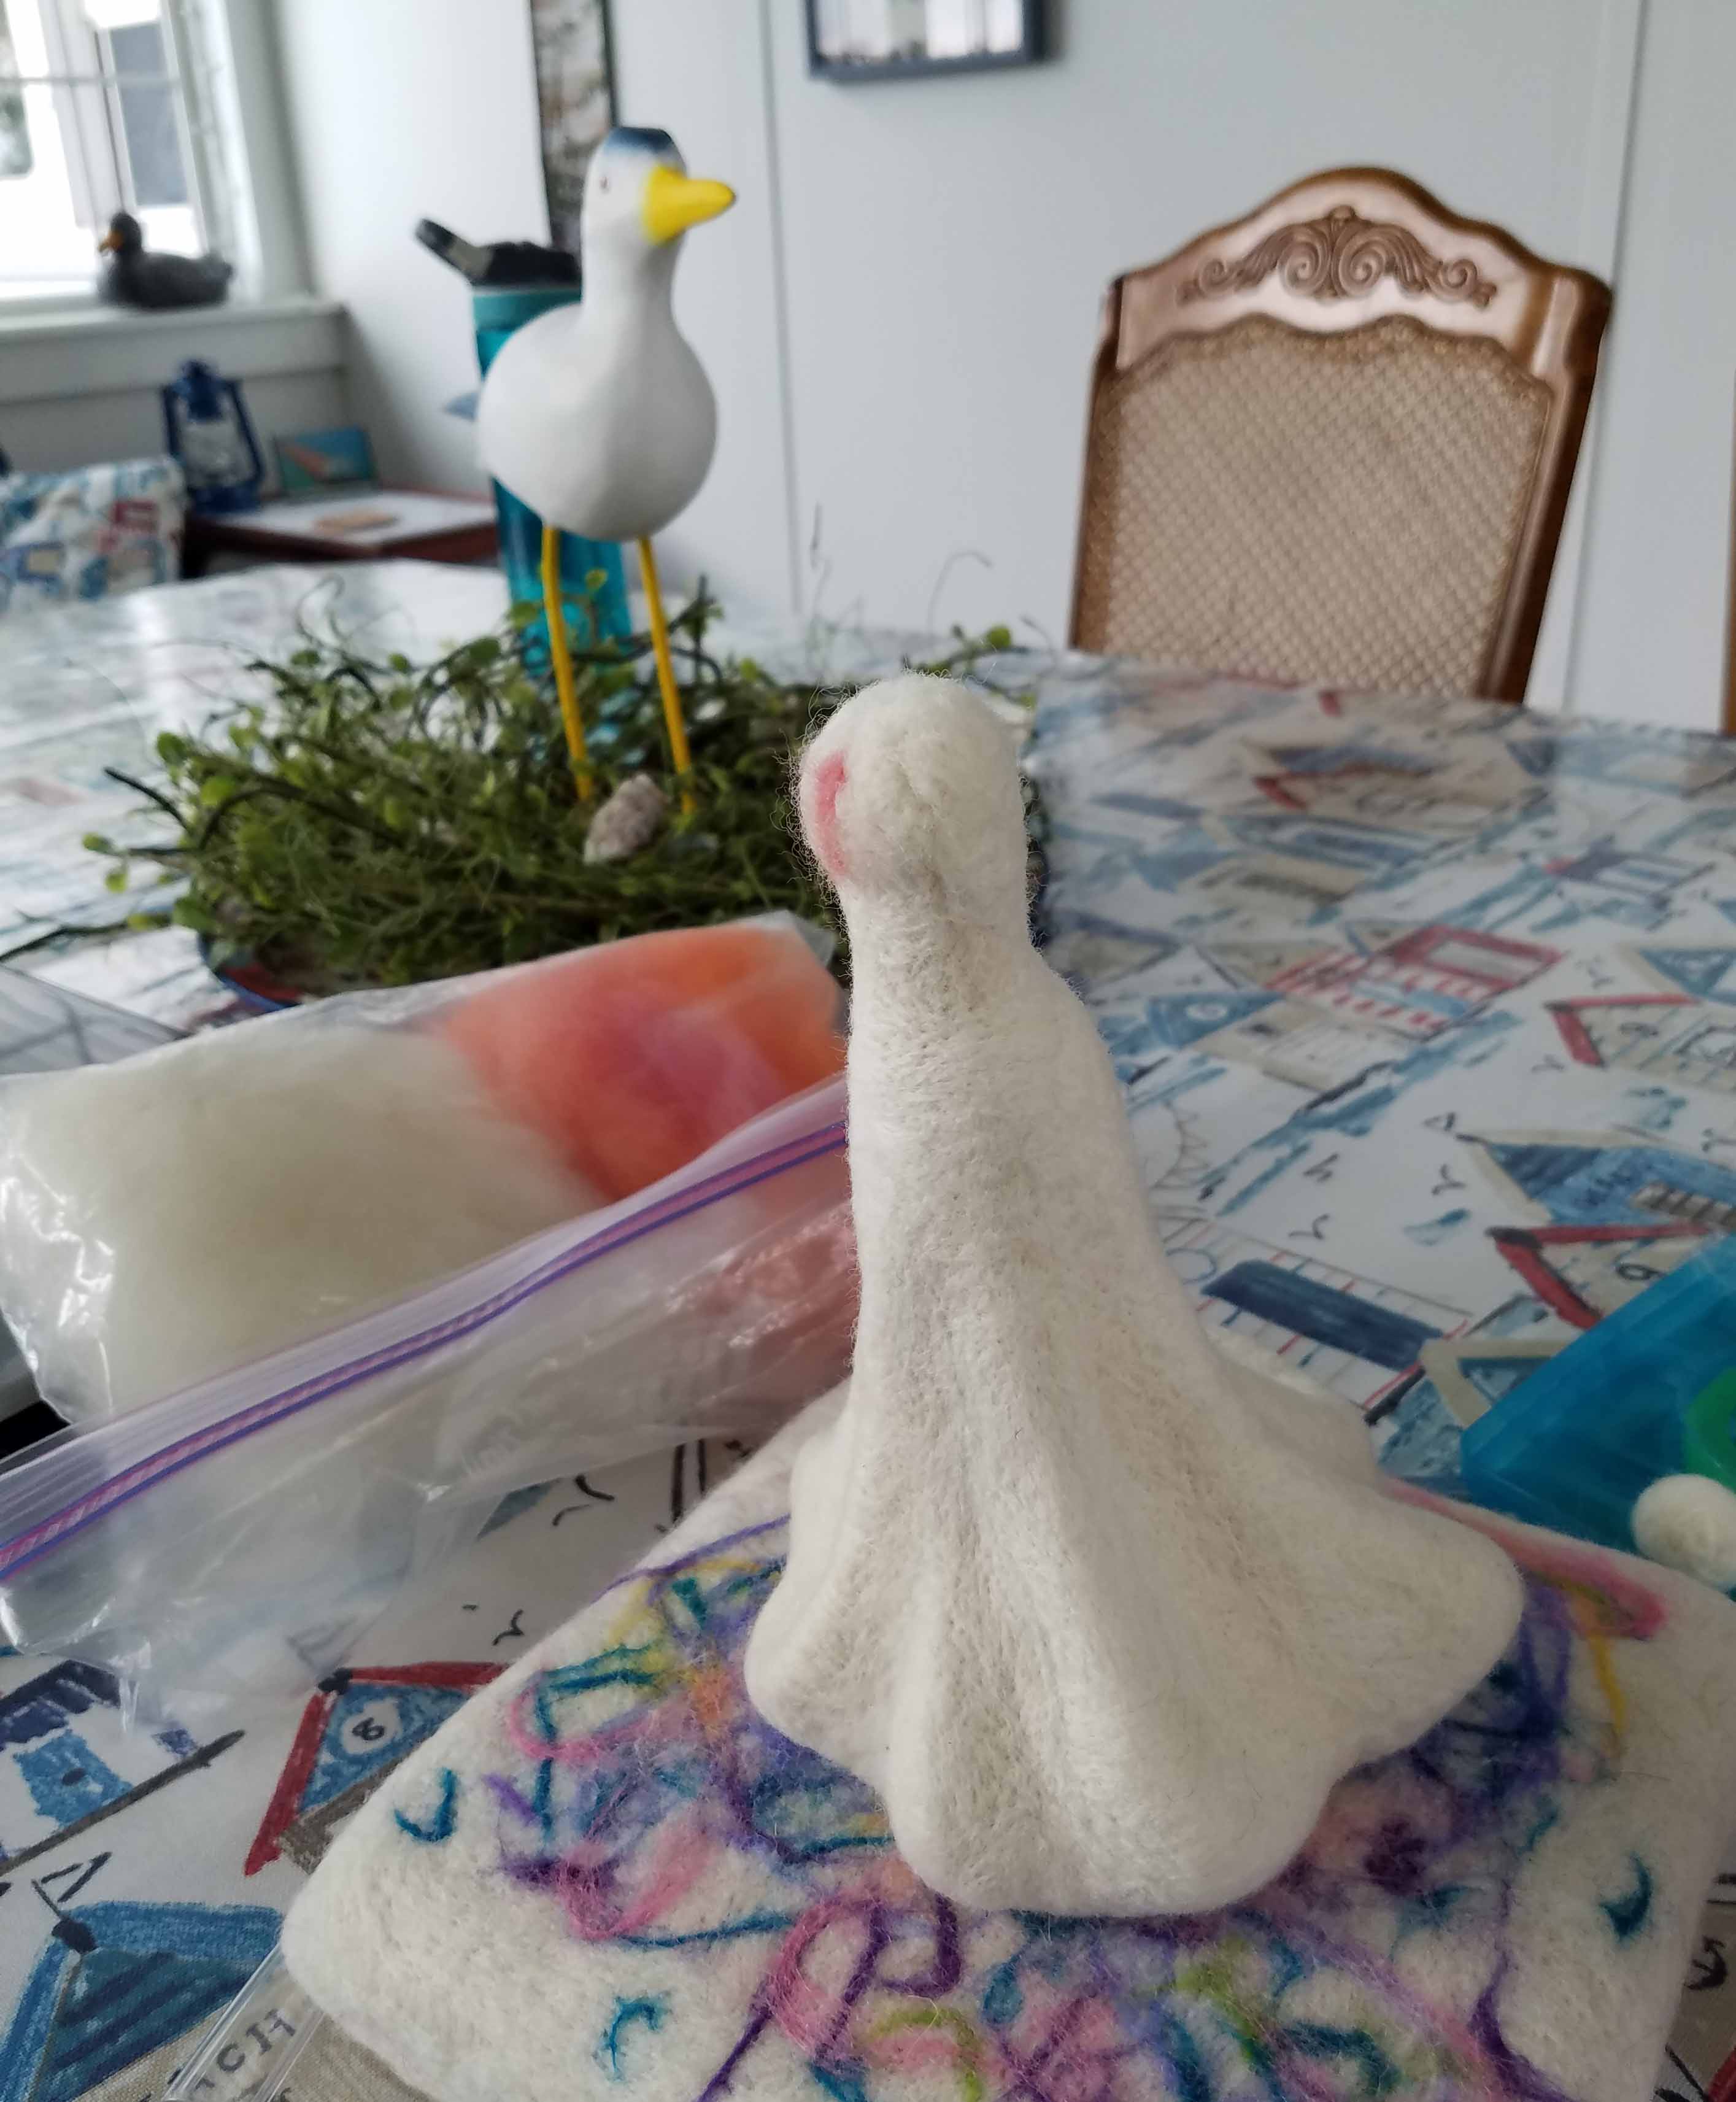
Needle Felted Angel Ornament (Zoom): Sunday December 17th, 12:30 p.m. to 3:30 p.m.
Come learn how to create this adorable compact little angel. In three hours you will be confident with using a variety of needle felting sculptural techniques to create a dense long-lasting felted ornament that will be loved for years. Project will introduce using a template for starting your sculpture and directional gathering of fiber to create 3 dimensional shapes. Class is ideal for those that have a little experience with needle-felting already.
All materials are included in the class fee. TO ENSURE YOU GET YOUR KIT IN TIME IF IT IS SHIPPED register 7-8 business days before class starts.