I really enjoy making lace work in crochet. Open stitches are lovely for imparting drape and a more economical usage of yarn for the amount of fabric created.
One of the things that really made me fall completely in love with lace work though was when I learnt about blocking my work. I had used a version of blocking in the past without knowing it. All those wonderful hard-wearing 100% acrylic afghans and scarves I had made were blocked in the simpliest way possible. Machine washing and drying.
A lot of blocking is about the combination of water and heat. When you wash and dry acrylic yarn you are using a version of steam blocking. You can be more deliberate with it by using an actual garment steamer.
Until a couple years ago I had never used wires to block. Since getting some wires and using them I’ve become a true believer. Wire blocking is most effective when working with natural fibers like wool, silk or cotton. But you can wire block synthetic fibers too, you may need a bit of steam or heat to “set” the blocking though.

My “Right Angle Wrap” design in the Autumn 2010 issue of Crochet! Magazine is a great example of the magic of using wires to block lace. When my dear friend Jan came out for our Reno adventure, last September, I got a chance to introduce her to wire blocking.
Jan had crocheted up the “Right Angle Wrap” to wear at the conference, but it first needed to be blocked. She had never used wires and wanted to give it a try, so I told her to bring the wrap with her and we would block it before leaving for the conference.
Unfortunately, I forgot to take a photo of the wrap before we started, so you don’t get the full drama of how the fabric changes.

First step in this process is to get the item wet, I gently soaked Jan’s shawl in a solution of luke warm water with a bit of Eucalan wash in it. Eucalan is a good product to use with hand wash only fibers especially as it doesn’t need to be rinsed out.
While the shawl was soaking Jan and I laid out the blocking pads on the floor in my design office. You can buy really nice blocking pads that interlock and are marked with a gird pattern to help with precise alignment.

My blocking pads are actually some interlocking foam flooring pads that are 18″x18″ and designed for use on concrete floors. I bought a set of them at our local Costco a number of years back and they have served very well. I cover the pads with towels to help absorb the moisture from the garment I am blocking.
We were ready to take the shawl out of the bucket and remove some of the excess moisture from it. In Colorado, items you are wet-blocking tend to dry very quickly, but Jan lives in New Jersey which is a great deal more humid. So I wanted to show her an easy way to get most of the water out of the shawl.

I laid out a couple more towels that were folded in double layers. Then neatly laid the wet shawl on the towels.

Once the shawl was in position I rolled the towels up and pressed on the resulting log to squeeze out the water. The shawl was damp enough now to block nicely, but not so soggy that handling it would stress the stitches. It also dries quicker.

I helped Jan lay the shawl out on the blocking pad and we shaped it to roughly the layout we wanted. You can see here that the fabric is still not all that defined, but it gives you a feel for what the coming transformation accomplishes.
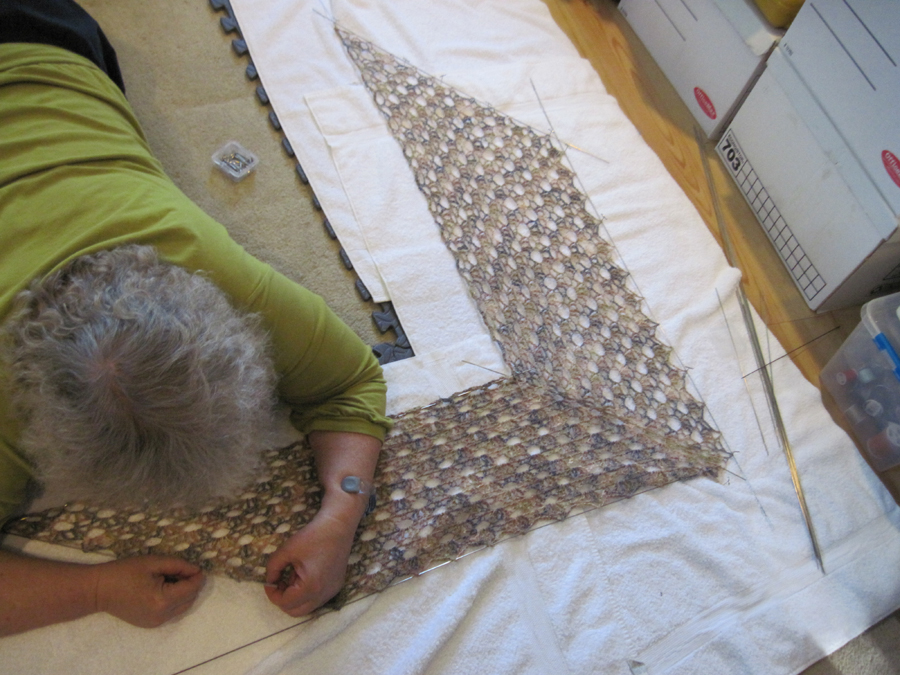
Now began the somewhat tedious task of threading the wires to open the lace pattern. Jan and I took turns with this part of the project. The point of threading the wires into the fabric is to create an even amount of pressure along the fabric.

Once the wires are threaded in the real fun begins. I usually pin out the top edge of the shawl to act as an anchor.
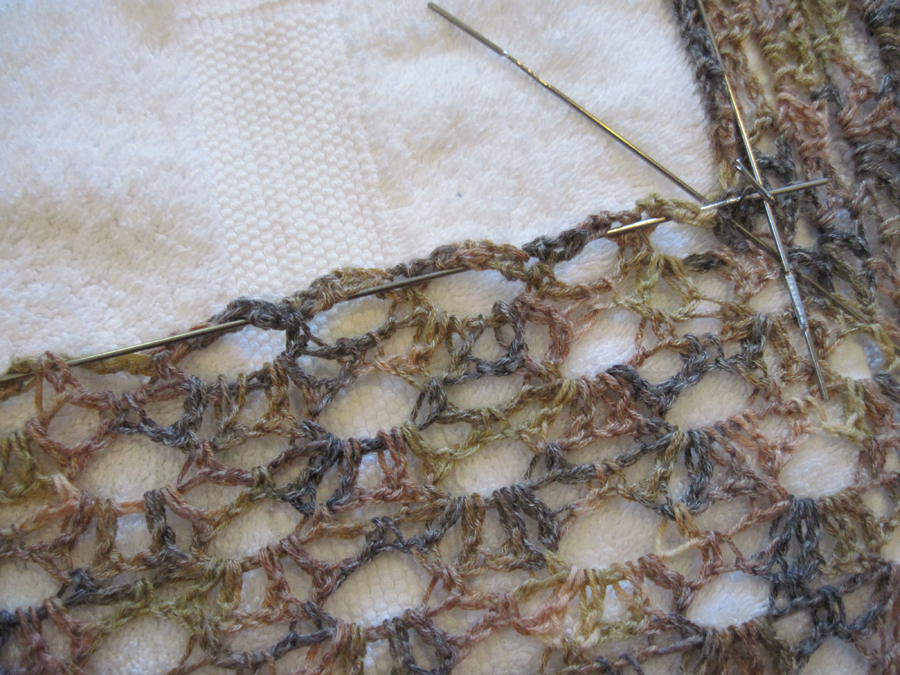
Then I gently pull the other wires to open the stitch work, pinning and re-pinning as necessary to create even pressure.

Once the shawl was fully stretched and pinned in place we left it to dry overnight. If you live in a more humid climate than Colorado you might want to have a fan or such blowing on the piece to help it dry faster.
I have occasionally used a blow-dryer to speed up the drying process, but you want to be careful not to melt your yarn if it contains any sort of rayon, polyester or acrylic fibers. Of course, a blow dryer or garment steamer is a great way to “set” the blocking if the yarn you used contains a dominate amount of synthetic fibers.
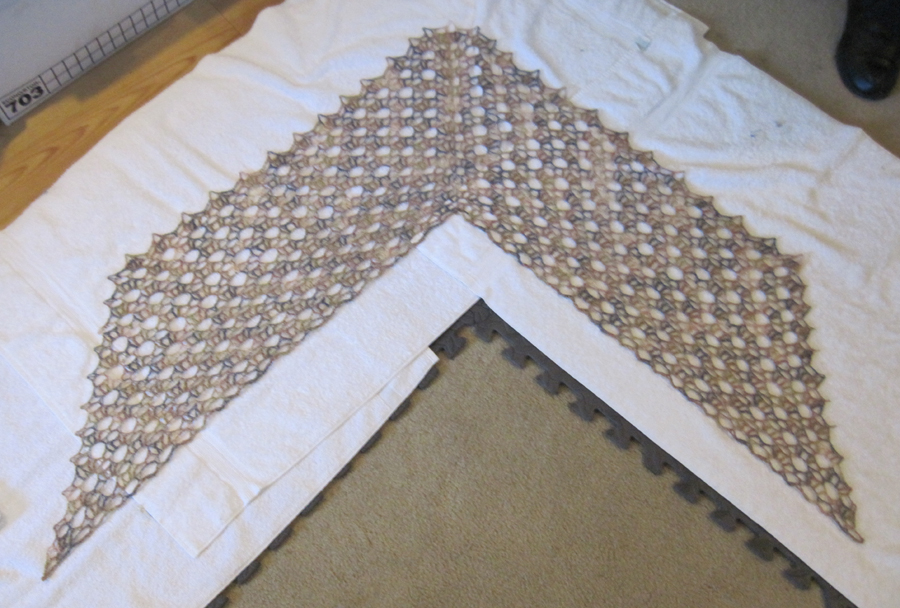
The next morning we removed the wires and you can see how much the blocking has opened the stitches up and really allowed the lace to be shown to it’s best.

And here is Jan modeling her beautiful finished shawl.

One thought on “Water, Pins and Magic”