
Stitch markers are handy tools to have in your crochet kit. My favorites are locking stitch markers, the ones I use the most are made by Clover and I tend to have a package of them in every project bag.
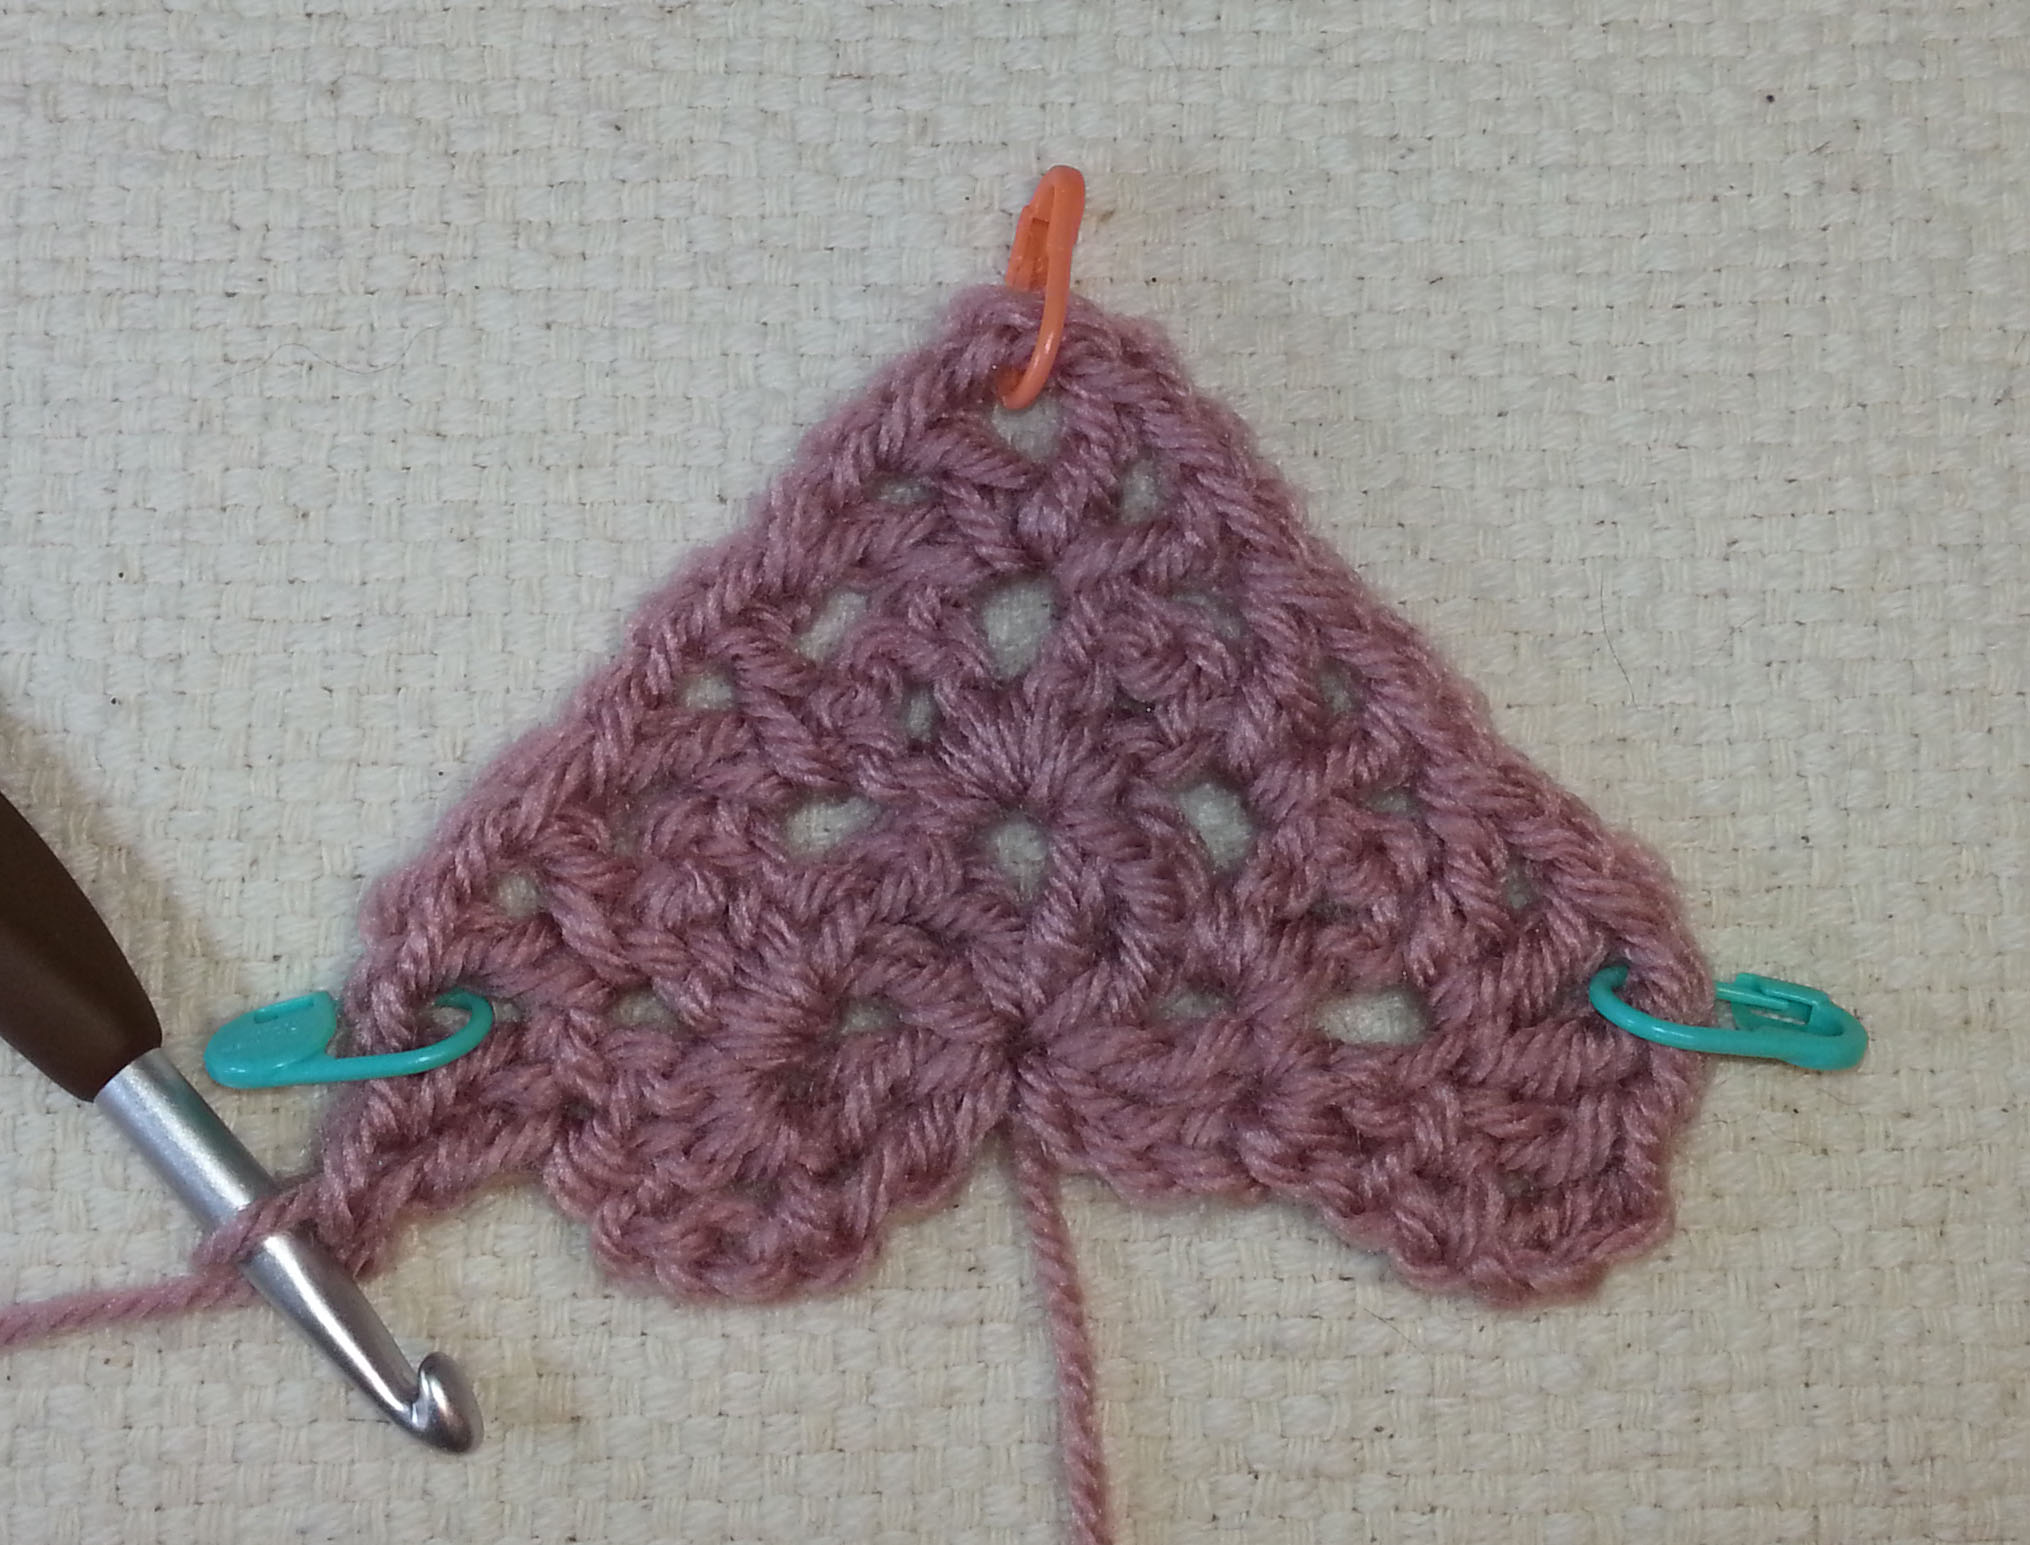
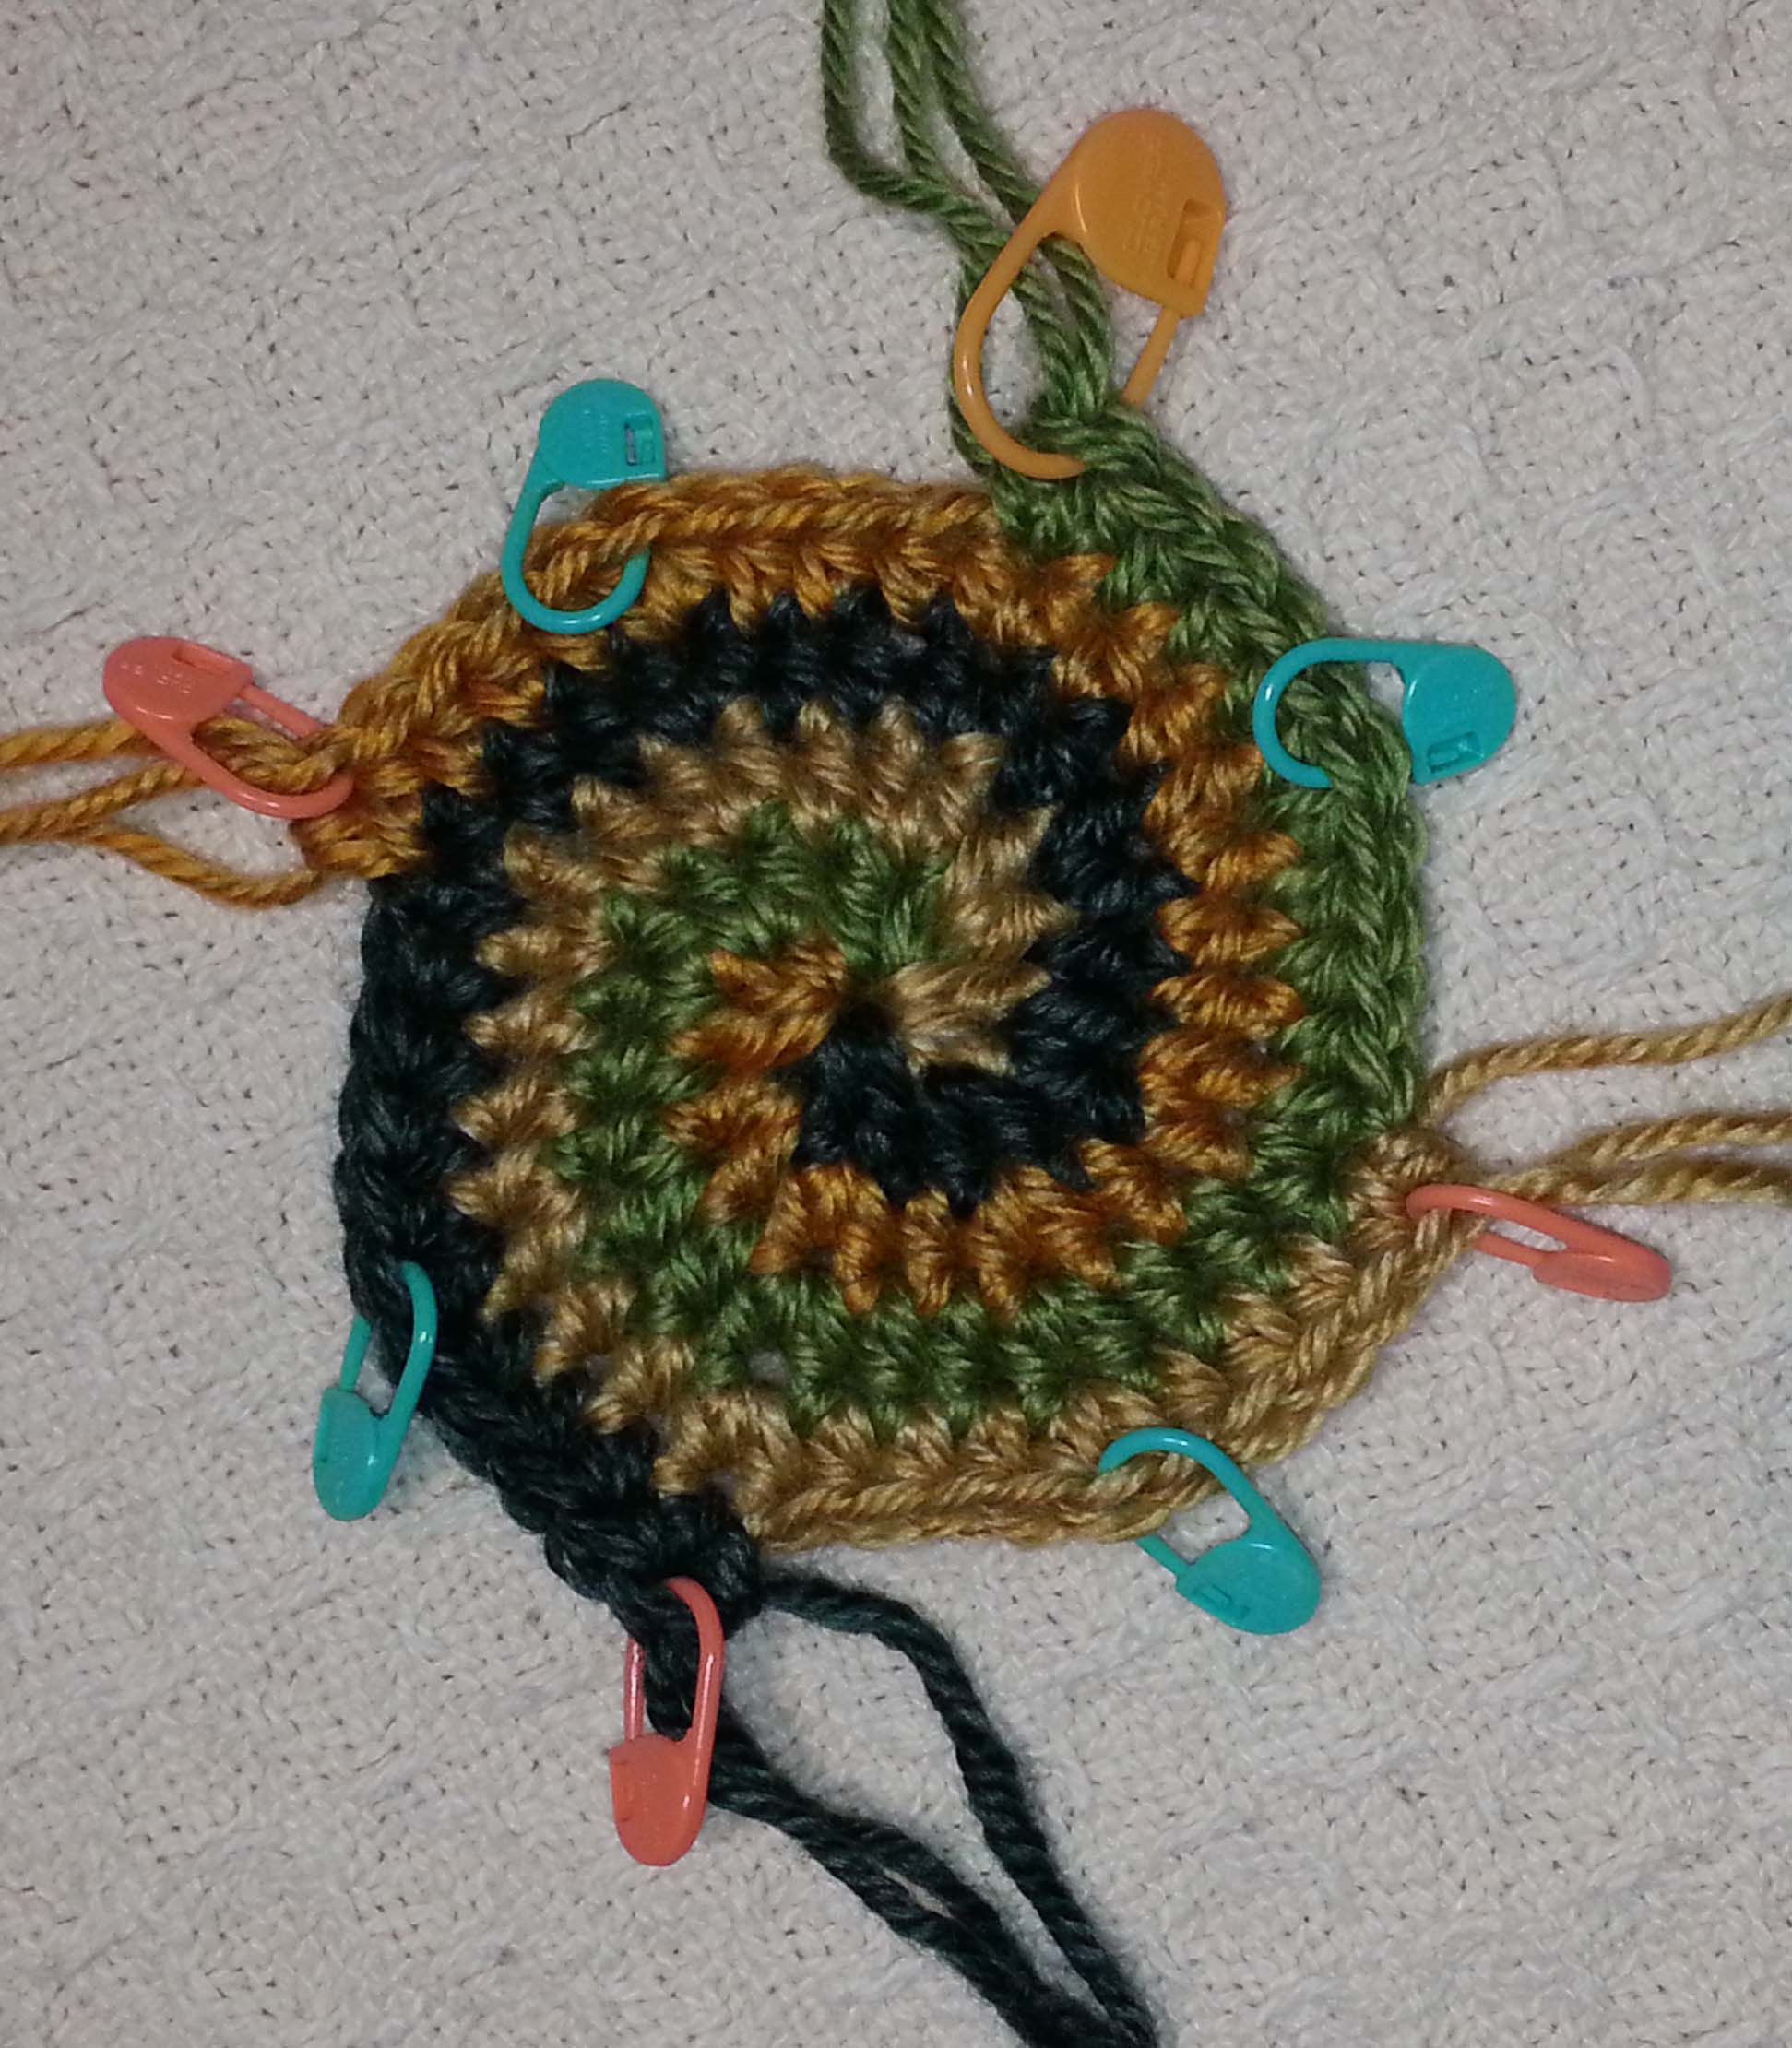
I most often use them to mark stitches that will have something different happening, such as an increase or decrease. This allows me to enjoy stitching along without worrying about when I’ll need to change what I am doing with my stitches, I know that once I get closer to the next stitch marker I’ll have to pay closer attention.
I use directions for stitch marker placement in many of my patterns for purposes of clarity. Such as, “hdc in each un-marked st, 2 hdc in marked st”. An example of this is my pattern for the “Whirlwind Afghan Square” and you can see how I move my stitch markers in the video “Whirlwind How-To Part 1” on my YouTube Channel.
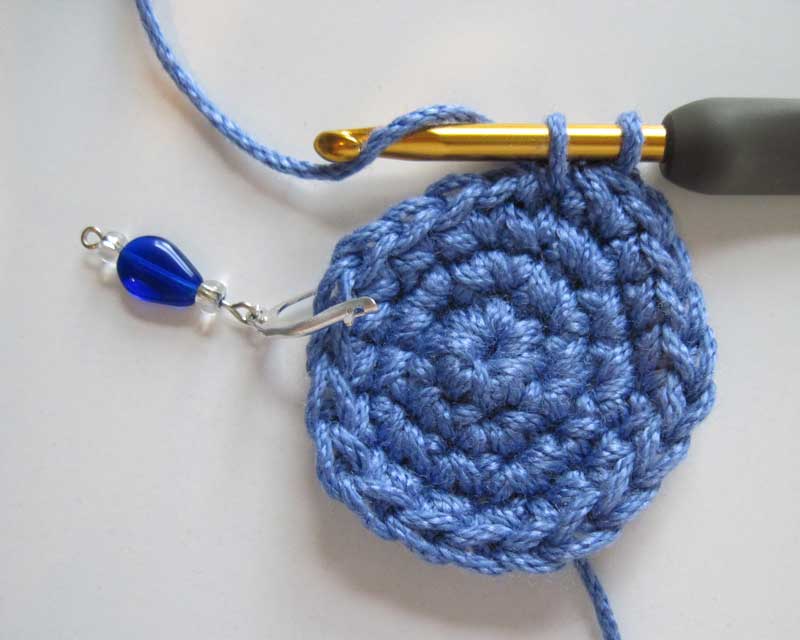
They are also very handy for marking the first stitch of a round/row, making it easy to keep track of where to join a round or end a row.

I place a locking stitch marker in the working loop of my project before placing it in my project bag. That way I don’t pull out stitches when pulling the project out to work on it.

When working a long starting chain I will place stitch markers every 10 or 20 chains as I crochet to make counting them easier. Especially handy for those patterns that instruct you to “Chain 300” at the beginning of the instructions.
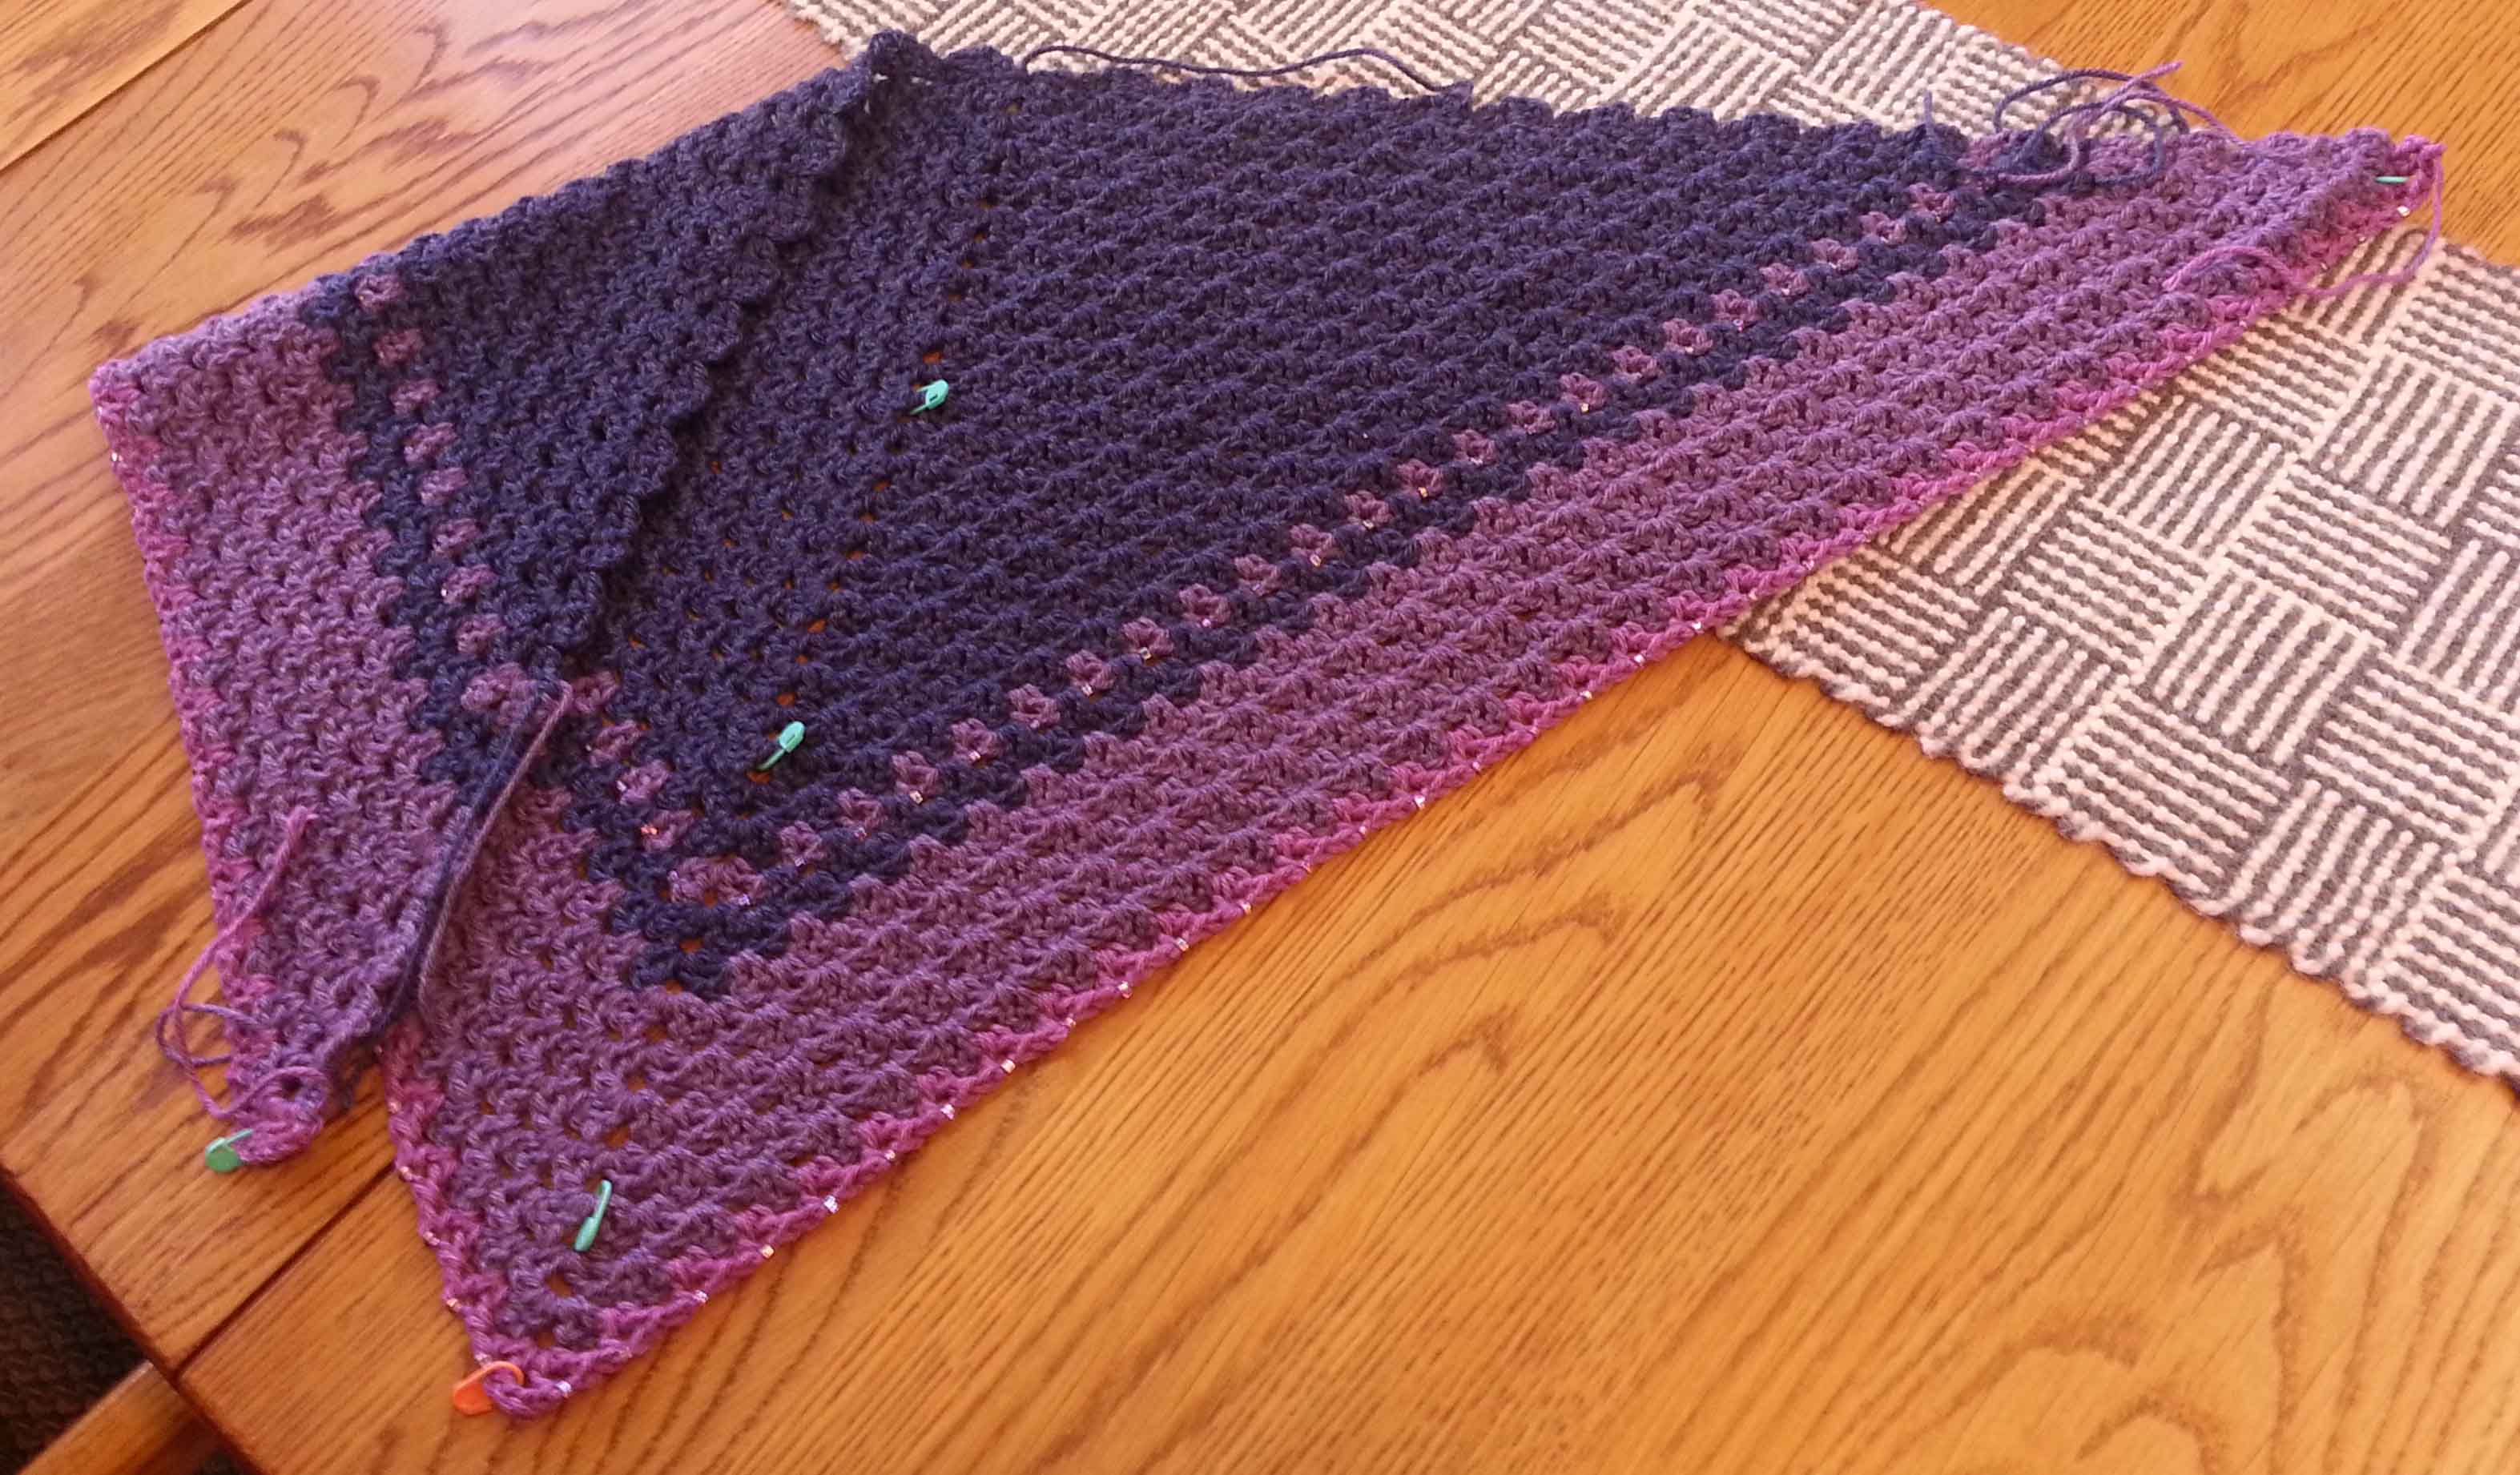
I will also use this same method to help me keep track of rows or rounds in larger projects, placing the stitch markers in the side of a stitch every 10 or 20 rows.

I will even use stitch markers to mark where I need to frog back to when I spot a mistake.
Now it’s your turn, get out those stitch markers and see if they don’t become your favorite tool (after your hook) in your crochet kit.
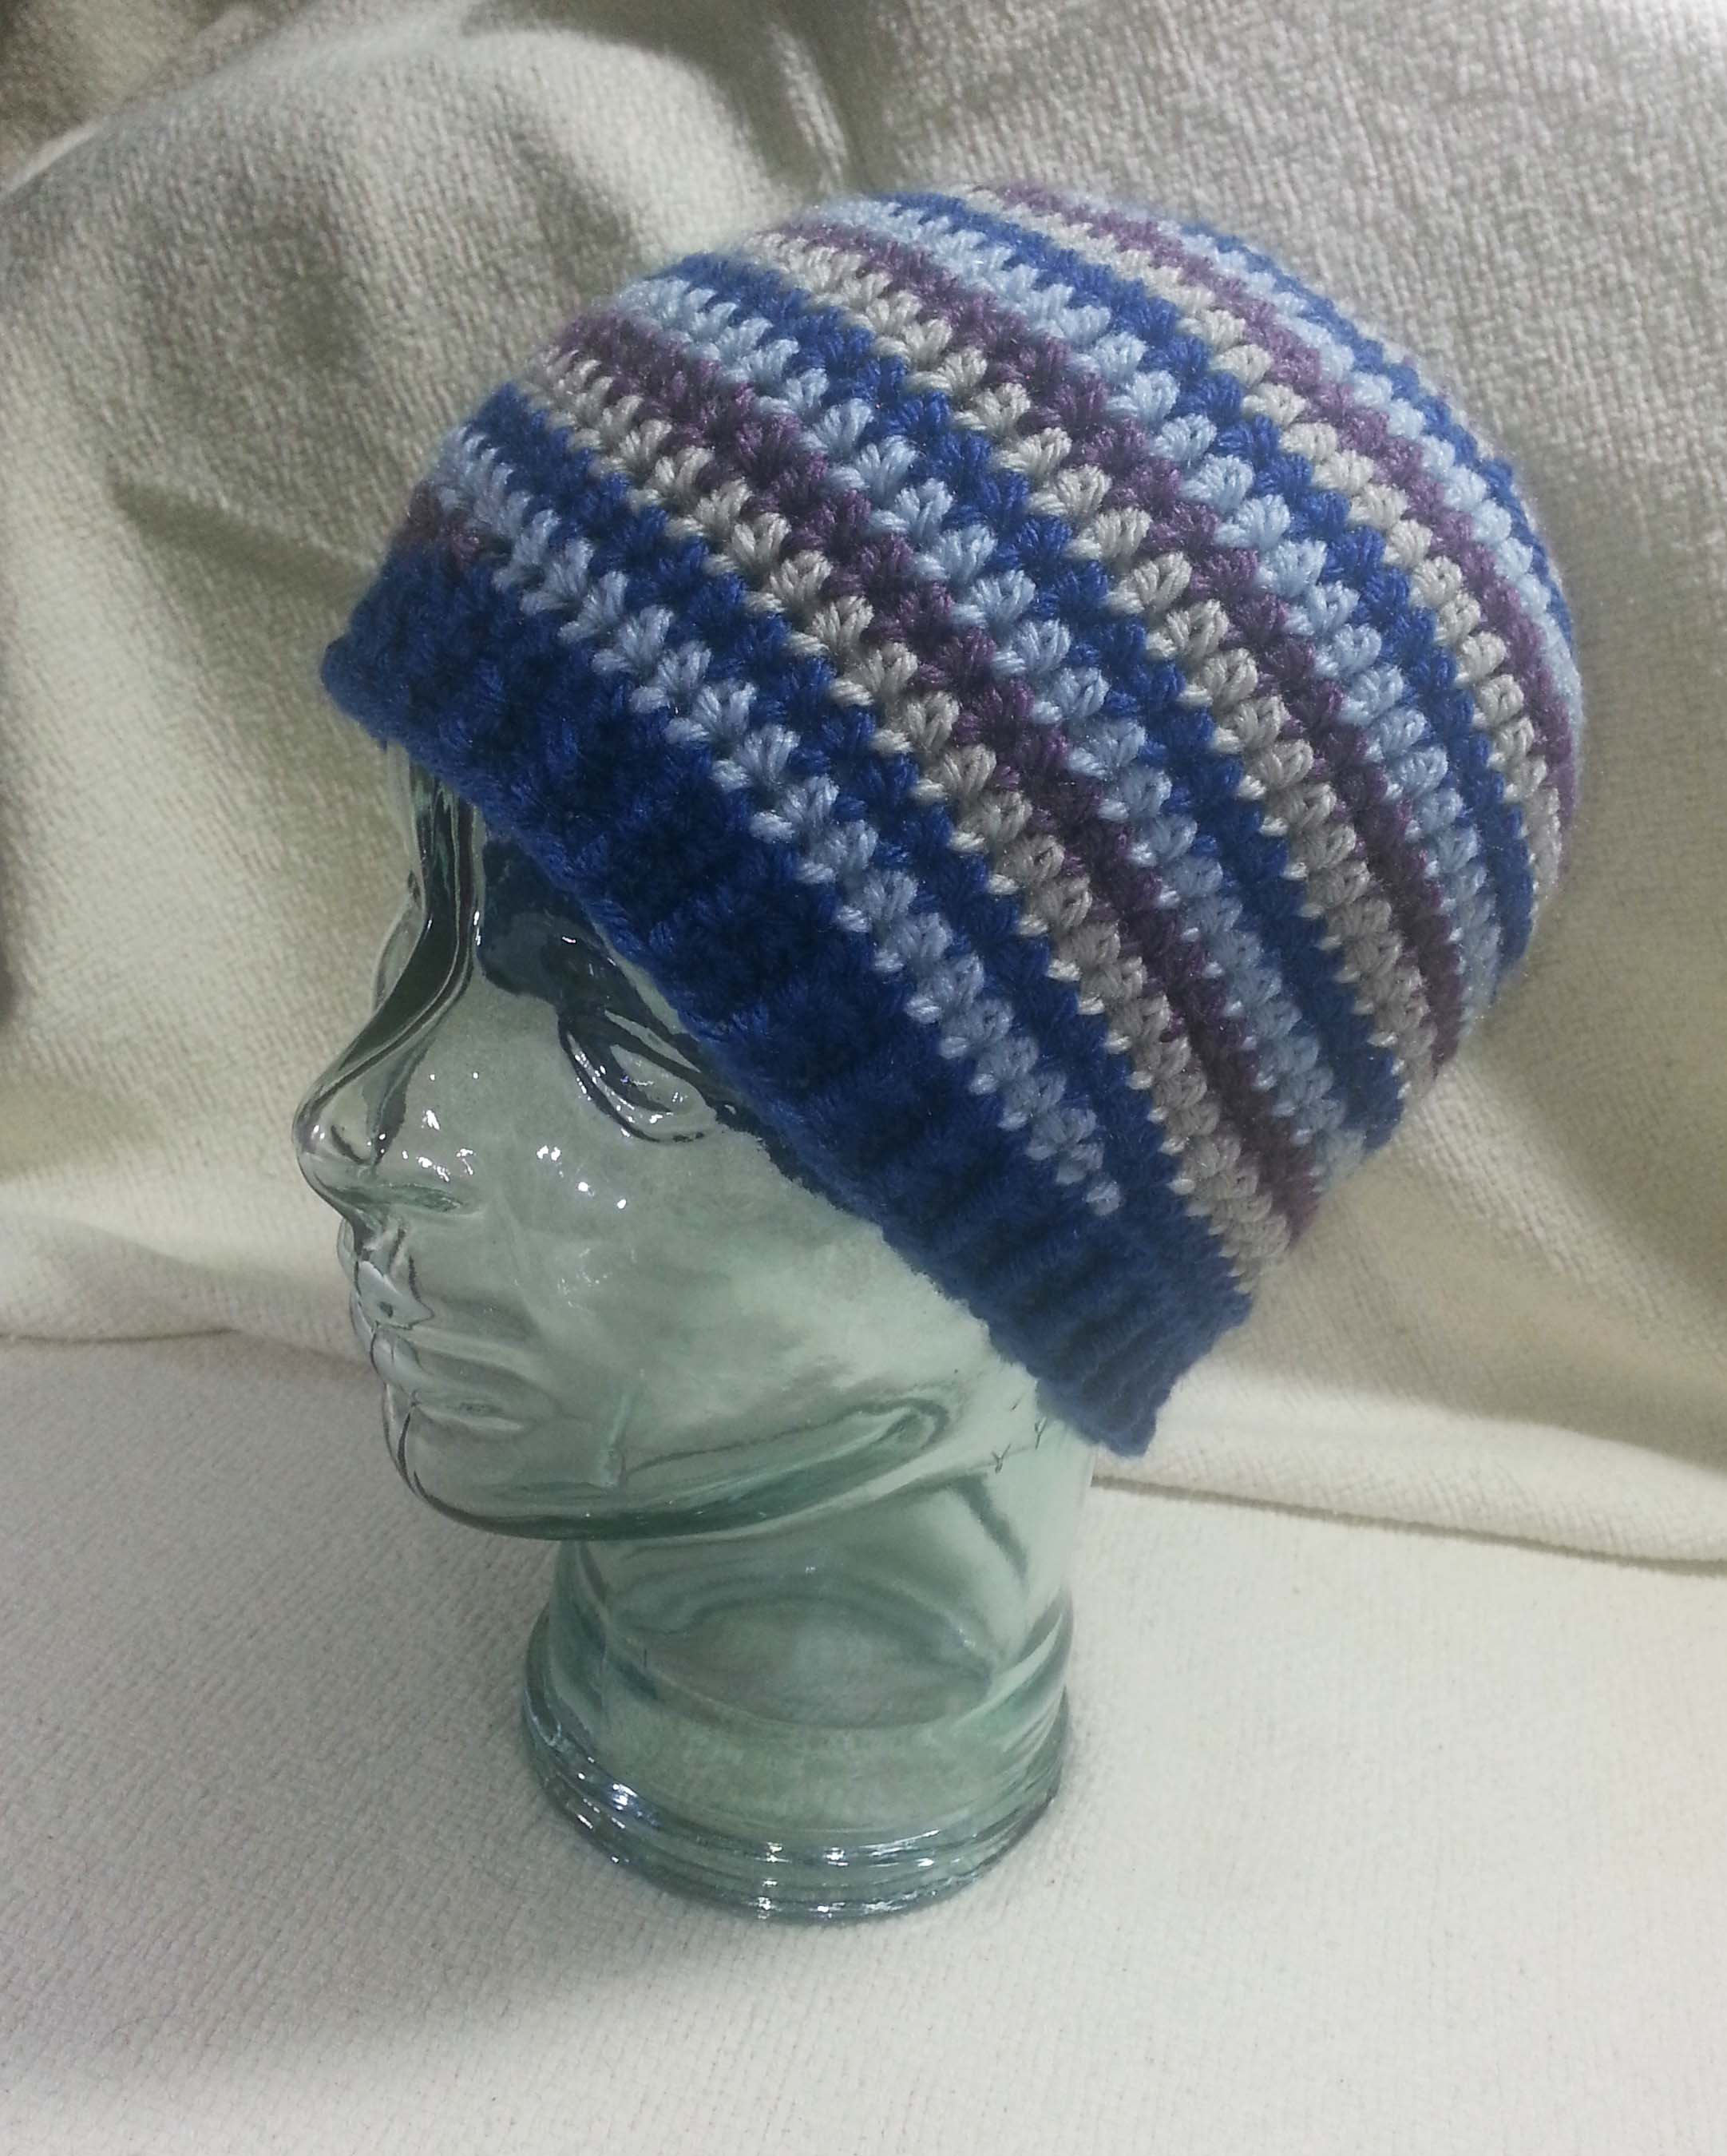
And if you want to try your stitch markers in a new project check out my new pattern: Whirlwind Hat.
