A New Snowflake Crochet Pattern and Coloring Page
For those of you living in the Northern hemisphere like myself, you may be feeling the August heat. The other day it was 103F in Boulder when I took my youngest to the check-in day at his middle school. We were very happy to escape back up the mountain where it was significantly cooler.

With the summer heat, this is a great time to be thinking about the cooler temperatures of winter time. Especially snowflakes. What better way to contemplate snowflakes than to crochet or color some?
In my last post I promised you a new snowflake pattern and coloring page. The written instructions are below, and for those of you that prefer stitch charts you will find the chart in my latest coloring page.
This post contains affiliate links. I may receive compensation (at no added cost to you) if you make a purchase using these links.
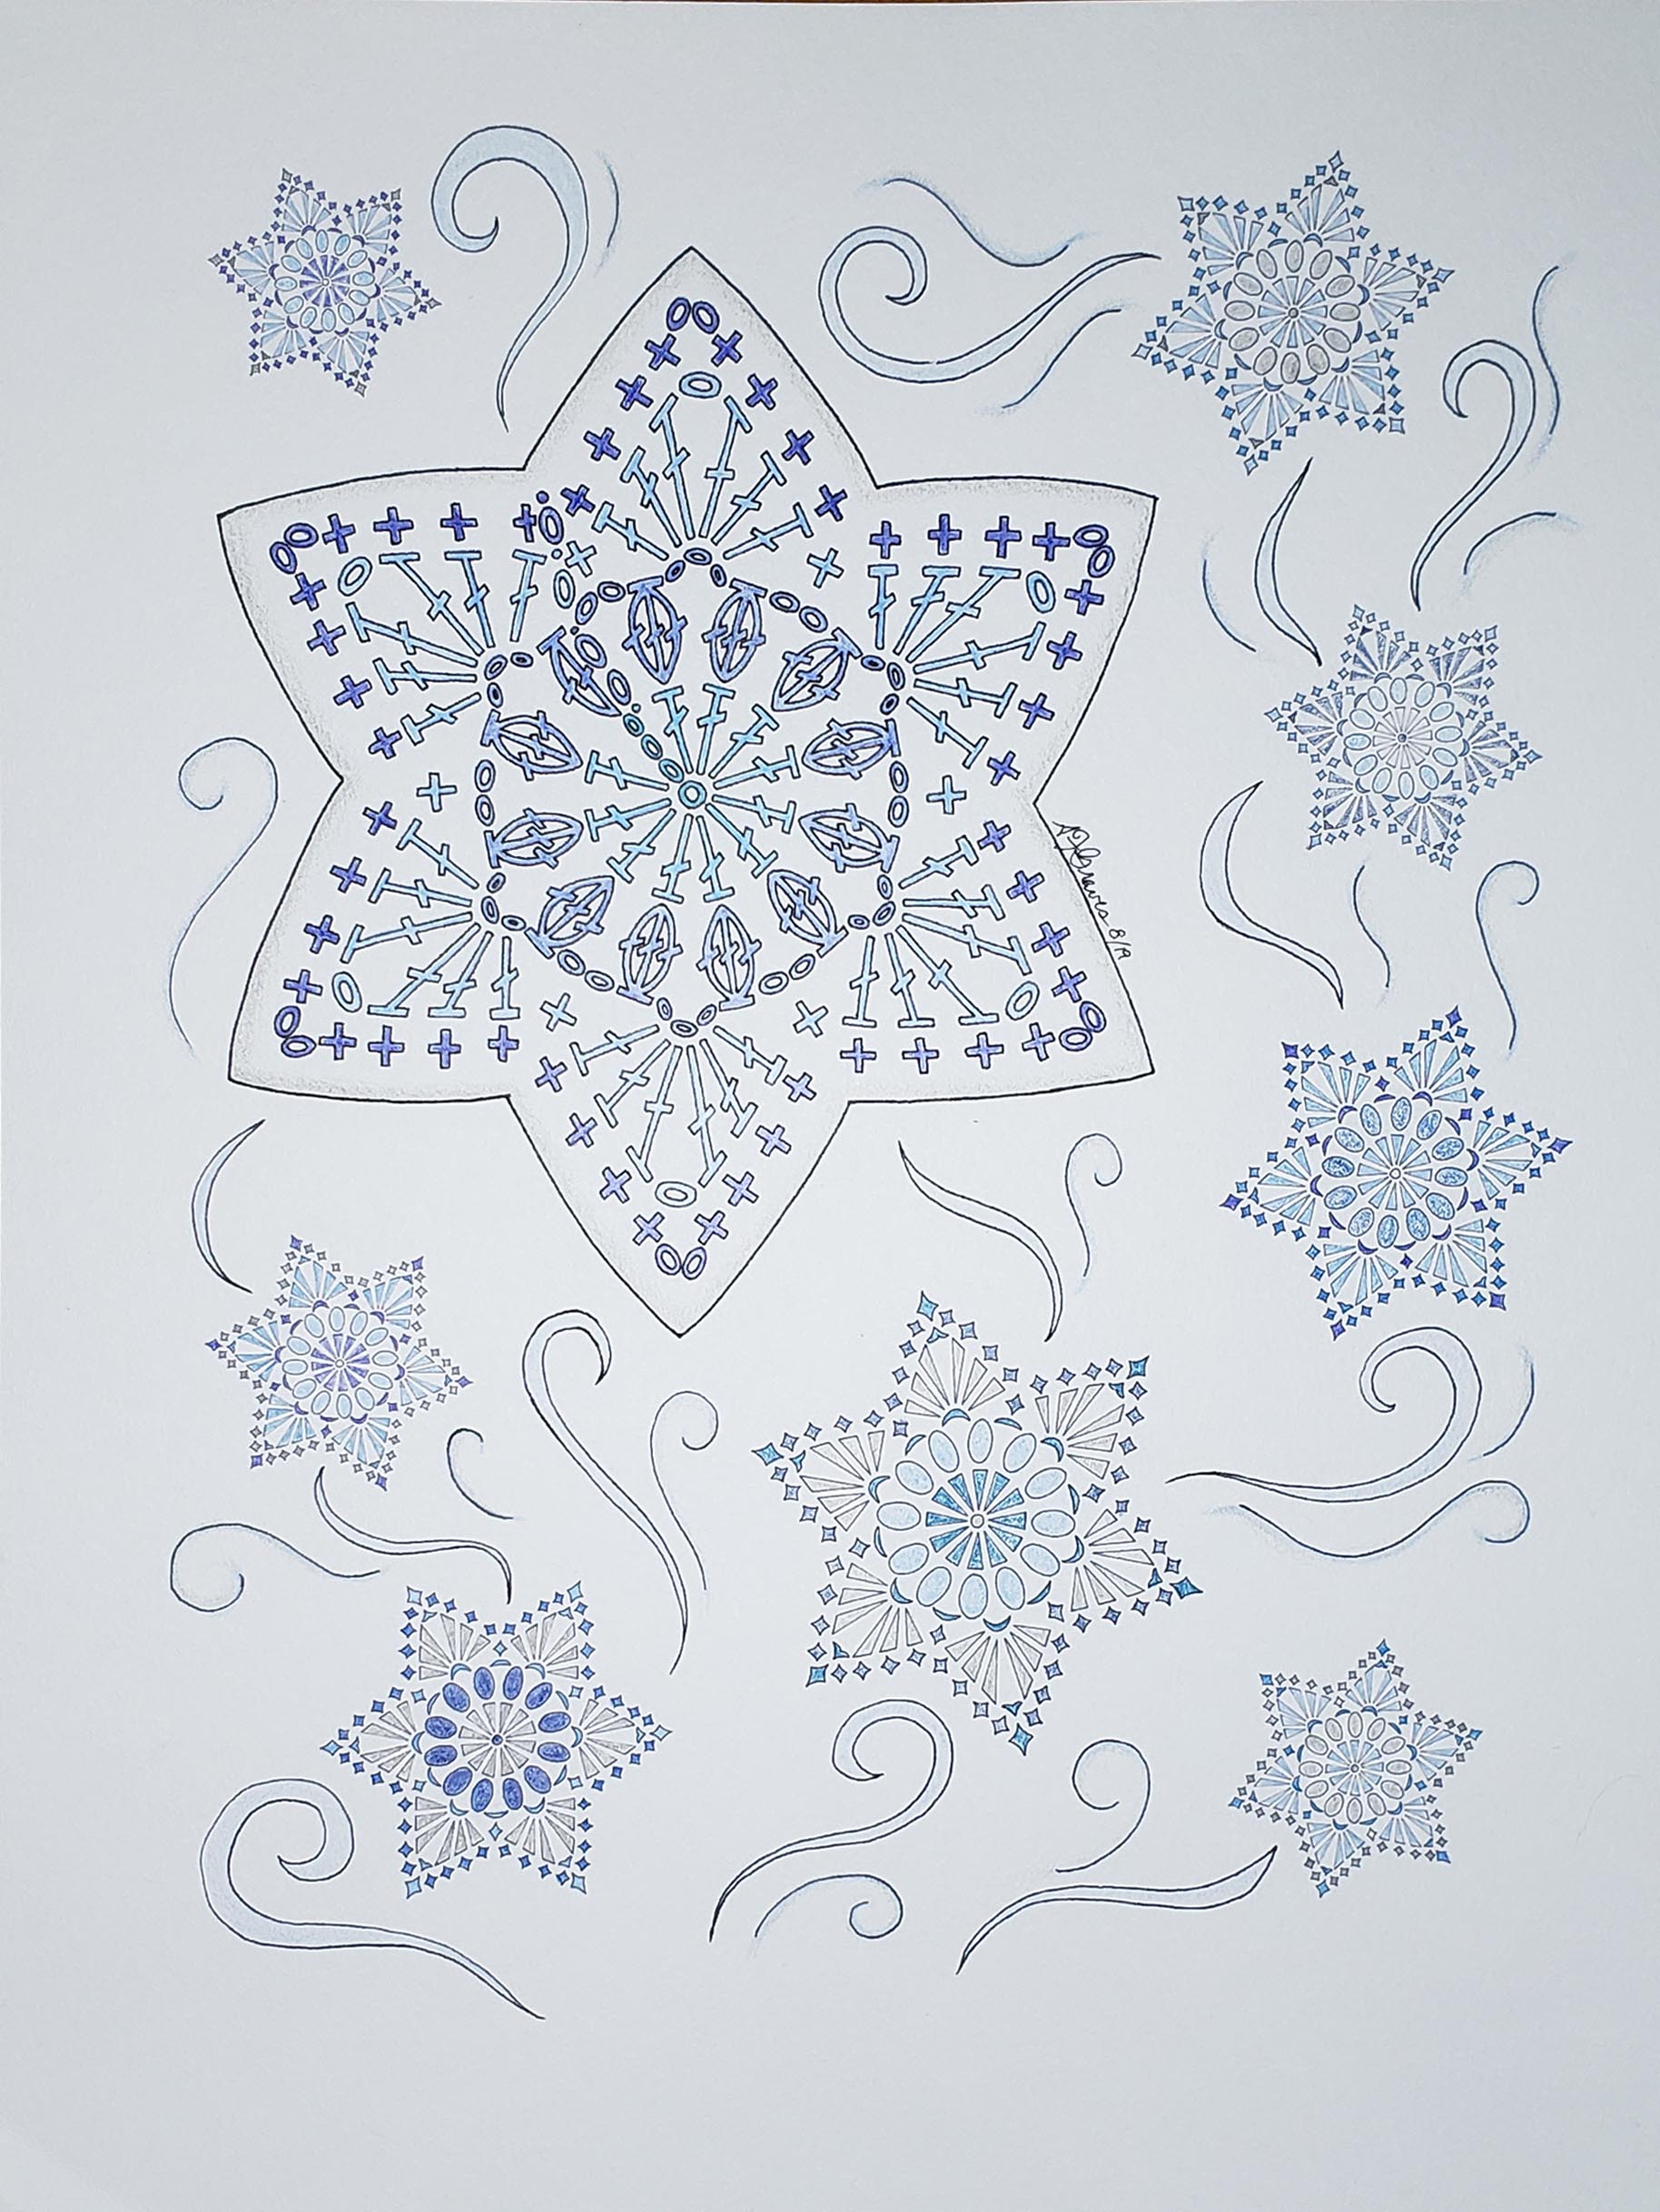
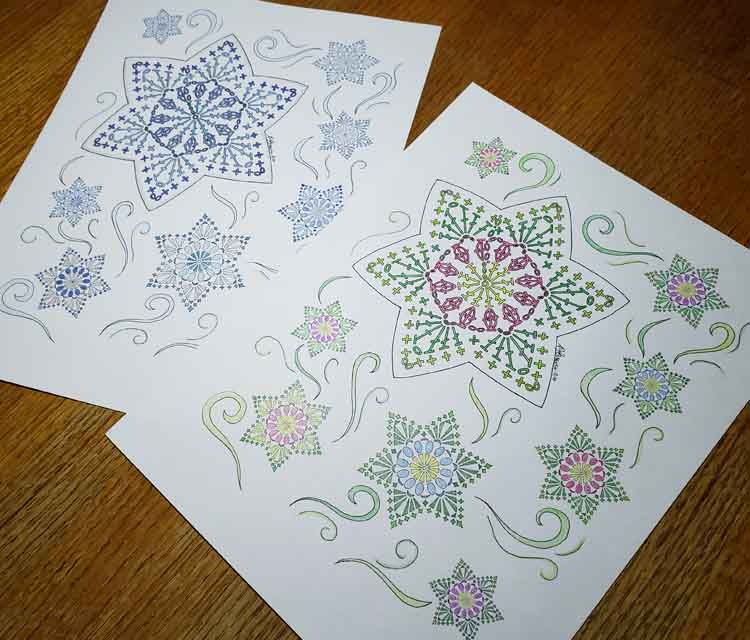
In the image above I used every blue color pencil I had to create a cool themed page full of snow. When you are coloring a page like this, where all the spaces to color are fairly small or thin, it is handy to use a really sharp pencil.

My favorite sharpener to keep with my color pencils is this duo one made by the Bostitch company. It is easy to control so I don’t over-sharpen my pencils and the duo hole option allows you to sharpen jumbo pencils as well as regular pencils. If you can’t find this sharpener locally click on the photo above and it will take you to where you can purchase it at Amazon.com.

This snowflake pattern creates a fairly solid snowflake. If you work the 4th round join-as-you-go, you can create a fun fabric of snowflakes. I’ve shared my method for this joining after the pattern below. My sample above was worked in Aunt Lydia Metallic #10 Cotton Crochet Thread with a 1.75mm hook.

If snowflakes aren’t your favorite thing, this pattern will also work well for making floral motifs to join together. I worked these floral motifs using worsted weight yarn in a variety of colors from my stash with a size I / 5.5 mm hook. I changed colors after Rnd 1 and 2, then completed the motif with my green color for Rnds 3 and 4. This is a great way to use up bits and pieces of yarn you have left over from other projects.
For this pattern I am not telling you what size thread or yarn to use, nor what size hook. I have instead shared what size hook and the thread or yarn I used. I strongly recommend that you make a couple of snowflake motifs with different hook sizes to find the result you like best with the yarn or thread you have selected.
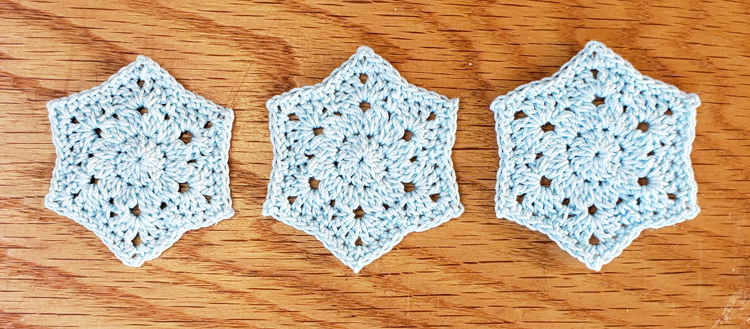
The 3 snowflake motifs above were each crocheted with DMC Cebelia Crochet Cotton using a different size hook.
The motif on the left was made with a size 4/1.25 mm hook. This made for a fairly tight fabric, which would work well for attaching with glue or sewn as an embellishment on a card or gift box, it wouldn’t be good for stiffening with an PVA solution like “Stiffy” because the solution would tend to fill in the small spaces between the thread and stitch definition might be lost.
The motif in the center was made with a size 2/1.50 mm hook. The fabric is a little softer, but still has a lot of definition to it. It would work really well to sew to a stiff fabric base like a felted hat or bag. Could also work well as a sewn or glued embellishment for a card or gift box. If a PVA solution was brushed on it could be stiffened to hang as a stand-alone ornament. Slightly more space between the threads means the solution can penetrate further and not obscure the overall stitch definition.
The motif on the right was made with a size 0/1.75 mm hook. This fabric is very soft. This motif would work great to be sewn onto a loose knit or woven fabric like a shirt, stocking hat, or mittens. It is also ideal for blocking and stiffening to hang as a stand-alone ornament. The loose fabric will allow the PVA solution to be absorbed well into the fabric, there should be minimal loss of stitch definition.
If you prefer an Ad free PDF version of the pattern you can purchase it in my Ravelry shop. The PDF version also includes a page of suggested project design ideas and a blank hexagon grid for planning your own project.
COOL SNOWFLAKE MOTIF
Designed by Andee Graves
Special Stitches
(Beg CL) Beginning Cluster Stitch: Ch 2, [Yarn over (YO), insert hook in st, YO, pull up a loop, YO, pull thru 2 loops on hook] 2 times, YO, pull thru 3 remaining loops on hook.
(CL) 3 DC Cluster Stitch: [Yarn over (YO), insert hook in st, YO, pull up a loop, YO, pull thru 2 loops on hook] 3 times, YO, pull thru 4 remaining loops on hook.
Pattern Notes
This snowflake begins with an Adjustable slip knot. If you need help with this technique check out my YouTube video.
Instructions
Rnd 1: Starting with an adjustable slip knot, ch 4, {counts as first dc and center}, 11 dc in 4th ch from hook, tighten center, slip st to top of beginning ch. [12 dc]
Rnd 2: Work a Beg CL in same st as join, [ch 3, CL in next st, ch 2, CL in next st] 5 times, ch 3, CL in next st, ch 2, slip st to top of Beg CL. [12 CL, 6 ch-3 sp, 6 ch-2 sp]
Rnd 3: Ch 1, [(3 dc, ch 1, 3 dc) in next ch-3 sp, skip next CL, sc in next ch-2 sp]6 times, slip st to first dc of rnd. [36 dc, 6 sc, 6 ch-1 sp]
Rnd 4: Ch 1, [sc in next 3 sts, (sc, ch 2, sc) in next ch-1 sp, sc in next 3 sts, skip next sc] 6 times, slip st to first sc of rnd. Fasten off [48 sc, 6 ch-2 sp]
Weave in all ends.
Join-as-you-Go method for making a fabric of Motifs

When working Rnd 4, at each point where you want to join your new motif to a finished motif, instead of chaining 2: ch 1, slip st in ch-2 sp of motif you are joining to, then ch 1 and continue working Rnd 4 on your current motif as needed to finish. The Chart above illustrates this joining method.
When you are joining where 2 motifs are already joined it can be a little tricky. You can try inserting your hook into the slip stitch that is already there, or slip stitch snugly around the join point. Just be consistent in how you do those joins and it will work out fine.
If you need help on how to to stiffen your snowflakes for ornaments, check out my blog post: Sparkling Ice Snowflake.

2 thoughts on “Cooling off with Snowflakes”