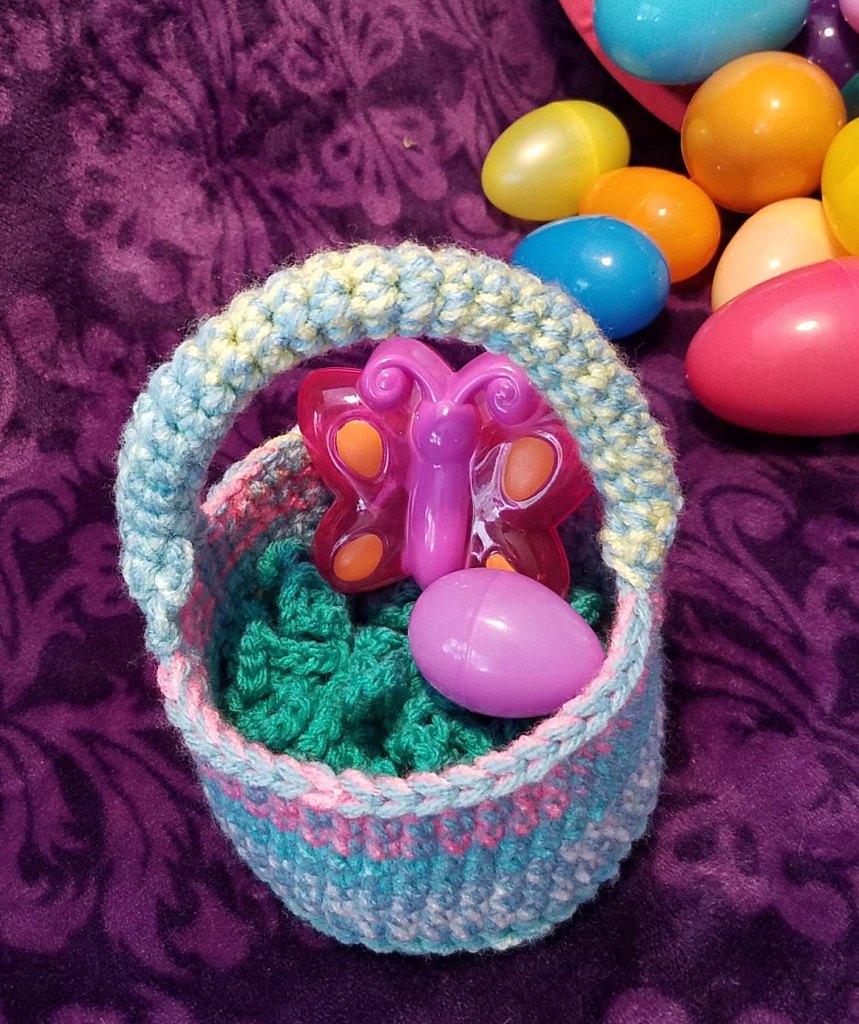
Easter is coming up in just a few weeks and I have a fun little pattern for you to crochet a basket for Easter goodies. This basket is small enough to be perfect for toddlers or as a special gift container.

The trickiest stitch in this project is the Back Post Single Crochet (BPsc). The single crochet isn’t a stitch you usually think of as having enough of a post to work this stitch. You are working it using the top loops of your stitch so that the newly made stitch is sitting on the back side of the stitch. Following is a photo tutorial to help you make this stitch.
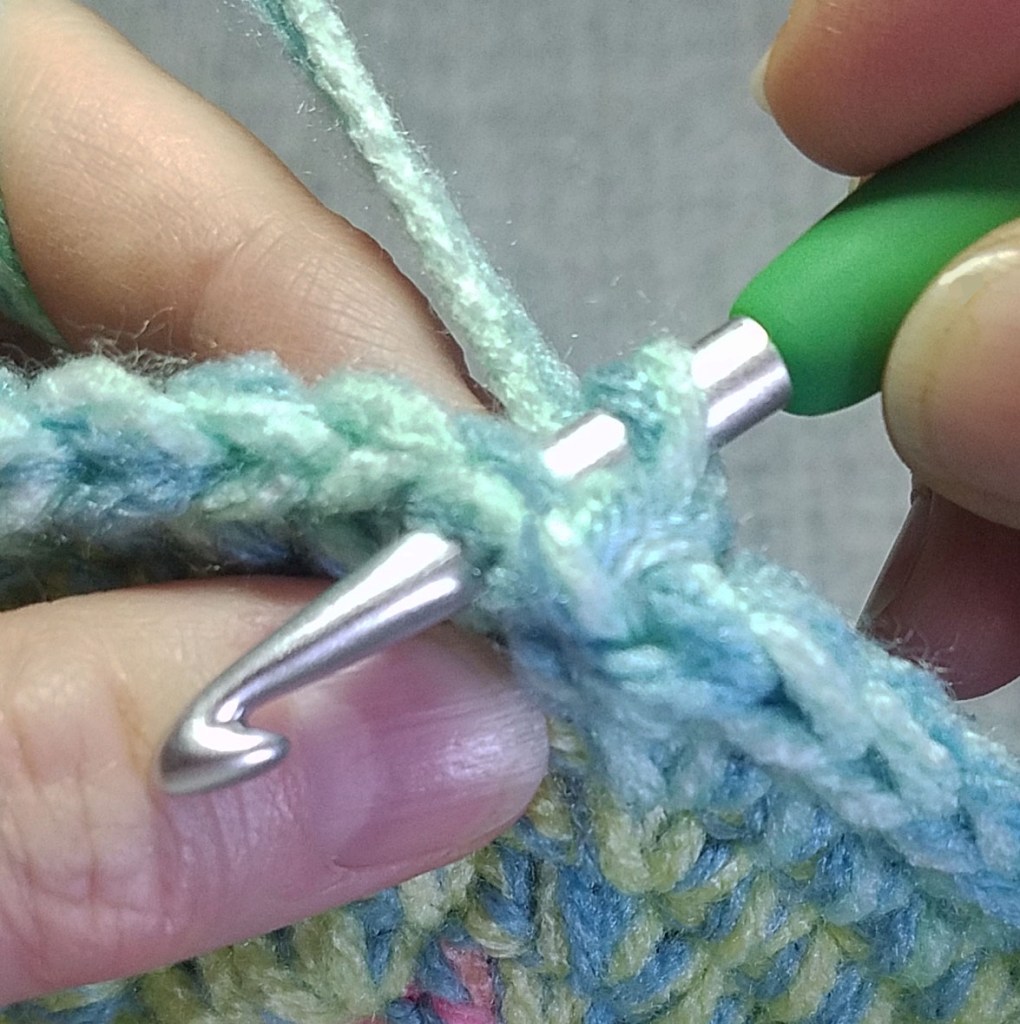


- Insert the hook from back to front of stitch working into.
- Insert the hook from front to back of next stitch.
- Yarn over and pull up a loop thru both stitches (2 loops on hook).
- Yarn over and complete single crochet, Back Post single crochet made.
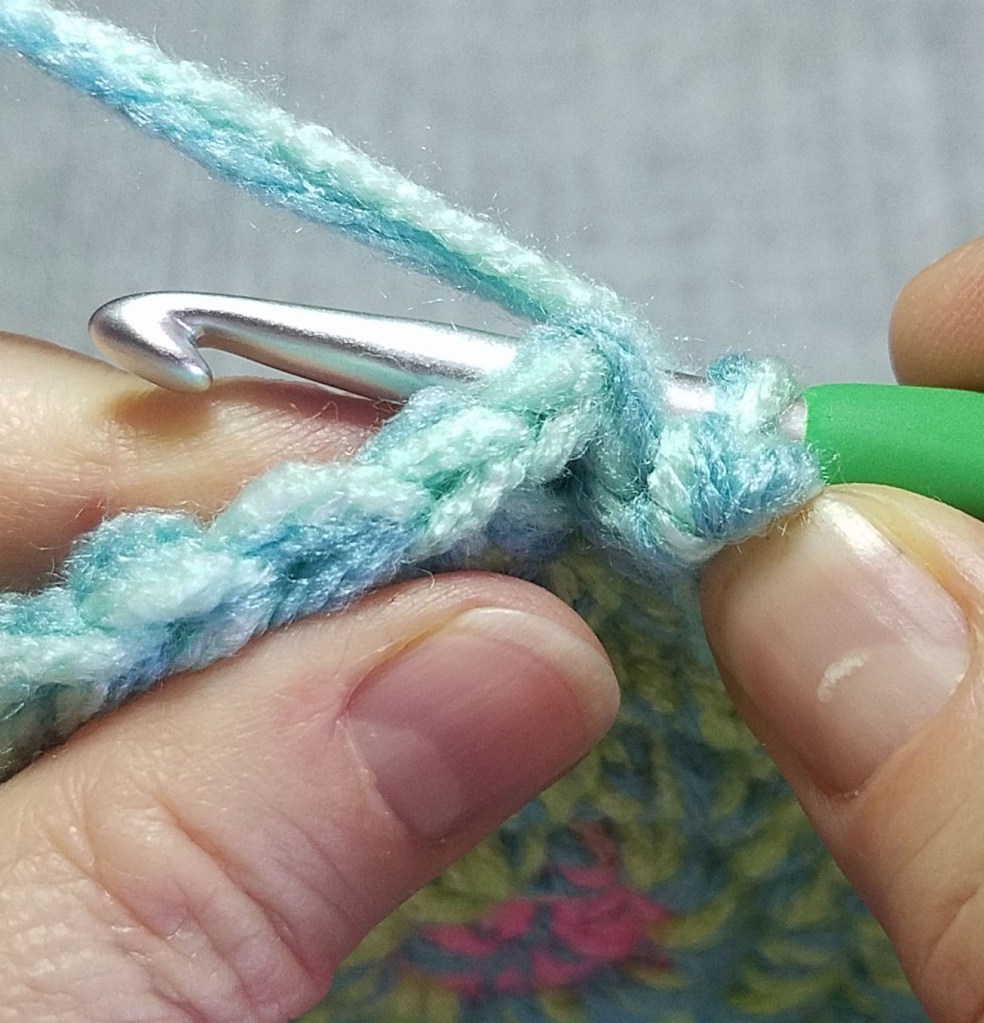
All rounds in this project are worked concentrically. Each round ends with a tight slip stitch to join. The next round will start with a chain stitch to get to stitch height. For best results you want to be sure that your slip stitch is very tight and that your beginning chain stitch is a little smaller than typical.

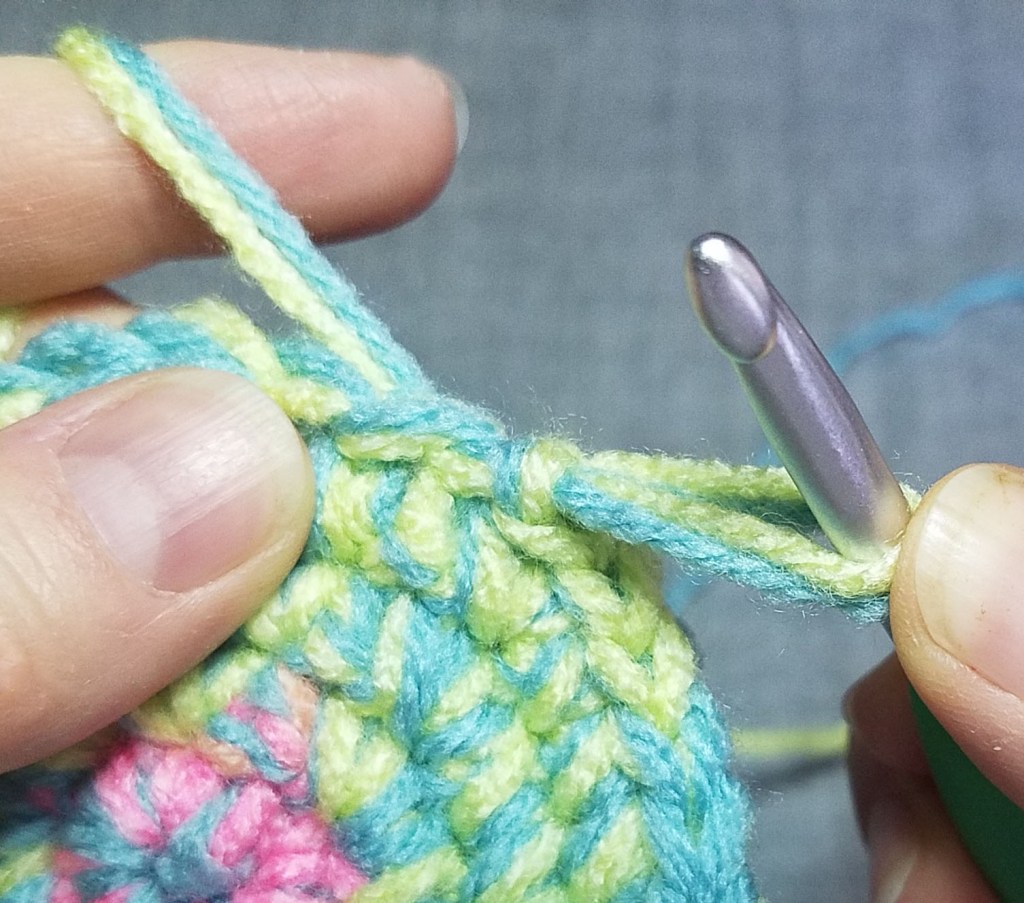
- Make slip stitch as usual.
- Without letting working yarn feed out, pull on hook to take out slack from slip stitch.
Happy Spring Basket
designed by Andee Graves / M2H Designs
Skill level: Intermediate
Finished Size: 4.5” diameter at base, 3” tall in basket, and 6.25” with handle.
Materials:
Yarn
Red Heart “With Love” (100% Acrylic), 7 oz/198 g; 370 yds/ 338 m, Color #1502 Iced Aqua
Red Heart “With Love – Stripes” (100% Acrylic), 5 oz/141 g; 223 yds/ 204 m, Color #1973 Candy Stripe
Hooks
I-9 / 5.5 mm
Notions
Yarn/tapestry needle
Stitch markers
Gauge:

Special Stitches or Abbreviations:
BPsc — Back Post Single Crochet
PM – Place stitch marker
Pattern Notes:
Basket is worked double-stranded with a smaller than usual hook to create a stiff fabric. It begins with a flat circle worked in joined rounds for the base, then the first round of side is worked as back post stitches to create a sharp edge to bottom of basket.
Handle is worked without cutting the yarn. A couple rows of single crochet are switched to working in joined rounds for length of handle, then a couple more rows of single crochet. Work is fastened off and then sewn to the opposite side on top edge of basket.
Instructions:
Base

Rnd 1: Working with 2 strands at same time, make an adjustable slip knot, ch 2, 7 sc in second ch from hook, slip st to first sc of round. [7 sc]
Rnd 2: Ch 1, 2 sc in each st around, slip st to first sc of round. [14 sc]
Rnd 3: Ch 1, (sc in next st, 2 sc in next st) 7 times, slip st to first sc of round. [21 sc]
Rnd 4: Ch 1, (sc in next 2 sts, 2 sc in next st) 7 times, slip st to first sc of round. [28 sc]
Rnd 5: Ch 1, (sc in next 3 sts, 2 sc in next st) 7 times, slip st to first sc of round. [35 sc]
Rnd 6: Ch 1, (sc in next 4 sts, 2 sc in next st) 7 times, slip st to first sc of round. [42 sc]
Side
Rnd 1: Ch 1, BPsc in each st around, slip st to first st of round. [42 BPsc]
Rnd 2 – 8: Ch 1, sc in each st around, slip st to first st of round. [42 sc]
Handle
Row 1: Ch 1, sc in next 5 sts.
Row 2: Ch 1, turn, sc in next 5 sts.
Row 3: Ch 1, turn sc in next 5 sts, slip st to first st of row.
Rnd 4 – 25: Ch 1, sc in each st around, slip st to first sc of round.
Row 26: Ch 1, sc in each st.
Row 27: Ch 1, turn, sc in next 5 sts.
Row 28: Repeat Row 27. Fasten off with 10 inch tail
Finishing
Count over 19 sts from both sides of the start of handle along top edge of basket. Sew loose end of handle to top edge of basket with a whip stitch to the remaining stitches opposite the handle start. Weave in all loose tails.
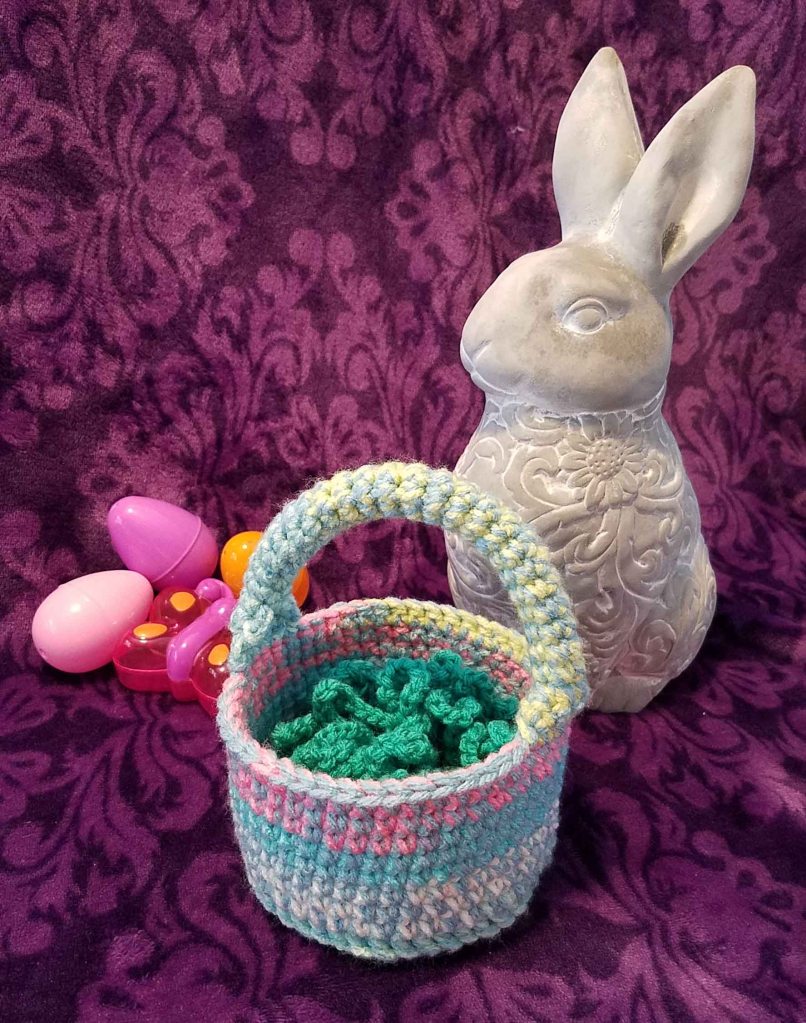
I hope you have a wonderful time making some baskets. Pop on over to my guest post at Mooglyblog.com for the pattern for crocheting the grass shown in the basket.

One thought on “Time for an Easter Basket”