I’ve blogged before about using pretty beads and yarns to create simple beaded chains for necklaces and bracelets.
Recently I realized that my favorite beaded necklace had taken quite a beating and it was time to recycle those beads into a new necklace.
First I removed the beads from the old necklace. This wasn’t as simple as unraveling the old chain because the yarn had slightly felted to itself. I spent an evening gently pulling it apart and sometimes resorting to scissors. I should have taken a photo of the little pile of beads I ended up with. I was startled that there were so few in what had seemed like a fairly long necklace.

Being that I do not belong to the “less is more” school of thought when it comes to beads, I felt I should add more beads to those that I had used in the old necklace. I took out my bead box and looking at the colors in the yarn picked out additional beads for this project.
Then I needed to string the beads on the yarn in preparation for creating my beaded chain. This is really the longest part of this project. I used my handy-dandy dental floss threader to place the beads on the yarn. The nice big “eye” of the threader makes it super easy to thread the yarn onto this “needle”. And the flexibility of the nylon material helps it contract for getting thru the holes of the beads with the yarn.

I wanted a rather random appearance to the order the beads were strung. Mixing up large and small beads as well as the different colors. I ended up separating out all the beads into 4 different groups to create a sort of patternless pattern while stringing them.
I strung the beads until I had approximately 20 inches of beads on the yarn. I knew I was going to work a beaded chain separated by 2 plain chain stitches. That lead me to calculate that 20 inches of beads would get me to the 60 inch length I wanted. My finished necklace actually came out to nearly 80 inches around.
Now things proceeded much more easily. I moved the beads down the yarn to create a stretch of empty yarn to work with. Then I crocheted 2 chain stitches, pulled up the first bead and made a beaded chain stitch.


The above images show you the basics of making a beaded chain stitch. These are from another beaded project I taught at the Longmont Yarn Shoppe for our National Crochet Month celebration. You can find the blog post about it here.

And this is my simple and beautiful beaded necklace. This is one long loop that I can wrap and wear in a variety of ways.

As a Lariat.
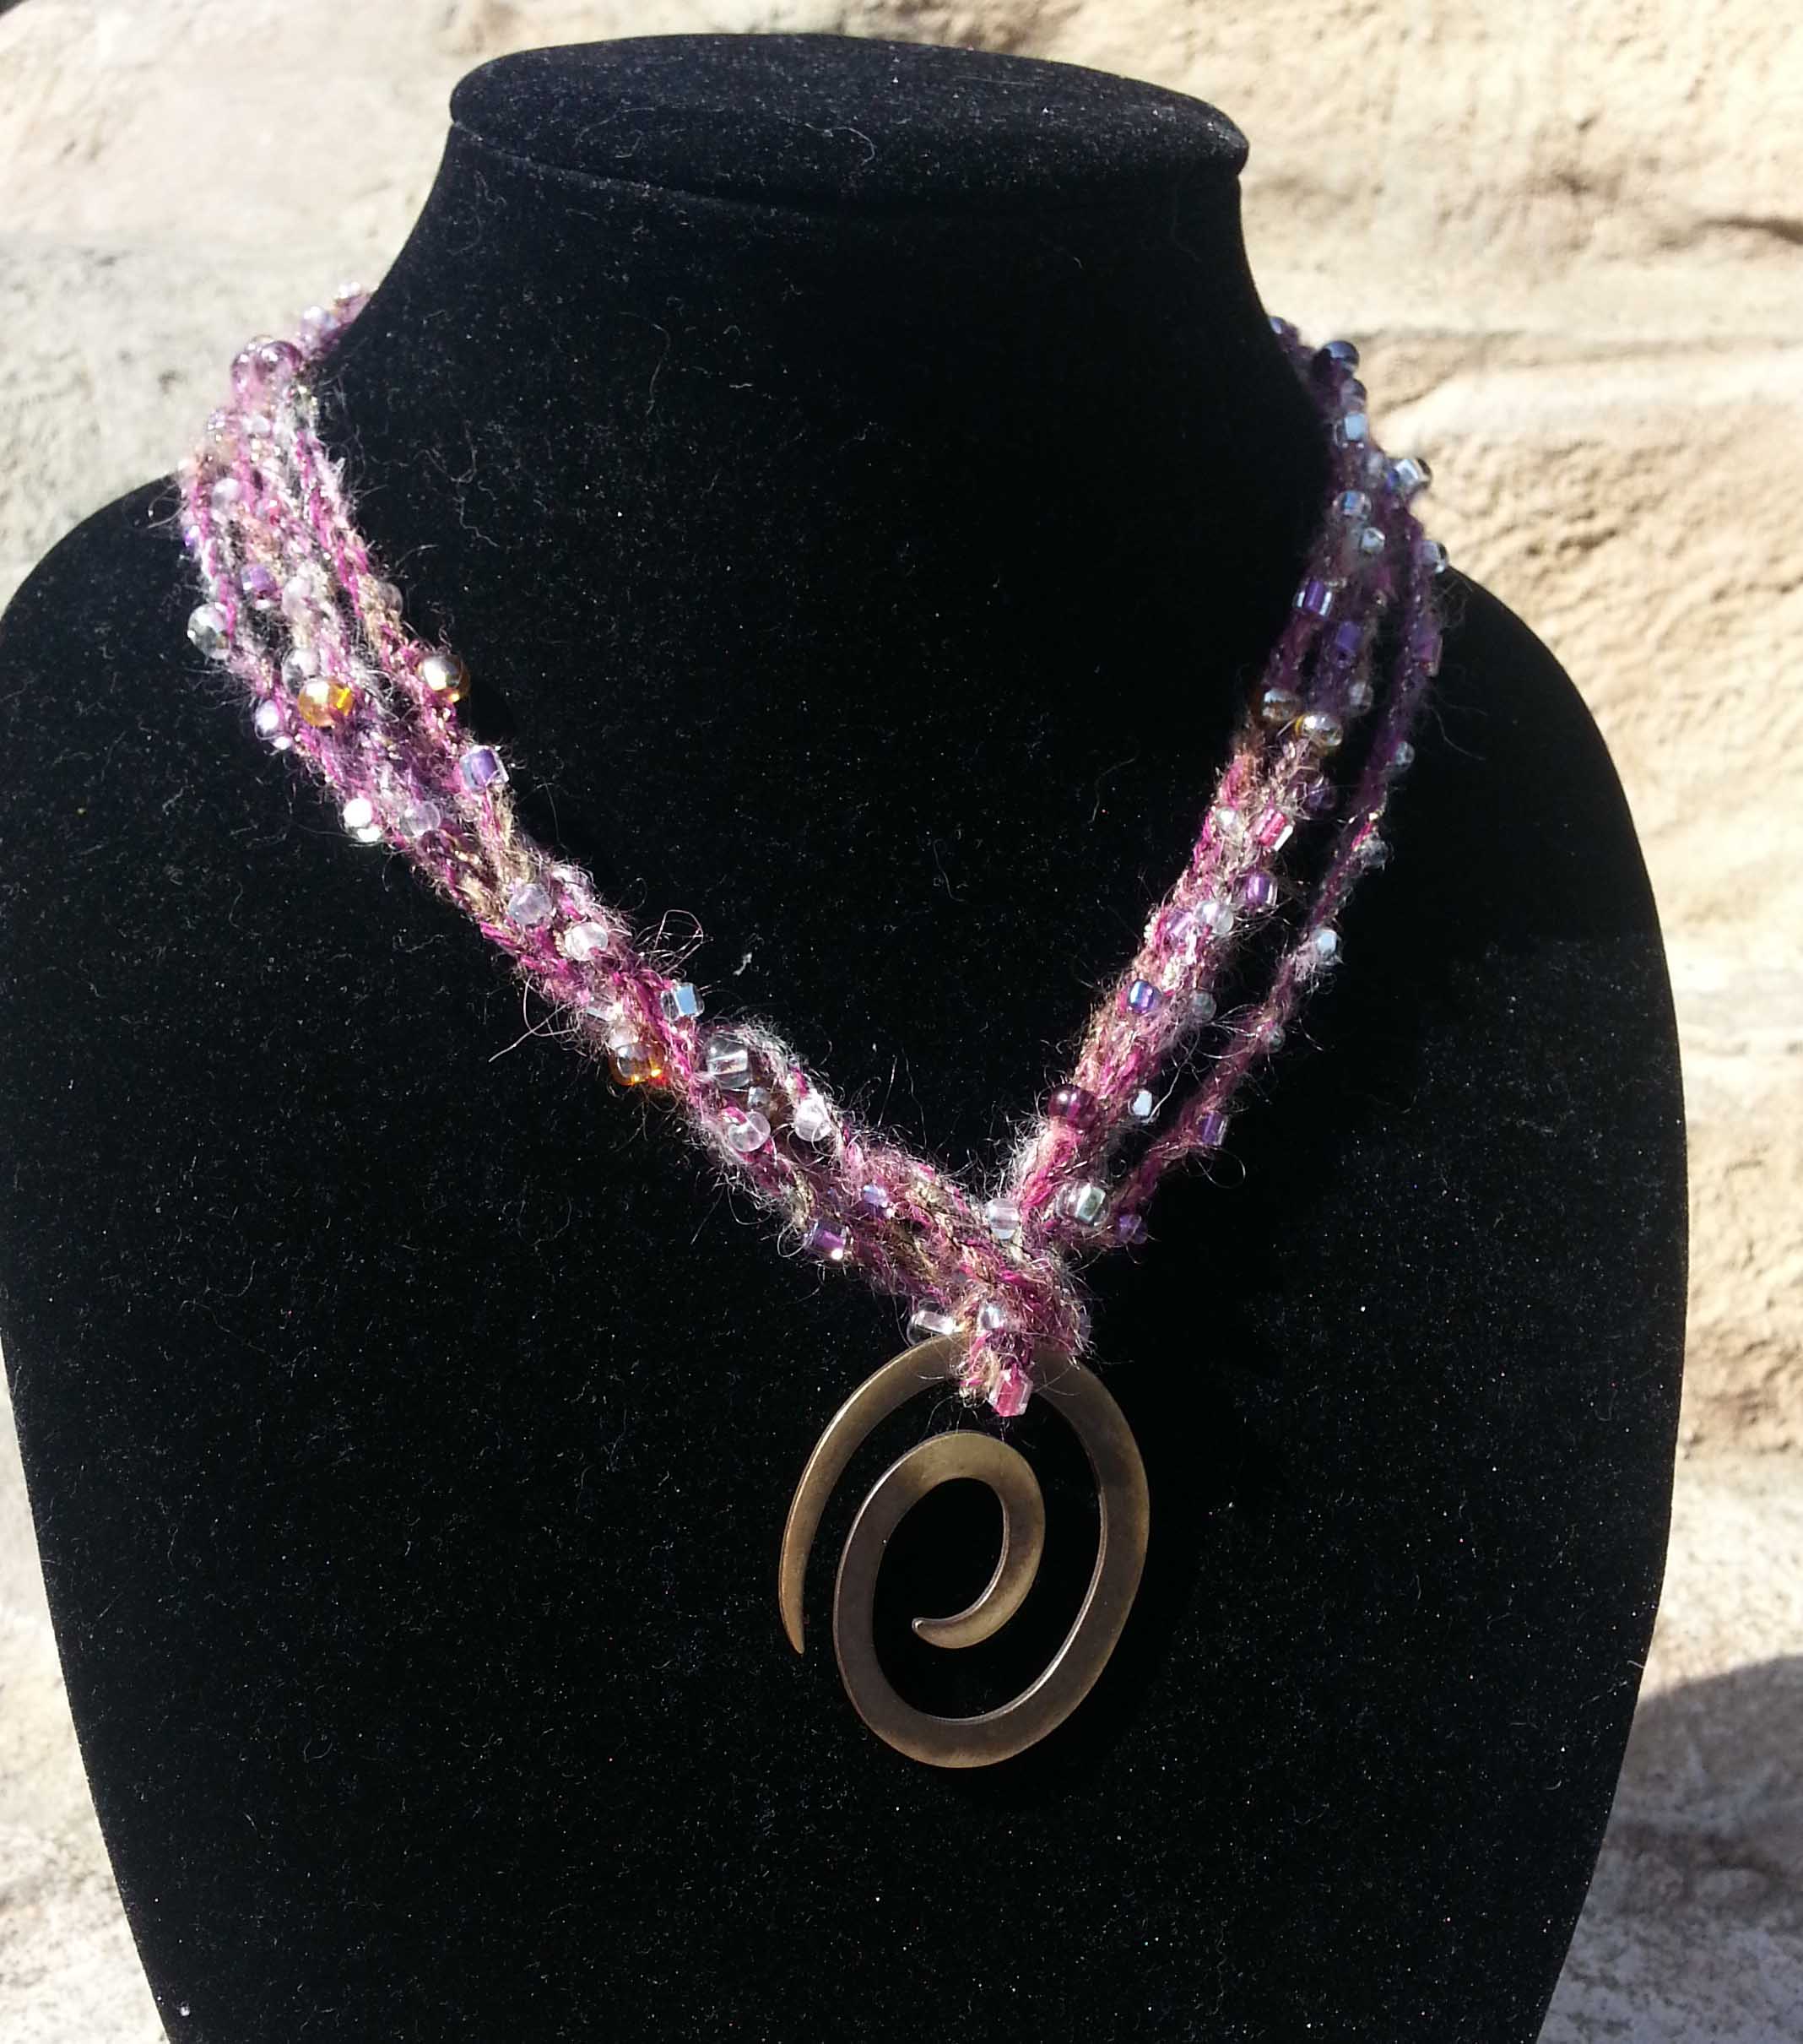
Using a fastener as a decorative pendant.

Or Twisted with the fastener connecting it. Below is a quick little how-to on creating the above look.

Fold beaded chain loop in half and insert fastener thru fold.

Gently twist the strands to create a “rope” look. Place rope around neck and insert fastener to close.
Now it is your turn my dear readers. It only takes about 5 yards (if that) of fingering weight yarn to create a nice long beaded chain. So it’s a great project to use up those bits of yarn we all have accumulated from other projects. Especially nice for those expensive yarns that you don’t what to toss the 10 yards left over.
Gather a variety of quality glass beads in different sizes and colors, just stick to ones that have a decent sized hole and no sharp edges on the hole (cause they will cut thru your yarn). String the beads on your yarn and you are ready to make your own necklace loop.
