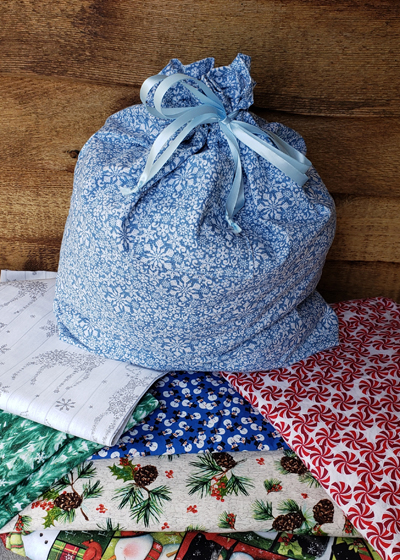
Last Christmas I was frustrated by the amount of wrapping paper waste in my house after all the gifts were opened. I try to use sturdy gift bags as much as possible so they can be re-used from year to year, eventually they start to fall apart. Then I had a thought, “What if I made fabric gift bags that could be re-used and even washed.”
I visited the January fabric sale at my local JoAnns and stocked up on some great Christmas quilting cotton with this goal in mind. Once I got all the fabrics home I ran them all thru the washer and dryer at high temperatures to pre-shrink them.

Since then I have played about with a couple of design ideas for bags. Today’s pattern is super simple. It can work as a gift wrap bag, but it can also work great as a shopping or project bag (for a crochet, knitting or embroidery project). Sew it up in a fun fabric for a great stocking stuffer gift. You can even slide a gift card inside the folded bag before flipping the flap closed.
This bag is a good project to develop your sewing skills. It is made in cotton quilting fabric and all raw edges are finished to prolong the life of the bag. All seams are straight. Side and box bottom seams are “french seams”.
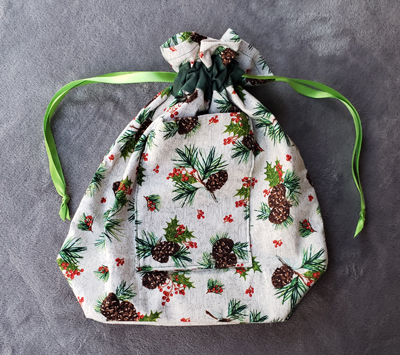
The pocket construction and placement are the most challenging part of the project. I wanted to be able to store the bag in it’s own pocket. The bag folds up and then flips inside the pocket, with the flap flipping over to secure the bag as a simple package to store neatly until you need it. If you just want a drawstring bag you can skip the pocket.
For ease of construction the drawstring channel and pocket are sewn in place on the single layer of the bag body before the bag side seams are sewn. Top hem of bag opening is sewn last.
Handy as a Pocket Bag Sewing Pattern
designed by Andee Graves
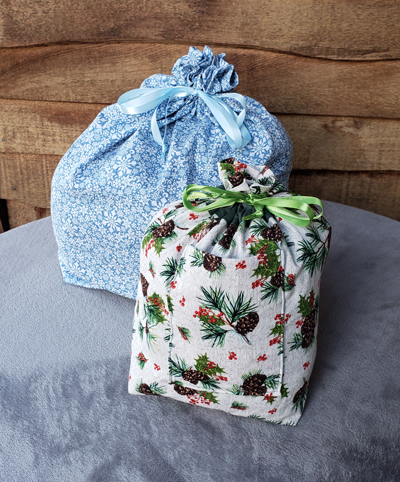
Finished size:
Small bag – 11 inches x 12 inches
Large bag – 18 inches x 19 inches
Measurements going forward are given for small bag and measurements for large bag are in square brackets [ ].
Materials
Quilting Cotton woven fabric: 3/4 yard [1 ¼ yard]
Ribbon or Cord for drawstring: 52” [72”]
Sewing thread
Instructions
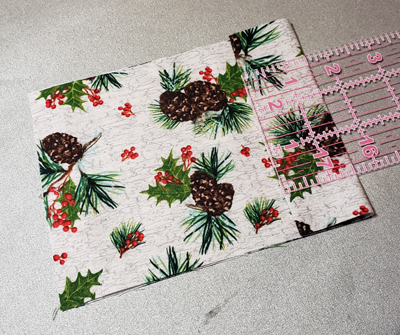
Each bag uses 4 rectangular pieces of fabric; width measurement is the across the grain of fabric, length is with the grain of fabric (parallel to selvage).
Piece A, Body of Bag: Cut 1 – 12” [17”] wide x 30” [40”] long or 2 – 12” [17”] wide x 15 ½” [20 ½”] long
Piece B, Drawstring Channel: Cut 2 – 9 ½” [13 ½”] wide x 2” [2”] long
Piece C, Pocket: Cut 1 – 5” [6”] wide x 15 ½” [17 ½”] long (flap on pocket uses 3” [4”] of length, if you don’t want the flap to secure the bag when folded, take that amount off length)
Drawstring Channels (B):

Fold over ¼” to wrong-side of fabric along short ends and press. Fold over ¼” to wrong-side of fabric along long edges and press.

Clip corners to reduce bulk. Fold over short ends an additional ¼”. Top stitch at short ends to secure hem.

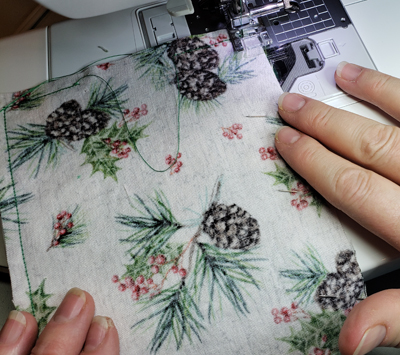
Pin in place centered wrong-side on right-side of Piece A 2” below and running parallel with top edge of bag. Top stitch 1/8” in from edge of each long side leaving short ends open.

Tip: Easy centering of drawstring channel and pocket. Fold Piece A in half lengthwise and mark center of short edges. Fold channel pieces in half widthwise and mark center of long side, fold finished pocket in half lengthwise and mark center of short ends. Align all center marking correct distance apart and pin in place.
Pocket (C): Fold pocket piece in half lengthwise with wrong-sides together, press at fold.
Fold down another 1 ½” [2”] and press. Bring the long length from the bottom over the so the right-sides are together and wrong-sides are facing out. Press at fold.

Piece of fabric will look like a tall capital M. Folded edge is top of pocket.
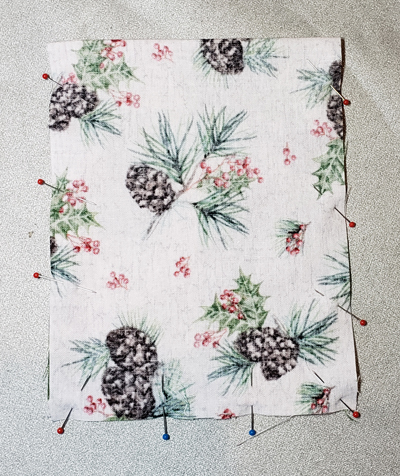
Pin along sides and bottom.
Sew ¼ inch seam along all raw edges leaving a 1 ½” opening in center at bottom edge.

Clip bottom corners being careful not to cut seam.
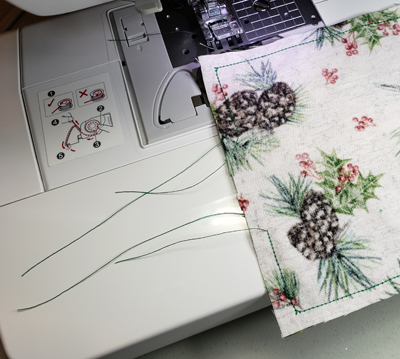
Tip: When leaving opening leave long threads.

Then pull threads to one side of seam and tie in square knot. This will keep bottom seam from coming un-done while turning pocket right-side out.
Turn right-side out, being sure to get all corners fully turned and squared up. Fold in a ¼” seam at opening. Press flat.

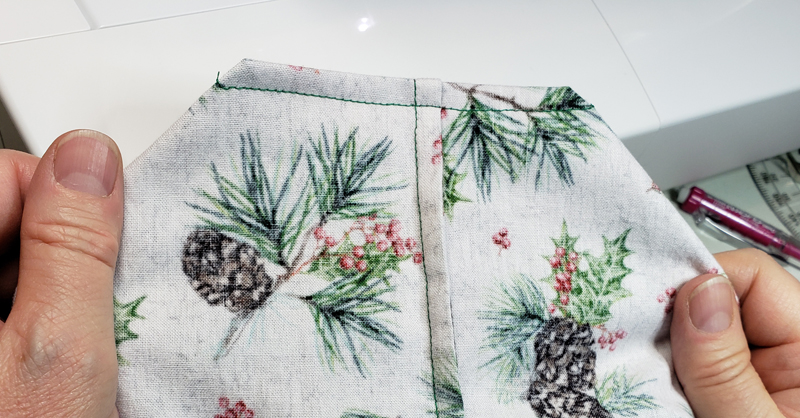
Pin in place flap side down centered on right-side of Piece A, 1 ½” below bottom of drawstring channel. Top stitch 1/8” in from edge of pocket down from fold, along bottom (securing turning opening) and up other side.
Body of Bag:
Fold Piece A widthwise with wrong-sides together and all edges squarely matched. Press along fold to make a crease for later reference.
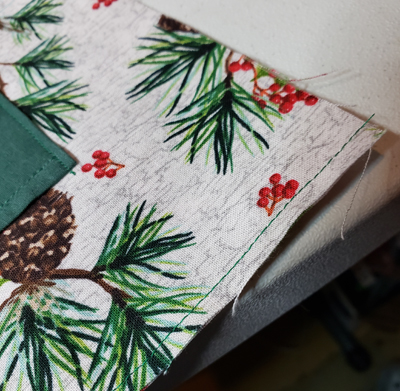
French side seams: Sew slightly less than ¼” seams from fold to top edge of each side.

Turn wrong-side out and gently pull seams so stitching is right at side edges when folded with right-sides together.

Sew slightly more than ¼” seams along each side again, seam doesn’t need to go all the way to the fold.

Press enclosed seams to one side of seam so they are opposite of each other.

Turn bag right side out. You may need to trim some stray threads if your raw edges were super frayed.
Box Bottom: Shape box bottom corners by laying second side seam stitching line along bottom crease line.
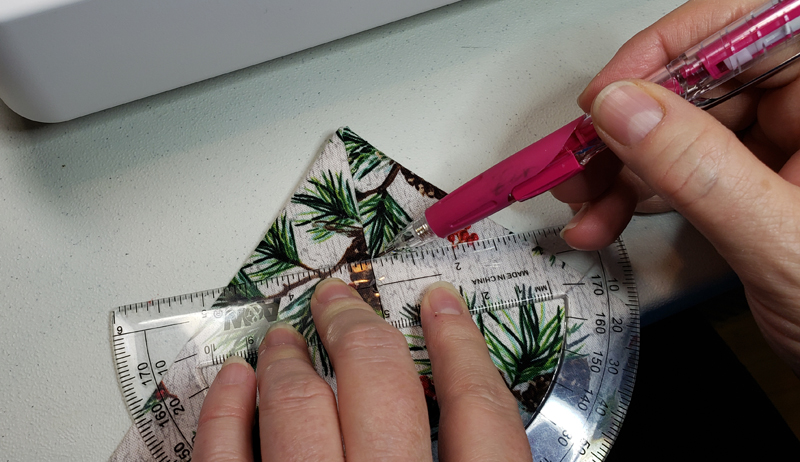
Decide how wide a box bottom you want and mark line on right-side of fabric. (In sample I choose a 4” box bottom, so my line was 3 ½” wide). These will be french seams.

Sew along the marked line. Then trim off corner within ¼” of sewn line.
Turn inside out and flatten out box bottom seams. Sew slightly more than ¼” seam to finish seam.

Opening Hem: Turn right-side out and flatten bag to check that top edge is even, if it isn’t trim it even.

Fold over ¼” to wrong-side all around opening. Then fold over an additional ½”. Press and pin in place.
Sew top stitching to secure hem (or if you prefer blind stitch the hem). This can also be a fun place to use a decorative stitch.
Drawstrings:

Cut ribbon (or cord) length in half, thread thru channels in both directions and
knot end of each ribbon together.
Storing Bag in Pocket

Folding up the bag into its pocket is easy. Lay bag with pocket facing down. Fold down top edge of bag to cover pocket,

repeat with bottom,

then each side.
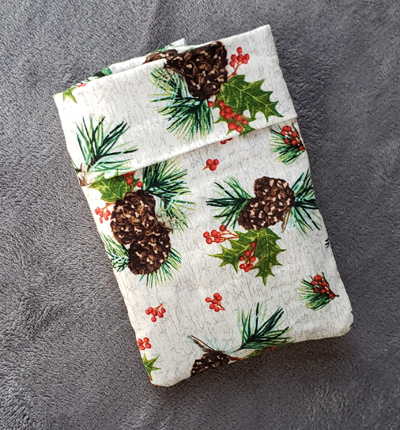
Flip pocket to outside so all folded parts of bag are inside the pocket. You can now see the flap of the pocket,

flip the flap over the open end of the pocket and your handy bag is ready to be stored for later use.
As I was working on this project I made a number of mistakes and missteps, partially due to not being used to my new sewing machine and because my time for this blog post got a little squeezed. I left in the less than perfect images though because I think the imperfections are what makes us human. So be human and have fun making some colorful bags for your Christmas or just for the fun of making a special bag.

This project is part of the Christmas in July Make Along with Underground Crafter. Come join the fun! 31 bloggers have teamed up to bring you a month full of free patterns to kick start the handmade holiday season — including crochet, knitting, sewing, and crafting projects. There’s something new to make every day in July. Each week will have a theme.
Week 1 (July 1-7): Babies, Kids, and Teens
Week 2 (July 8-14): Women
Week 3 (July 15-21): Gifts for Anyone
Week 4 (July 22-28): Home
Week 5 (July 29-31): Pets
We’ve also partnered with some of our favorite companies to get some great prizes for you. Find out more information about participating designers, the schedule, and how to enter to win the prizes on Underground Crafter. The deadline for entering the giveaway is Tuesday, August 4, 2020 at 11:59 p.m. Eastern.
How To Join the 2020 Christmas in July Make Along
- You can join in by crocheting, knitting, sewing, or making the projects as you have time.
- Share your progress and post pictures of your finished projects. Tag your projects and posts #CIJMakeAlong2020 on all social media.
- If you’d like to chat with other crafters, join the Underground Crafters Facebook group
- By the end of the Make Along, you’ll have up to 31 awesome projects. Get ready for the handmade holiday season while having fun with us!
Visit Underground Crafter to learn more about the prizes, enter the giveaway, and to get links to each Christmas in July Make Along post as it is released.

2 thoughts on “Christmas is in the Bag”