In keeping with my love of crocheting spirals I have a fun afghan square pattern for you all. This idea has been kicking around in my brain for a couple of years. I finally sat down and worked out the design with yarn and wrote up the pattern. It has a few challenges to keep it interesting, but those of you that are feeling intrepid will have lots of fun with it.

This square is also Block#21 in the Moogly 2023 Afghan CAL. You can see Tamara’s notes on making this square and find out more about the Moogly 2023 Afghan CAL here.

You can purchase an Ad-free PDF version in my Ravelry Shop that includes stitch charts and additional photo tutorials.
Pinwheel Square
Designed by Andee Graves
Skill level: Intermediate
Finished Size: 12” square
Materials:
Yarn
Worsted wt (Sample uses Red Heart “With Love” 100% Acrylic (7 oz/ 198 g, 370 yd/ 338 m)
- Color A: Eggshell (sample used approximately 67.5 yards/ 36 grams)
- Color B: Bluebell (sample used approximately 14 yards/ 7.5 grams)
- Color C: Bubblegum Pink (sample used approximately 14 yards/ 7.5 grams)
- Color D: Country Blue (sample used approximately 14 yards/ 7.5 grams)
Hook Size J (6 mm)
Notions
- Medium Locking Stitch Markers: 8 in 1 color, 4 in 2nd color
- Large Locking Stitch Markers 4 in any color
- Tapestry Needle
- Scissors
Gauge Small spiral square = 4” across
Abbreviations/Special Stitches
Standing Single Crochet (Standing sc): make slip knot in yarn and place loop snugly on shaft of hook, insert hook into indicated st, yo, pull up a loop, yo, pull thru 2 loops on hook.
Loose slip stitch (loose slip st): Insert hook in indicated place, YO, pull up a loop thru place and loop on hook keeping loose like making a chain st.
Joining slip st (slip st): Insert hook in indicated place, YO, pull up a loop thru place and loop on hook, continue to pull up on working loop until original loop is tight.
Double Crochet Cross Stitch (X-st): Skip one st, dc in next st, working around previously made dc, dc in skipped st. Each X-st uses 2 sts and creates 2 sts.
Pattern Notes:
Start square with an adjustable slip knot. Beginning tail tightens the loop on the hook.
Stitch counts at the end of each round and row are shown in italicized brackets at end of each round or row.
Square starts with 4 small four color dc spiral squares that are joined together as the center, then a border of 5 rounds is worked as a frame.
When instructions specify “sl st loosely”, this means work those slip stitches similar to a chain stitch and do not pull the working loop to tighten them as in a joining slip stitch. You will be working into those loose slip stitches.
Instructions
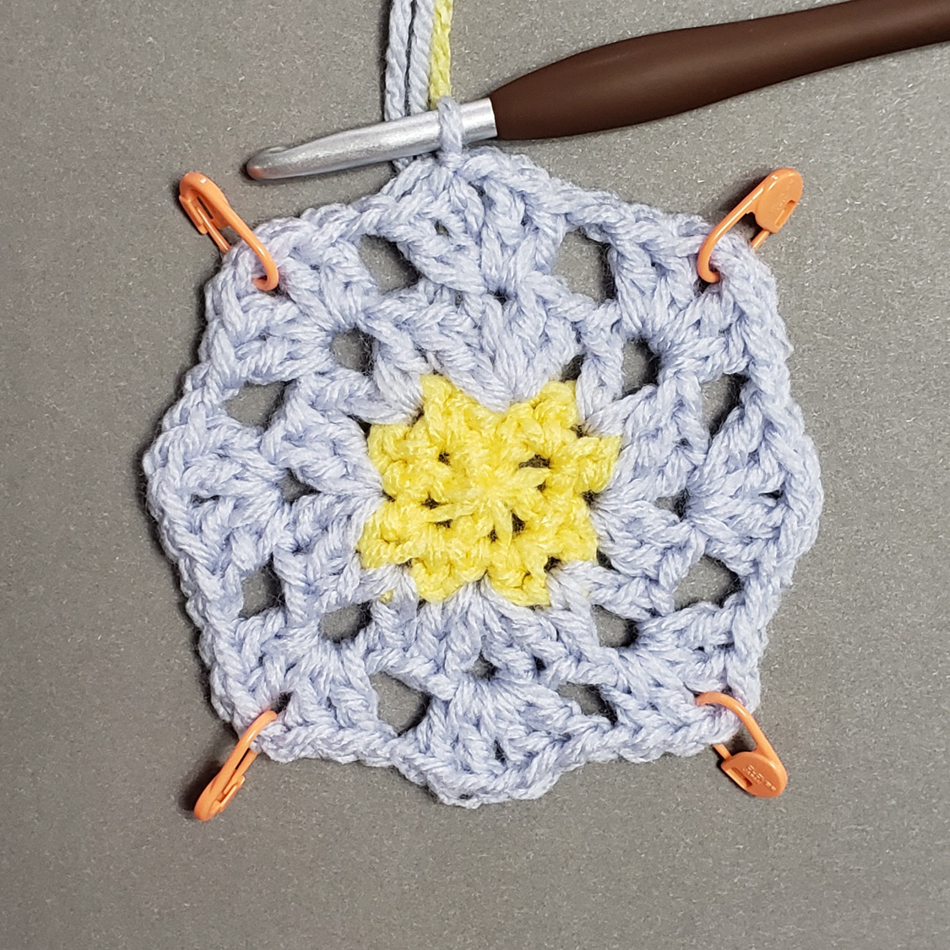
Spirals (make 4)
Rnd 1: Begin with an adjustable slip knot in Color A, ch 2, (sc, hdc, dc) in second ch from hook {center ch st}, pull up working loop of current color and remove hook, place a large locking stitch marker in working loop to secure,
*insert hook in center ch st, pull up a loop of new color on shaft of hook, ch 1, working over beginning tail (sc, hdc, dc) in same ch st, pull up working loop of current color and remove hook, place a large locking stitch marker in working loop to secure*,
Rep from * to * with 2 other colors, 4 different colors total for the arms of your spiral, gently pull beginning tail of Color A to close center tightly. Place medium st markers in each st using a different color marker to indicate the last st of each color section. [1 sc, 1 hdc, 1 dc in each color]
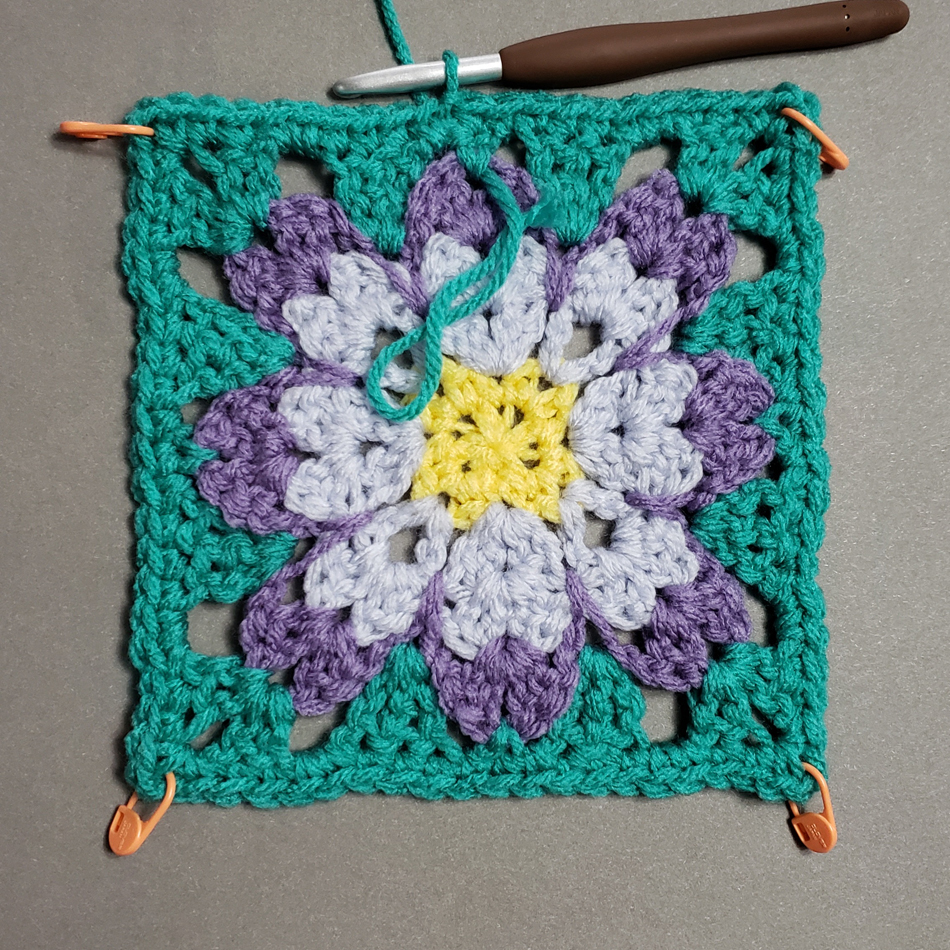
Rnd 2: Begin with Color A, *(2 dc in marked st, move st marker up to second st worked) 3 times, pull up working loop of current color and secure*, [switch to next color, Repeat from * to *] 3 times. [6 dc in each color]
Rnd 3: Begin with Color A, *(dc in next st, 2 dc in marked st, move st marker up to second st worked) 3 times, pull up working loop of current color*, [switch to next color, Repeat from * to *] 3 times. [9 dc in each color]
Rnd 4 (Round to Square): Begin with Color A,
*Tr in next st, (Tr, ch 1, Tr) in next st, 2 dc in next st, hdc in next st, sc in next st, sl st loosely in next st, sl st in back loop of next st*, cut Color A with 10” tail, [switch to next color, Repeat from * to *] 3 times, cut Color B & C with 6” tail, cut Color D with 10” tail. [3 Tr, 1 ch-1 sp, 2 dc, 1 hdc, 2 sc, 1 loose sl st, 1 sl st in each color, {44 sts and 4 ch-1 sp around. 2nd sl st is not counted}]
Weave in center tails of spiral. Weave in Color B & C ending tails. Sew 4 spiral squares together with a whip-stitch using Color A and D ending tails (refer to photo for placement).

PM in ch-1 sp corners of joined spirals block (Color C Corners).
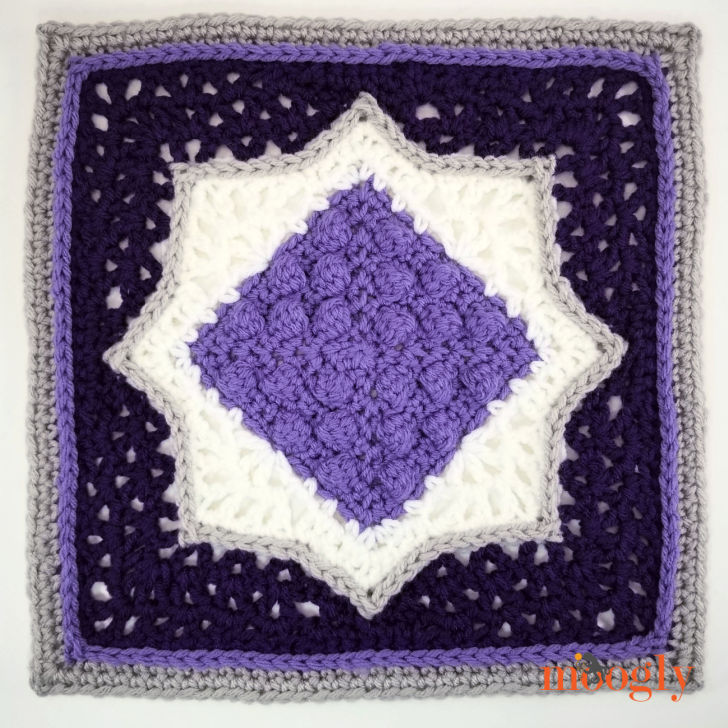
Square Border
Rnd 1: With RS facing, attach Color A in 3rd st to the right of corner ch-sp with a standing sc, *sc in each st and ch-sp until reach the marked corner ch-sp, (sc, ch-2, sc) in marked sp, move st marker up to ch-2 sp just made*, Repeat from * to * 3 times, sc in each st and ch-sp until reach beginning of Rnd, sl st to first sc of rnd to join. [104 sc, 4 ch-2 sp, {26 sc each side between ch-2 sps}]
Rnd 2: Ch 3, turn, dc in st before join {counts as first X-st of Rnd}, *X-st over next 2 sts*, Repeat from * to * 11 times, [(2 dc, ch 1, 2 dc) in marked ch-2 sp, Repeat from * to * 13 times] 3 times, (2 dc, ch 1, 2 dc) in next marked ch-2 sp, move st marker up to ch-1 sp just made, Repeat from * to * once, join to top of ch-3 with slip st. [52 X-sts, 16 dc, 4 ch-2 sp, {13 X-sts, 4 dc each side between ch-2 sps}]
Rnd 3: Turn, sc, ch 1 in first st {sc and ch 1 count as first hdc of Rnd}, [hdc in each st until reach marked ch-sp, (hdc, ch 2, hdc) in marked ch-sp, move st marker up to ch-2 sp just made] 4 times, hdc in each st until reach end of Rnd, join to first hdc with slip st. [128 hdc, 4 ch-2 sp {32 hdc each side between ch-2 sps}]
Rnds 4 & 5: Repeat Rnd 3.
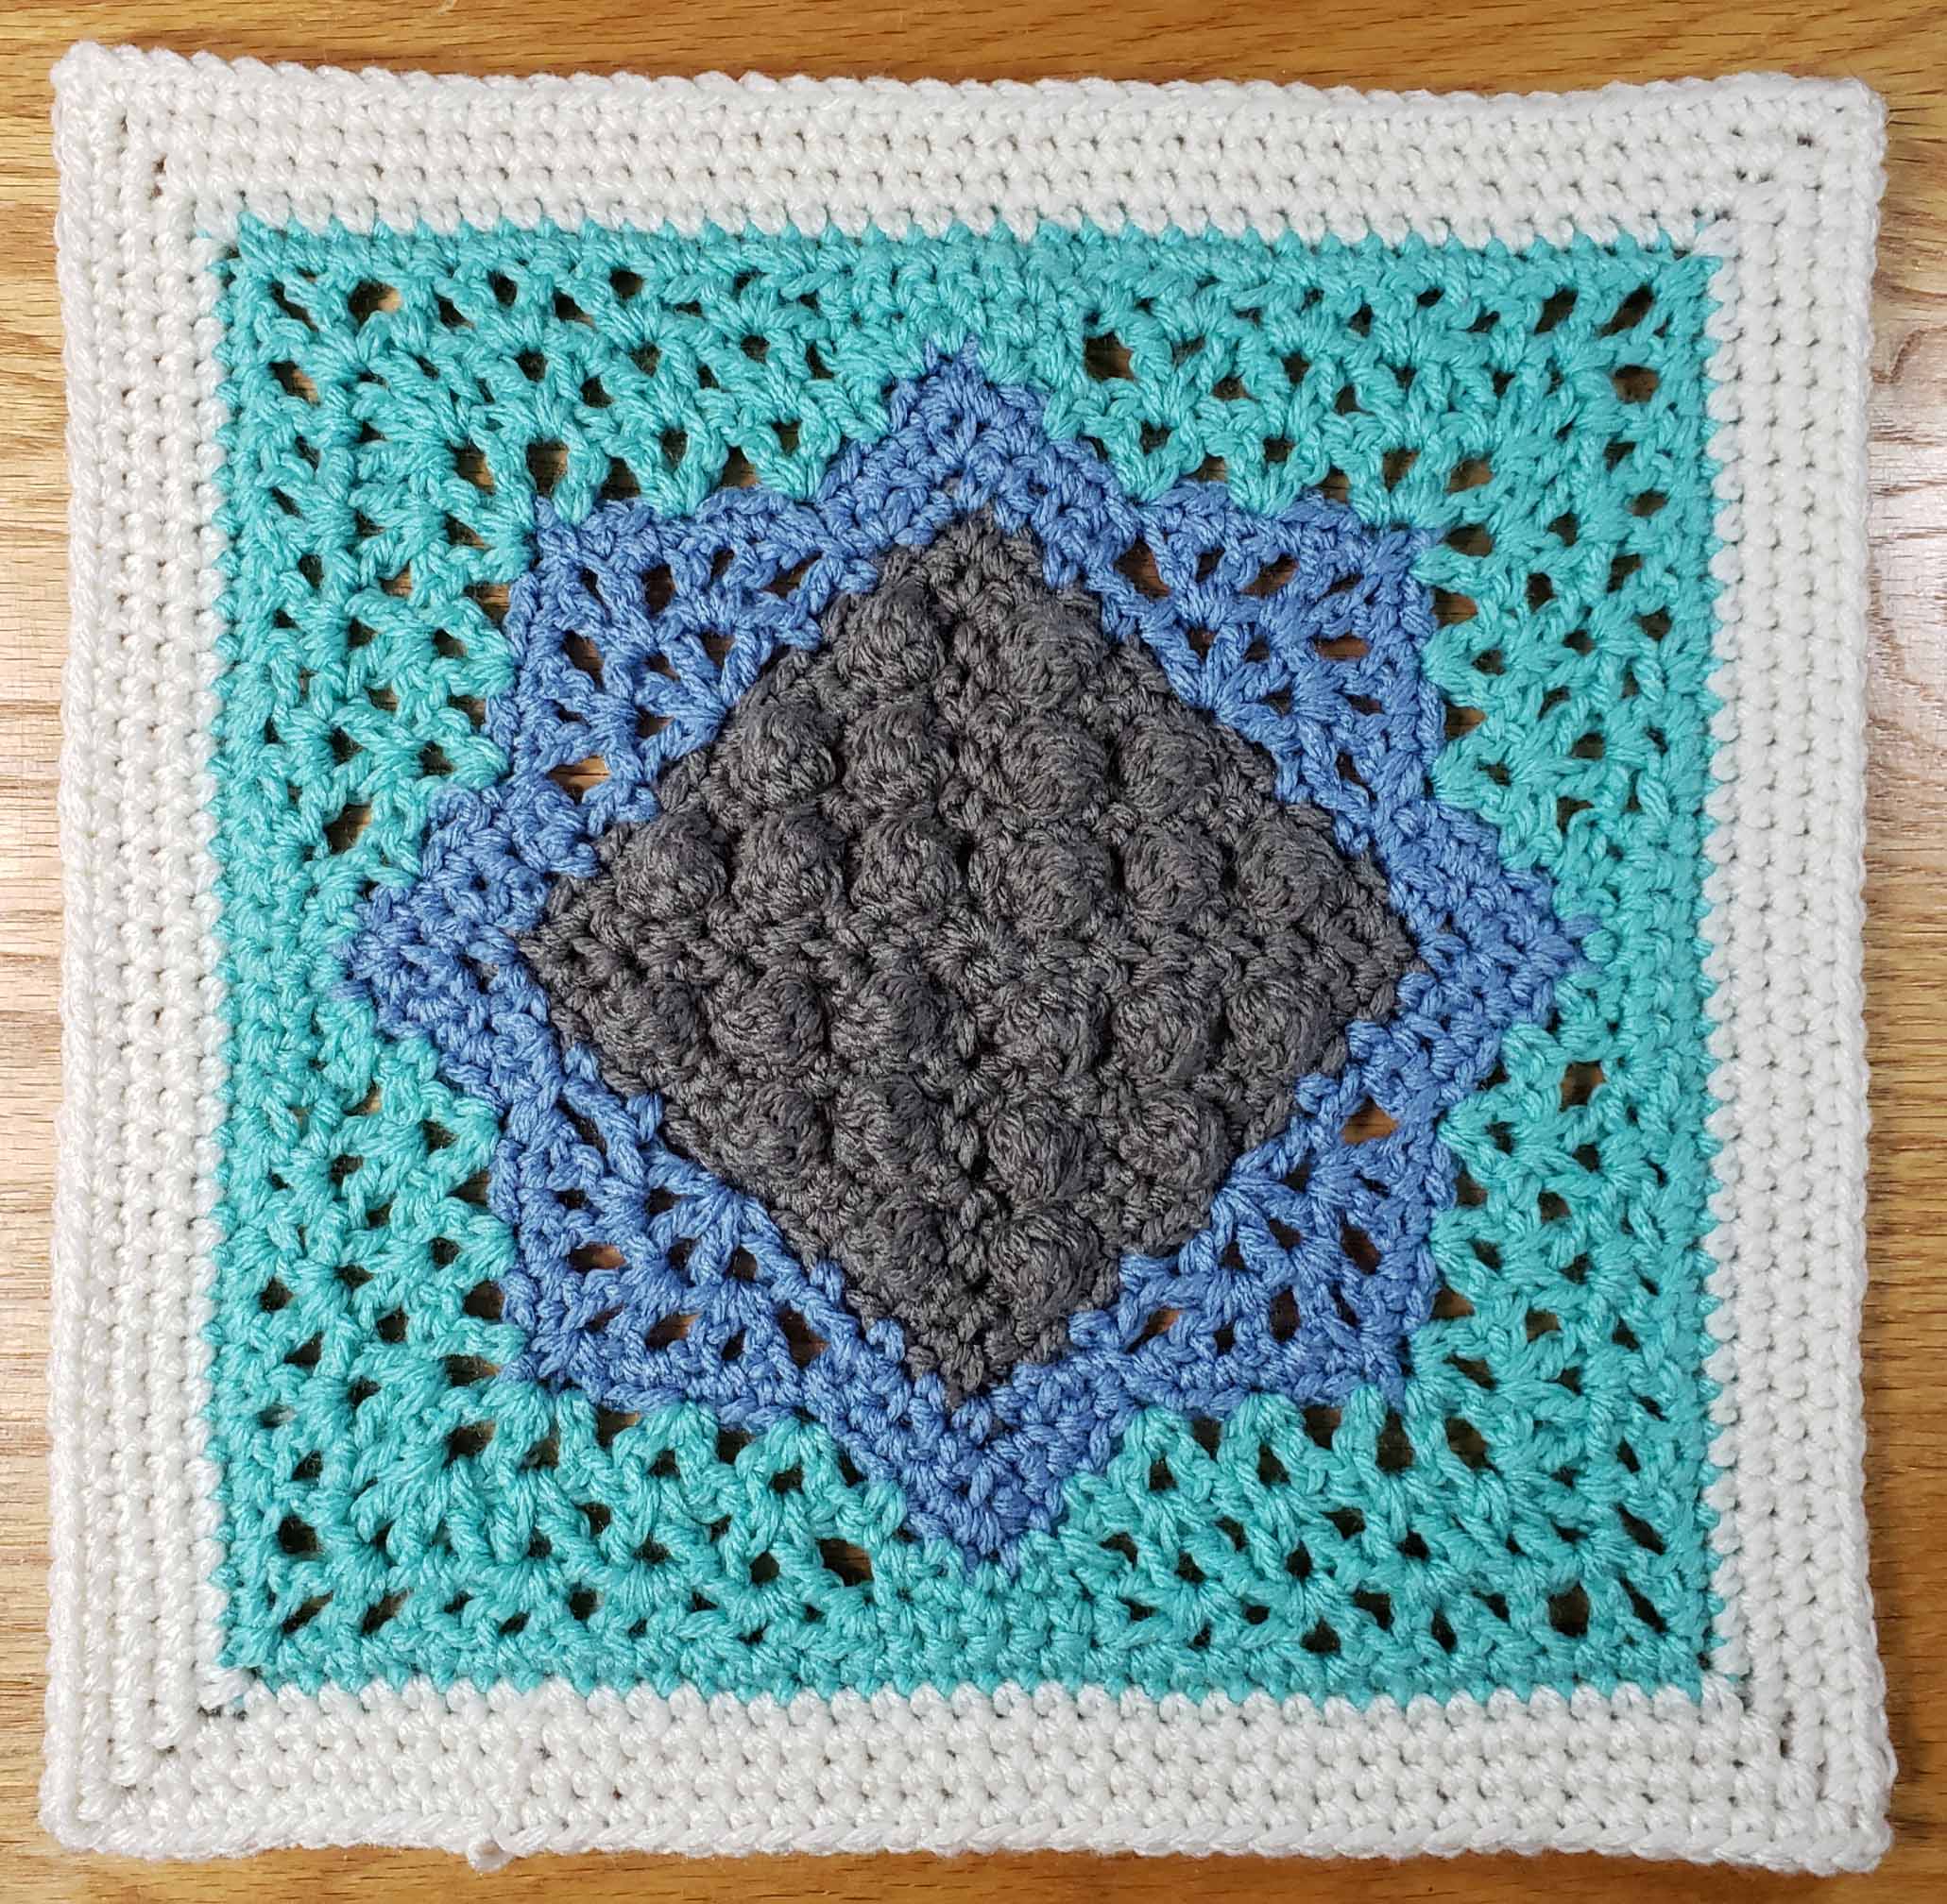
Count end of Rnd 4 [136 hdc, 4 ch-2 sp {34 hdc each side between ch-2 sps}]
Count end of Rnd 5 [144 hdc, 4 ch-2 sp {36 hdc each side between ch-2 sps}]
Finishing
Weave in tails and block.