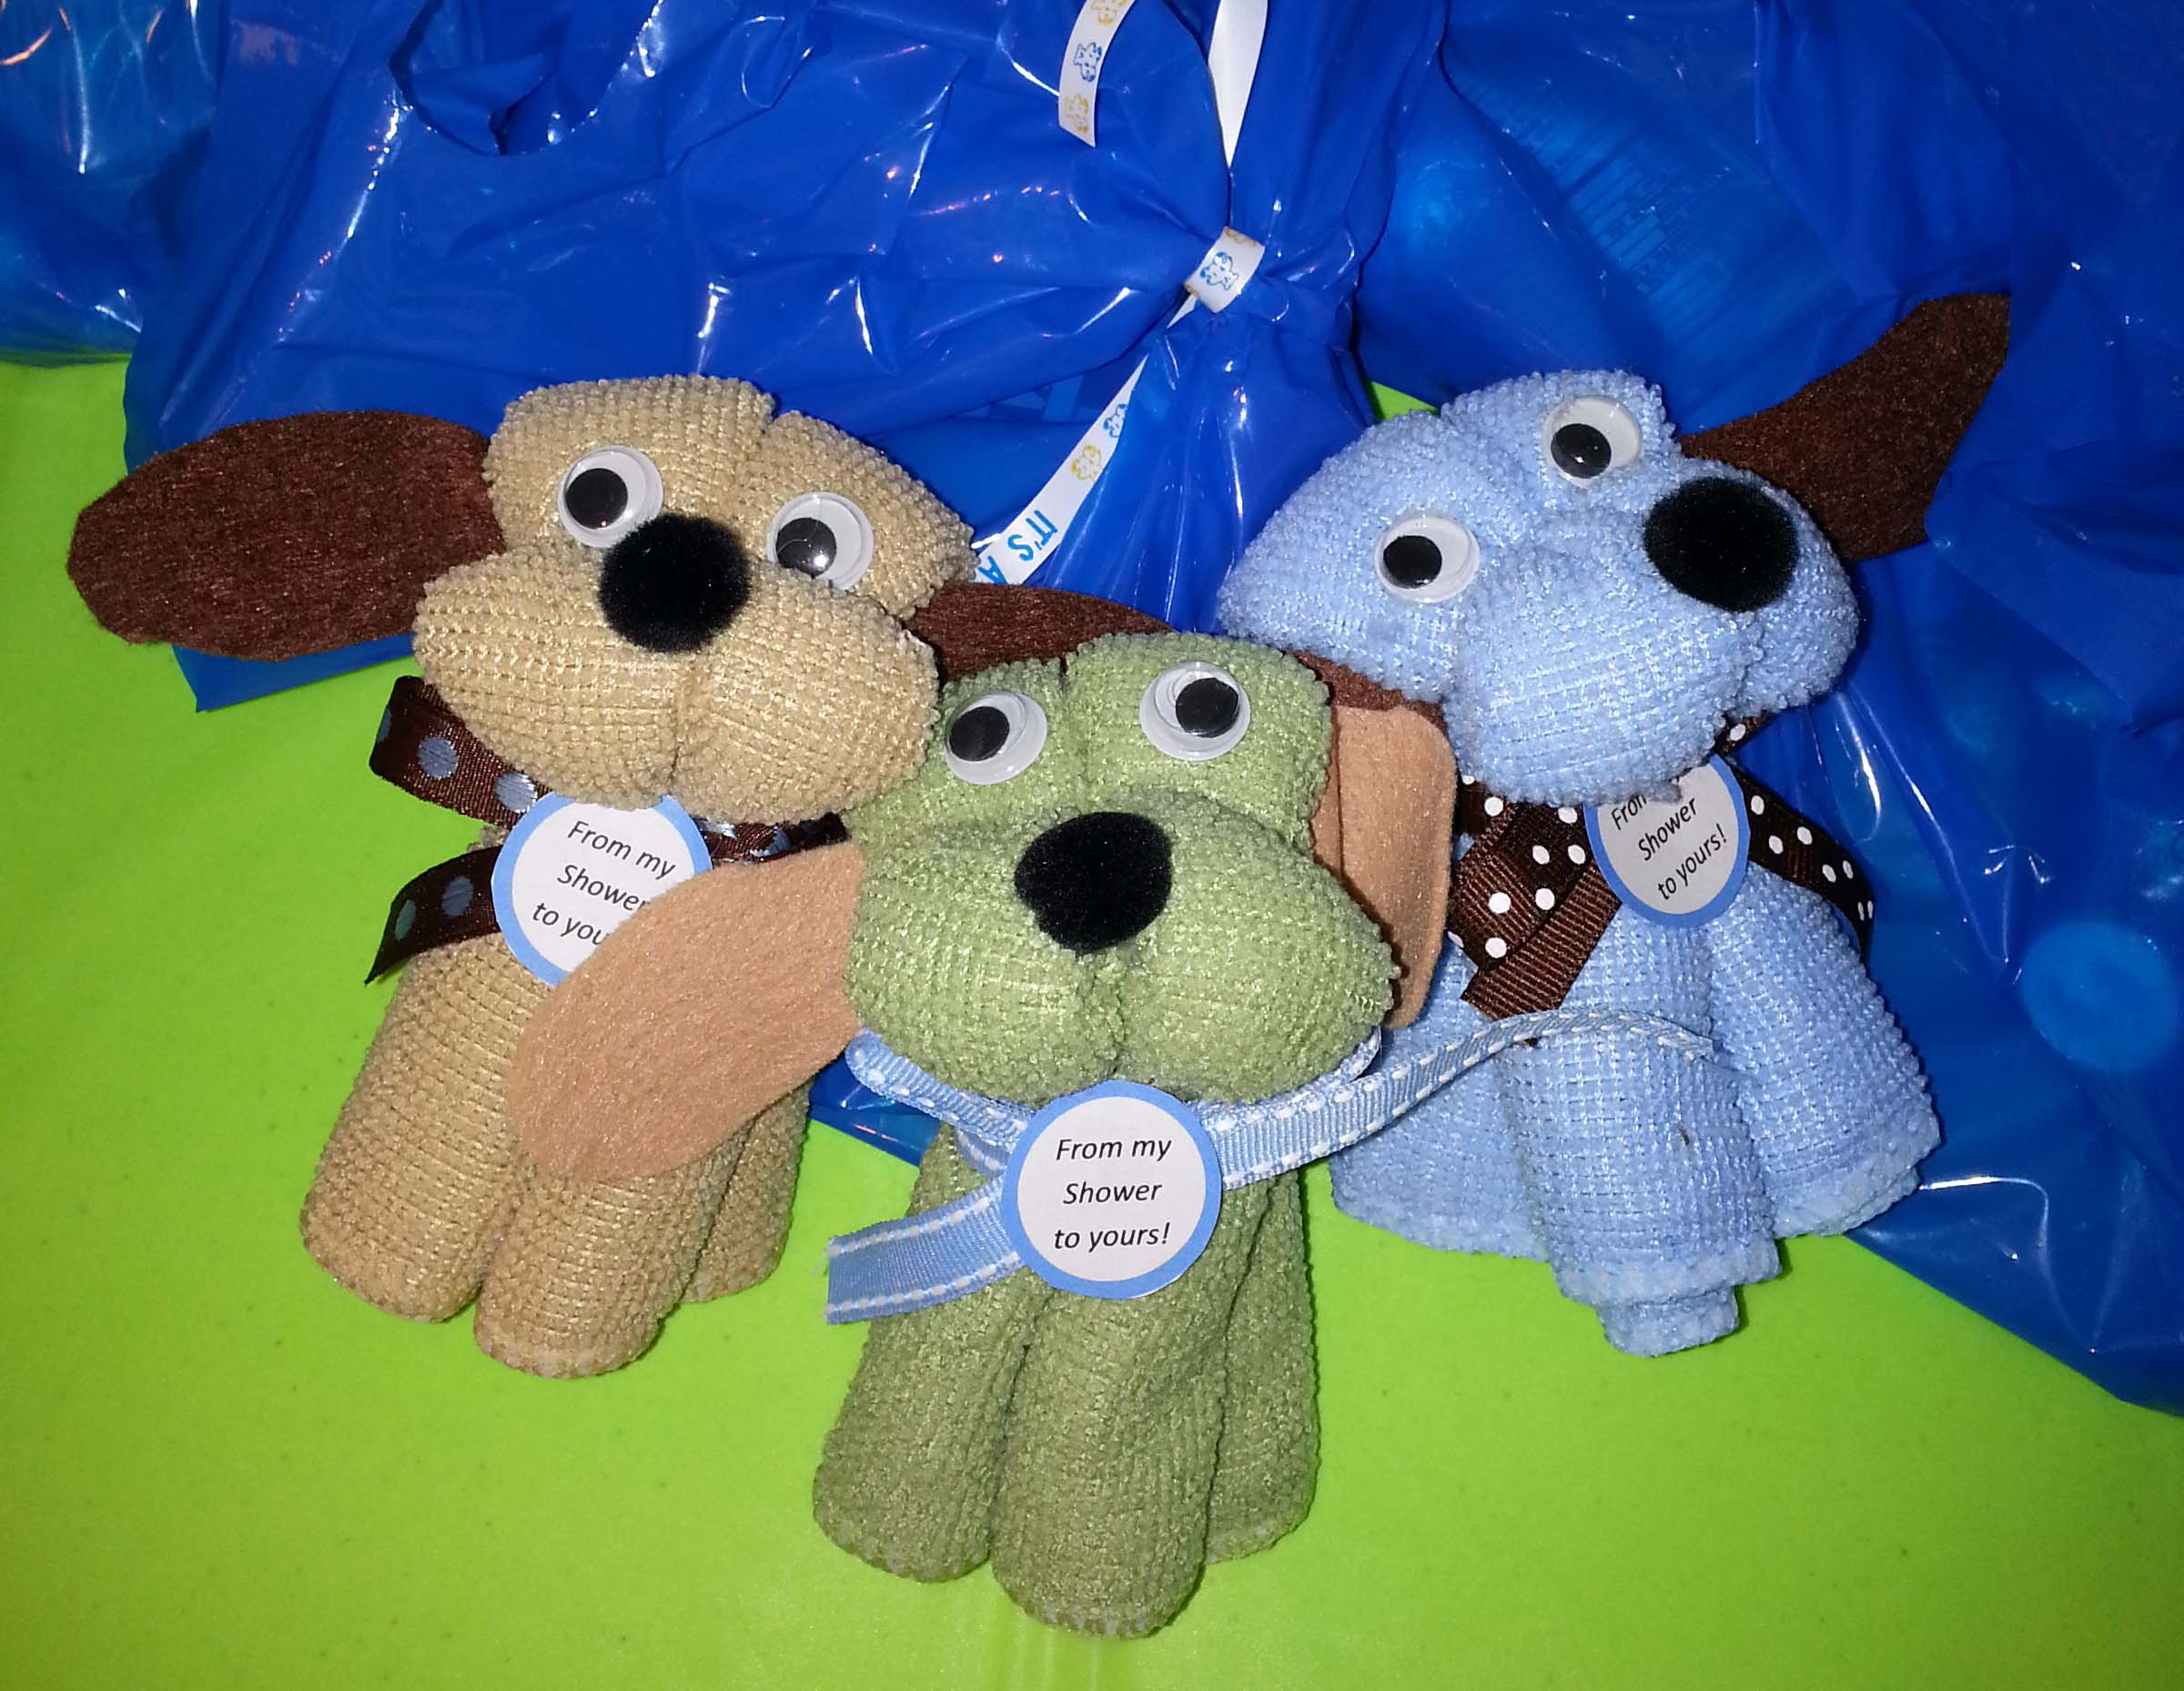
Today I took a lengthy drive down the mountain to attend a baby shower. This was a very special event because this is my friend Terie’s oldest daughter’s first baby. I met Terie when she was expecting her second daughter, Meghan, and her oldest daughter, Amanda, was a tiny toddler.
Amanda, Meghan and J in May 2006.
I’ve watched these girls grow up over the years and it seems almost impossible that they are both adults with busy lives of their own now. Amanda was married just a few years ago, so I knew that a baby would very likely be in the near future.
Of course, babies and crochet go hand and hand for me. 2015 has been such a busy year for my crochet design and teaching work that I decided I would make a couple of hats for this new baby instead of my usual blanket. Turns out that was a good decision because Amanda got lots of blankets for the new arrival and a couple of them were even crocheted.
The one I liked the best, was crocheted by Terie’s mom for her new great-grandbaby. A lovely oversized granny-square blanket in blues and browns. This was accompanied by a couple of books that made Amanda and Terie get teary-eyed. Turned out they were books that Amanda’s Grandma had read to her when she was tiny.
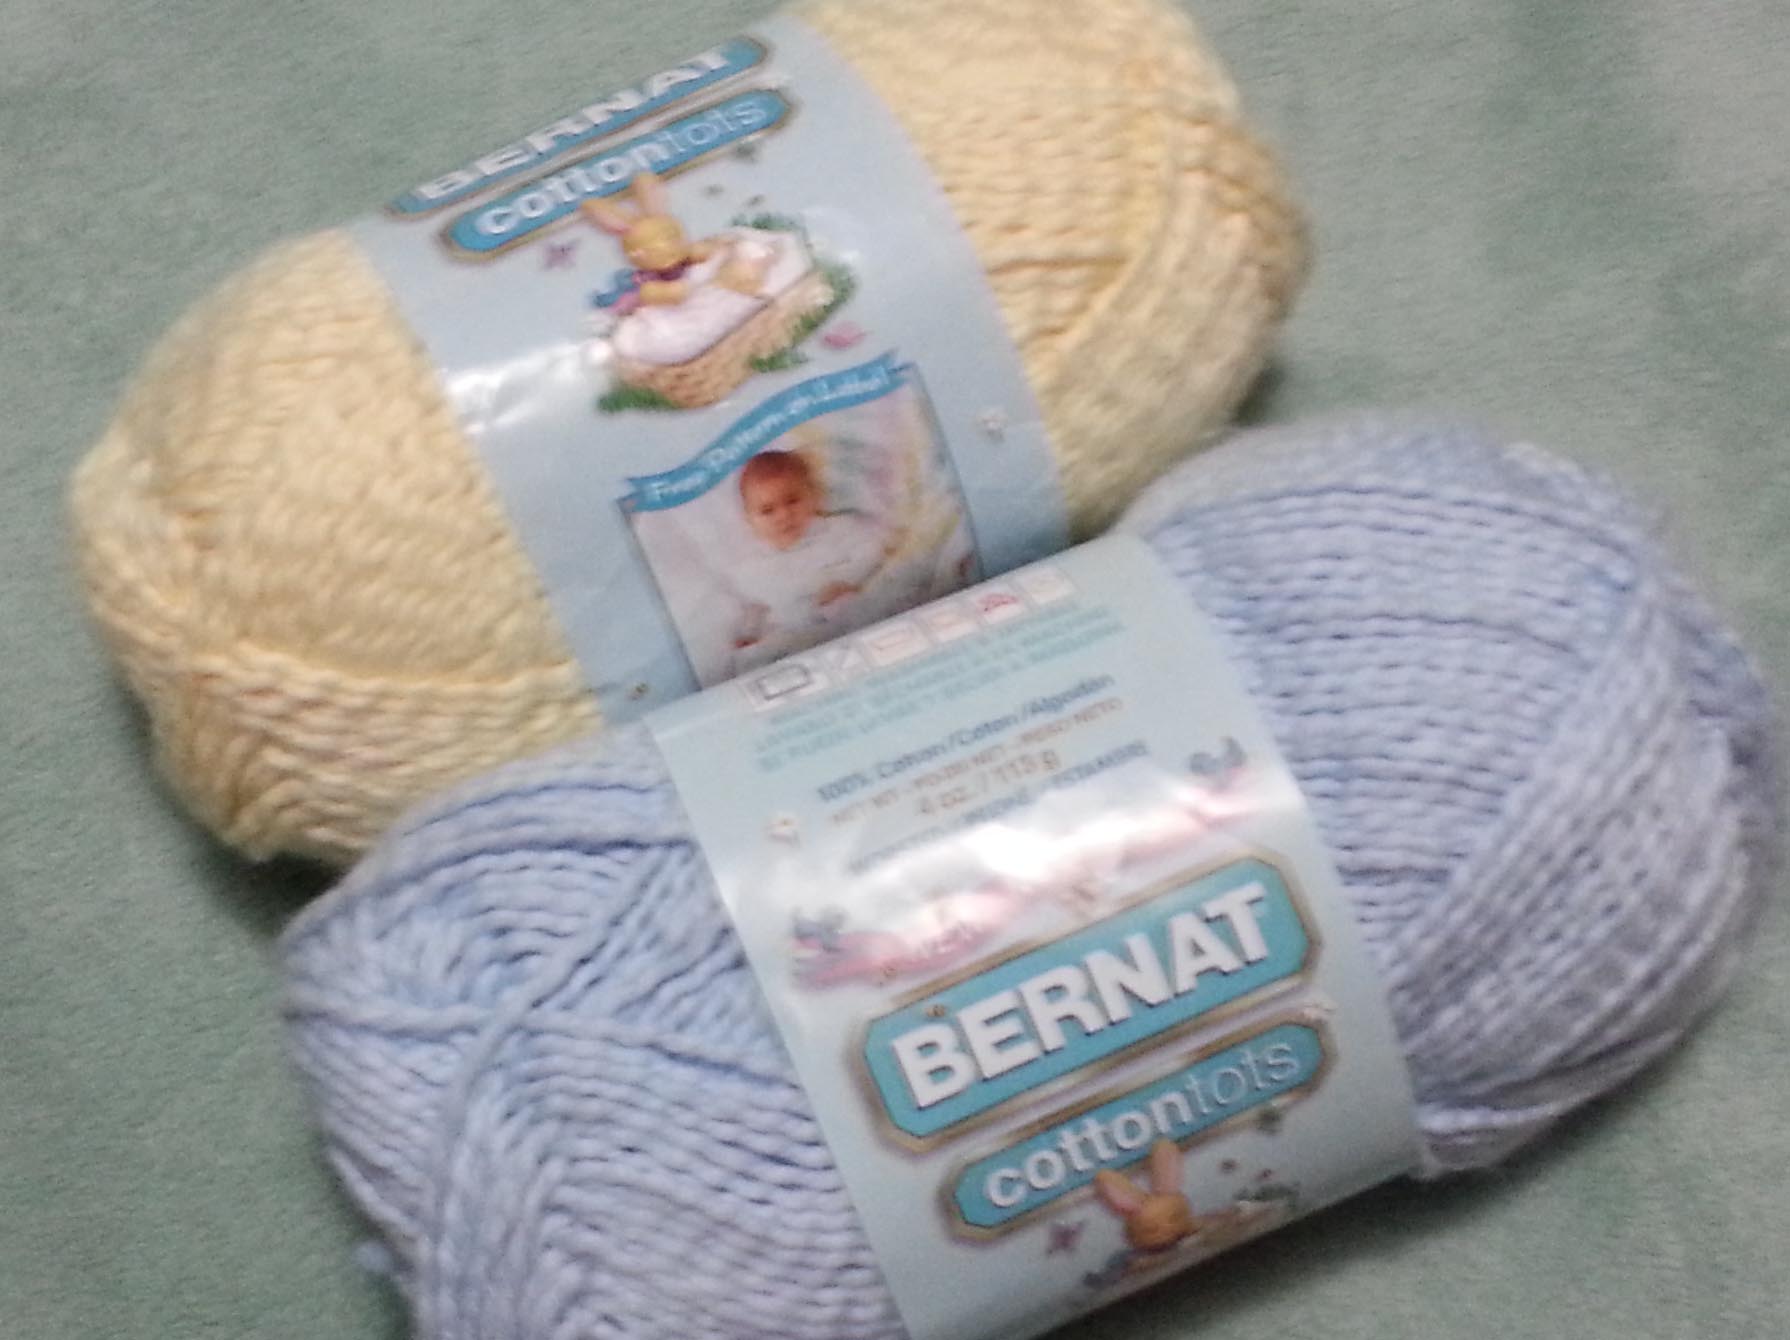
My gift was a couple of crocheted beanies, one in a cotton/acrylic blend and the other in 100% cotton. Unfortunately with all the rushing around this week, I didn’t get a photo of the finished hats. In fact I was finishing the 2nd hat during the shower, which kept me from being tearful during the festivities.
For the second crocheted beanie I used my standard hat pattern adjusting it to fit a baby’s head. I wanted it to be comfortable for summer-time wear as this baby is due the end of next month. I choose to use some Bernat’s CottonTots I had in my stash, 100% cotton and machine washable. Sadly this yarn is discontinued, but I still have quite a bit in my stash.
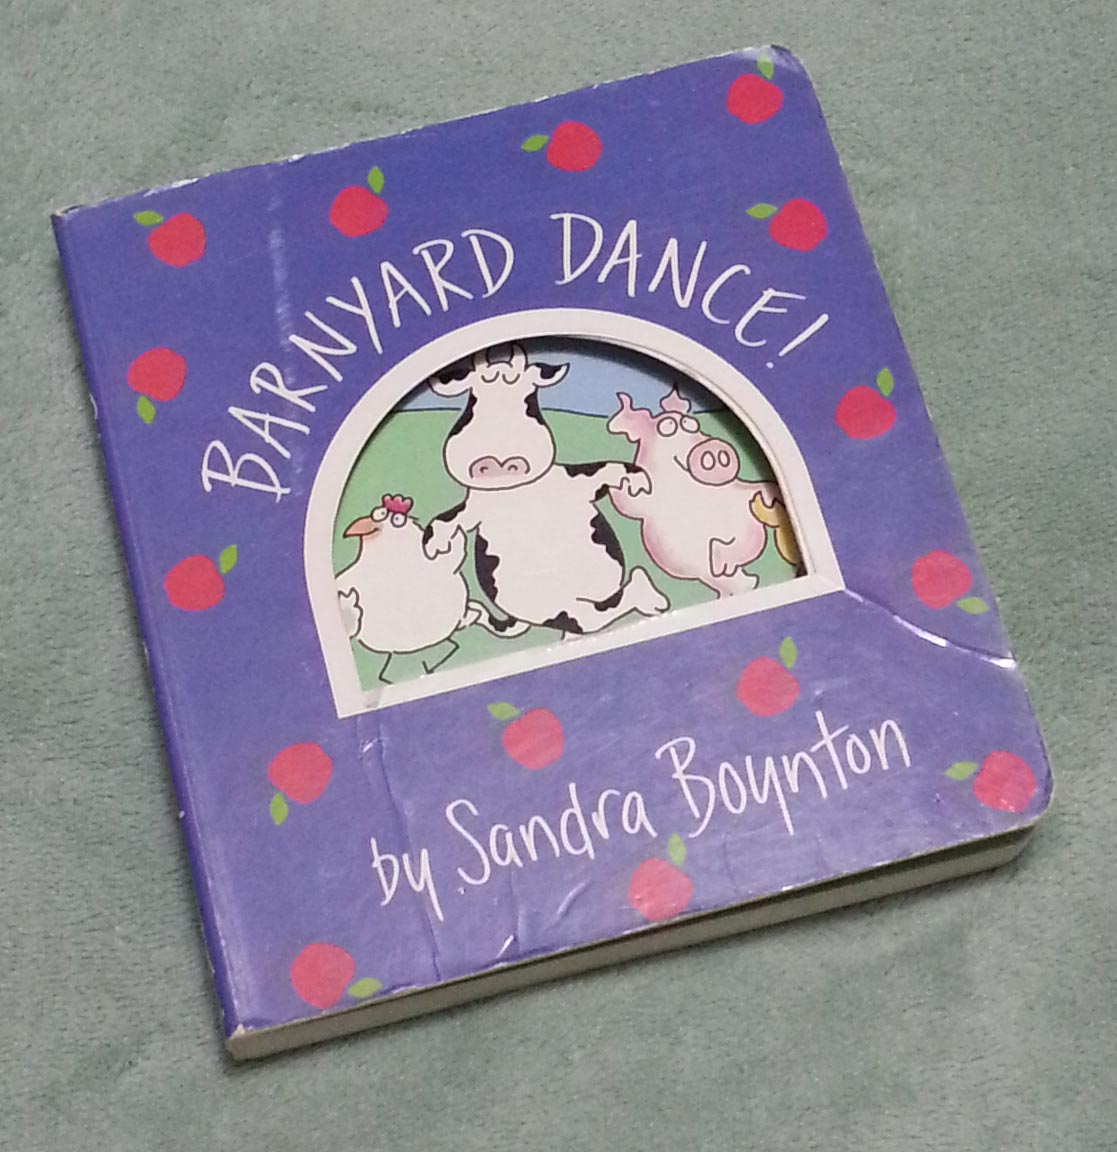
I also got the new baby a Sandra Boynton book “Barnyard Dance” that was my boys’ favorite when they were tiny. The photo above is of our very well loved copy. It is one of many things that are going into my box of items that will come out again someday in the distant future when I become a grandmother.
So my dear readers, what are your favorite baby gifts to make?
I love chocolate. I also love my family. So I was very excited when I found out that the Colorado Chocolate Festival was happening Mother’s Day Weekend. I contacted my dear friend Terie and told her we had to go.
My boys overheard that conversation and made it known that they wanted to come too. So we have all been very excited this week waiting for Saturday to arrive. The Festival actually started on Friday, but I figured I only really needed to spend one day at a Chocolate Festival. Especially since my treadmill conked out on me Wednesday.
We woke up yesterday morning to icky weather. Snowy and nasty up here on the mountain. Terie sent me a message asking if we were still a “go” for Chocolate. Normally I would have punked out with weather like that, but hey, we are talking about Chocolate here. We did decide to meet a little later than originally planned.
Herded the boys out the door and we were on the way. The top of the mountain wasn’t the nicest drive, but half way down the roads were just wet. We made a stop to grab an early lunch, since eating lots of chocolate samples on an empty stomach didn’t sound like a good plan.
Finally we made it to the Denver Merchandise Mart building where the Festival was being held. Saturday was clearly the day everyone had decided to be there. The parking lot was very full, and we ended up parking some distance from the entrance. All to the good though as it allowed me to get a few extra steps in. There was a small fee at the door for entry and then we purchased “sampler” tickets. These tickets allowed you to obtain samples from the various vendors.
I had purchased 24 sampler tickets and split them among my family. Himself is not quite as wild for chocolate as the boys and I. So he took 3 tickets while the boys and I each had 7. We also got 2 complimentary tickets for a dip in the Chocolate fountain that the boys laid claim to. As they were waiting in line for the fountain I went in search of Terie.
Terie and I
Amazingly, even with the crowd and the size of the venue, I found her fairly quickly. She finished making her purchase and we went back to say “hi” to my boys. When we got back to them the boys were finishing their chocolate dipped marshmallows (I was exceedingly grateful I had fed them “real” food first). My youngest was a bit enthusiastic with his enjoyment and had chocolate all over his face.
While searching for Terie I had found there was an activity area for the kiddos. We headed that direction with the boys before Terie and I resumed our chocolate quest. There was a bouncy castle for the littles, plus an inflatable obstacle course and these big inflatable balls called “Hamster Balls”. Those were too tempting for the boys and they needed to try them. I got tickets for the boys and then Terie and I headed off to explore the chocolate options while the boys waited for their turn to be hamsters.
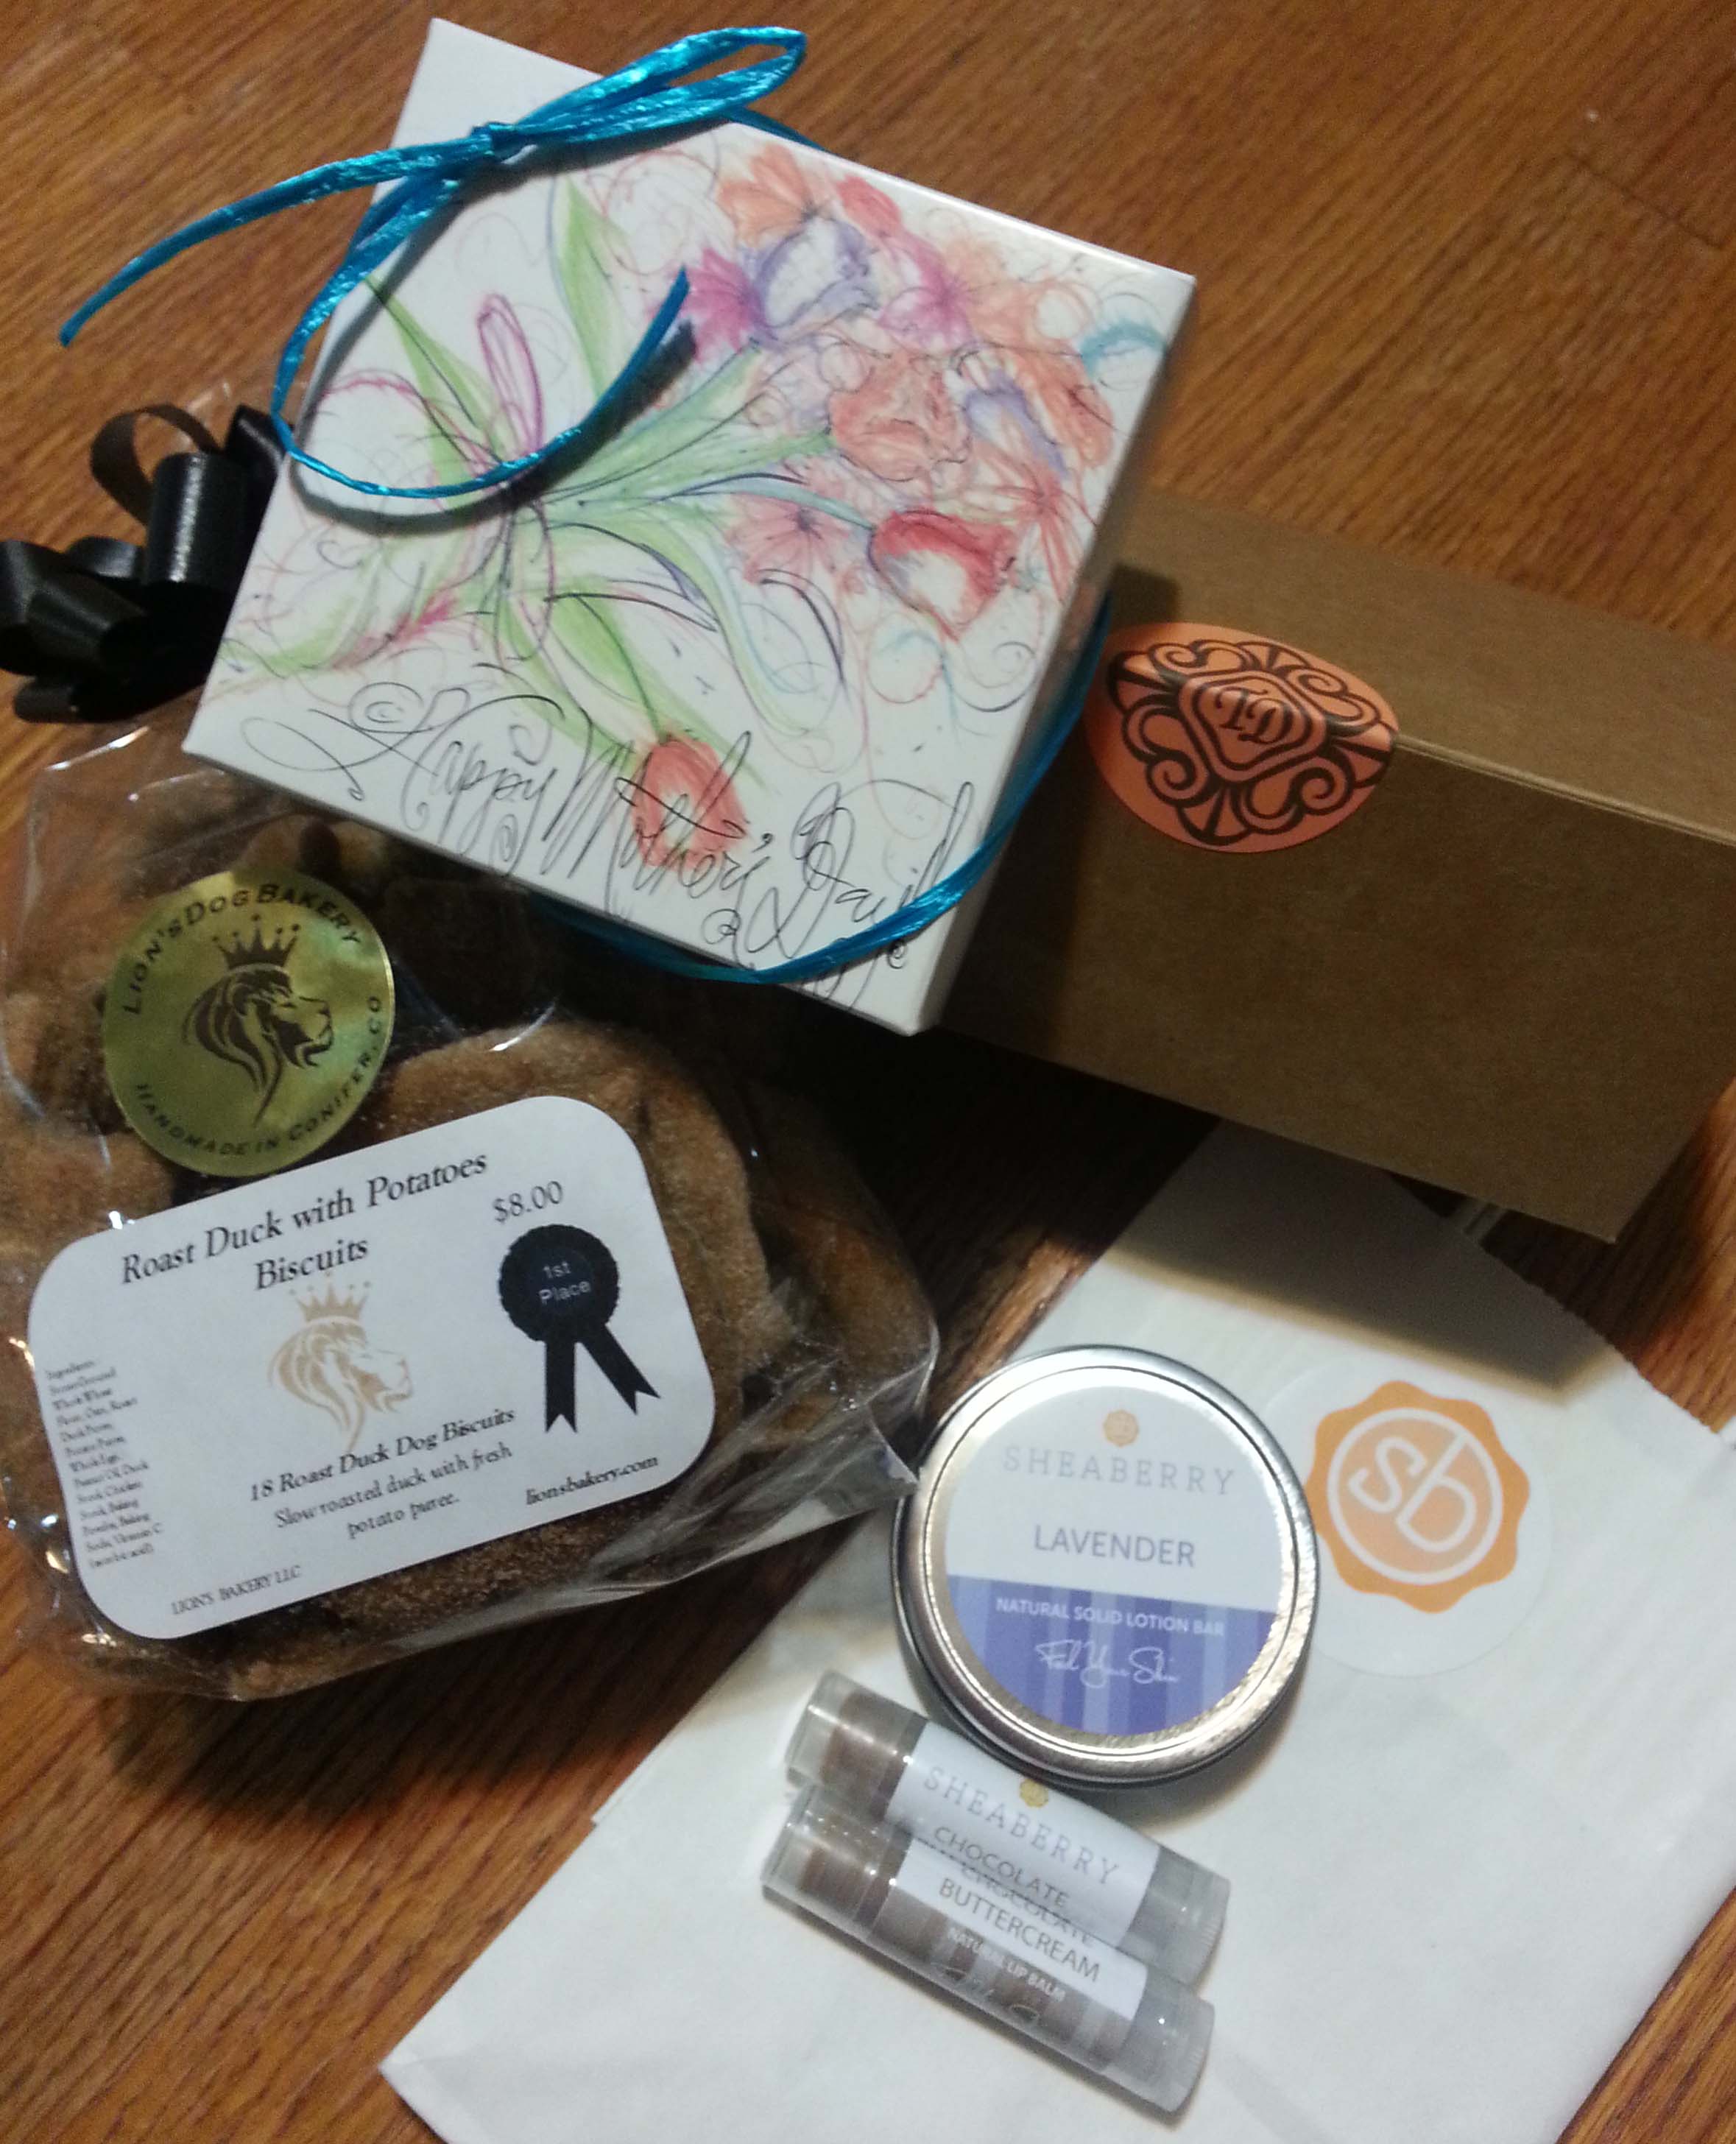
My purchases from the Festival
This was a very well attended event and the crowds made it nearly impossible to get much in the way of good photos, but I did get a couple. There were booths selling various other items beside chocolate as Gifts for Mother’s Day. There were temptations at every turn, but I did manage to behave myself somewhat.
Jenny at Sheaberry
I couldn’t resist trying the testers at the Sheaberry booth. They had lovely lotion bars and lip balms.
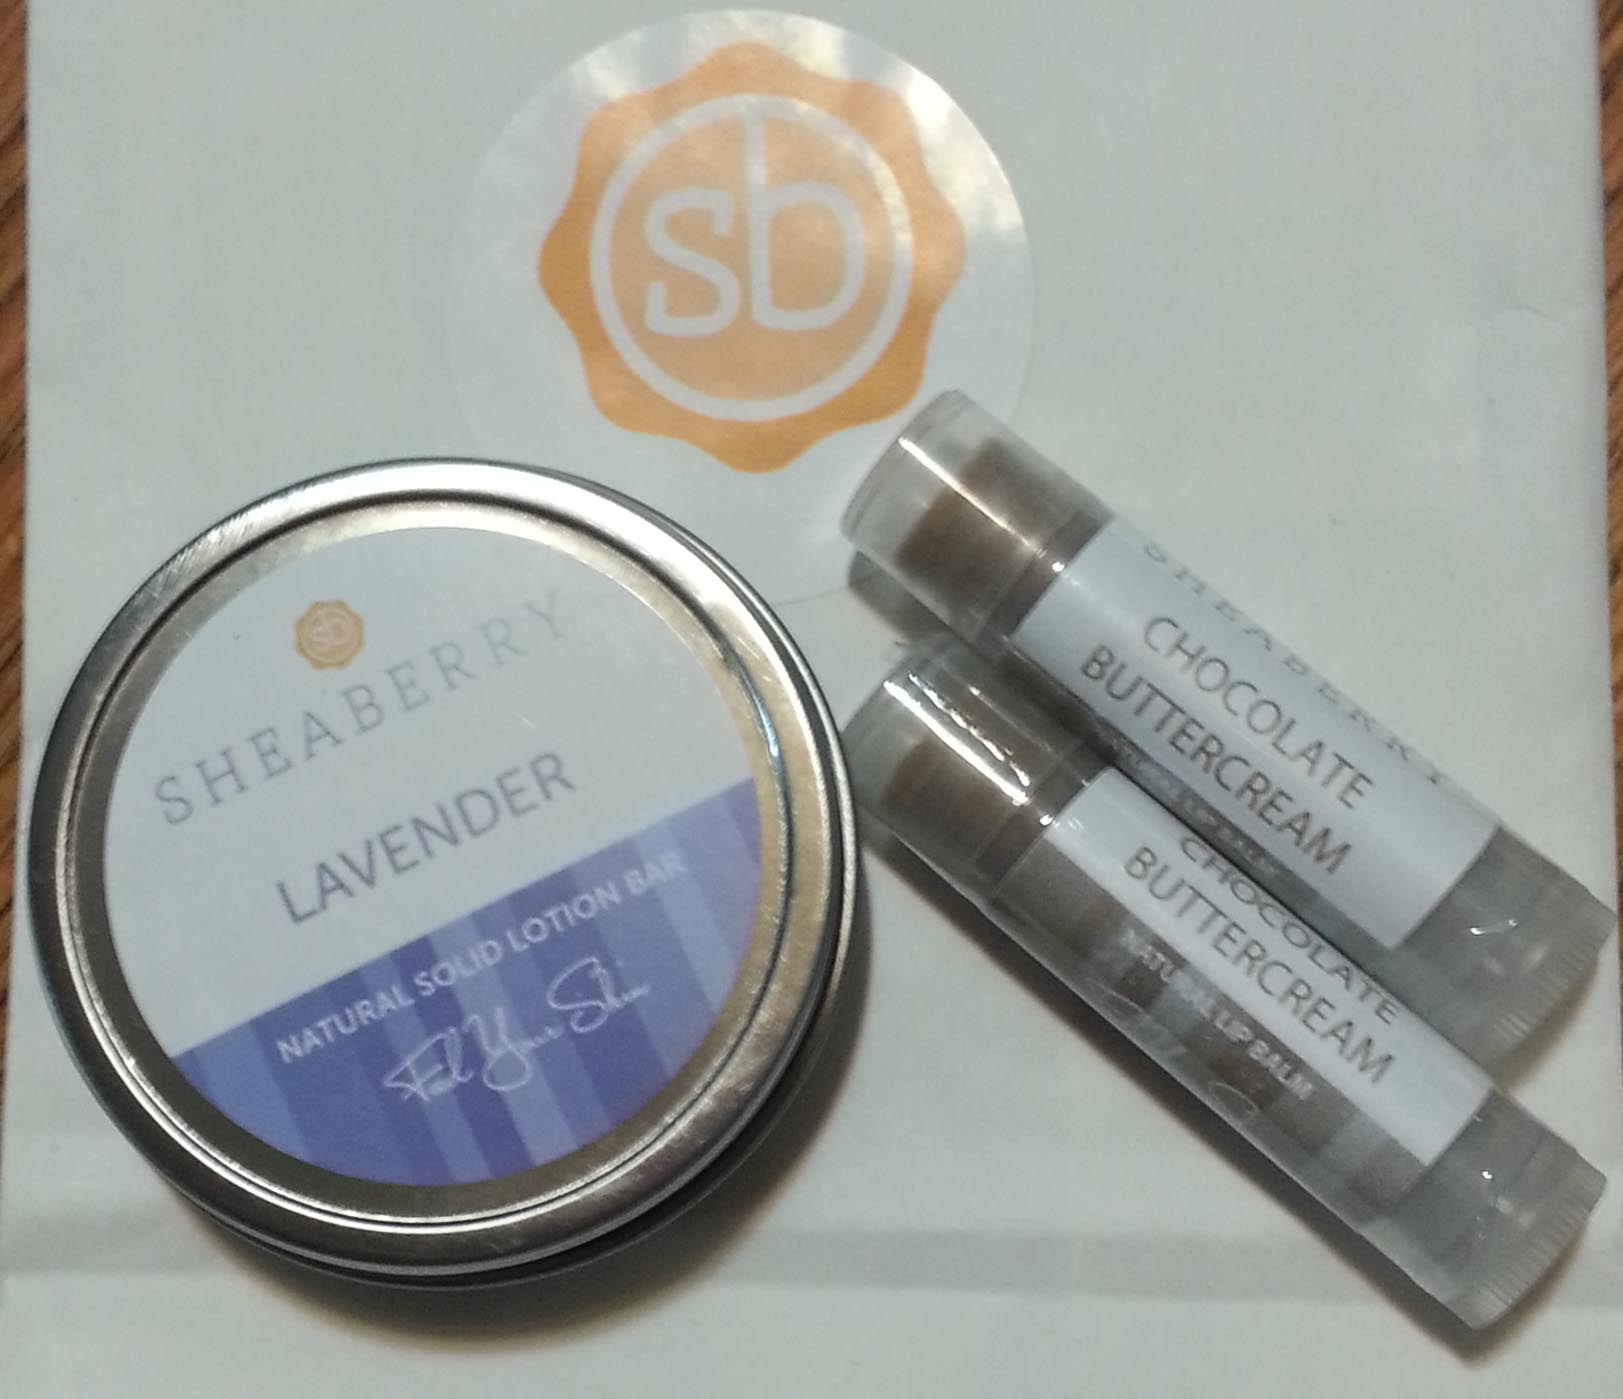
My Sheaberry purchases
In keeping with the spirit of the Festival the lipbalms were Chocolate Buttercream. They have a lovely chocolaty scent to them, but no chocolate flavor. I got a couple of them and added one of their Solid Lotion Bars in Lavender to my purchases.
There were even booths with goodies for the furry four-legged members of the family alongside treats for the humans. Terie and I stopped at one booth that had sold out of all her brownies for people, but she still had a few bags of canine cookies. I had to purchase a bag of them for my dogs.
There were lots of chocolate companies there, but I was excited about the discovering some Colorado Chocolate companies that I didn’t know about. Both of these are small companies with a specialist chocolatiers hand making all the delicious goodies.
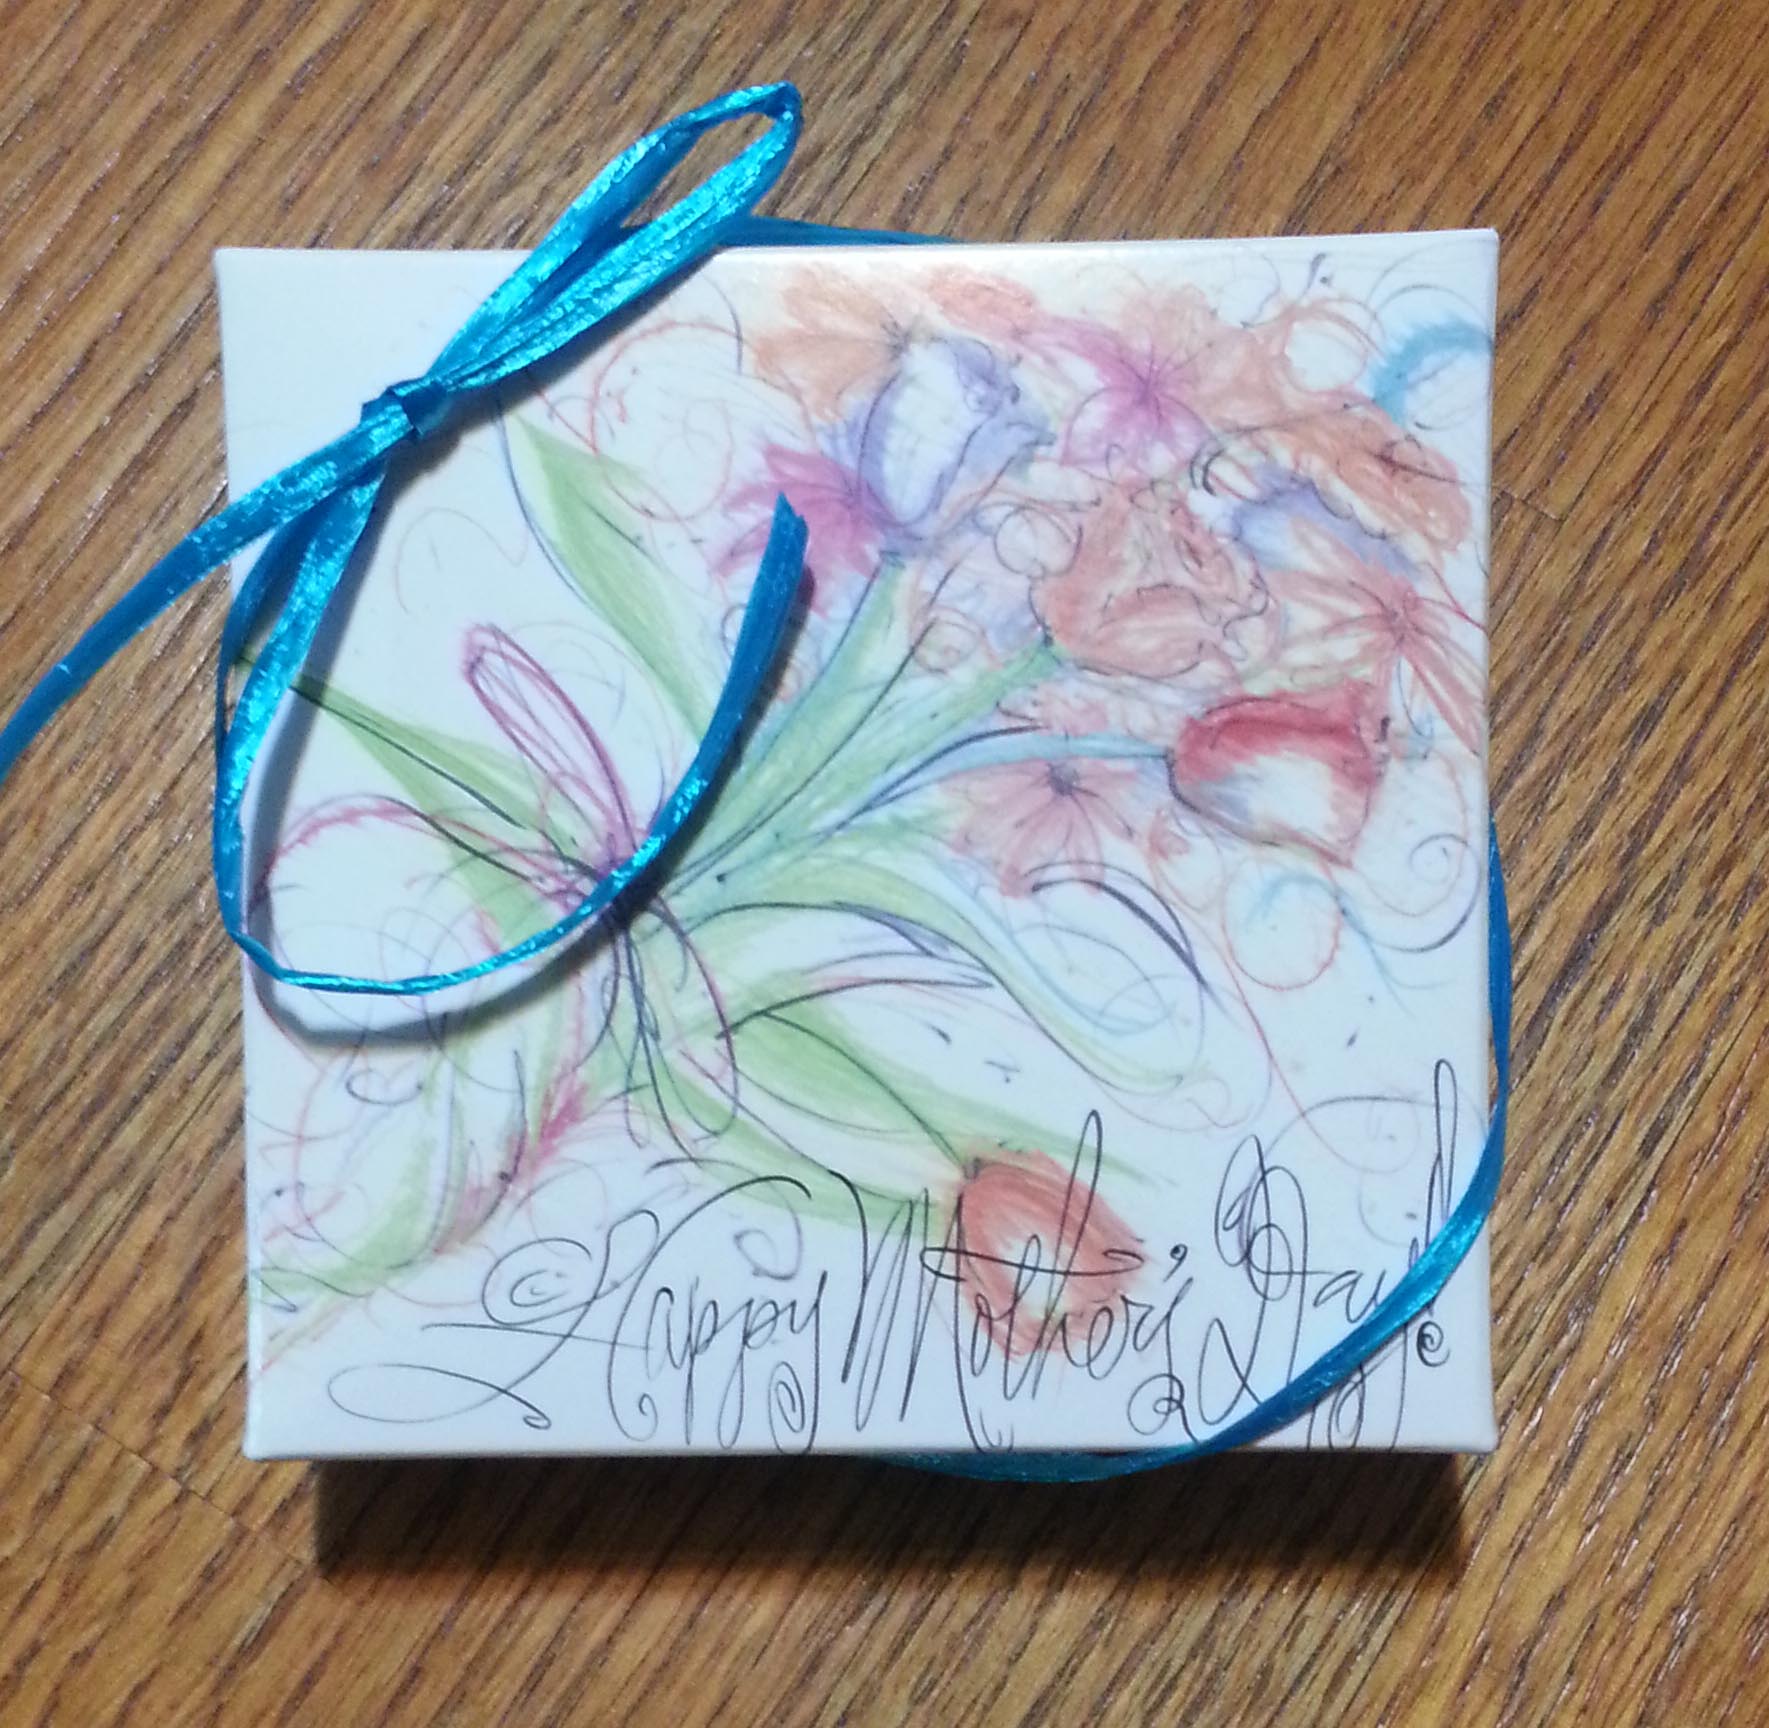
Marisa of Truffles in Paradise from Longmont, Colorado. She had a beautiful booth presentation, and divine chocolates. I loved her gorgeous little sample sized chocolates so much that I decided to splurge on a little Mother’s Day gift for myself.
This little box of 4 truffles was perfect. Though I am really trying to pace myself on eating the chocolates I got from the Festival, these little hearts have been tempting me all day. If you want to acquire some of Marisa’s goodies for yourself you can visit her website at: TrufflesinParadise.com.
Kim of Toute Douceur from Conifer, Colorado. I did a terrible job taking this photo, with such a busy booth I had to take it quickly when there was no one standing in front of her company sign. Kim was quickly selling out of her delicious chocolates. I fell in love with her Chocolate Ganache truffle. “Toute Douceur” is old world French for ‘All Sweetness’ and Kim has aptly named her business.
Dark Chocolate Expresso truffles from Toute Douceur
When I went back by her booth to purchase some chocolates to take home with me she had sold out of the Ganache. Instead I purchased a couple of the Dark Chocolate Expresso truffles. These should be perfect this week when I need an afternoon pick-me-up. You can find Kim’s website at: www.toutedoucercustomsweets.com.
It was wonderful meeting these chocolatiers, and hearing a little of their adventures with chocolate. I’m inspired to learn more about Chocolate and how these delicious confections that I adore are created. Watch for a few more blog posts about chocolate the next couple of months.
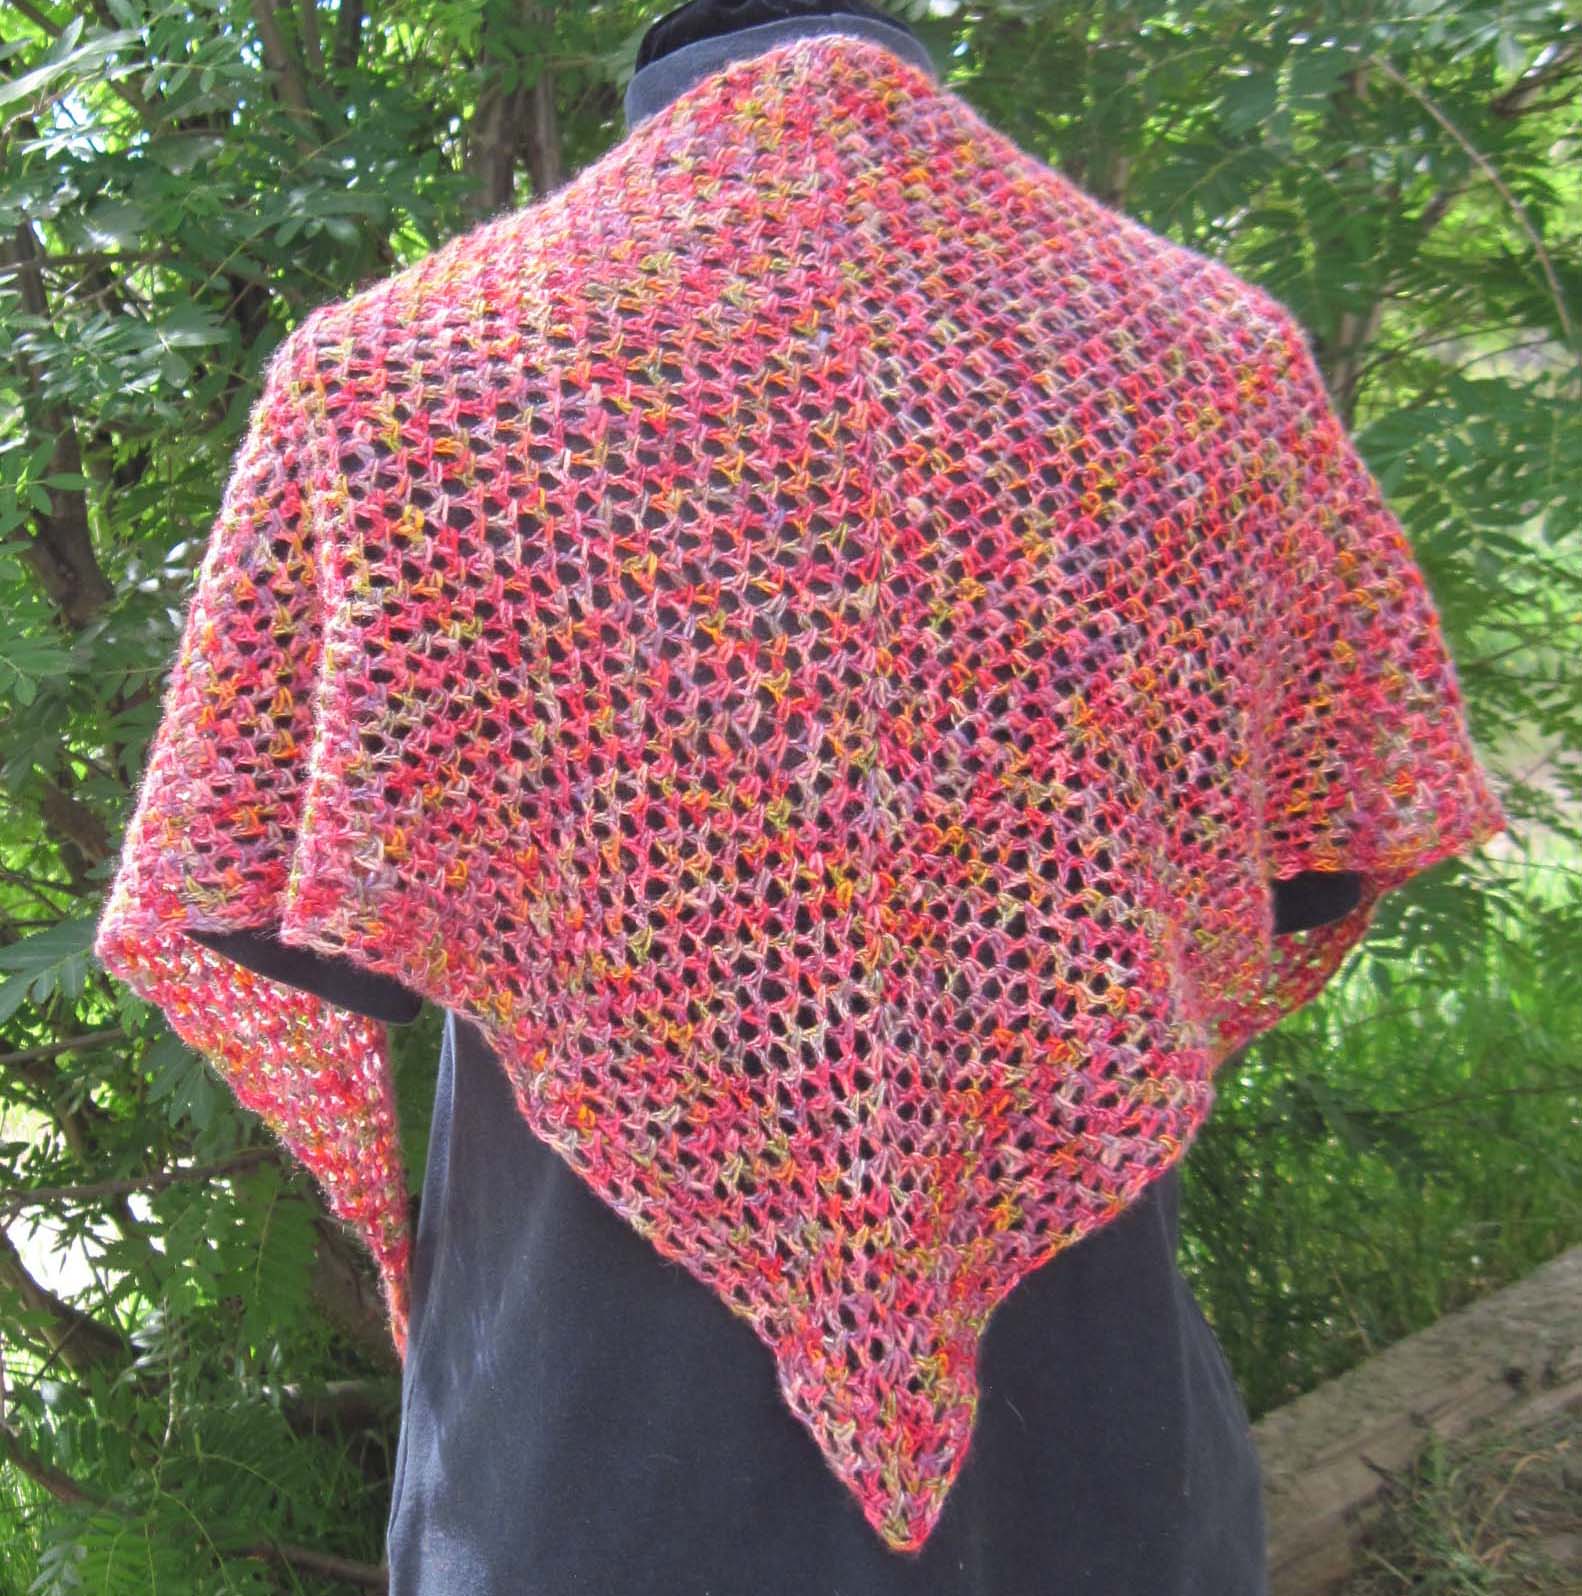
Sometimes we can’t be with those we love, but we can send our love to them. My favorite way of sending a package of love is in the form of a crocheted goodie. Usually it’s a shawl. They are marvelously useful and the closest to a warm hug that I can give when I can’t actually put my arms around a loved one.
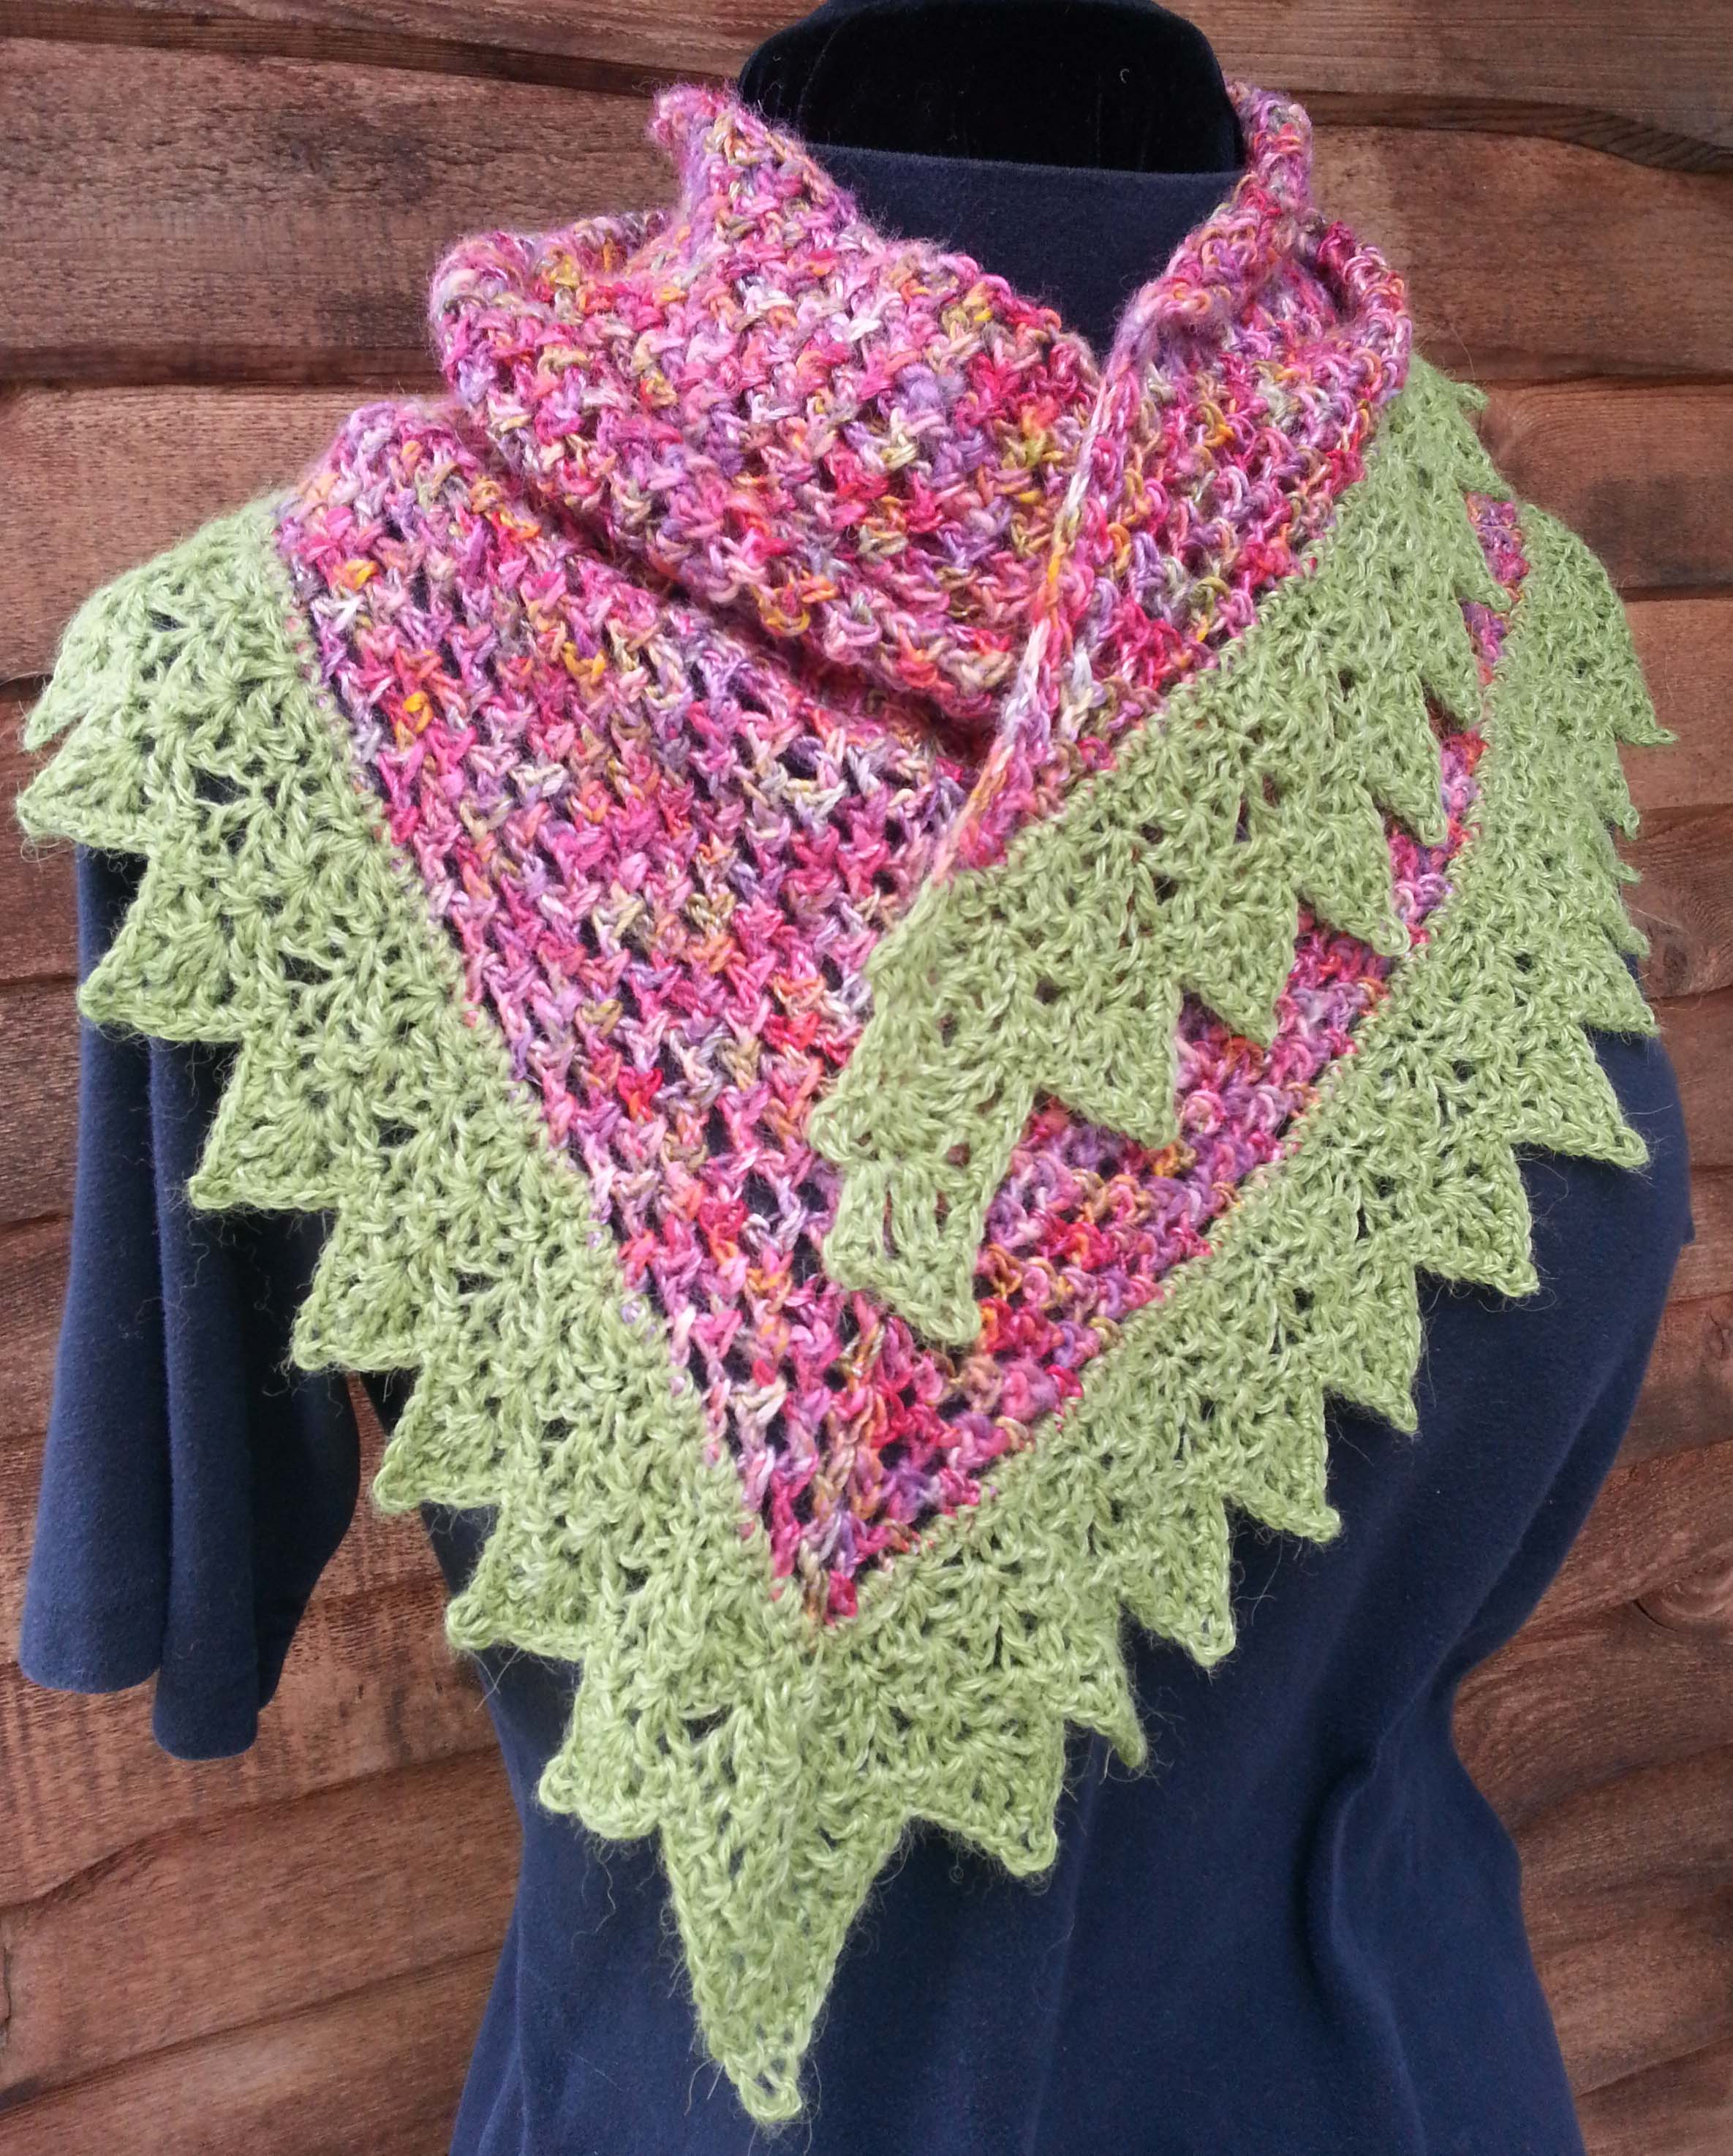
My Eleonora Shawlette is a quick wrap project to crochet up. The shawlette size is made using just one ball of Berroco Boboli Lace yarn, but you can make it larger by using more yarn. The simple stitch pattern is easy to catch on to and makes a snuggly drapey fabric.
The pattern comes with instructions and charts for both the body of the shawlette and the lovely lace border. You can find the pattern in my Ravelry shop here.
I also wanted to share some links to wonderful shawl patterns that are available free from the blogs of my crochet designer friends. These lovely designs are available as free patterns because these designers have ads on their websites to help them make ends meet. I hope you enjoy checking out what they have available.
Tamara Kelly’s “Branching Out Shawlette” This is a terrific shawlette pattern that is interesting for experienced crocheters, yet simple enough that intrepid beginners can tackle it. If you want something different take a look at the other wrap patterns that Tamara has on offer at “Mooglyblog.com”.
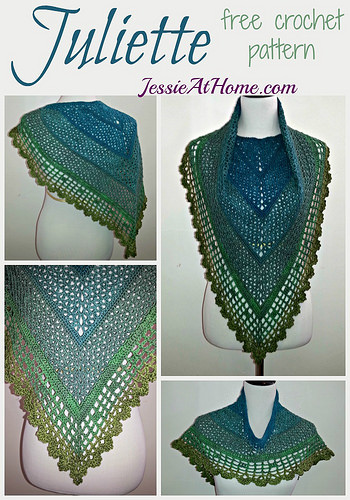
Jessie Rayot’s “Juliette Shawl“. I think this design is so clever. I love that it is actually a sort of “poncho” that won’t go slipping off your shoulders and getting lost. Jessie made her sample in a variety of lovely colors. If this particular shawl doesn’t catch your fancy, take a cruise around her blog “JessieAtHome.com” where she has lots of other lovely shawls and fun designs.
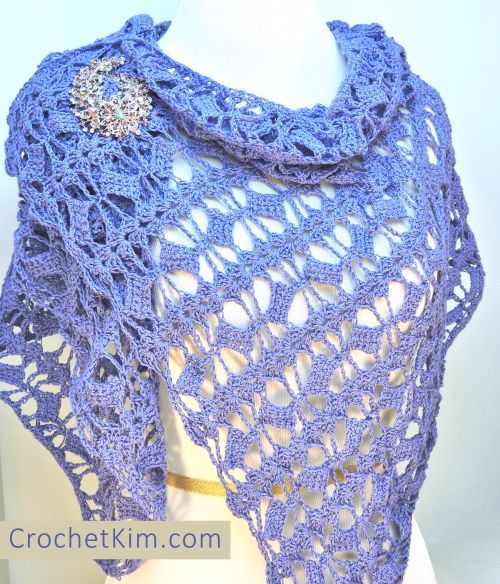
Kim Guzman’s “Butterfly Fling Wrap“. This beautiful wrap is an intermediate pattern and with the open stitch pattern is a perfect layer for warmer weather. I can totally see wearing this all scrunched up around my neck in the Fall and winter season as well, especially if made with an animal fiber blend like wool/silk. If this pattern isn’t quite the one for you, don’t worry, Kim has got loads of other beautiful wraps as well as garments to share with visitors to her blog, “CrochetKim.com”.
I hope everyone finds a shawl that is just right for making a “hug” for their loved ones. It may be too late this year to make a shawl for mother’s day, but you can put it on your “To-Do list” for next year. I’ll be celebrating Mother’s Day this year with my boys at the Colorado Chocolate Festival on Saturday. I’ll have lots of photos and news about that for you this weekend.
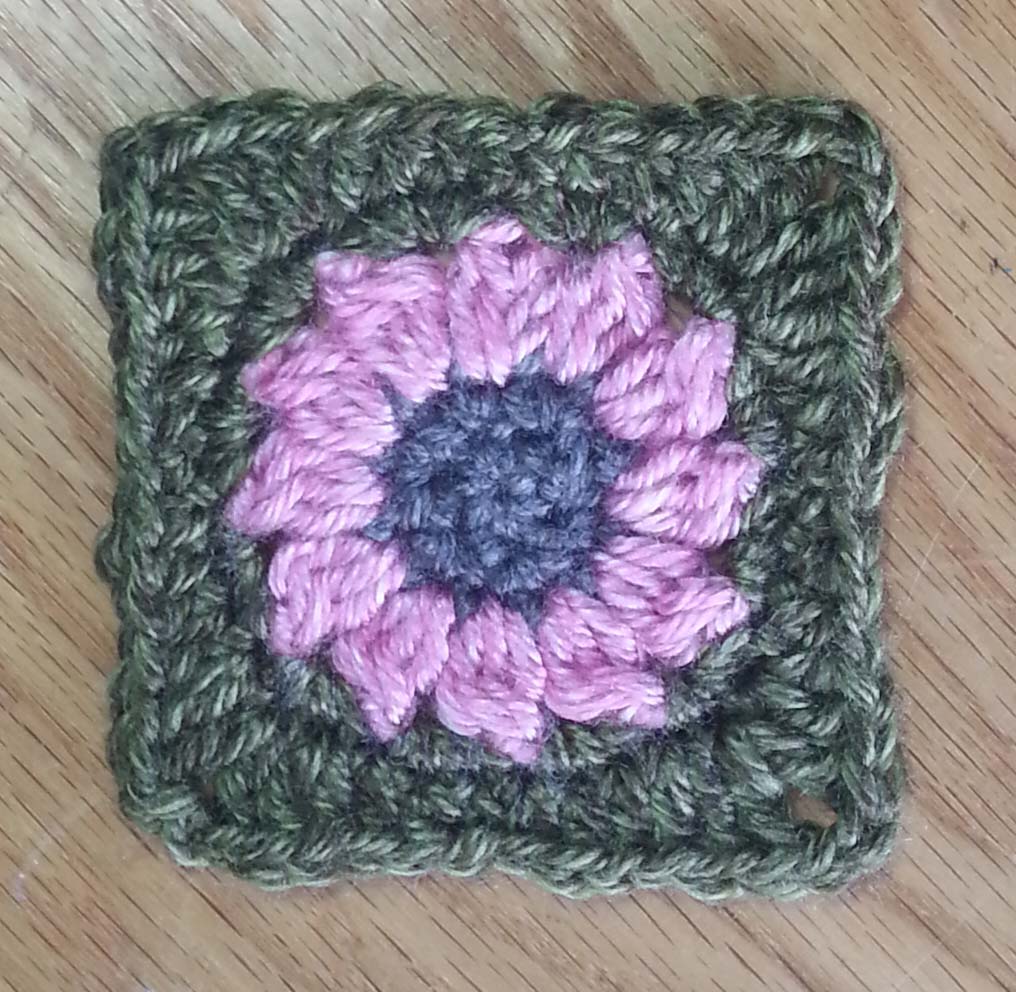
Hot Spot Square copyright 2015 M2HDesigns/Andee Graves
Last weekend I posted my Hot Spot Square pattern and I promised you some further fun with that pattern this weekend.
First a little history lesson. Many of those that have been crocheting for a long time may already know about crochet and motifs, but some of you might not.
A lot of crochet blanket projects that use motifs originally developed as a way to use up the left-over bits and bobs of yarn from other projects or from worn out clothing that had been unraveled, somewhat like the history of crazy quilts. Little bits of yarn would be wound up into small balls and stored for later use.
Some crocheters would work up parts of motifs when a little time could be found. The odds and ends of yarn would be sorted thru and the smallest ones selected to become centers of the motifs. Then more rounds would be added to these until squares of the desired size were completed. Those squares would be sewn together to make blankets.
In the late 60s and thru the 70s the Granny Square became very popular as the building block for all sorts of items; clothing as well as home décor. Color choices would sometimes still be somewhat random for the center of the squares, but often the final rounds of the squares would be a unifying color.
Over the years, the motif was modified and now you can find lots of wonderful books of crochet motif patterns. Some of those patterns are close to the traditional granny square with 3 double crochet shells separated by chain-1 spaces. Some are very far removed from that humble beginning.
My little Hot Spot Square is a nod to the Granny Square in that it is worked in concentric rounds and you can change colors at any point to give a completely different look to the square. I’ve also added a twist by having the circle-to-square thing happening.
The Floating Flower
For this look you’ll need 3 colors of yarn.
Color 1 for flower’s center: Approximately 2 yards for Rounds 1-2. (Sample shown uses Lion Brand “Heartland” yarn in color #125 Mammoth Cave)
Color 2 for your flower’s petals: Approximately 3.5 yards for Round 3. (Sample shown uses Lion Brand “Heartland” yarn in color #103 Denali)
Color 3 for Square border: Approximately 9.5 yards for Rounds 4 and 5 (I usually pick a color in the green range since I consider these rounds to be the “leaves” of my flower). (Sample shown uses Lion Brand “Heartland” yarn in color #174 Joshua Tree)
If you use the same color in all your squares for Rounds 4 & 5, the effect once joined, will be that of flowers floating on the background. You can use up all your bits and bobs of left-over yarn from other projects for the flowers, then use a single color for the background. You’ll be surprised at how lovely your project will come out despite it’s rag-tag beginning.
The Graphic Circle
For this look you’ll need 3 colors again, make sure that your 1st and 3rd color contrast strongly with the 2nd color for the boldest look.
Color 1 for the center circle: Approximately 6.5 yards for Rounds 1-3. (Sample shown uses Lion Brand “Heartland” yarn in color #103 Denali)
Color 2 for the graphic border surrounding the circle: Approximately 3.5 yards for Round 4. (Sample shown uses Lion Brand “Heartland” yarn in color #153 Black Canyon)
Color 3 for the contrasting square border: Approximately 6 yards for Round 5. (Sample shown uses Lion Brand “Heartland” yarn in color #150 Mount Rainier)
This square will also work well with a single color for the square border and that border can be used for a continuous join-as-you-go for all your “spots”. I prefer to use a method like that for joining all my motifs, rather than sewing them together. I’ll have more about that next month.
Another option for joining your squares is to crochet them together.
The Zipper Join
This join uses a single crochet to join the squares together. You work a single crochet in one square, then in the other square that you are joining. You repeat alternating which square you work into. You can chose to skip stitches to allow the seam to lay flat, or can work in every stitch to get a raised decorative ridge. Either one of these methods are usually worked on the Right Side of your project as they tend to be a design feature.
The Slip Stitch Join
This join is usually worked on the Wrong Side of your project. Slip stitches used for joining need to be a bit loosier than what you would use to join rounds in your motifs. You may need to go up a couple of sizes in your hook if your slip stitch tension tends to be tight.
Hold your 2 squares you are joining Right Sides facing, then bring your hook thru the edge stitches using the back loop of the first square and front loop of the second square. Work this way across the side of the squares until reaching the end. Generally you want to work one slip stitching into the corner chain spaces.
With either of the crochet joins you can create a full strip by carefully matching your squares stitches in one direction then skipping over or working around those seams when you go in the opposite direction.