I’m a designer. Which means I am always fiddling with design ideas. A few weeks ago I posted a pattern for a little square motif that I created rather quickly one evening at a party.

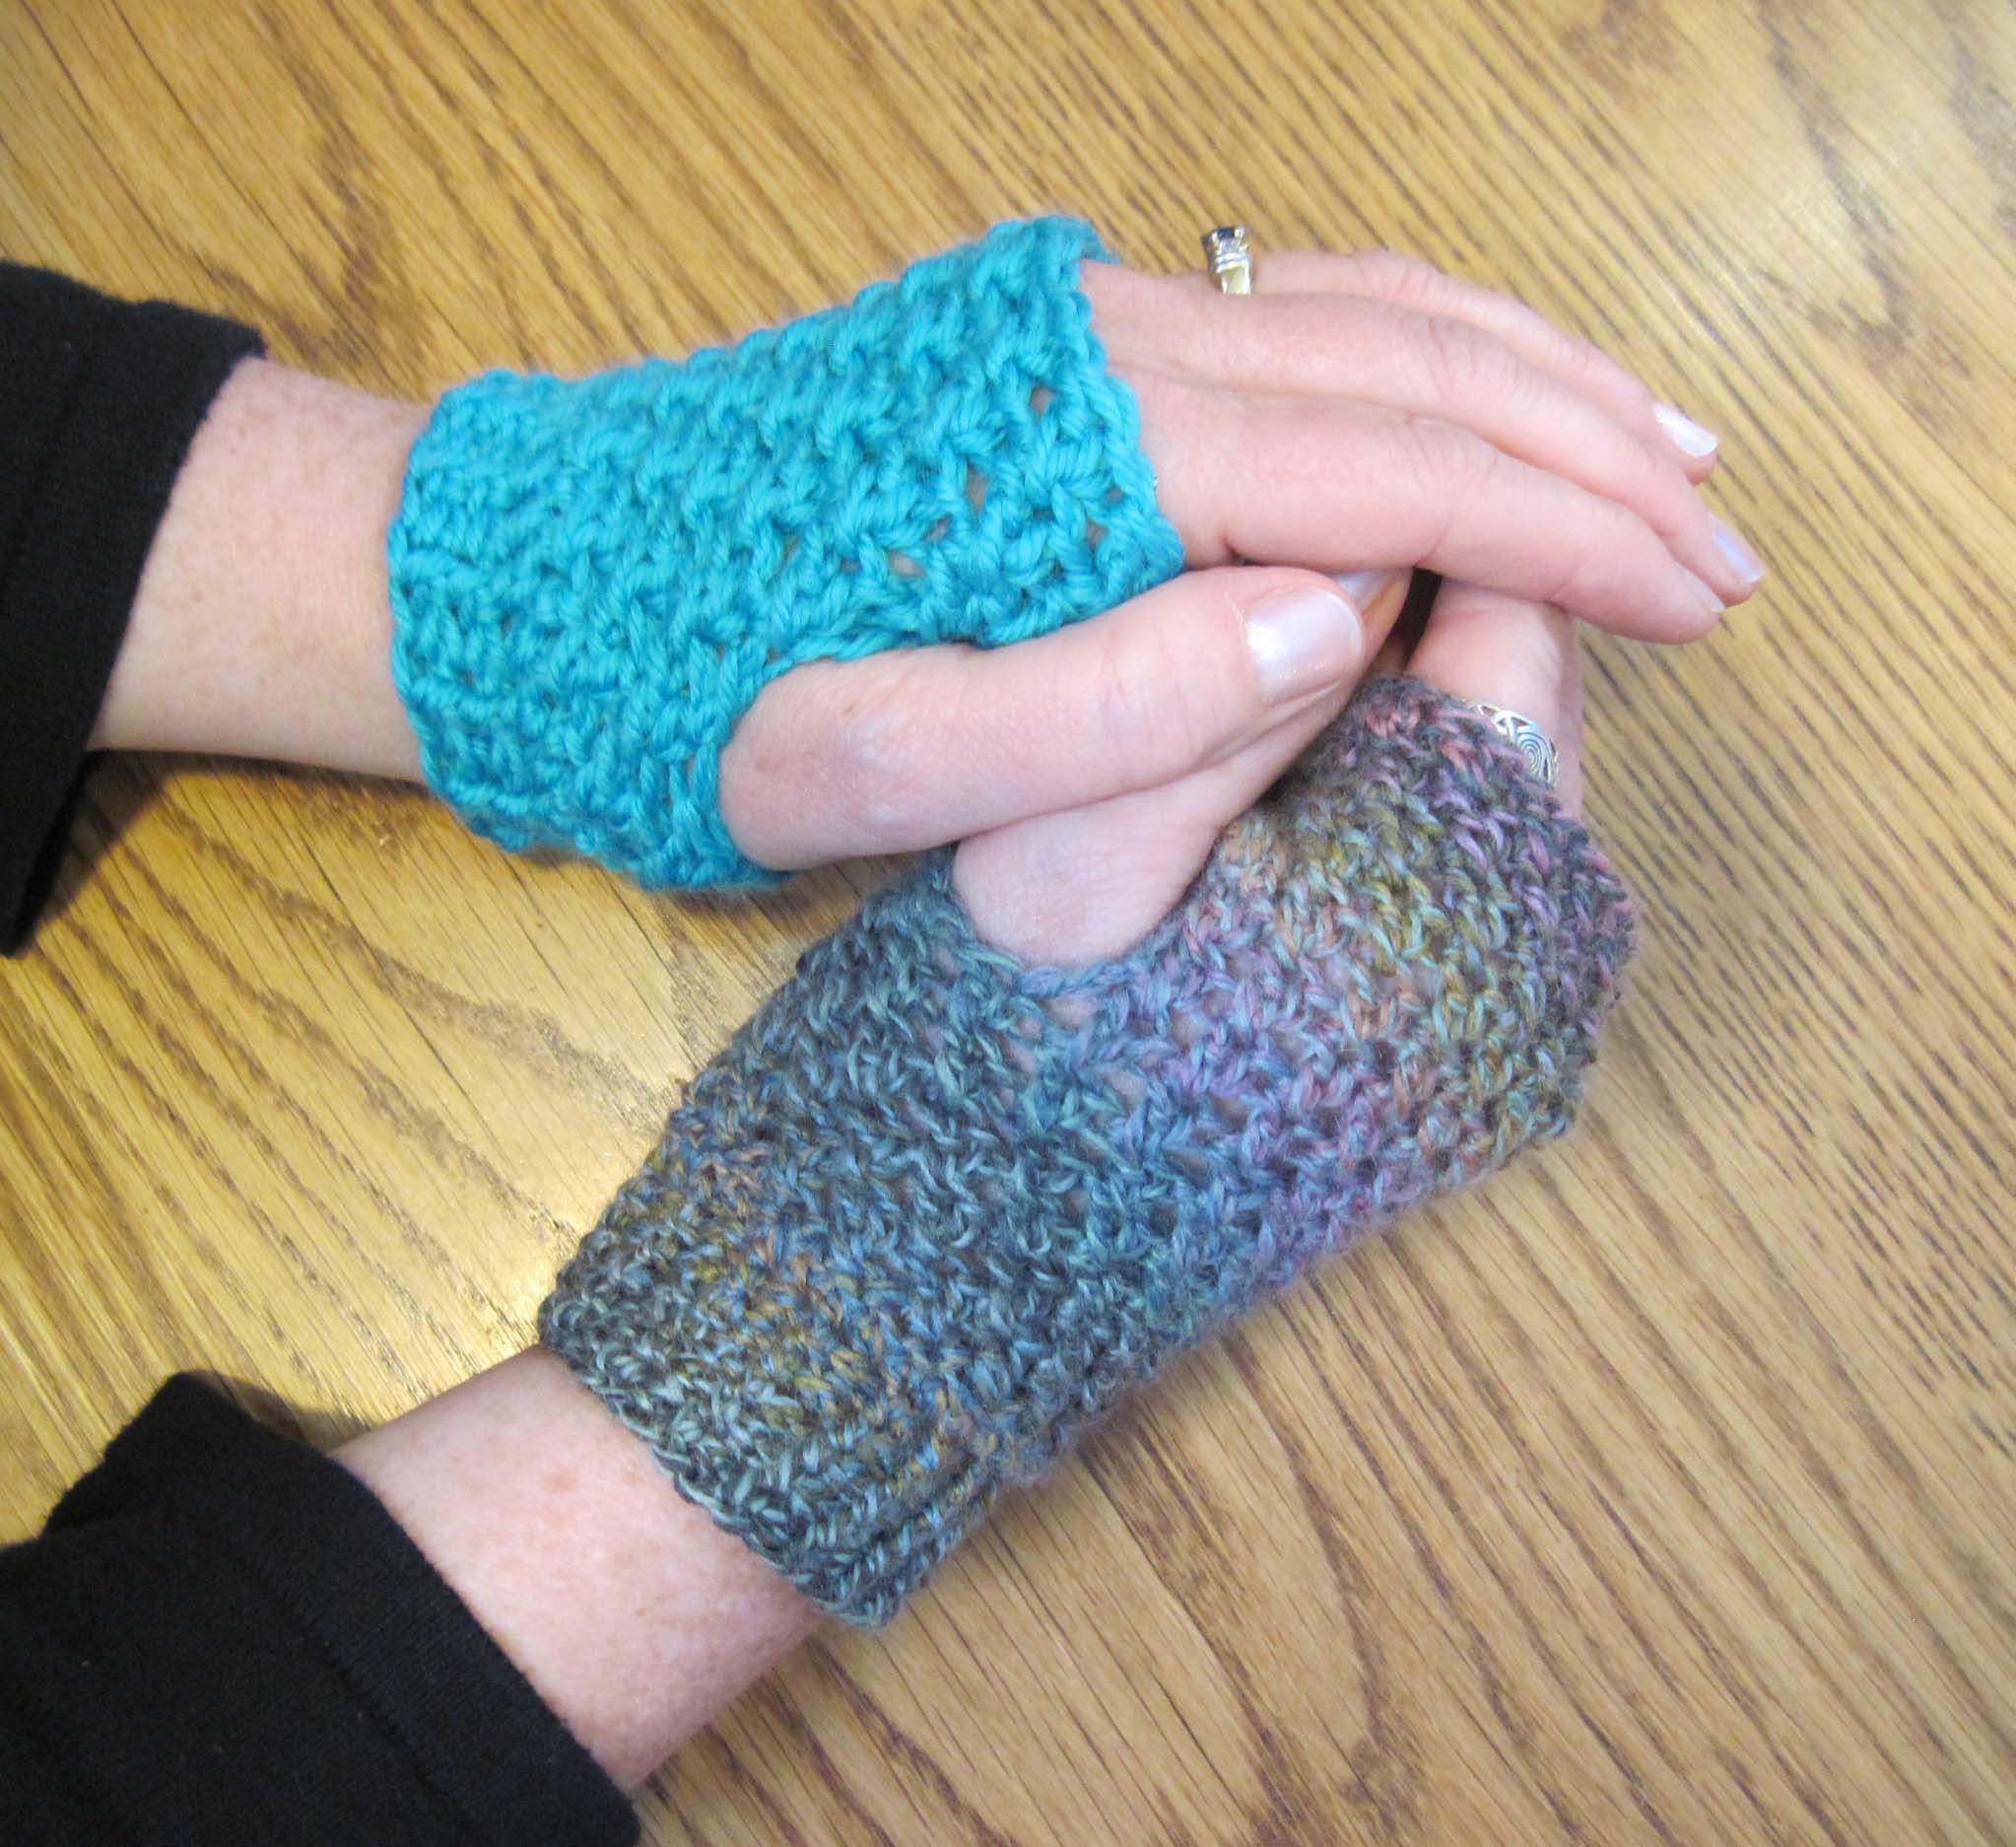
I’ve been re-thinking that design since then. There were a few things I wasn’t completely satisfied with. I liked the openness of the round center, but the center circles in the original inspiration photo were a bit more solid and there was a hint of texture. My pattern was also making the center more hexagonal than circular.

The round of stitches that I used to go from circle to square, were not squaring up as nicely as I wanted. Once the final round of single crochets were added it was fairly square but, being the recovering perfectionist I am, I knew I could make them better. Plus I had an idea in mind of a join-as-you go approach for the center circles using the squaring round. More about that later though.
This part of design work requires a lot of tearing out at times. I made 5 different attempts before I was happy with this approach. I hope you will like it too.

copyright 2015 M2HDesigns/Andee Graves
With this design the center circle is a little bit bigger and it can be stiffer. So you may want to try a few using different sized hooks with your yarn of choice to get the amount of movement and drape you want in your fabric. I’ve noticed that the fabric with the smaller hook will be especially stiffer with 100% acrylic yarns, you may want to go up as large as a size L (8mm) hook with those yarns.
Hot Spot Square (Annetta Square #2)
Designed by Andee Graves
Skill level: Intermediate
Finished Size:
Approximately 3.75” square
Materials:
Yarn
Worsted wt (Sample uses Lion Brand Heartland)
Yardage amounts allow for 6 inch beginning and ending tails
Center Circle (Rnds 1-4): 10 yards
Squaring Rnd (Rnd 5): 6 yards
Hook
K / 6.5mm
Notions
Yarn/tapestry needle
Gauge:
First 4 rounds of pattern = 3.25” in diameter
Special Stitches:
3 double crochet cluster st (Cl): (YO, insert hook in indicated st or sp, YO pull up a loop, YO pull thru 2 loops on hook) 3 times, YO pull thru remaining 3 loops on hook. (If you are having difficulty with the cluster stitches you can find a photo-tutorial on my post: Crochet & Springtime)
Beginning 3 dc cluster st (Beg Cl): Ch 2, (YO, insert hook in indicated st or sp, YO pull up a loop, YO pull thru 2 loops on hook) 2 times, YO pull thru remaining 3 loops on hook.
Pattern Notes:
Start square with an adjustable slip knot. Beginning tail tightens the loop on the hook.
Instructions
Rnd 1: Starting with adjustable slip knot, ch 2, 6 sc in 2nd ch from hook, sl st to first sc of Rnd. [6 sc]
Rnd 2: Ch 1, 2 sc in same st as join, 2 sc in next 5 sts, sl st to first sc of Rnd. [12 sc]
Rnd 3: Beg Cl in same st as join, (ch 1, Cl in next st) 11 times, ch 1, sl st to top of Beg Cl. [12 ch-1 sp, 12 Cl]
Rnd 4: Ch 1, (3 sc in next ch-1 sp) 12 times, sl st to first sc of Rnd. [36 sc]
Change color here to get circle in square look
Rnd 5: Ch 1, sc next st,(*hdc next 2 sts, (hdc, dc) next st, (dc, ch 2, dc) next st, (dc, hdc) next st, hdc next 2 sts,* sc next 2 sts) 3 times; Repeat from * to * once, sc next st, sl st to first sc of Rnd. [8 sc, 24 hdc, 16 dc, 4 ch-2 spcs]
Fasten off. Weave in ends being sure to tighten beginning tail to close center of circle.