I am really happy to share my latest beaded chain pattern with all my readers. This was an idea that has been bumping around in my brain for a while. It’s a very simple project to crochet, but does take a bit of coordination.
You’ll need to be comfortable with working chain stitches [ch], beaded chain stitches [bdch] and single crochet stitches [sc]. I have a tutorial on crocheting beaded chain stitches here on my blog (scroll down to the bottom half of the post) for those of you needing a refresher on that stitch.

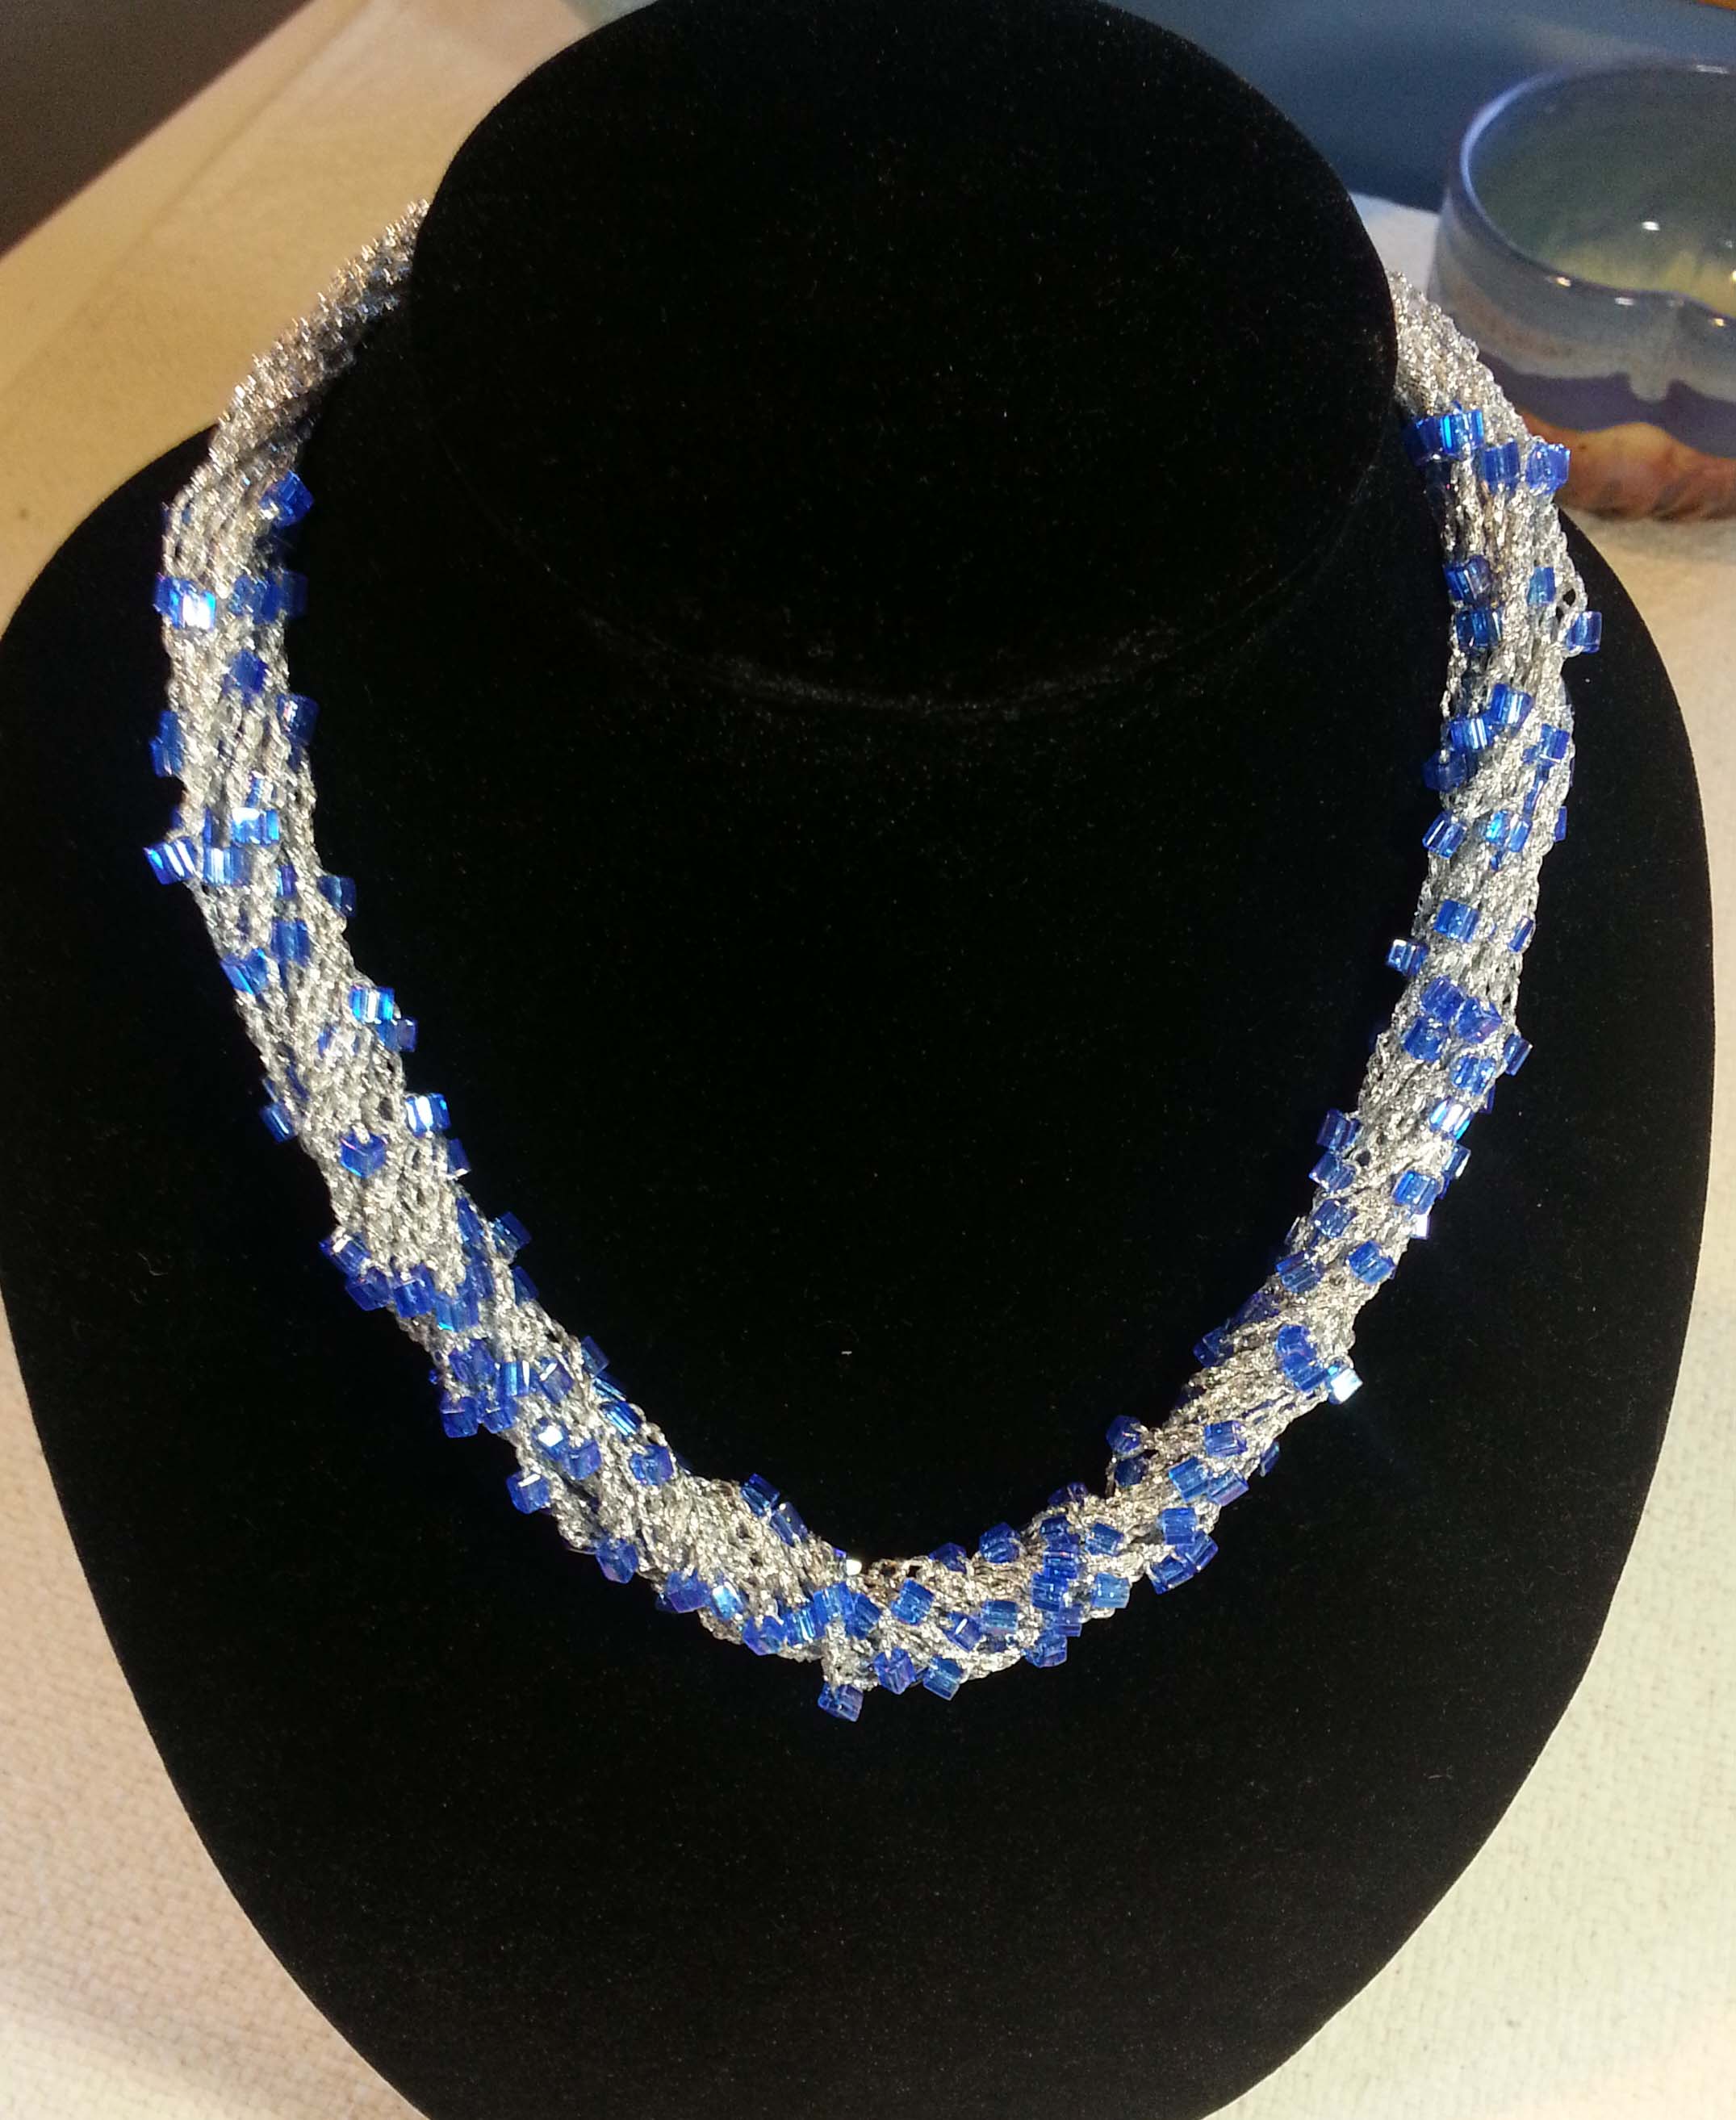
Sophisticated Simplicity Necklace
Designed by Andee Graves
Skill level: Easy
Materials
Thread/Yarn: Sample was made with Kreinik’s Ombre Twist thread, took approximately 45 yards (3 yds per strand), you can get approximately 6 necklaces out of one cone depending on how many strands you decide to have in your necklace.
Hook: Size B/2.25mm
265 glass beads: Sample was made with Twisted Sistah’s 4mm Cube Transparent Sapphire with AB finish.
2 metal split rings (I used rings that were 1/2″ in diameter) and a large lobster clasp necklace fastener.
Gauge:
15 chain stitches = 2″
Instructions:
Before you begin crocheting, string all the beads you want to use onto the thread (I always add in a few extra when stringing my beads just to be on the safe side). Also work the ring of the lobster clasp onto one of your split rings.
Leaving about 6 inches of thread for your beginning tail make a slip knot and place loop on your hook. Slip st into one ring, chain 1 and single crochet into the ring to secure the end of your first strand.
You will work the necklace by working chained strands in 3 different styles:

Style 1: Ch 24, (bdch, ch 7) 12 times, bdch, ch 24, sc to opposite ring. [132 ch, 13 bdch, 1 sc]
Style 2: Ch 21, (bdch, ch 7) 13 times, bdch, ch 21, sc to opposite ring. [133 ch, 14 bdch, 1 sc]

Style 3: Ch 19, (bdch, ch 3) 25 times, bdch, ch 19, sc to opposite ring. [113 ch, 26 bdch, 1 sc]
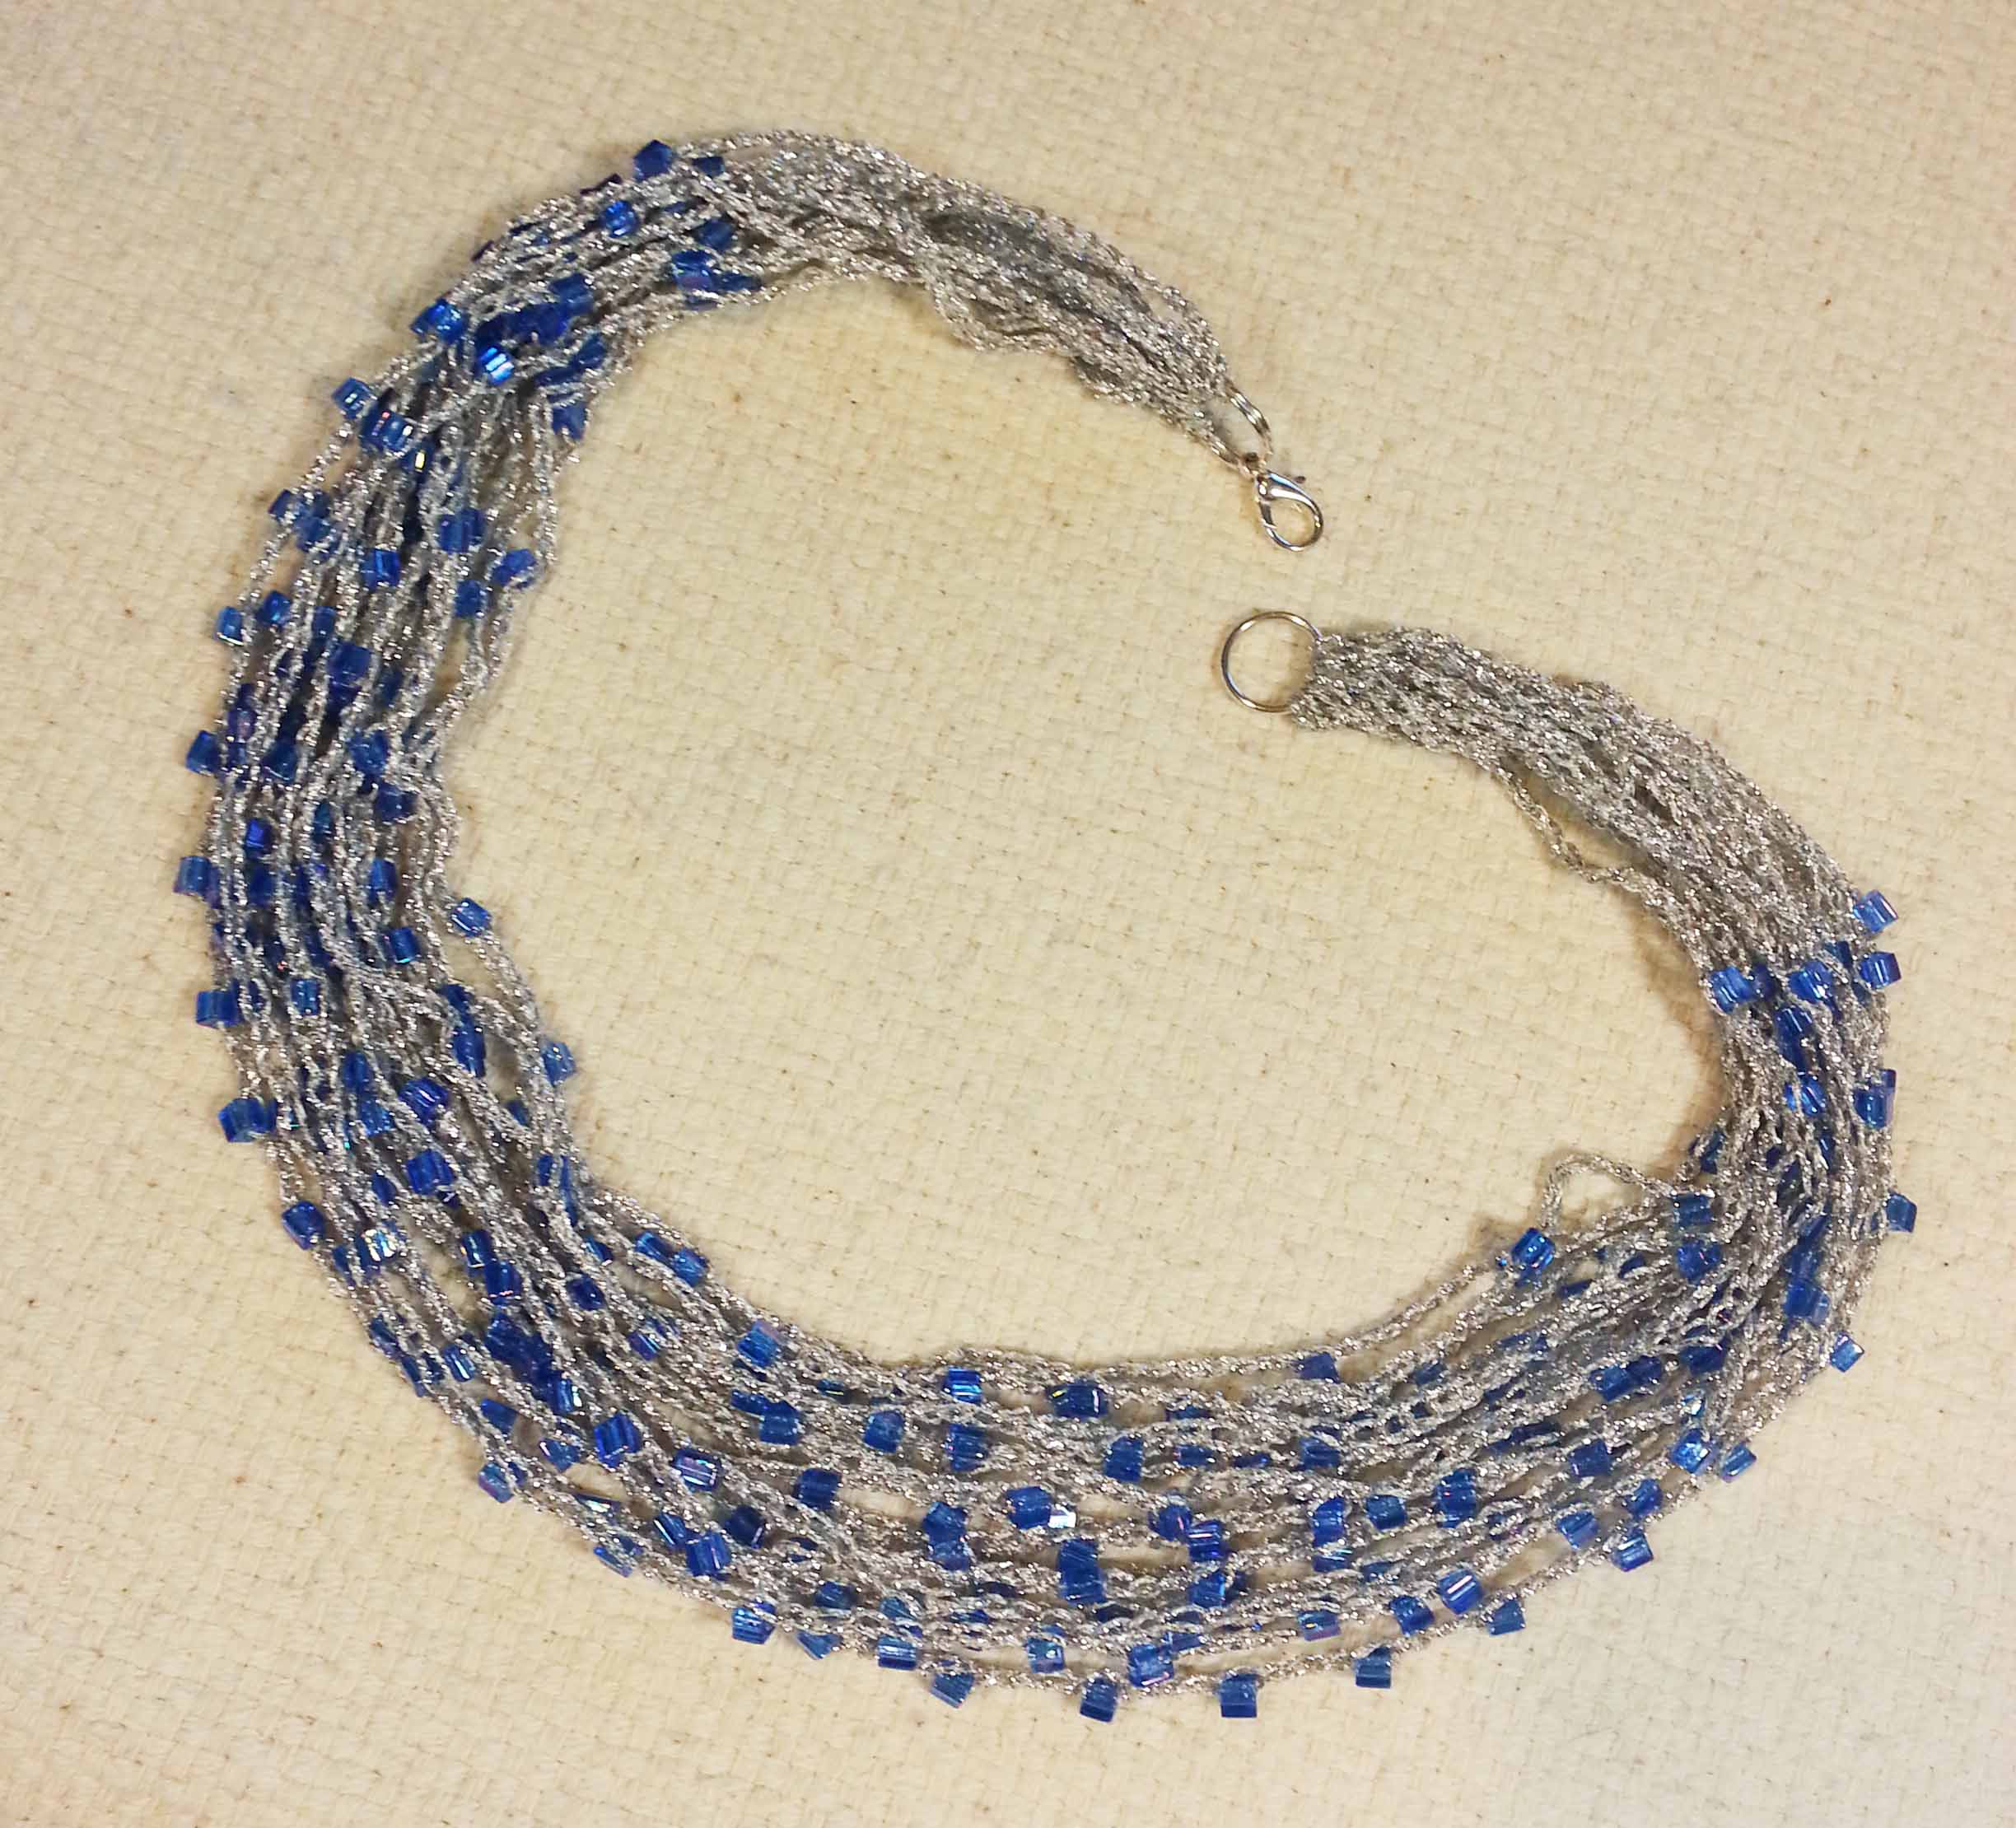
I alternated working the various styles of strands until I had completed 15 strands (5 strands of each style). You could do more or less, you’ll just want to adjust the number of beads you string before starting your project.
Once you have crocheted all your chain strands and have made the final sc in the ring, fasten off with a six-inch long tail. Weave the ending and beginning tails in and trim off excess thread. If you need to you can secure the tails further with a drop of cyanoacrylate glue (sometimes known as “Super Glue”).
Tips and Tricks for Success
When I was working on my sample in the photos I kept getting carried away with crocheting the beaded chain intervals. About half way thru I discovered a little trick that really sped things up and saved me some frogging and frustration.

Start the next strand by crocheting the chain stitches before the first beaded chain. Bring the number of beads for the strand you are working close to your hook, and push the remaining beads further down your thread so you have plenty of thread to work with while crocheting the strand. Make a slip knot in the thread right before your extra beads and put a locking stitch marker in the loop.
Now work your strand of chains and beaded chains, when you run out of beads you know it is time to finish that strand and connect it to the opposite ring with a single crochet. If you use up the thread you had pulled up, just move the extra beads further down the thread, undo your slip knot and create another slip knot down the thread. Replace your stitch marker and finish your strand.
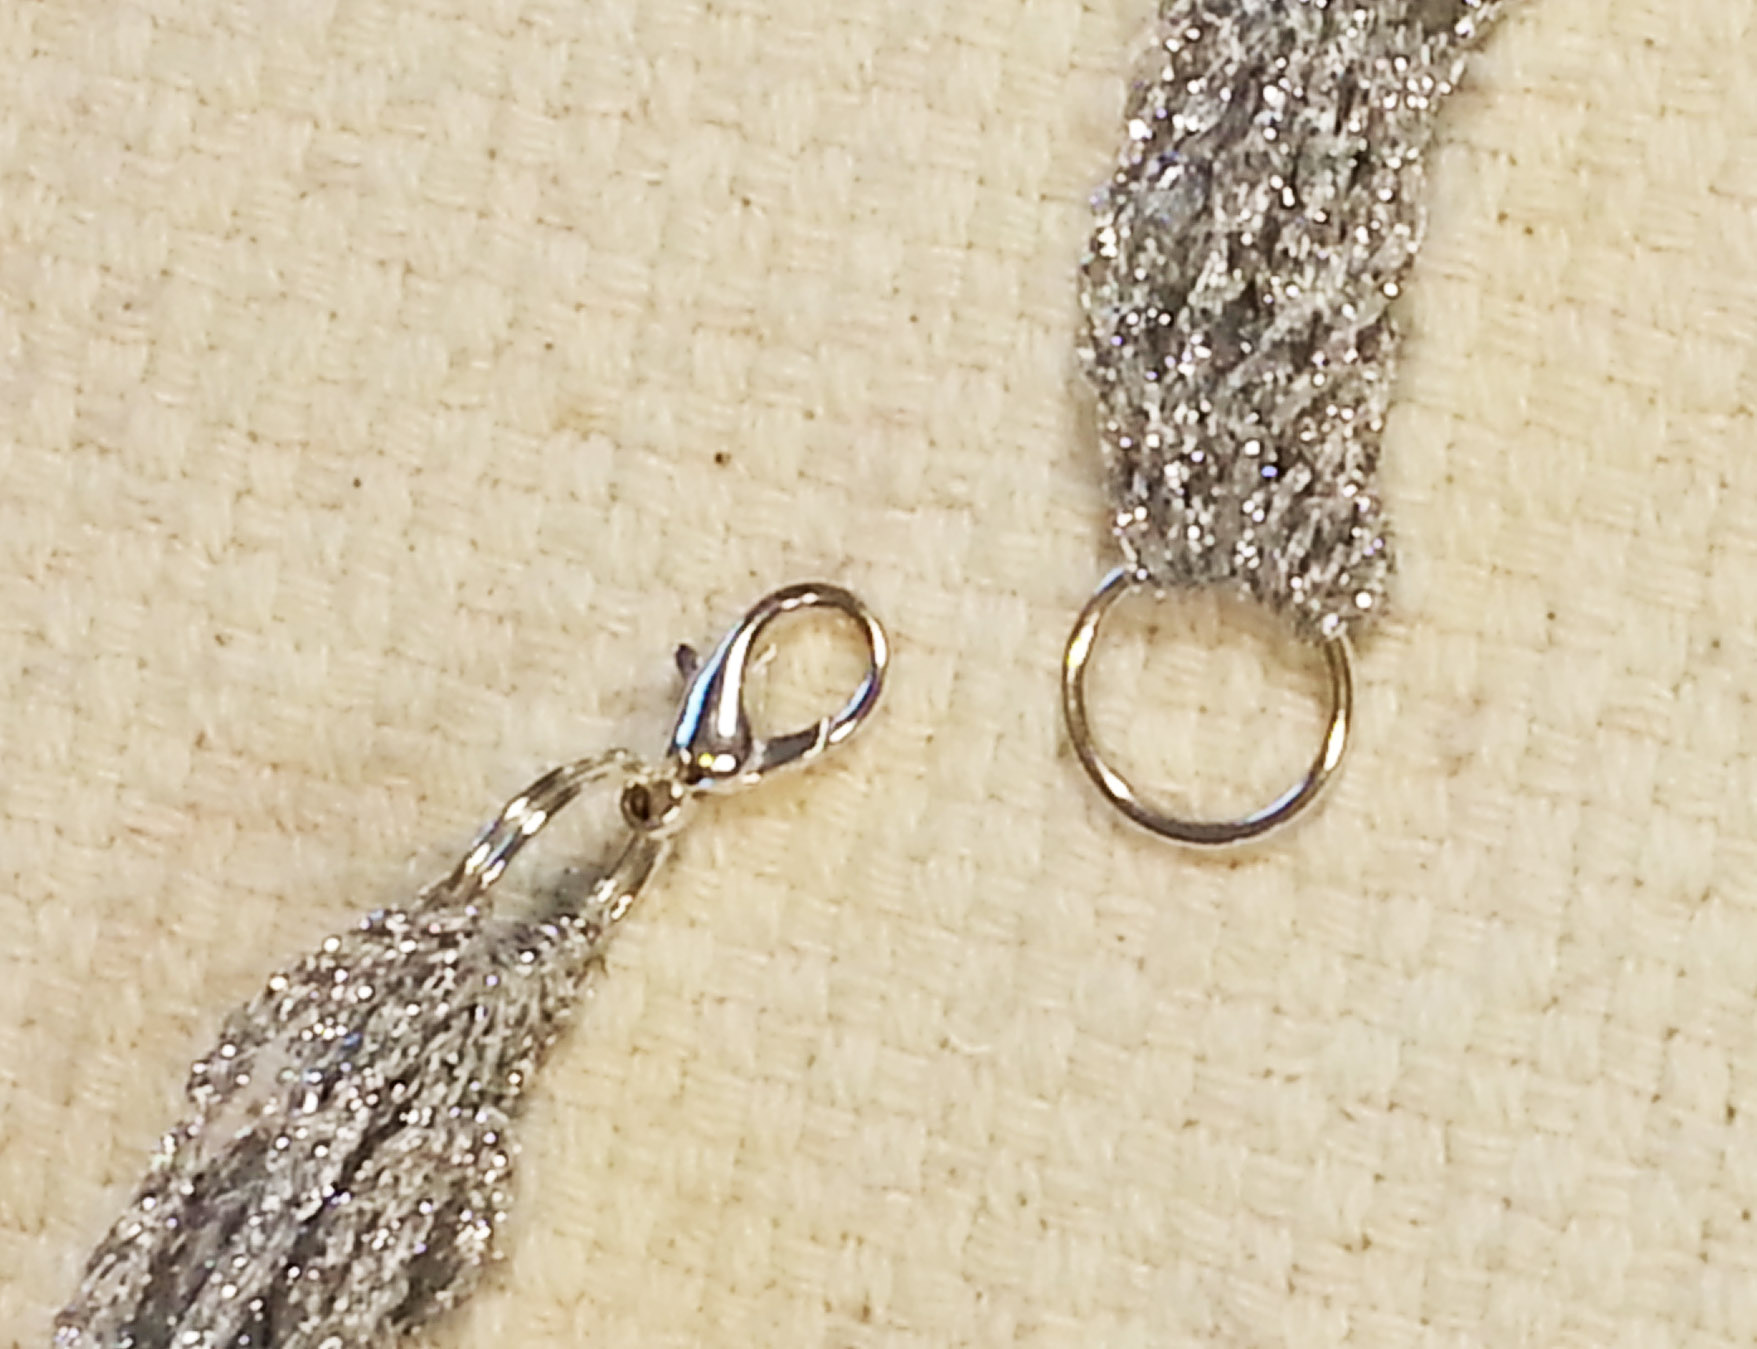
Note about the rings you use for the ends: I choose split rings because there is not an opening that the thread can slip thru causing your strands to drop off. If you prefer to use regular jump rings make sure that the opening in the ring is tightly closed.
I would also recommend placing a drop of thin cyanoacrylate glue over the join and let it dry completely before proceeding with your project. You want the thin runny type of glue that can penetrate the tight space between the 2 ends of your jump ring, not the thicker “gel” formulas that are also available. Obviously you want to have your lobster claw fastener placed on the jump ring before you seal it with the glue.
Now it’s your turn dear readers. Find some beads that appeal to you and crochet a Sophisticated Simplicity Necklace that will turn heads. No one needs to know how easy it was to make.

Looks really pretty !
I couldn’t find the tutorial for the beaded chain. Is it possible for you to email it to me?
Just click on the highlighted text in the paragraph about my beaded chain tutorial and it will take you right there.
Thank you so much for posting. My sister and I were just discussing thrus. how our mom use to crochet necklaces. With flowers and cluster of grapes. Wish we had learned. She past in sept. Now we have a pattern.
So glad you like the pattern. This would definitely be a good start for you and your sister to learn how to crochet necklaces. It is super easy to do and depends on the choice of thread and beads for the “Wow” factor.
I love crochet jewelry in case I haven’t mentioned that before.
This looks easy and is just lovely!