My friend Val and I get together most Tuesday mornings to crochet and visit. This Tuesday she was determined to finish up some small projects that she had in her basket. One of those projects was a headband she was making from my “Springtime Headband” pattern.

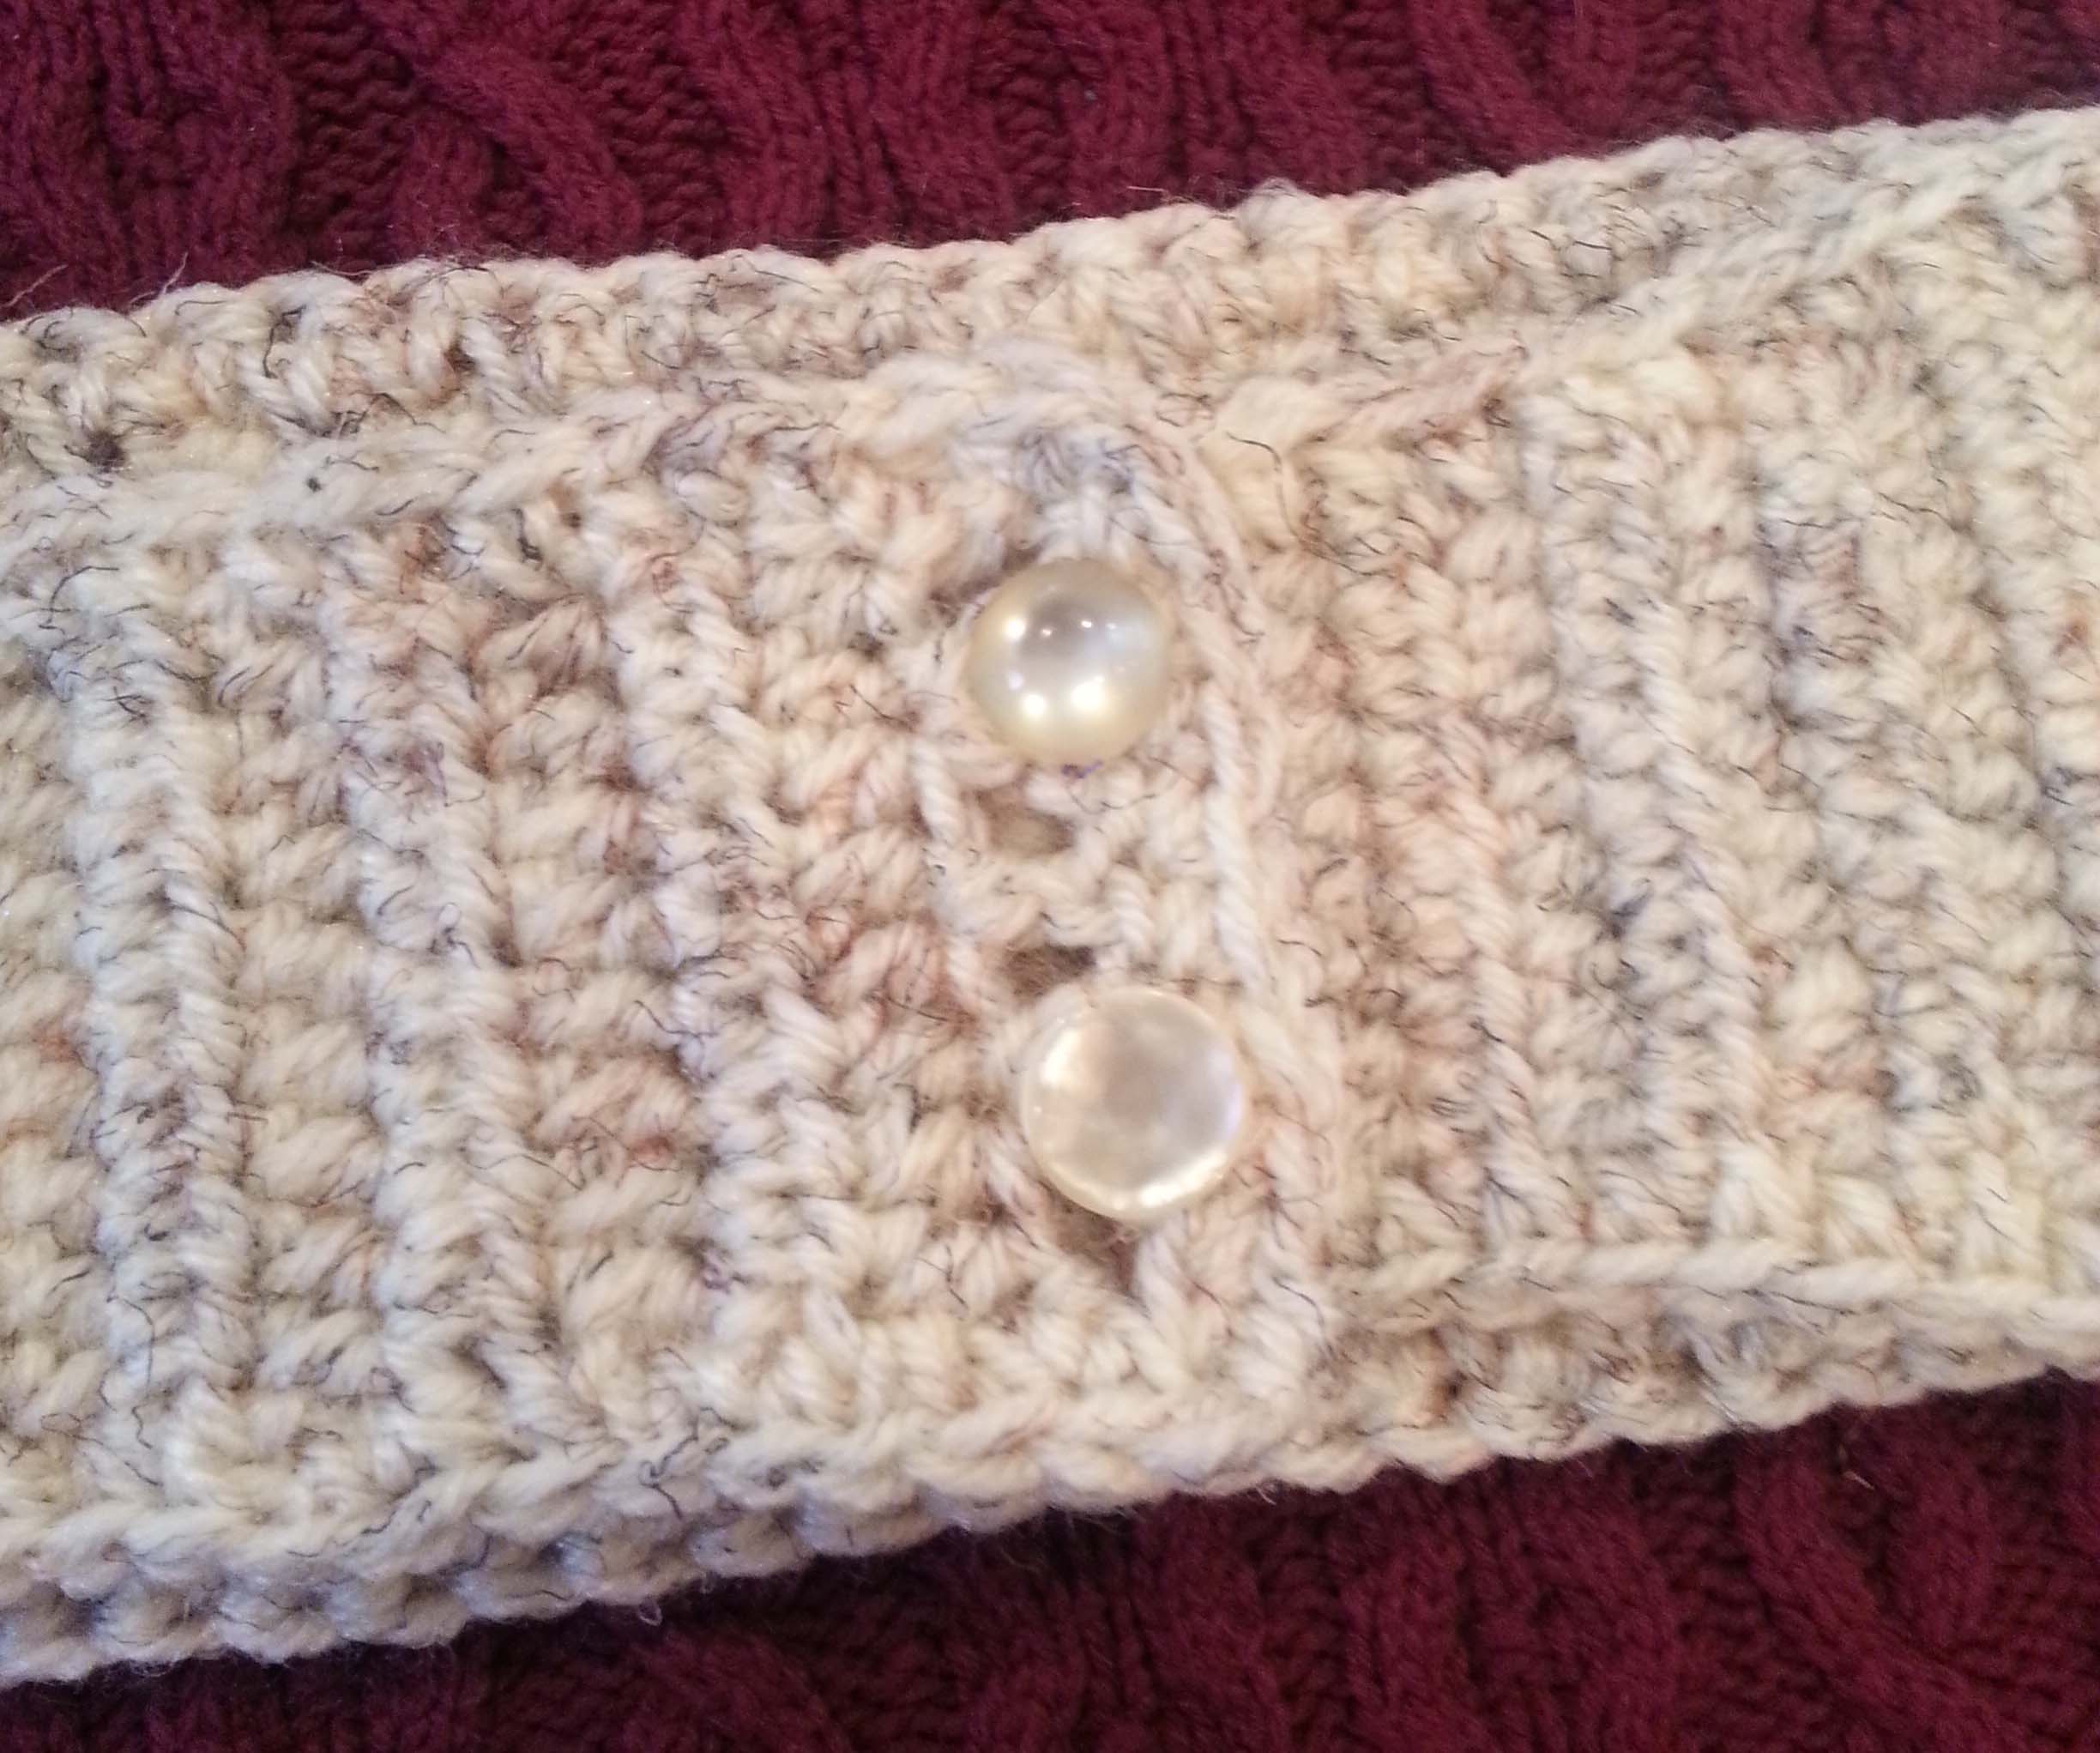
She wanted the headband to be adjustable, so I came up with a modification to add a button band and buttons to it. We were both pleased with how the finished headband looked and Val was really happy to have one of her projects completed.

I thought some of my readers might enjoy using this modification as well. I’m posting the changes we made. The original pattern can be found on my “Crochet and Springtime” post from March 2015. The post also includes a photo tutorial on making cluster and puff stitches.
SPRINGTIME HEADBAND w/BUTTONS
modifications and design by Andee Graves
SKILL LEVEL: Intermediate
FINISHED MEASUREMENTS
Headband is approximately 3.25”/8.125cm wide x 23”/55cm long.
YARN
Worsted weight yarn – approximately 35g or 82 yards
Val was using Lion Brand Yarns, Vanna’s Choice, I used Lion Brand Yarns, Wool-ease for my original project.
CROCHET HOOKS
Size US 7 / (4.5mm)
ADDITIONAL MATERIALS
2 – buttons 3/4 inch diameter
Stitch markers
Yarn needle
GAUGE
6 rows & 9 sts in hdc = 2”
SPECIAL STITCHES
3 DC Cluster Stitch (Cl): (Yo, insert hook into indicated st or sp, yo, pull up a loop, yo, pull thru 2 loops on hook) 3 times, yo, pull thru 4 loops remaining on hook.
Puff Stitch (Puff): (Yo, insert hook into indicated st or sp, yo, pull up a loop to desired height) 5 times, 11 loops on hook, yo, pull thru 10 loops on hook, 2 loops left on hook, yo, pull thru remaining 2 loops on hook.
Half Double Crochet 2 Together (hdc2tog): Yo, insert hook into indicated st or sp, yo pull up a loop, insert hook in next st, yo pull up a loop, yo pull thru all 4 loops on hook.
V-Stitch (V-st): (dc, ch 1, dc) in indicated st or sp.
NOTES
The Cluster stitches and Puff stitches in this project have more texture because they are “squished” between 2 shorter stitches. The texture is created on the back of the rows. The finished project will have the textured side as the right side of the fabric.
Once the first 65 rows of the headband are crocheted button band row is added and edging is worked all the way around with the right side of fabric facing you.
INSTRUCTIONS
For the buttoned version of this headband work Rows 1 – 65 in original pattern.
Button Band:
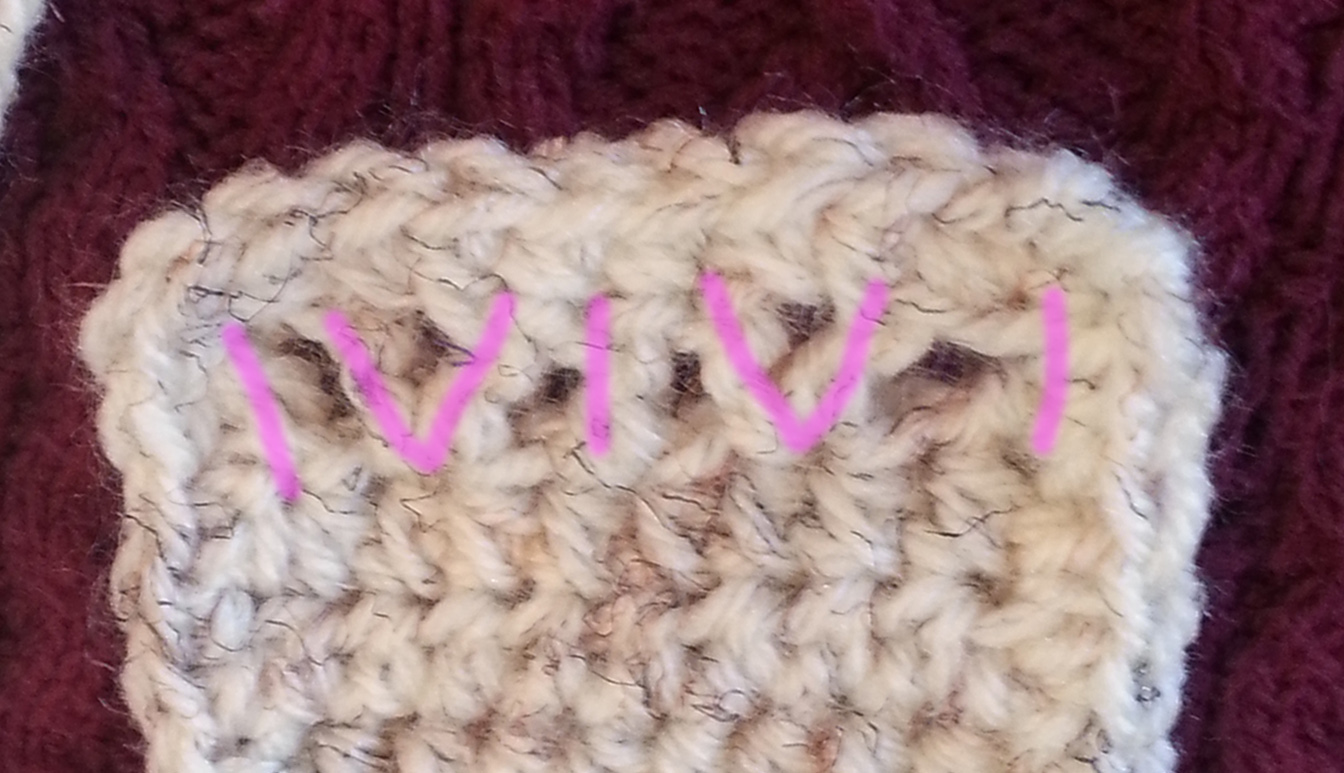
Row 66: Turn, DO NOT CHAIN, sc in first st, ch 2 (counts as first dc), *sk 1 st, V-st next st, sk 1 st, dc next st, Repeat from * once. [3 dc, 2 V-st]

EDGING
Ch 1, with RS facing turn band to work along first long edge, *work sc spaced evenly along edge in ends of rows (3 sc in the ends of the every 2 rows), ch 2, turn to work along end of headband, sc in next 9 sts, ch 2*, turn to work along second long edge, Repeat from * to *, sl st to first sc in round.
FINISHING
Weave in ends. Block lightly, if desired. Sew buttons to right side (textured side) to align with openings in V-sts.
With the colder weather we are beginning to have up here on the mountain it is time to have some extra layers of warmth handy when I’m walking the dog or taking the boys to school. I may be putting an ear warming headband in the glovebox of my car, just in case.
They are also great quick gift projects for those of you thinking about your holiday gift-giving lists.
