A few weeks ago I posted about making a felting pad to work on when needle felting. If you missed my post about that you can find it here. My friend Pam and were talking about all the work that went into making my felting pad, and that it might be faster to use some felted fabric in the construction.
That got me thinking about crocheting some wool yarn into fabric that could then be felted in the washing machine. It has been a long time since I felted a crochet project, or “fulled” one as that is the more accurate term for this process. I had forgotten that my fabric would felt better if I had a lot of air in the stitches. The openness of the stitches allow the fibers to move and bind more easily to each other.

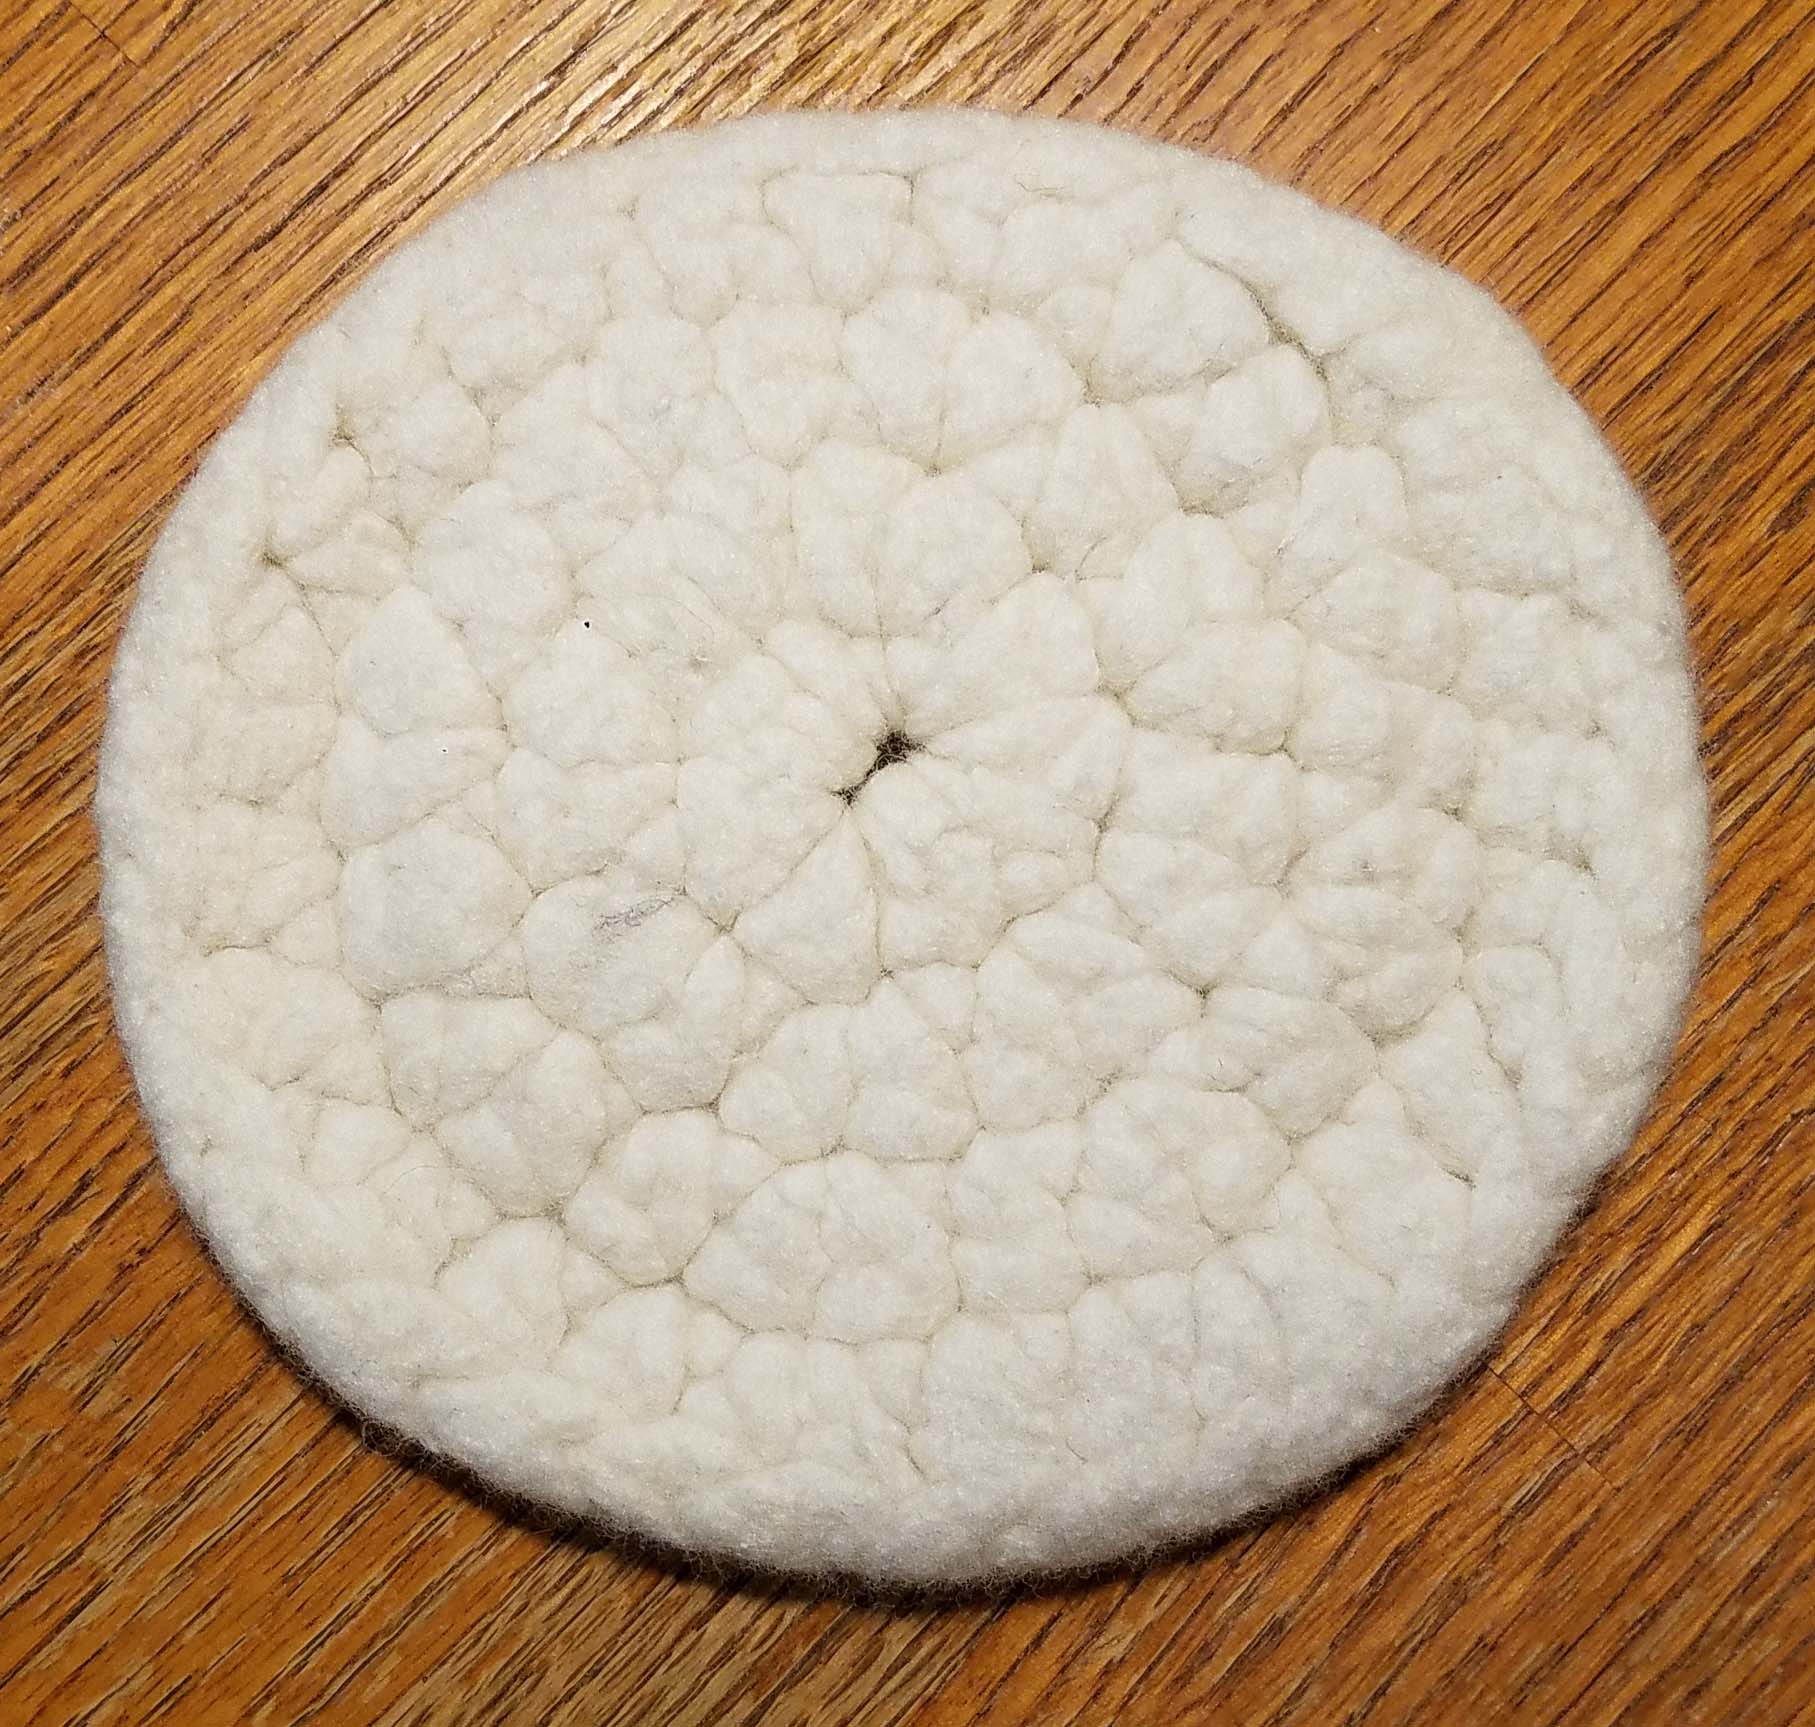
Recently I shared about crocheting with pencil roving, the plan being that I would felt that circle to use in making a felting pad. Unfortunately I should have used a larger crochet hook. My finished fabric was actually pretty dense, which did not allow for the easy movement of fibers.
I also have the handicap, when fulling crocheted or knit fabric, of a front-loading washing machine. It’s a great washing machine for efficiency, but not for getting my projects to felt. Of course, difficulties are just a form of motivation for me. Or as my Dad always says, “Necessity is the mother of invention.” In this case not so much invention as inspiration.
There is this relatively new product out there called “ArtFelt Paper” from Skacel. I have been watching numerous videos of it and how it is used to make felt. I actually purchased some recently, but have been too busy with deadlines for design projects and all the end-of-school-year activities for my kids, to experiment with it yet.
I was really intrigued by the method of felting demonstrated. I’ve never been a big fan of wet-felting because of the excessive amount of physical labor involved in transforming loose fiber into actual felt. Always seemed like a recipe for repetitive stress injuries. The ArtFelt method ends up with wetting the fibers then rolling the whole thing up with plastic and putting it in the dryer to be felted. It’s not the heat from the dryer, but the agitation that promotes the felting of the fibers.

After watching a few videos of this I began to wonder if I could felt or “full” a crocheted fabric this way. If nothing else, it would be a good experiment. My first step was to get my pencil roving circle wet.

I had gathered up my supplies: a plastic bag large enough for my circle to fit inside, an old cotton towel to keep the fabric from crimping when rolled up, and (not pictured) an old stocking.

I drained off the excess water and put the wet circle inside the plastic bag. I was recycling a bag that our bread comes in, so I made sure that all the printing on the bag was not touching the fabric.
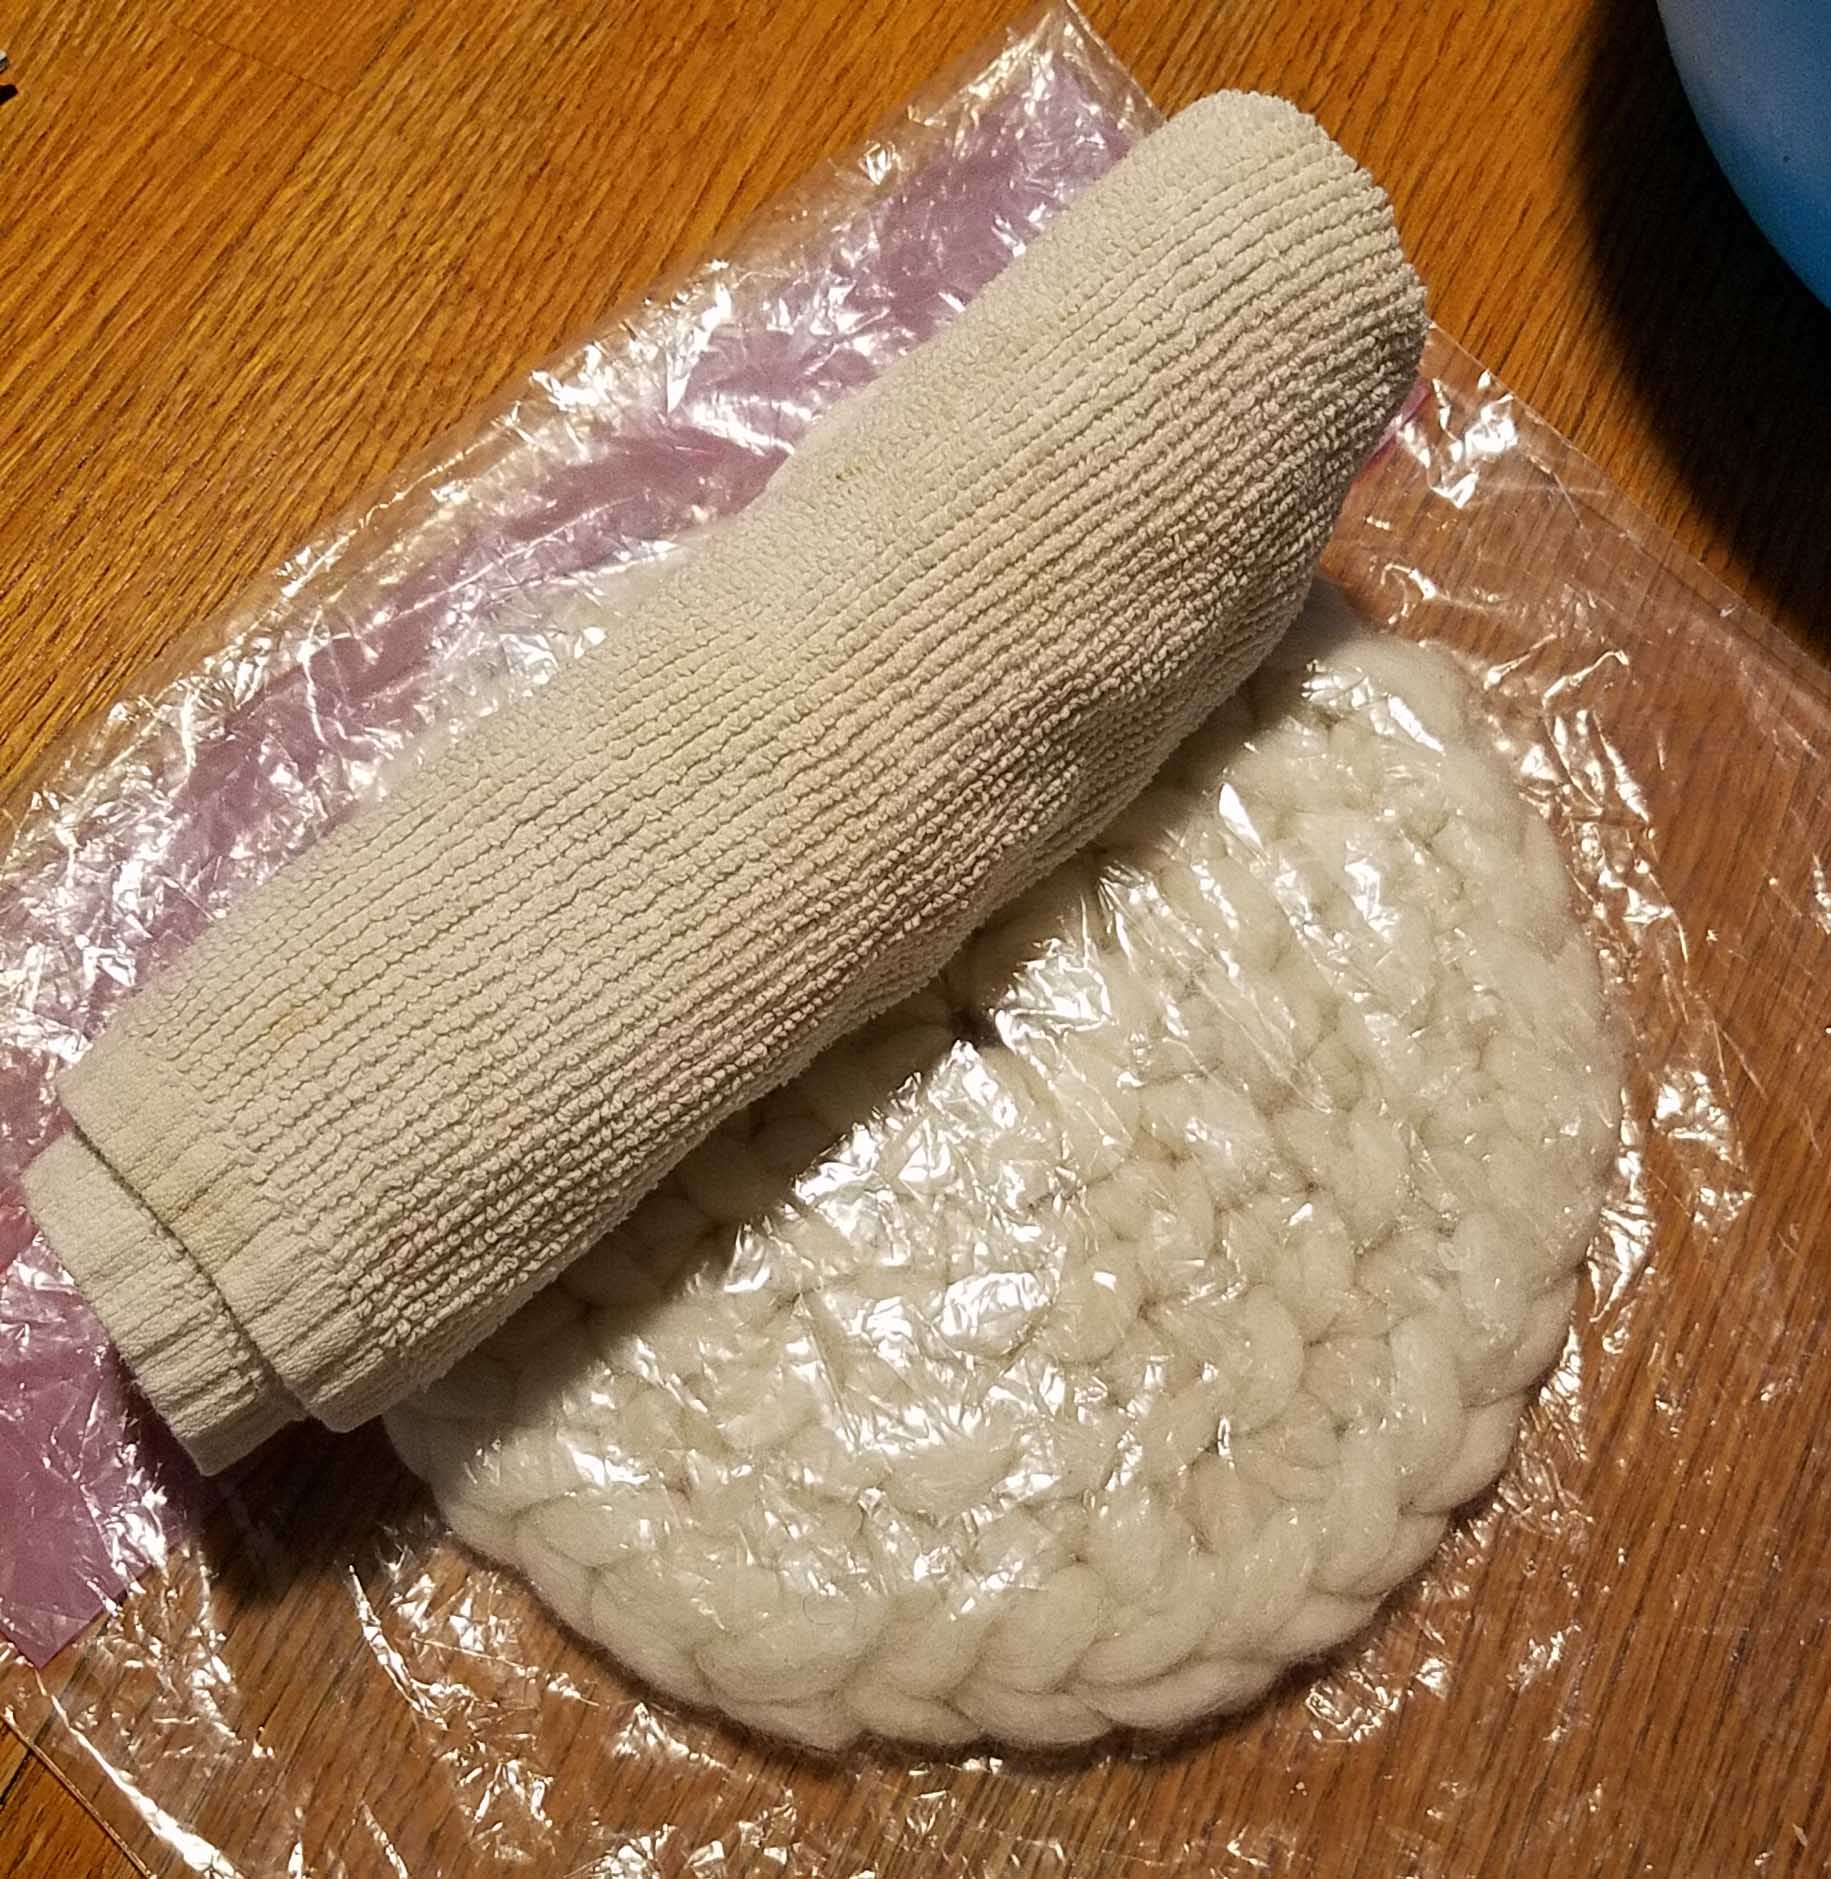
Next I rolled up the old towel and set it on the outside of the bag at one end of the circle.
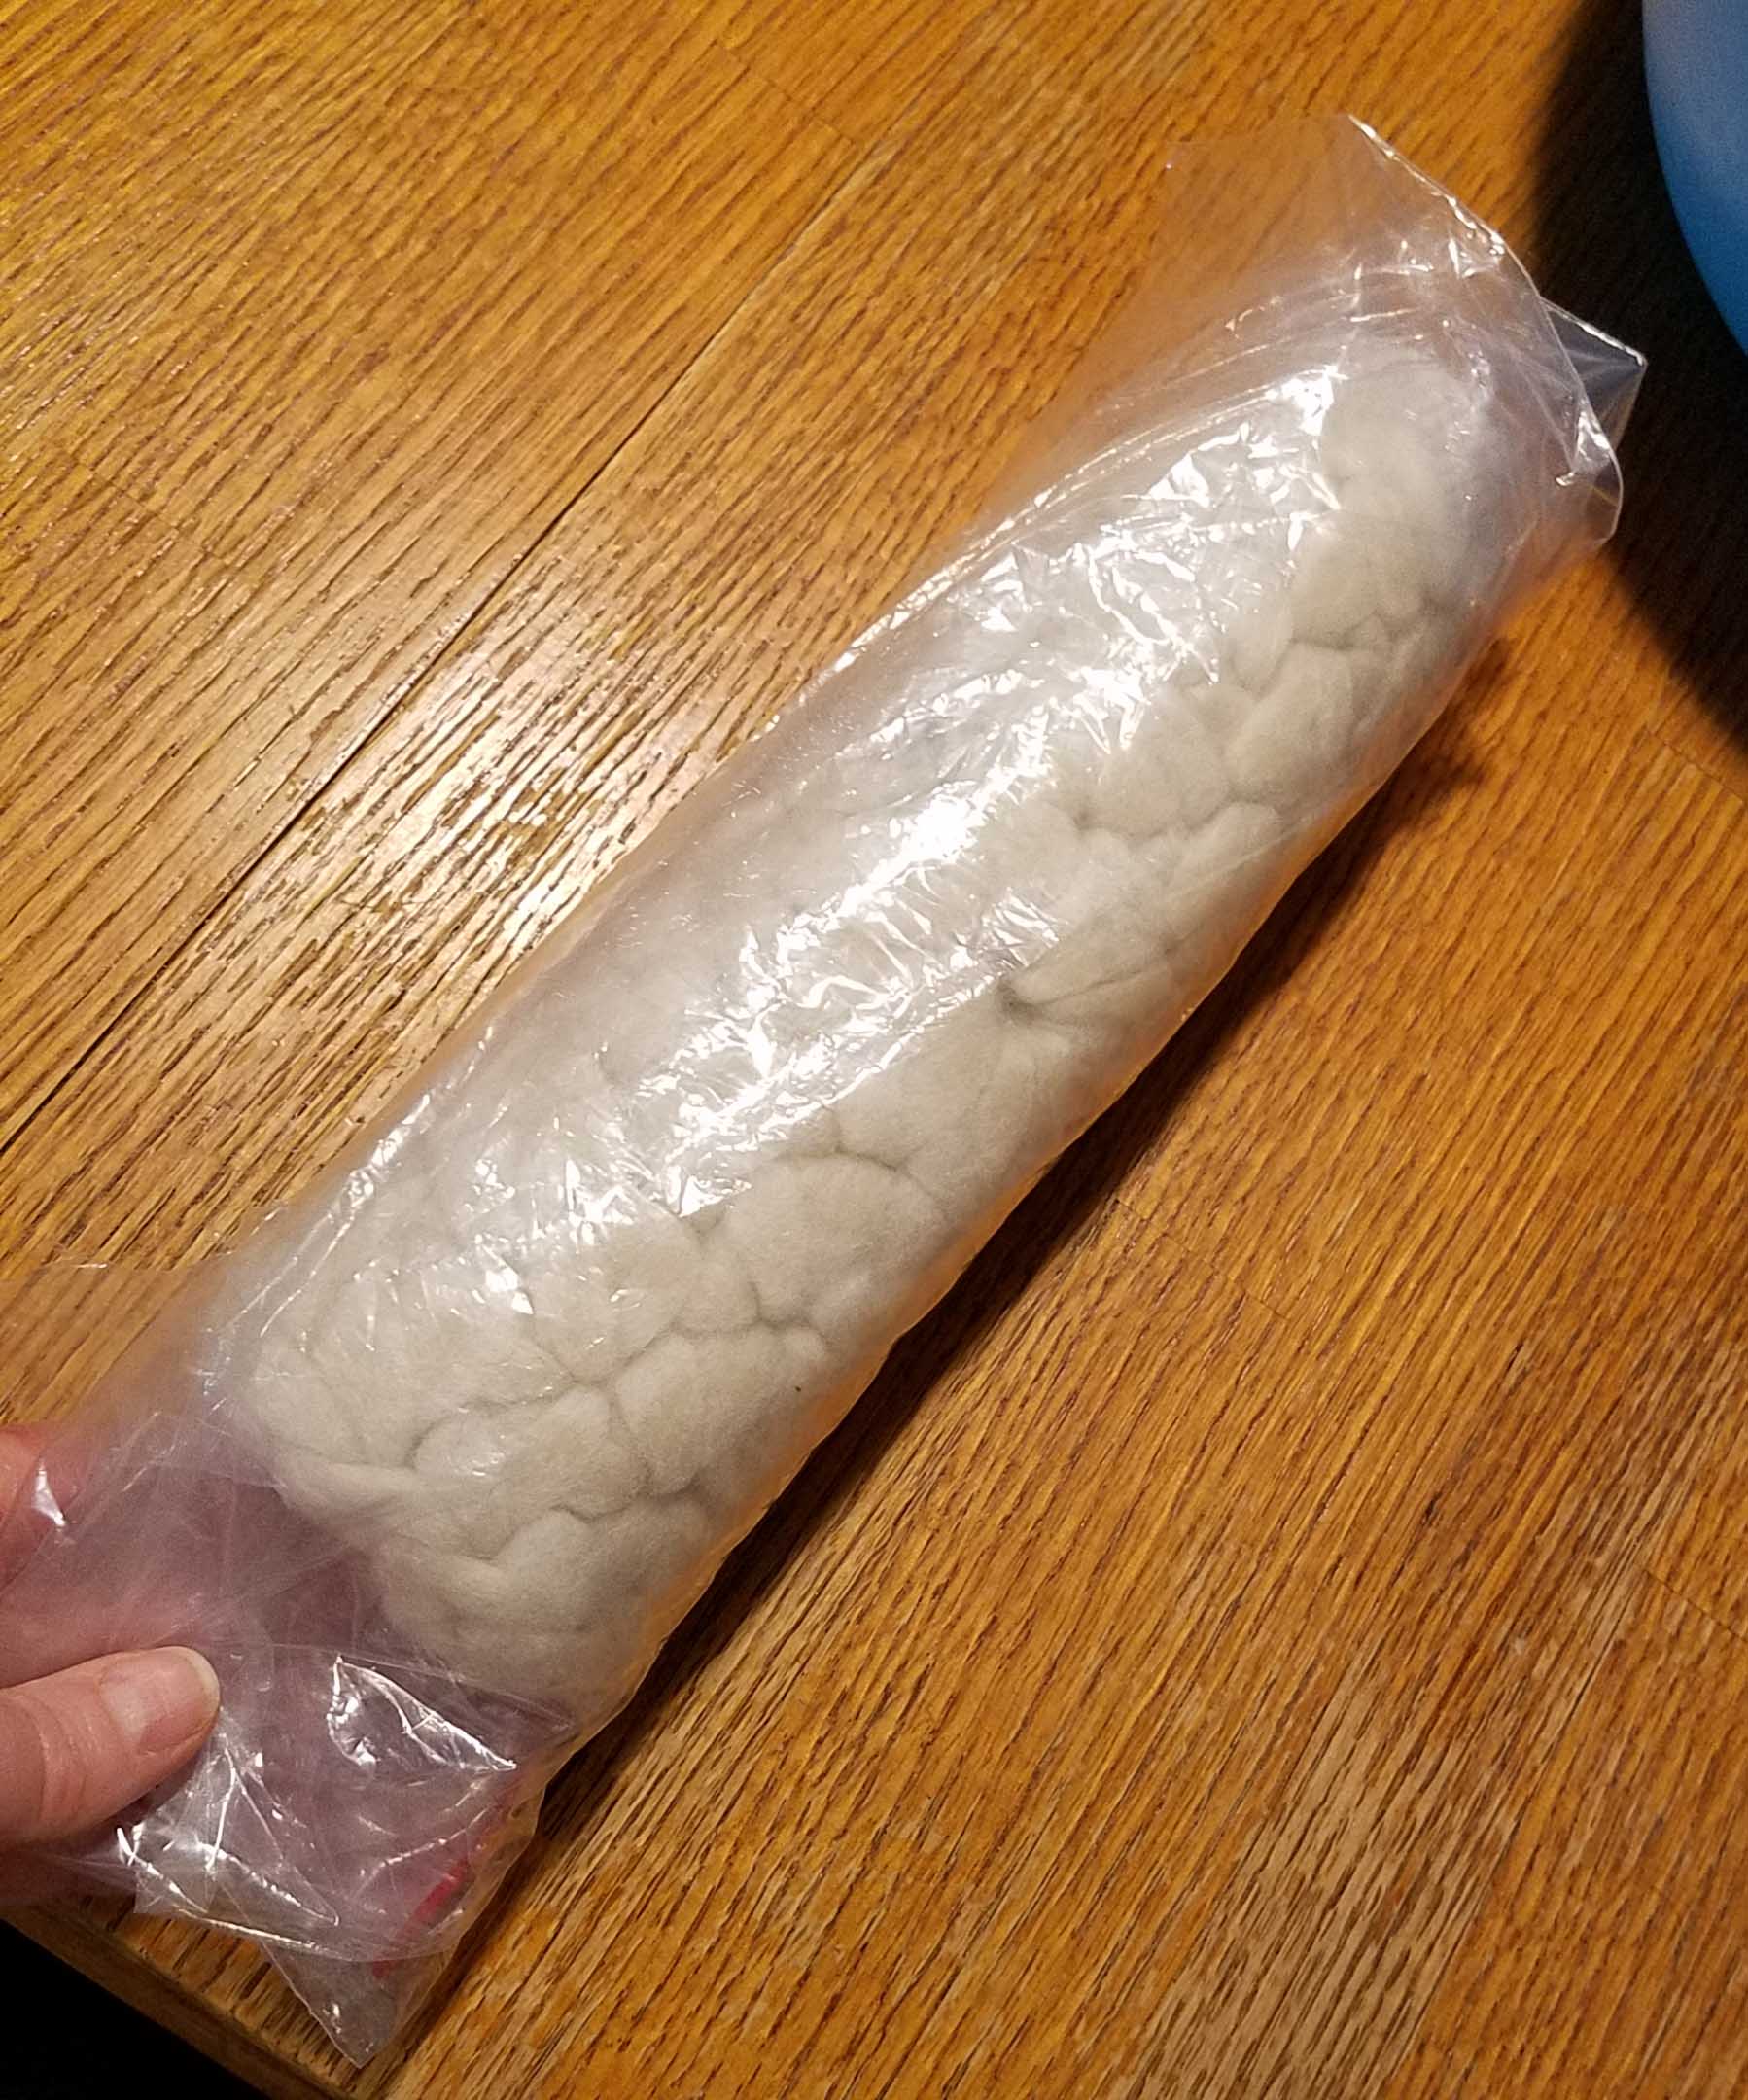
I rolled up the whole thing with the towel in the center.

Then secured it inside the old stocking. I tossed the whole thing into the dryer with a load of towels on high heat. I took it out after 15 minutes.

It had felted a little bit, but I decided it would take too long using that method.

I took the fabric to the kitchen sink and added a little bit of dishwashing soap. I then scrubbed it between my hands and alternated rinsing it in hot and cold water. It began to felt down very quickly.
I returned to the sink and rinsed and scrubbed some more. I rinsed out all the soap.
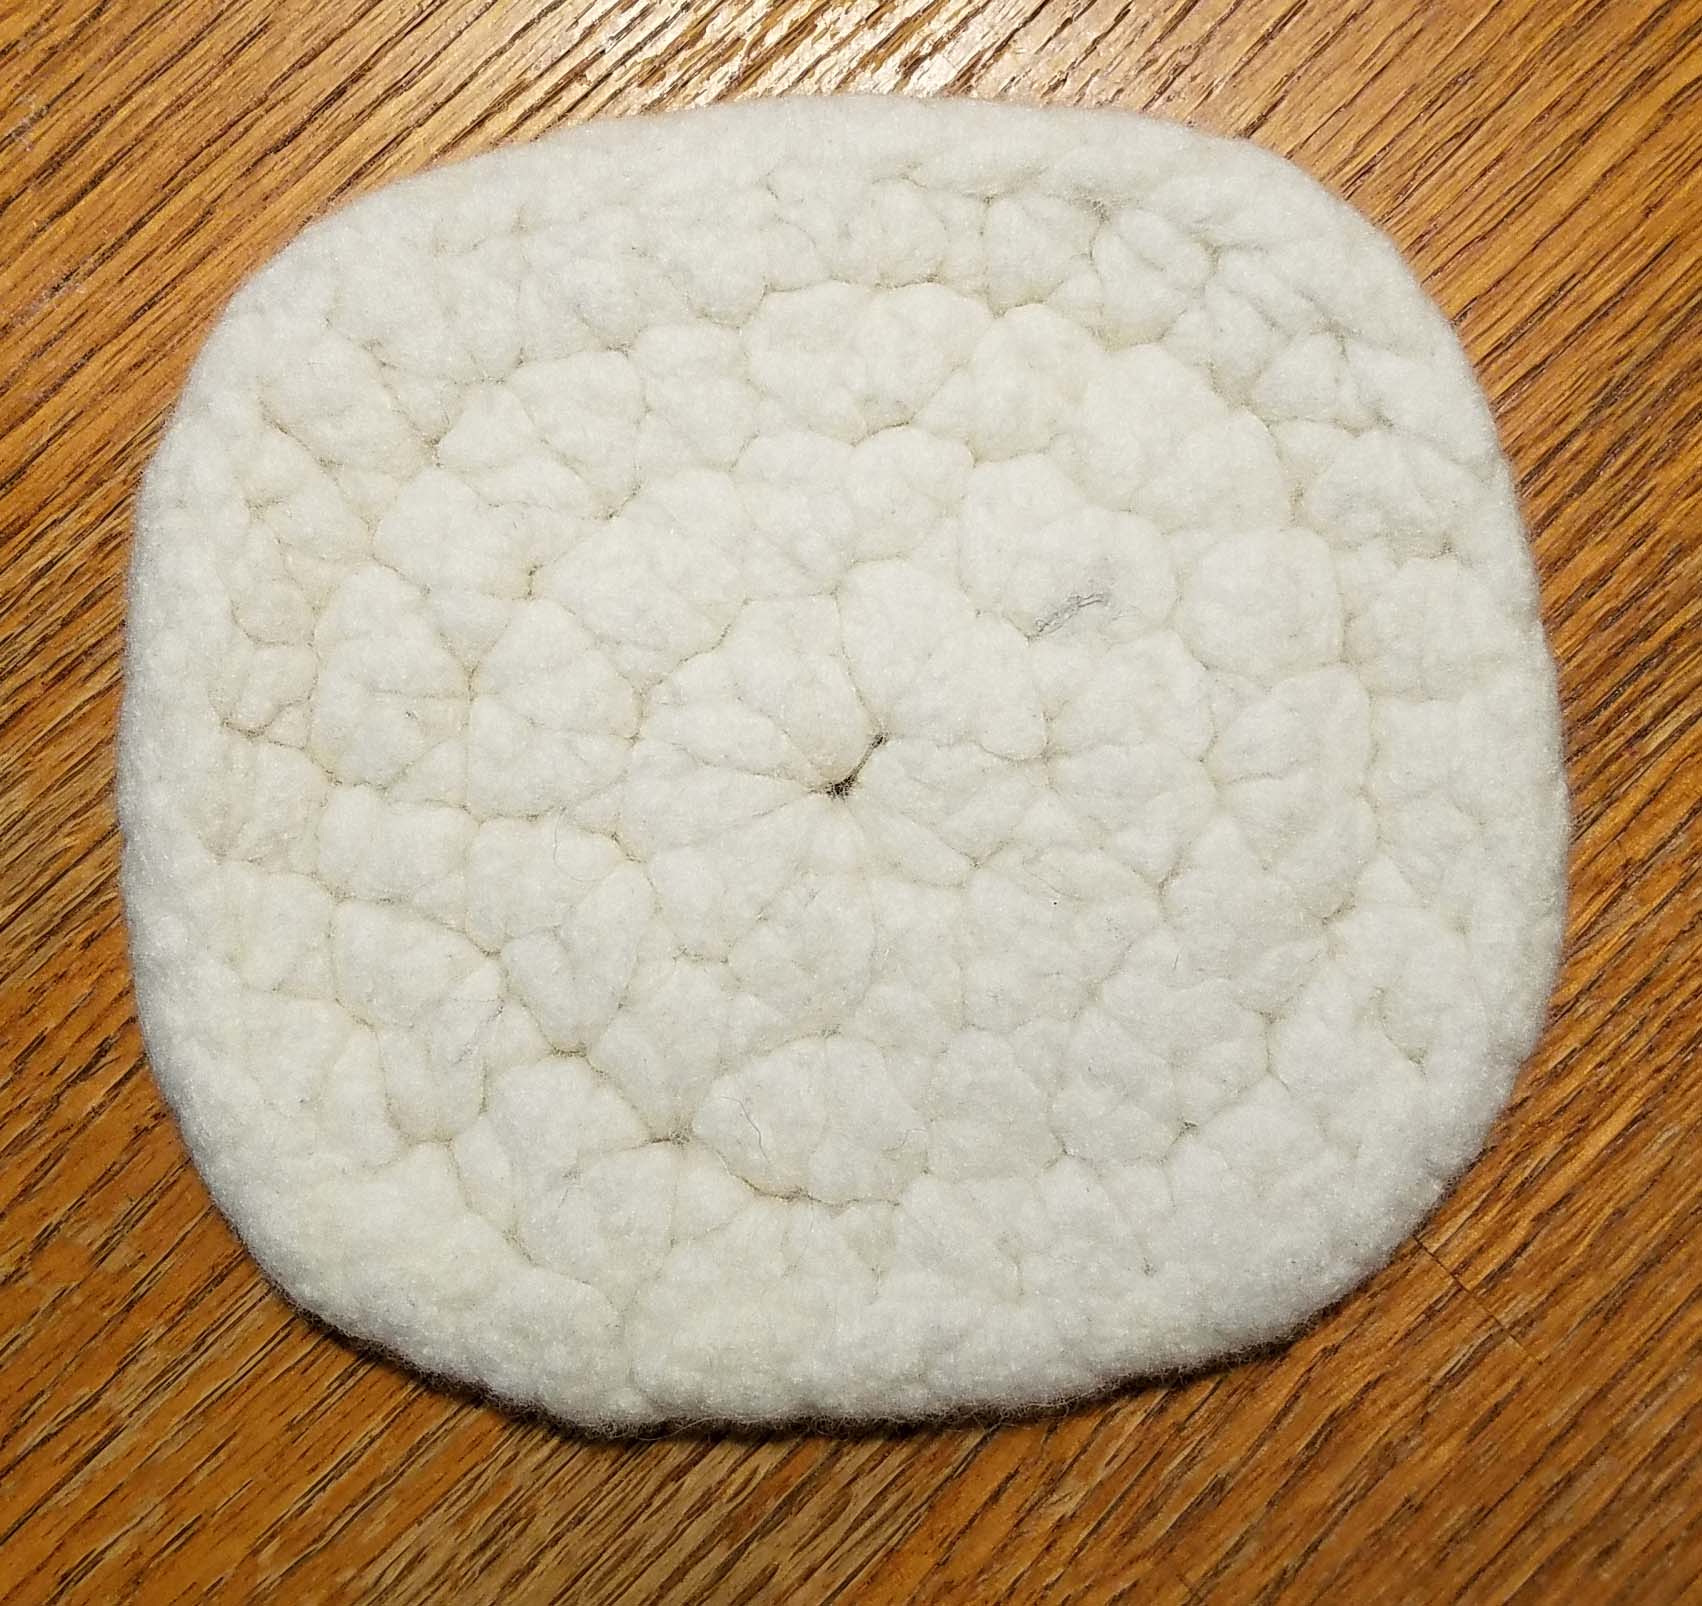
Next I tossed it in the dryer for a little while, then rubbed and stretched it to get a somewhat squared off shape. It was still fairly damp, but it had felted down to about half the size it started out.
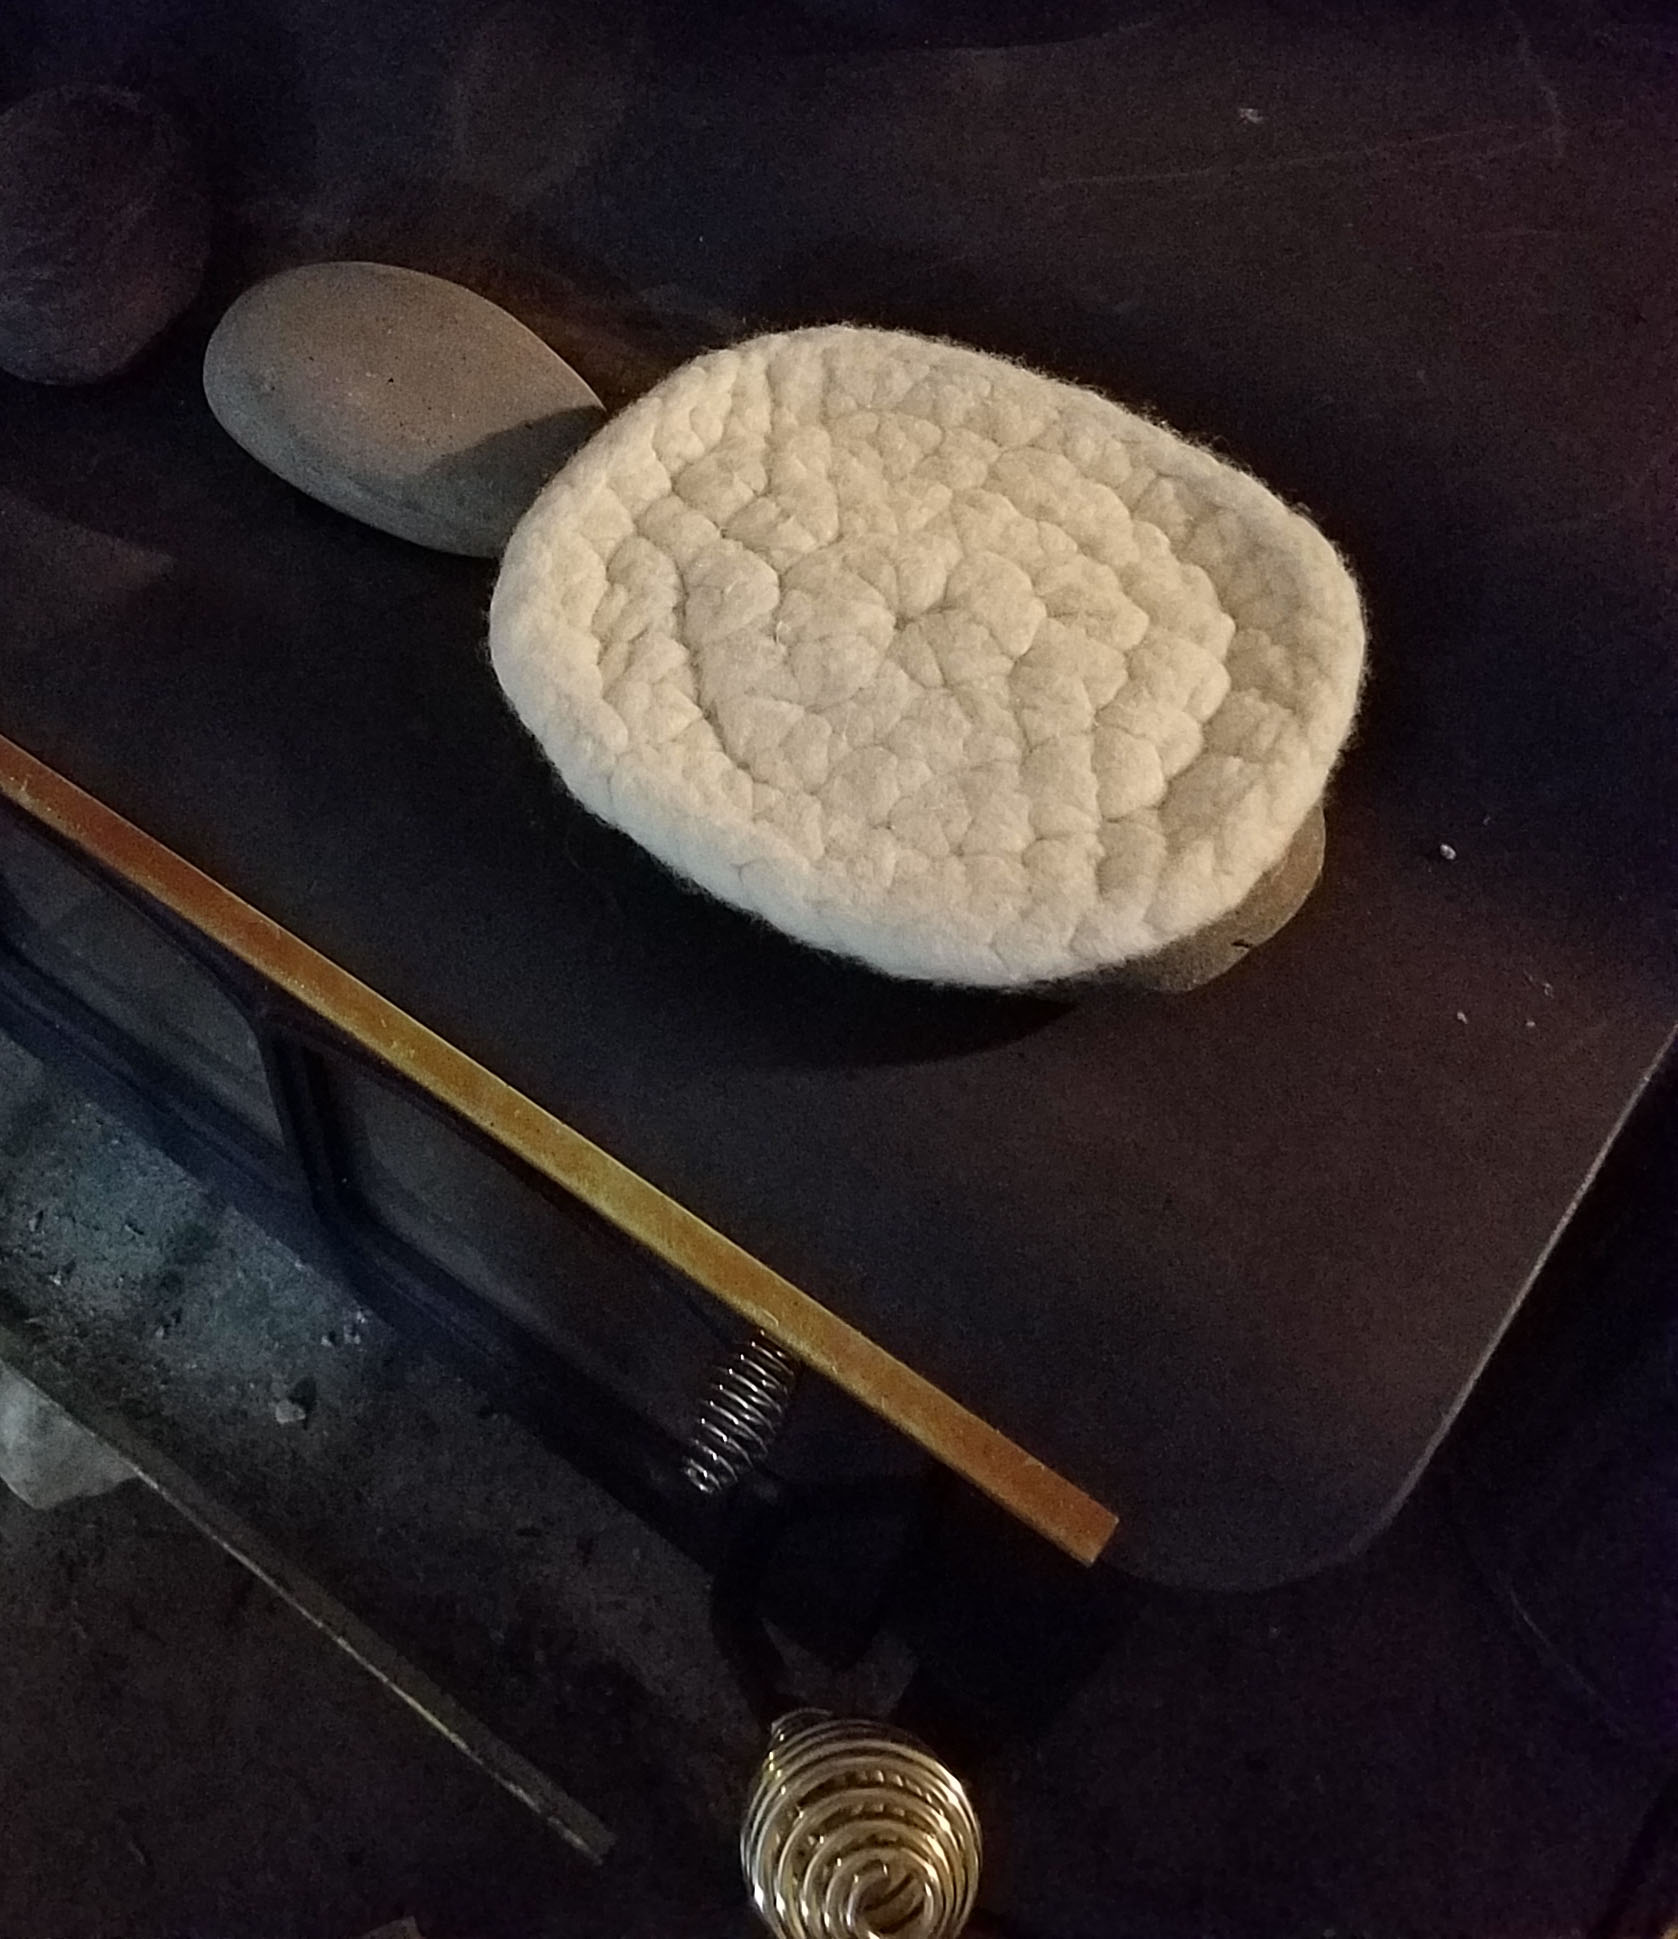
I sat it on the top of my woodstove to dry overnight.

The next morning it was still a tiny bit damp, so I waited until that evening to begin the needle felting part of turning it into a felting pad.

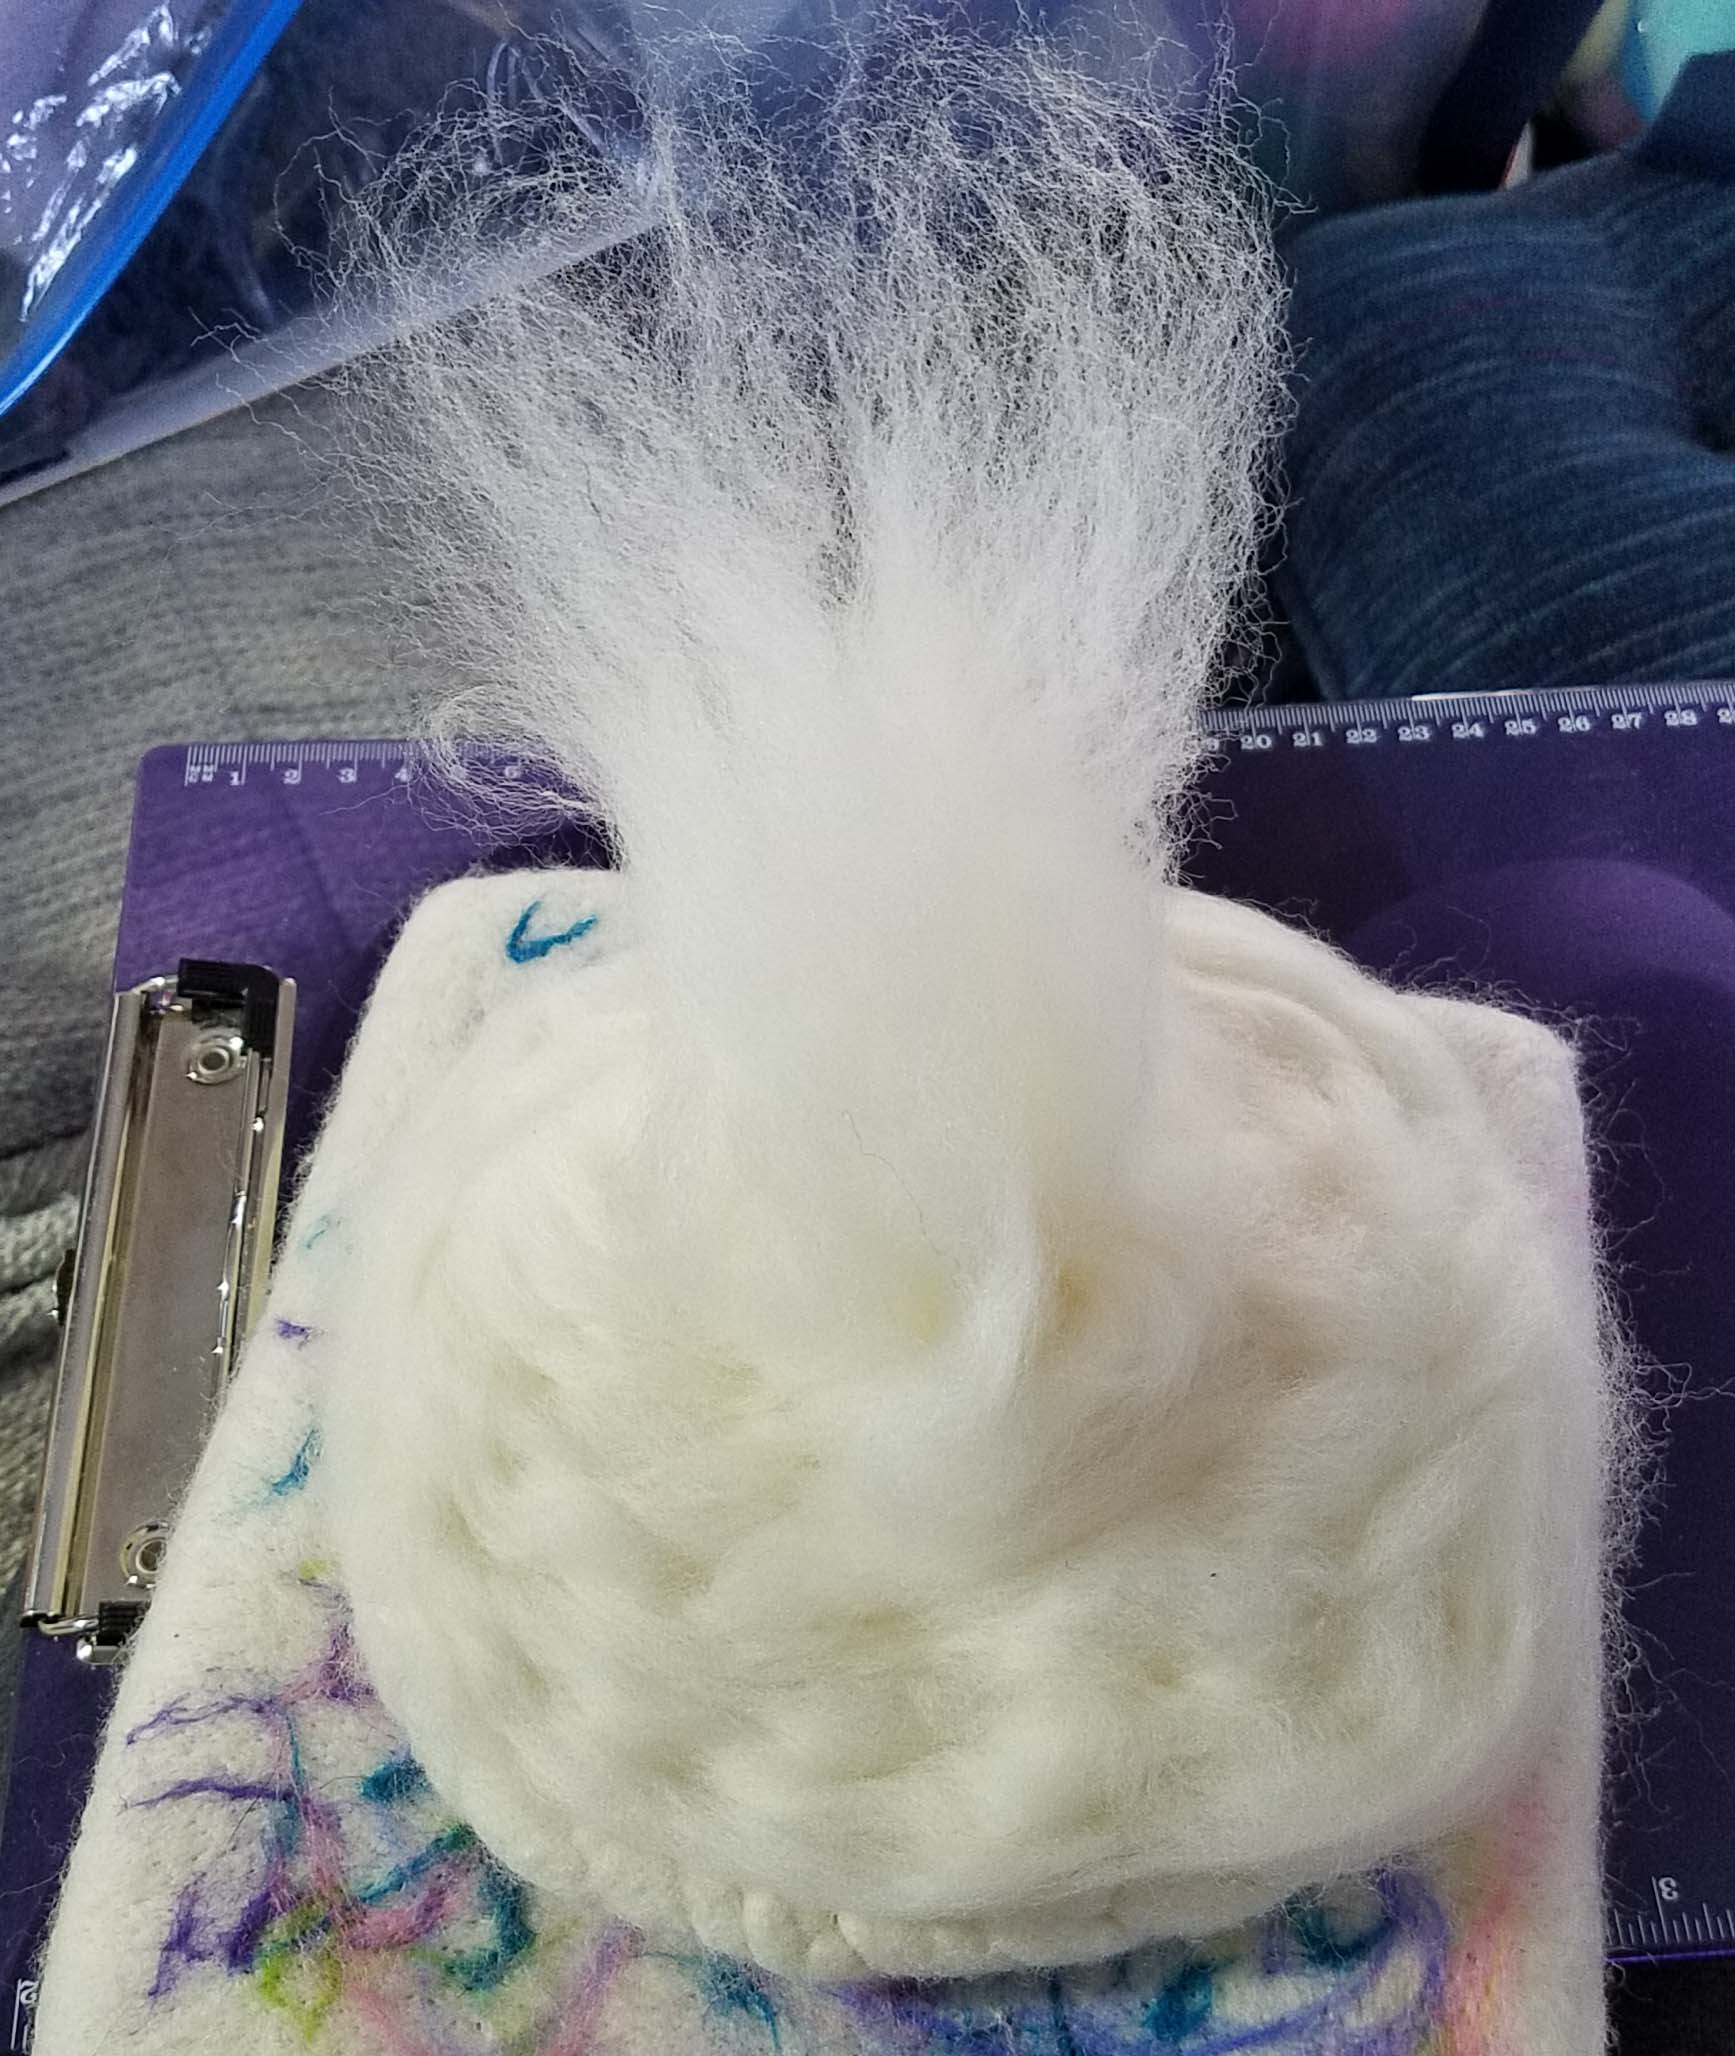
The needle felting method I used was somewhat similar to what I’ve shown here before. I started by covering one side with a thick fluffy mat of fiber.
Then I filled in a few of the more obvious openings that were left in the fabric after the fulling/felting.
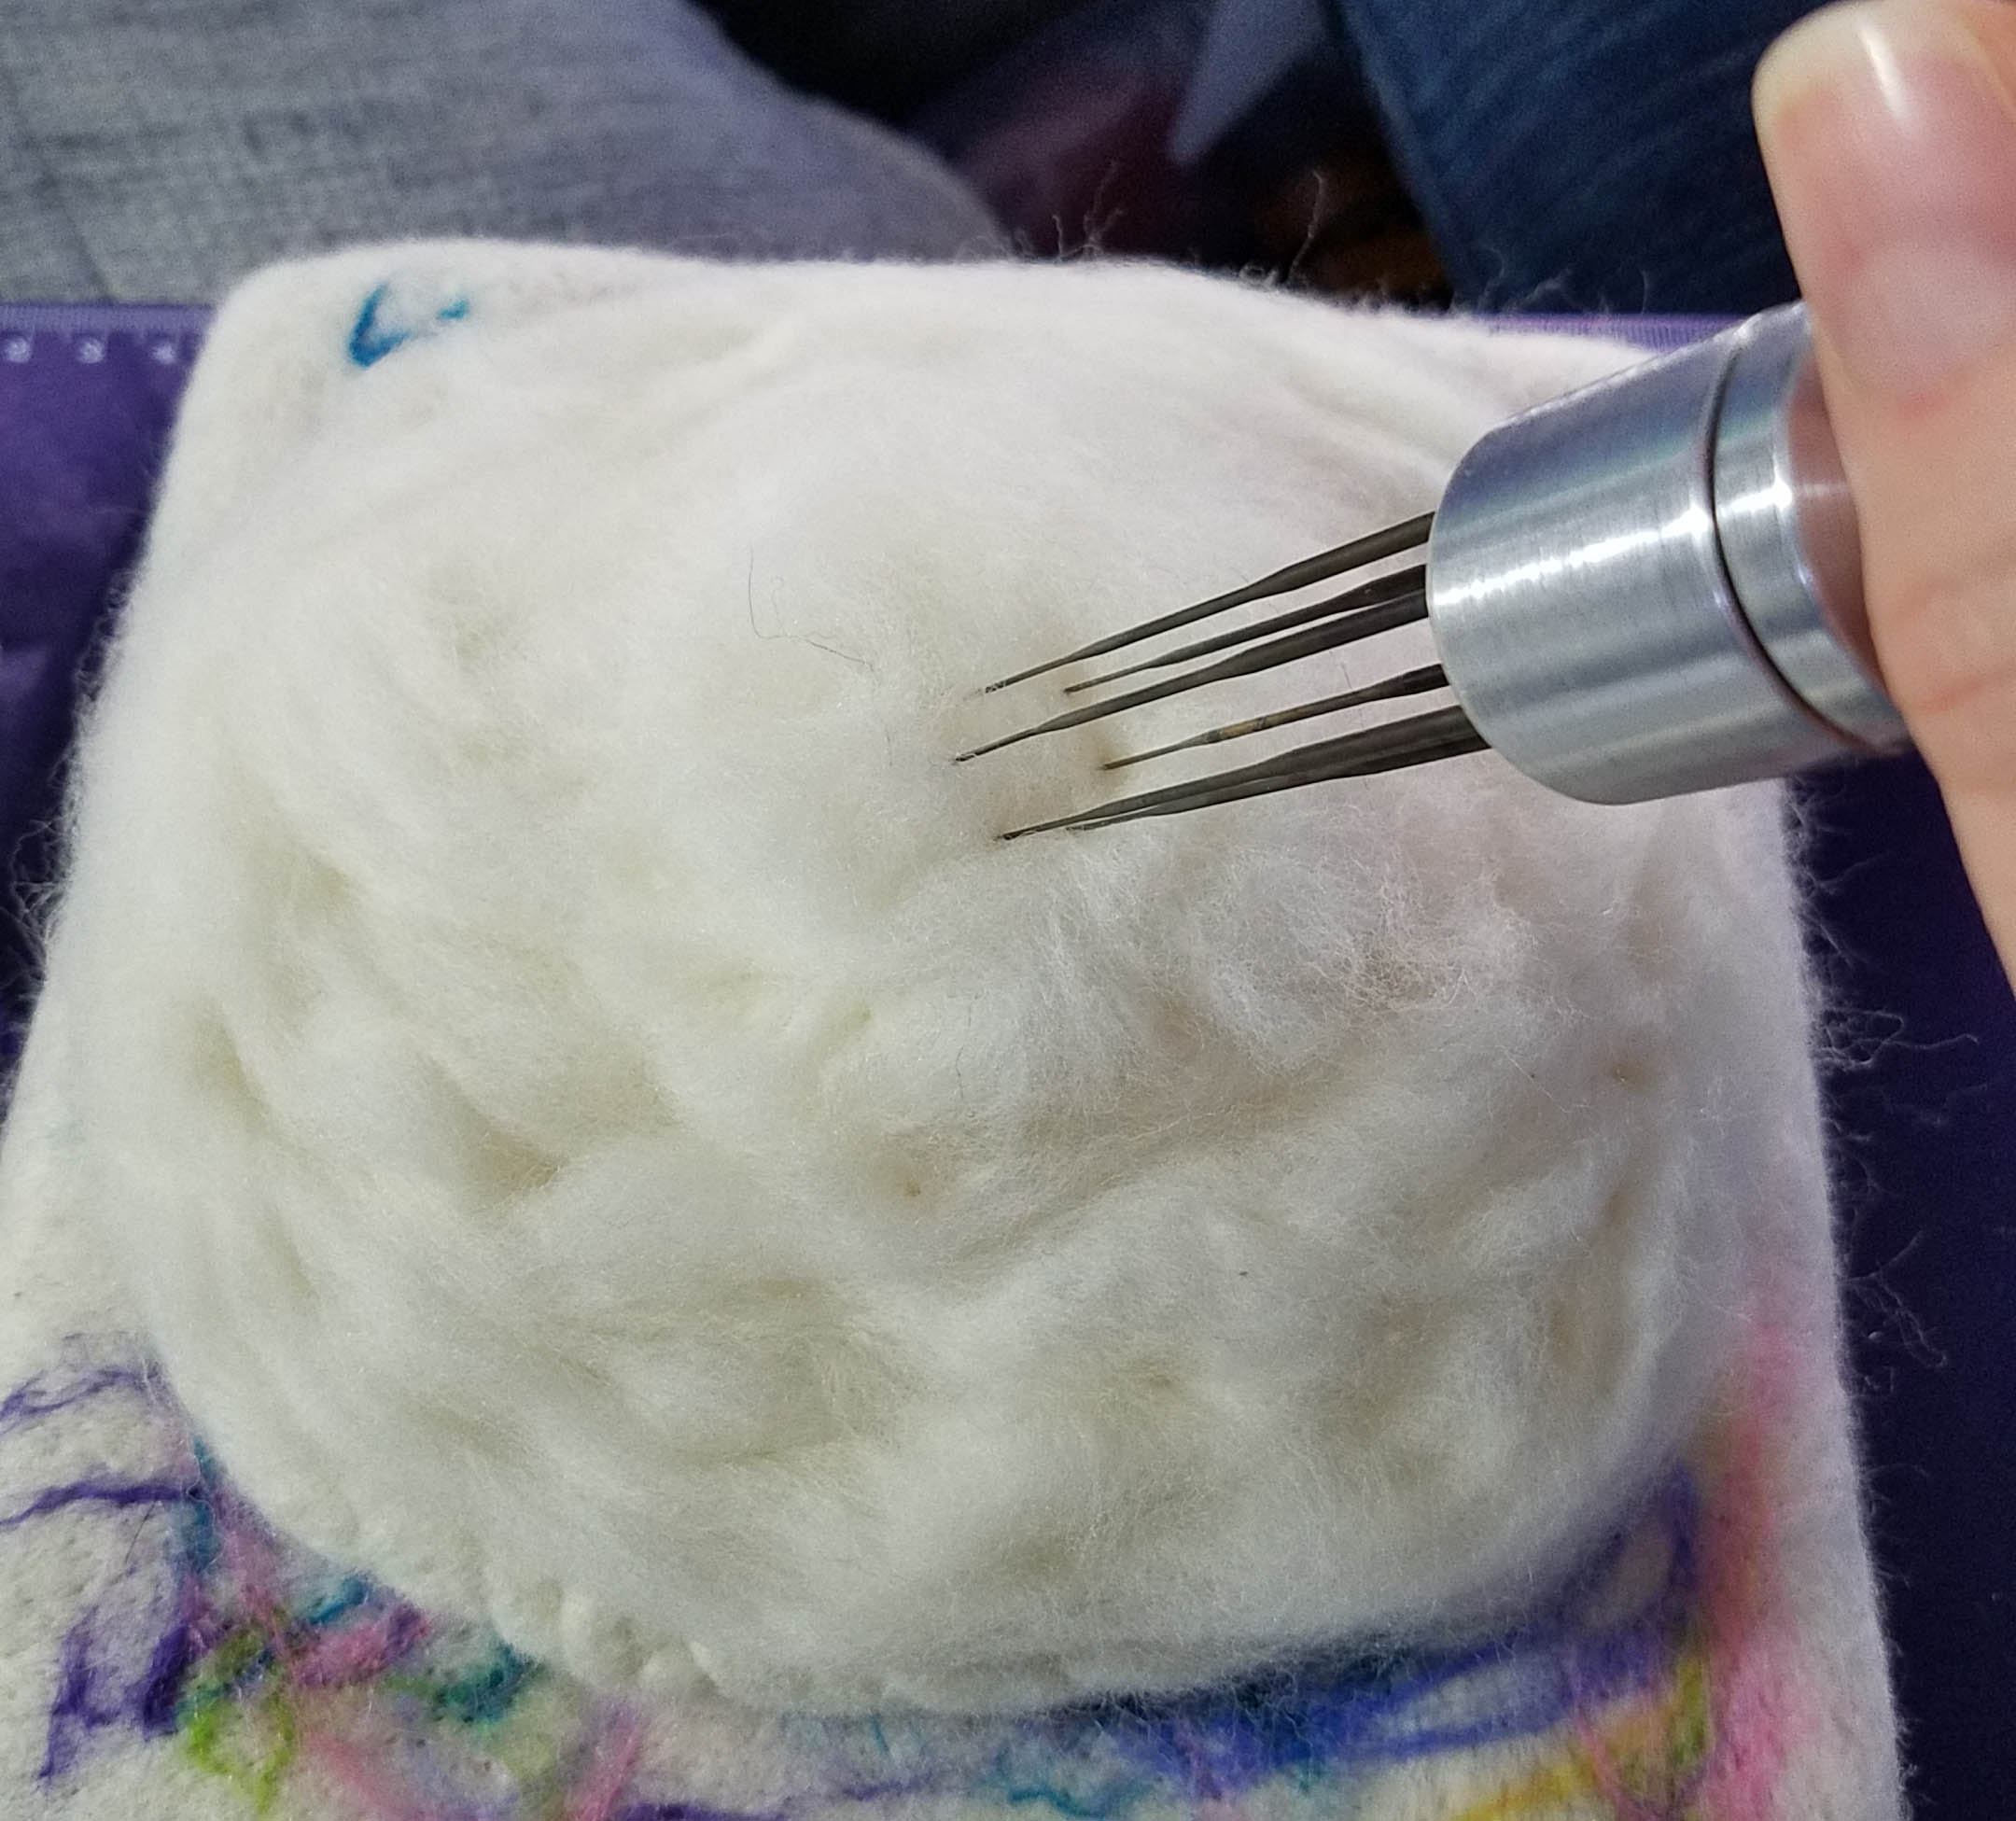
Similar to my other felting pad I made, I kept switching between working with my single needle tool and my multi-needle tool to felt down the fibers.

Once I had the first side well covered I flipped it over to work on the second side.

On this side I started out by filling in the hole in the center first.
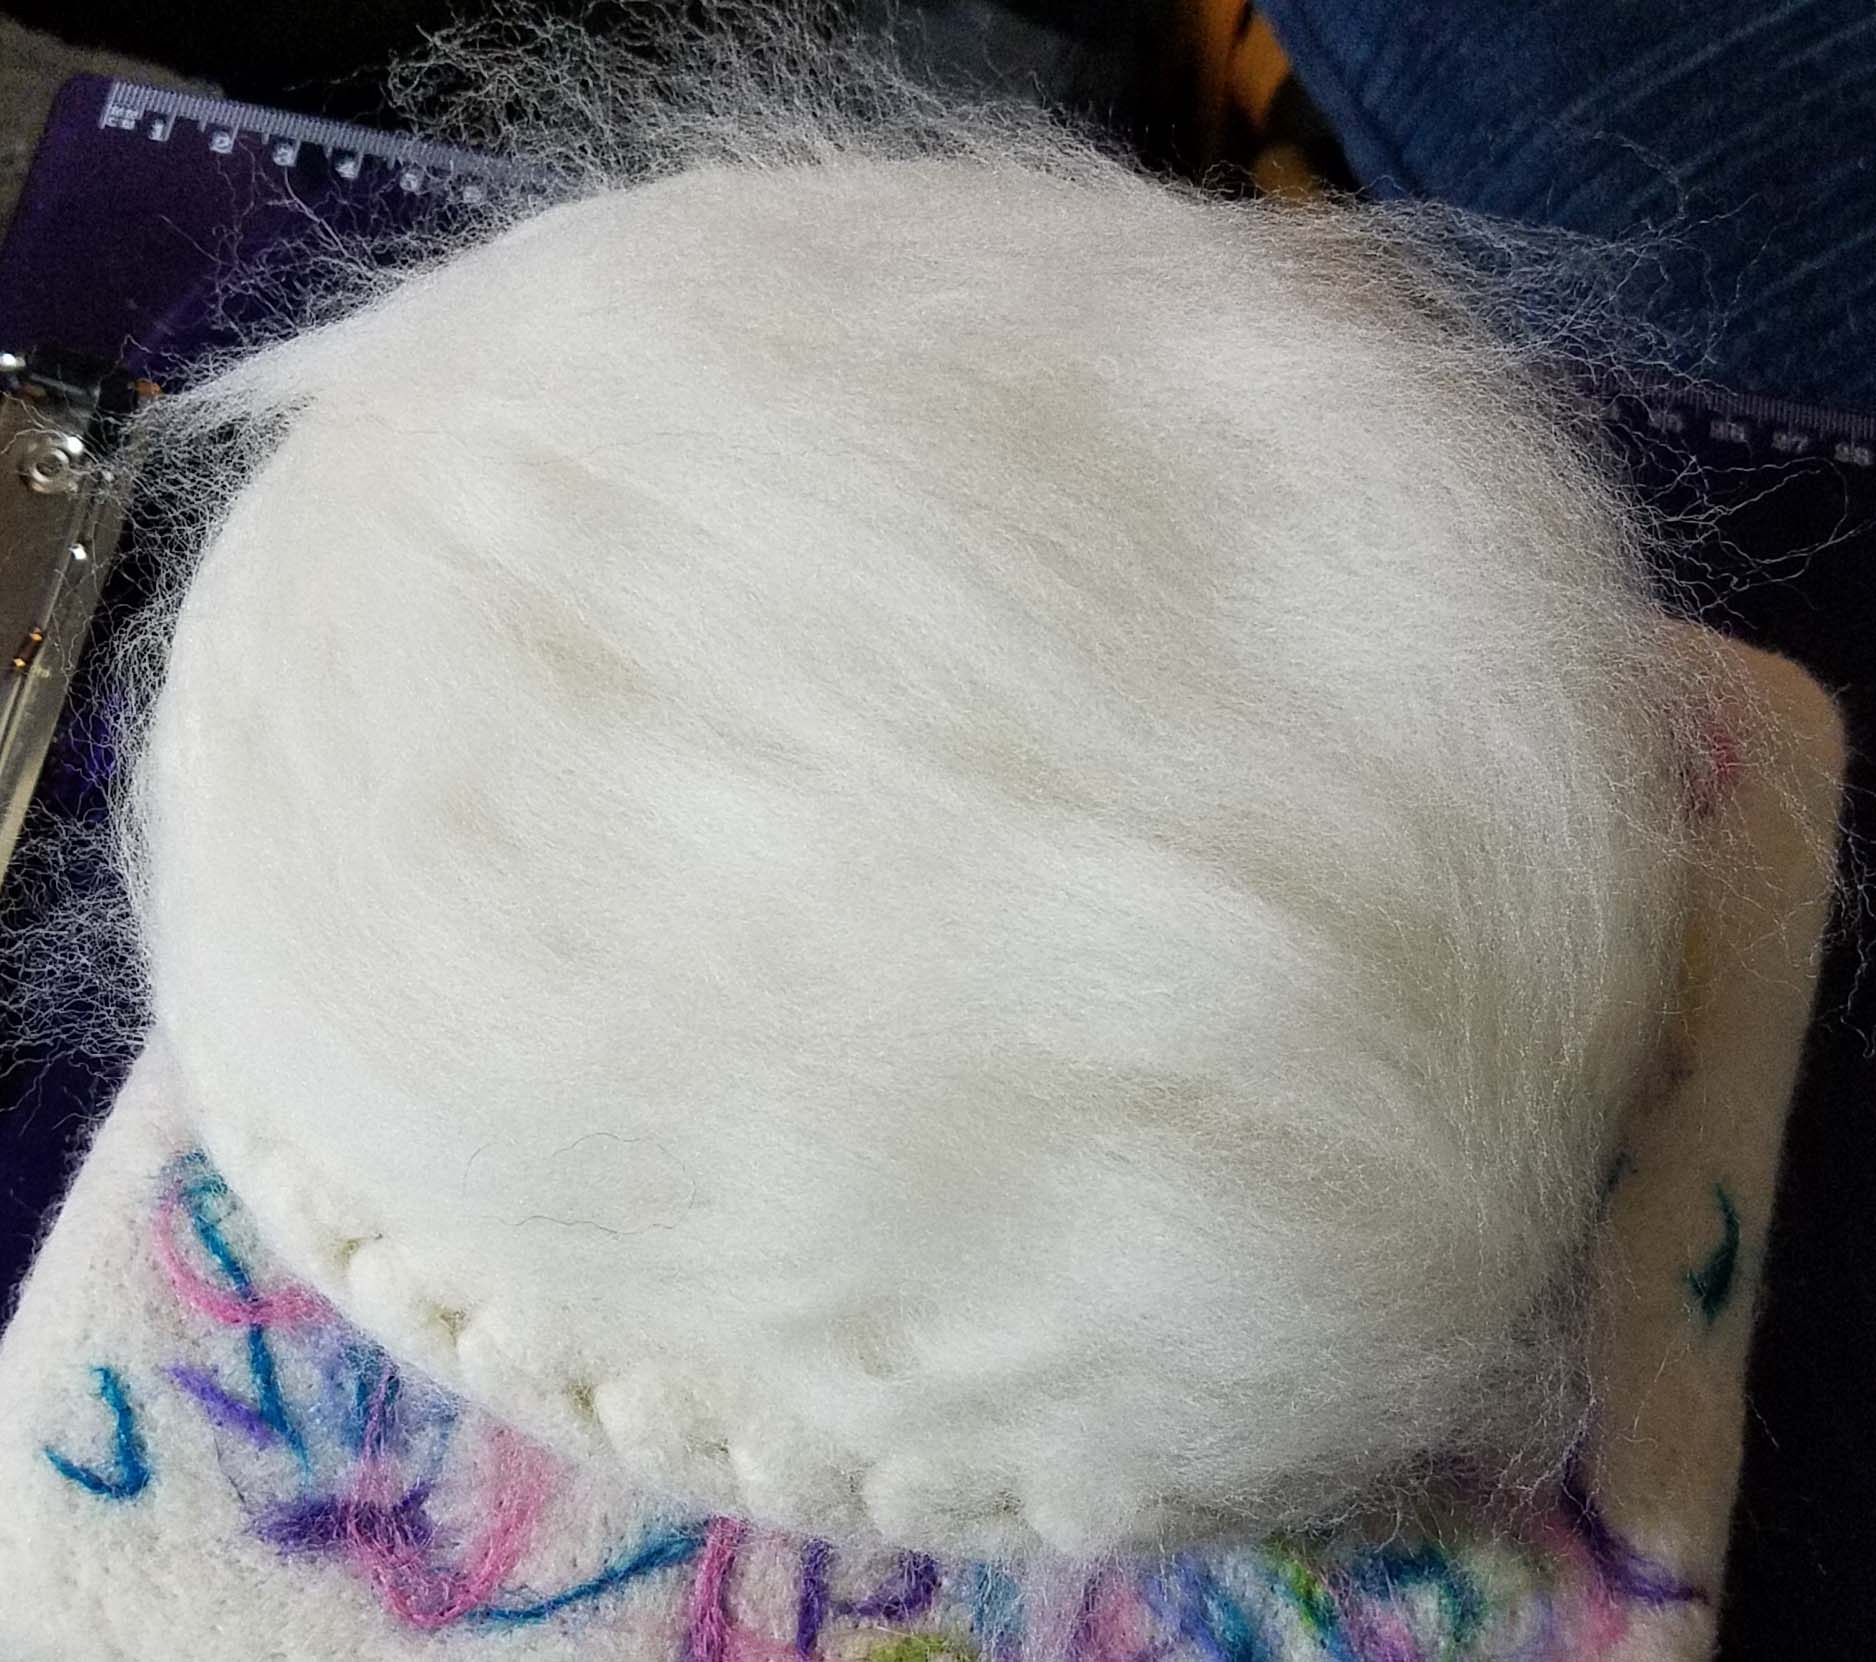
Then I covered the whole side with a layer of fiber and needled it down.

I liked the way the top of the stitches in my original fabric showed and decided to leave them exposed in the finished version of the pad.
This experiment wasn’t really conducted in the true scientific method. I had too many variables and didn’t do a good job of tracking the measurements of my fabric as I felted it. It did work well to use a felted fabric to give me a good starting point when creating a felting pad. It was a lot more work to felt/full the original crocheted fabric than I had anticipated.
I may repeat this experiment again if I can get hold of some more plain pencil roving. I would crochet the fabric much looser and use a different method of “fulling” to get the fabric felted down as densely as possible.
I’m also hoping to create some thick pads of felt using the ArtFelt paper I purchased. I still need a few more felting pads for when I am teaching, that gives me some opportunities to experiment.
