Is it a Rock?

The other day I saw a really cool video on FaceBook of rugs that looked like river rocks. I love river rocks. I have five medium sized ones that sit on top of my woodstove in our living room. They act as heat sinks as well as looking pretty. A heat sink is a solid or liquid filled object that retains heat and slowly releases it as the air around it cools. Occasionally I put one of my river rocks in a thick cotton towel to warm my feet on when the temperatures really drop up here on the mountain.

The rugs in the video were made with felted wool rocks by the artist/designer Martina Schuhmann from Vienna, Austria  (you can see the video on YouTube here). I was very intrigued since I’ve been playing with needle-felting so much. I decided to find out as much as I could about felting wool rocks or “stones”.  I first went to the artist’s Etsy shop to see if there was more information. You can check her shop out at: FlussDesign

In the video there is a close-up of one of her rocks being squeezed and it bounced right back.  That made me wonder how she was felting her rocks, were they solid wool or was there something else? Looking at Martina’s shop got me part of the answer. She stated that her rocks were made with a foam core.

I had the video on my facebook page and stated that I was wondering how she felted her rocks. My friend Angela sent me a link to a video on YouTube where they were felting around actual rocks. That got me wandering around YouTube looking at a variety of felted rock and other wet felting videos. I decided it was time to try felting my own wool river rock.

I dug out this piece of 1 inch thick foam that I had leftover from another project. It was a little dusty, so I gave it a good wash and hung it up to dry overnight. You can see in the photo above where it was clipped to my drying line. It wasn’t a very pretty piece of foam, but it was going to be enclosed in wool anyway. I drew an ovoid shape for my rock.

Once I had cut out the foam rock I trimmed up the edges to soften them. I figured wrapping the wool fibers and felting them around it would likely soften any hard edges, but I wanted to make this first rock as easy as possible.

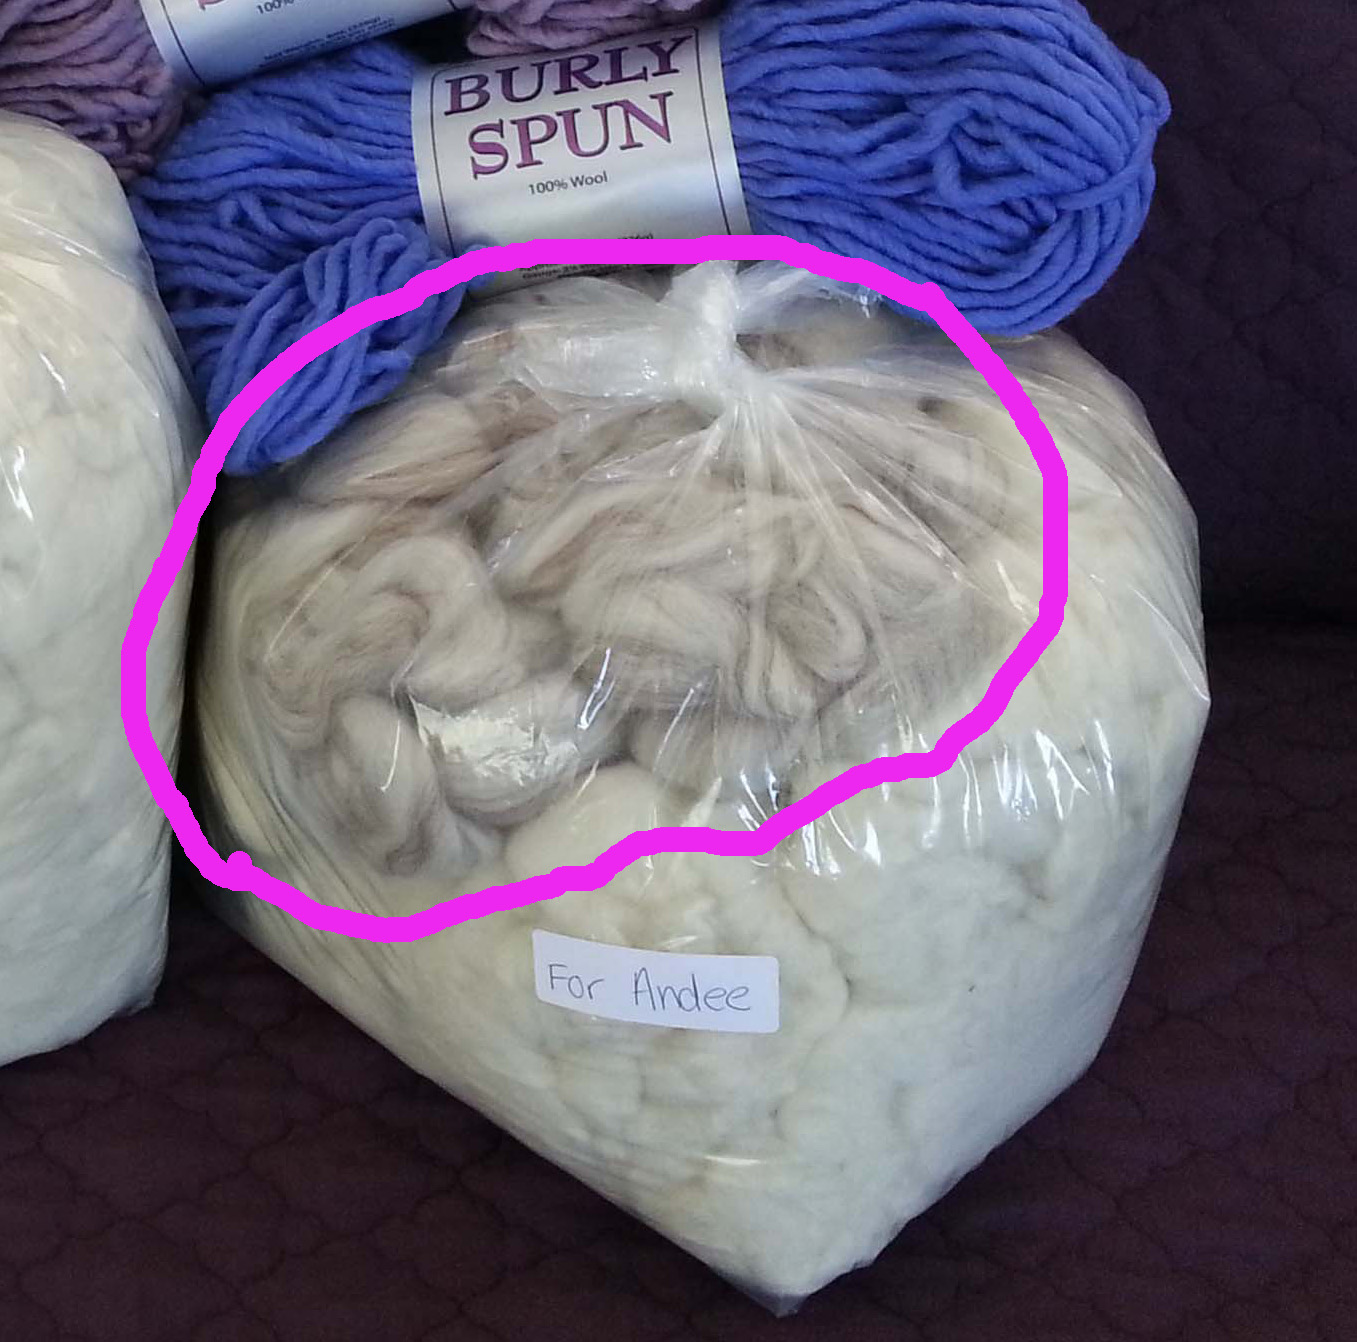
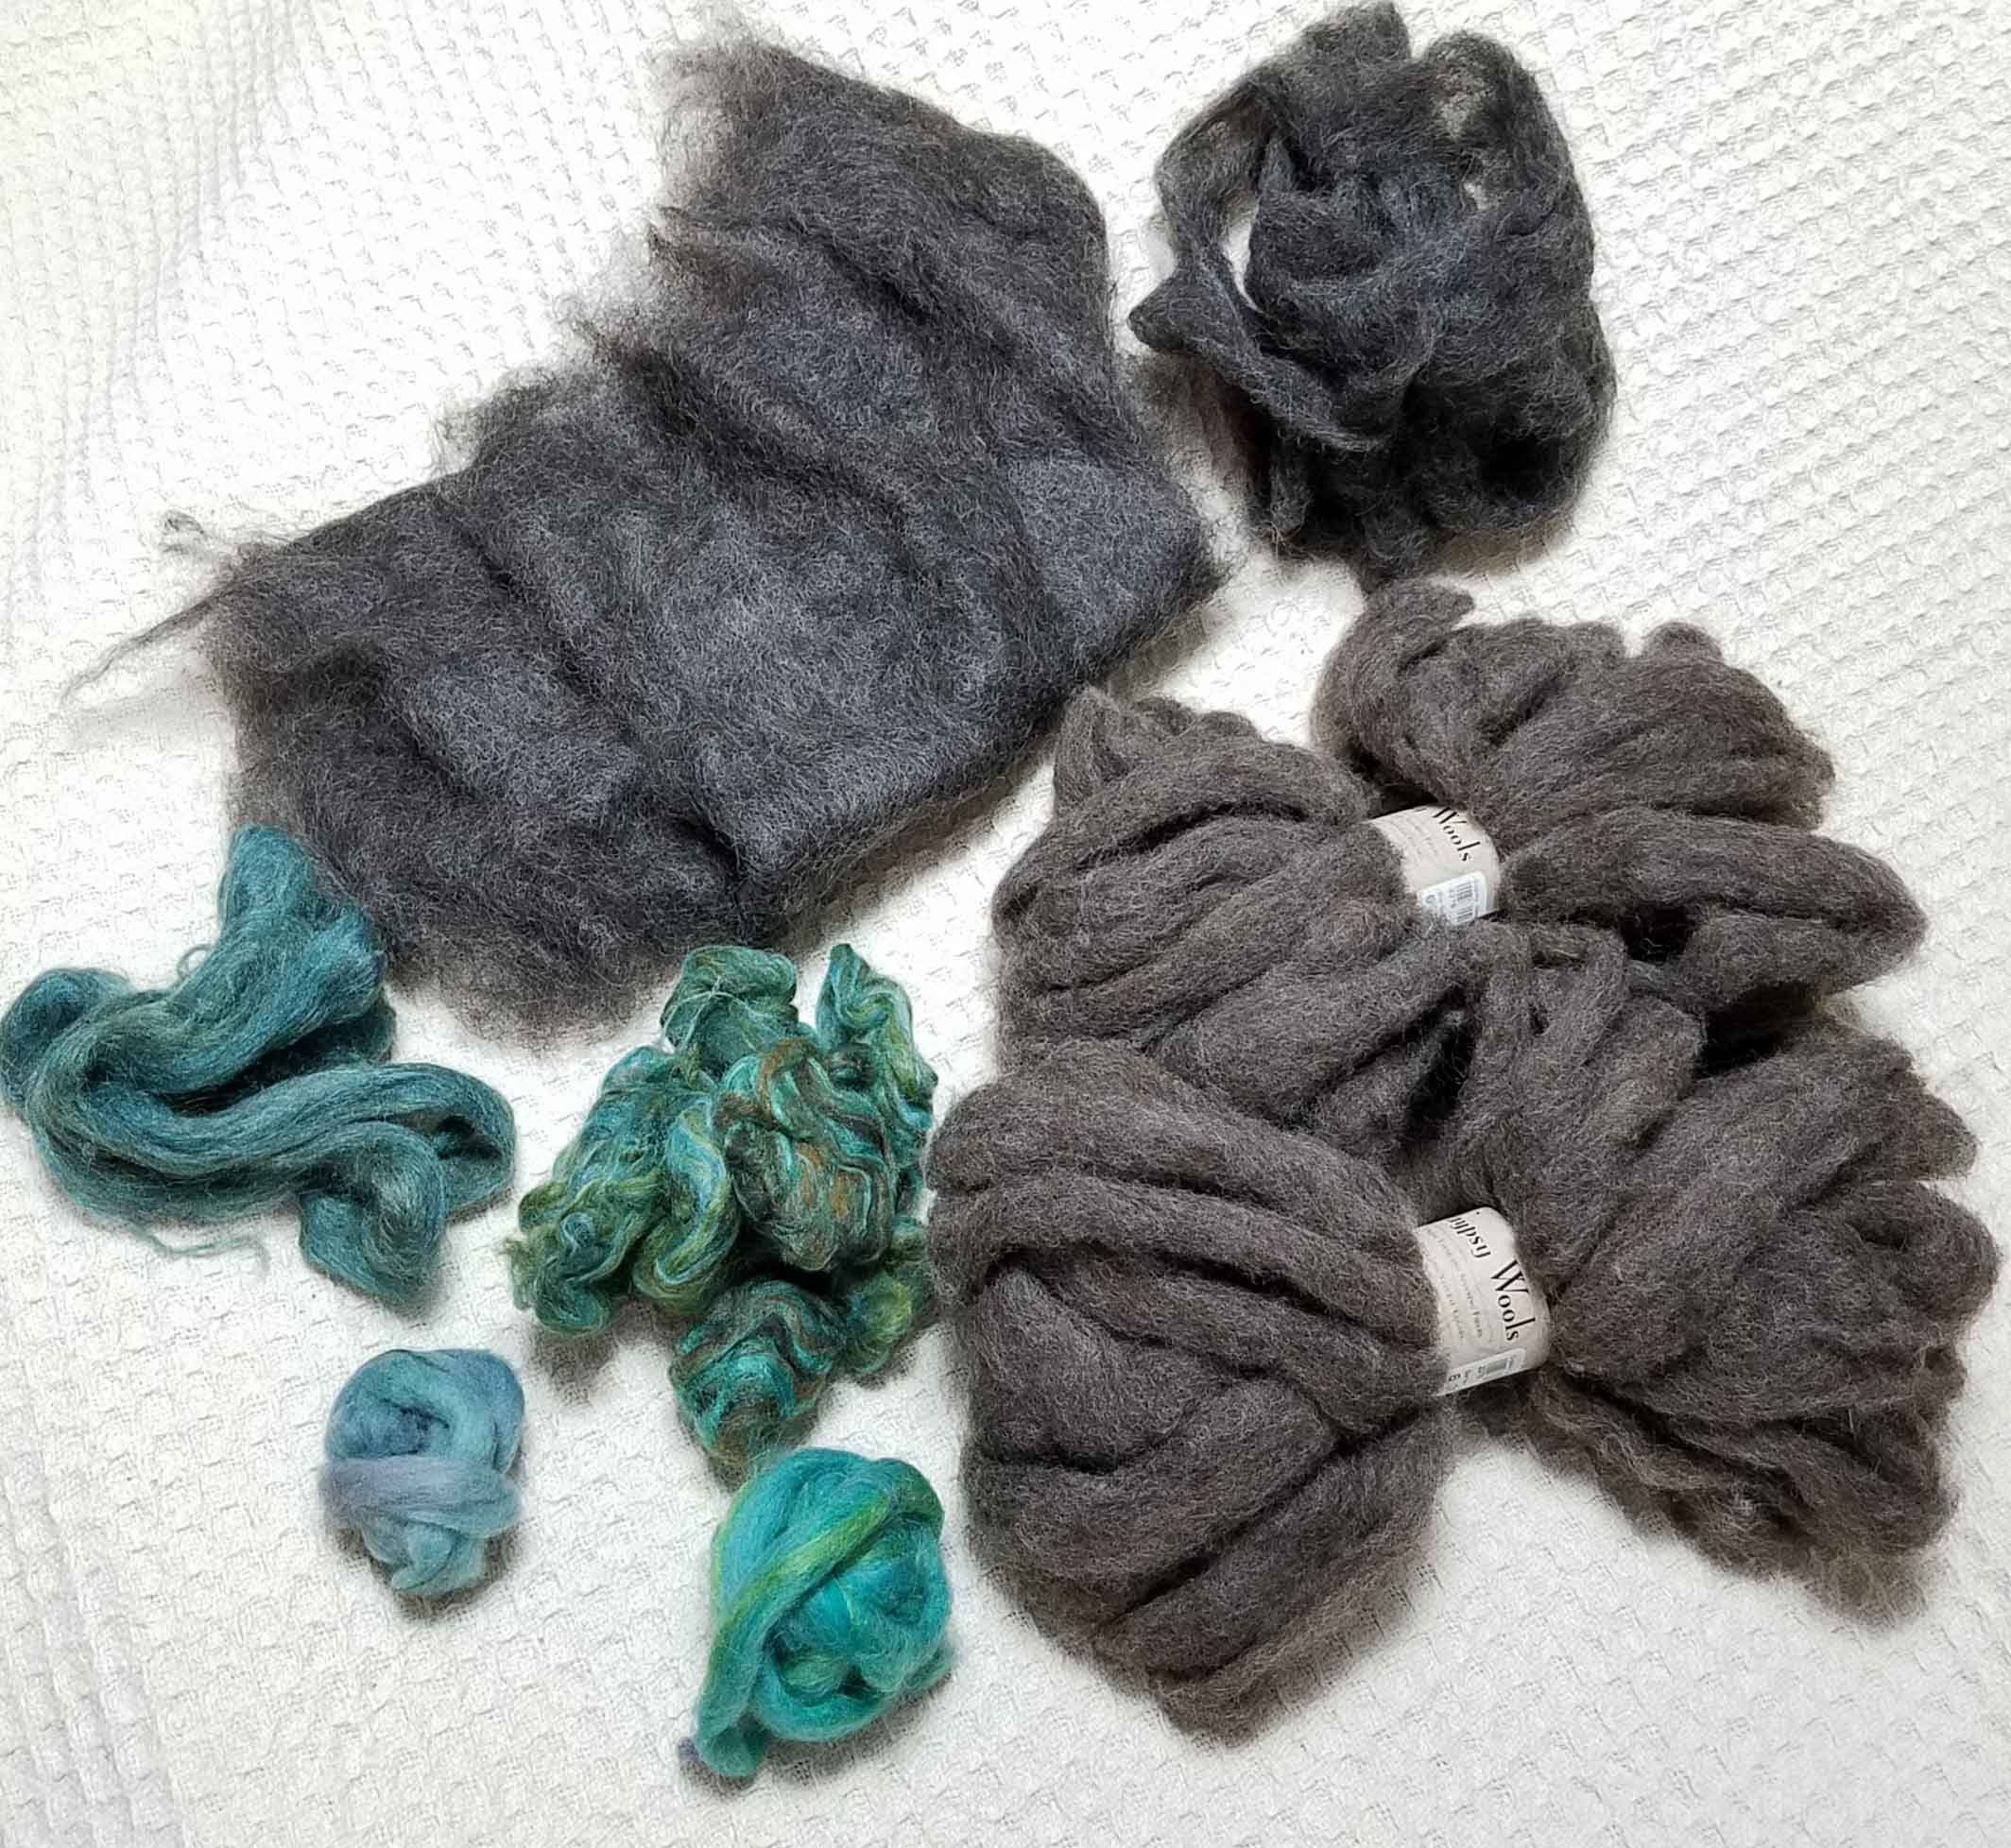
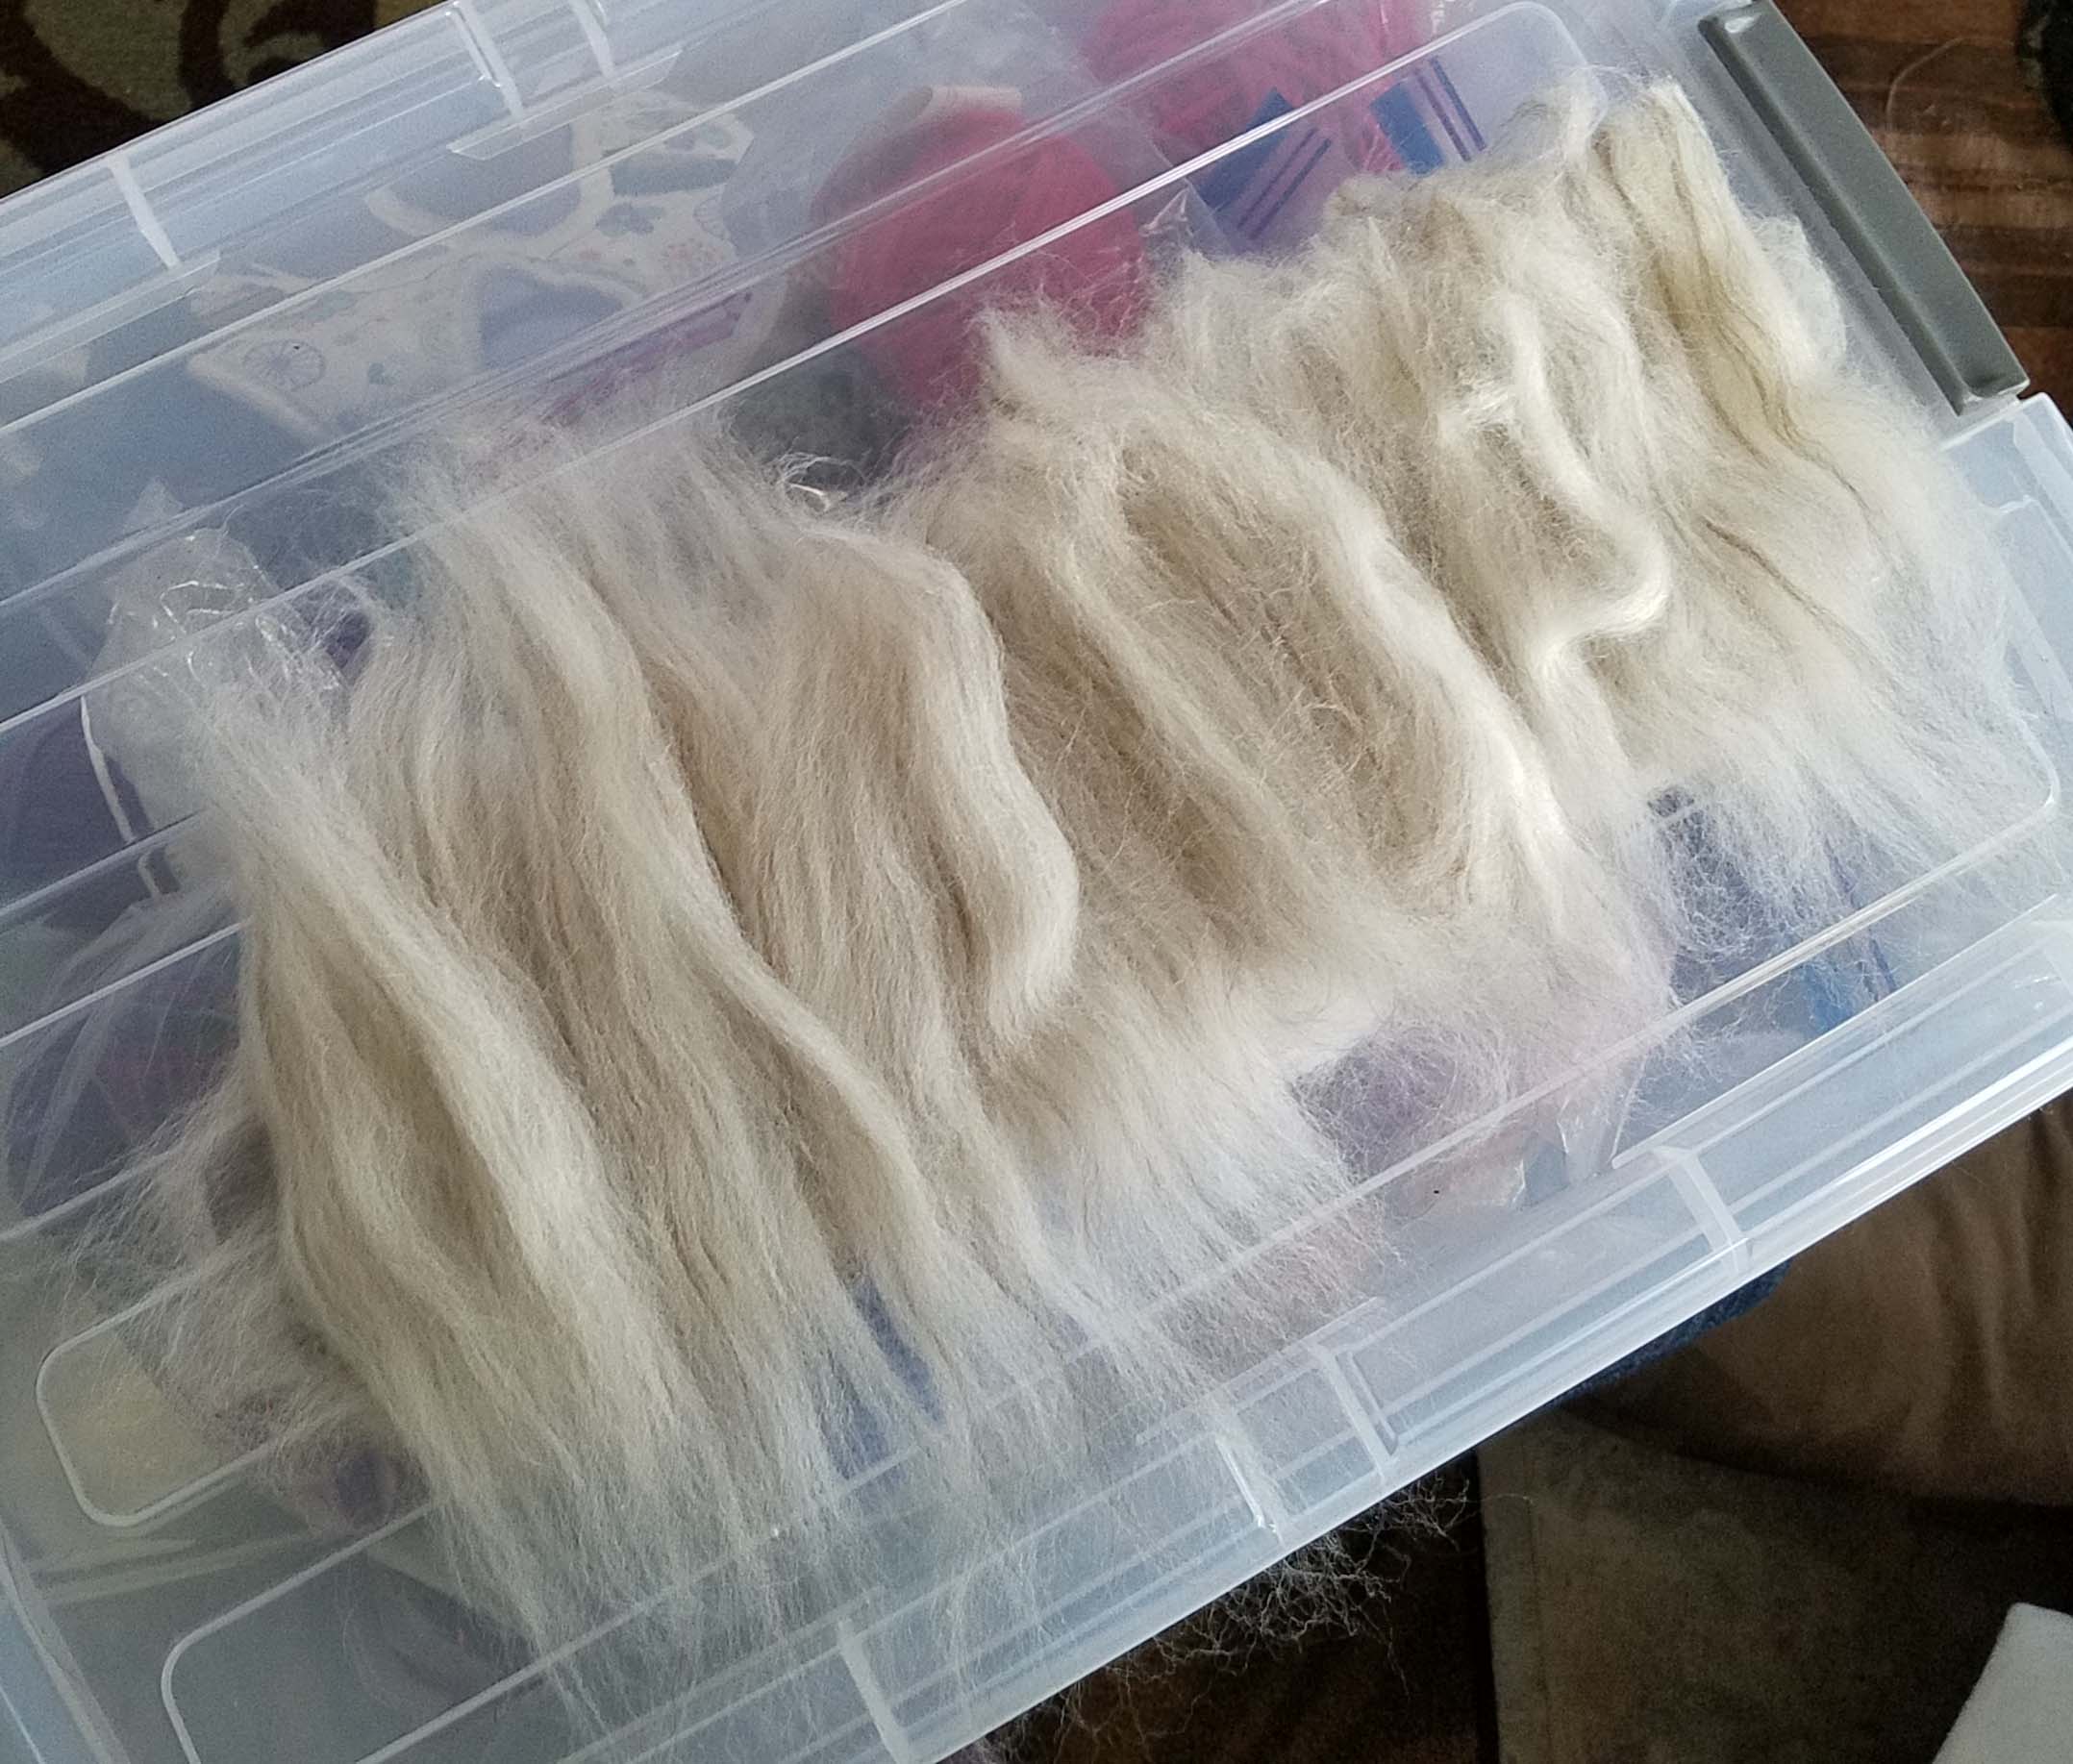
Remember when I purchased that wool fiber from the Brown Sheep Company at the Loveland Yarn Fest last April? There was some interesting striped fiber in one of the bags. I had taken it out and placed it aside in another bag because I knew it would be great for a “special” project someday. It’s day had come, I thought it would be ideal for giving some “rock” texture to my felted faux river rock.

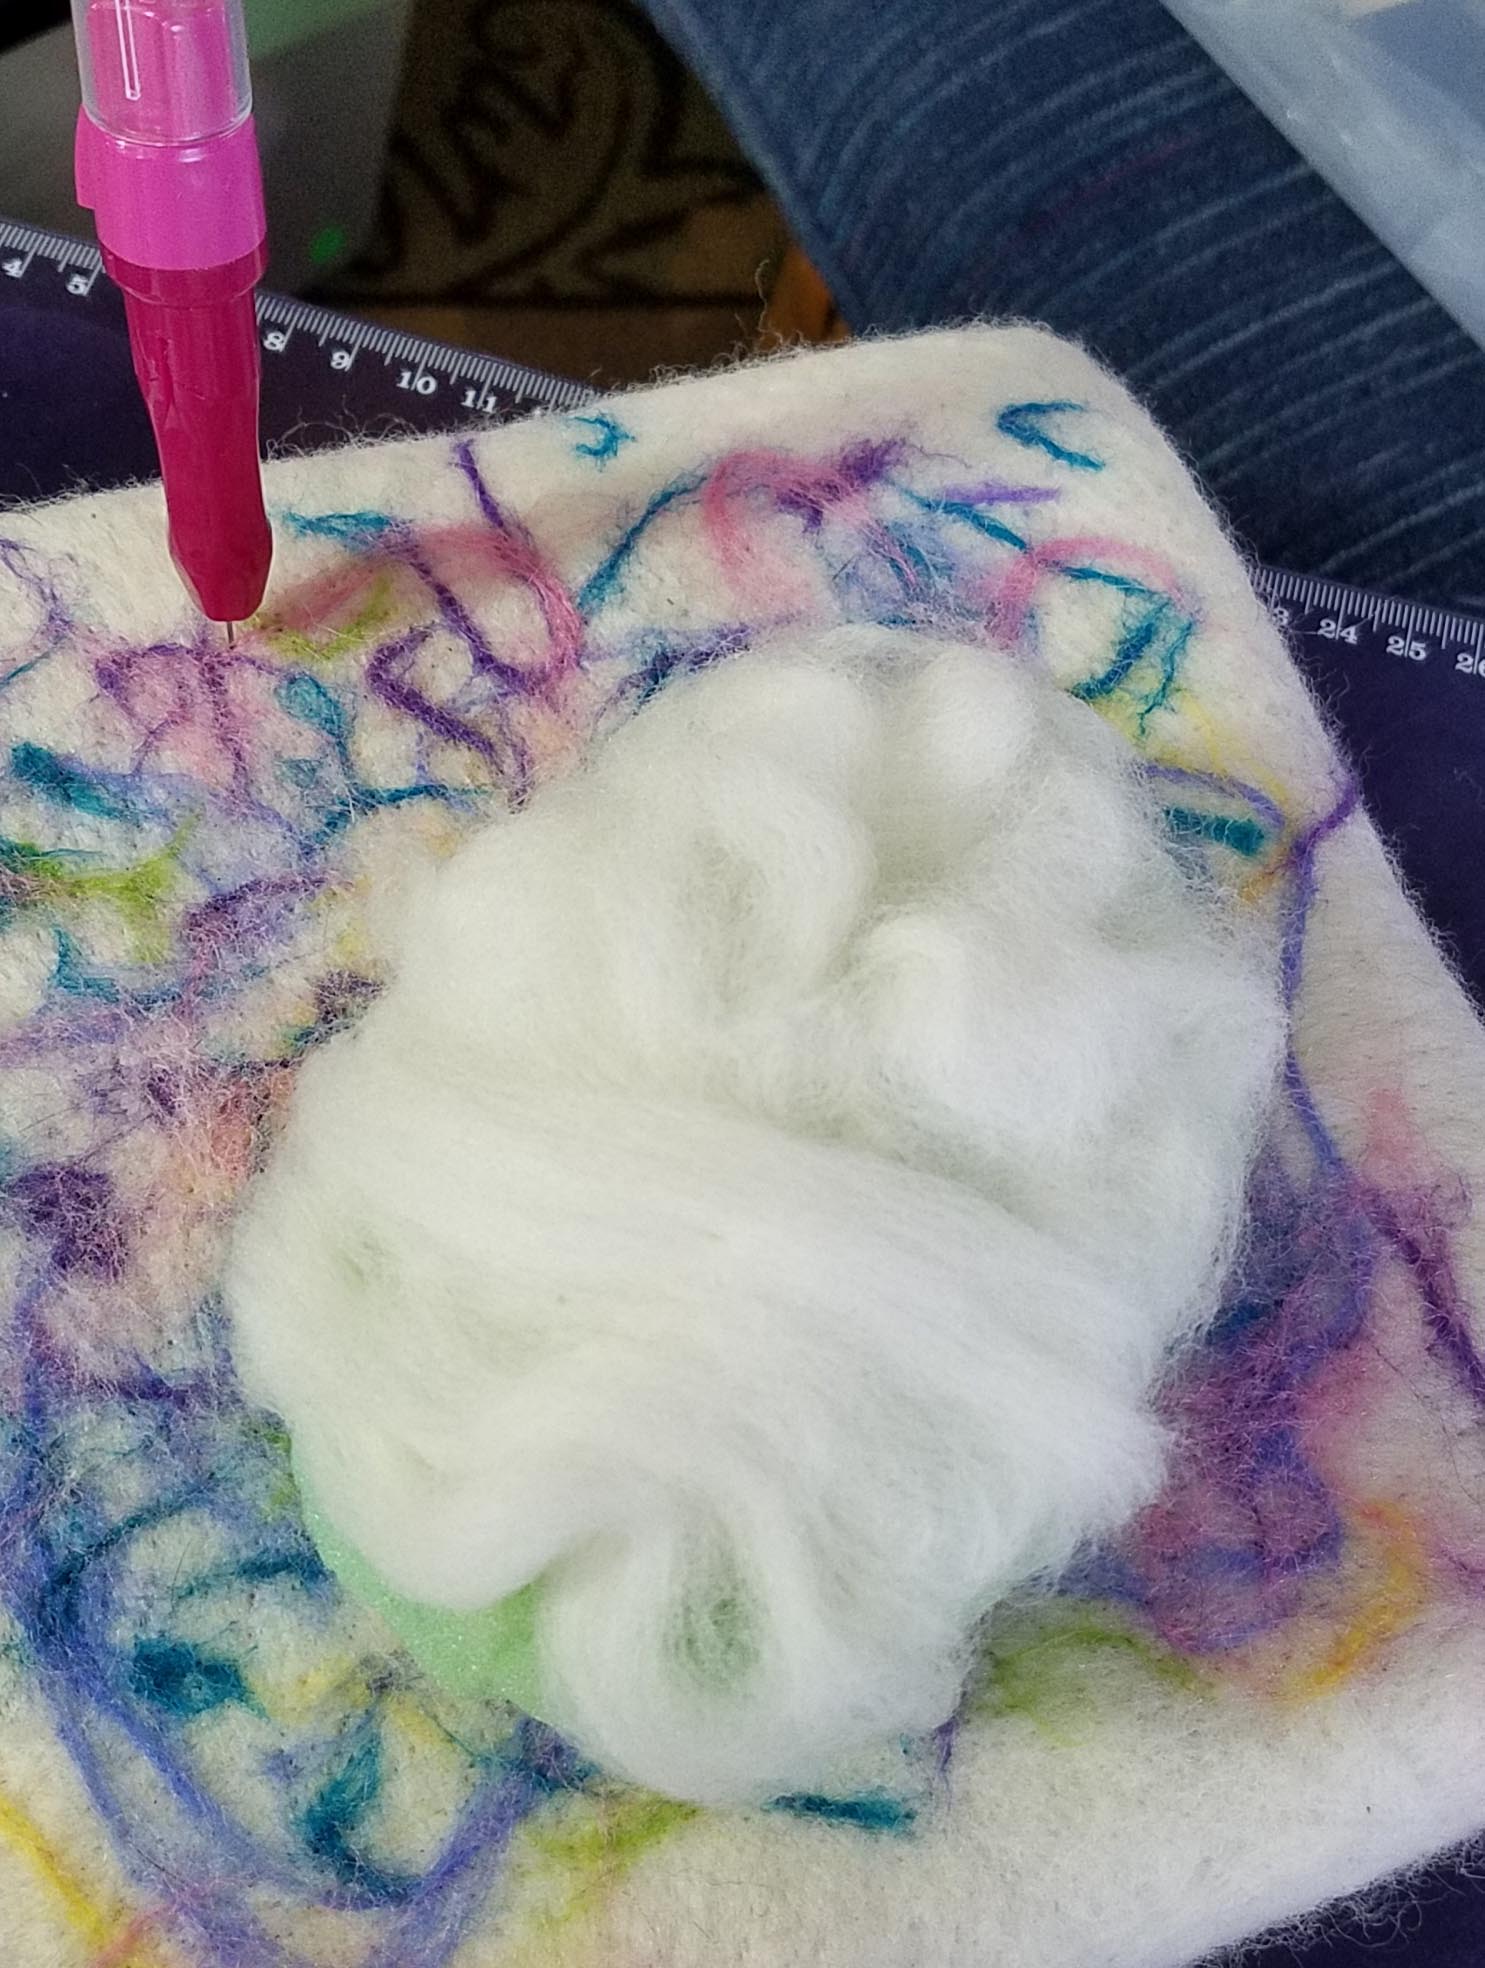
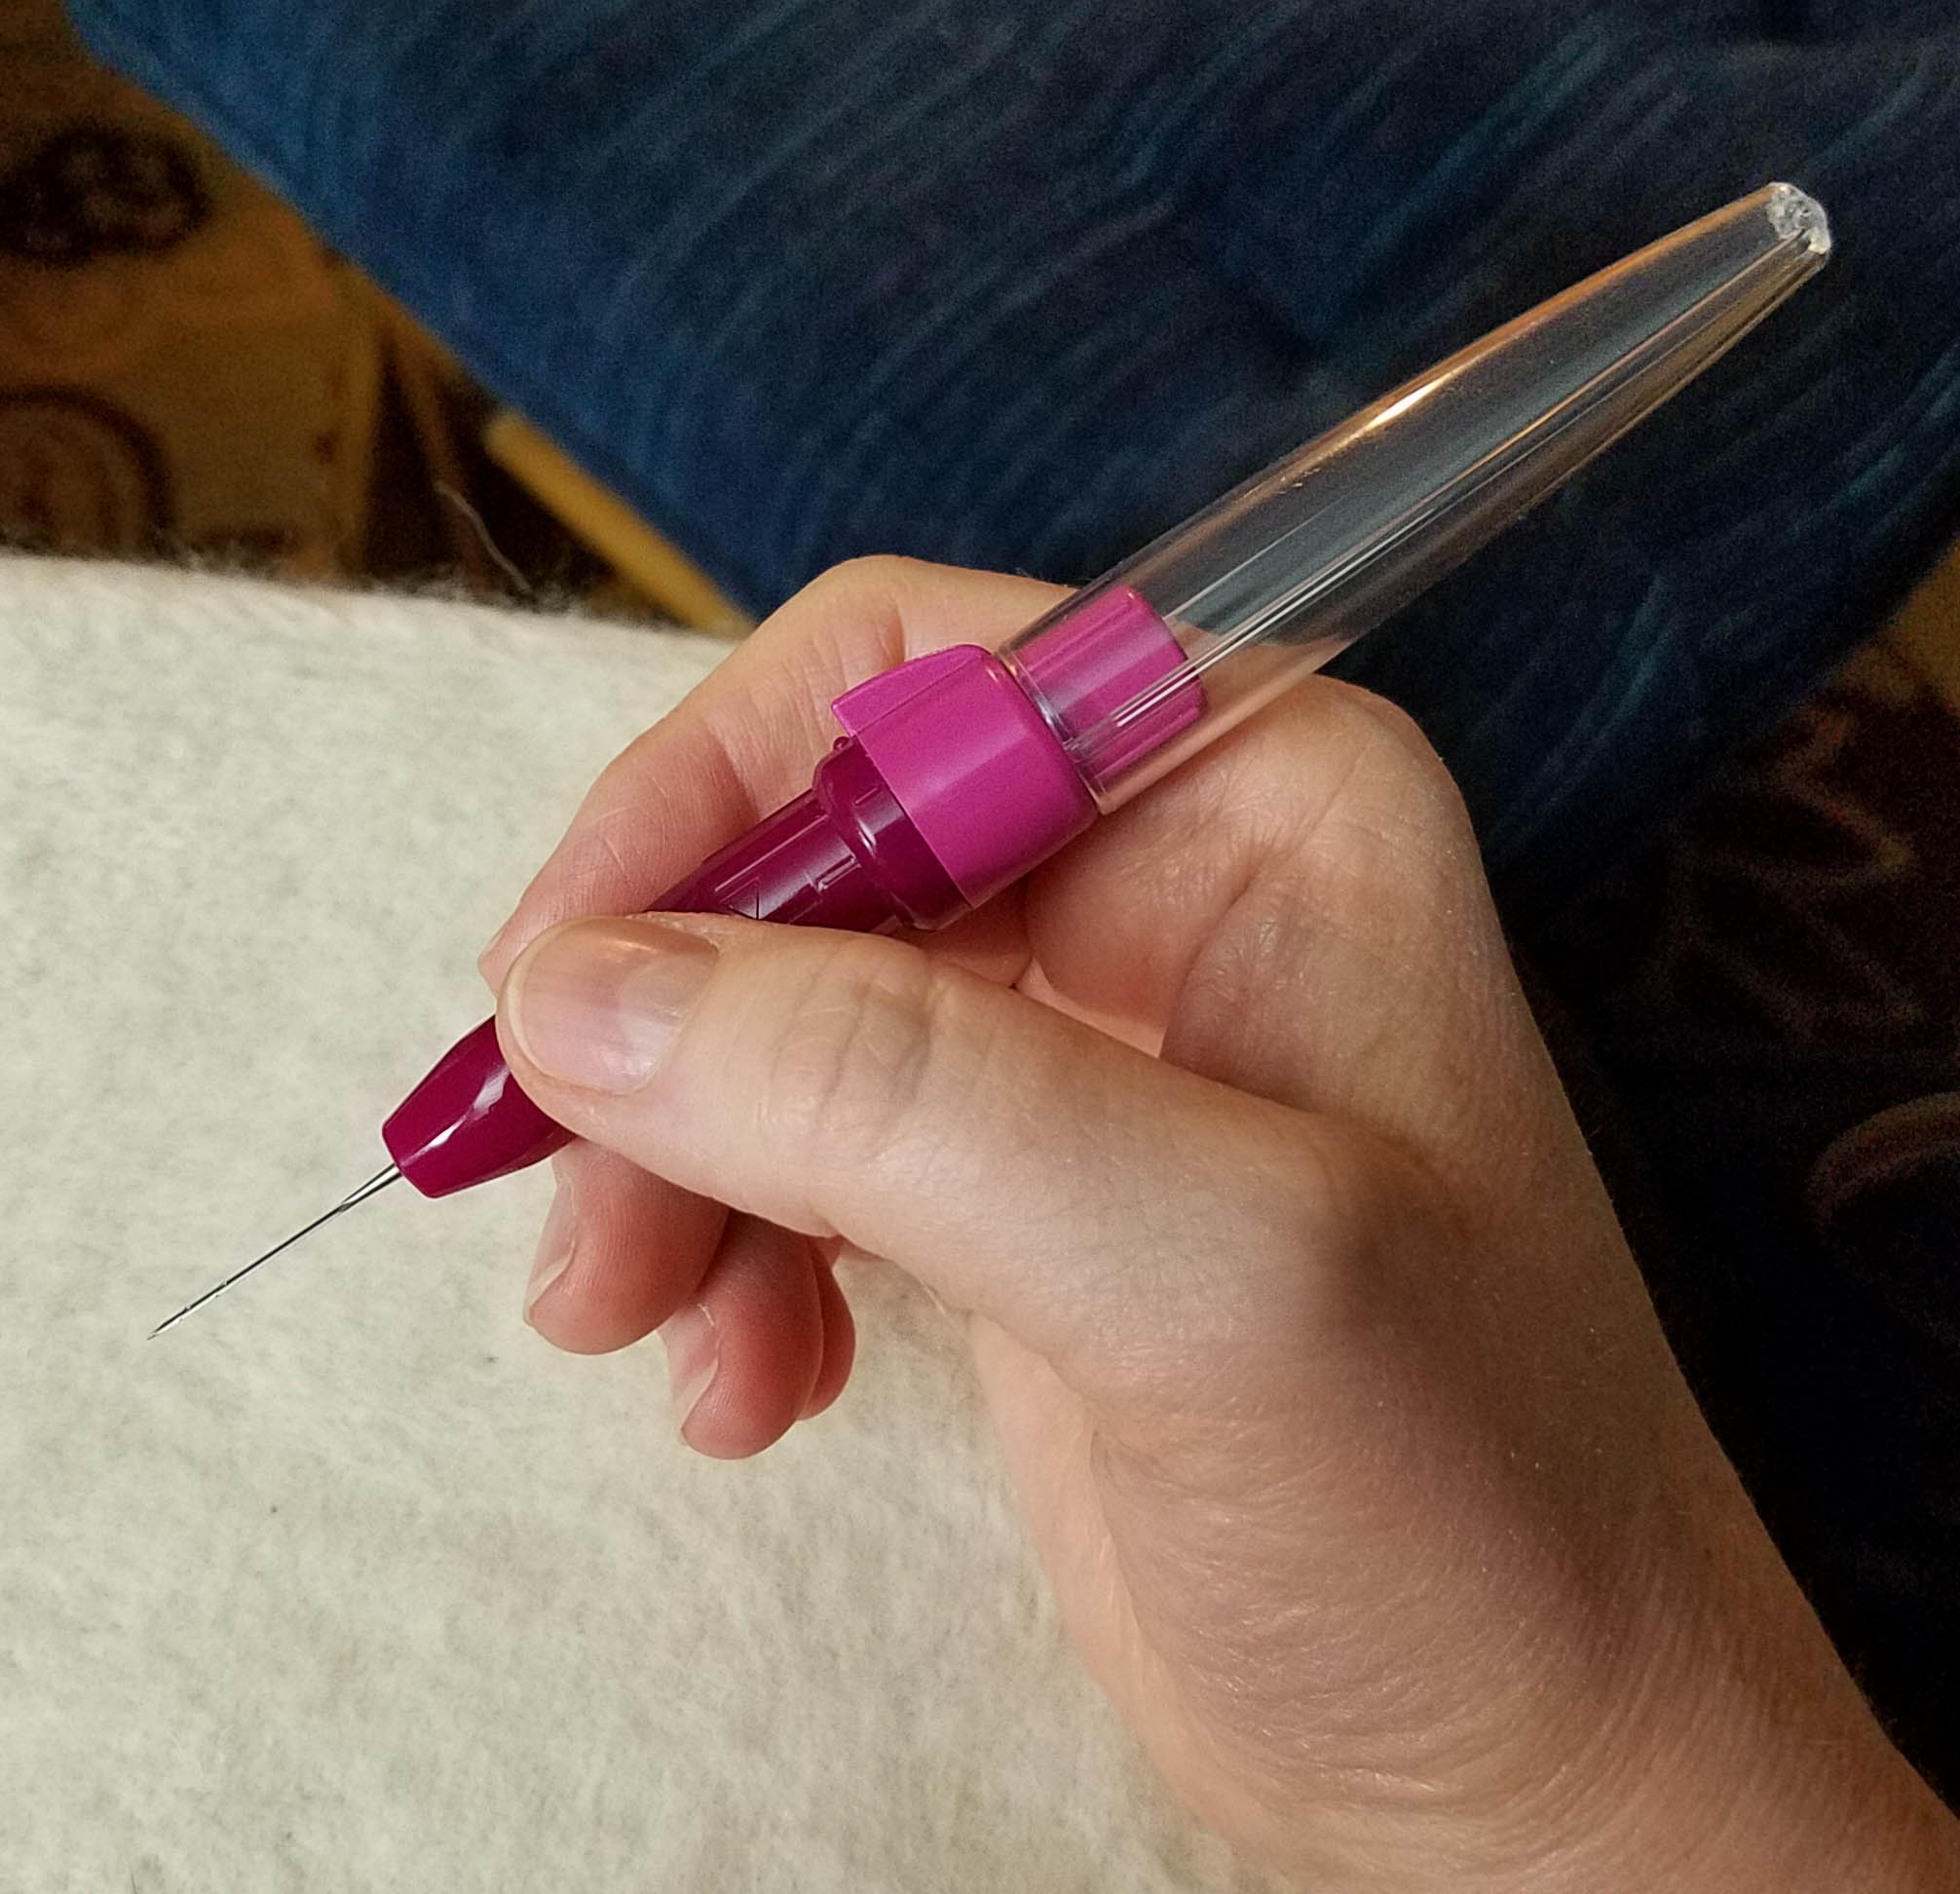
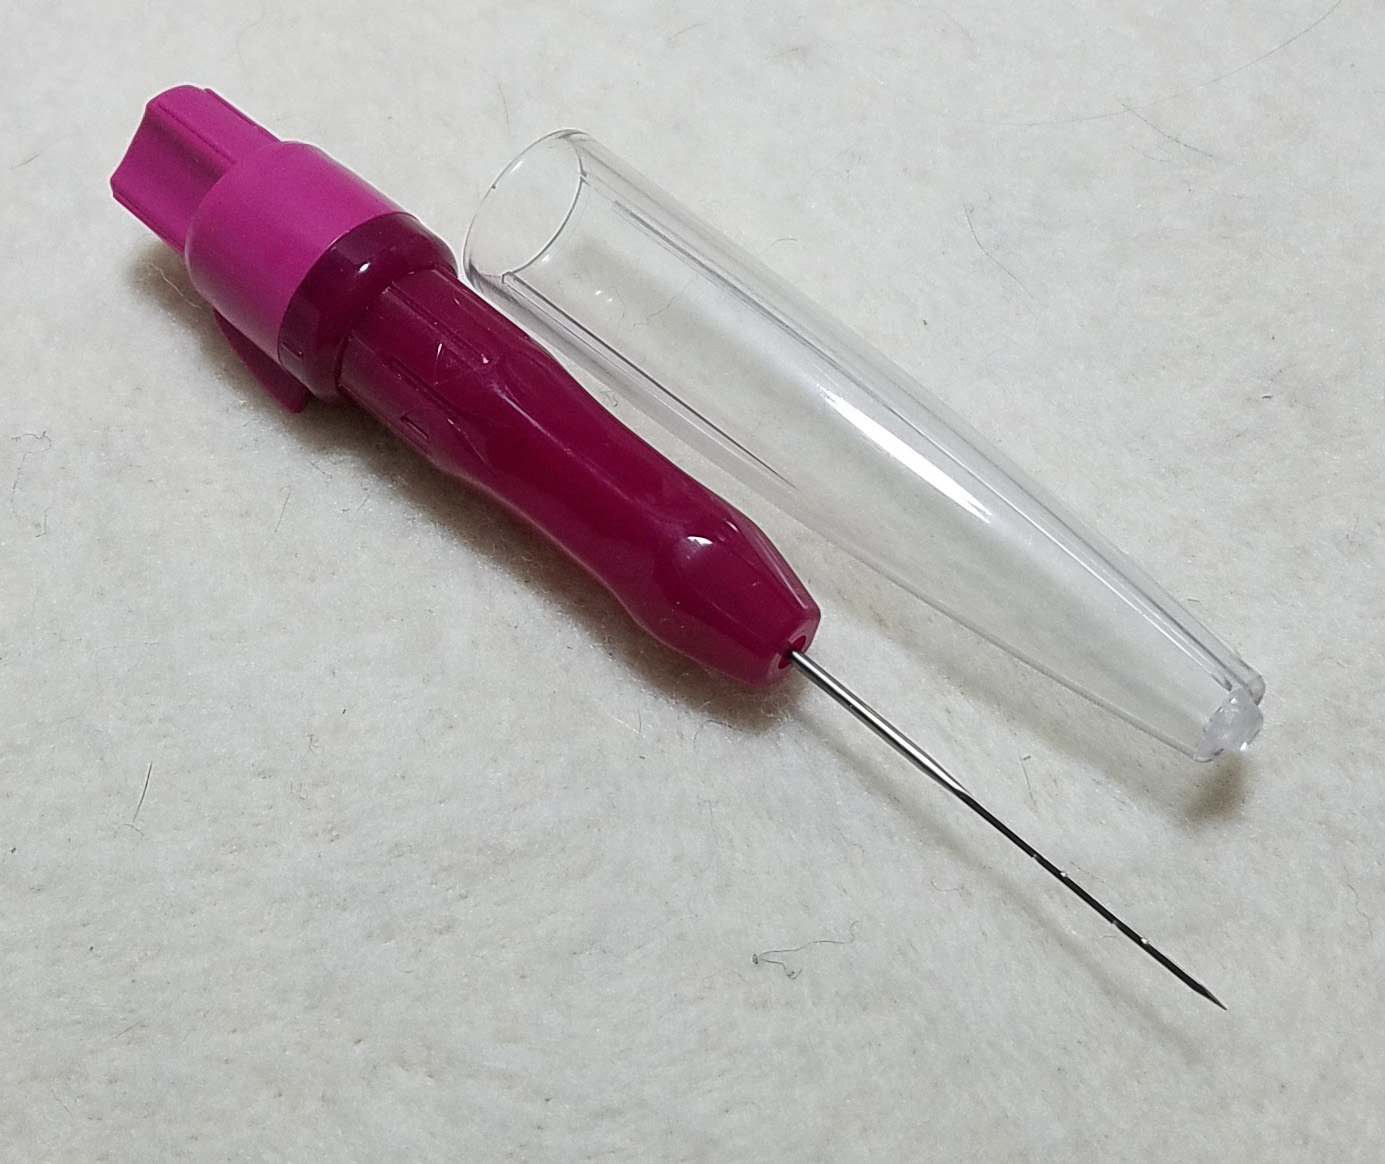
Before I started with that fiber though, I wanted to add a bit of my plain wool to the flat sides of my foam rock. Of course, my handy felting needle came out for this part of the project. I used the felting needle to tack the wool to the foam, just enough that it wouldn’t come loose.

I then did the same to the opposite side of my foam shape.

Now I had a little wool and foam sandwich to wrap with my special fiber. I set that aside for the moment.

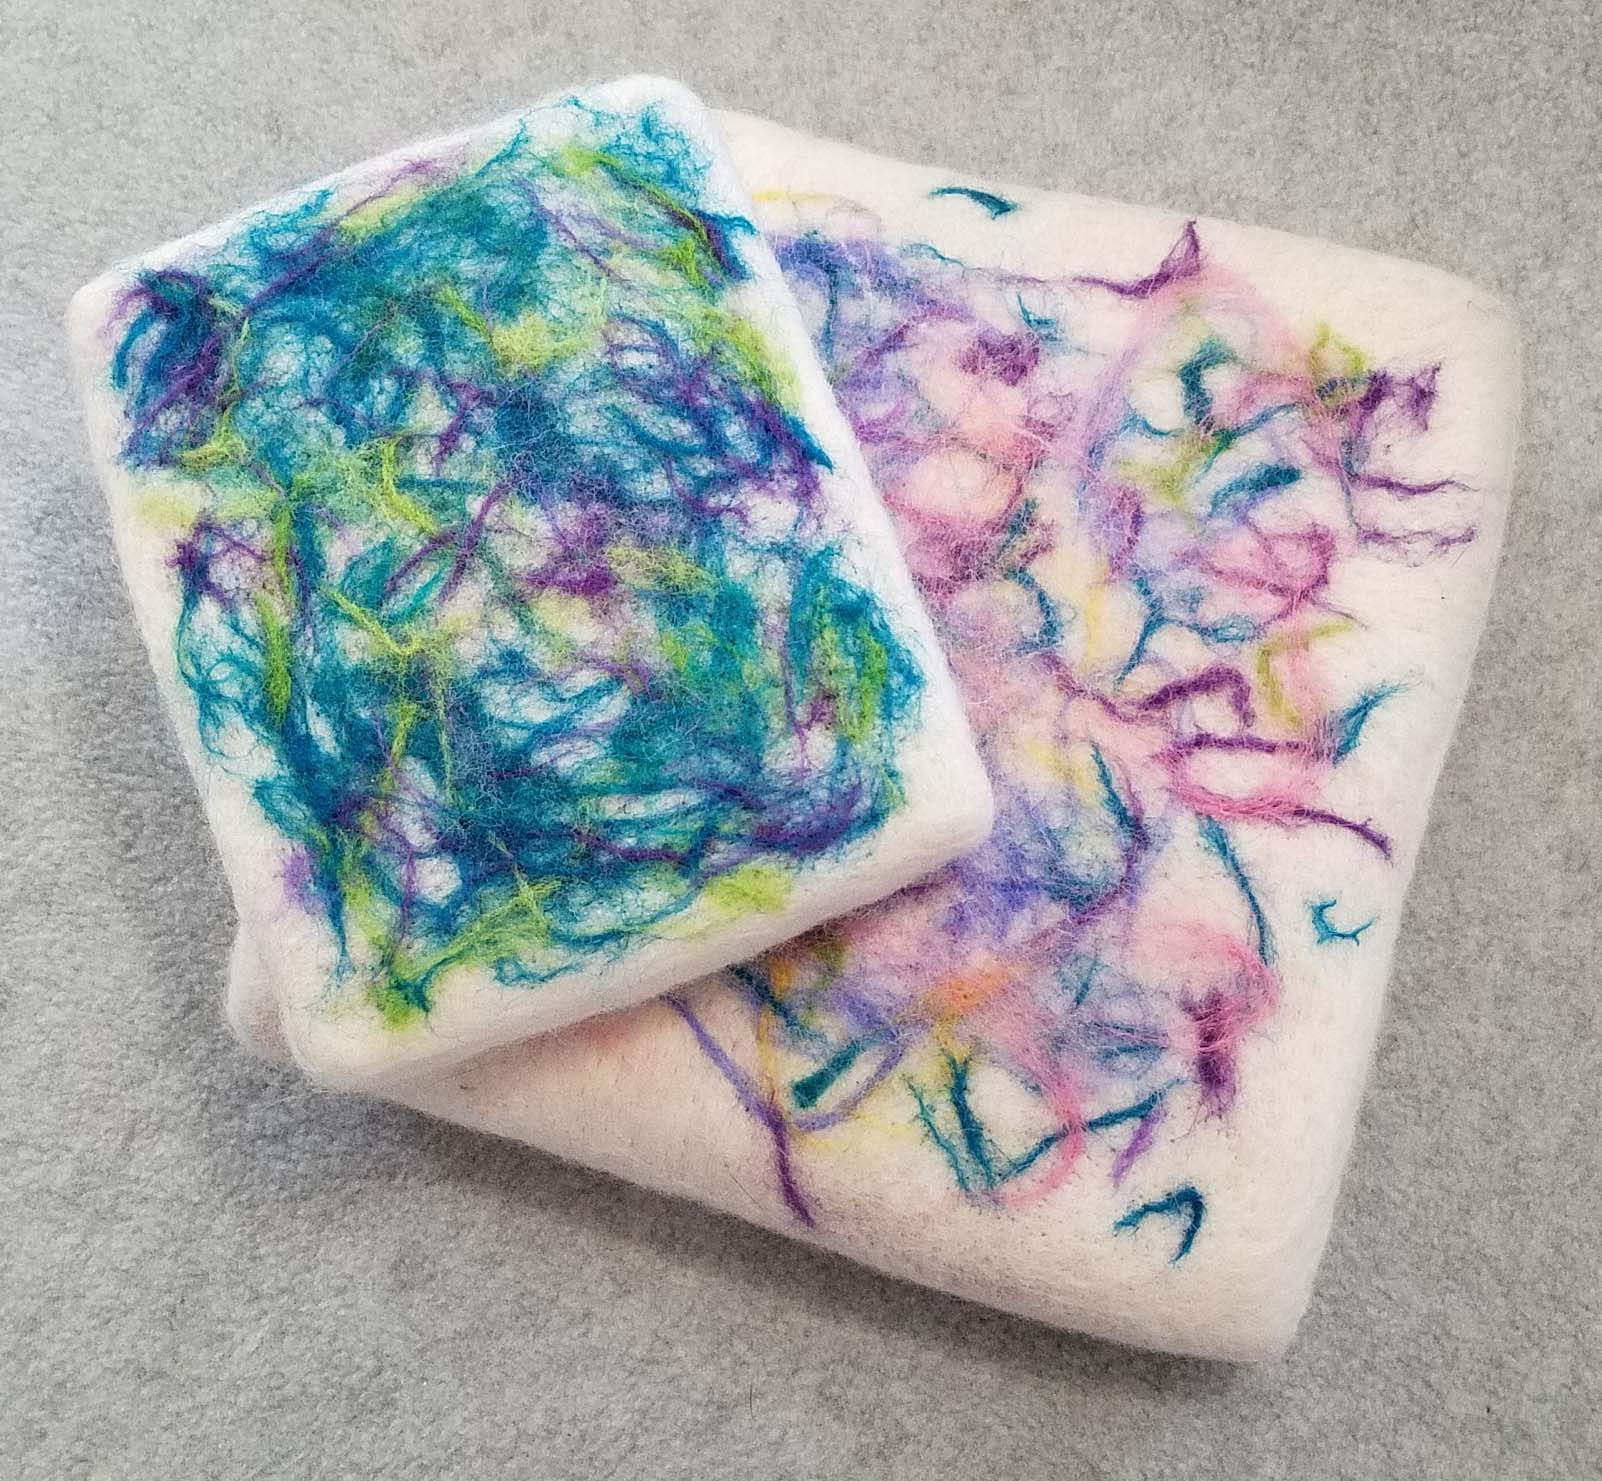
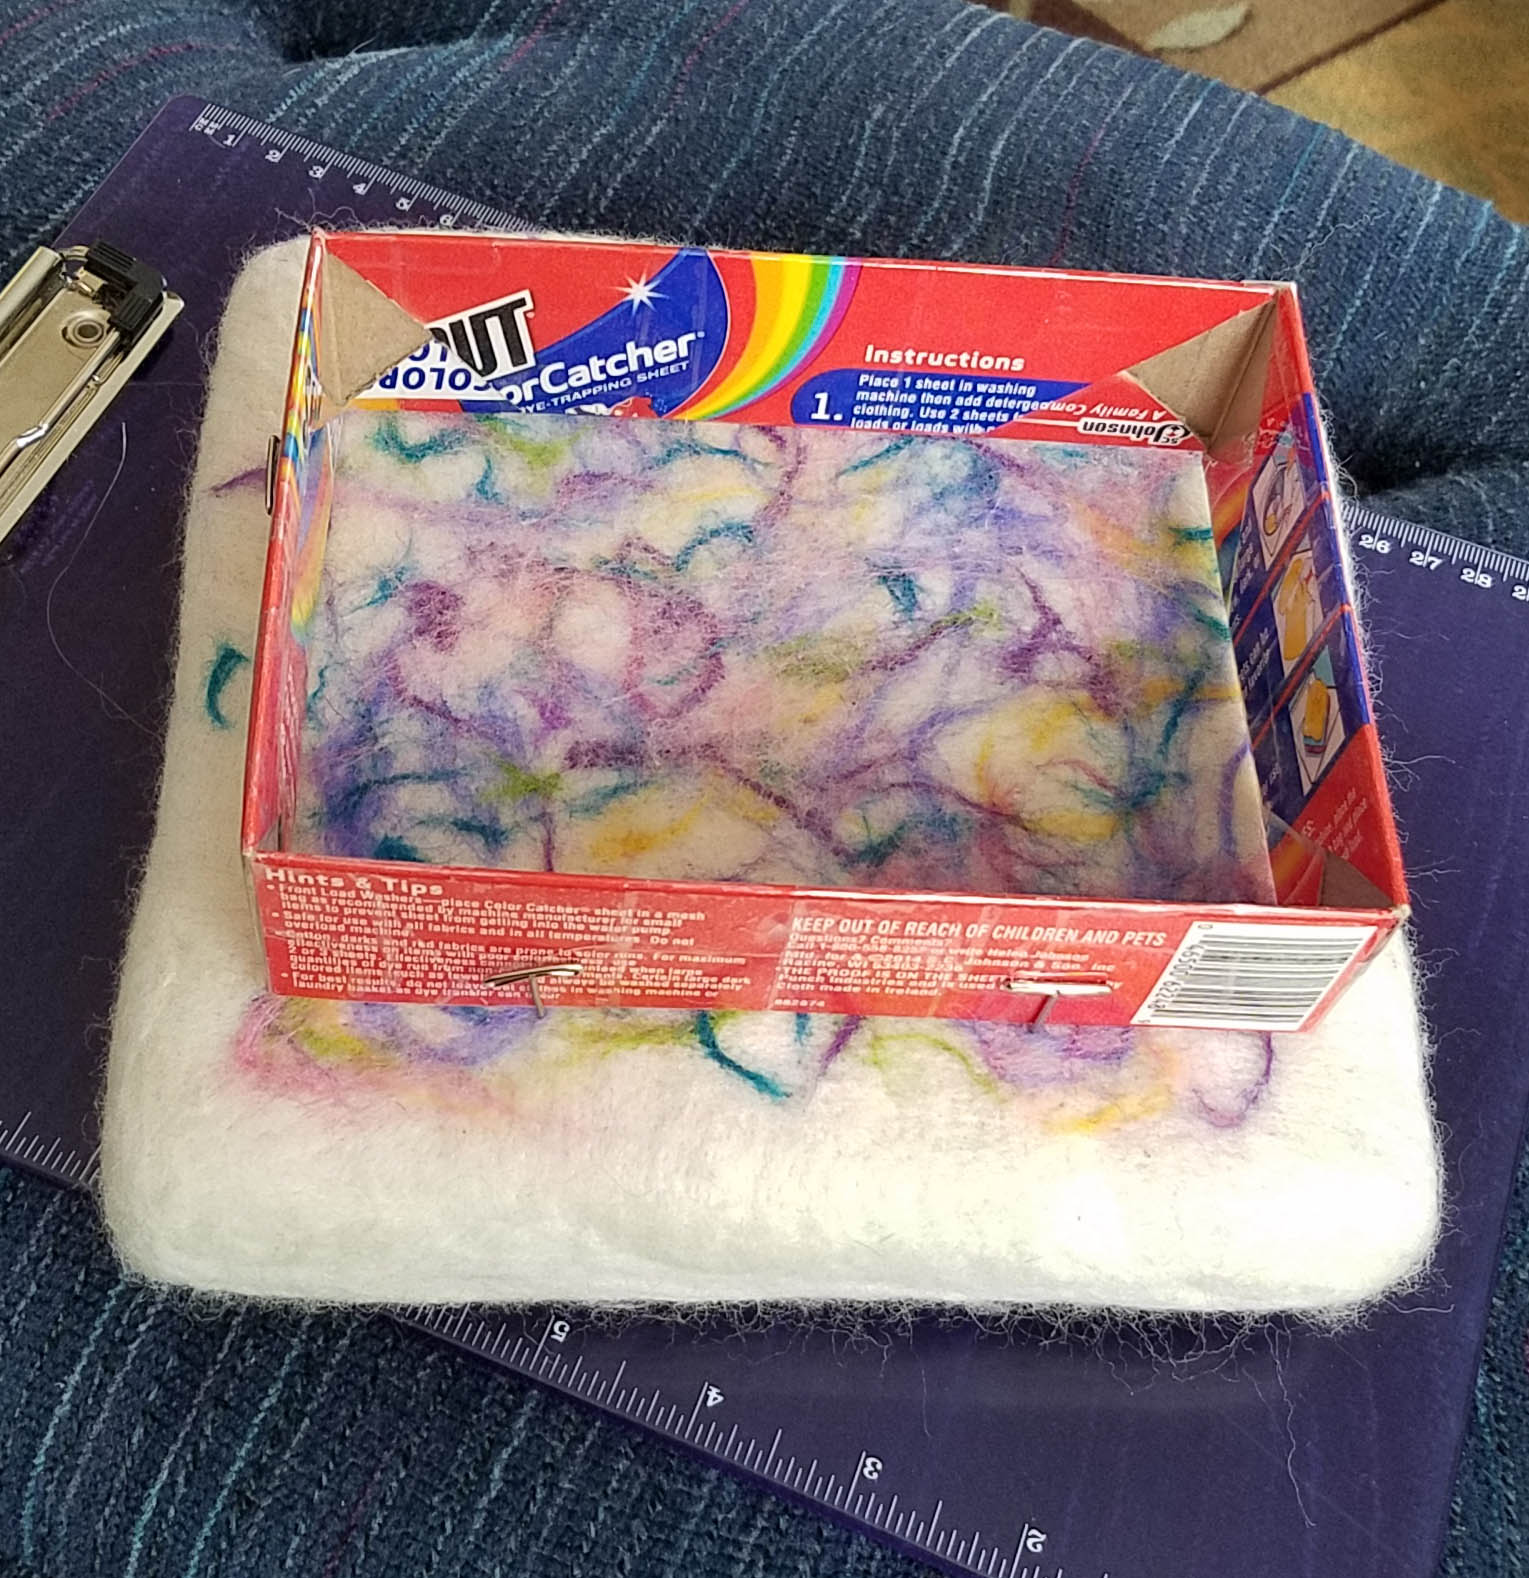
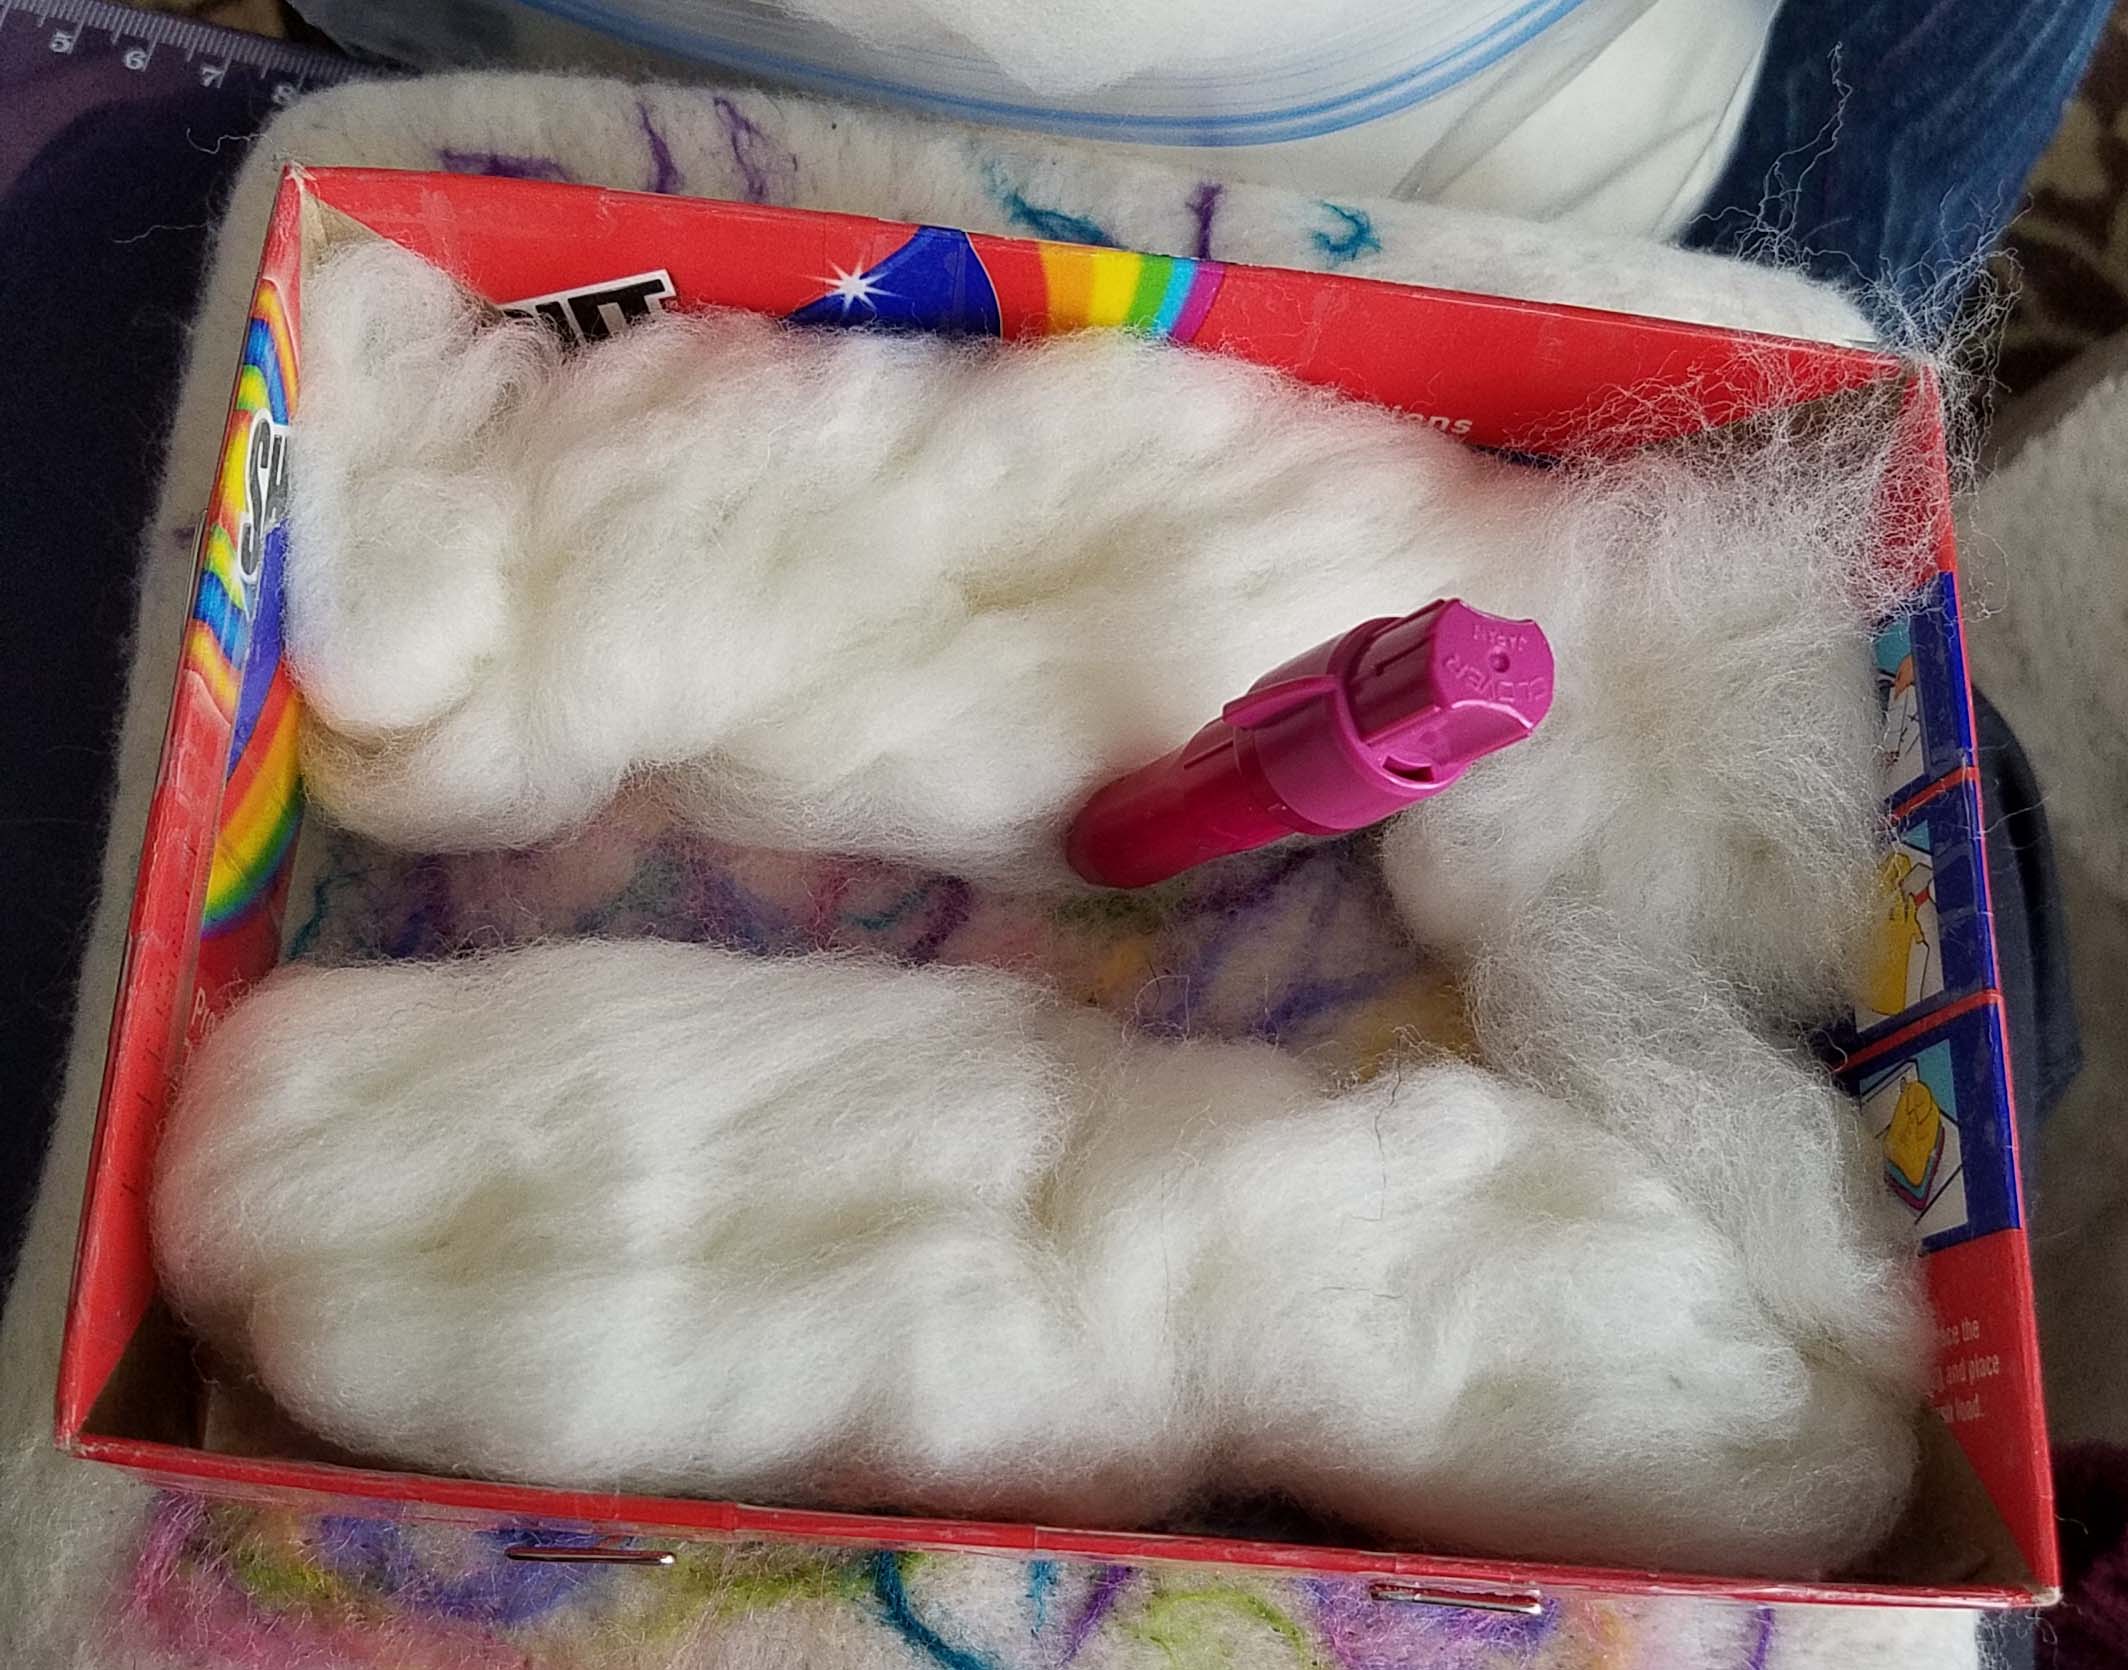
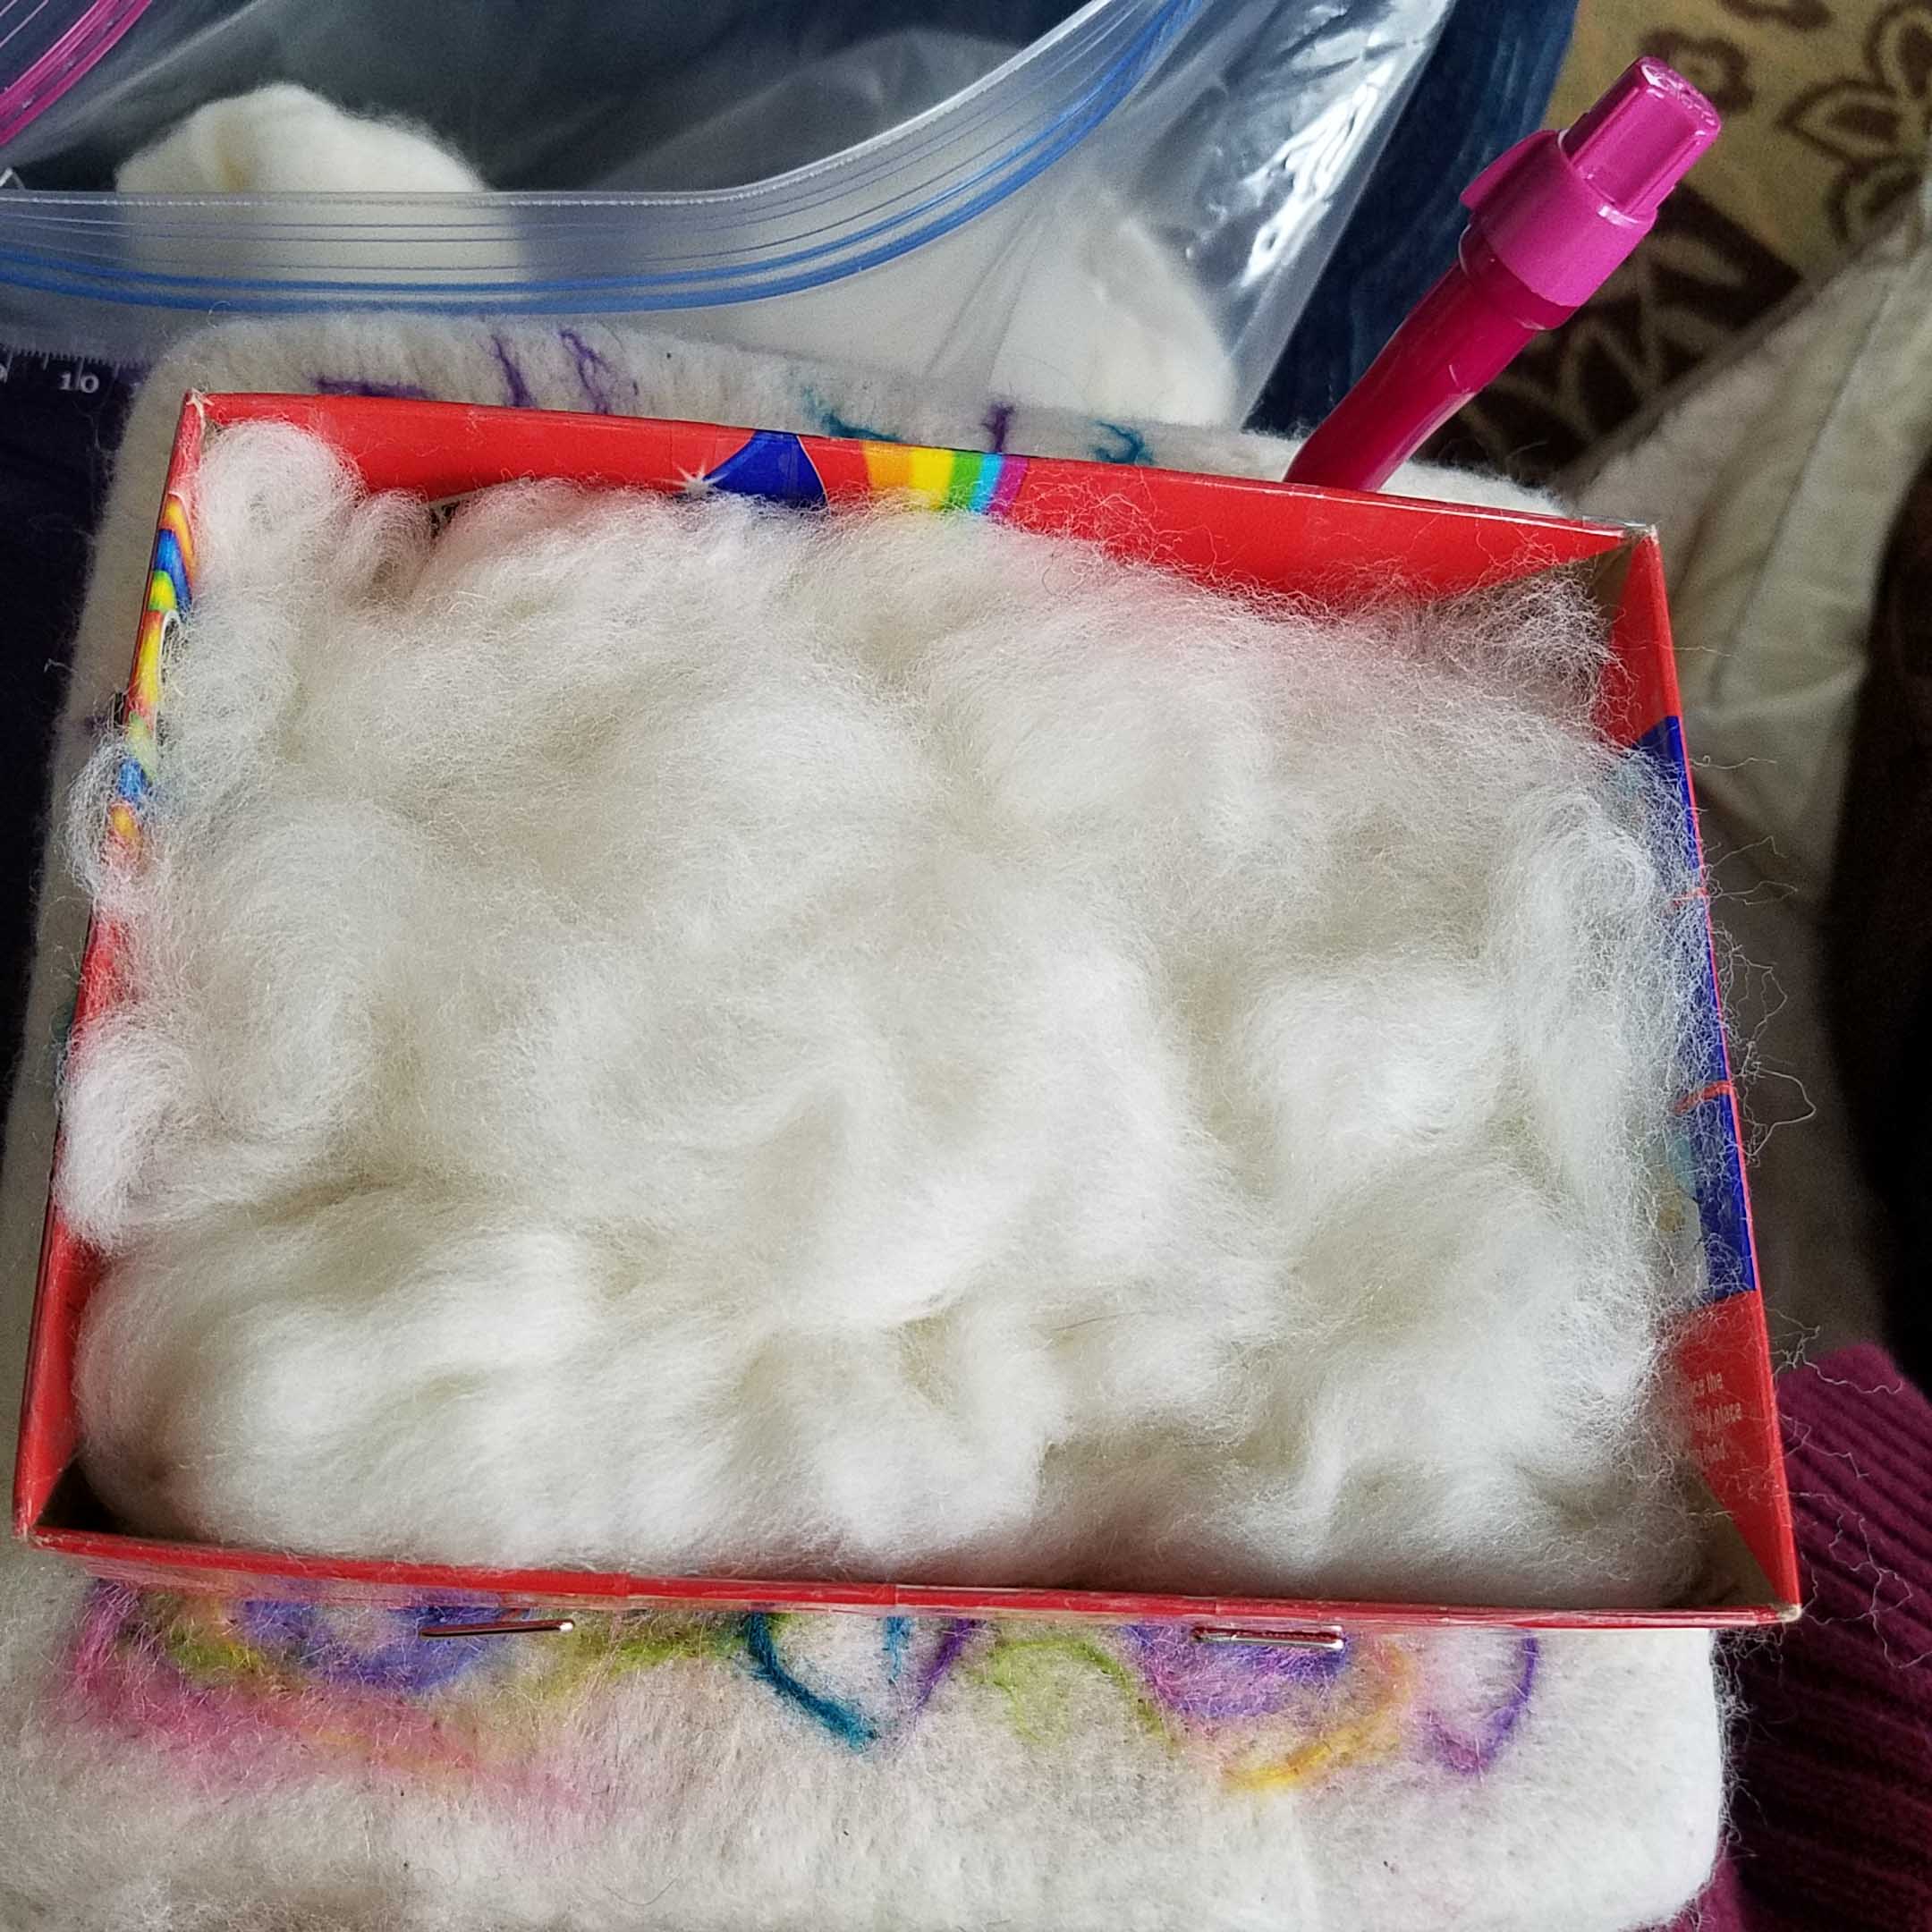
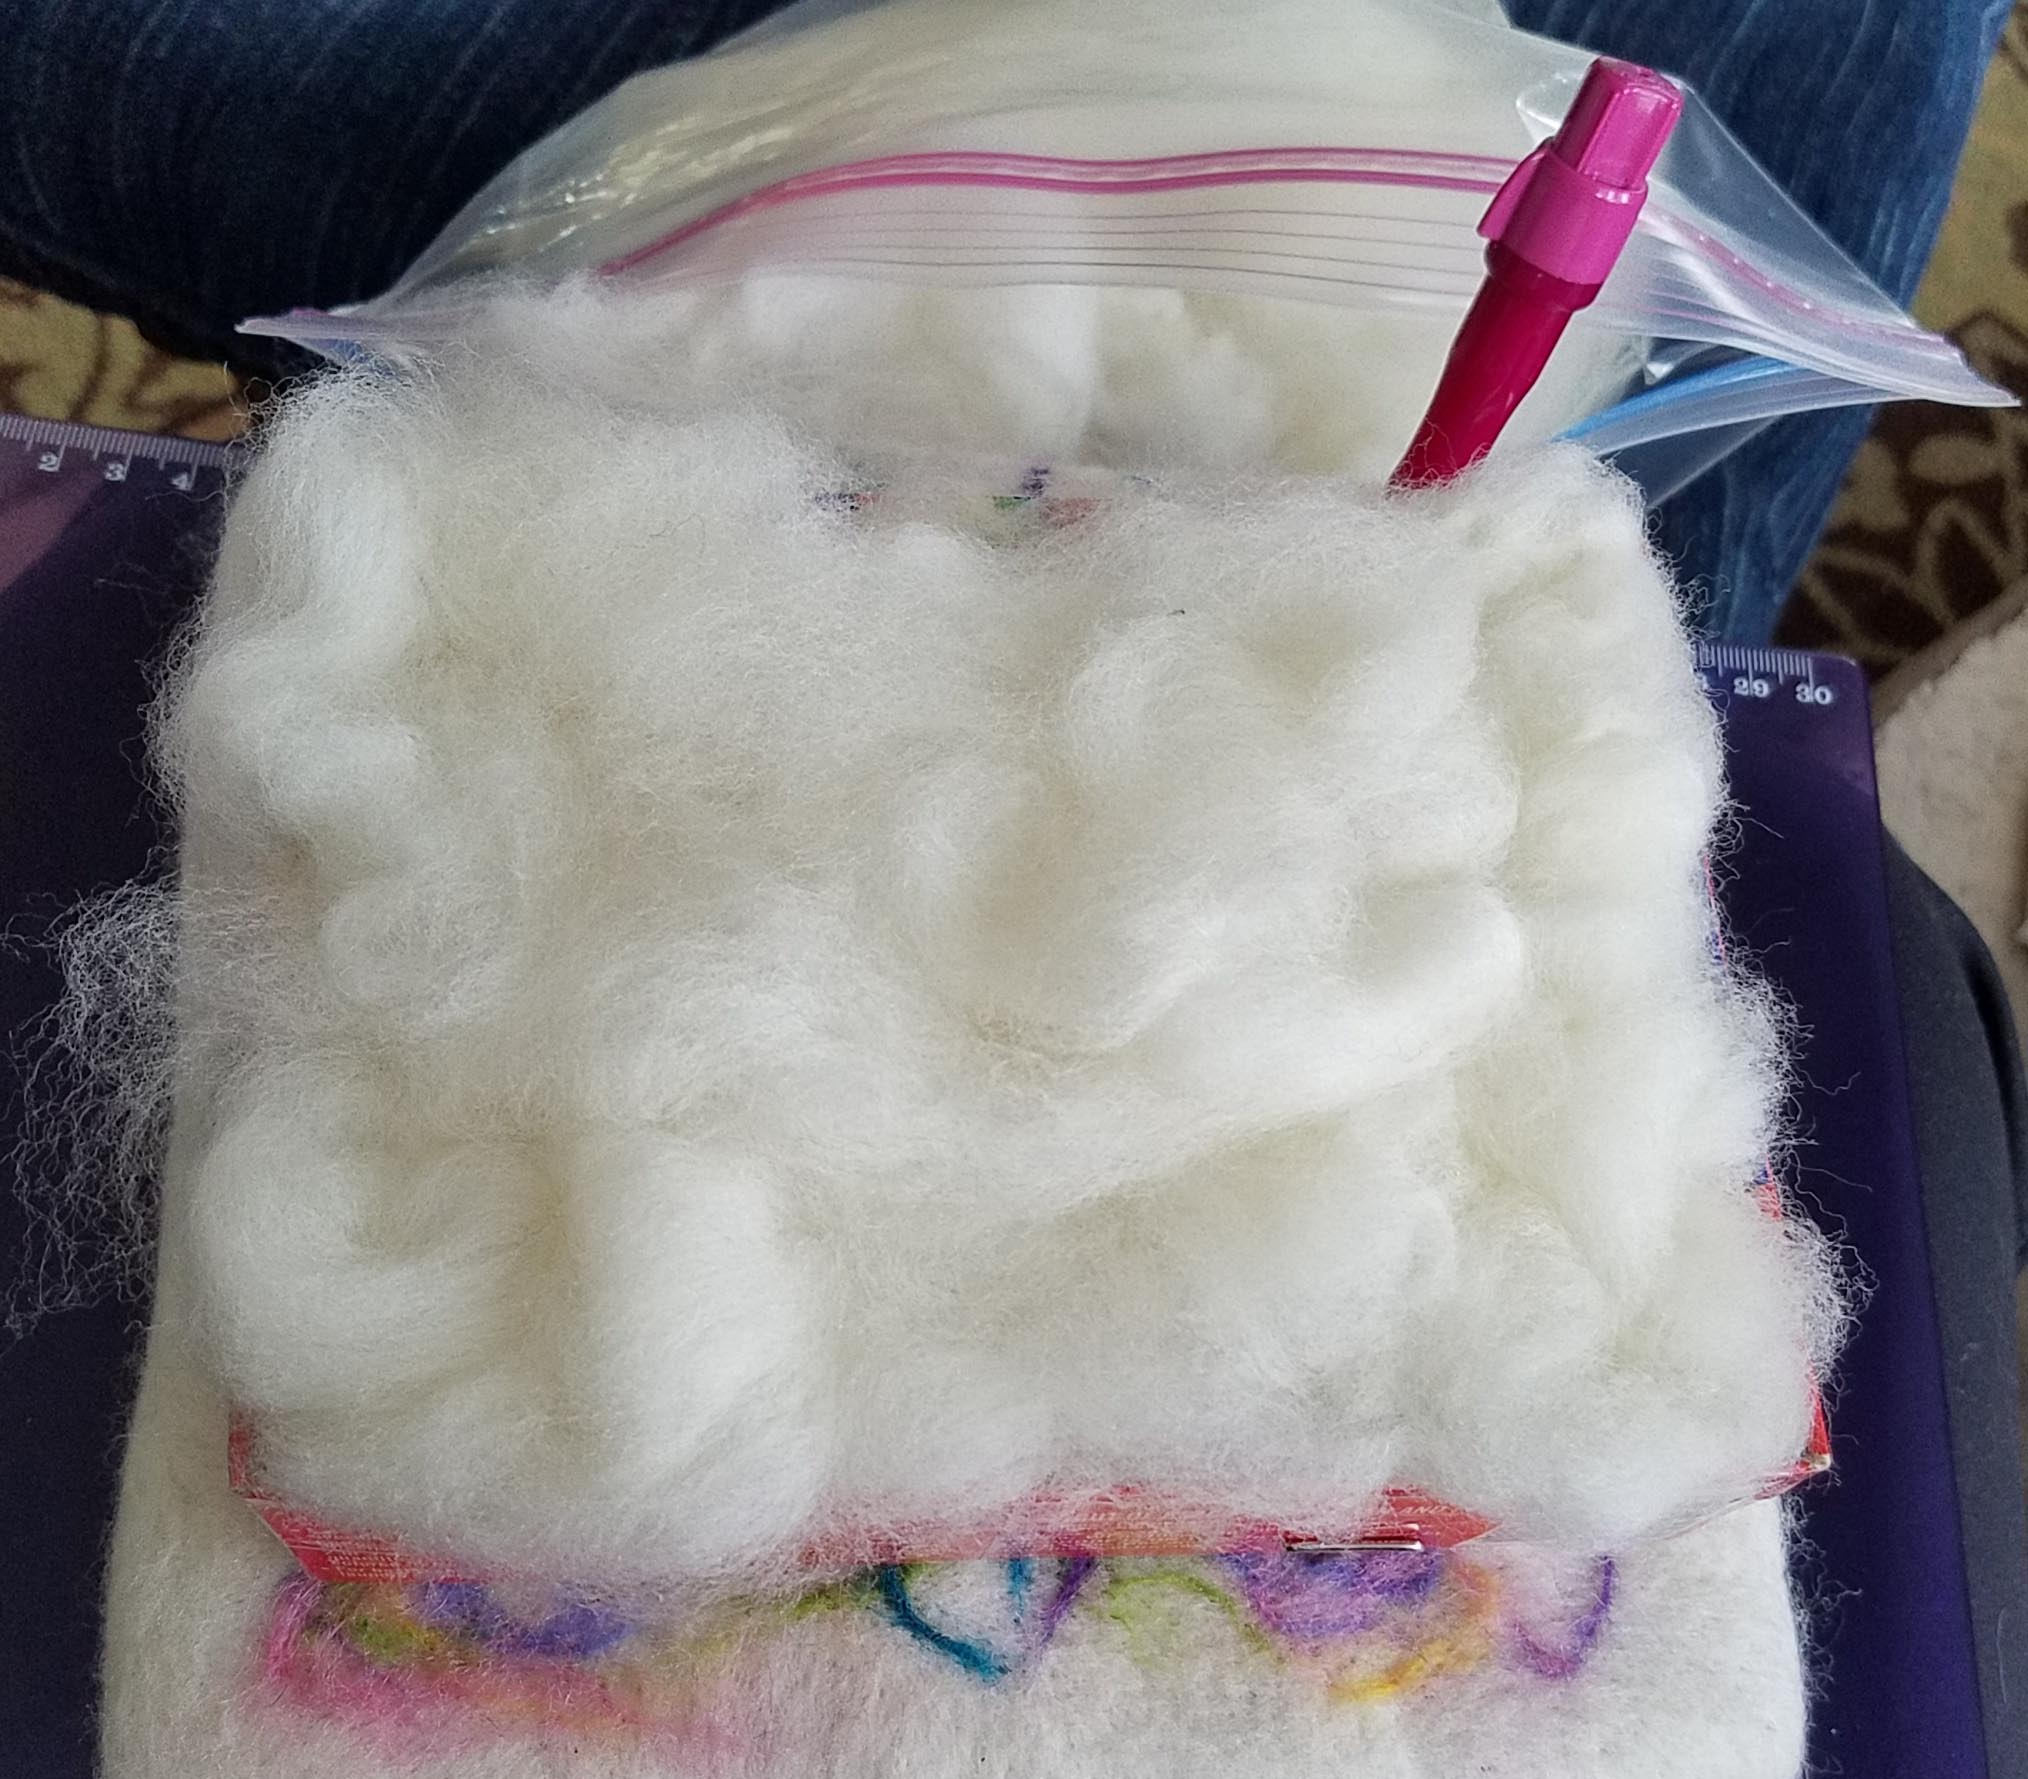
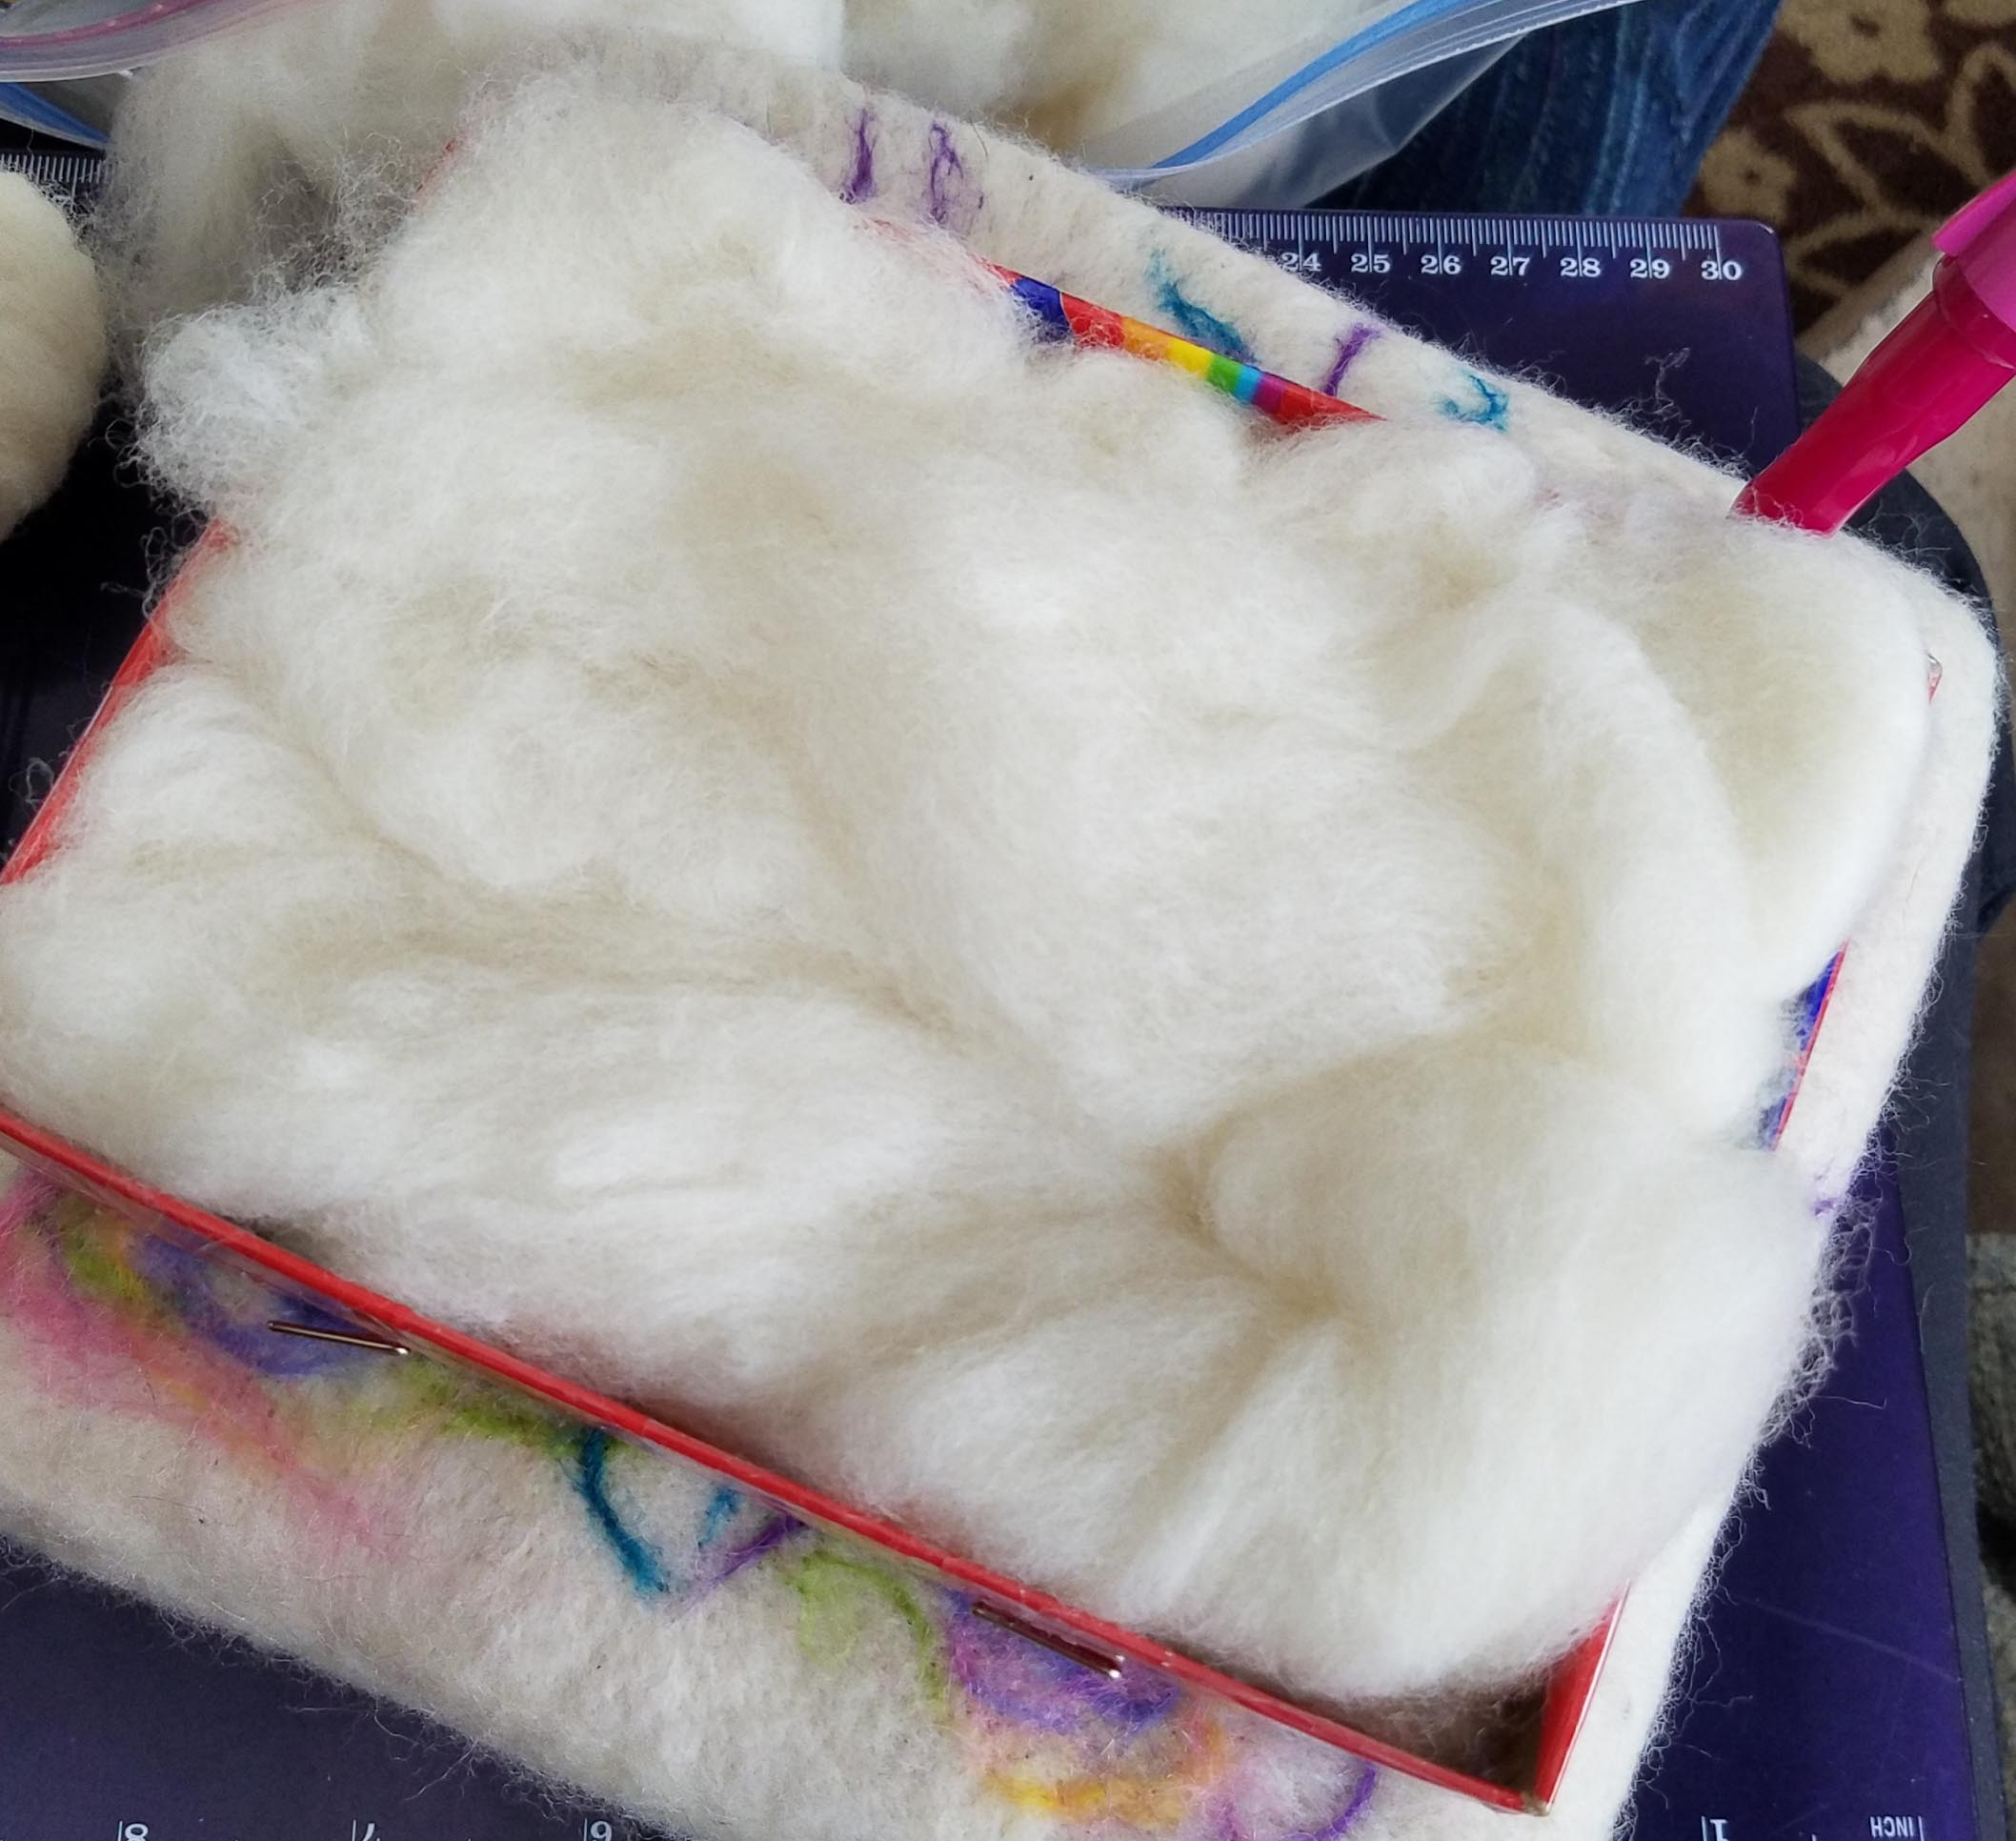
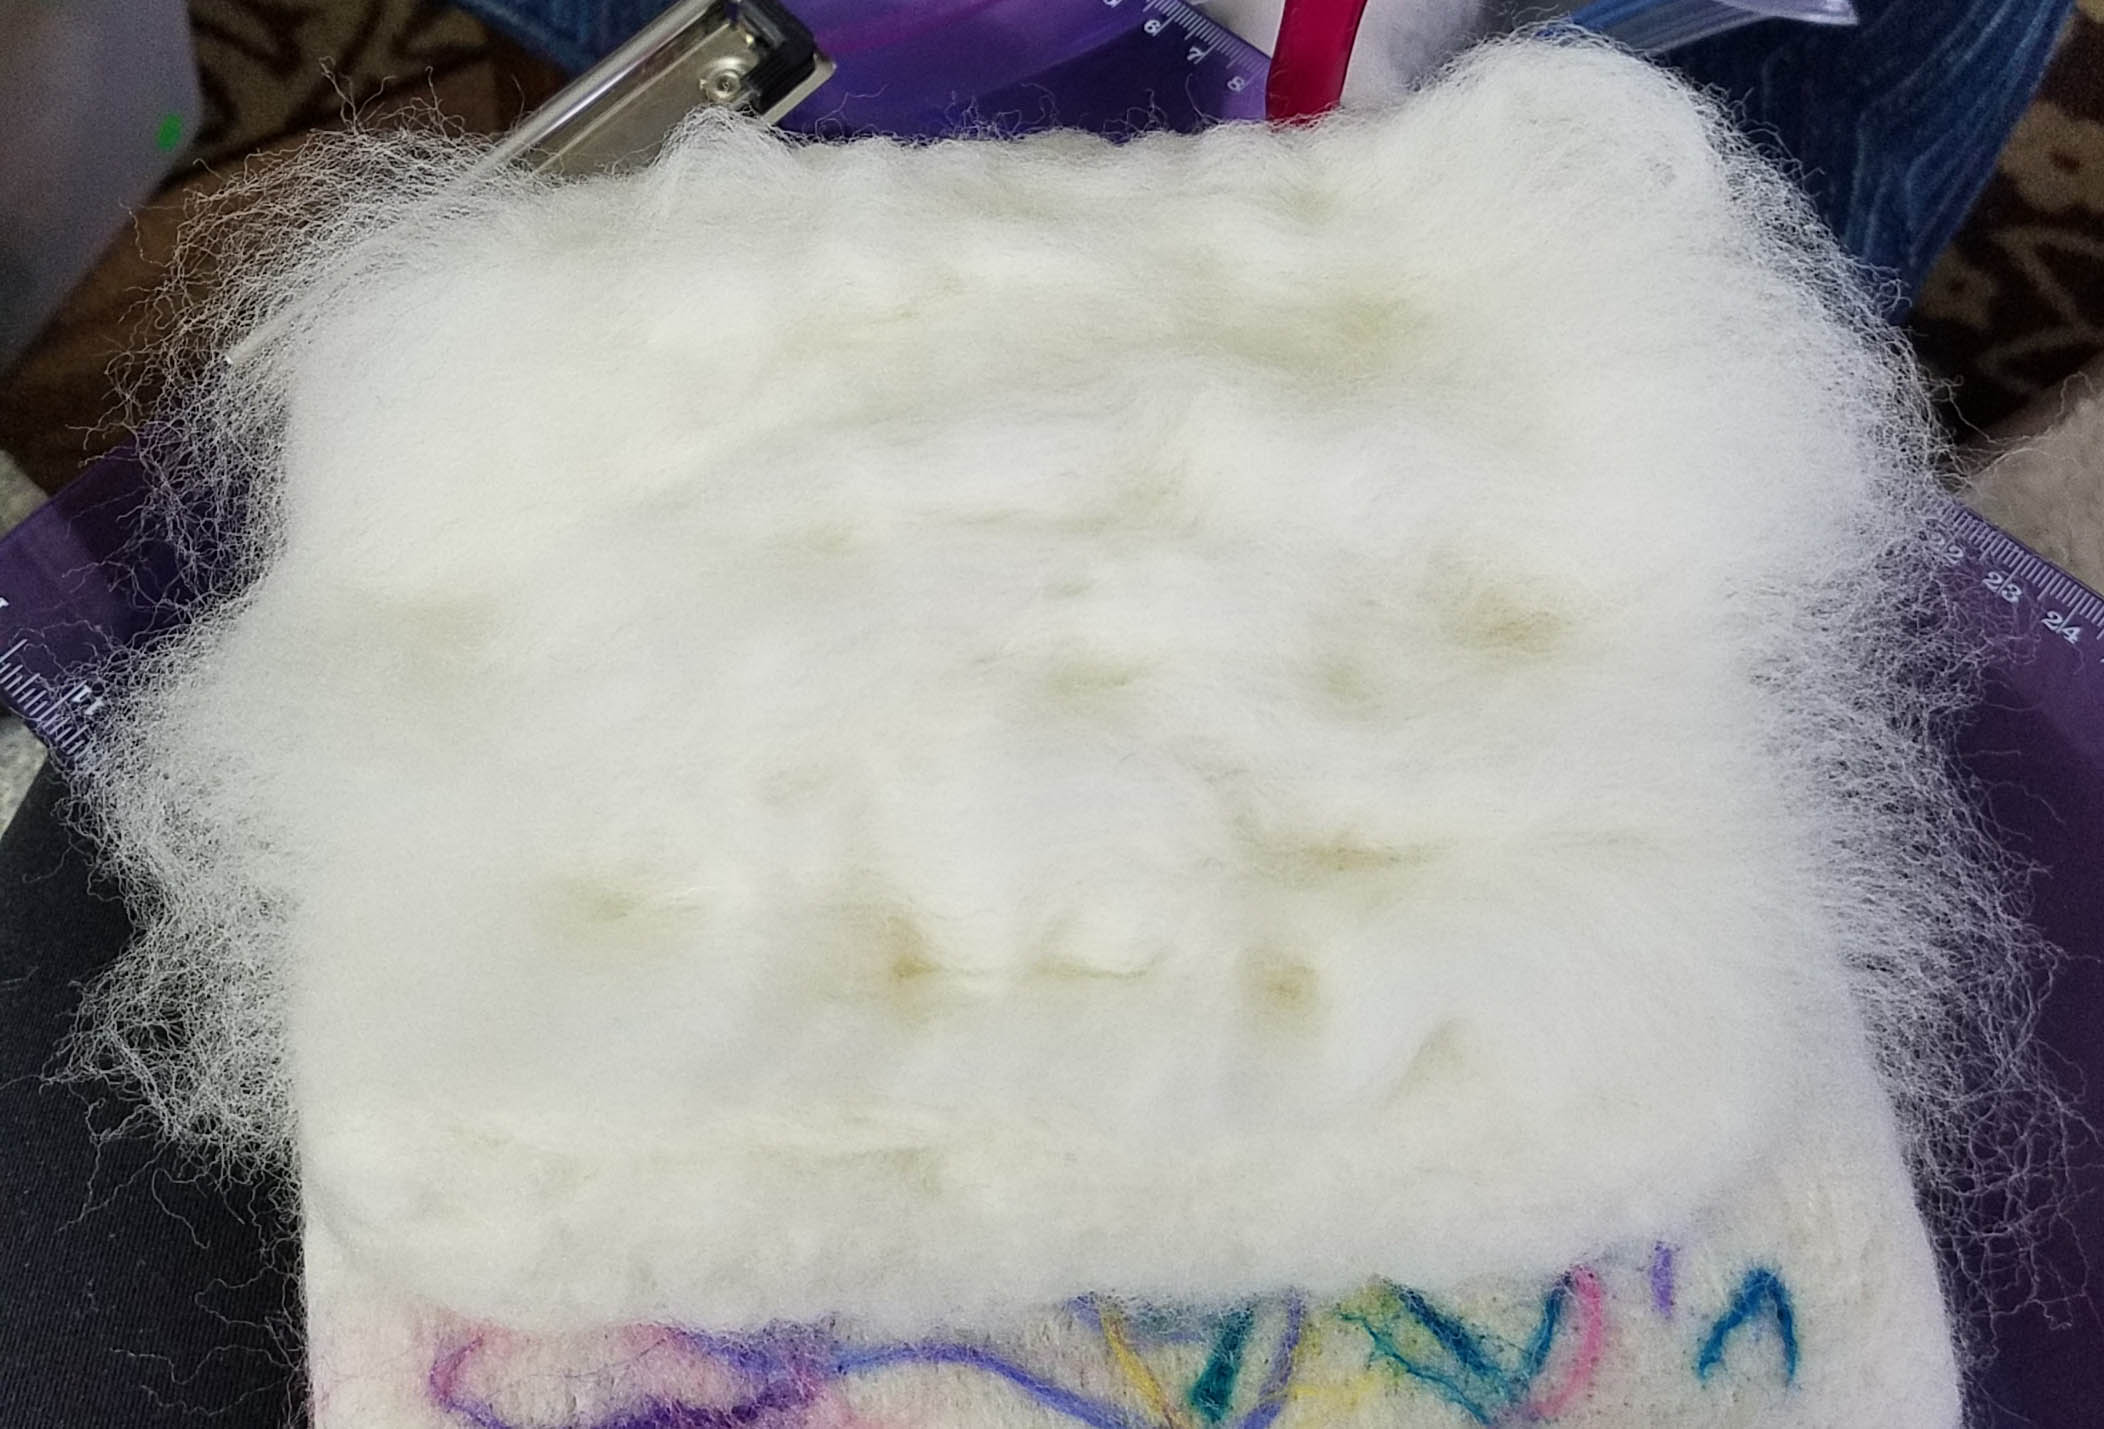
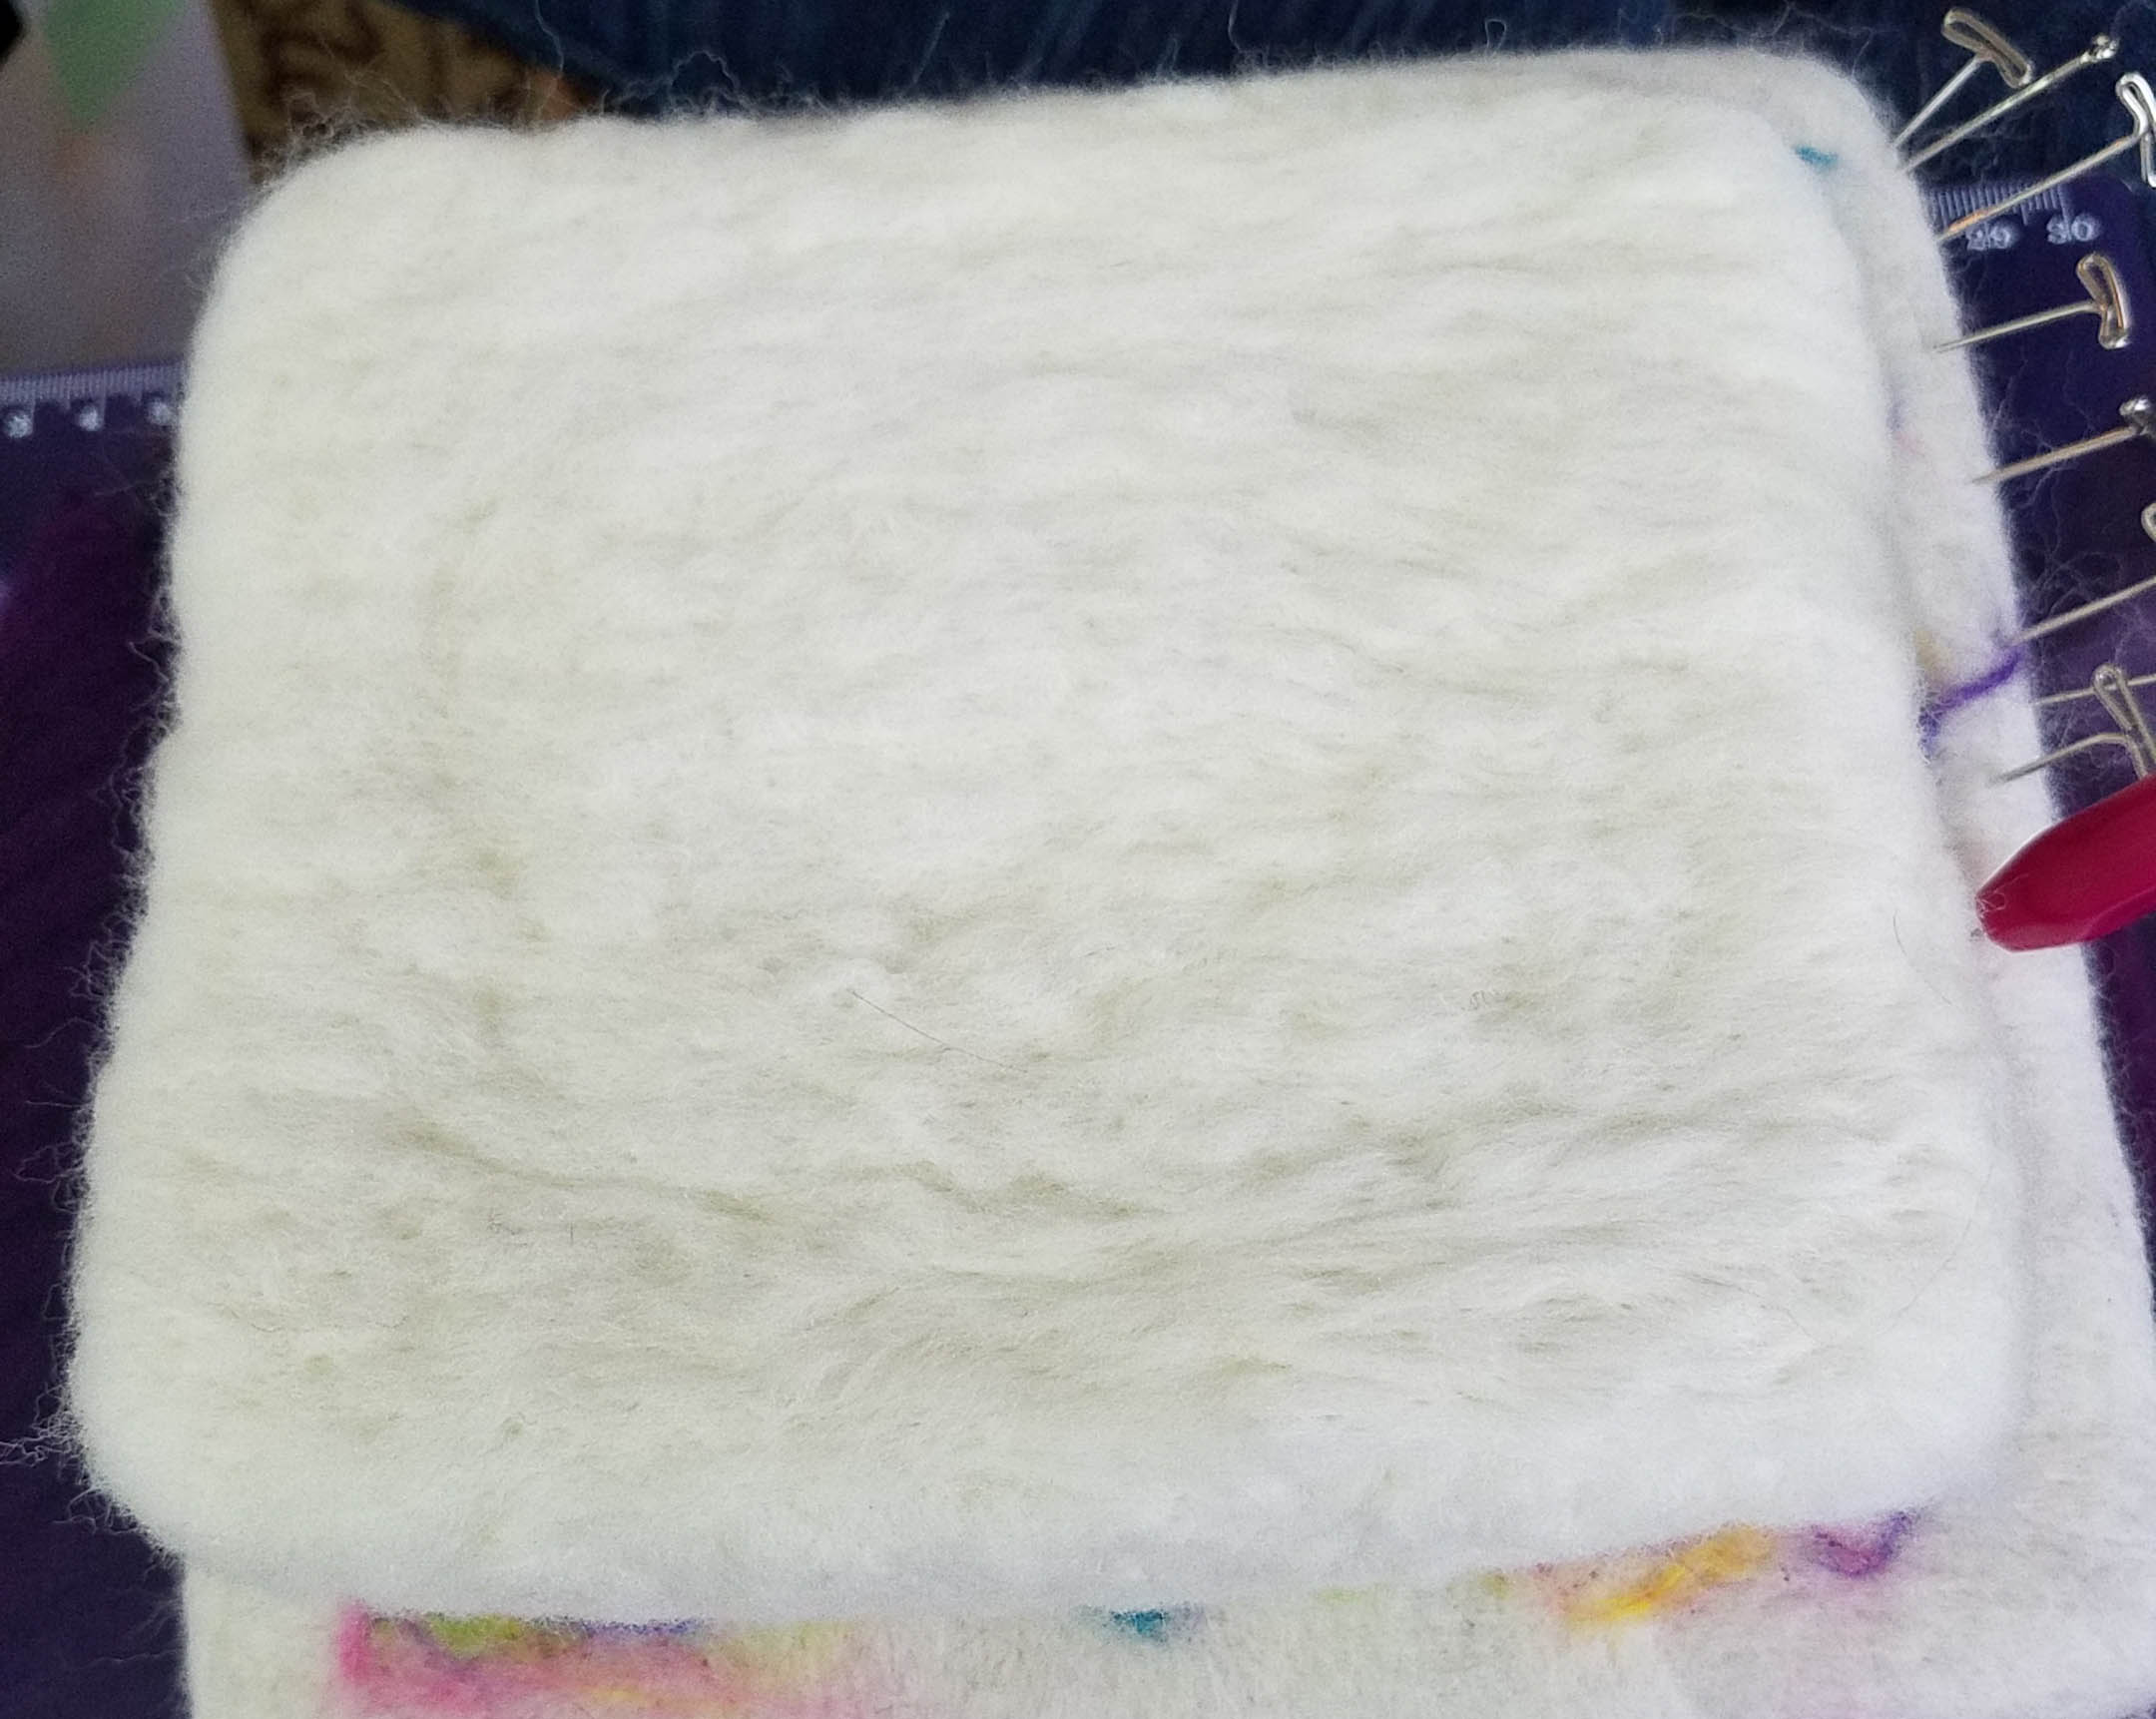
It was time to lay out my fiber that would be the outside of my rock. I first pulled out drafts of fiber laying them out lengthwise on my work surface.

Next I laid out a second layer perpendicular to the first layer.

I was ready to wrap my little foam sandwich. If I do this again I will make my strip of wool fibers wider, I ran into some small challenges getting the core wrapped well.

I rolled the core up as snugly as possible with my strip of loose fibers. Then I was ready to use my felting needle to tack the fiber down well to the core.

At this point I had covered the entire core with the fiber and secured it well using the felting needle.

It was time to submerge the rock in my bowl of hot soapy water.

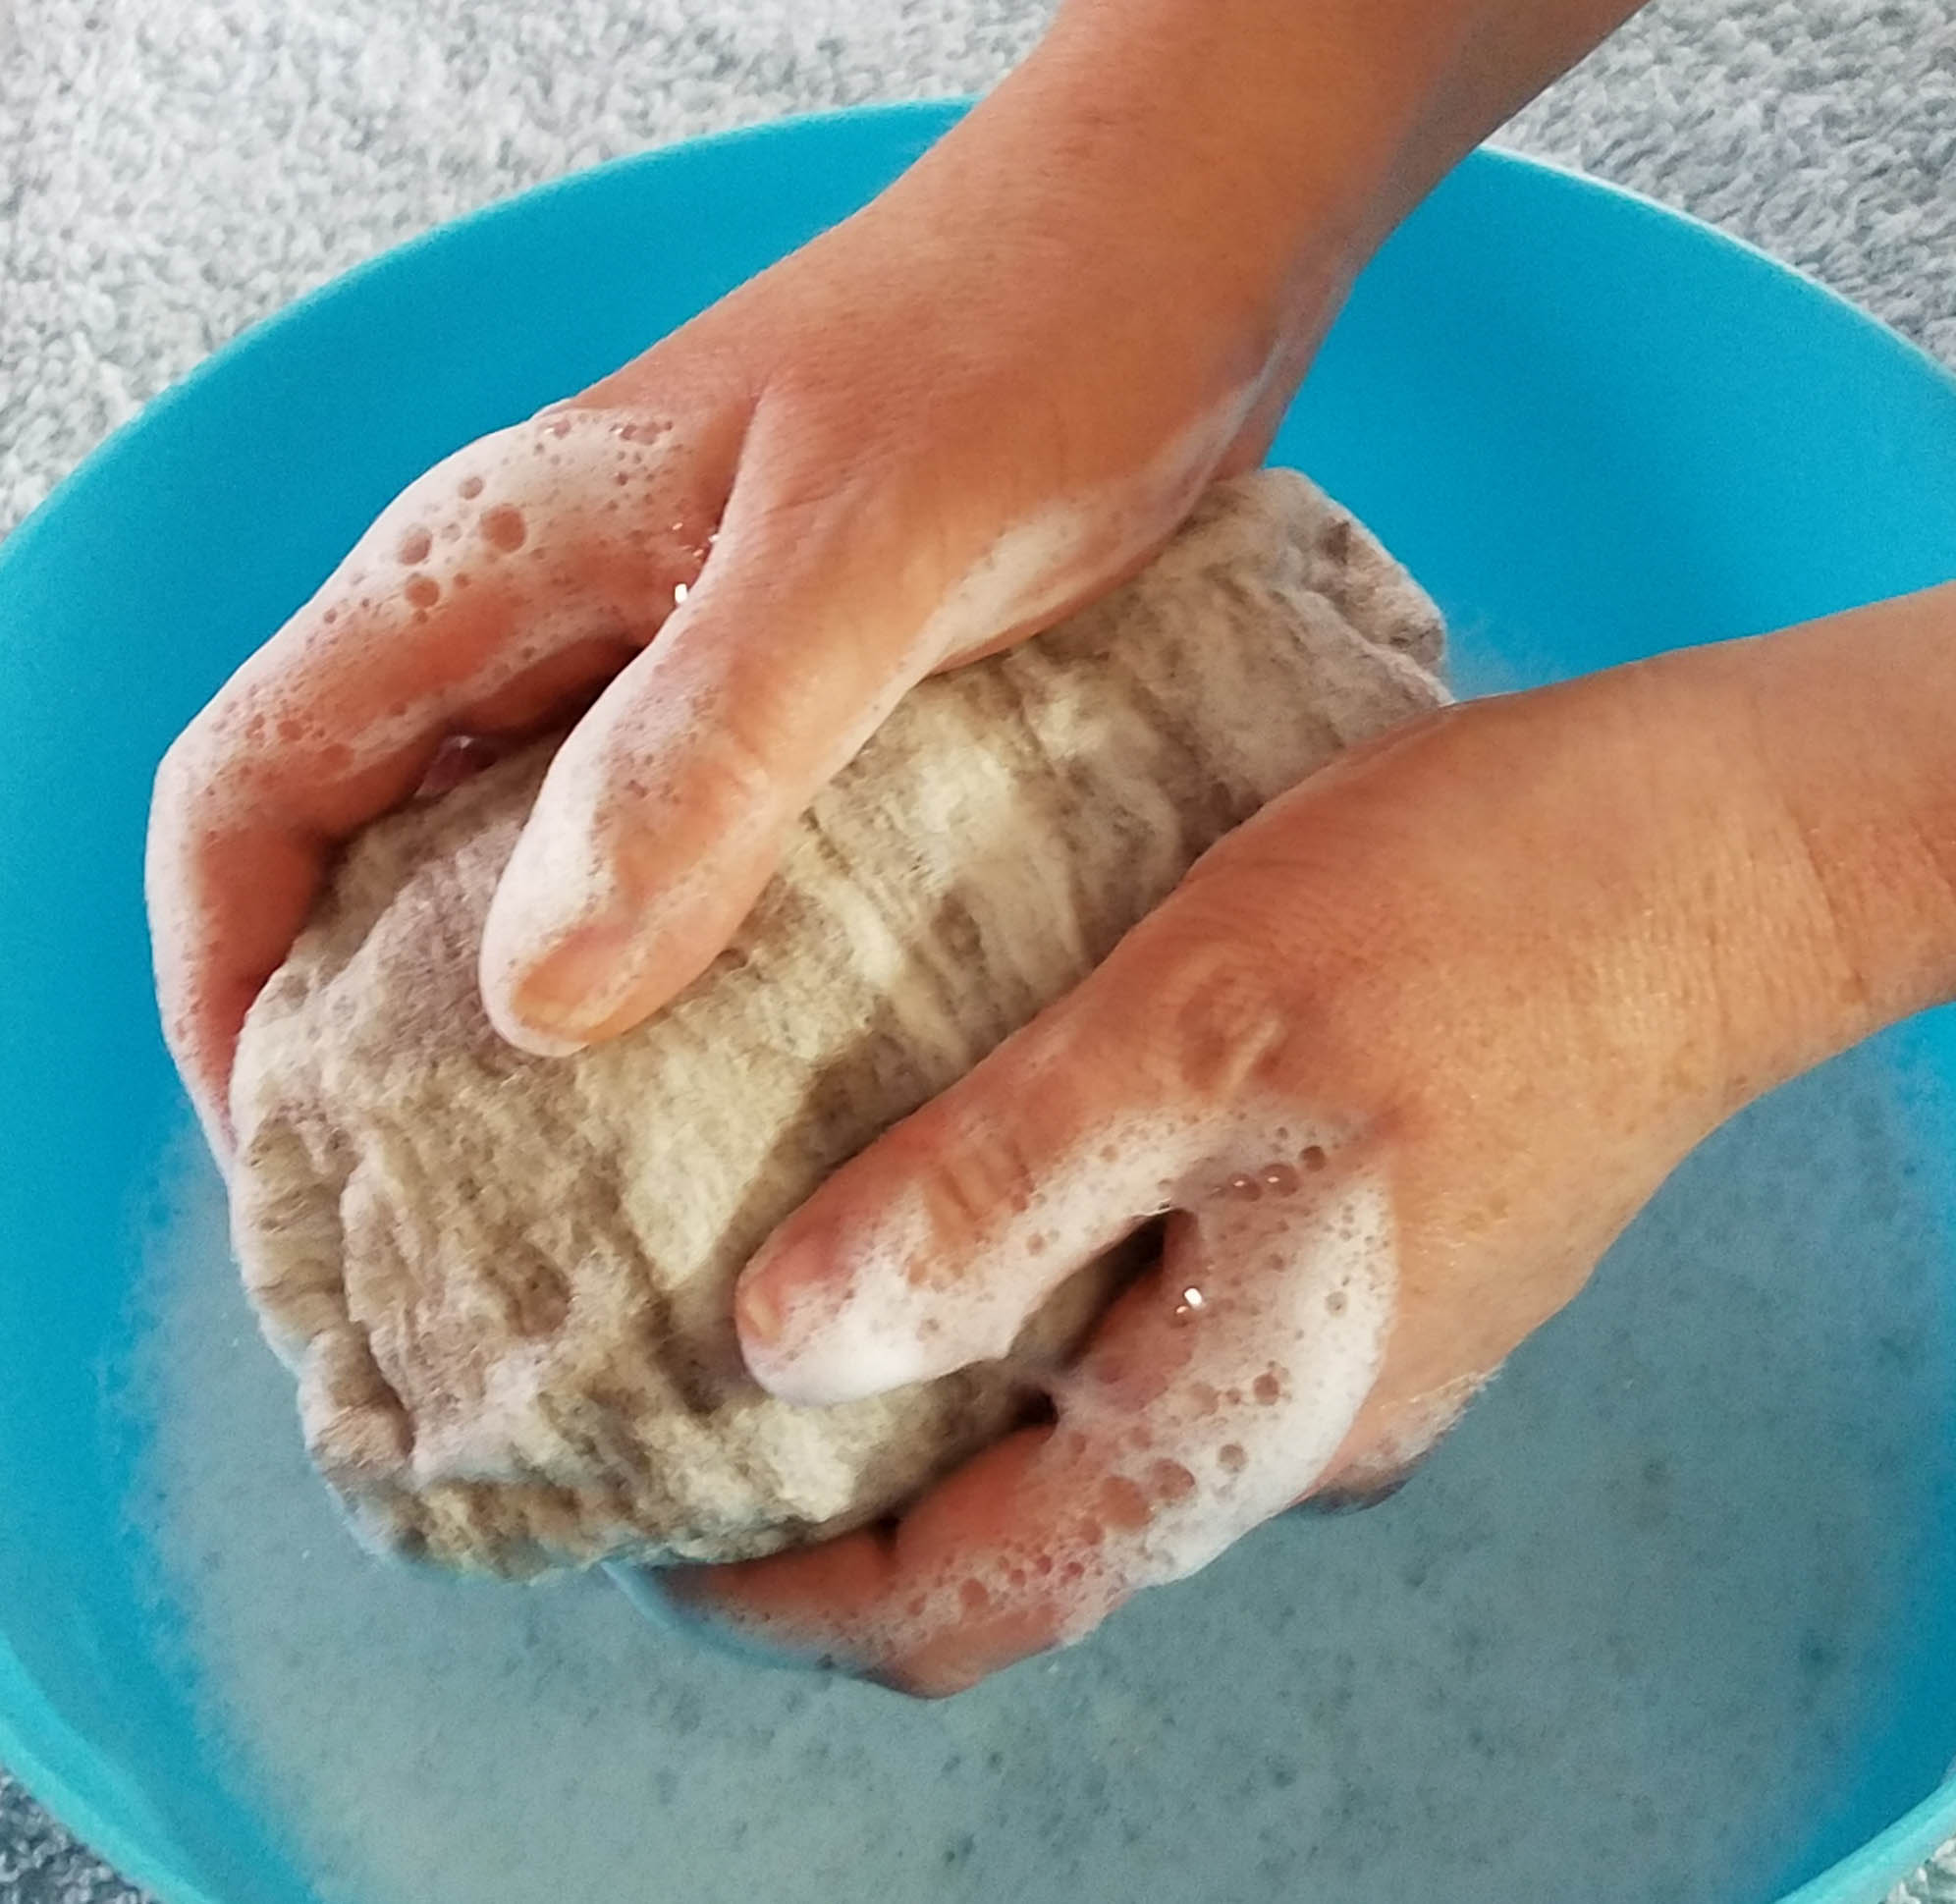
Now it was just all about working the wet felt to shrink it snugly around the foam core. This is the really wet and messy stage of this project. I also think I had a bit too much soap in my water. I alternated going to my kitchen sink and rinsing my rock with cold water to shock the fibers further, and working with the hot soapy water.

I also used my felting stone when I started getting the rock closer to the shape I wanted. The felting stone helped me smooth the surface of my “rock”.

I had finally gotten it felted well and I set it out to dry overnight. It was still a bit furry looking and had some odd shaping issues on the “bottom” side. I knew I would be doing a little “fixing” with my felting needle once it was dry again.

The next afternoon my rock was dry and I was happy with the squish factor of it.  I wanted to correct some shaping issues on the bottom and ends. Especially this odd little flap that had formed at one end. Of course, real river rocks do sometimes have cracks and little protuberances, but I wanted my rock to be an “ideal” river rock.

Fortunately this was easy to fix, I just added some bits of fiber and needle felted them until they were smooth. No more flap. I continued shaping and smoothing my rock with my various needle felting tools. All of them joined the party; single, 3 and 5 needle tools. The 3 needle tool was especially useful for smoothing the surface of my rock with lots of shallow needling.

Before
After

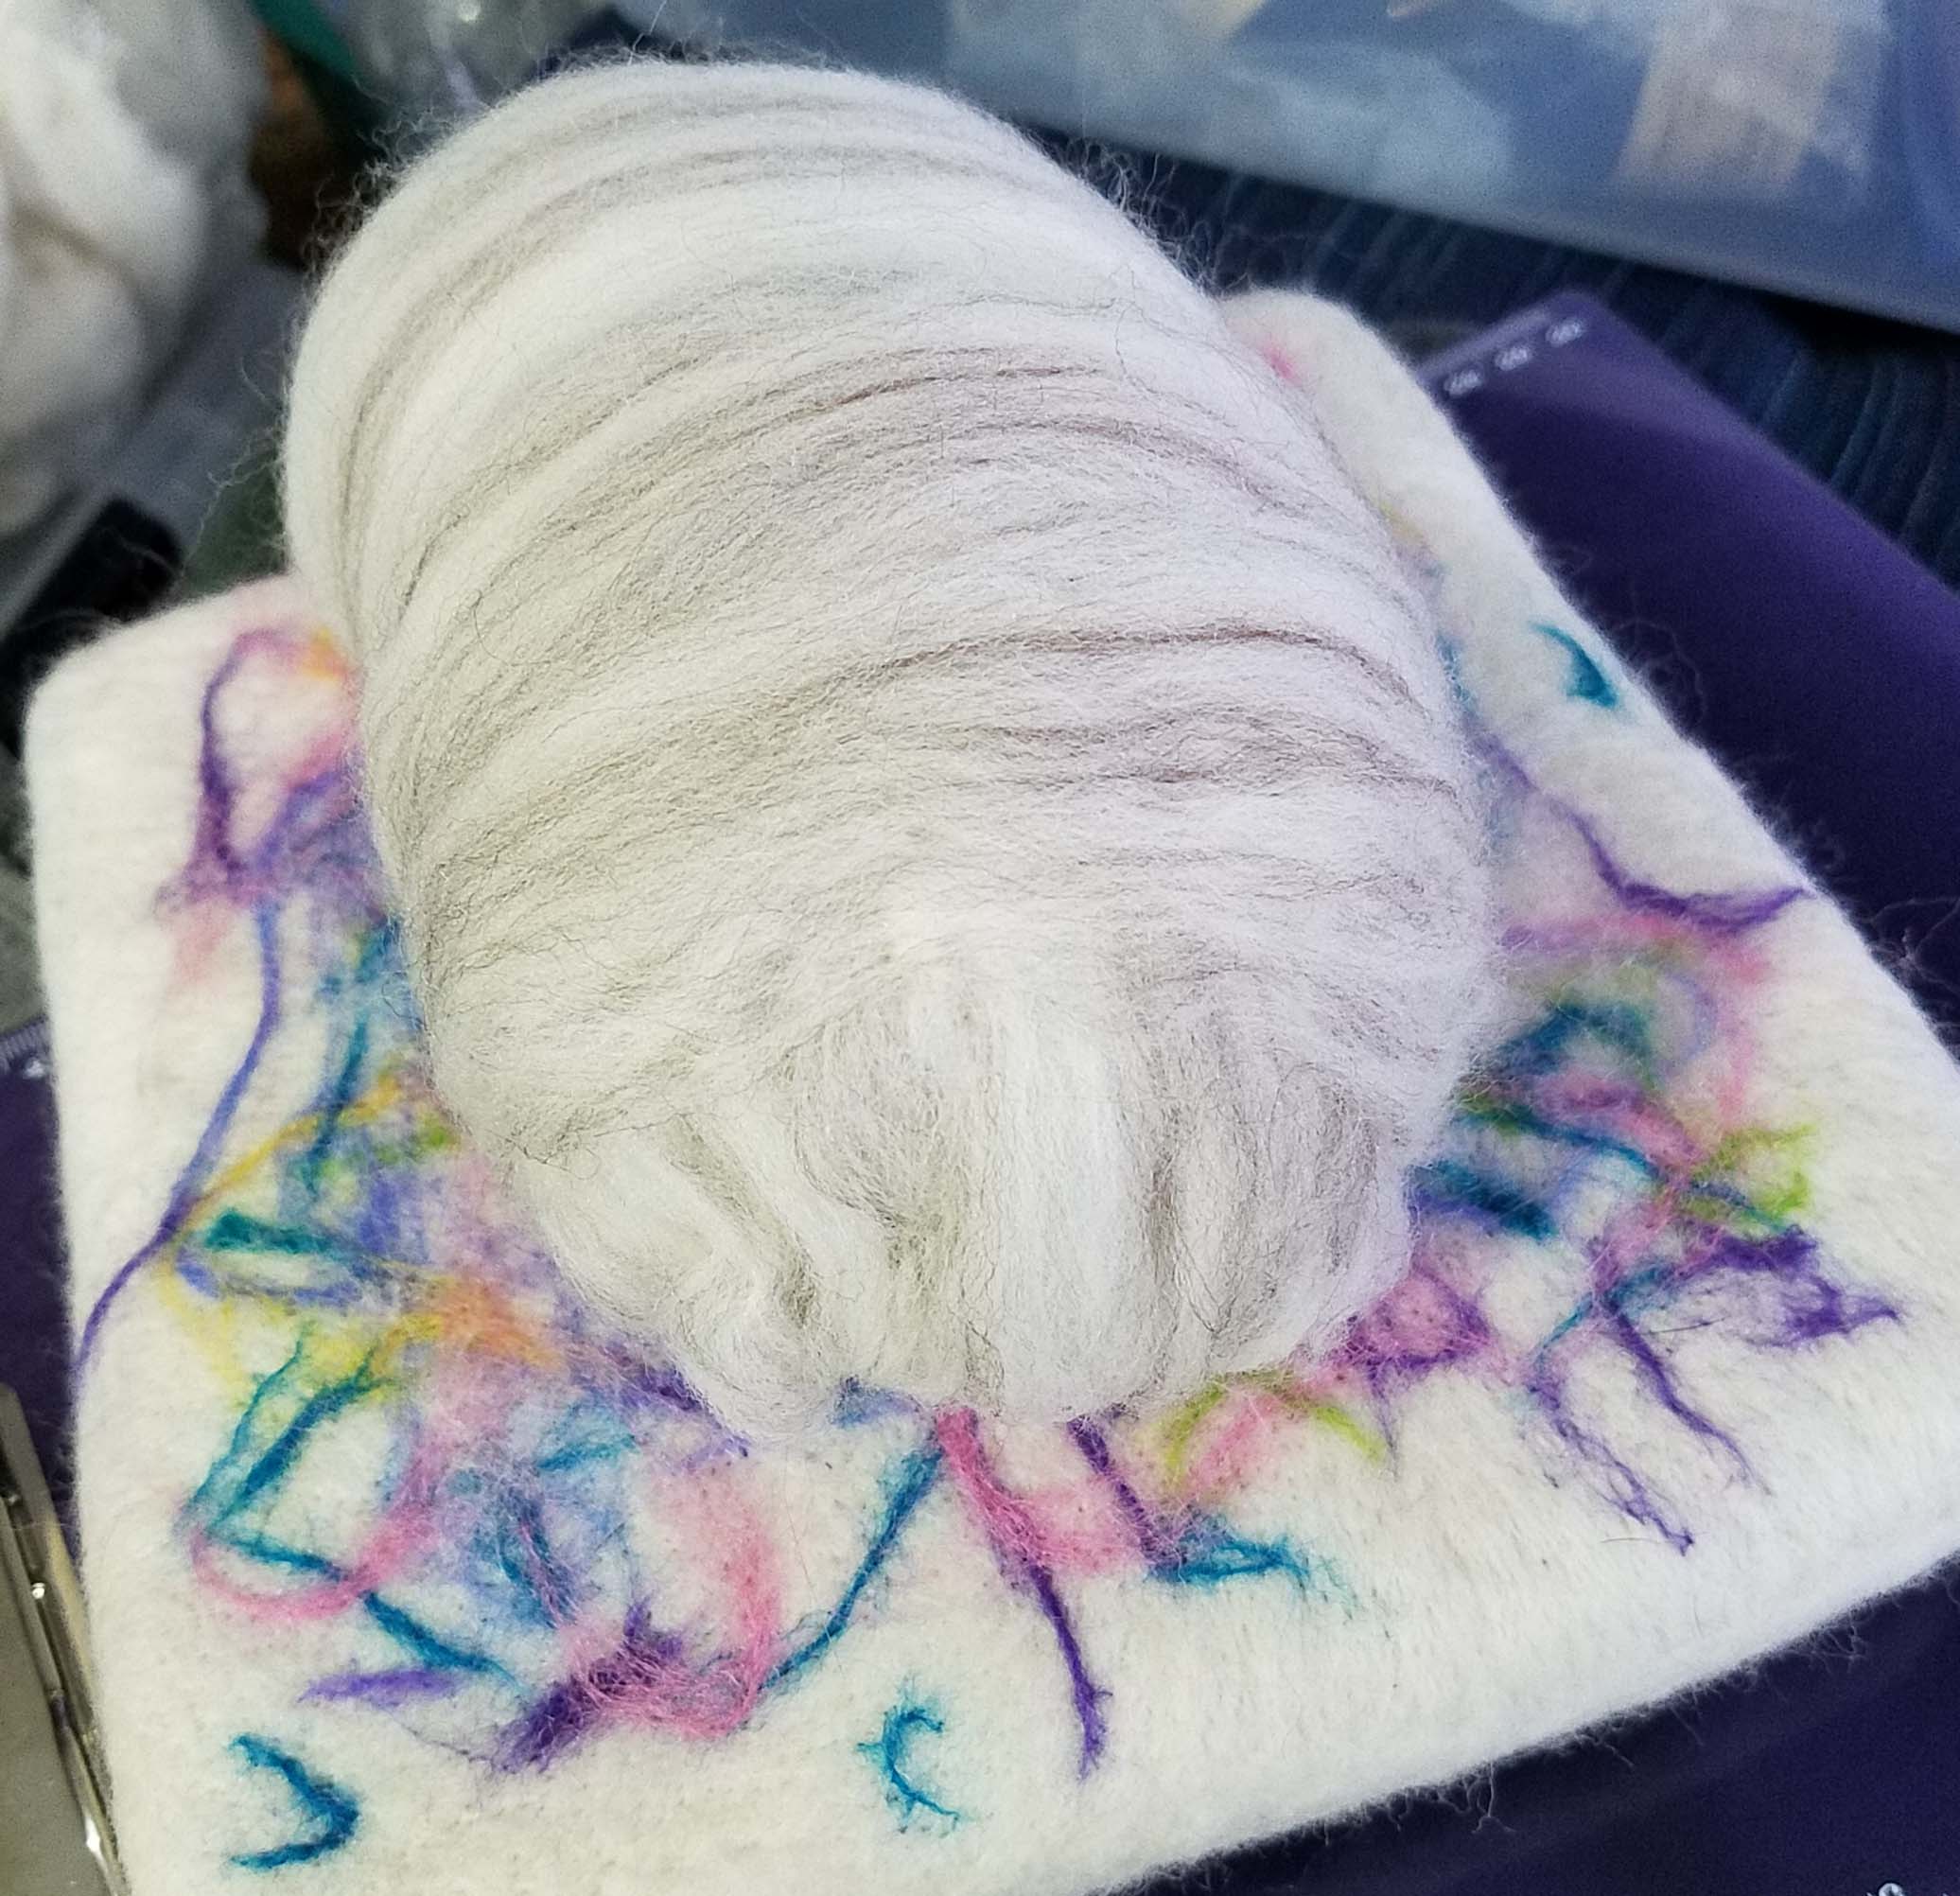
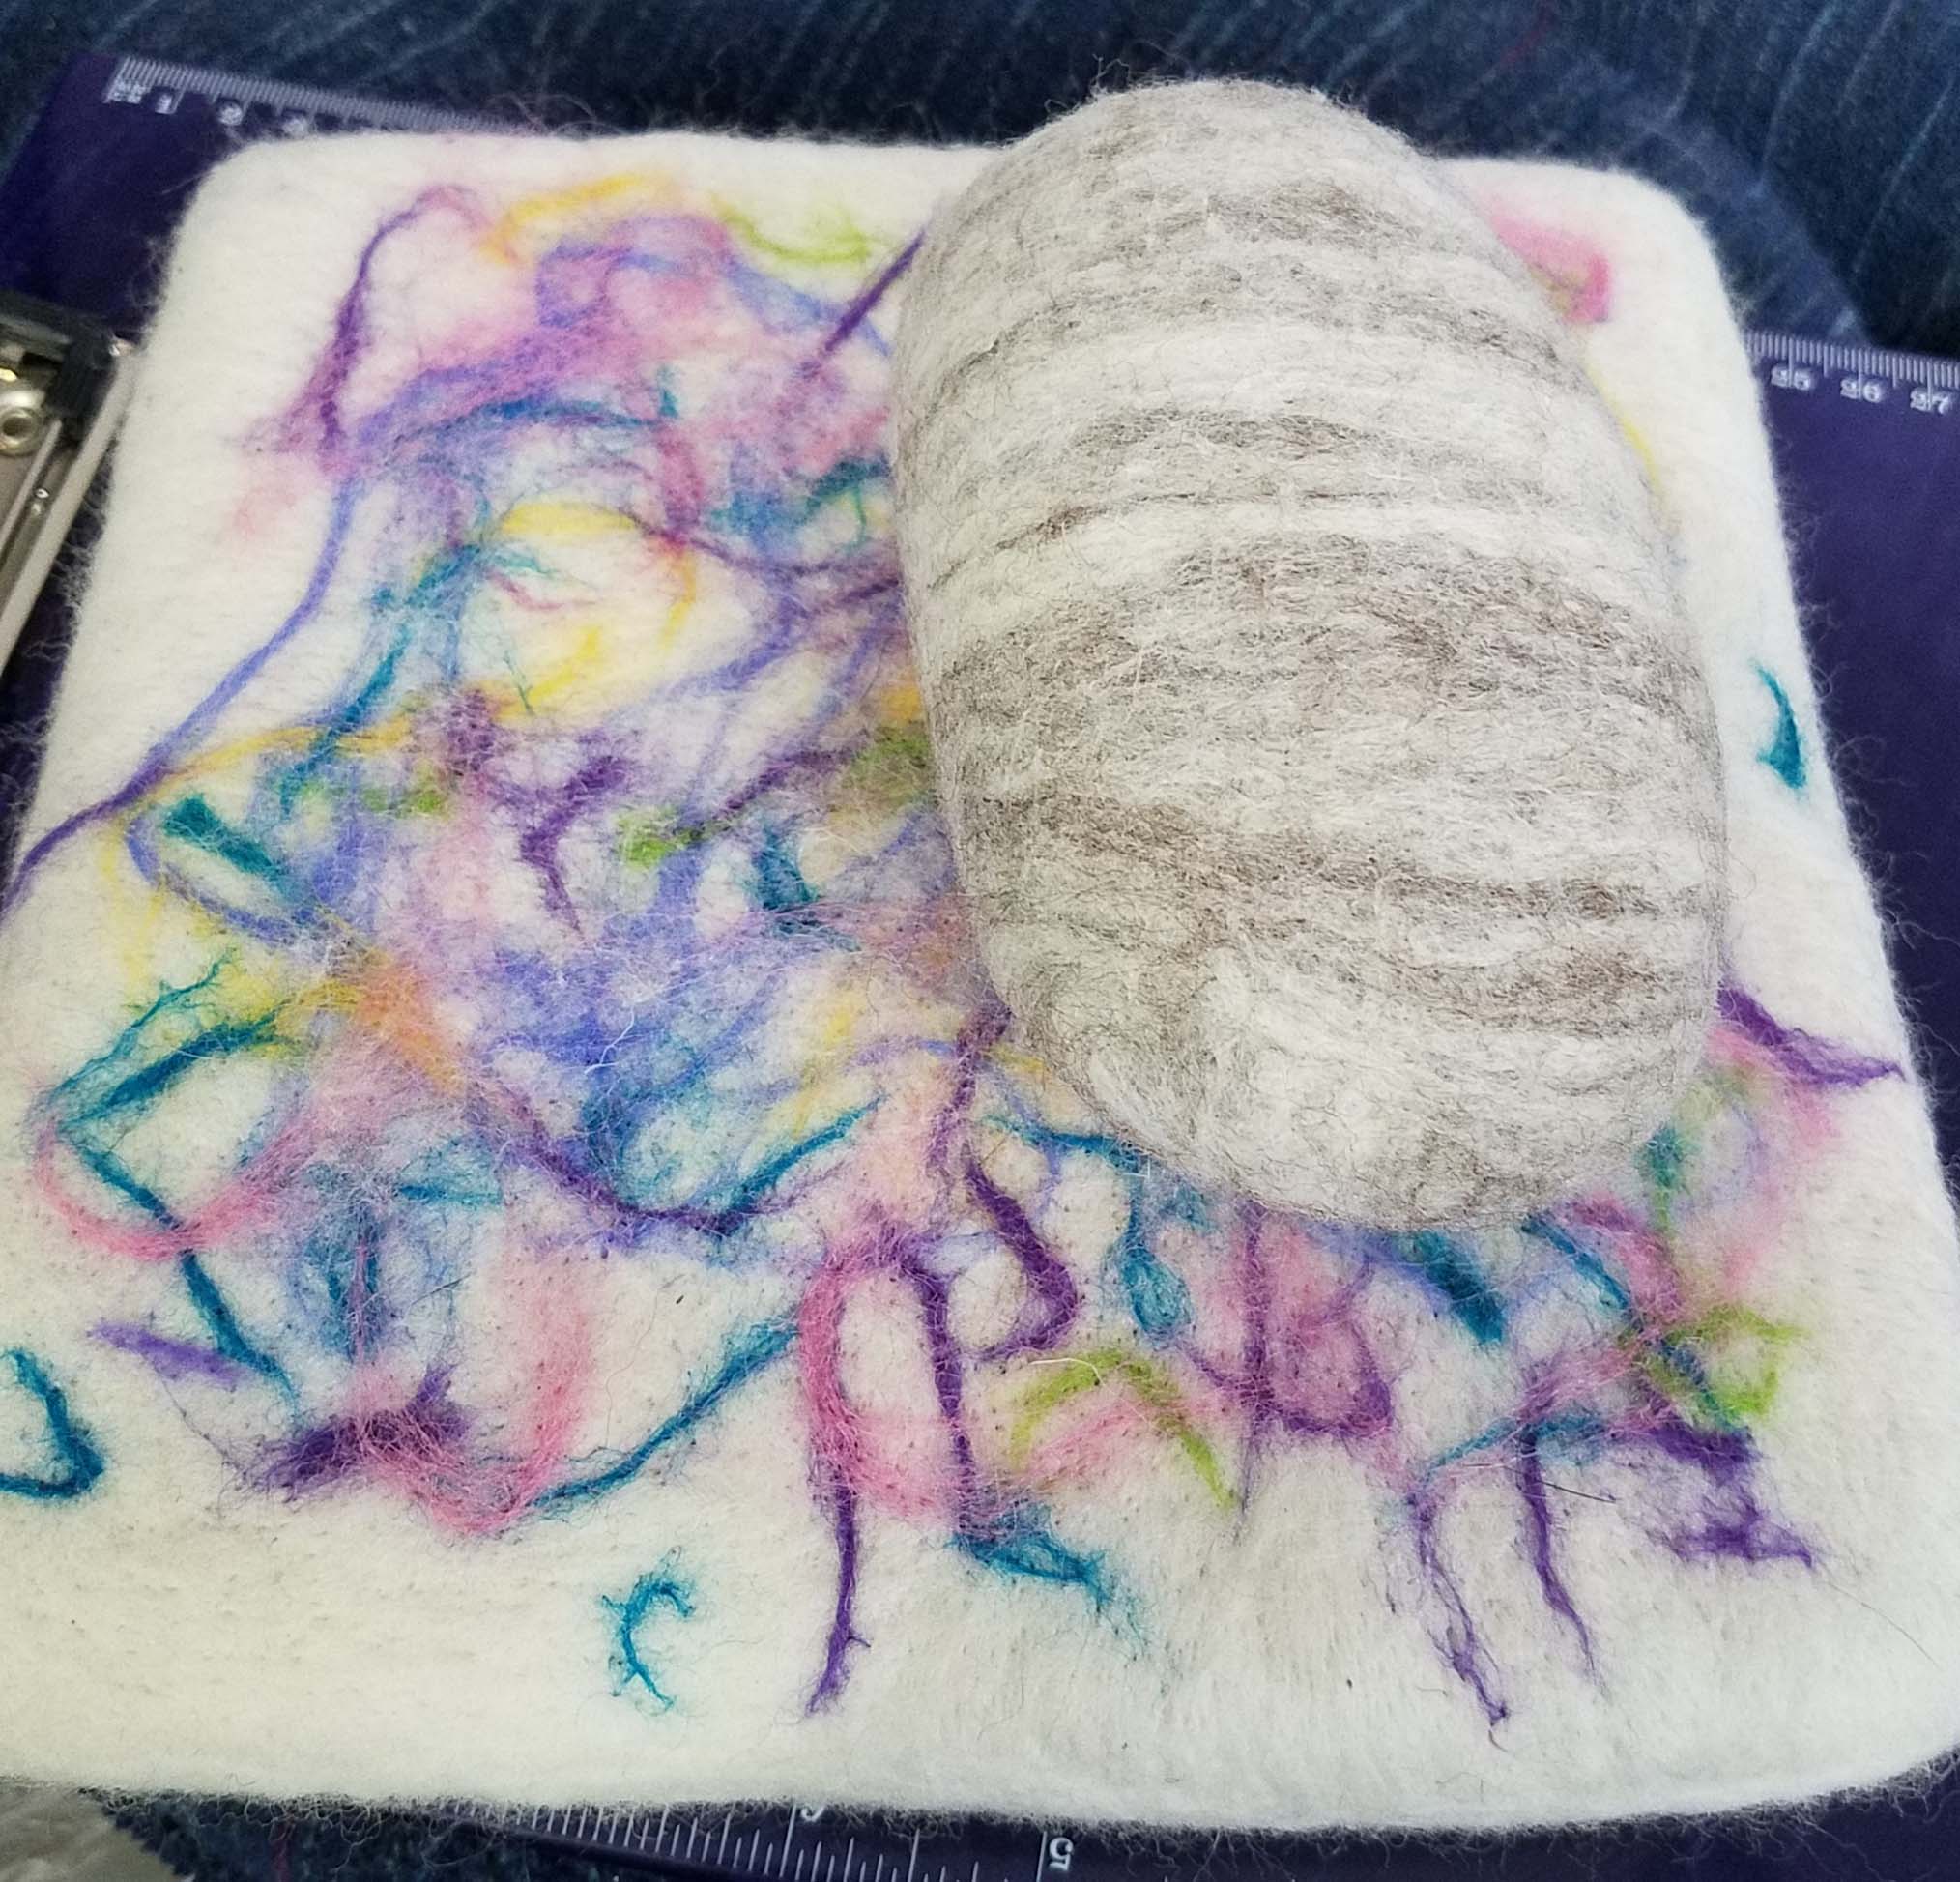
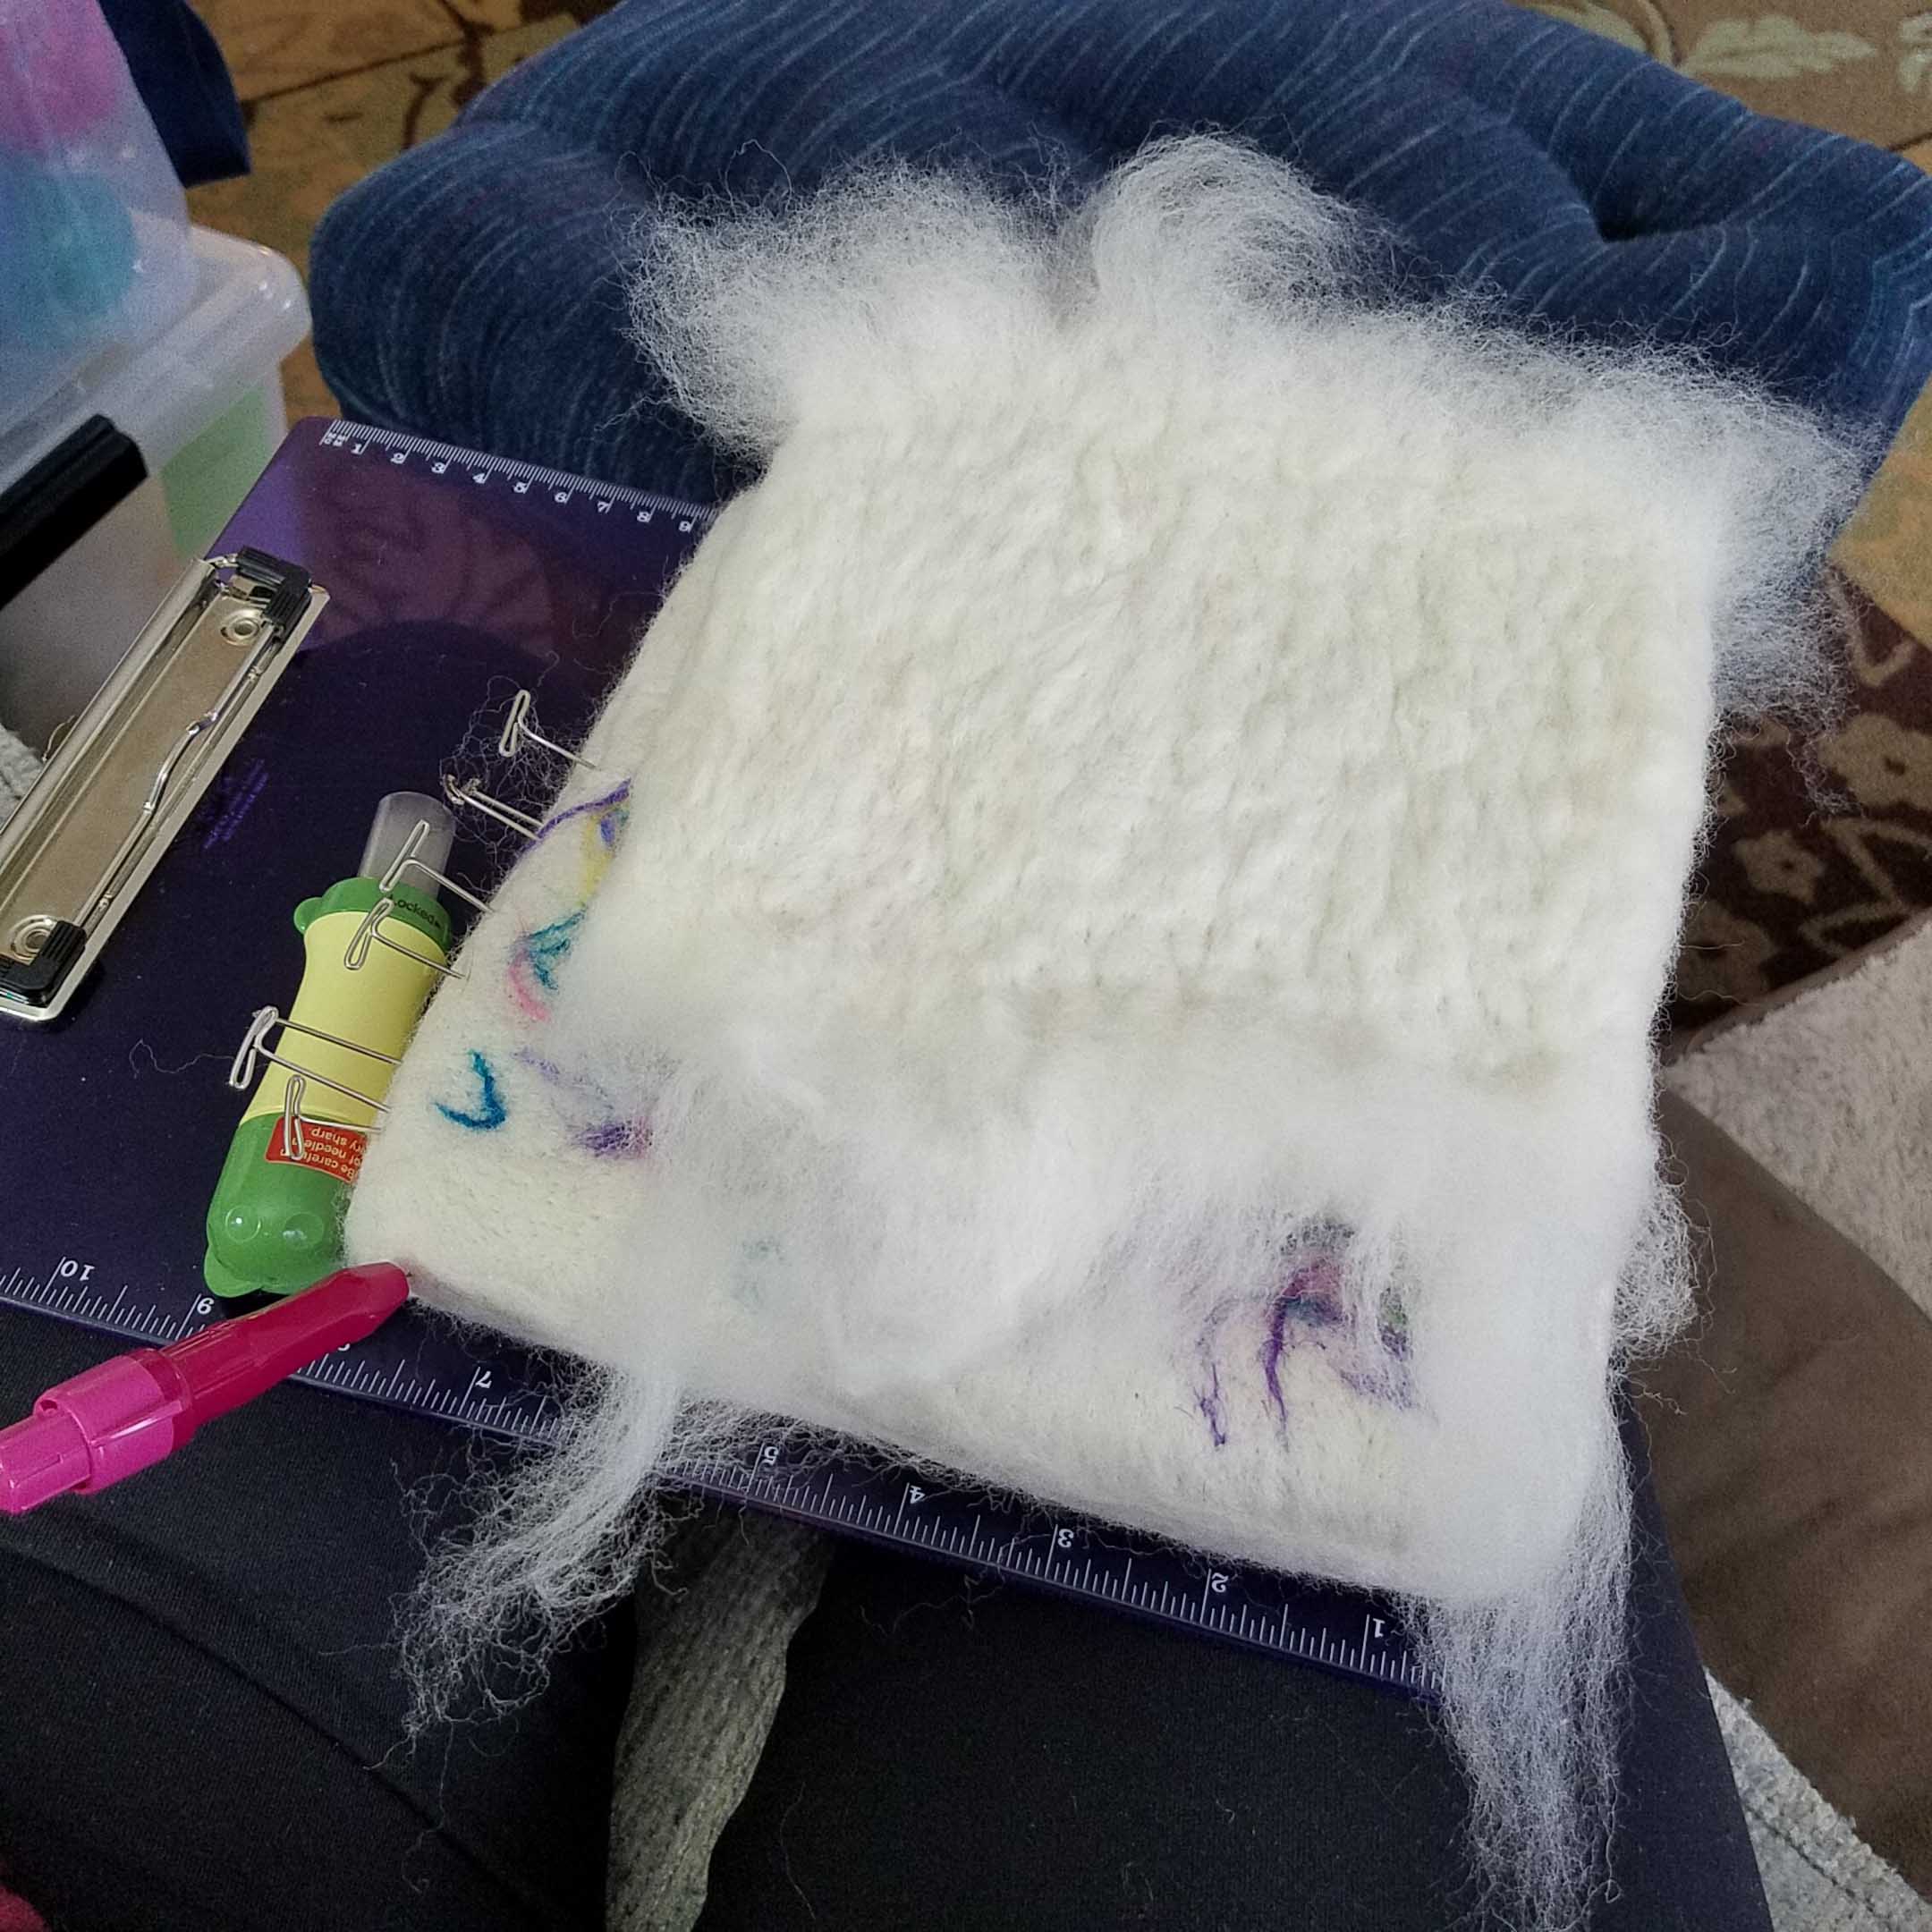
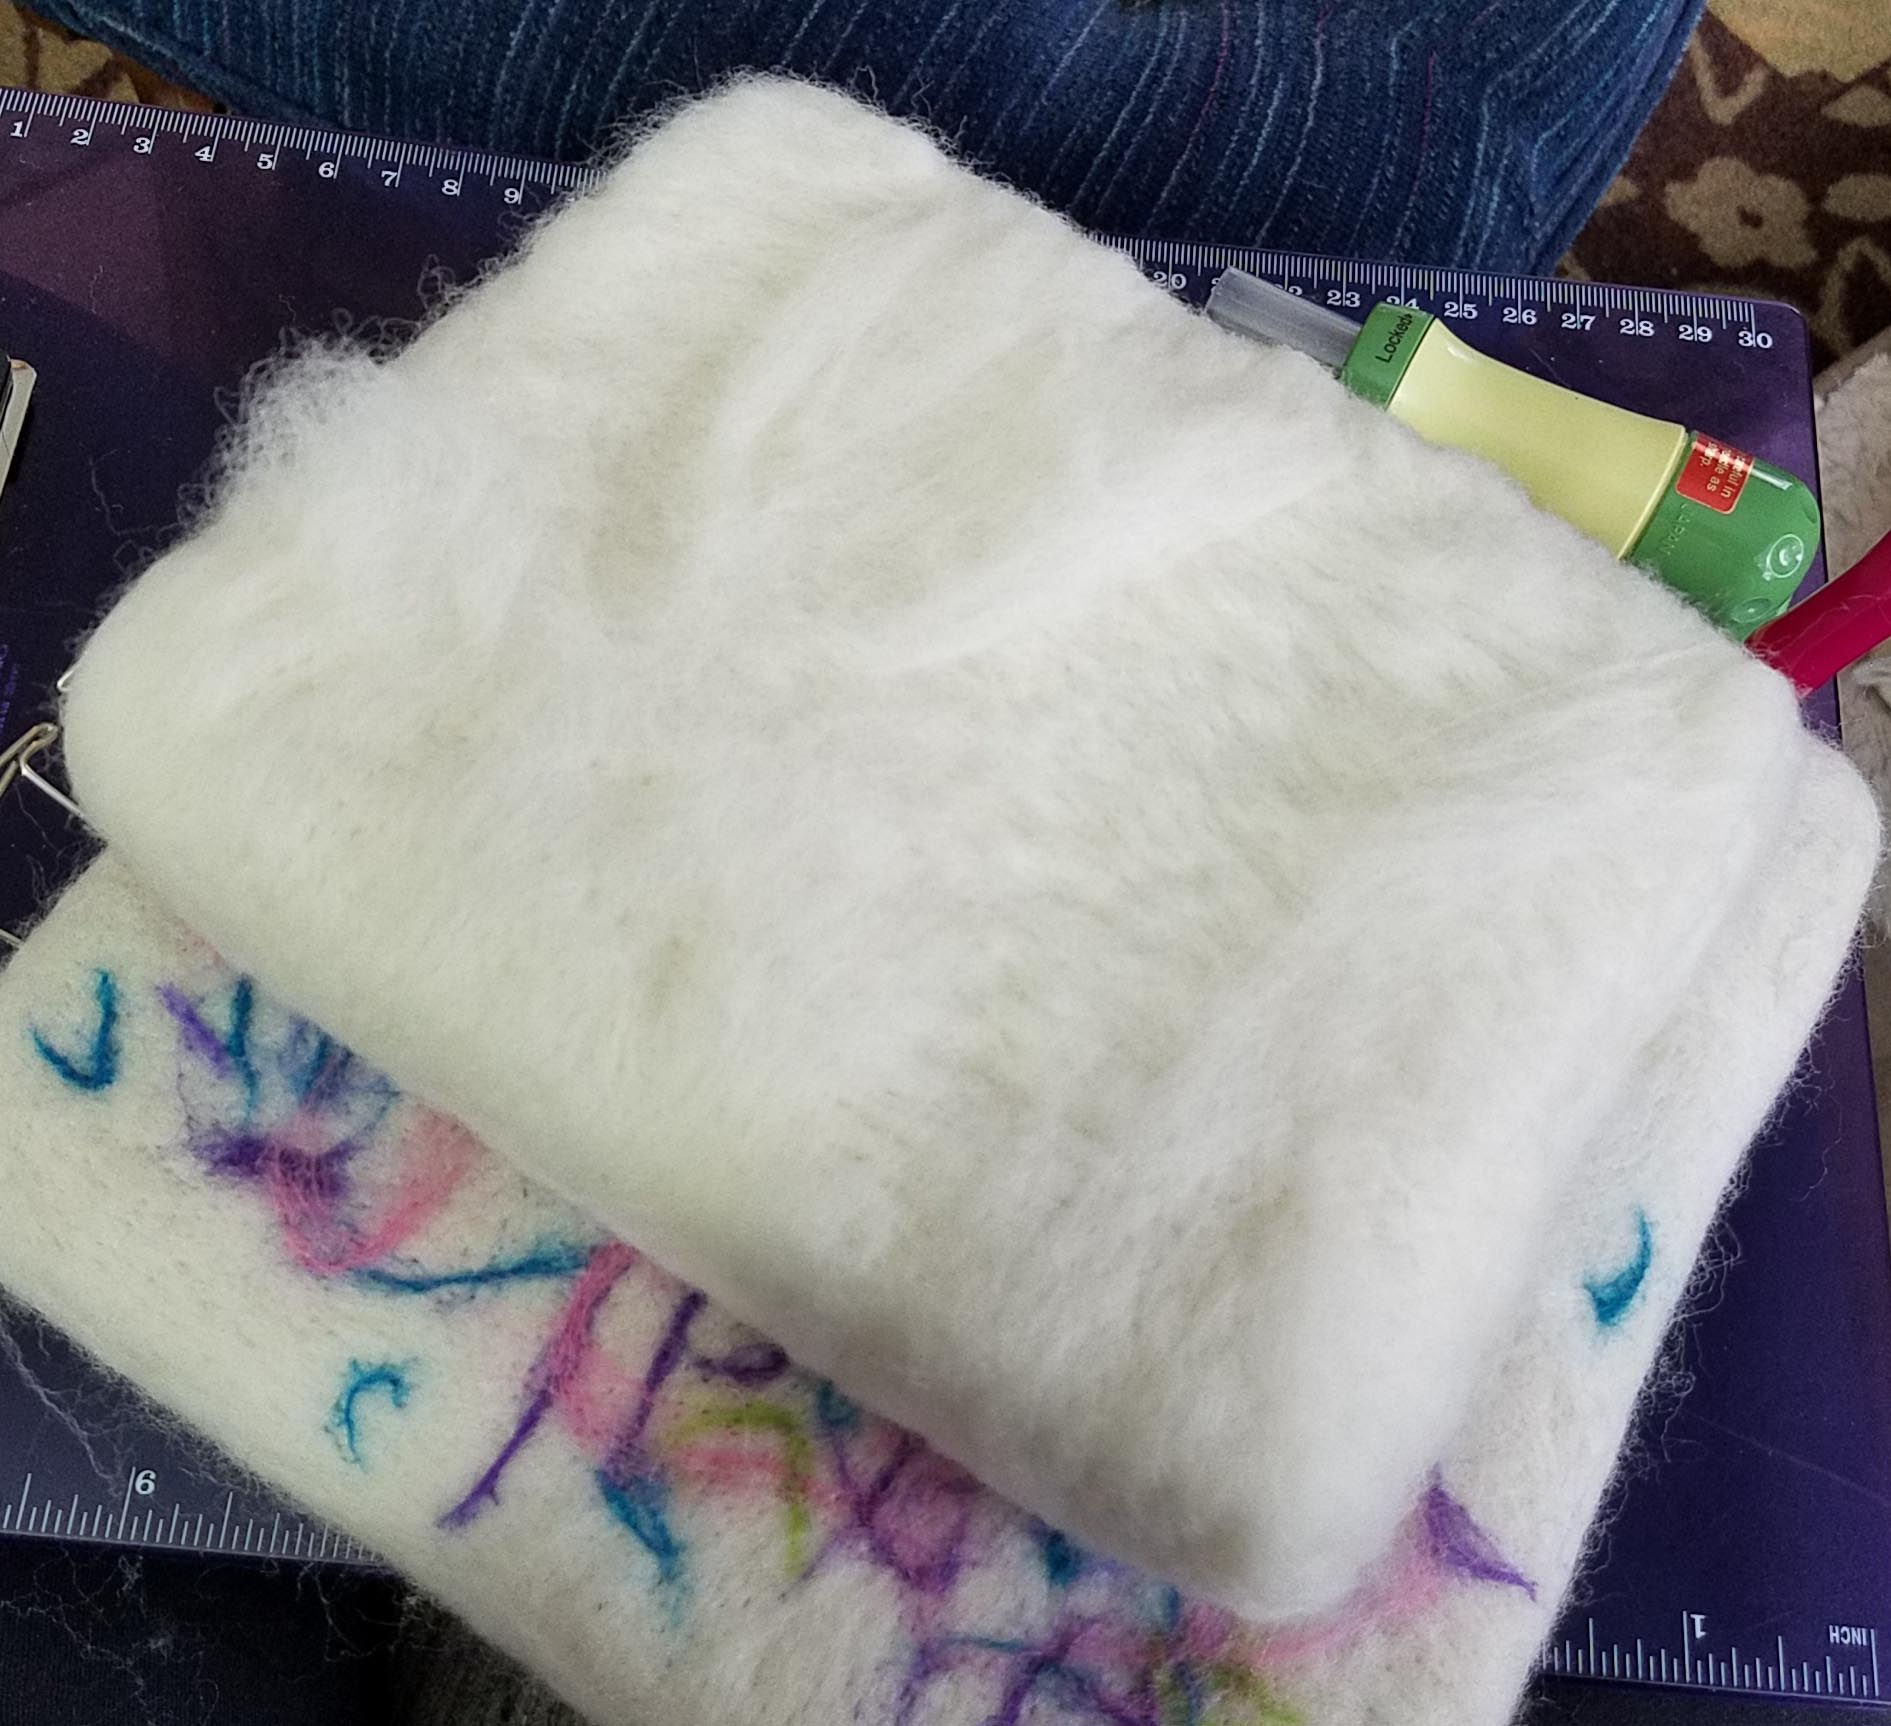
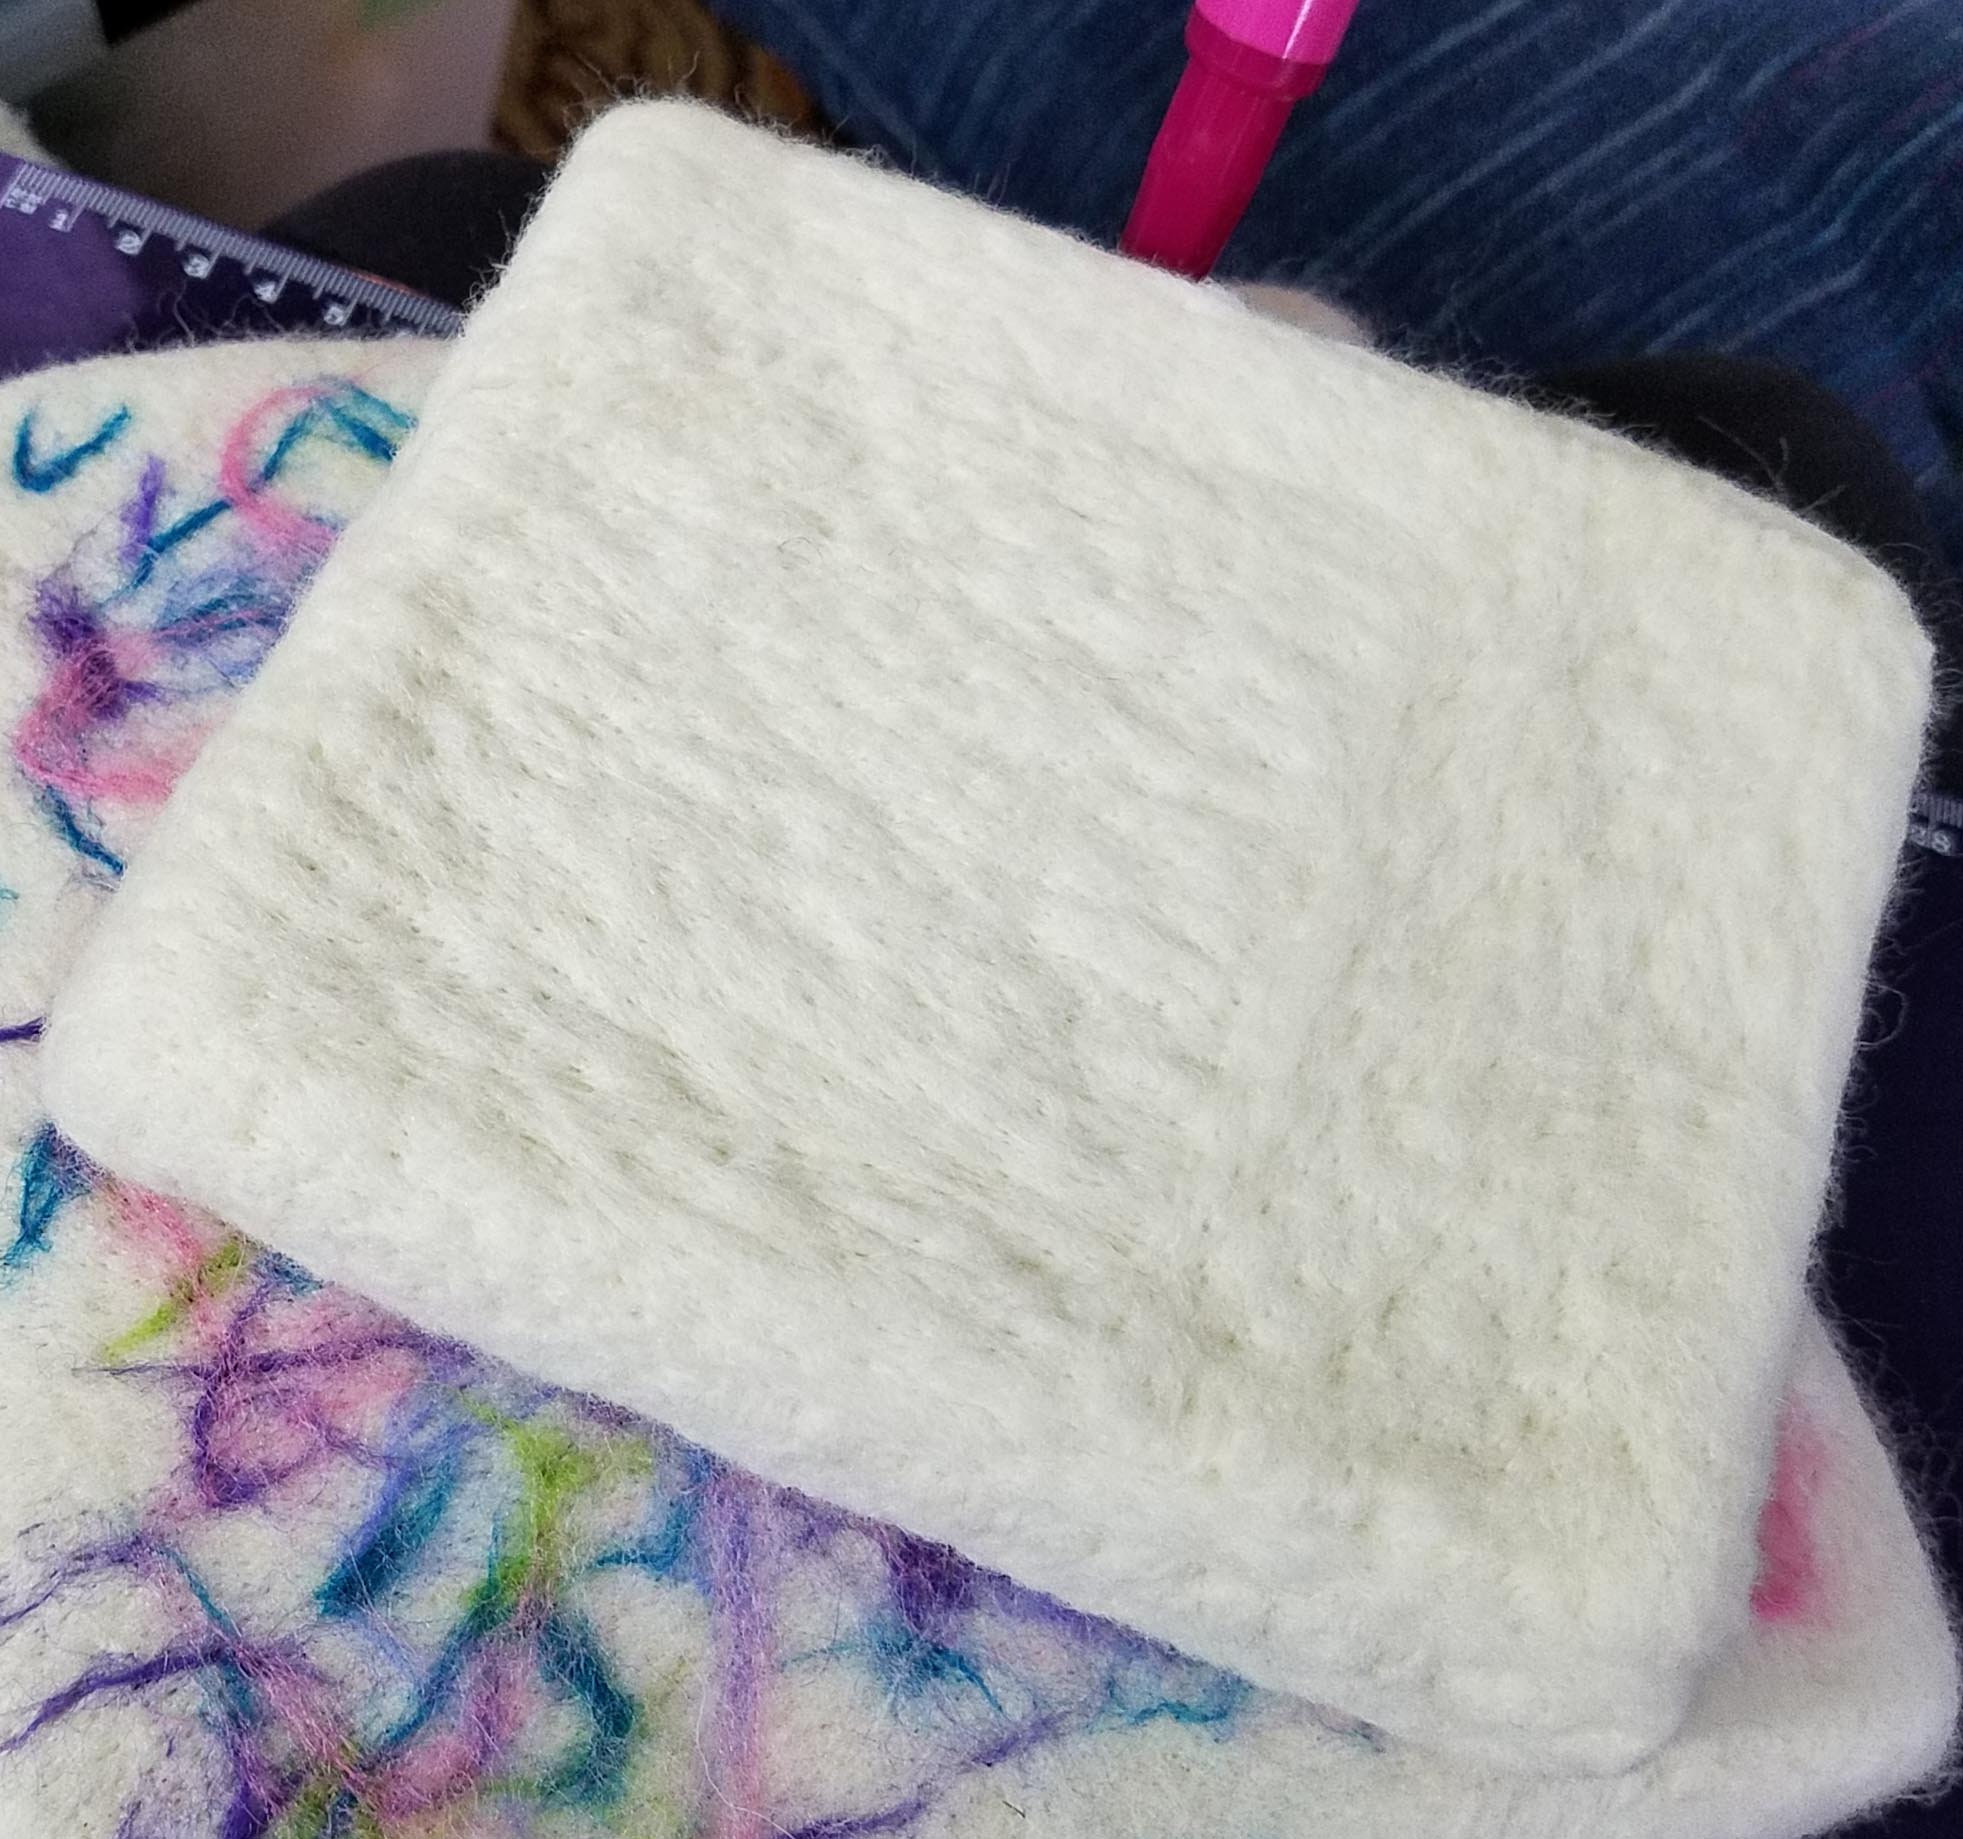
I am pretty pleased with how this rock came out. You can see how much the fiber shrank from the starting size to the finished size in the Before and After photos above.

The finished rock is only a little bit bigger than the foam core. You can get an idea of the relative sizes by looking at the shape in the remaining foam.

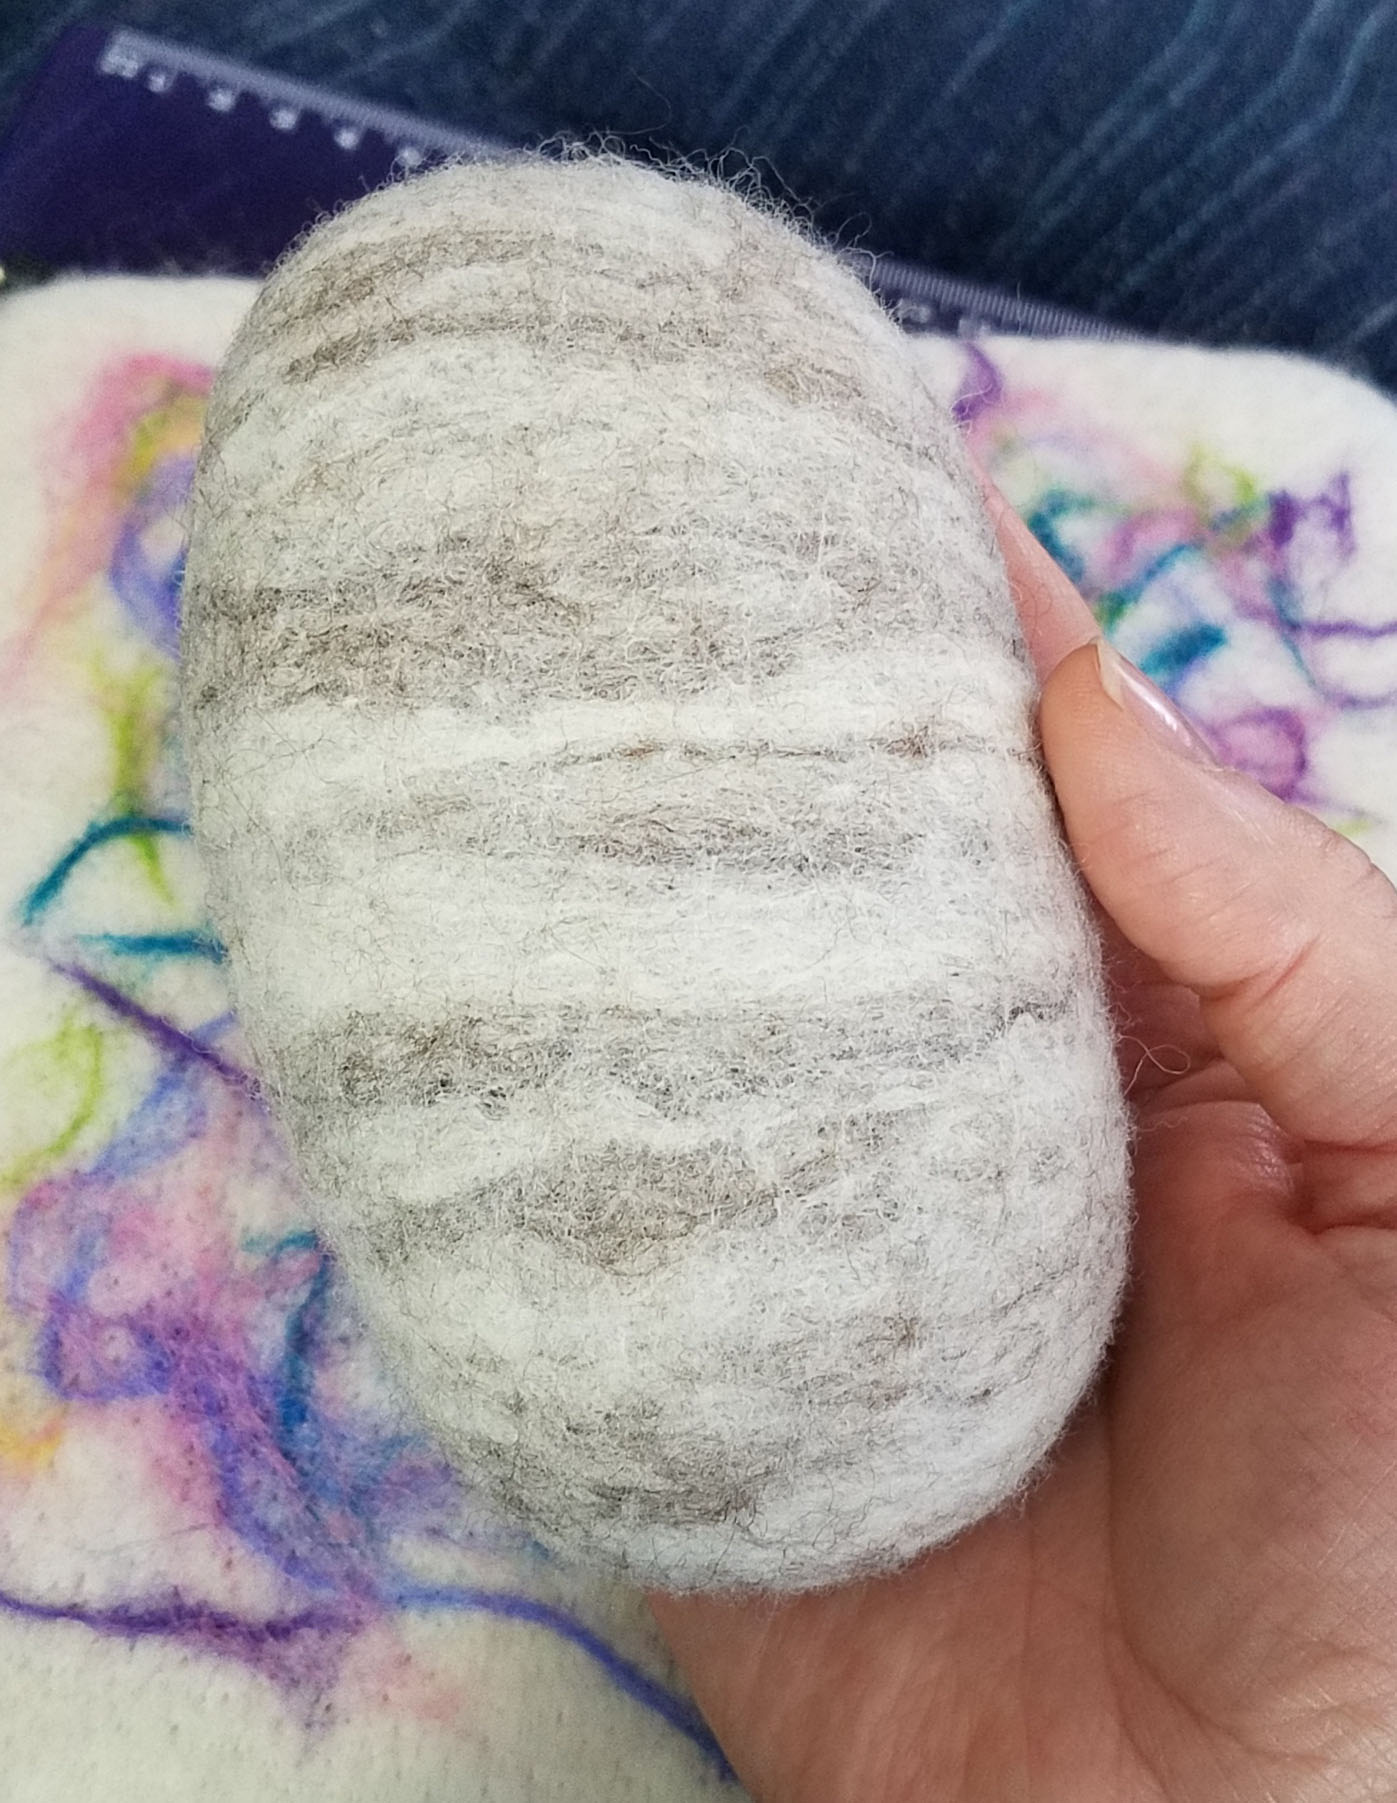
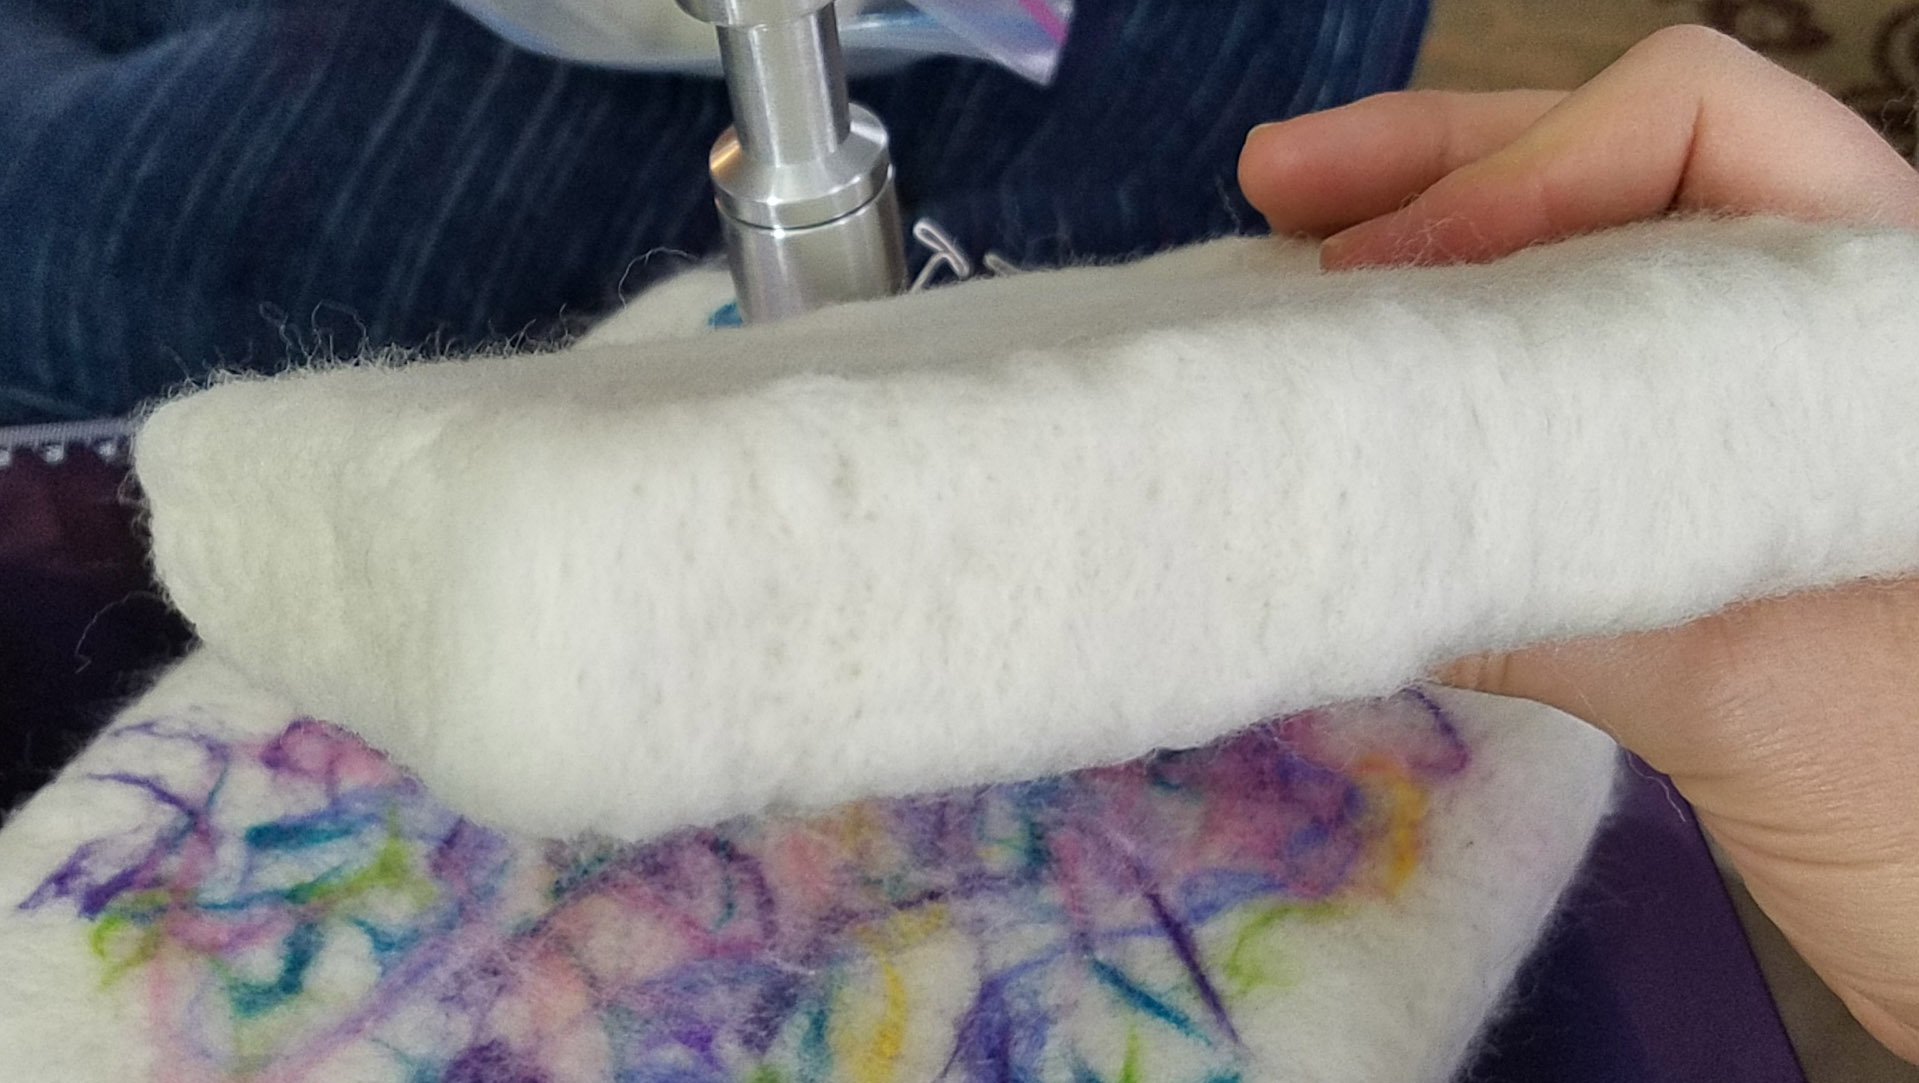
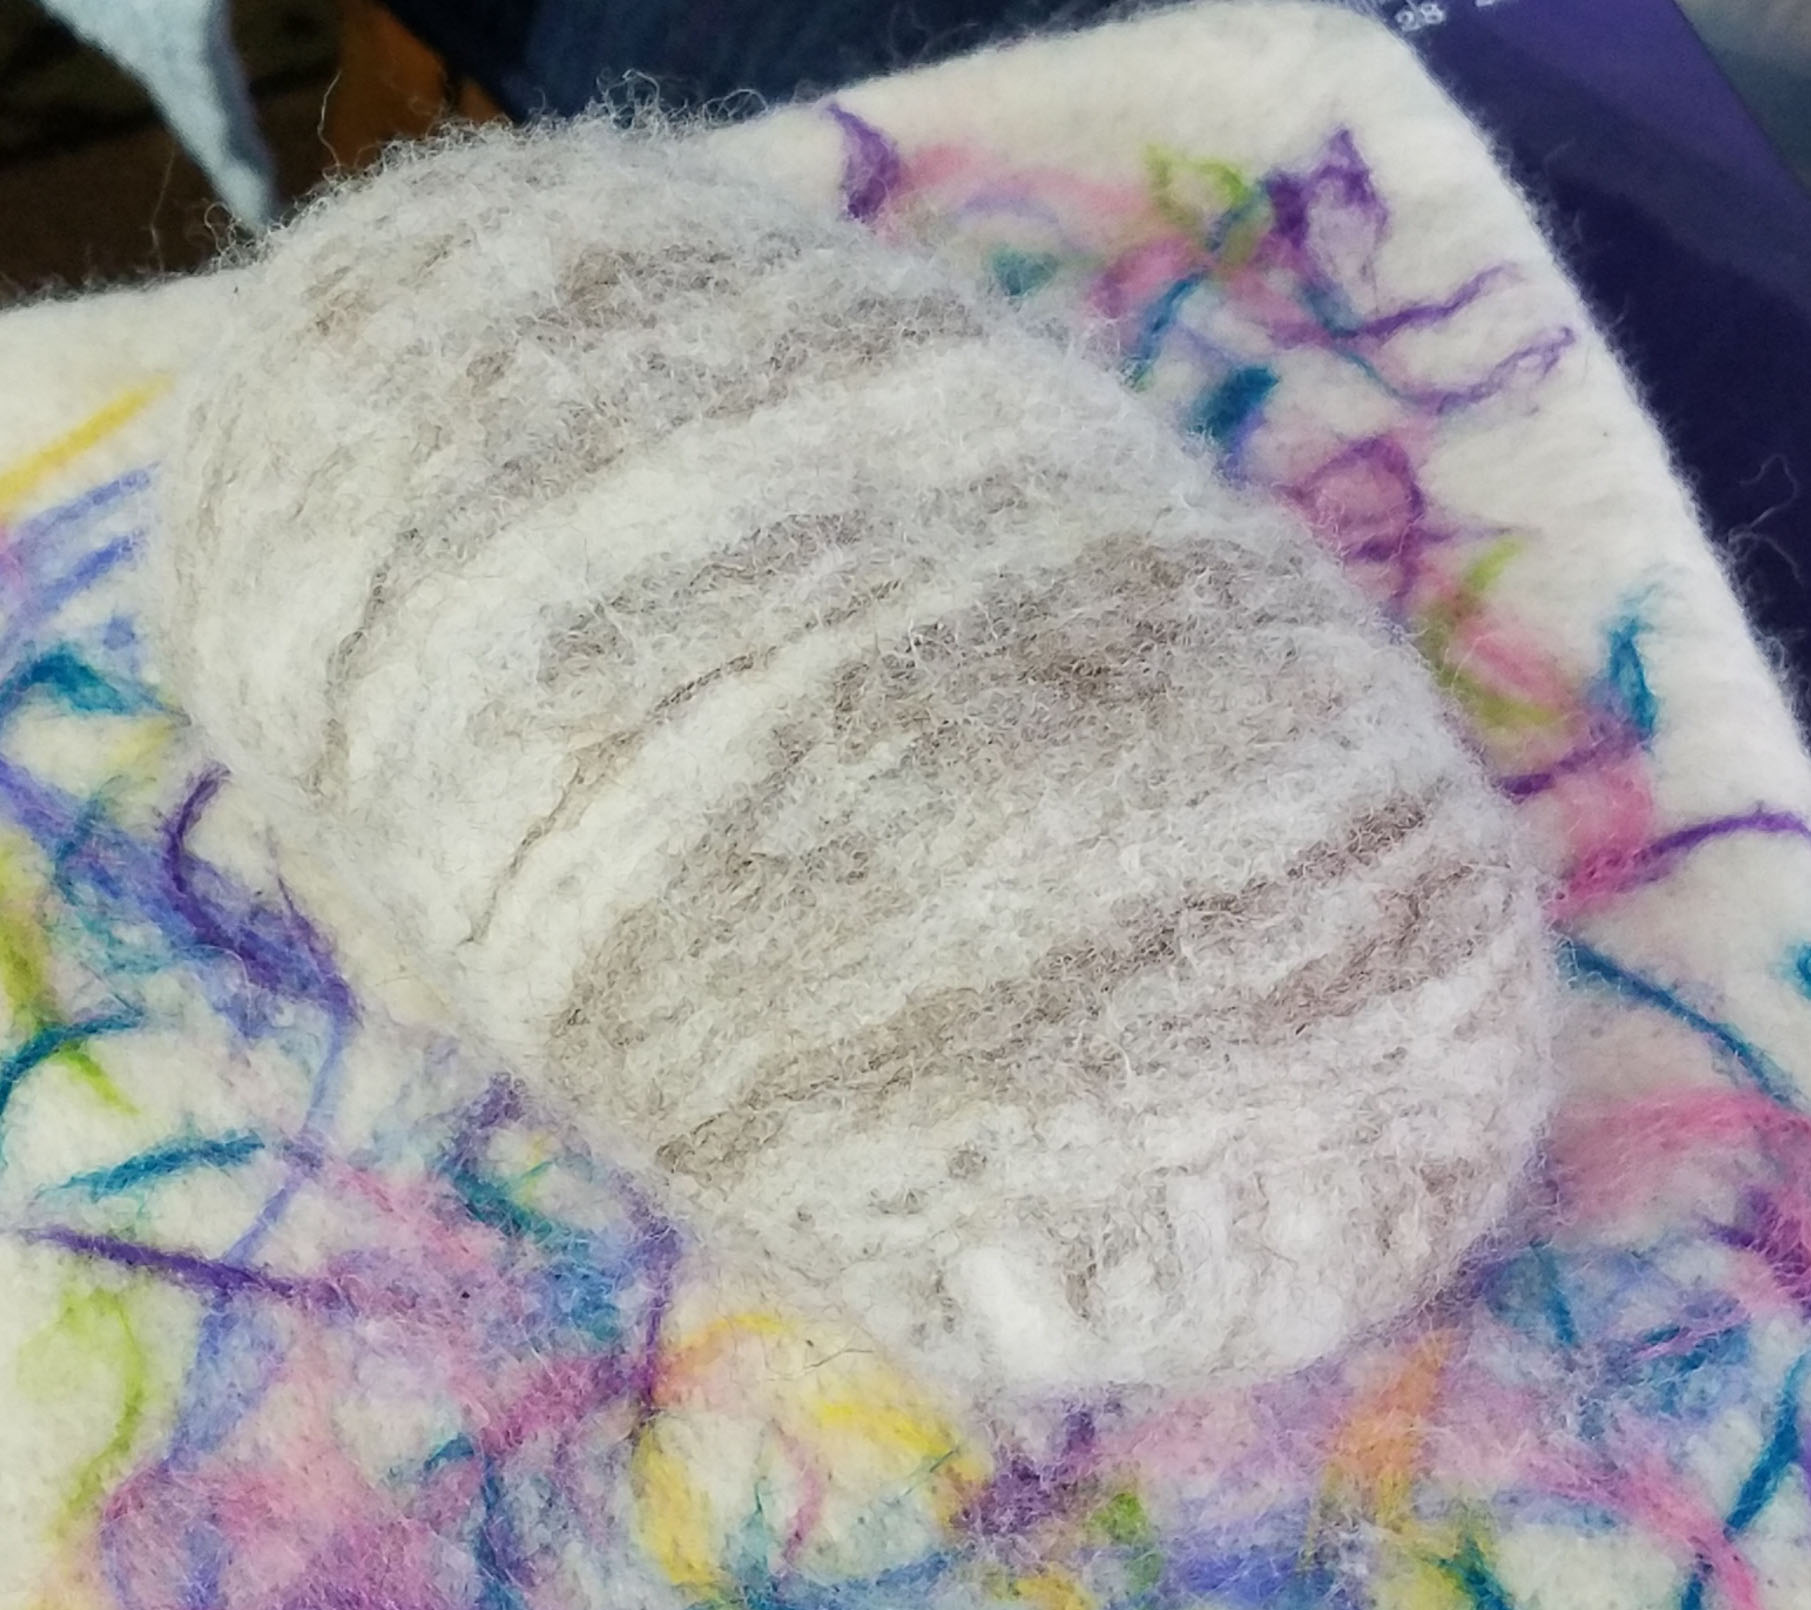
The patterning on the rock from the “special” fiber actually came out very well. I definitely have a side I consider the “top” of my rock.

This is my finished rock from the bottom.

And the side. Any way you look at it is pretty “rock like”.

I learned so much making this rock, one of the most important things was how much work it is felting a rock. I’m sure with practice I would get faster and have better results. But I would say it would be worth every penny to purchase a rug or other item from Martina. There is an incredible amount of labor in her pieces.

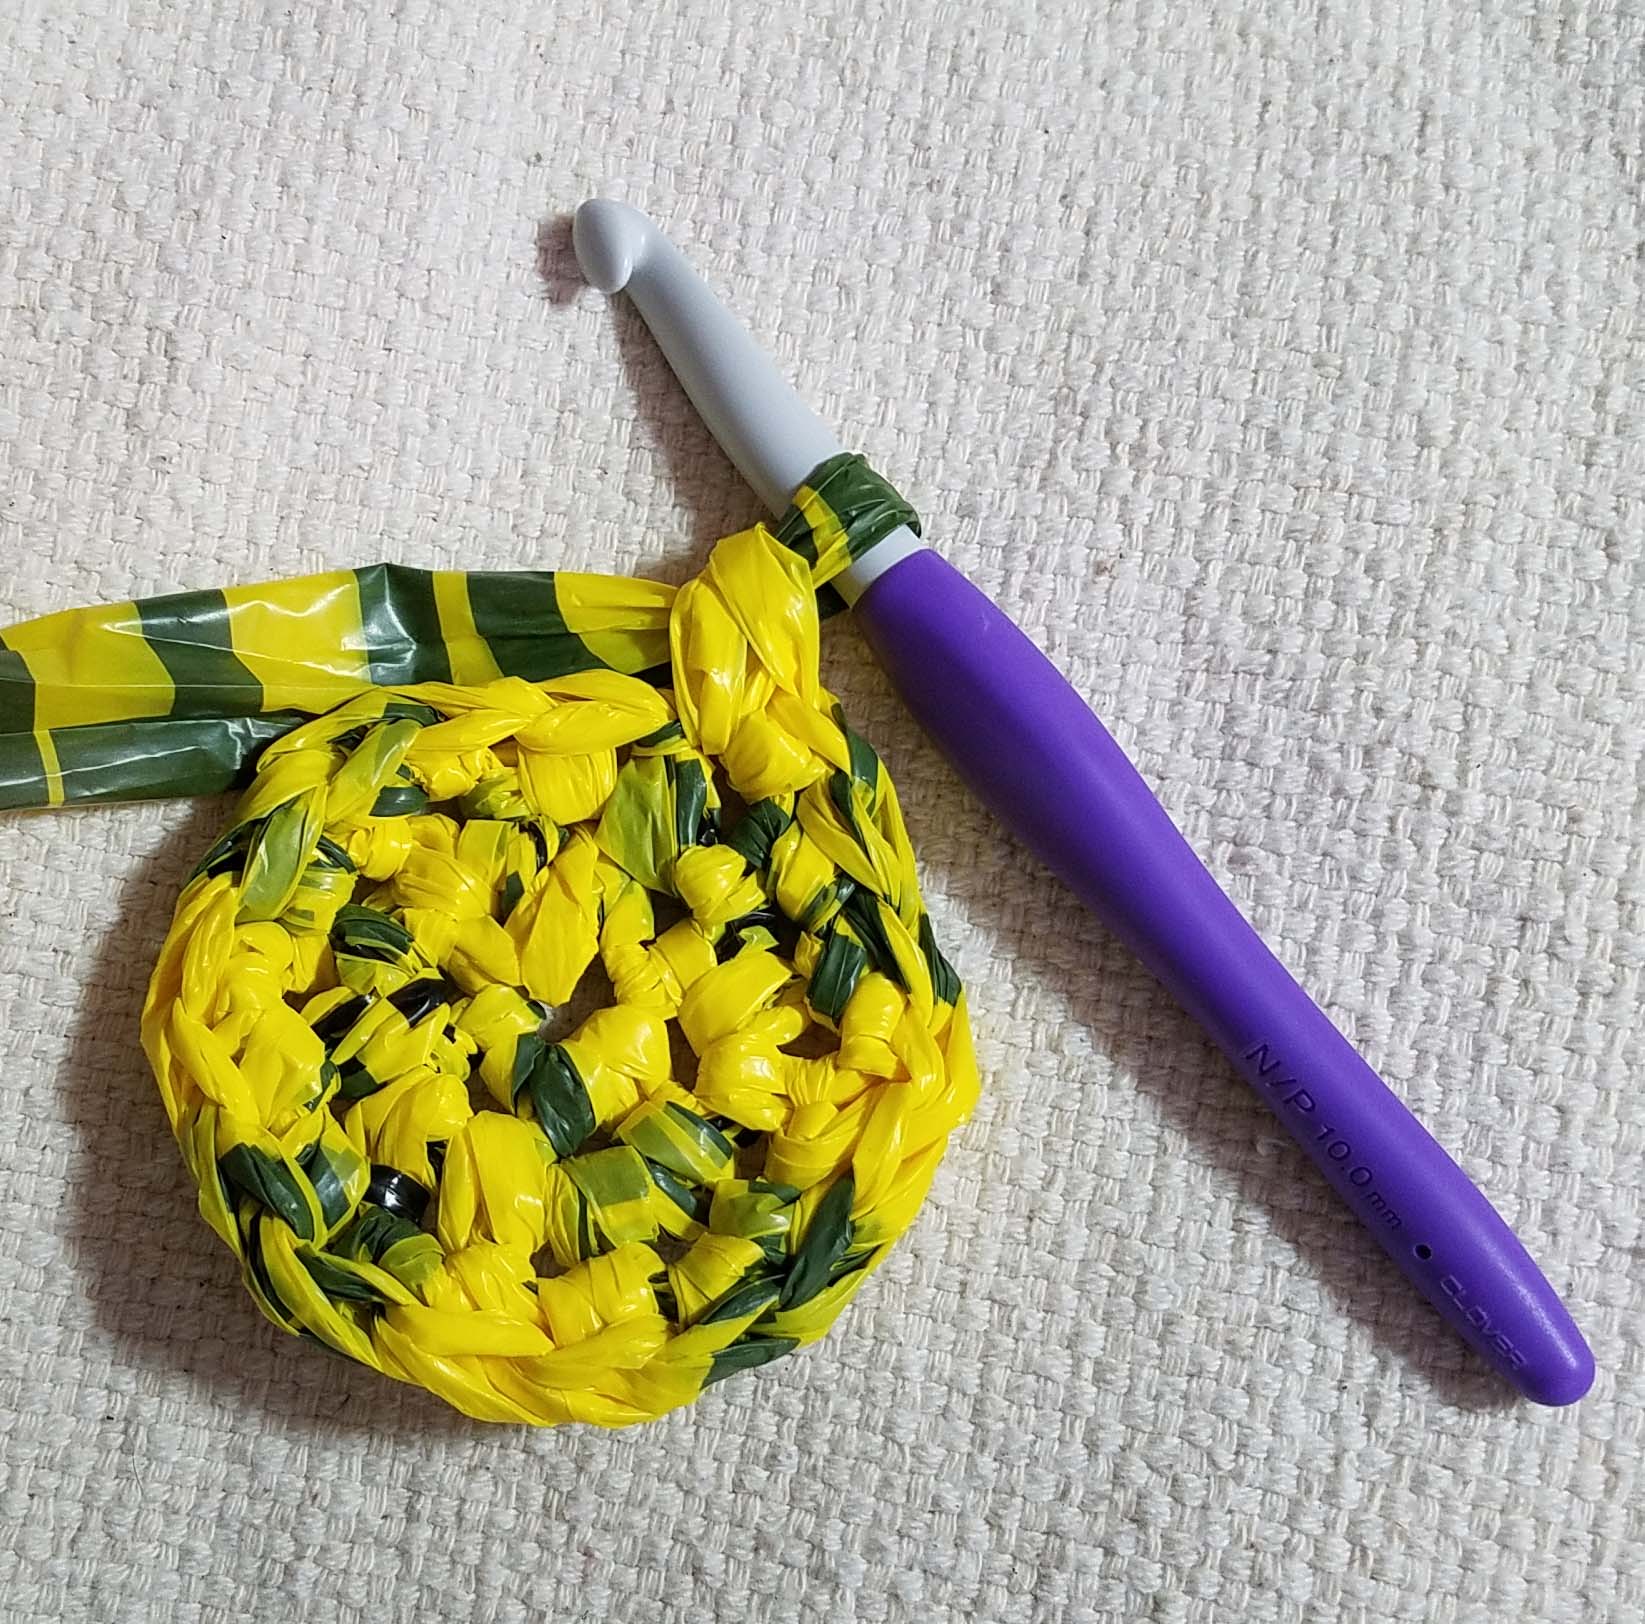
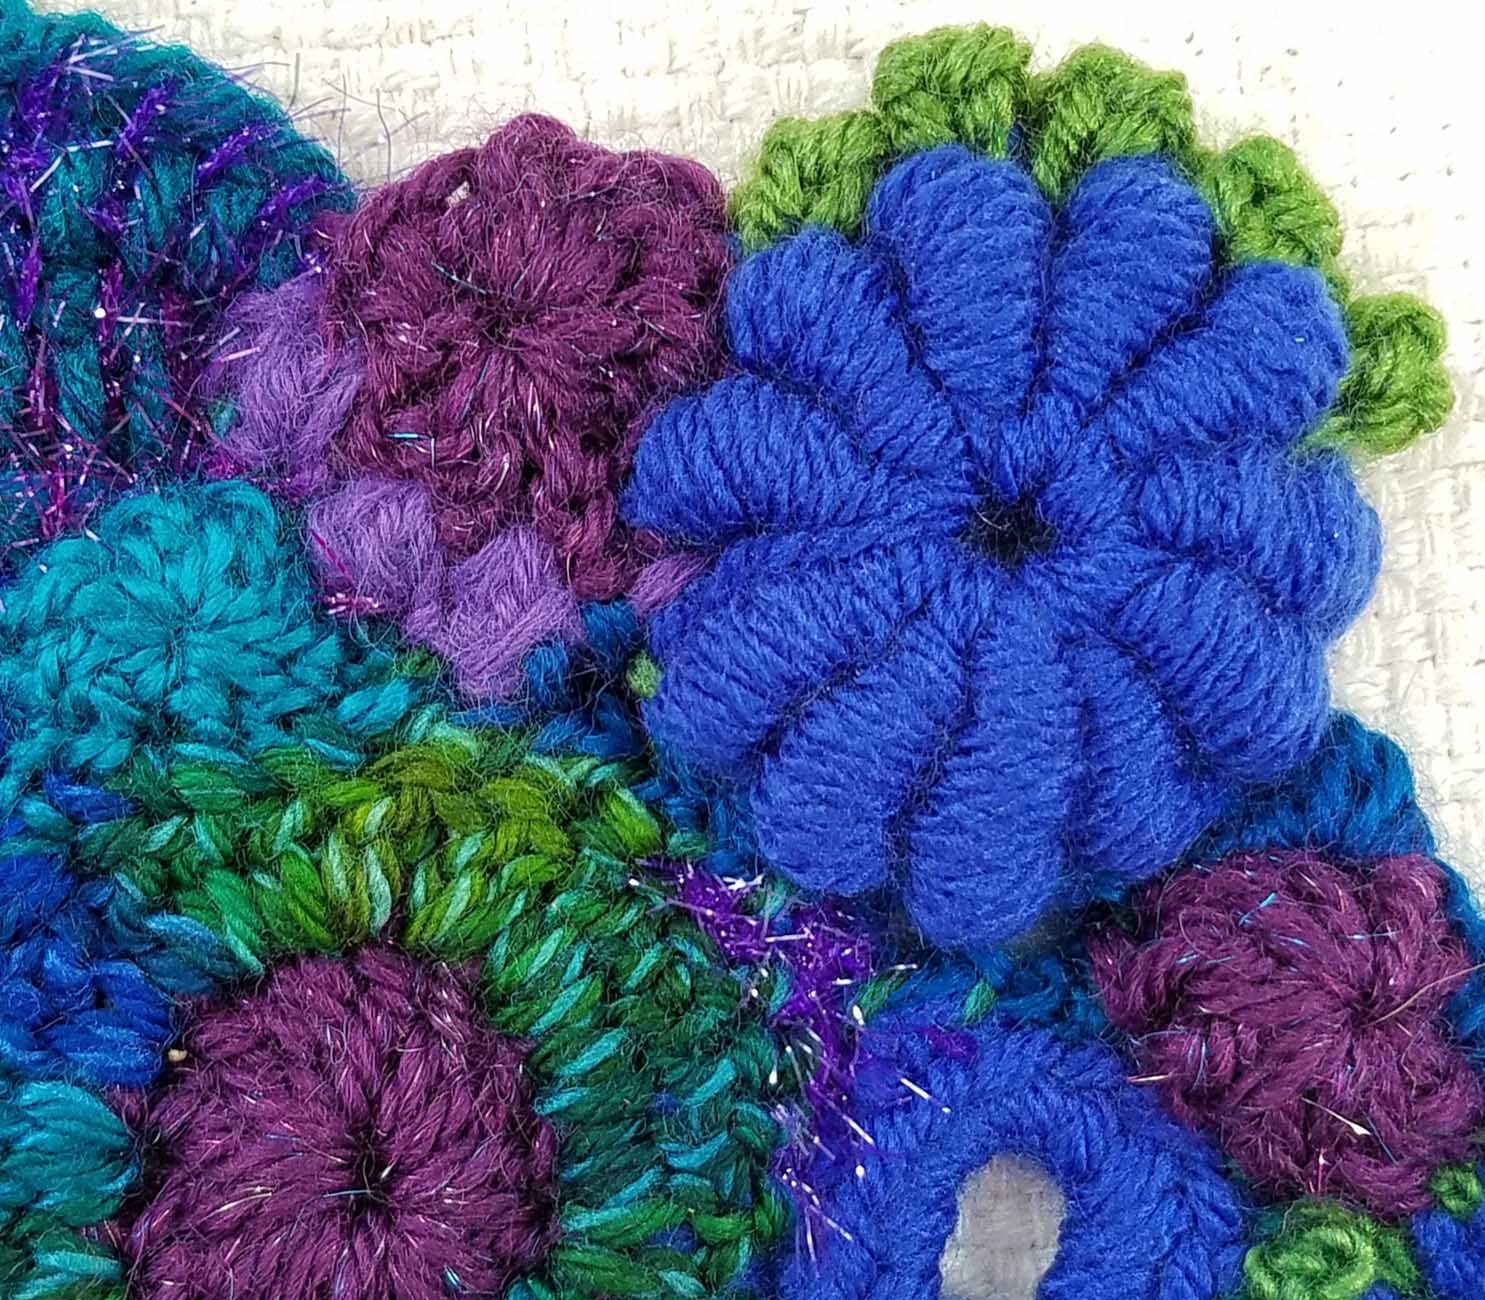
I may make some more rocks, but I think they will become a pillow for the sofa and not a rug. I was thinking that I could crochet the backing for the rocks to be sewn to, or I might even needle felt the rocks to my crocheted fabric. That would be the ideal marriage of both my current favorite crafts.


Another Experiment with Plarn

Plarn Spring Basket

The last time I wrote about crocheting with plarn was nearly 7 years ago. I had made the basket pictured above using the green bags that our local newspaper was delivered in. That was my first experiment with working with Plarn.  Then life got busy with designing crochet patterns for magazines, books and yarn companies and I didn’t re-visit the Plarn experiments I had hoped to do.

For those of you that may not have ever heard of Plarn, it is yarn that is created by using loops or strips from plastic shopping bags. But it can be created or upcycled from other plastic materials.

This past weekend was super busy at my house. My youngest son was celebrating his birthday by having a bunch of his friends come up for a Nerf Gun Battle on our property. For those of you that are visiting my blog for the first time, I live in the mountains of Colorado and our property is about 2.5 acres of vertical land with lots of Lodge-pole and Ponderosa pine trees. A great place for a bunch of 11 year olds to romp and play.

Our property is bounded on 3 sides by the county road, but our wooded boundary is a little less defined. As a courtesy to our neighbors in that direction we put up a “Caution” tape barrier to remind the kiddos not to pass that. The birthday boy and I spent the morning putting up the tape. After the party I went out to take down the tape.

As I began walking along unwrapping it from trees and winding it into a big ball, I found myself looking at it and thinking, “This would be interesting to crochet with.” I also hated the idea of putting it in the trash to be more plastic in the landfill.

Part of the party set-up was that my husband purchased a bunch of the Nerf “Elite” darts for everyone to use. We now have a LOT of darts at our house. During the party I had tossed all of them into a 5 gallon bucket from a construction supply store. Frankly it’s a lot more container than is really needed. Lightbulb moment… I could crochet an awesome container for them from the used “Caution” tape. You saw that coming, didn’t you?

The tape is 3 inches wide and very thin, just like most of the plastic shopping bags out there. I have 2 pieces of it. One from the long stretch in the woods and a much shorter strip that was used for marking off a hazard area on the property that we wanted the kids to steer clear of.

I’m planning on working with the shorter strip first to see if I want to split the tape lengthwise. It will add a lot more work to the project, but may save my hands in the long run. In my first experiment with plarn I found the thicker strips to be more challenging to crochet, partly because of the larger hook size needed. I also discovered that I did better with a wooden hook, as the metal or plastic hooks I had tended to “grab” the plarn.

Looks like I’ll be doing some “swatching” with my plarn before I am neck deep in this experiment. I want to create a wide bottomed tote with large handles integrated into the top edge. The kids can then carry it easily, or even hang it up by one handle as a “target”. The best bit about that? They will be putting the darts away when they hit the target. Maybe that will make them want to clean-up more? Well, a mom can dream.

Experimental Swatch #1

I worked with the tape 3 inches wide, the size it comes off the roll, and crocheted with a 10mm size wooden hook (Uncle Cy’s Woodshop hook). I loved how cushy and thick this fabric came out, but I really felt like I was fighting with the plarn and the hook. I was only working 3 rounds for these swatches and by the time I had 3 finished for this one I was wiped out.

Experimental Swatch #2

I split the tape to 1.5 inches wide and used my size 6mm metal hook (Clover Amour). This hook worked great with the plarn and cutting the tape to half its original width definitely made it easier to crochet. The metal Clover Amour hook is so smooth it was like Teflon, it slid thru the plarn with ease.  But…I felt like the fabric was too thin for what I want the tote to be. It was also really tedious to cut it in half.

I used scissors to cut the bit I used for the swatch.

I also experimented with the idea of cutting the tape while it was on the cardboard roll that it came on when I purchased it. There was some left-over on the roll. I used a utility knife to cut thru it. That worked okay, but re-winding all the tape in the big ball did not hold a lot of attraction for me. I might play around a bit more with the left-over tape to crochet a wearable pouch that the kiddos can use to carry extra darts in when they are running around.

Experimental Swatch #3

Went back to the wider tape again. This time I used a 10 mm plastic hook (Clover Amour). I was hoping the larger Clover Amour hooks in plastic might have a similar smoothness to the smaller metal ones. The hook was much less “grabby” than some of the acrylic hooks I had worked with in my first plarn experiment. Unfortunately it was still a bit of a fight. I really felt I was having the best result with the metal hooks or maybe it was the smaller sized hook?

The photo above is Swatch #3 and Swatch #2. You can see the difference in size for these 2 swatches. I really wanted to work with the tape at it’s original size. For one thing, it would mean fewer rows to crochet the size of tote I had in mind. The thicker fabric would also be more durable with the amount of use I’m figuring this tote will get.

I messed around with trying to crochet with my J/6mm metal hook and the wider tape. It was a lot of work and I had to keep reminding myself to pull all my loops out bigger than the hook shaft size. I tend to be more of a “rider” style crocheter so I keep my loops pretty close to the size of the hook shaft and it’s a hard habit to break. I really needed a metal hook in the larger sizes, like 9mm or 10mm. This is when it comes in handy to be an avid collector of crochet hooks.

Back in 2014 I took a trip to visit Jan and the 2 of us met up with a bunch of friends at the Lion Brand Yarn Studio in NYC. Both of us purchased sets of the Hiya Hiya crochet hooks there. The majority of the hooks in the set are metal including the larger sizes: 8mm, 9mm and 10mm. I dug this set out of my “hook drawer” and decided to give the 8mm and 9mm a try. Metal and smaller, but not so small it would be a fight.

Experimental Swatch #4

Well the 9mm size hook was good, but the hook shape was still a bit of a fight. The bulb like point and tapered throat of the Hiya Hiya hooks is very similar to the Boye hooks, but not ideal for this project. I did like the size of my stitches and the metal was definitely easier with this plarn.

Experimental Swatch #5

Time for a bit more digging in my hook drawer. Ah ha! I found I had some of the larger metal hooks in the Bates Bamboo handled style. I even had a 9mm one. We have a winner! This hook worked the best with the plarn and gave me the size stitches I wanted without fighting.

It’s still a bit tiring to my hands to crochet with the plarn, even with the best hook for the job, so I’ll be working on this project a little bit each day to save my hands (and my sanity). Once I get it further along I’ll show you what I came up with. I’m just hoping I’ll have enough plarn to finish the job. I do have a back up plan if I run out though.

Making Your Own Felting Pad

You may recall when I took the needle-felting class back in January 2016,  the teacher introduced me to the idea of using felted wool pads to work on, instead of the usual foam rubber option. The wool pads don’t break down like the foam ones, and they are better for the environment.

One of the first things I did after returning home was make my own felted pad for working on. You can see my adventures with creating it in my blog post “Playing with Sharp Objects Again”. I also knew that I would eventually be teaching needle-felting classes, so I started making small felting pads that I could loan my students during classes.

I had someone ask me the other day if I would be making the pads to sell to other crafters. I won’t say a definitive “no” to that, but currently it isn’t at the top of my list. I would always rather teach folks how to make their own.

I had made 5 or 6 of the smaller pads during my last big needle-felting spree. I had attempted a number of different methods for creating my pads and wasn’t really pleased with any of them. During my needle-felting hiatus, while crochet took the front seat in my attention, my subconscious must have been chewing over the problems I had encountered.

When I decided to make more felting pads I realized I could use the “framing” method for at least getting my basic shape started for each pad. The question then was, what to use for the frame? In my house there are always lots of recyclables waiting to go to the recycling center in town. I dug thru what was in there and found an empty box that was just the right size.

I cut the sides that I wasn’t going to use and folded them over the sides I was keeping, then strapped the whole thing in place with clear packing tape.

The final box was a bit floppy and wanted to turn into more of a rhombus shape than a rectangle. How would I keep it from deforming when I was working on the pad?

My solution was to use some of my T-pins that I use for blocking. I squared up the box on top of my working pad, then used 2 pins along each side to hold it in place.

I didn’t place the pins at an angle to the sides, instead I slid them straight down the side of the box into the pad. Once the box was sitting securely on the pad I was ready to add fiber.

For this pad I decided to work on keeping the corners as squared as possible. To do this my plan was to fill the corners first to increase the density.

I placed 2 strips of fiber along the long edges and needled them a bit with the single needle to secure them.

Next I filled in the space between, tucking some of the fiber under the edges of the 2 pieces already in the frame. I used the single needle to tack this all down more.

Then I filled the whole frame to overflowing with additional fiber, concentrating it around the edges and corners. Time to do more needling to felt down this fluffy fiber especially around the sides and corners.

Next I used the 6 needle tool, that my friend Pam gave me, to felt the fiber further. The great thing about a multiple needle tool is for every strike with the tool it’s like making the same strike with the single tool 6 times. This speeds up the felting process a lot and is a bit easier on your body.

At this point the pad was felted enough that I was ready to flip it over and work from the other side. It is important to keep flipping the pad as you work on it, otherwise it can become firmly felted to the working surface.

I slipped my fingers along the side of a long edge and gently peeled up the pad of fiber from the working surface. Then I flipped it over and re-inserted it in the frame with the bottom on the top.

The fiber that is facing upward now is still pretty loose, I used a combination of single needle and multi-needle tools to felt it down.

These are the corners and edges after some single needle work.

Next I added more loose fiber to the edges and corners.

More work with the single needle to secure this new fiber.

Then I felted it further with the multi-needle tool. The pad is formed enough now that I’m ready for the next stage.

The next stage of making the pad starts with removing it from the frame. You can see in the photo that there was a little hole in my fiber in the lower right-hand corner. I solved that by needling a loose ball of fiber into that spot to fill it in.

Next I wanted to shape up the sides and corners of the developing pad. I used my single needle to felt them. I use a diagonal strike when working the edges, that way I’m not working straight toward my hand holding the project. When the fiber is still relatively loose the needle can come thru deeper than expected and you’ll stab yourself. I’m speaking from the voice of experience unfortunately.

For the pad to be useful it needs to be at least 1 inch thick and dense enough that it takes some force to penetrate the full depth. To that purpose I continued to add more fiber to increase the pad height and density.

I would switch off between the single needle and the multi-needle tools to compress the fibers of wool.

Once I felt like the edges were dense enough I switched my focus to increasing the density of the center of the pad.  This is the section that will get the most action when the pads are in use. Fortunately, with a felted pad it is simple to add more fiber to areas that are getting too worn.

I added loose fiber laid in the same direction and overlapping the edges. I did some rough shaping and tacking of the fiber with the single needle.

Next I concentrated on using my multi-needle tools for compressing the fiber. I used my Clover 5 needle tool (finer needles with more barbs) as well as the 6 needle aluminum tool.

Once the fiber on the flat surface was felted down fairly well, I gently and firmly folded the loose ends around the sides of the pad and secured them on the opposite flat surface.

This is the pad after that step. I needled some more along the sides and on the flat surface to finish incorporating the rest of the loose fibers.

This is the flat surface view at this stage of work. It is getting firmer, but I still have a ways to go.

You can see looking at the edge that the felt is still fairly porous. To complete the pad I continued adding loose fiber on the flat surfaces and wrapping the loose fiber around the edges. I worked both vertically and horizontally with how I lay the fiber down. I also added fiber to both sides as I went along.

This is the finished pad, I will likely continue to work on it with the multi-needle tools to firm and smooth the surfaces. My pad in this post took 3.2 ounces of wool fiber and is 5 1/2 inches x 5 inches x 1 1/4 inch in dimensions.

If you are making your own felting pad and want one side of your pad to have some color, making it easier to see natural colored projects, you can felt in some yarn ends or colored fleece. To see an example of how I did that on my pads check out my blog post: “Deconstructed Yarn Painting”.

Gypsy Wools and Clover Felting Tool

I spent a good part of my Tuesday running shopping errands before picking up Thing 2 from school. Right before I headed over to his school I decided to make a quick stop at Gypsy Wools. They are a fun shop in Boulder that carry a variety of yarns and fibers, as well as embroidery supplies. They also have a marvelous selection of fiber crafting tools.

My main reason for stopping there today was to acquire a few more felting needles and 2 of the Clover Single Needle felting tools.

I’ve been doing a lot of single needle felting work lately and my hand gets a bit tired. Since finding ways to craft without injury is one of my touchstones, I kept thinking that I needed to create some sort of ergonomic handle for the needle. Then I realized that I had such a tool already. I purchased one of these Clover tools about a year ago and have used it primarily when I am doing details like adding yarn embellishments to a needle felting project.

It comes with a 40 gauge needle, which is one of the thinnest.  All the Clover Needle Felting tools recommend that when replacements are needed you use the Clover Needles. I do love their needles, but I have lots of other felting needles, and I decided to see how well they would work in the tool.

The tool breaks down into 4 pieces: the handle base, the locking handle top, the clear needle cap, and the needle.

What makes this tool so effective is the little notch on the top of the handle base.

That notch holds the needle in place, so the needle won’t twist in the handle and break when you are working. The top of the handle has a metal disc that is firmly held against the top of the needle when the top is locked in place.

This is the whole handle reassembled with the needle in place. The needle in this photo is 3″ long, so it fits perfectly in the handle and the clear cap can be placed over the needle when the tool isn’t being used. This is a handy feature as it prevents jabbing oneself when fishing around in your tool kit for what you need.

The cap can be moved to the back of the tool when felting, but I’m not a fan of using a pencil hold when doing single needle work.

The photo above shows my preferred position to hold my felting needle when working.

Using the Clover tool works beautifully with my preferred hold, I simply leave off the cap and the shape of the handle allows me excellent control of the needle with a much more relaxed grip.

I have found that I prefer to use the 3 1/2 inch long needles when doing single needle work. This means I can’t place the clear cap over them in this handle. I just have to be a bit more aware of where the sharp ends are when I’m reaching for a tool in my kit. Though, I am finding with the additional length from the handle top, I may be liking the 3 inch needles better when using the Clover tool.

I am using my Clover handle much more now, and decided that I needed more of them. This way I can have a different gauge needle in each handle. Which is what motivated my trip to Gypsy Wools today.

Now, you remember at the beginning of this post, I said that I had planned a quick stop to just get some needles and tools? As you can see from the photo below, I ended up with a bit more than tools. The very helpful (one might say enabling) Barb said, “Have you seen all our loose fiber we have on sale? It’s 50 cents per ounce” Whoops.

I now have 8 ounces of some wonderful dyed and natural colored fibers to play with. There was even a bit of fiber that was a partially felted sheet that intrigued me. It is probably a good thing I couldn’t stay longer or even more may have ended up in my basket. Some of the green stuff is a combination of wool and silk. I’m really looking forward to experimenting with needle felting it.

Despite all the running around today I did manage to get a little crochet time in. I’m still working on my “super secret” projects for a magazine, which means I can’t share photos of my progress on those right now. Of course, my crochet design brain never sleeps, so I also came up with an idea for a new project this evening.

I’ve been wanting to do something with this beautiful linen yarn from Juniper Farms for ages. I have 2 balls of it and have made a couple of tries that I ended up pulling out.  I’ll be crocheting some swatches with it tomorrow to see if this latest brain storm is going to come out as nicely as I hope. More on that soon.

Another Bunny, Another Easter

As you can tell, I’ve been having way too much fun with needle-felting lately.  Since tomorrow is Easter I thought it very appropriate to create a sweet little bunny this week.

I didn’t take photos of each step during his creation because I wanted to see how quickly I could make him. I started him about 7:30 in the evening and he was finished by 11. I had a number of interruptions from the family while I was working on him, so my estimate is that he took me about 2.5 to 3 hours to make.

I wanted to create him using the natural colored wool fiber with just a few touches of added color. I used some dark brown yarn for his eyes, and a little bit of pink roving for the color inside his ears and for his nose.

Don’t despair though, I’ve not abandoned crochet entirely for the sharp needles. In fact, I’ve been crocheting on a bunch of samples. Unfortunately they are all freelance pieces I’m doing for magazines, so they are still in the super secret stage.

This past week was Casual Crochet at Longmont Yarn Shoppe. My friend Karen was busily crocheting goodies for her grand-kids’ Easter celebrations. Aren’t they cute? I loved the little baskets she made, the “grass” in the baskets is even crocheted out of bright green fun fur. She had heavily modified a pattern she found to make the baskets.

I think the little bunnies are the “Easter Marshmallow Bunnies” free pattern on Ravelry. They are super quick to work up and Karen was having a blast making them during the meet-up. I decided to try my hand at making some when I got home. I’m going to put one in each of the kids’ Easter baskets.

I modified mine. I only crocheted 2 layers of the head and body, making ears on the front layer only. It made the ears curl a bit, which I liked. I also didn’t stuff the bodies, I liked the flat squishy of them just 2 layers sewn together.

Now I’d better get on the ball with getting the baskets ready for my family. At least I’m not doing the wild trip to the shops to get chocolate bunnies this year. I actually purchased these 3 before we left on our Spring Break trip.  Since I didn’t procrastinate I found the dark chocolate bunnies without any trouble.

I even got some bags of dark chocolate Dove eggs.

I hope everyone has a “Hoppy” Easter.

Deconstructed Yarn Painting

This is one of my latest pretties.

Remember all those yarn tails I had leftover when I was working on some free-form crochet? Since they were all from 100% wool yarn I knew that I had a special job for them. At the time I wasn’t sure what it would be. I tucked them into a little zip lock bag and put them away.

Lately I’ve been doing a lot of needle felting in preparation for teaching it. I’ve made my own needle felting pads to work on.

I used some of those massive bags of fiber that I purchased from Brown Sheep Yarns last year at the Scotts Bluff Valley Fiber Arts Fair. That means that all my felting pads are the same color as the pieces I’m felting. Not the easiest thing to see with my “mature” eyes, especially in the evening using artificial lighting.

Then I had the brilliant idea that I could add color to the pads, using my left-over yarn tails! I told my friend Sue, who also does needle-felting. At the time I was saying I would cover the whole pad with color. She mentioned that sometimes she works with color and having a white background would be helpful.

That inspired me to only add color to one side of my pad. That way I would have both a natural white surface and a color surface.

First I started pulling apart the yarn. I would un-twist the yarn and then pull off strands or turn it into fluff.  I found it a little easier to do if I cut the yarn tails into lengths shorter than 2 inches. The single ply yarn was also easier to pull apart than the multiple plied yarn. Though the multiple plied yarn strands did add some interesting “wavy” texture. I filled up a container with all the deconstructed yarn.

Then I spread the yarn remains over the pad in a random pattern. It was rather fluffy and vague looking.

But once I felted it in using my multi-needle felting tool it looked quite beautiful. My final result actually reminded me of the expressionist paintings I saw last Fall at the Denver Art Museum. I’m thinking I may have to experiment more with this method of “painting” with yarn.

I’m going to need a lot more yarn tails.

Getting into the Swing of Things Again

Well, it’s been a bit of a hectic re-entry to life in our “normal” routine. We have had lots of snow and some very cold temperatures since our return, not what one would think of for Spring weather, though fairly typical for our springtime. I had quite a few things scheduled for this week, which would have been fine if I hadn’t had the wild 4 weeks preceding this one. I’m slowly chipping away at the mutant To-Do list though.

One of the best things about coming home from Spring Break was picking up our mail. This nifty little box was waiting for me from my dear friend Bonnie Pierce.

I met Bonnie and her husband Bill at the first ever CGOA conference I went too. She was wearing one of her gorgeous Free Form crochet capes and I practically attacked her to look at it closer. I was completely on my own at that show, but Bonnie and Bill took me under their wing and included me in many of the group events they were involved in.

They even rescued my hook case that I had left laying on the table one afternoon. Bonnie and I chuckle about it every time we get together. But it has been far too long since I last got to spend some in-person time with Bonnie. Fortunately we stay in touch online thru social media and messaging.

Recently Bonnie and I decided we needed to have a piece of each other’s work. These 2 drop-dead gorgeous scrumbles are what Bonnie sent me. I’m so inspired by her work, though a little chagrined at how clunky and chunky my own Free Form efforts look. Bonnie is truly a talent with her Free Form artistry.

She is well known for her bullion stitches. Which she had tried to teach me numerous times with limited success.

This flower with the sparkly embellishment is currently my favorite bit on this scrumble. But every time I look at them I see something that delights me.

When Bonnie and I met in Portland in 2008, one of the things we bonded over was Chocolate. We both have a love of wonderful dark chocolate. She told me about a Portland chocolate company called “Moonstruck” and shared some that she had with her. It is marvelous stuff and whenever I find the brand I purchase a few bars, but it is rather scarce in Colorado.

So it is very fitting that Bonnie included some delicious chocolate in the package too. I’ve got to get my piece finished to send to Bonnie now and will have to hunt down some special Colorado chocolates to include. This might require me attending the Chocolate Festival again, sigh, the sacrifices I make for my friends.

I’ve been busy with working on developing classes since our return from our big trip. This cute little needle-felted sheep is one of them. I’m finding the needle-felting quite addictive, I think the total attention that is required is a great form of meditation. That’s been very good for me as I process everything the last 4 weeks has thrown at me and my family.

I hope you are all having a beautiful springtime. April is looking to be another fast-moving and busy month. I’ll try to keep up with the blog and (fingers crossed) to have some more videos for you very soon.