Thinking about Christmas Crafting

Can you believe it is July already? Seems like once again the year has been moving way too fast. My oldest is preparing for a school trip to Switzerland at the same time I am preparing for my trip at the CGOA Chain Link Conference.

We took a break from travel prep to celebrate the 4th of July by attending the fireworks show in Estes Park. The weather was looking a bit iffy a couple hours before the show started, but cleared up in plenty of time. Last year we attended the show in Estes Park and it was very chilly, so this year we brought lots of blankets and our fleece jackets.

This post contains affiliate links. I may receive compensation (at no added cost to you) if you make a purchase using these links.

With July here it is time to make good on the promise I made myself last Christmas. I promised to do better about planning for my crocheted and other handmade gifts for 2019. With that in mind, I am going to take you all along with me as I work on some Christmas in July projects.

Most of my readers are currently in the midst of some of the hottest weeks of summer. That means we need crochet projects that don’t take up a lot of room on our laps to make us too warm. Some of us are traveling too, so small and portable is extra handy.

My go-to project when I want something small and quick to crochet are hats. They can be super easy or involved with complex stitch patterns. I really love to make plain solid color hats that can be the base for fun embellishment. They are also a very popular gift in my household, I skipped doing them one year and there was a loud protest.

Simple Double Crochet Hat

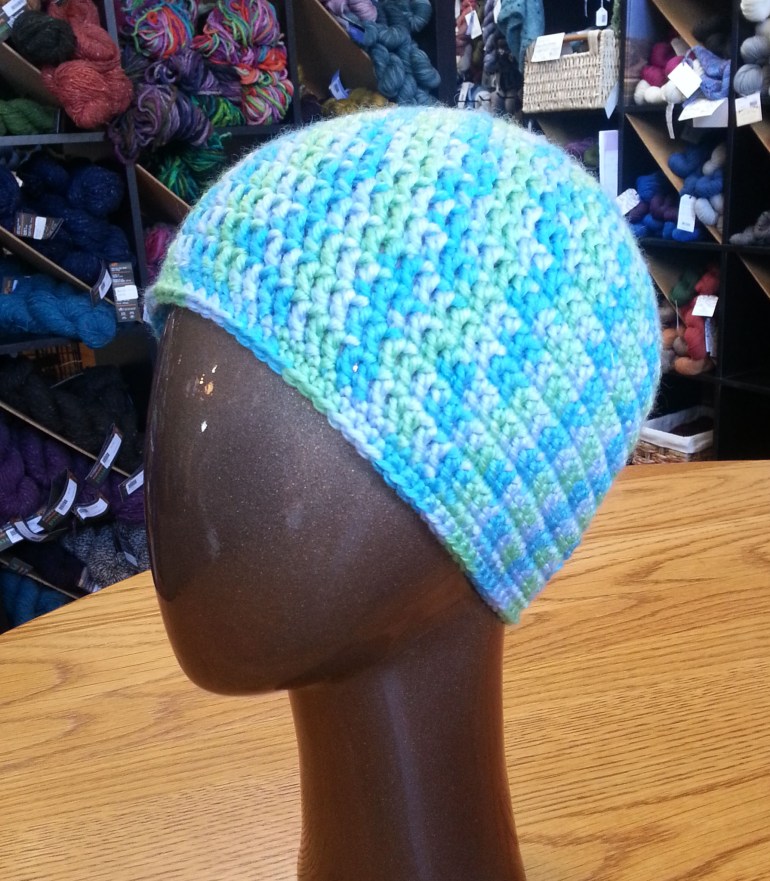
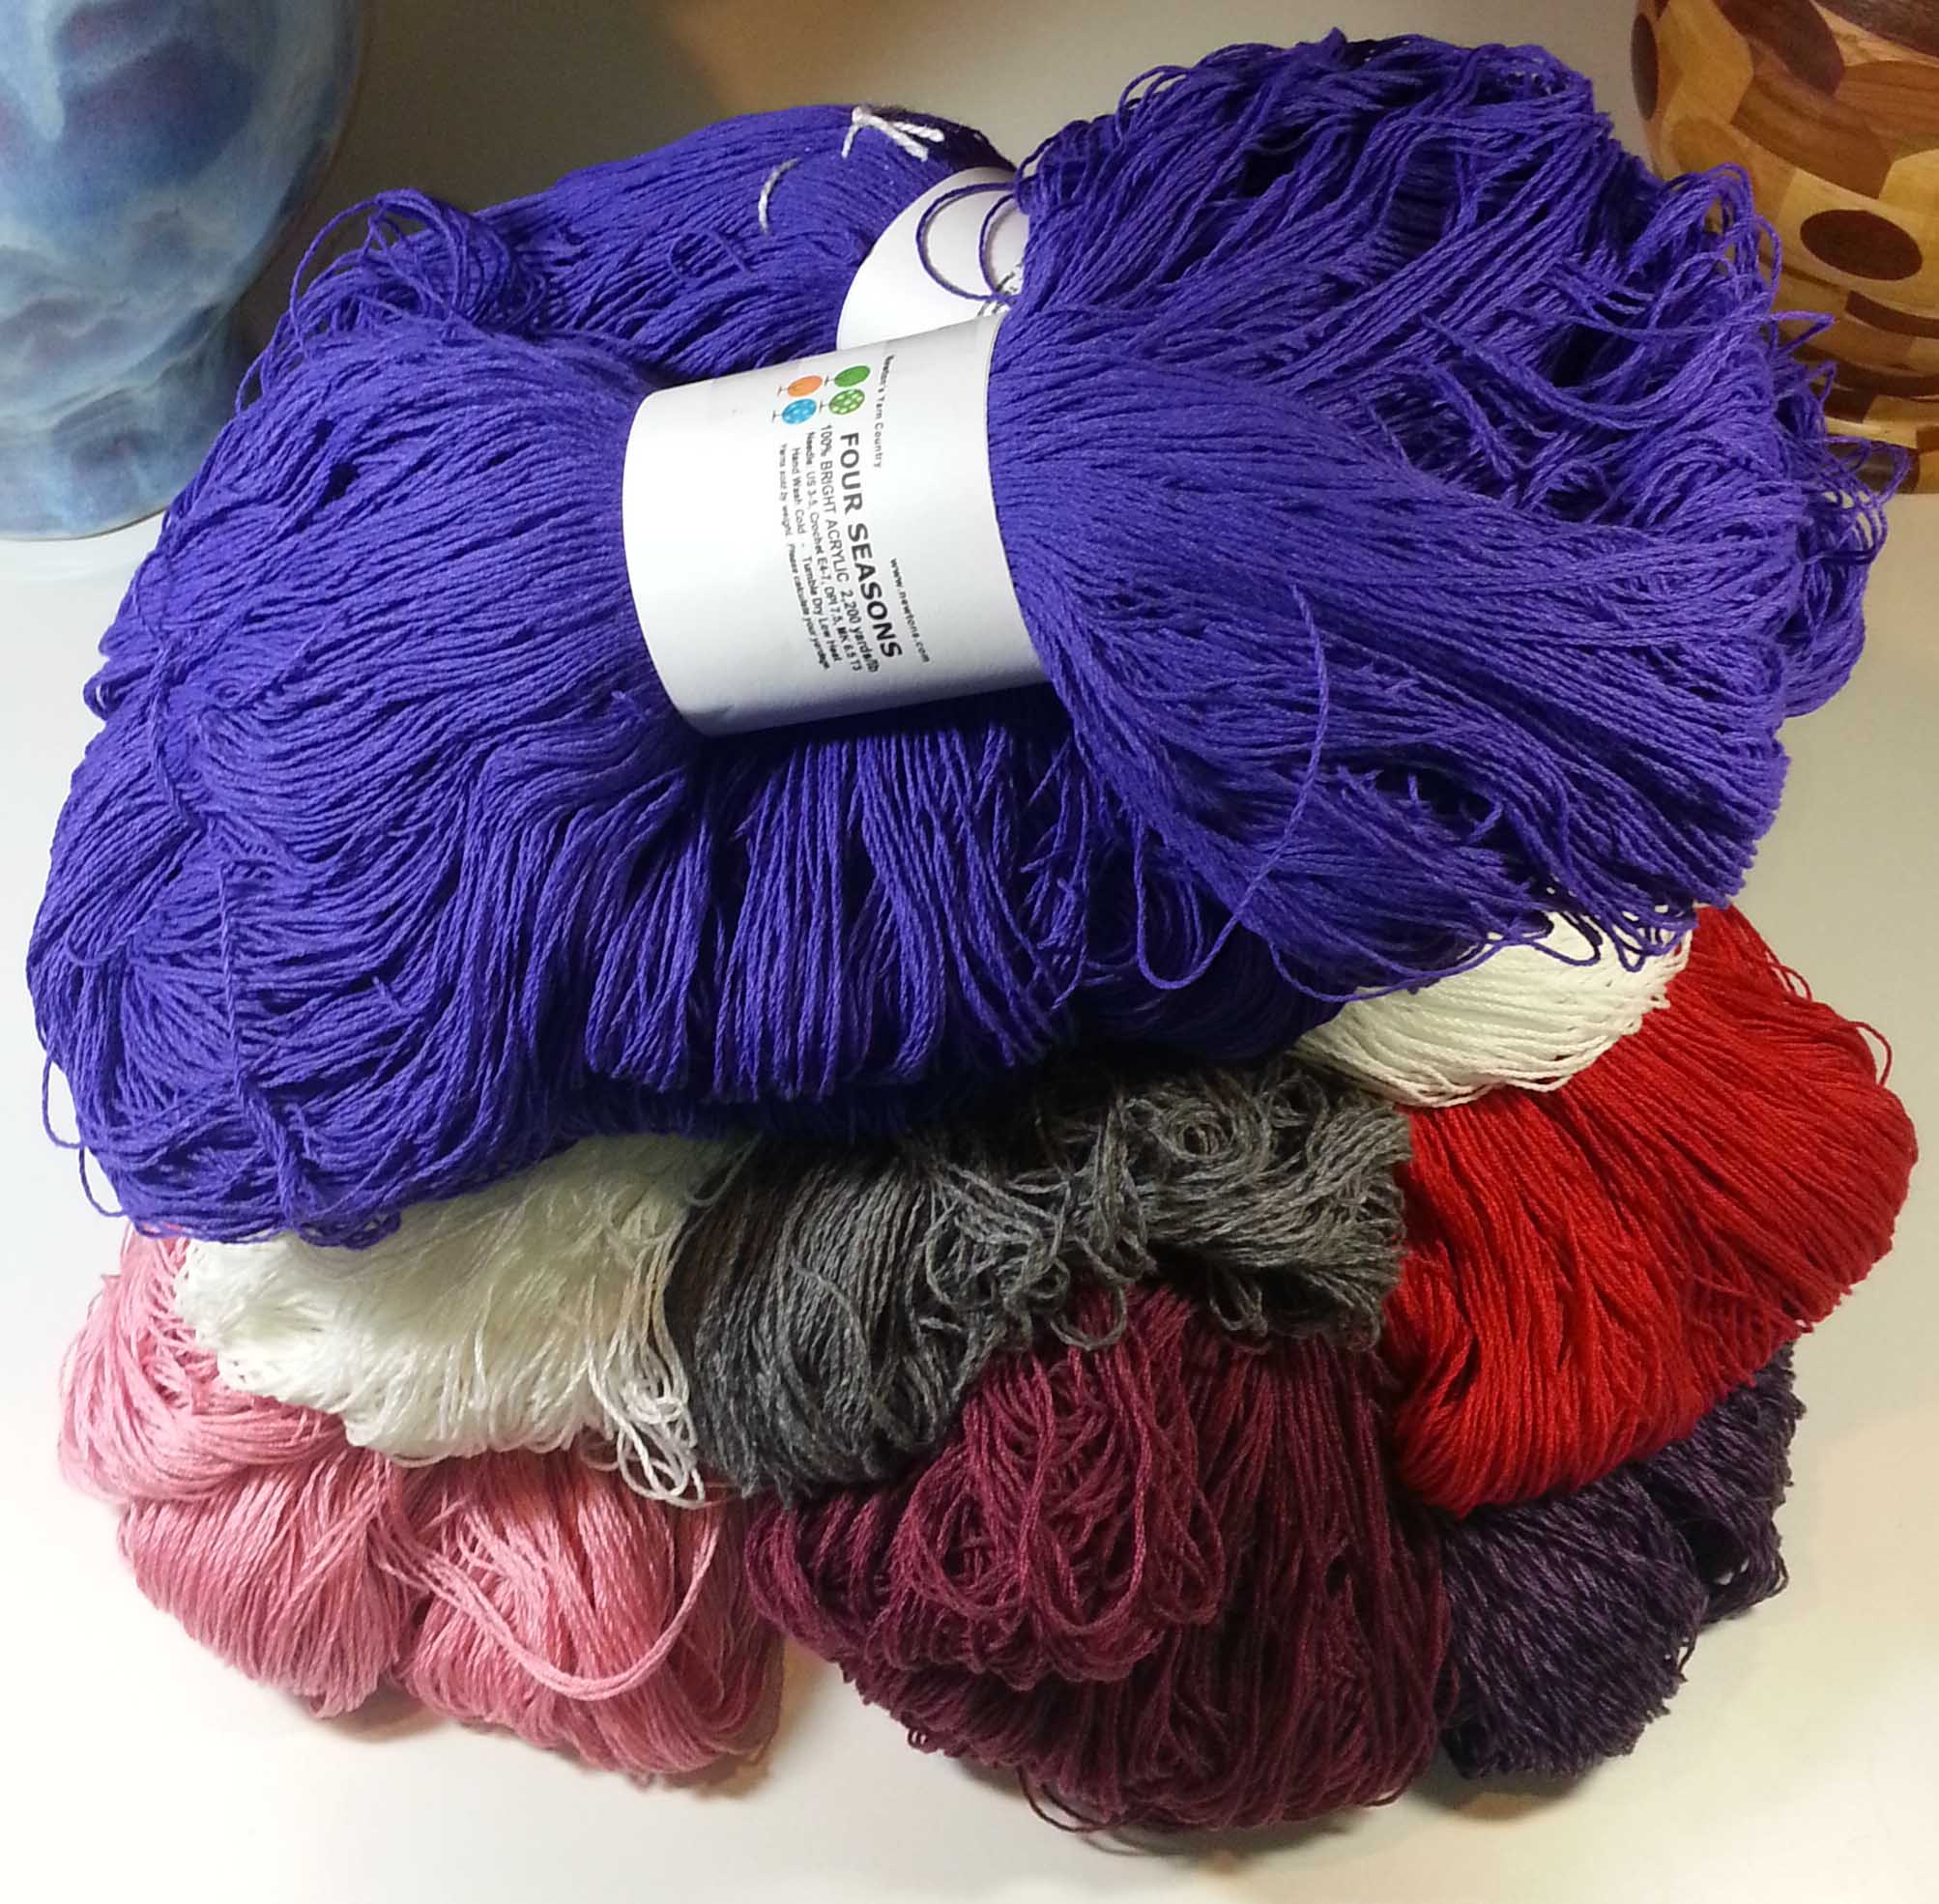
I have a free hat pattern here on the blog for a simple top-down double crochet hat. This hat is great for using a colorful yarn, or one of the gradient color changing yarns. This hat is an easy skill level, so even if you are just starting out crocheting you can complete it.

Whirlwind Hat

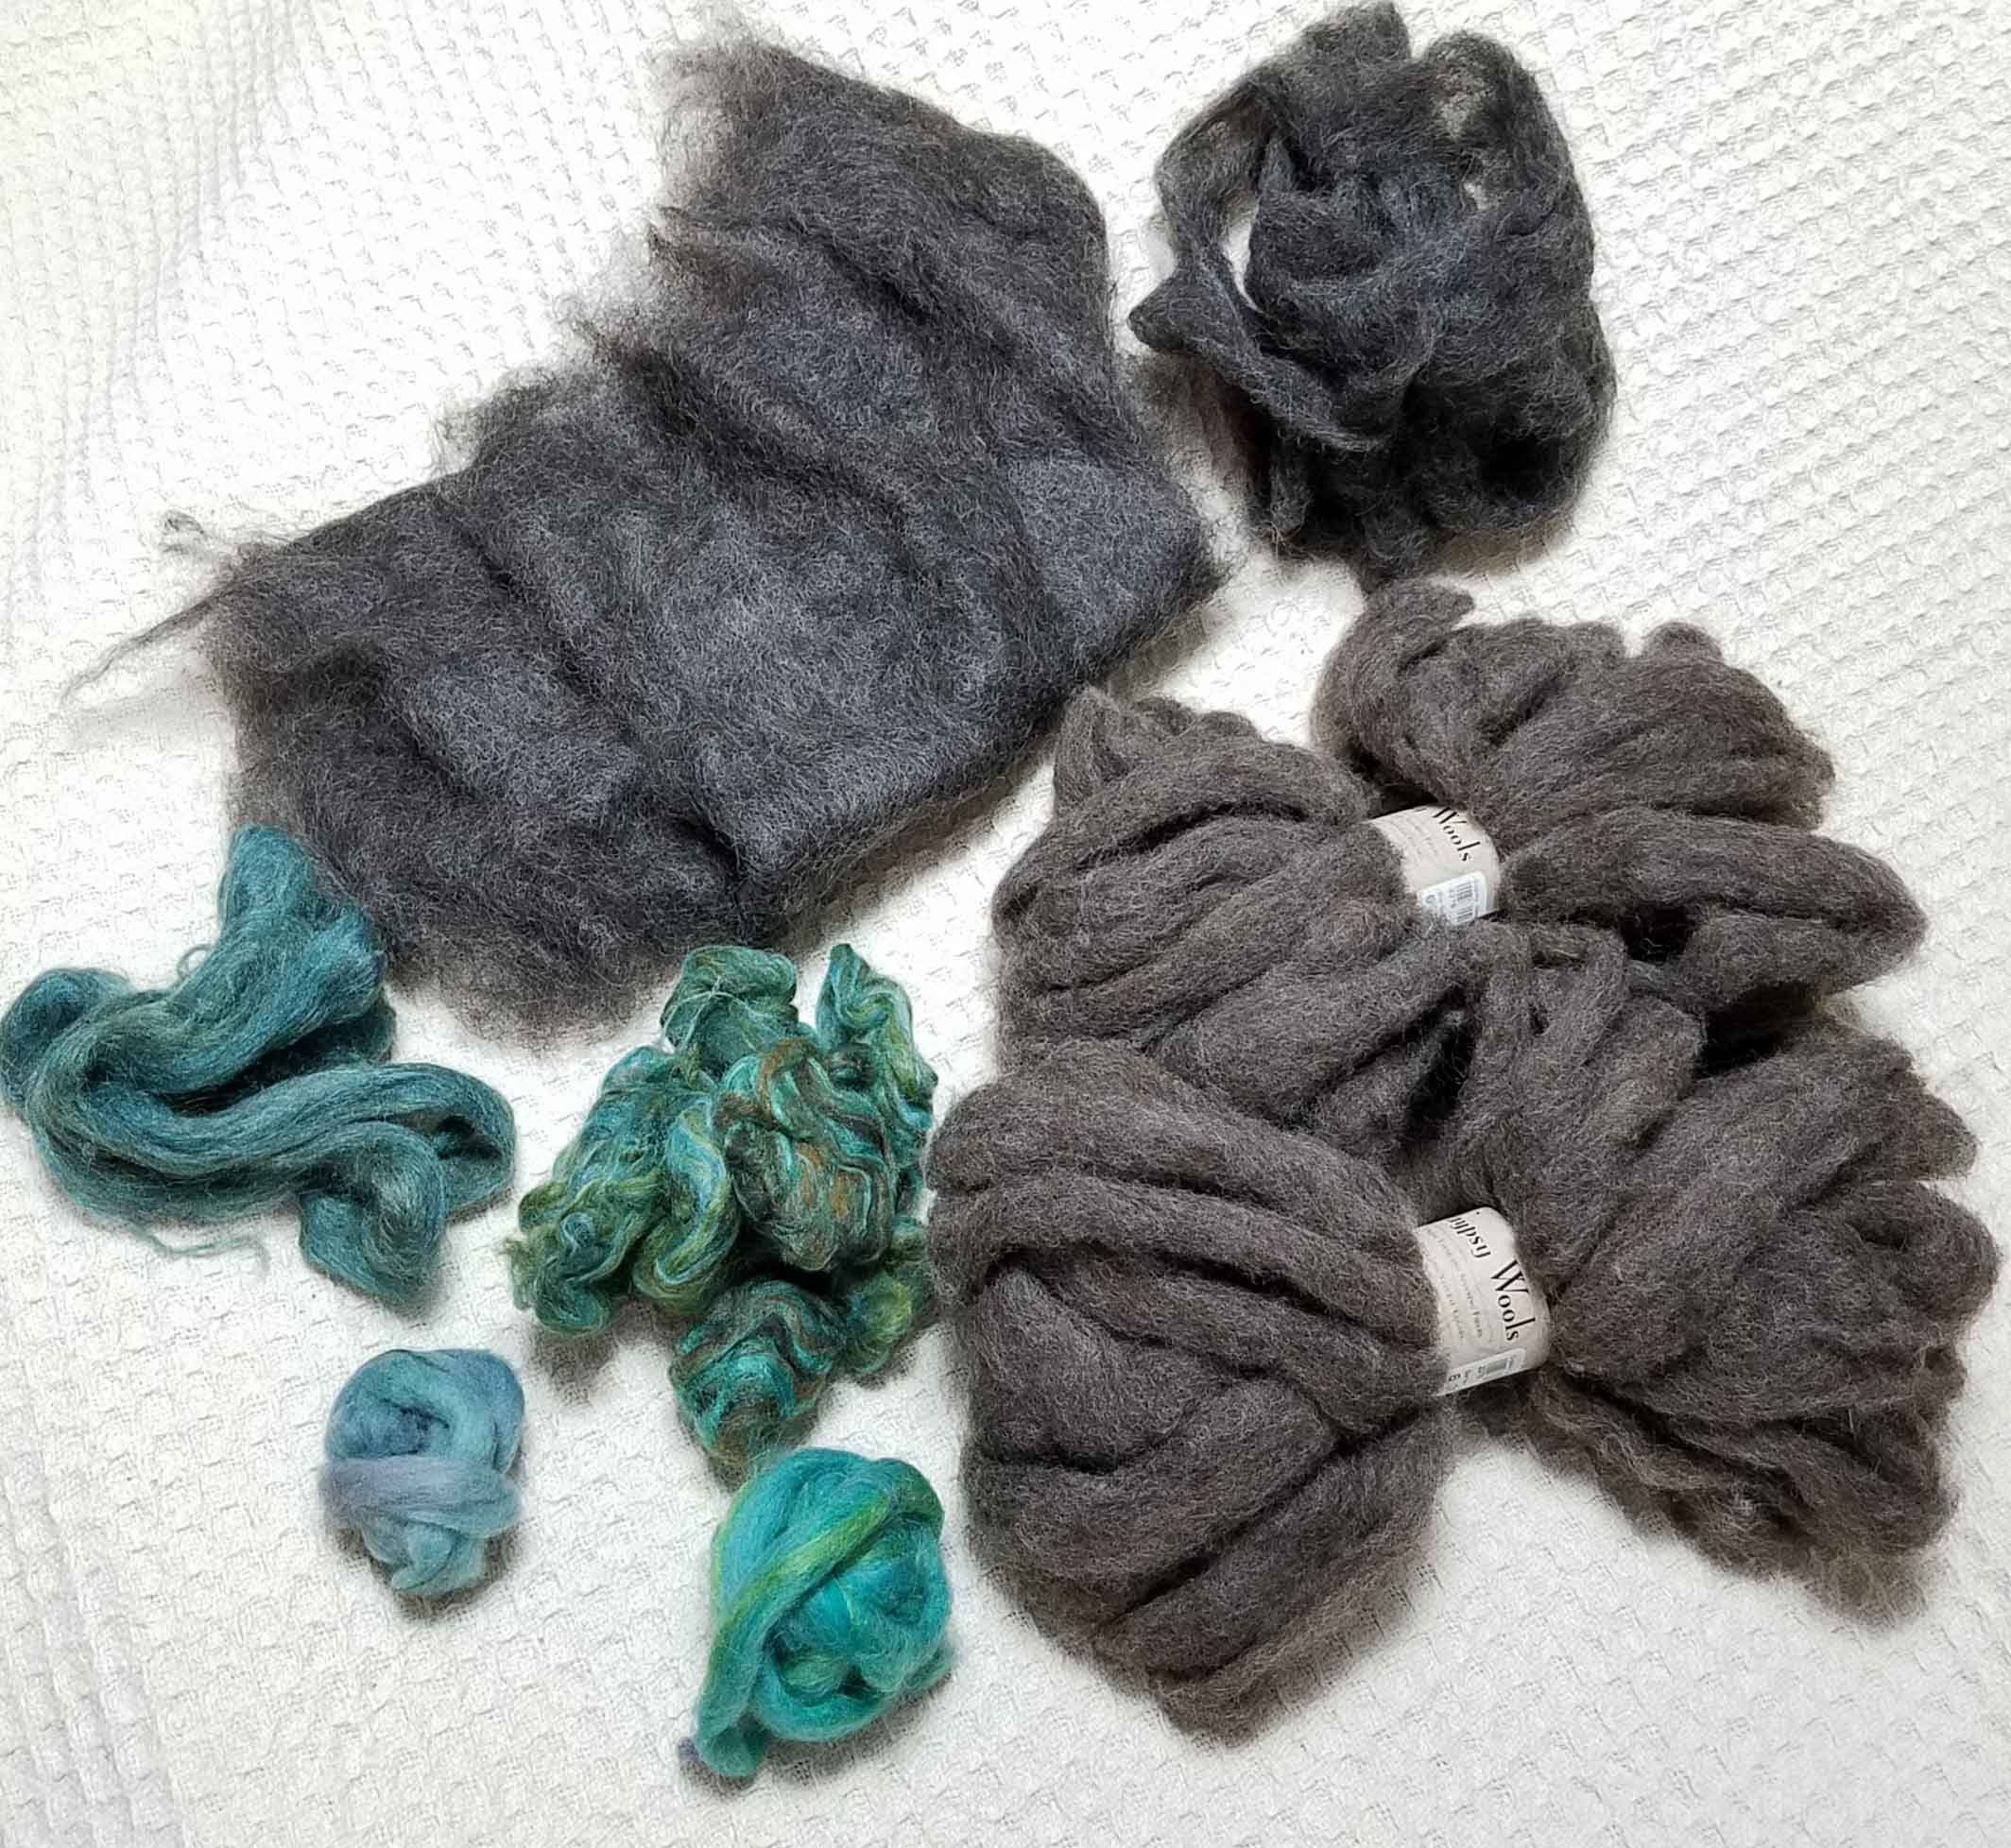
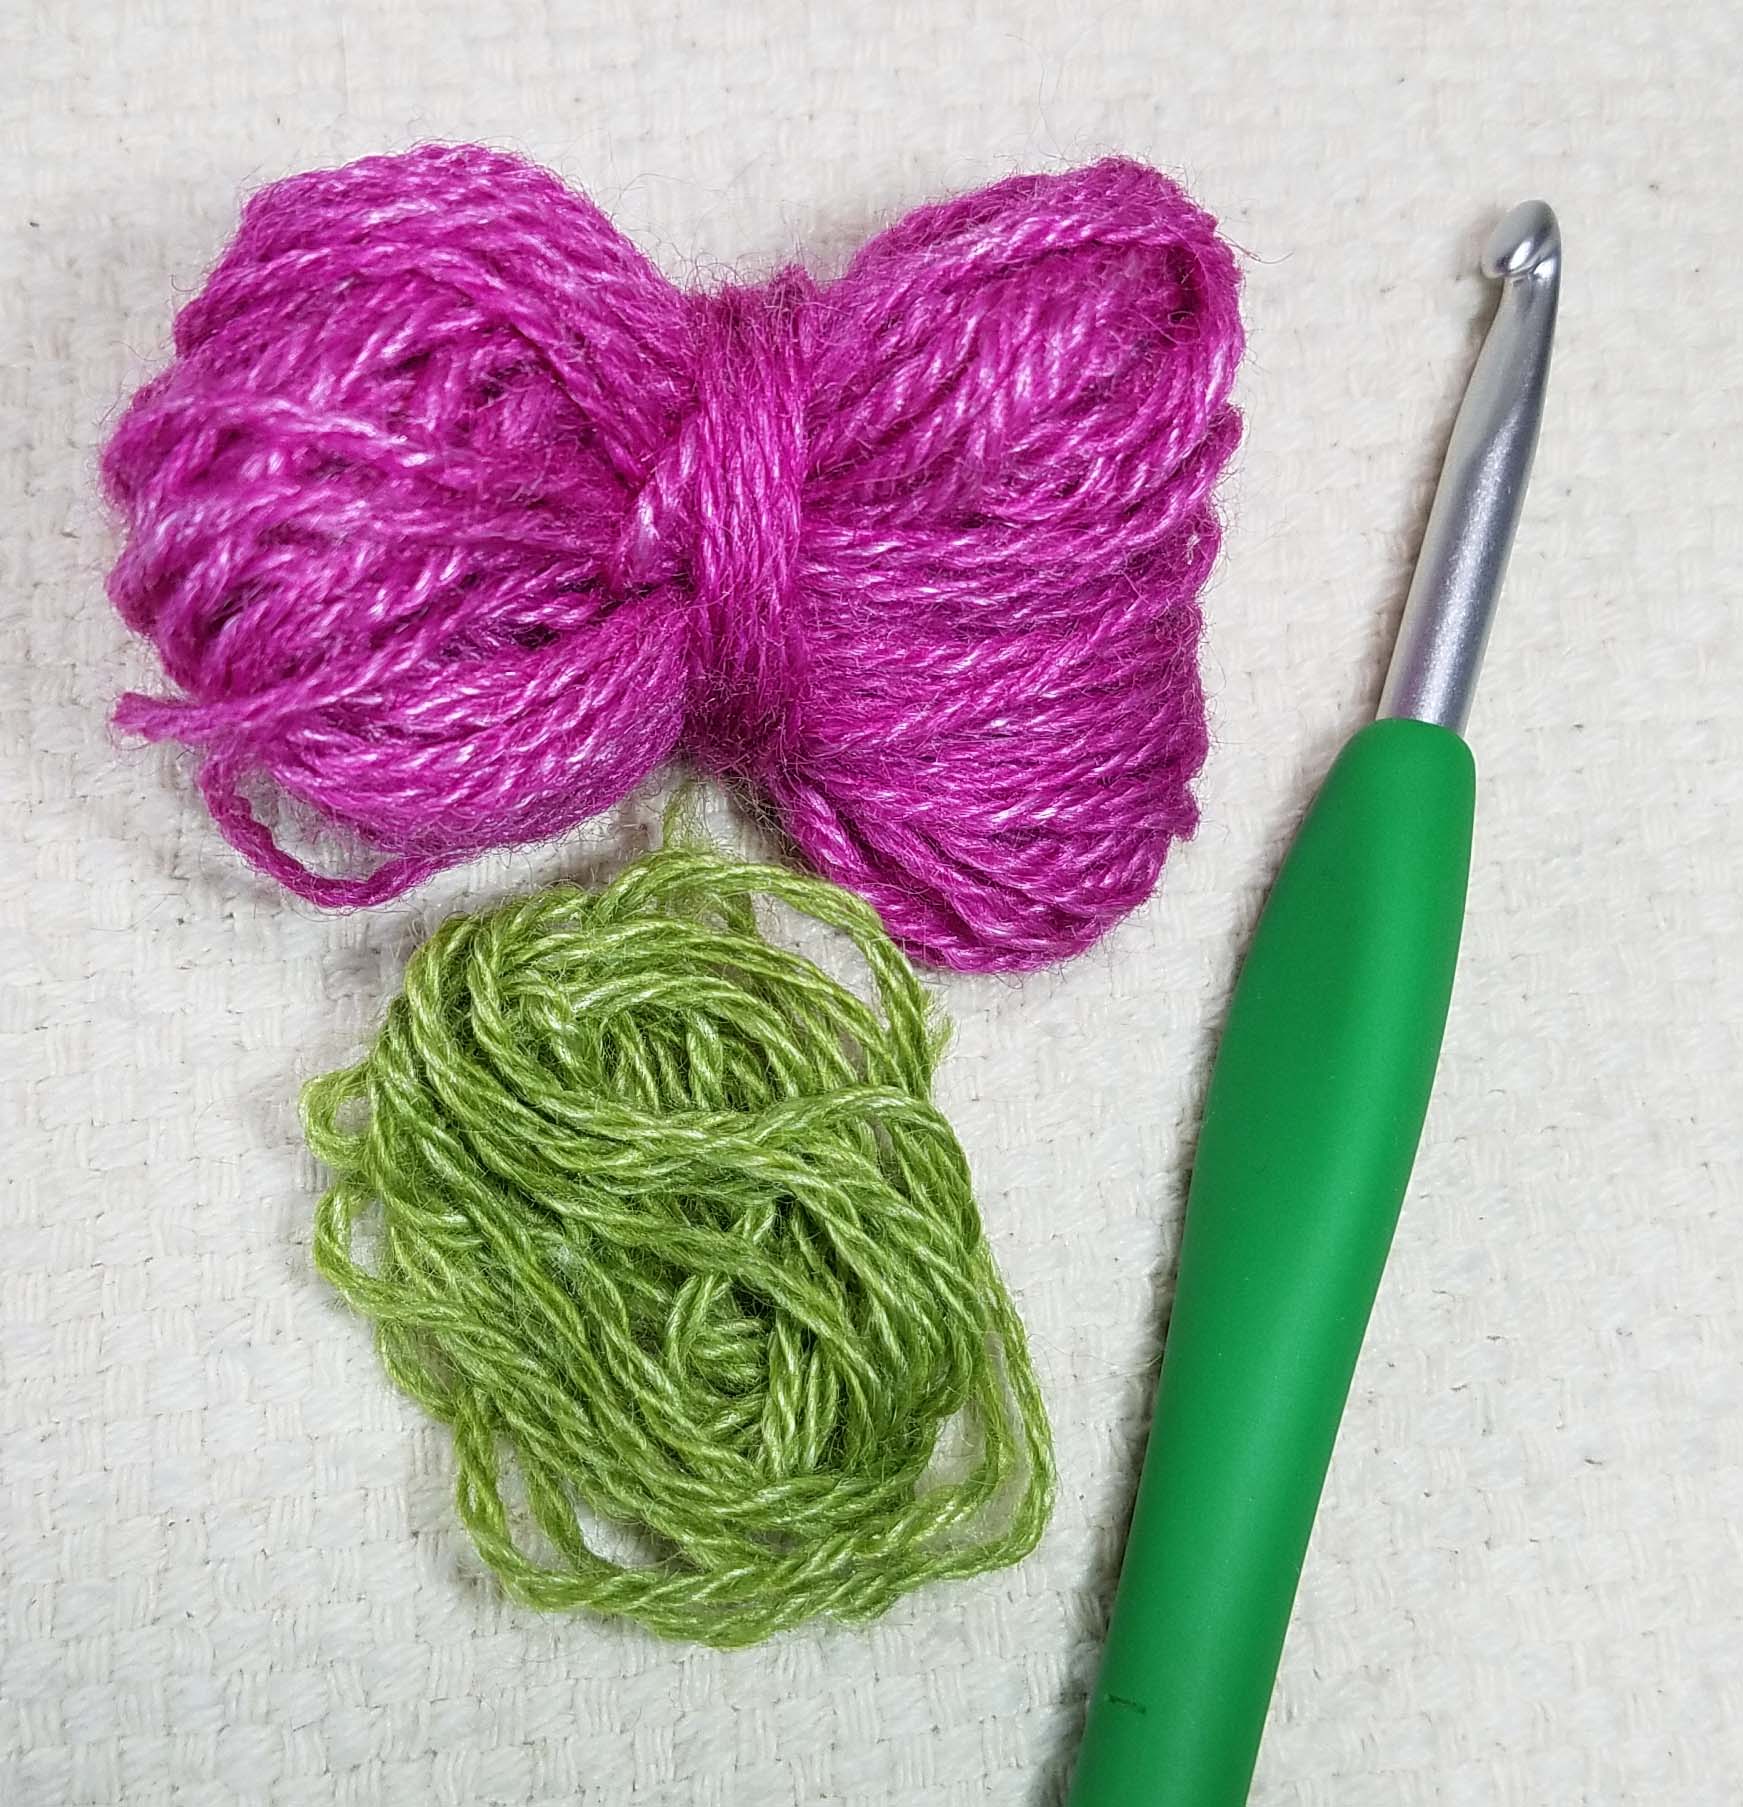
If you prefer a more challenging hat my Whirlwind Hat is another free pattern here on the blog. This is a perfect hat for using up smaller balls of yarn in your stash. It takes only 28 yards of worsted weight yarn for 3 of the colors and 46 yards for the color that will go into your brim.

Spiraling Stripes Hat

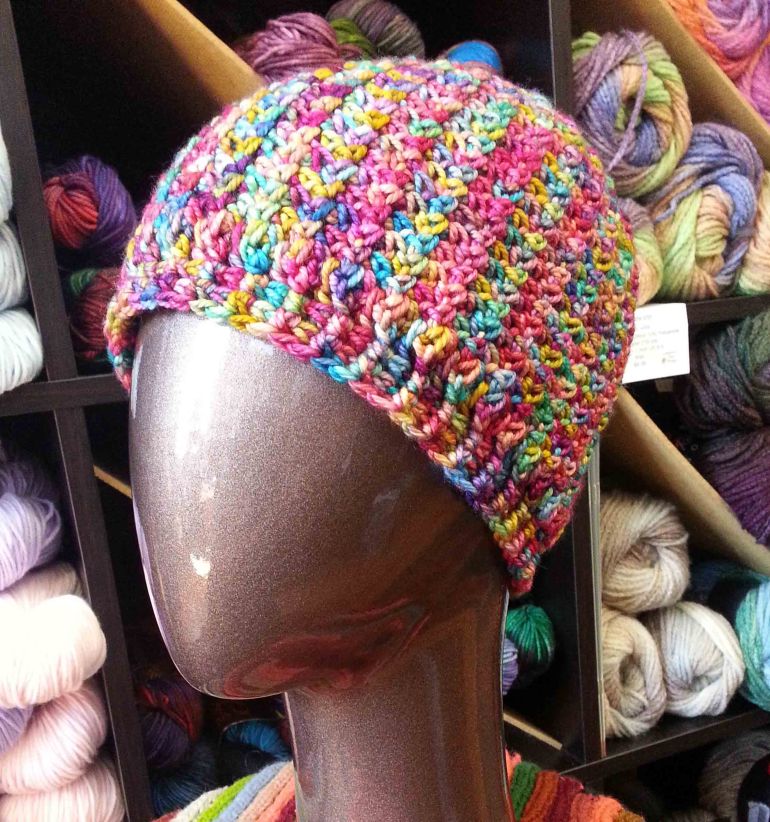
If you want to work a hat that uses only a 2-arm spiral you might like my Spiraling Stripes Hat, the pattern is available for purchase in my Ravelry shop. The pattern includes a detailed stitch chart of the crown and a step by step photo tutorial.

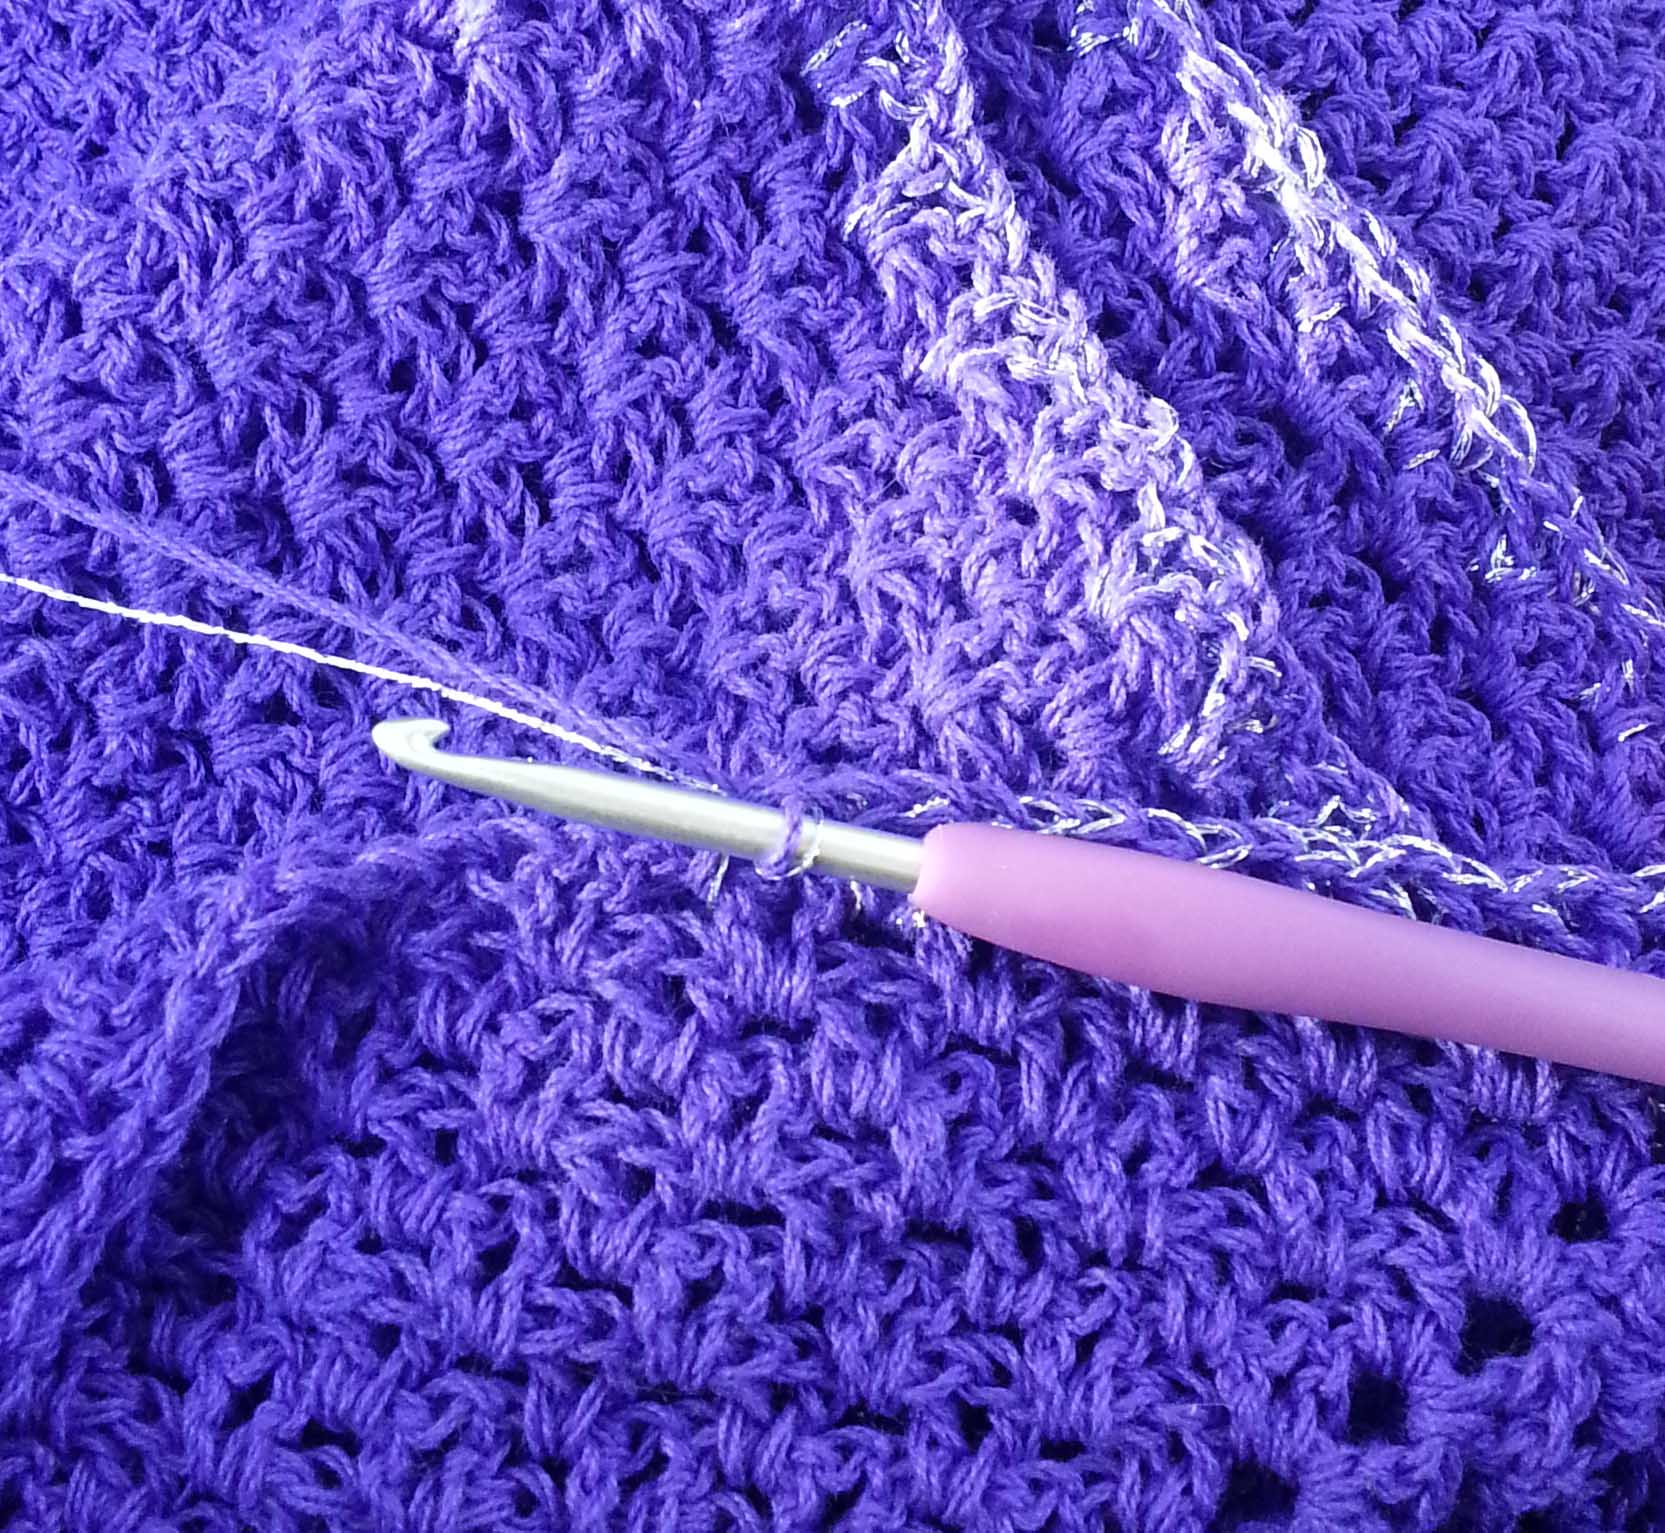
The fun thing about a 2-arm spiral is that the spiral is more distinct. I used a combination of colorful and semi-solid tonal hand-dyed yarn to really bring out the spiral in the project I made for this pattern. You could even work this hat as a gift for a sports fan and use the team colors.

Spiraling Crosses Hat

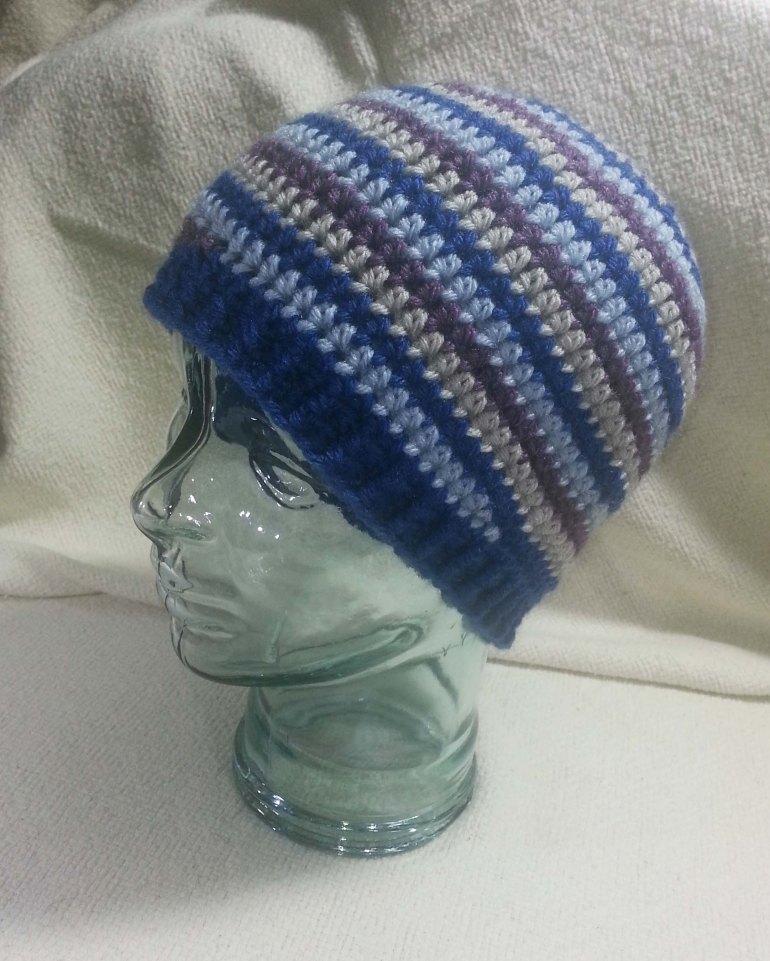
My Spiraling Crosses Hat makes use of textured stitches. It is a project using the staggered X-st in the round, the stitches create subtle spiraling ridges around the hat. The taller stitches also allow you to crochet it up quickly, ideal for a last minute gift. The pattern includes a stitch chart to help you understand how to work the increases.

Perfect Fit Crocheted Hat

If you are looking for a pattern that will help you understand how to adjust a crown-down hat to get the right size for your giftee, then my Perfect Fit Crocheted Hat pattern is worth the investment. It is like having a crochet class with me at a fraction of the cost. The best thing about this pattern is you can use any weight yarn to get a hat that is just the size you want. The tips for sizing a hat can also be applied to other crown-down hat patterns you might want to adjust.

Mountain Top Beanie

My very favorite hat design is my Mountain Top Beanie. It is a little more challenging to crochet, but the resulting fabric is well worth it. I include a stitch chart in the pattern that will help you with increases and when to turn the rounds. The pattern is available in my Ravelry Shop.

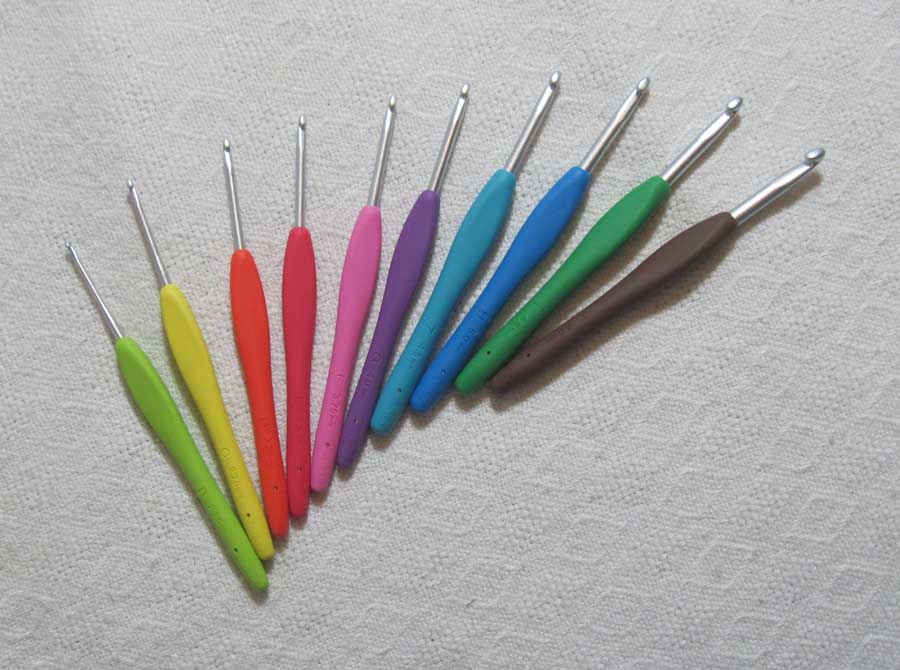
You want to make sure you have some good stitch markers handy when working on hats. They can help you keep track of your increases and the end of your rounds.

Most of my favorite stitch markers are made by the Clover Company. They make all of their products with a durable plastic that doesn’t break easily and has just enough “give” to be flexible. The newest stitch markers they have out “Quick Locking Stitch Markers”, come in a set that has 3 different sizes, 6 different colors and a nifty storage container. If you can’t find them in your local shops, click on the photo above and it will take you to them on Amazon.

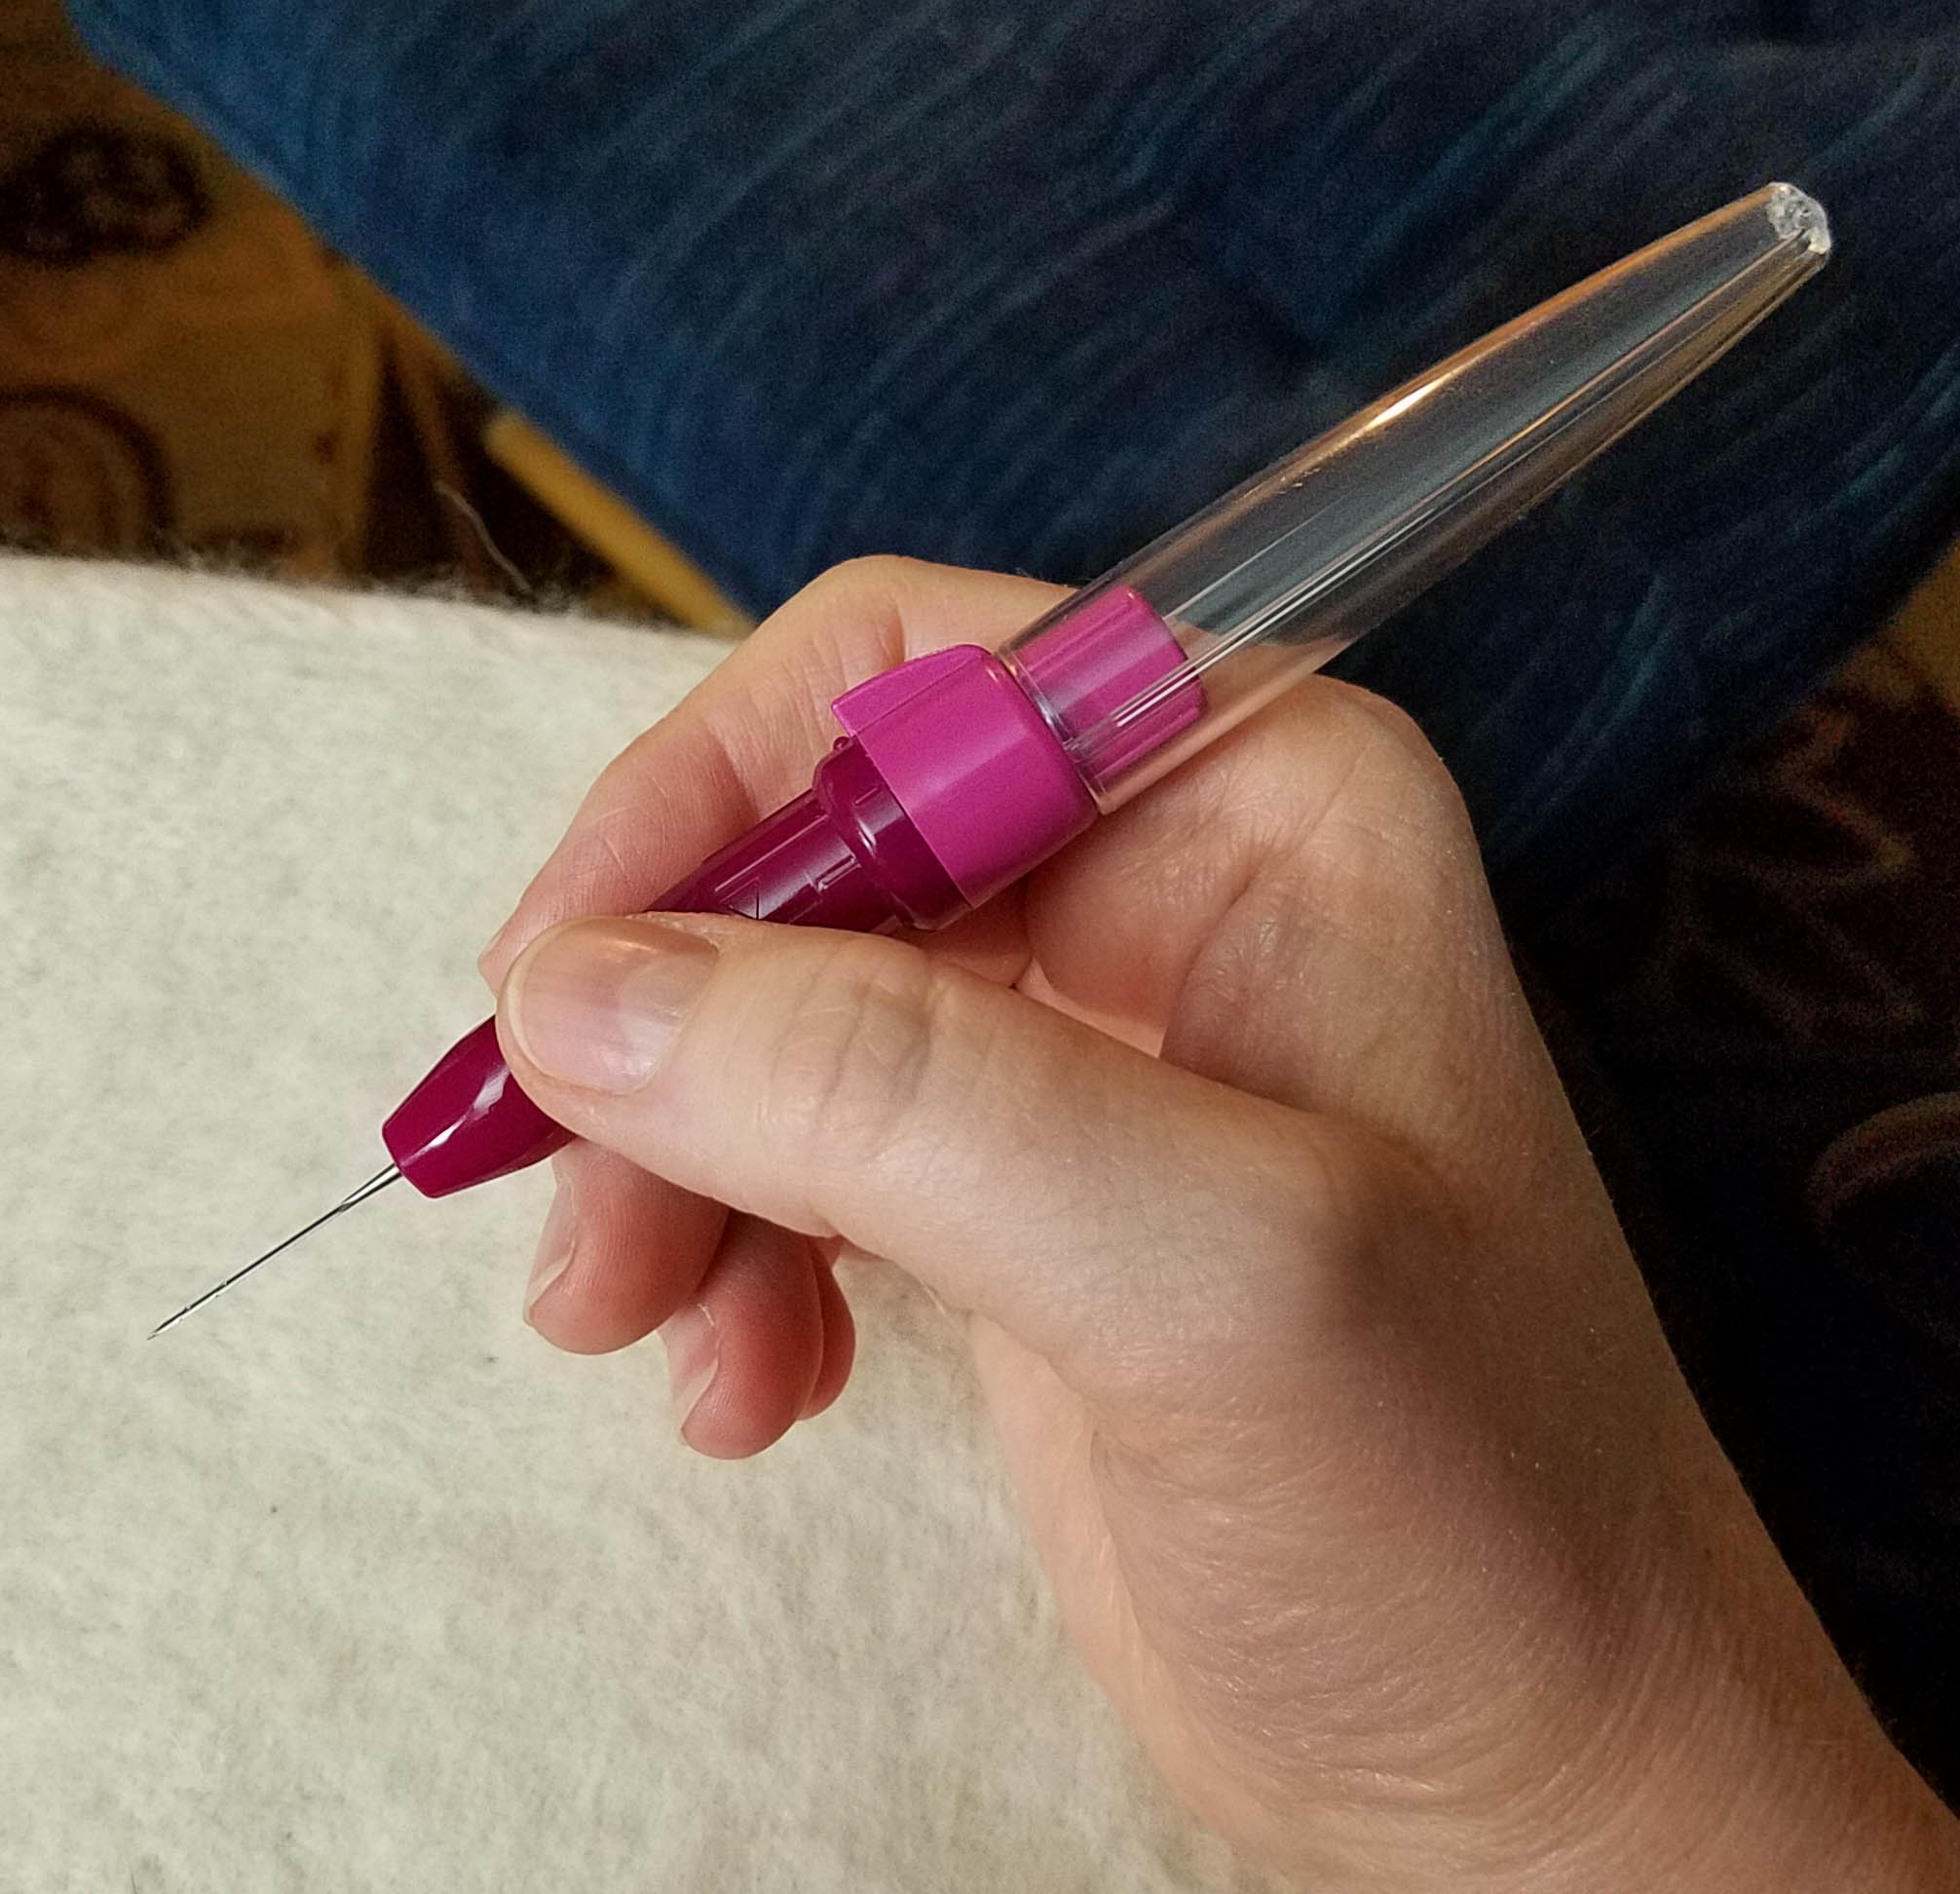
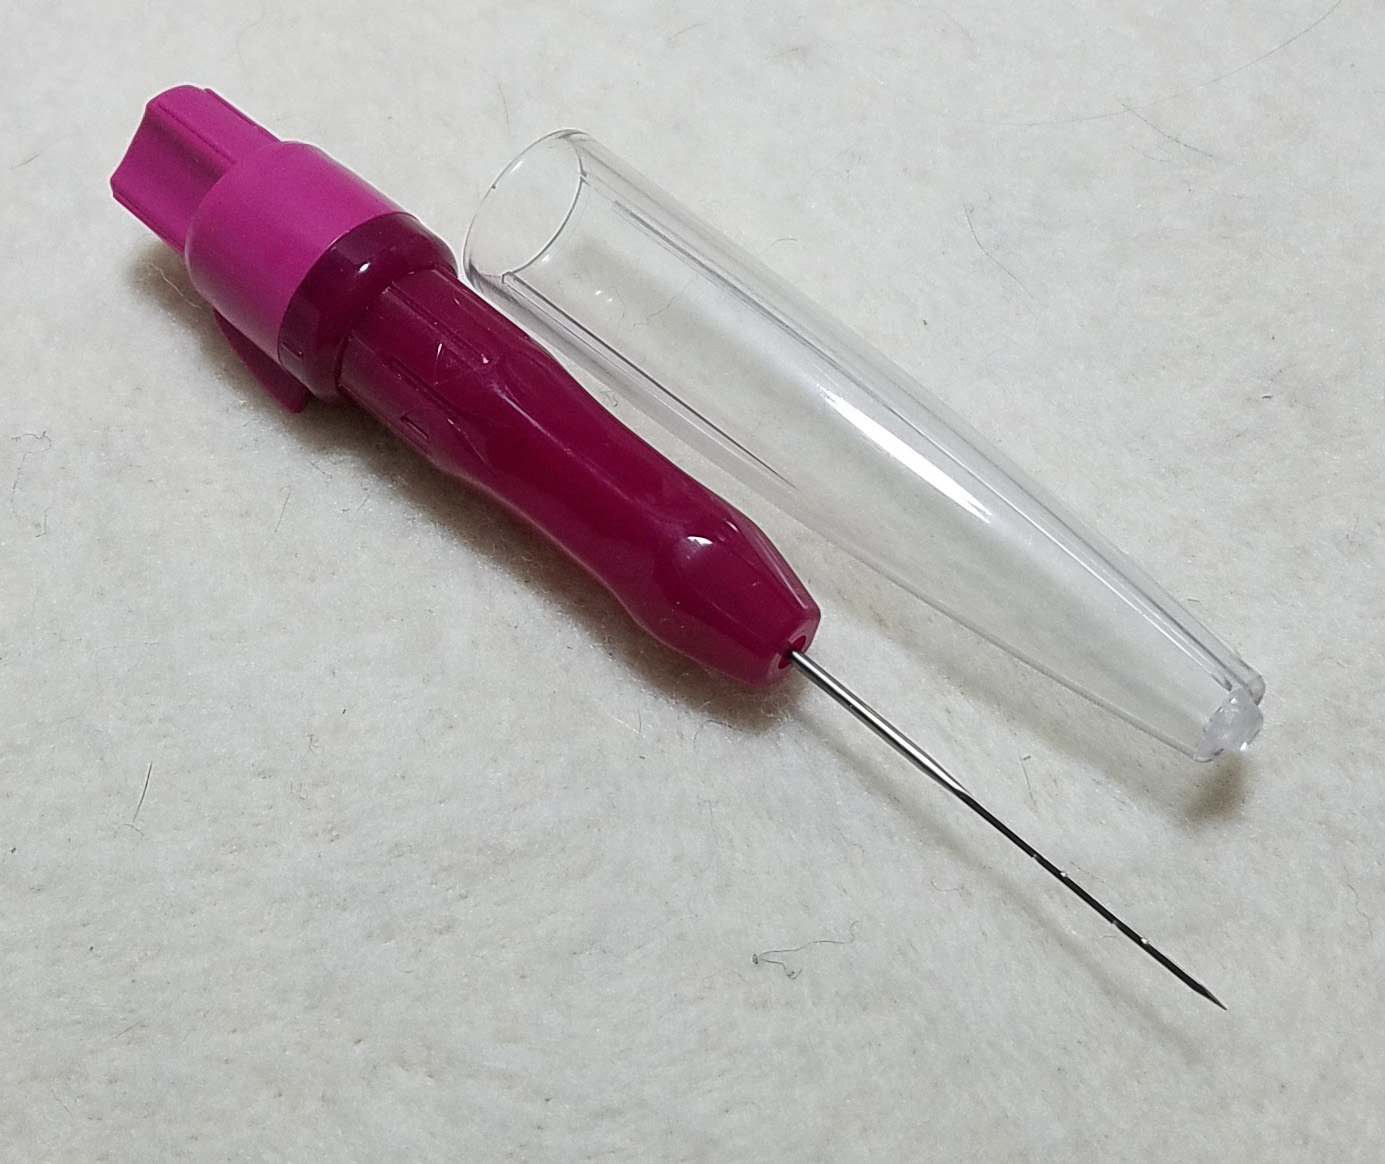
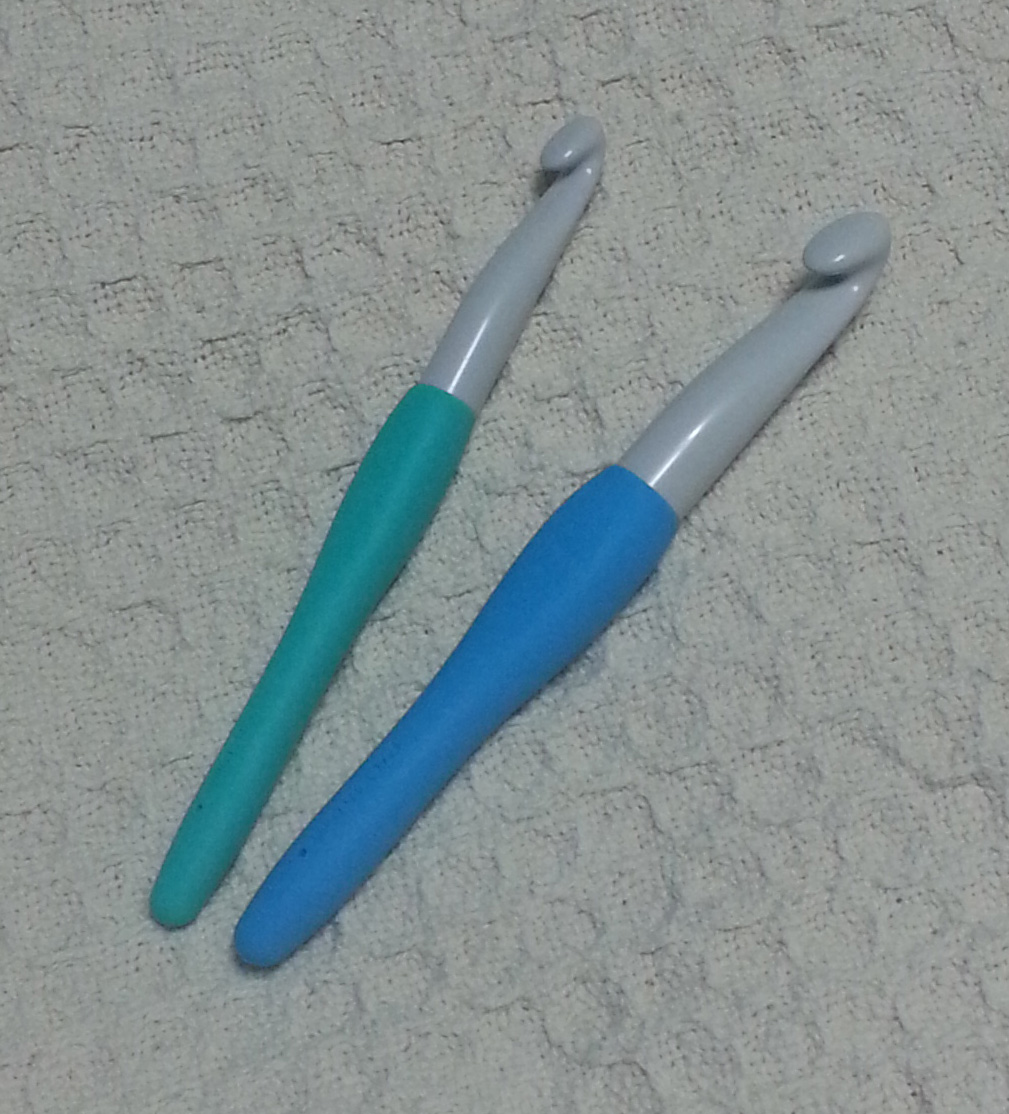
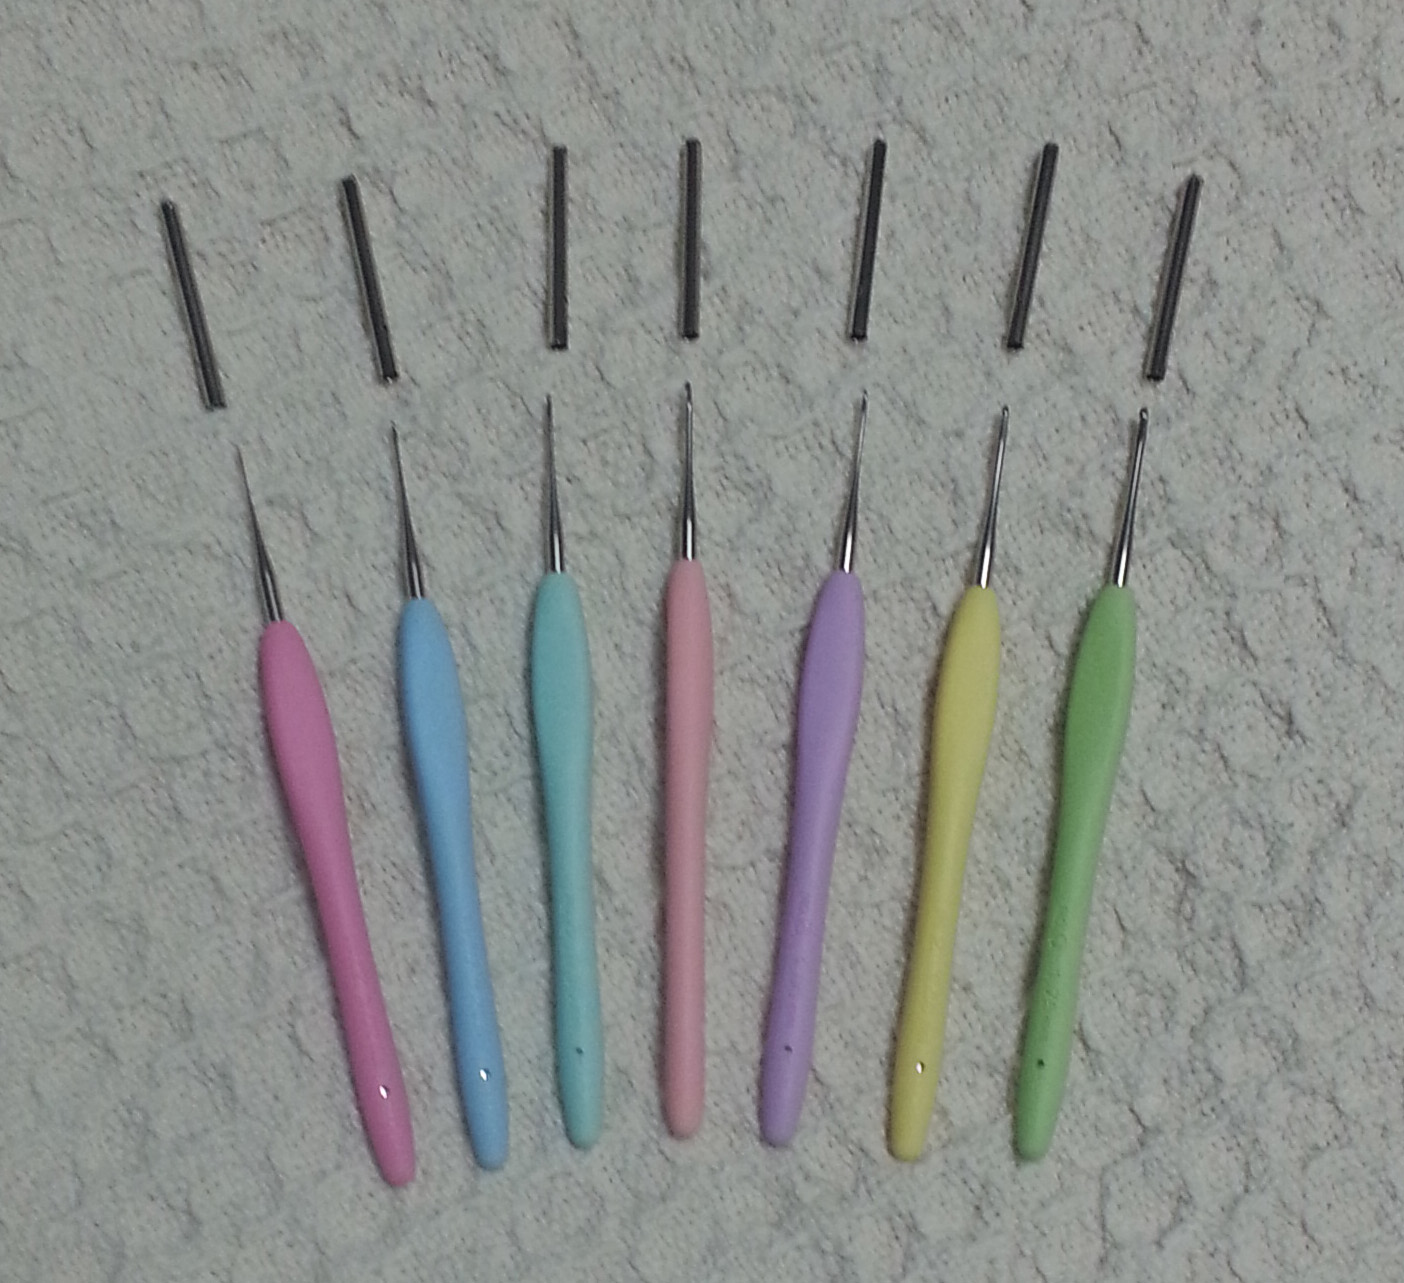
If you prefer a stitch marker that doesn’t lock, I have found these Split Ring markers to work well. The little point at the opening makes them easy to slide onto your stitches. I don’t recommend using this style of marker if you are going to be pulling your project in and out of a bag. They will work their way out of your stitches. But if you are sitting and working in the same spot, and your project will only be disturbed when you pick it up, then they can be a great choice. Especially if you are a speedy crocheter.

Is it Summer Yet?

New Crochet Lace Cowl Design and a Free Coloring Page

I keep thinking our mountain summertime has really started, then the weather proves me wrong. This past week included 3 inches of hail, 45F temperatures and snowflakes in the air Sunday morning. Fortunately our mob of hummingbirds at the feeders every evening reassures me that they think it is summer. The bear has been visiting us too, so he definitely thinks it is summertime.

I haven’t been blogging as much because I have been a crazy busy woman getting ready for the CGOA conference (ChainLink) in Manchester, New Hampshire. Being on the Board of Directors means I am involved in a lot of behind the scenes planning of events. This is especially so as a couple of my chairs for committees have had to cancel coming to the conference.

With ChainLink only 2 weeks away I’m also figuring out what to pack. I always over pack on crochet projects, but I hate to not have something to work on, especially on my travel days. Getting to Manchester and back home is a pretty full day of travel from Colorado. Long lay-overs are much better when one has crochet to play with.

What is your favorite go-to project to work on when traveling? I like smaller projects like hats, cowls, slippers or mittens. They don’t require a lot of yarn, so it’s not too big a project bag. Speaking of cowls….

My latest published pattern is a lovely lacy cowl. I was given the gorgeous Suri Alpaca blend sock yarn above to design with at TNNA by the LGF Suris folks a couple years ago. Life happened (like it does) and it took me a little time to complete, but I am really happy with how it came out.

This is my Rhythm of Shells Cowl, published in my M2H Designs pattern line and available for purchase in my Ravelry shop. It is an interesting 4 row stitch pattern that is easy to memorize, but not so dull that it will put you to sleep. It starts with one of my Stacked Rows Foundations and ends with a pretty pointed border. The pattern instructions include a stitch chart. My sample took only 1 hank of the LGF Suris yarn to make and worked up light and warm.

This post contains affiliate links. I may receive compensation (at no added cost to you) if you make a purchase using these links.

I also have a new coloring page for you to enjoy. Hopefully where you live it is actually feeling like summertime. Mandalas are very relaxing to color as well as draw. You can even have fun adding your own doodles to this mandala to add to your coloring relaxation.

If you would rather color some crochet themed coloring pages remember to check out my E-coloring booklet with FaveCrafts: “4 Inspiring Crochet Coloring Pages for Adults”. You can download them for free.

My current favorite pens for drawing my coloring pages with are my Staedtler Pigment Liners. This set of 8 different line widths is perfect for carrying with me whenever I want to draw. I tend to use the 0.3 size the most, so I’ve purchased extra pens in that size to add to my drawing supplies. If you can’t find them in your local shops click on the photo above to find them on Amazon.

For coloring this page today I used both Staedler Triplus fineliner markers and Staedler Noris Club Colored pencils. I like using fineliner markers for the small details when coloring to ensure that I get the intensity of color that I want. Where the colored pencils are good for laying out larger sections of color in a softer tone.

The Noris Club pencils are great for traveling with, the white layer around the core makes the colored leads more durable. They also seem to hold up better to being sharpened. The more durable leads do draw a little lighter, so I find I want to layer my colors more than with some of my softer pencils. You can click on the photo above to look at the variety of Staedtler Noris Club pencil sets available at Amazon. My set has 36 colors, which gives me a number of options when I am coloring and drawing on the go.

I’ve shared about the Staedtler Triplus Fineliners before, but it bears repeating. These are wonderful markers for both drawing, coloring and journaling. The colors are intense and I can use them for hours without the marker drying up. They are labeled “Dry Safe: can be left uncapped for days without drying up”. I haven’t tested that personally, since I live in a very dry environment. I have had other markers dry up on me while I am working, and that has never been an issue with these.

Whether you are crocheting or coloring I hope you are having a wonderful summer. I’ll try to get another blog post up before I leave for ChainLink, but no guarantees.

Gypsy Wools and Clover Felting Tool

I spent a good part of my Tuesday running shopping errands before picking up Thing 2 from school. Right before I headed over to his school I decided to make a quick stop at Gypsy Wools. They are a fun shop in Boulder that carry a variety of yarns and fibers, as well as embroidery supplies. They also have a marvelous selection of fiber crafting tools.

My main reason for stopping there today was to acquire a few more felting needles and 2 of the Clover Single Needle felting tools.

I’ve been doing a lot of single needle felting work lately and my hand gets a bit tired. Since finding ways to craft without injury is one of my touchstones, I kept thinking that I needed to create some sort of ergonomic handle for the needle. Then I realized that I had such a tool already. I purchased one of these Clover tools about a year ago and have used it primarily when I am doing details like adding yarn embellishments to a needle felting project.

It comes with a 40 gauge needle, which is one of the thinnest.  All the Clover Needle Felting tools recommend that when replacements are needed you use the Clover Needles. I do love their needles, but I have lots of other felting needles, and I decided to see how well they would work in the tool.

The tool breaks down into 4 pieces: the handle base, the locking handle top, the clear needle cap, and the needle.

What makes this tool so effective is the little notch on the top of the handle base.

That notch holds the needle in place, so the needle won’t twist in the handle and break when you are working. The top of the handle has a metal disc that is firmly held against the top of the needle when the top is locked in place.

This is the whole handle reassembled with the needle in place. The needle in this photo is 3″ long, so it fits perfectly in the handle and the clear cap can be placed over the needle when the tool isn’t being used. This is a handy feature as it prevents jabbing oneself when fishing around in your tool kit for what you need.

The cap can be moved to the back of the tool when felting, but I’m not a fan of using a pencil hold when doing single needle work.

The photo above shows my preferred position to hold my felting needle when working.

Using the Clover tool works beautifully with my preferred hold, I simply leave off the cap and the shape of the handle allows me excellent control of the needle with a much more relaxed grip.

I have found that I prefer to use the 3 1/2 inch long needles when doing single needle work. This means I can’t place the clear cap over them in this handle. I just have to be a bit more aware of where the sharp ends are when I’m reaching for a tool in my kit. Though, I am finding with the additional length from the handle top, I may be liking the 3 inch needles better when using the Clover tool.

I am using my Clover handle much more now, and decided that I needed more of them. This way I can have a different gauge needle in each handle. Which is what motivated my trip to Gypsy Wools today.

Now, you remember at the beginning of this post, I said that I had planned a quick stop to just get some needles and tools? As you can see from the photo below, I ended up with a bit more than tools. The very helpful (one might say enabling) Barb said, “Have you seen all our loose fiber we have on sale? It’s 50 cents per ounce” Whoops.

I now have 8 ounces of some wonderful dyed and natural colored fibers to play with. There was even a bit of fiber that was a partially felted sheet that intrigued me. It is probably a good thing I couldn’t stay longer or even more may have ended up in my basket. Some of the green stuff is a combination of wool and silk. I’m really looking forward to experimenting with needle felting it.

Despite all the running around today I did manage to get a little crochet time in. I’m still working on my “super secret” projects for a magazine, which means I can’t share photos of my progress on those right now. Of course, my crochet design brain never sleeps, so I also came up with an idea for a new project this evening.

I’ve been wanting to do something with this beautiful linen yarn from Juniper Farms for ages. I have 2 balls of it and have made a couple of tries that I ended up pulling out.  I’ll be crocheting some swatches with it tomorrow to see if this latest brain storm is going to come out as nicely as I hope. More on that soon.

It’s Finished!

It is always so exciting to finish a project, even when it is a small one. This is how my newest little Playing With Triangles shawlette worked out. I’m very happy with it. It is 34 inches wide across the top and 17 inches long at the point. I haven’t blocked it yet, and may only do a very gentle blocking, since this yarn is largely alpaca fiber it may grown quite a bit if I block it aggressively.

This is all I have left of the yarn I started with for this project. I did some careful calculations to use up as much yarn and get the largest triangle possible. You can look at my original post “Some Pretty Crochet”, to see how much yarn I started out with for this project.

I also used 145 beads in this project. The arrows in the photo above point to some of the beads on the first row I beaded.

When I added the beads I used my handy new tool, the Fleegle Beader, to do the “hoist-on” method. I purchased this tool at the Longmont Yarn Shoppe. It works the same as the tiny crochet hook, the difference is that you can fill the whole shaft of the beading tool with beads, so you don’t have to have an open container of beads while working. In my small house, where there is lots of activity (busy boys, crazy cat and ditzy dog), an open container of beads can be a disaster waiting to happen.

I also really liked that I could load the tool up with beads, cap it with the red stopper, pop it in the tube and bring it along in my project bag when I am on the go. Then, each time I want to add a bead to my project it is ready, without the usual juggling act.

The little notch at the end of the tool (close-up inset in photo) acts like the hook on a tiny crochet hook for holding your yarn while sliding the bead from the tool onto the working loop. The creator of this tool doesn’t recommend it for thicker than “heavy fingering weight” yarn. But I am going to experiment with some heavier yarns and see if it will work for me. Since I have used the same size steel crochet hook for putting beads on a variety of weights of yarn (including a heavy worsted) I think it may work fine.

Though as my mom would say, “You have to hold your mouth just right.” That’s a family saying for the funny faces most of us seem to make when learning something new or tackling a finicky task.

This morning was my Casual Crochet group at Longmont Yarn Shoppe, and I only had a little bit of crocheting left to do on this shawlette. I finished the crocheting, got all my tails woven in and added a pretty mother-of-pearl button to one end for lots of styling options.  Even had my picture taken for the shop’s Facebook page. That was a busy 2 hours.

Edited July 1, 2021 to add: If you would like to learn more about my Playing with Triangles Shawls come join me for the Virtual CGOA conference on July 6th when I’ll be teaching a Zoom Class. More details and registration information can be found in my blog post here or the CGOA Website here.

Adding a little Bling

As is well known to any of my readers that have been visiting me for a while, I love sparkly stuff. Glitter, beads, yarns with metallic threads; it’s all my favorite stuff. Though I do attempt to be tasteful in my use of those things in my art and crafting I often find it to be an uphill battle.

I’ve been working on some samples of my “Playing with Triangles Shawl” to show all of you. One version I am working on is using some of the gorgeous purple yarn I purchased at the Knit and Crochet Show last summer in San Diego.  I was excited to find some huge hanks of 100% acrylic light fingering weight yarn at the Newton Yarn Country booth. They always have some great deals and this yarn came in a lot of colors.

Newton YC purchases

The color I liked best though was the purple (it’s the one on top, though it looks a bit blue in the photo). It was just the right shade for my favorite baseball team: the Colorado Rockies. I also purchased some grey, white and red with the idea that I would use them in some baseball themed designs. The Rockies colors are purple and silver/gray.

Kreinik Twist label

I wanted to make a really large version of my “Playing with Triangles Shawl” using a fine weight yarn. My idea being to have a generous wrap that was light weight and not too bulky to travel with. But as I was working on it I realized I needed some “bling”. Then I recalled I had some Kreinik “Twist” carry along yarn in Silver color. Perfect!

Carrying along Twist w Yarn

This is a great product for adding some bling to a project because it doesn’t add a lot of bulk or weight to the finished item. It is listed as a “lace” Size 0 yarn on the label and comes in cones of 273 yards. I want to keep this shawl lightweight, so this is the perfect way to get the sort of sparkle I love.  You can purchase this product from the Kreinik website or ask for it at your local yarn shop.

Note though: when working with this product be attentive to your stitches. I was watching shows on Netflix when I started working with this last night and managed to make a bit of a tangle that became an interesting challenge to unravel. Once I got that worked out I made haste more slowly.

PWT Shawl WIP

I finished working 3 rows in the shawl with the silver carry-along thread today and then switched back to working the purple alone. I have this vision of working another large section of purple rows without the silver carry-along, then I’ll add in the carry-along for the last row and border. Will see how I like it when I get to that point though. That is the fun of a top-down project like this: playing with things as you go along.

Maybe bling isn’t your thing, instead you could put a stripe of a complimentary color in your shawl, or even a number of stripes to change up your shawl.

If you have scraps of yarn in the same weight that are colors that harmonize you can use them in a “Playing with Triangles Shawl”. Just alternate colors every couple of rows or start with the smallest ball of yarn and work rows until you run out, then go to the next larger ball of yarn. You may be pleasantly surprised at how your shawl comes out, and you will have put some of those odds-and-ends balls of yarn to use.

P.S. That purple color in the last photo is actually more the purple of the yarn. Still working on my photographic lighting skills. 

Playing with Sharp Objects

At the TNNA Winter Trade Show last week I took a couple of classes. I enjoyed them both, but the one that was most closely related to playing with fiber was the Needle Felting class I took.

Owl I made in the "Needle Felting Owl with Woolbuddy" class.
Owl I made in the “Needle Felting Owl with Woolbuddy” class.

I have played with needle felting over the years. But I hadn’t really tried to do the sculptural stuff. One reason was I was a little scared of the super sharp needles one uses to create the project. At least with 2 dimensional needle felting I was a little more certain of keeping my fingers out of the way of the needle.

But I love sculptural work and knew it was finally time to take a class on it. My hopes were that I would learn the correct way of approaching the process and possibly shed less blood that way. Mostly that was what happened. I did manage to poke myself a couple of times, but it wasn’t when I was actually felting. I learnt that one should put the needle down safely when reaching for more fiber for the project.

Initially I had not signed up for this class when I registered. I decided I would see if there were any slots available for the class on Saturday afternoon if I was still interested. The class was taught by Jackie Huang of Woolbuddy and they also had a booth on the show floor.

The Woolbuddy folks

When I meet him and his wife at their booth and saw all the adorable and fun products I decided I had to take the class. My friend Tamara (MooglyBlog.com) signed up too. Look at the amazing full size dinosaur in their booth. Jackie said it took them 6 months to make it. You can read more about their company and even order online from them at their website: woolbuddy.com

Woolbuddy kit and my owl

In the 2 hour class we each made an adorable little owl starting with a handful of loose fiber. I had a great time making my owl and am looking forward to making more needle felted creations. I purchased one of their “Sea Turtle” kits the last day of the show.  The kits are packaged in a sturdy little box with 2 needles, all the fiber you need and a step-by-step photo tutorial to make the character.

Little Sheep

I haven’t tackled the kit yet. Instead, I have a bit of wool roving of various colors at home, so I have been practicing on it since my return. I made this fun little sheep that is going to become a pin. She is only about an 1 1/2 inches wide and a tiny bit taller (cause you know, Legs).  I love all things sheep since they are a great symbol for me of the fiber crafts that hold a large place in my heart.

I’m hoping to teach my boys how to needle felt too. The boys need to make their own owls, since they keep attempting to “borrow” mine.  It is definitely a craft that you have to pay attention to, yet you can see results fairly quickly when doing it. There might be a few injuries, but I’ll have the bandages handy if needed.


Cuddly Crochet Kits

This last week has been another busy one. On top of all the other crochet work related stuff, I had a realization that Christmas is sneaking up on me far too quickly. Eek!

On Wednesday I was at the Longmont Yarn Shoppe all day. It was our monthly Casual Crochet Wednesday and I was working that afternoon as the shop’s crochet help.

C2C Scarf 1

Everyone at the Casual Crochet was working on their Corner to Corner project. I had finished my scarf and took the above photo before leaving it as a shop sample.

My friend Margie was there and she had some fun things to show me. In particular she had a crochet kit that she had picked up at Costco. The one she showed me was Disney’s “Frozen”, but she said they had Star Wars and the Peanuts too.

Frozen and Peanuts

The next day was my planned Costco trip and amazingly enough I remembered to look for the kits at my Costco. They had all 3, so I bought all 3. Not just because I was being indulgent (okay, maybe that was a little of it), but because I thought crocheting up some of the fun little figures could be good Christmas presents for my boys and a few other family members.

Star Wars Kit Open

I was so excited about the Star Wars kit that I opened it before taking a photo of it in pristine condition. As you can see the kit comes with instruction book, yarns, 2 sets of safety eyes, crochet hook, sewing/darning needle and fiber stuffing. The needle and hook are somewhat poor quality, but the little book is well worth the $12 price I paid. There are patterns for 12 Star Wars characters. The yarn included is enough to make a Storm Trooper and a Yoda.

Yoda in book

Bits for Yoda project

I decided I wanted to make a Yoda first.  Always loved this little green guy, though I think this cute little fella is going to live with my husband in his office.

Yoda hanks wound into balls

First I had to wind the little hanks into balls that I could crochet from. Was excited to get started.

Yoda head w Eyes

I changed the order of working some of the pieces for Yoda. I made his ears first so that I could sew them in place while the head was un-stuffed.

The instructions so far have been very clear and easy to follow the book is full of photo tutorials as well. So this is a great gift for crocheters on your list that want a project to get excited about. I would purchase a nicer crochet hook and darning needle to include though, especially if they don’t have a collection of their own hooks already.

Yoda w feet

I’m making pretty good progress on him so far. Just need to make his arms and little jacket. I’ll add another photo once he is finished. I won’t be giving away my kits as gifts, instead I will be making a lot of the characters as gifts. So part of my Christmas list is sorted.

Hope everyone is having a Wonderful pre-Thanksgiving Day weekend and that you are staying warm as well.


My Clover Amour Hooks

A while back I was talking about keeping our hands happy when crafting. One thing that can help crocheters with that is using a hook that is kind to our hands.

The Clover Amour hooks first came to my attention when the Vouge Knitting Crochet issue can out in Spring of 2012. There was an ad in there for them and I was extremely intrigued. Oh let’s be honest, I wanted them, badly.

Not only did they have an ergonomic handle, they were pretty colors and they had the lovely shape of the Clover Soft Touch hook which I have always liked. The Soft Touch is a great value hook and the paddle shape of the handle can reduce the amount of grip strength needed to use the hook. I prefer a hook handle that has a bit more “give” to the surface though.

Rainbow-of-Hooks

The combination of elastomer and ergonomic shaped handles of the Amour hooks really caught my attention, as soon as I could I ordered a set of them to try out. These were the Yarn hook version. The working end of the hook is a lovely blending of tapered and inline with a nice point on the tip making it easy to work into stitches.

They quickly became my favorite hook to work with. Unfortunately, there was a limit in the sizes with bulky and chunky yarns becoming more widely available, I needed some larger hooks.

I embarked on quite the adventure searching for larger hooks that were commercially available and had a hand friendly handle. The common problem I ran into was that many of the larger sized hooks with ergonomic handles had very little space between the top of the handle and the bottom of the “throat” of the hook. This section of the hook is what determines the uniformity of your loop sizes when making a stitch.

This isn’t a problem if you are only crocheting chain or single crochet stitches, and sometimes was okay with even a double crochet stitch. Too often though, double crochet and taller stitches are impossible on these larger hooks because the yarn-overs are distorted. Then you end up with distorted or “leggy” stitches in your finished project.

Now if you are an experienced crocheter very likely you can compensate for these issues, but generally those compensations lead to other postural or motion habits that can cause stress in your wrist or arms. Ideally, the hook is designed so that working with tall stitches is as easy as the other stitches in your project.

Clover Amour Steel hook

At the Summer 2014 TNNA show I stopped by the Clover booth to compliment them on the design of the Amour hooks and let them know how much I enjoyed working with them. They were just rolling out their steel hook version of the Amour hooks and I took a sample home with me. It quickly became my favorite hook to use when adding beads to projects.

I was happy to hear they were working on coming out with some larger hooks in the Amour line and we talked about the design of the hook.

At the Winter TNNA show in Phoenix they had the larger sized hooks. I was excited to try them out. They had a wonderful little sampling station set up where you could play with yarn with the hooks. I was thrilled to see that all the hooks had plenty of room for multiple yarn-overs. I had a wonderful conversation with one of their representatives who doesn’t actually crochet. I showed him how the longer shaft of the hook made a difference in the tall stitches.

Bigger Hooks 6

I ended up bringing home a set of the 5 larger Amour hooks to add to my set of Amour yarn hooks; sizes K-6.5mm, 7mm, L-8mm, M/N-9mm, N/P-10mm. These larger size hooks are made with a slightly different material for the handle and the hook itself is a hard smooth plastic that I have found to be very cooperative with every yarn I’ve tried them with. The handle shape is still wonderfully ergonomic and comfortable for both a knife hold or pencil hold.

Biggest Hooks 12mm 15mm

This last Summer TNNA show they had added 2 more larger hooks to the Amour line-up. A 12 millimeter and 15 millimeter (P/Q) hook. The 15mm hook is a bit short between the handle and throat of the hook, but still very nice to work with. I rarely need to make taller stitches than a double crochet with this size a hook as it is generally used with extremely chunky yarns or multiple strands of worsted weight yarn to get the appropriate thickness.

Tiny Hooks w Caps

I was just missing the tiny steel hooks. I decided I needed to add them to my set of Amour hooks this summer. They are super for when I am working with thread weight yarns and they are a great tool for when I am creating projects that need beads. Because they come in smaller sizes than any of my other steel hooks with ergonomic handles, they are very handy for my intricate bead and thread work.

My work kit w Hooks and accrmts

I’ve filled my entire purple work case with my set of Clover Amours. I have a few other hooks in there, as well as the other accoutrement that I need when working on projects or teaching crochet.

These are not the only hooks I use, but they are definitely my favorites. I use a modified knife hold most of the time I crochet, so these handles are very comfortable for me. Everyone’s hands are different though, so you need to find out what works for you.

I’ve seen them available in my local JoAnn’s craft store (and on Amazon), so they are easy to obtain. I recommend purchasing just one hook in a size you commonly use or need. Then give it a try-out for a while to see if they are right for you. You may find yourself falling in love with Amour hooks like me.

Just a Smidgen Left

This past Wednesday I was at the Longmont Yarn Shoppe. I facilitate our 2 hour “Causal Crochet” get together on the third Wednesday of each month at 10:30 a.m. In the afternoon I work at the shop as their “crochet help” person. I answer questions for our crochet customers helping them if they are stuck with a project or needing to find the right yarn for a new project. When there aren’t customers for me to help I crochet up swatches in the yarns so folks can see how they look in crochet as well as knit.

Ball of Gusto yarn and starting chain

This time Jane and Gail asked me to swatch in Berroco’s new yarn “Gusto”. This is a colorful Thick and Thin yarn constructed from 45% wool, 45% Acrylic and 10% Vicose. My initial chain to begin a swatch really charmed me. A chain alone could make a fun “crafty” necklace and would be really pretty with some beads added using the “hoist-on” method.

First Swatch and 3 buttons

I had decided to use the “seed stitch” (sometimes called “Linen stitch”) with this yarn since it would allow the changes of weight in the yarn to breathe. As I began to work my swatch I wondered how much fabric I could create from the one ball and spoke to Gail and Jane about what a cute neck cozy it would make. I pulled out some buttons from the shelf that I thought would look nice with the yarn.

As I got closer to the end of the ball of yarn I realized I was going to run out of yarn before I had enough length to the fabric. So I tried decreasing along one edge to taper the end and squeeze out a bit more length. It was still too short. After a consultation with Gail and Jane, I decided I needed to pull it all out and start over again.

Gusto yarn - loose bits

With this yarn you want to pull-out the stitches a bit carefully or you will damage the yarn. In a few spots I had to tease the stitch loose. If the thick part of the yarn gets frazzled like above, just wrap the loose bits gently around the yarn and continue crocheting. The stitches will secure the “fluff”.

Finished fabric and new button

The next 2 hours were a few fits and starts, but finally I had settled on a width that worked. Jane and I decided that we liked a more asymmetrical look to the cozy so we picked out a single button that could be a feature on the finished project.

Smidgen Cowl flat view

I’m really happy with how this cozy finally came out. It is a quick project to crochet up (when you aren’t designing it). For less than $20 and 2 hours of your time you can whip up one of these neck warmers for someone special on your gifting list. The yarn comes in a wide range of colors, so you are sure to find one that is perfect for your giftee.

The Smidgen left over

Since I only had a “smidgen” of yarn left after I had woven in the tails I named this design the “Smidgen Cozy”.  The pattern instructions follow, I hope you enjoy making this cozy.

Smidgen Cowl - M2H Designs

SMIDGEN COZY

Designed by Andee Graves

Skill Level: Easy

Finished Size: 21″ (52.5cm) long x 7″ (17.5cm) wide

Materials

Yarn: Berroco “Gusto” (45% Wool/45% Acrylic/10% Vicose; 70 yds) 1 skein in color #1935 Jasper

Crochet Hook: US N (10 mm) or size needed to obtain gauge.

Additional Materials:

Button ¾” diameter or size to fit thru ch-1 sp,

Yard of lighter weight smooth yarn to sew button on with,

Yarn needles (big one for weaving in ends, small one for sewing on button),

Stitch markers

Gauge: 4 stitches and 9 rows = 4″ (10 cm)

Pattern Notes

Because this is a thick-n-thin yarn it is a good idea to count your stitches each row to be sure you haven’t missed or added one.

Sample used up almost every smidgen of the ball of yarn, be sure to leave only 6” of tail at the beginning.

Row 1 is worked into the back bump (or bar) of the foundation chain to create a finished look to the starting edge.

Instructions

Row 1: Ch 17, sc in 2nd ch from hook, (ch 1, sk 1 ch, sc next ch) 7 times, sc last ch. [7 ch-1 sp, 9 sc]

Row 2: Ch 1, turn, sc first st, (ch 1, sk 1 st, sc next ch-1 sp) 7 times, sc last st.

Rows 3 – 37: Repeat Row 2. Place stitch marker at beginning of Row 37 leave in place until completed crocheting, marked side is decrease edge for next 9 rows.

Row 38: Ch 1, turn, sc first st, (ch 1, sk 1 st, sc next ch-1 sp) 7 times. [7 ch-1 sp, 8 sc]

Row 39: Ch 1, turn, sk first st, sc next ch-1 sp, (ch 1, sk next st, sc next ch-1 sp) 6 times, sc last st. [6 ch-1 sp, 8 sc]

Row 40: Ch 1, turn, sc first st, (ch 1, sk 1 st, sc next ch-1 sp) 6 times. [6 ch-1 sp, 7 sc]

Row 41: Ch 1, turn, sk first st, sc next ch-1 sp, (ch 1, sk next st, sc next ch-1 sp) 5 times, sc last st. [5 ch-1 sp, 7 sc]

Row 42: Ch 1, turn sc first st, (ch 1, sk 1 st, sc next ch-1 sp) 5 times. [5 ch-1 sp, 6 sc]

Row 43: Ch 1, turn, sk first st, sc next ch-1 sp, (ch 1, sk next st, sc next ch-1 sp) 4 times, sc last st. [4 ch-1 sp, 6 sc]

Row 44: Ch 1, turn sc first st, (ch 1, sk 1 st, sc next ch-1 sp) 4 times. [4 ch-1 sp, 5 sc]

Row 45: Ch 1, turn, sk first st, sc next ch-1 sp, (ch 1, sk next st, sc next ch-1 sp) 3 times, sc last st. [3 ch-1 sp, 5 sc]

Row 46: Ch 1, turn sc first st, (ch 1, sk 1 st, sc next ch-1 sp) 3 times. [3 ch-1 sp, 4 sc]

Finishing

Weave in tails securely. Use lighter weight yarn to sew button on Row 3 an inch in from the longest edge. Use a ch-1 sp on Row 43 or 42 as your button-hole.

All those Sizes!

One of the challenging things about designing garments is writing all the changes to a pattern for the various sizes. This particular task has been known to reduce otherwise sane designers to raving lunatics, yours truly included (and I love math).

Sparkling Lace Shrug - Annie's Publishing
Sparkling Lace Shrug – Annie’s Publishing

My “Sparkling Lace Shrug” that I designed for Crochet! Magazine was many hours of hair pulling and tears as I worked and re-worked the calculations. I learnt my lesson though.  I took a Pattern Grading class with Kim Guzman thru Crochetville a couple of years ago and it was a great investment in my business (as well as my sanity).

ClassPhoto

553745_4684103338287_44048893_nThe class is available again and enrollment is now. If you are an aspiring designer, or a designer that wants to take the fuss out of pattern grading here is your chance. Zip on over to Crochetville and sign up for the class.

You can watch a preview of what her class covers on YouTube just click here.

Kim helps you learn the methods for making your task much easier by using Excel spreadsheets to do the math for you. As well as explaining many of the sizing pit-falls that can snare the un-wary designer.

You will be very glad you invested the time and money, I know I am.