As a designer and particularly as an indie-designer, I spend a lot of time thinking about what information a pattern needs to include. Clarity is vital for a pattern to be easy to follow and for stitchers to be able to replicate the original design. After all, that is the main purpose of a pattern. To provide all the information that a crafter will need to get the same result that the designer did.
Interestingly enough, a lot of folks have a hard time being able to follow a pattern. So today’s post is all about the anatomy of a pattern and how changes can make or break your final project.
Patterns can be broken into 4 parts: Materials, Metrics, Pre-Instructions, Instructions. Changes in any of these areas can change the resulting finished project significantly from the sample the designer created for photography. Which can be exactly the result you want, it’s just good to be aware of how your changes will affect the finished object.
Materials

This is where the pattern lists the yarn, hook size and any other materials or tools that you will need to have on hand to complete the project.
If you decide at this point in the pattern to use a different yarn than was used in the design this is where things can change a great deal. Yarn substitution is tricky. Sometimes the listed yarn is no longer available or difficult for you to get hold of. So when looking at substitution it is a good idea to look at not only the weight, but fiber content and even the amount of twist in the yarn originally used as well as in the yarn you wish to substitute.
Metrics
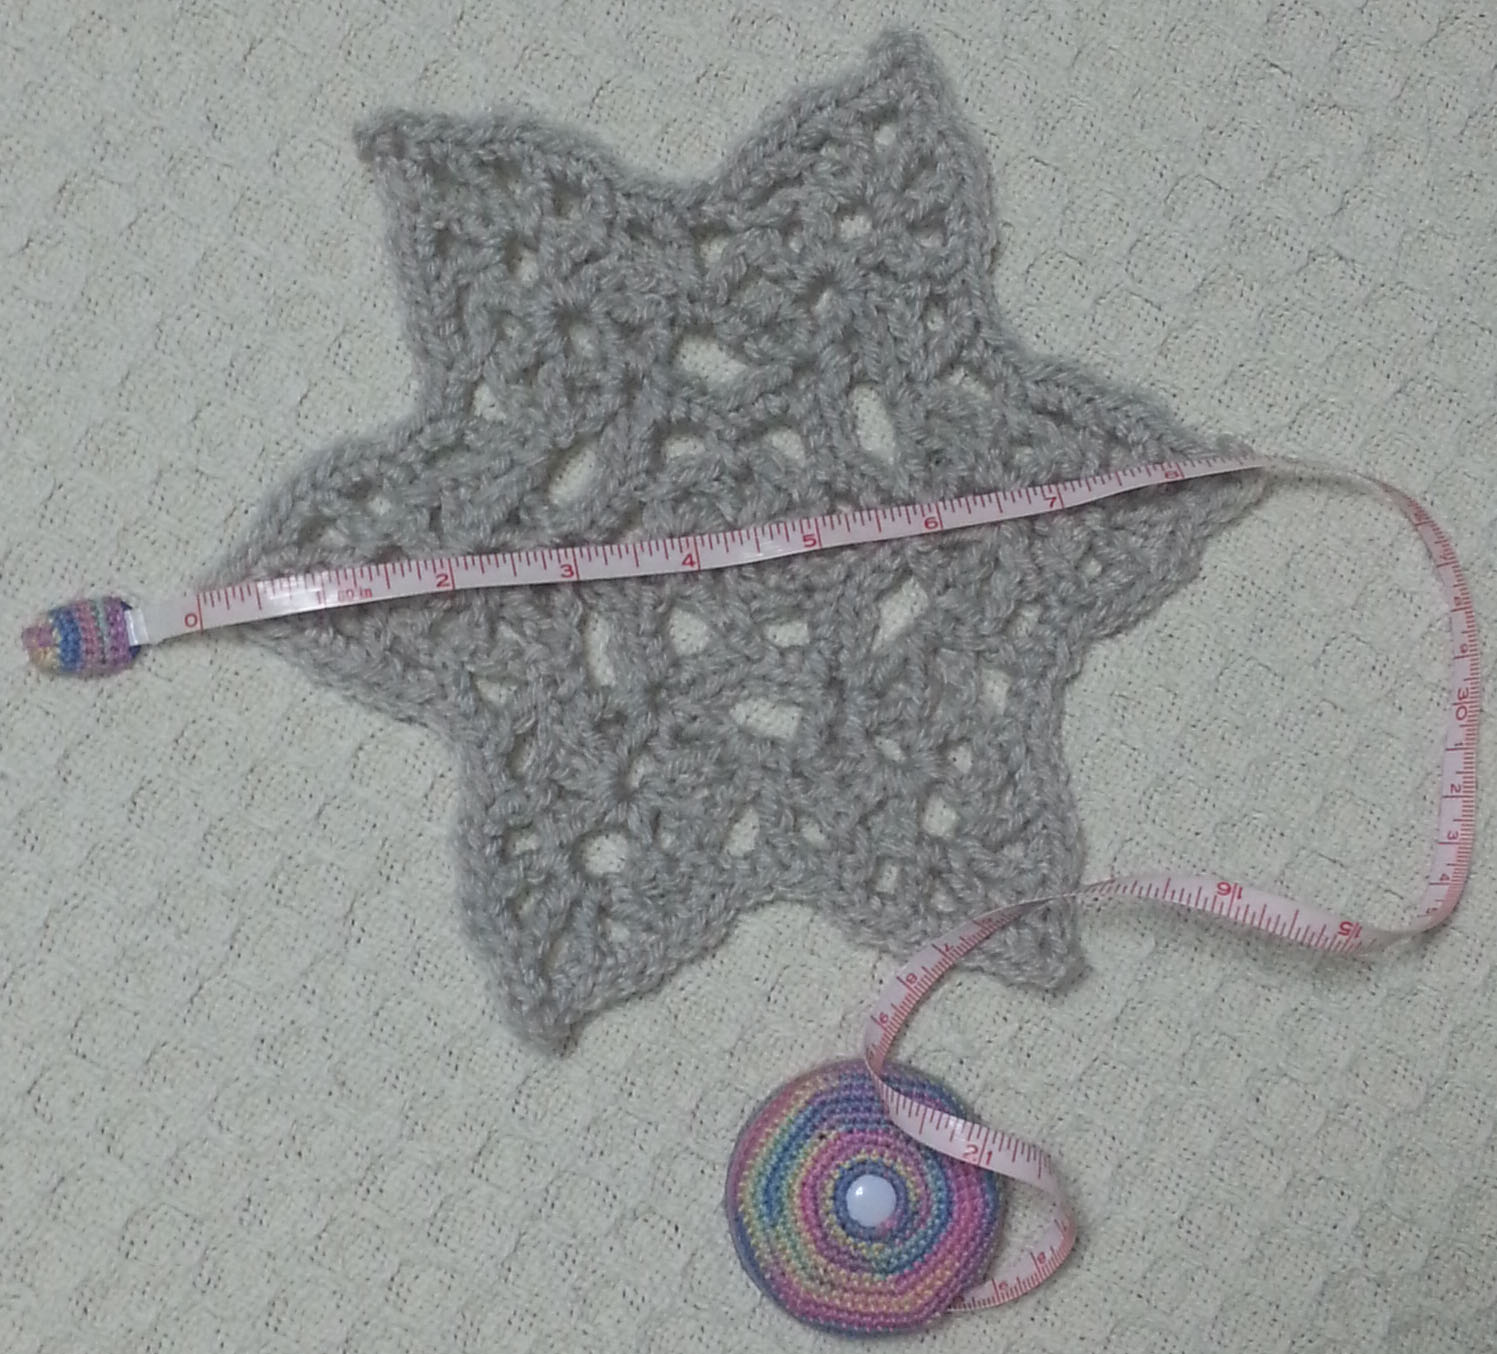
This is where the pattern tells you the sizes the pattern can be used to make as well as the gauge measurements.
If you change the hook size that was listed in the Materials you will very likely have some changes in this area. Gauge swatches can be your friend if you have made changes. Working that swatch will give you an idea of how close you will be to the measurements given.
If your pattern is for something like an afghan or scarf, where gauge isn’t that critical, you still want to have an idea of what the size of your finished project is going to be. If nothing else, to be sure you have enough yarn.
Pre-Instructions
This area is one of the most often skipped areas in pattern reading and can lead to the biggest tangles when working a pattern. It generally includes things like the “Special Stitches” and “Pattern Notes”.
This area of a pattern often gets ignored by stitchers until they run into a snag while working the pattern. This is often very important information for working the pattern smoothly. Special Stitches will explain non-standard abbreviations for stitches. Pattern Notes will give you a heads up about things in the pattern to pay particular attention to.
Instructions
This is the “meat” of the pattern. In the instructions you will get the exact directions on the order and placement of stitches to create the finished object. Sometimes the instructions will include stitch charts, schematics and photo tutorials.
If the pattern is for a complex project, like a garment made from multiple pieces, it will often have the instructions broken out for the various pieces. Sleeves, collars, ribbing, etc.
With longer or more complex patterns it can also be helpful to use post-it notes or some other movable marker to help you keep track of your place in the pattern as you are working. If you miss a repeat or line of the pattern the result can be a bit frustrating.
For crochet patterns that have written text using standard abbreviations you need to be sure if they are using US or UK terminology. If the pattern also includes a stitch chart that can often help you decipher whether the pattern is written in US or UK terms.
Another way to spot if a pattern is US or UK terminology is if it uses the half double crochet stitch (and calls it that). US terminology says Half Double Crochet where UK terminology says Half Treble Crochet. UK doesn’t have any stitches called the Half Double Crochet stitch and US doesn’t have any stitches called Half Treble Crochet.
Now it’s time to grab one of those patterns that have been intimidating you and make a try at it. Hopefully some of the tips in this post will help you triumph.

One thought on “Getting the Most from a Pattern”