This week I’m finishing up a big project that is still in the super secret phase. But I managed to squeeze in some time playing with a few small thread design ideas.

I love Size #10 Crochet Cotton Thread for making small sculptural pieces. Especially jewelry. So I dug out a ball of Aunt Lydia’s metallic thread that I had in the stash for this earring idea.

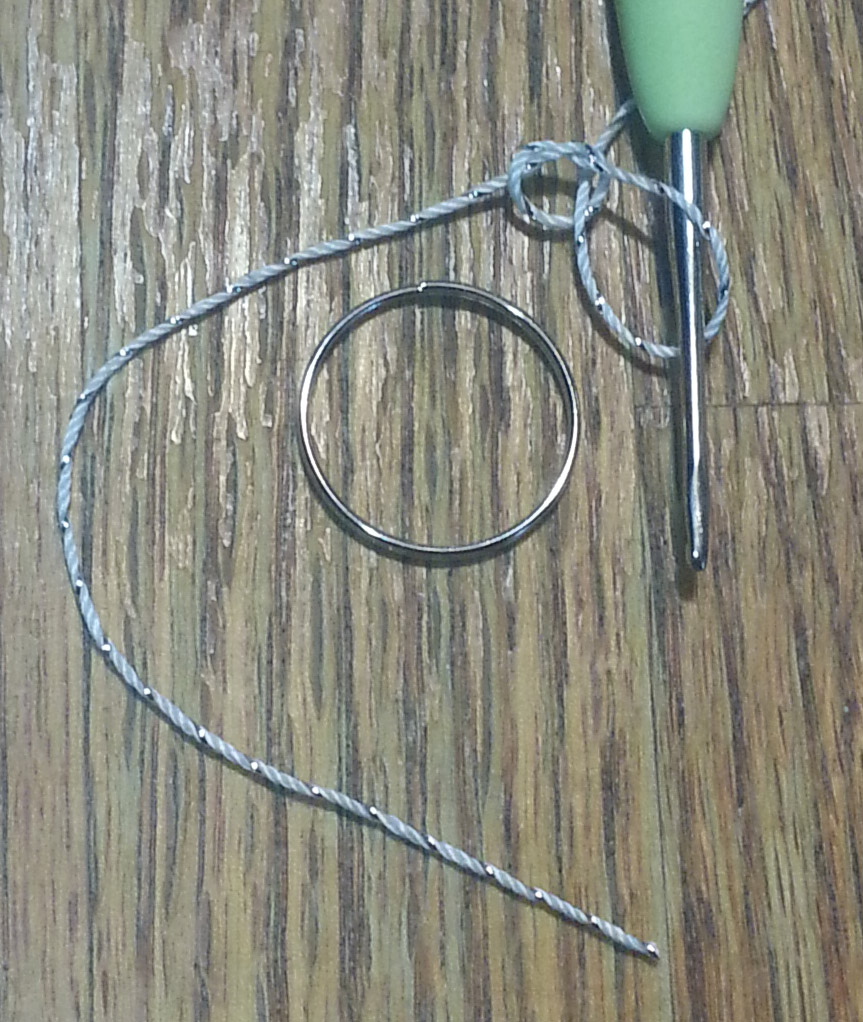
I had acquired these split rings at my local hobby/craft store a while back. I like using a light weight ring to crochet around to lend a bit of stability to my earrings. These rings are 20mm, which is sort of a Goldilocks range in diameter size for jewelry.
I’ve experimented with a variety of ways to attach the thread to my rings over the years and my favorite method is to capture the ring in the beginning slip knot. If you are using a split ring this is super easy.
Start your slip knot by forming your “knot” loop and pulling thru your first working loop, but don’t tighten up the “knot” loop completely.

Slide the opening of the “knot” loop unto your split ring and

keep sliding it until it is around all the wire of your ring.
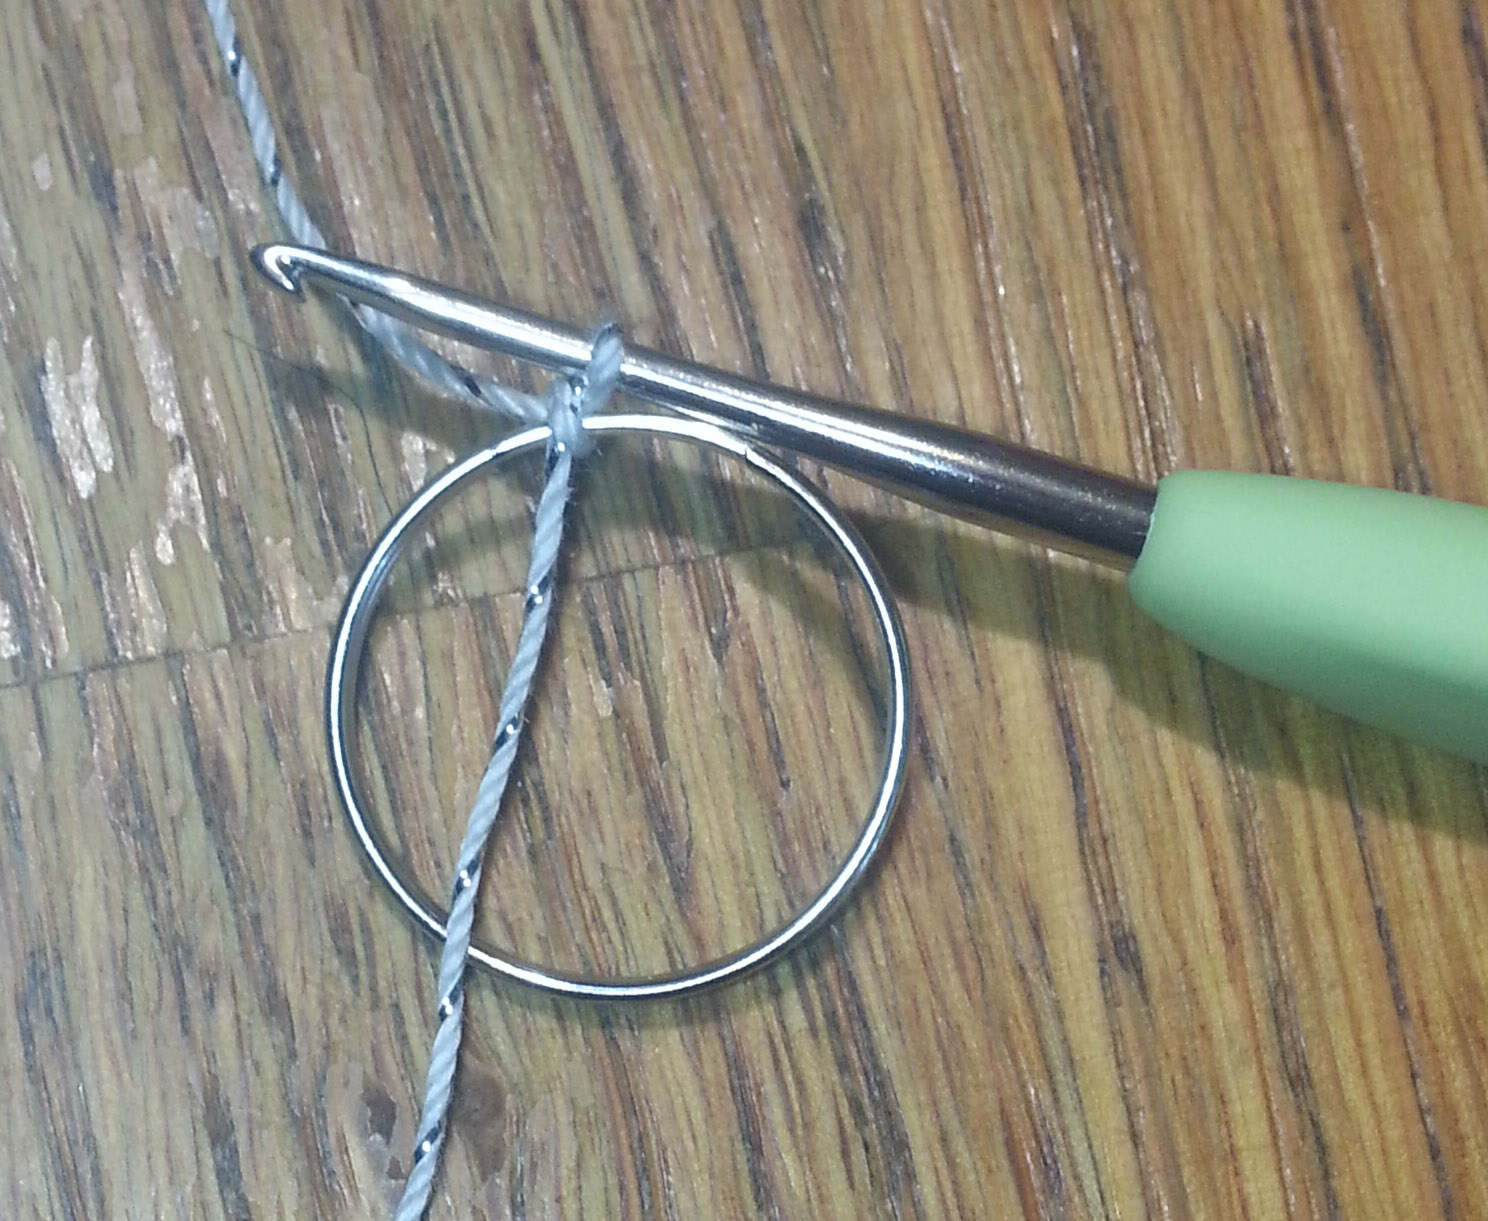
Tighten up the “knot” loop, and snug the working loop on the shaft of your hook, you are ready to start your project.
Next Tuesday is the start of National Crochet Month and we are going to be having a really fun month all about crochet, including a couple of new patterns on the blog and in my Ravelry shop. Starting with the pattern for these earrings.

Very pretty!
How lovely. And what a great way to attach the yarn!