Back to School again

This past week the weather has begun its swing back to cooler temperatures, at least up here on my mountain. It is getting us in the mood for autumn just as school is ready to start up again for my boys.

My youngest son is going into the 5th grade this year. It’s rather bittersweet as this will be his last year in elementary school. In our district 6th graders are in Middle School. So the Bean is looking forward to being one of the “big” kids this year. He also will have the opportunity to join band and learn to play an instrument. We will see if that happens. I’m trying to convince him that music is math, but he remains skeptical about it.

My oldest is going into 8th grade, his last year of Middle School. That means this year is going to be full of getting ready for his graduation at the end of the year and deciding what High School he’ll be attending for 9th grade. This will be the last year that I’ll be driving down or staying in town all day to pick them up after school. Starting next year they will both be able to take a bus home up to our little community after school.

For some reason our schools always start the new year with a short week. My youngest will be having his first day this coming Thursday and my other son’s will be that Friday.  I went on a massive shopping trip this last Tuesday and got all the required items for their return to school. I stocked up for my design office supplies too.

Pocket Folders

Inexpensive 2 pocket file folders, I use these for corralling my design notes when I am crocheting a new design and writing the pattern.

Spiral Notebooks

A stack of spiral notebooks, still my favorite to keep with me for scribbling ideas in or design notes when I am swatching for new designs. They also are a sort of ‘catch-all” for anything I need to write down. I fill them up and weed them out as the year progresses.

Pink Comp Notebooks

A few nicer looking composition notebooks that I’ll use when I go to conferences. The slightly smaller profile lets them fit nicely into my bags I carry during the conference.

Writing n Drawing Implements

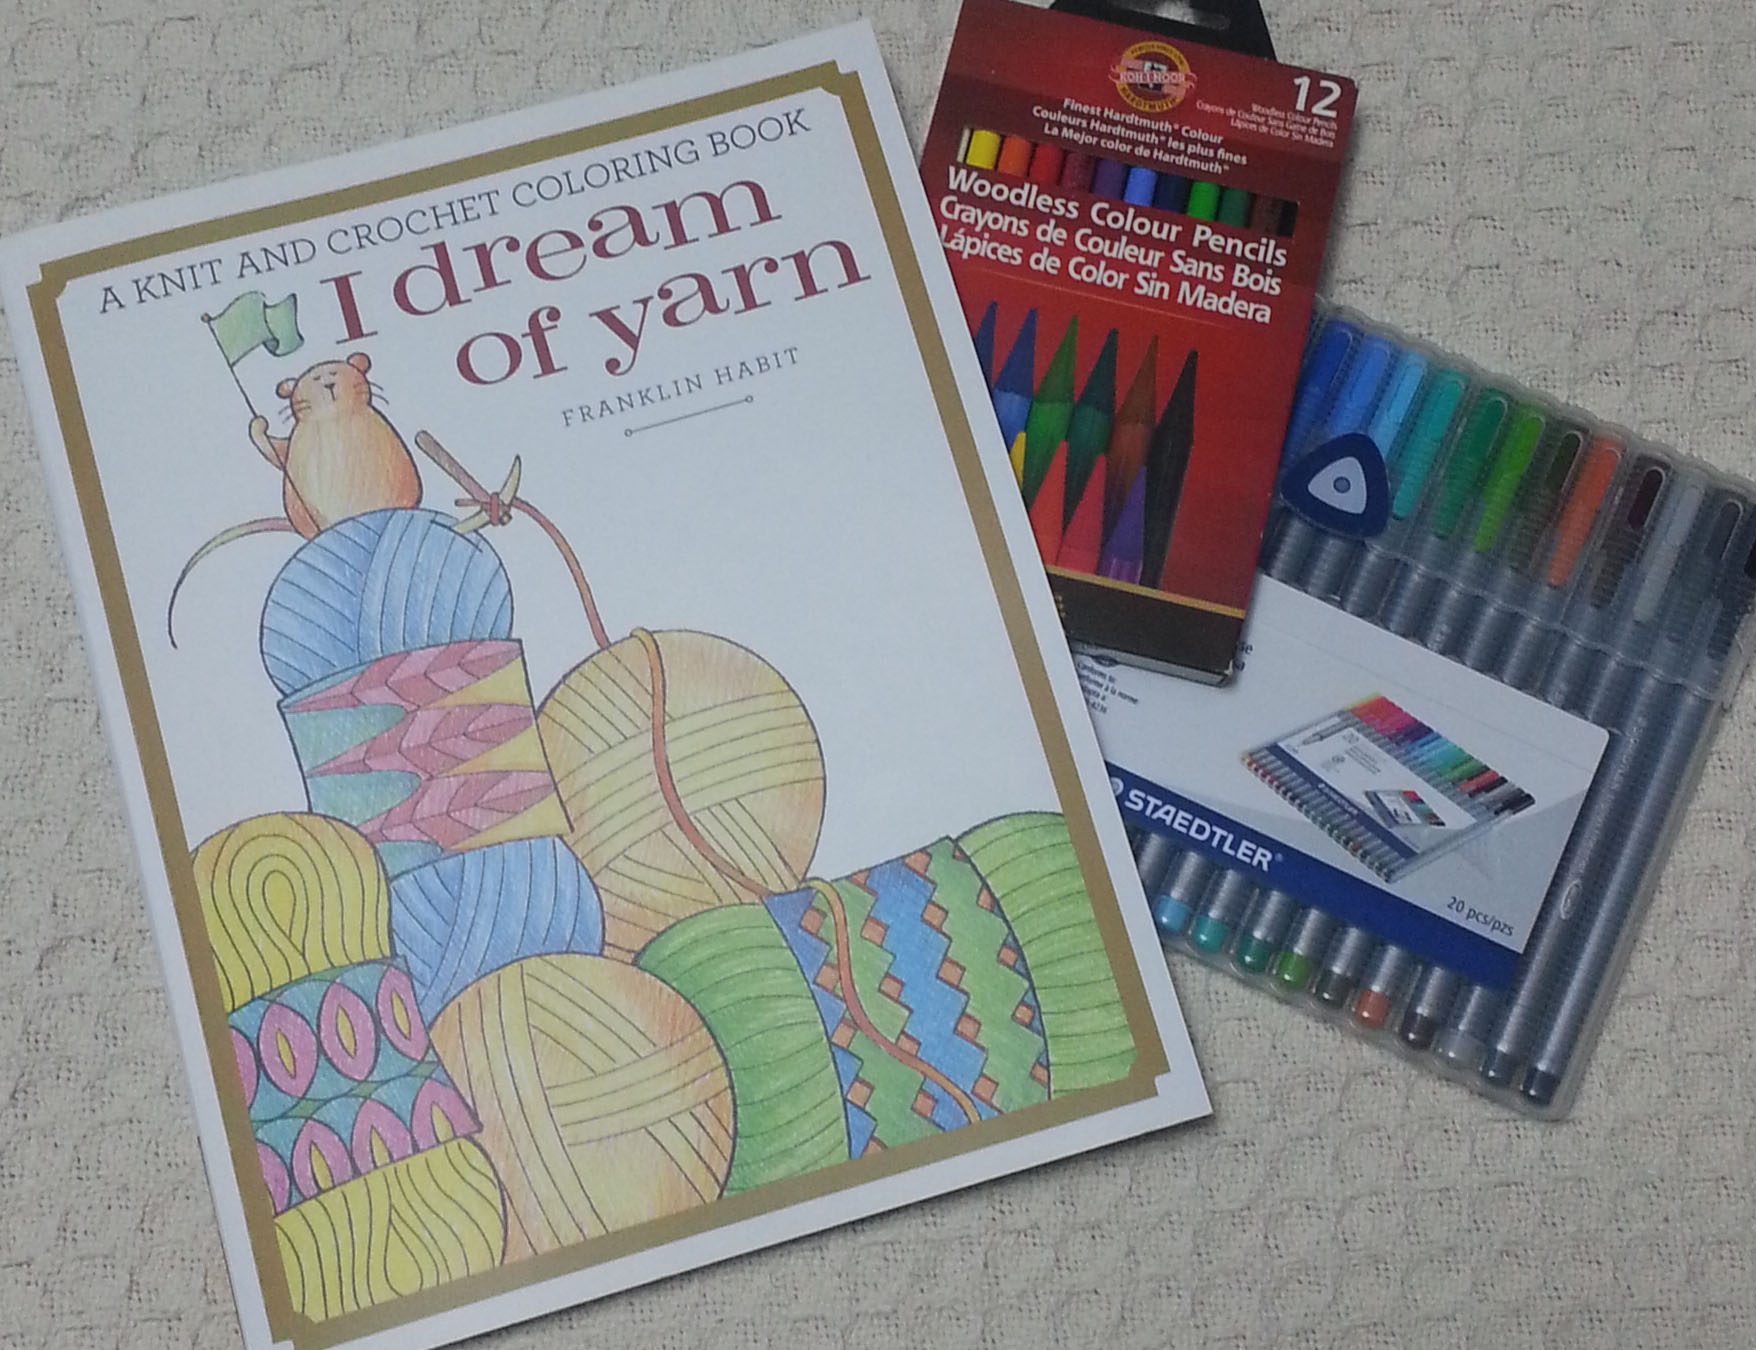
I also picked up a few new writing and drawing implements. Haven’t used these colored pencils from Pentel before and wanted to see how they compare to others, and one always needs more highlighters and black markers.

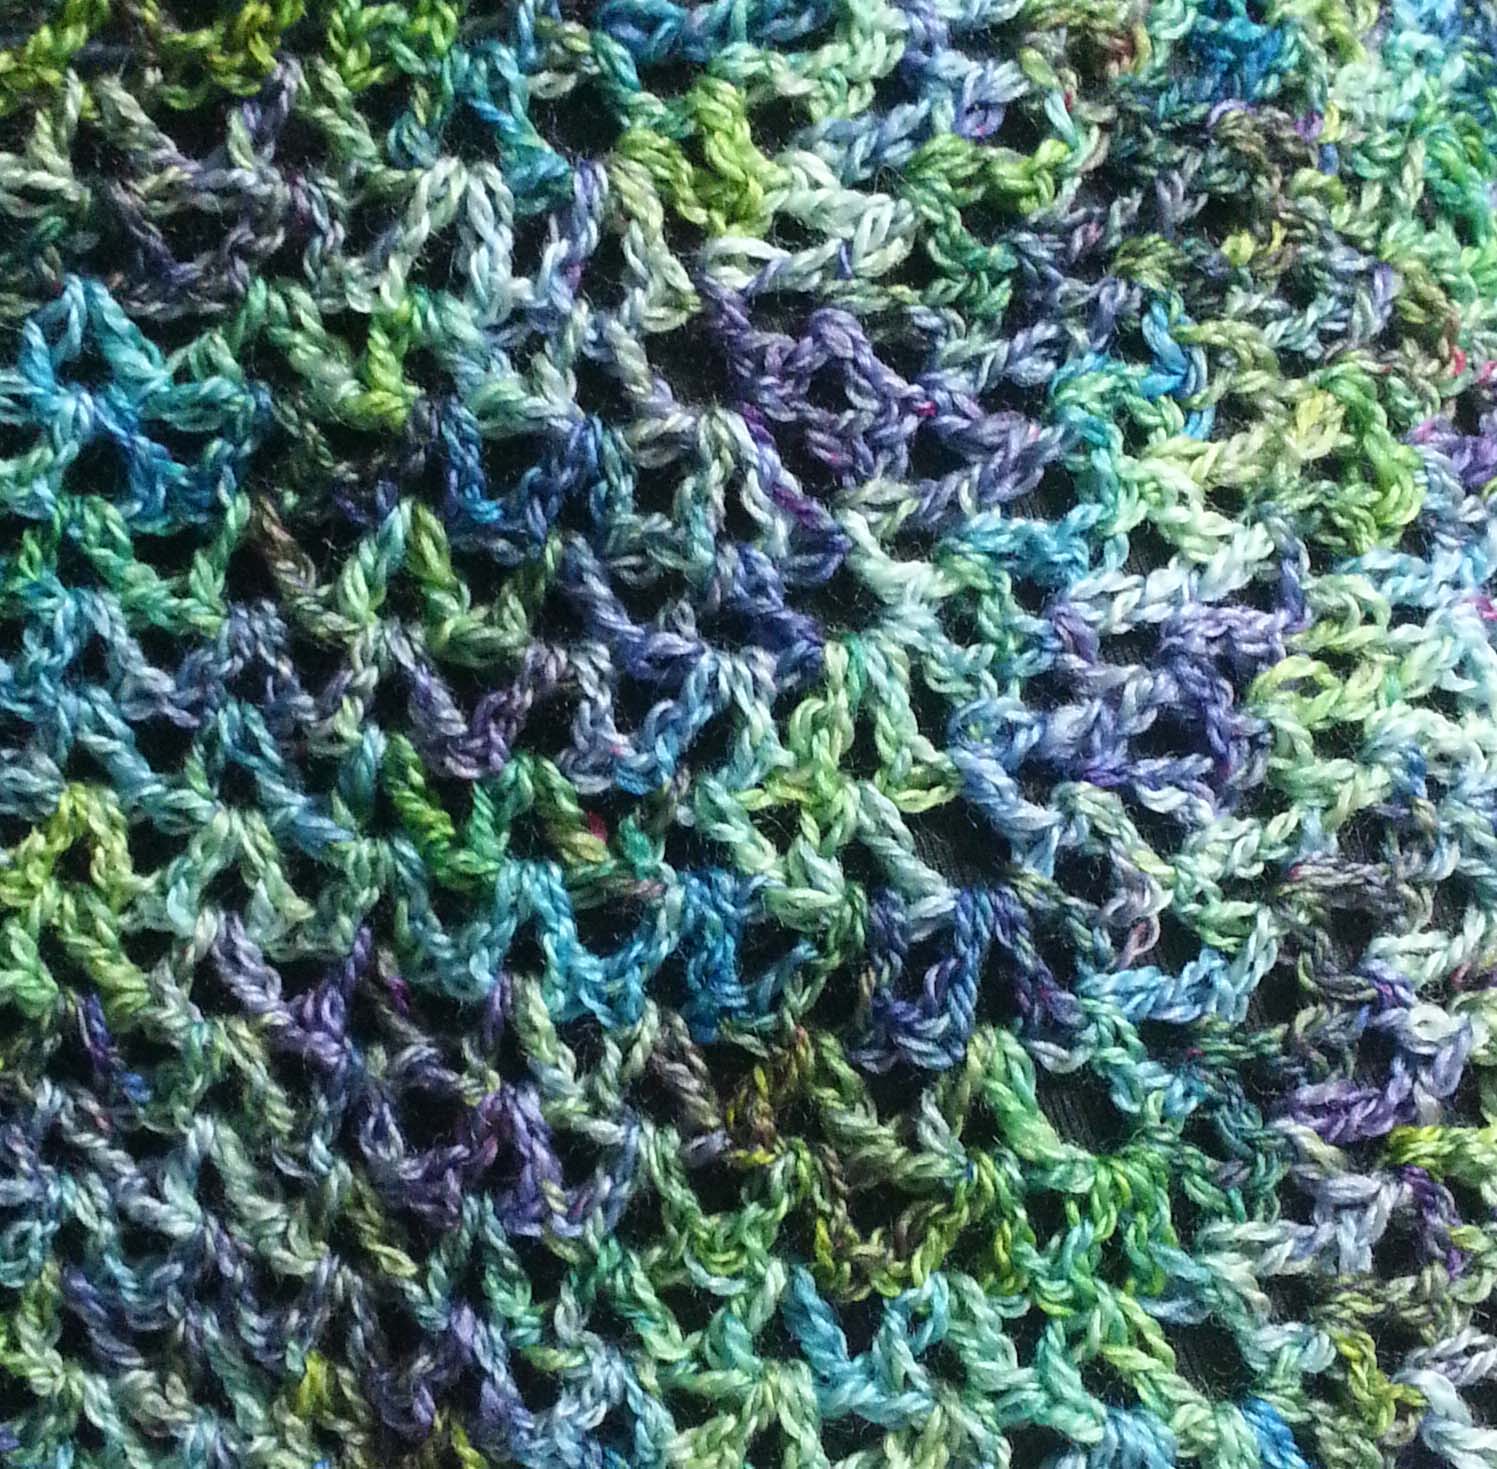
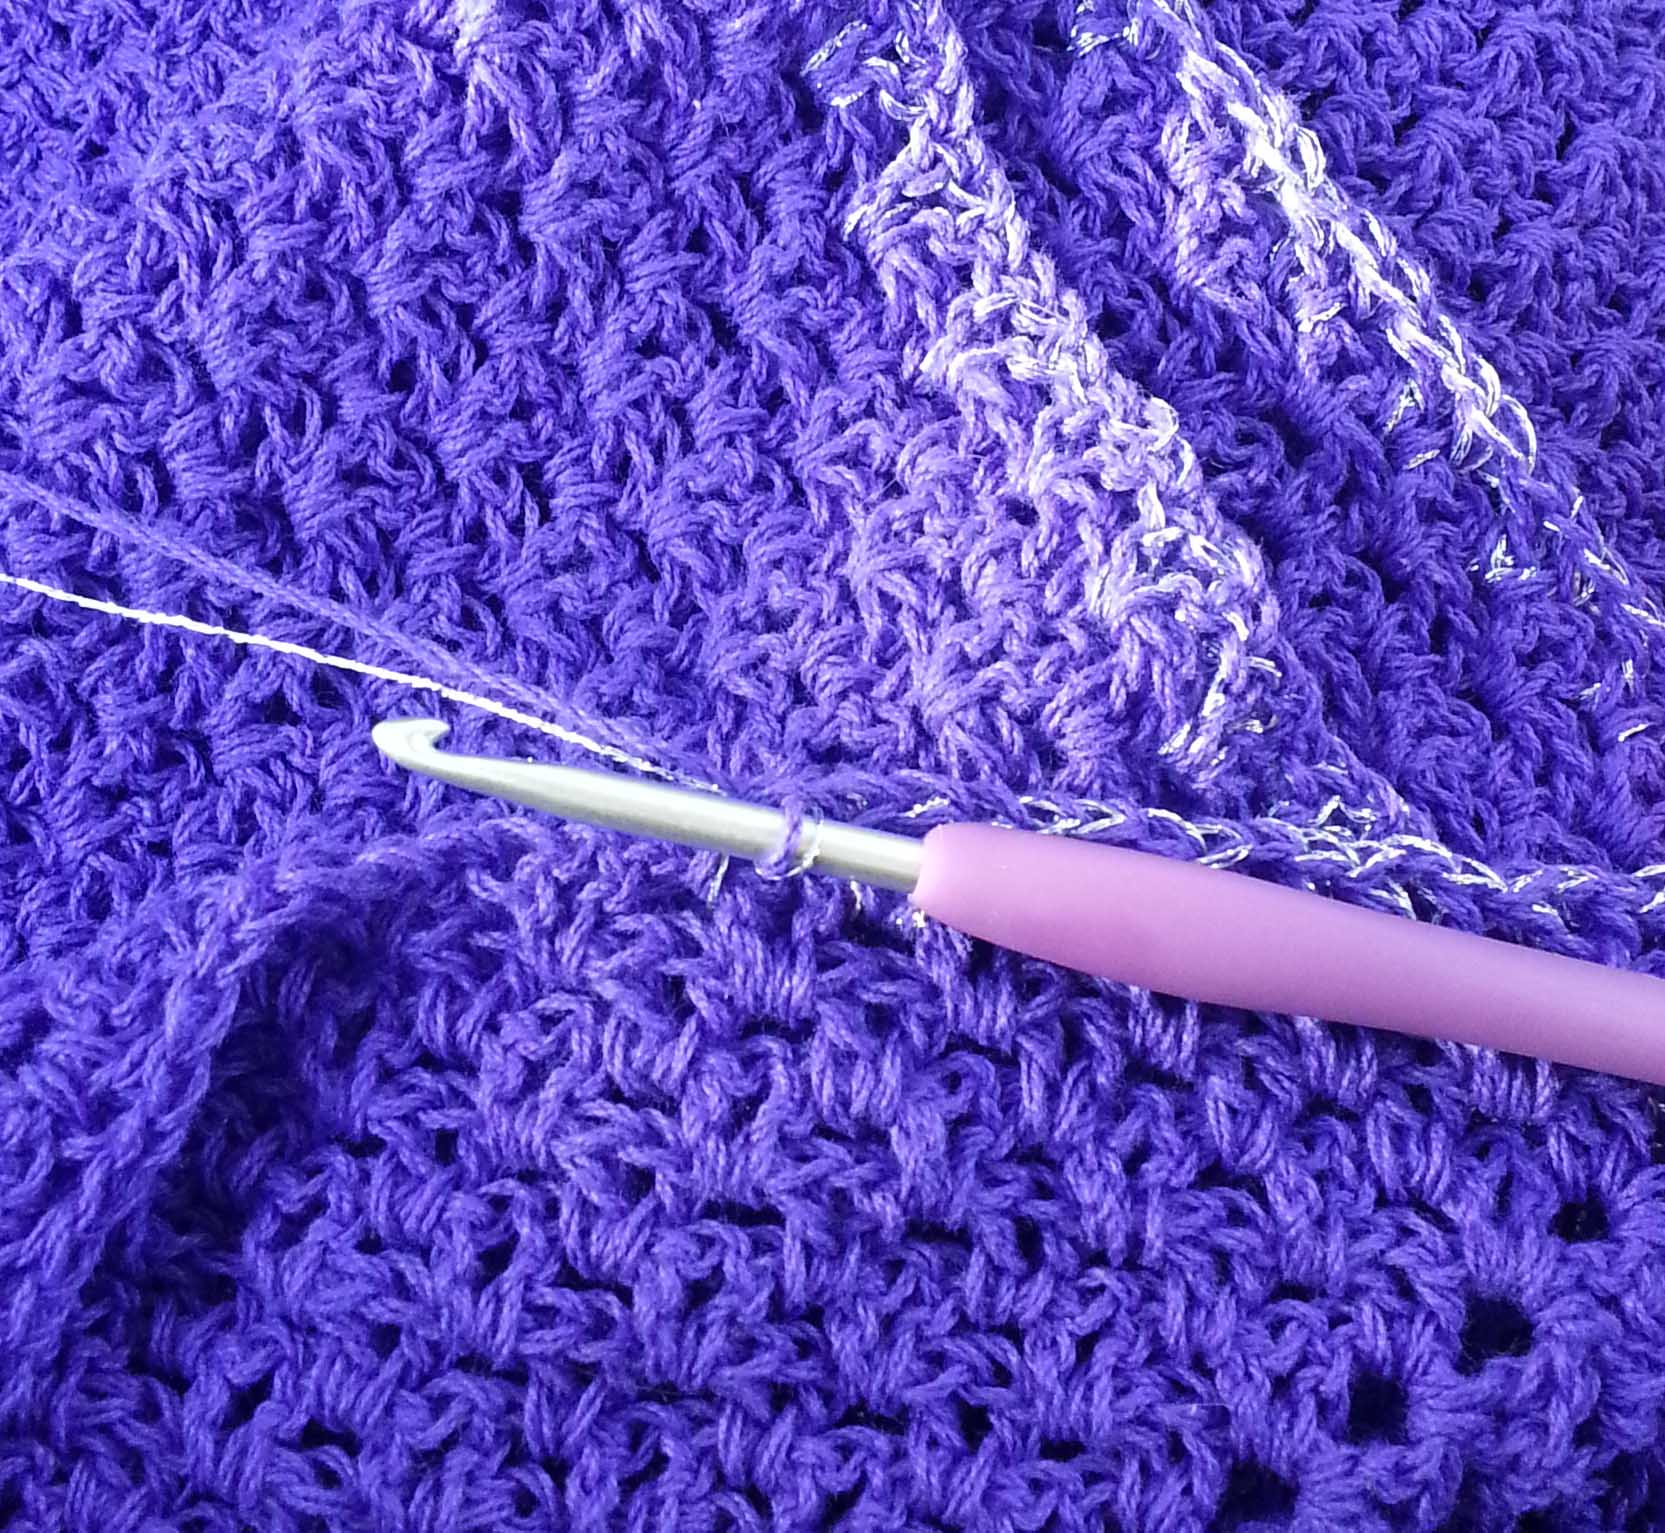
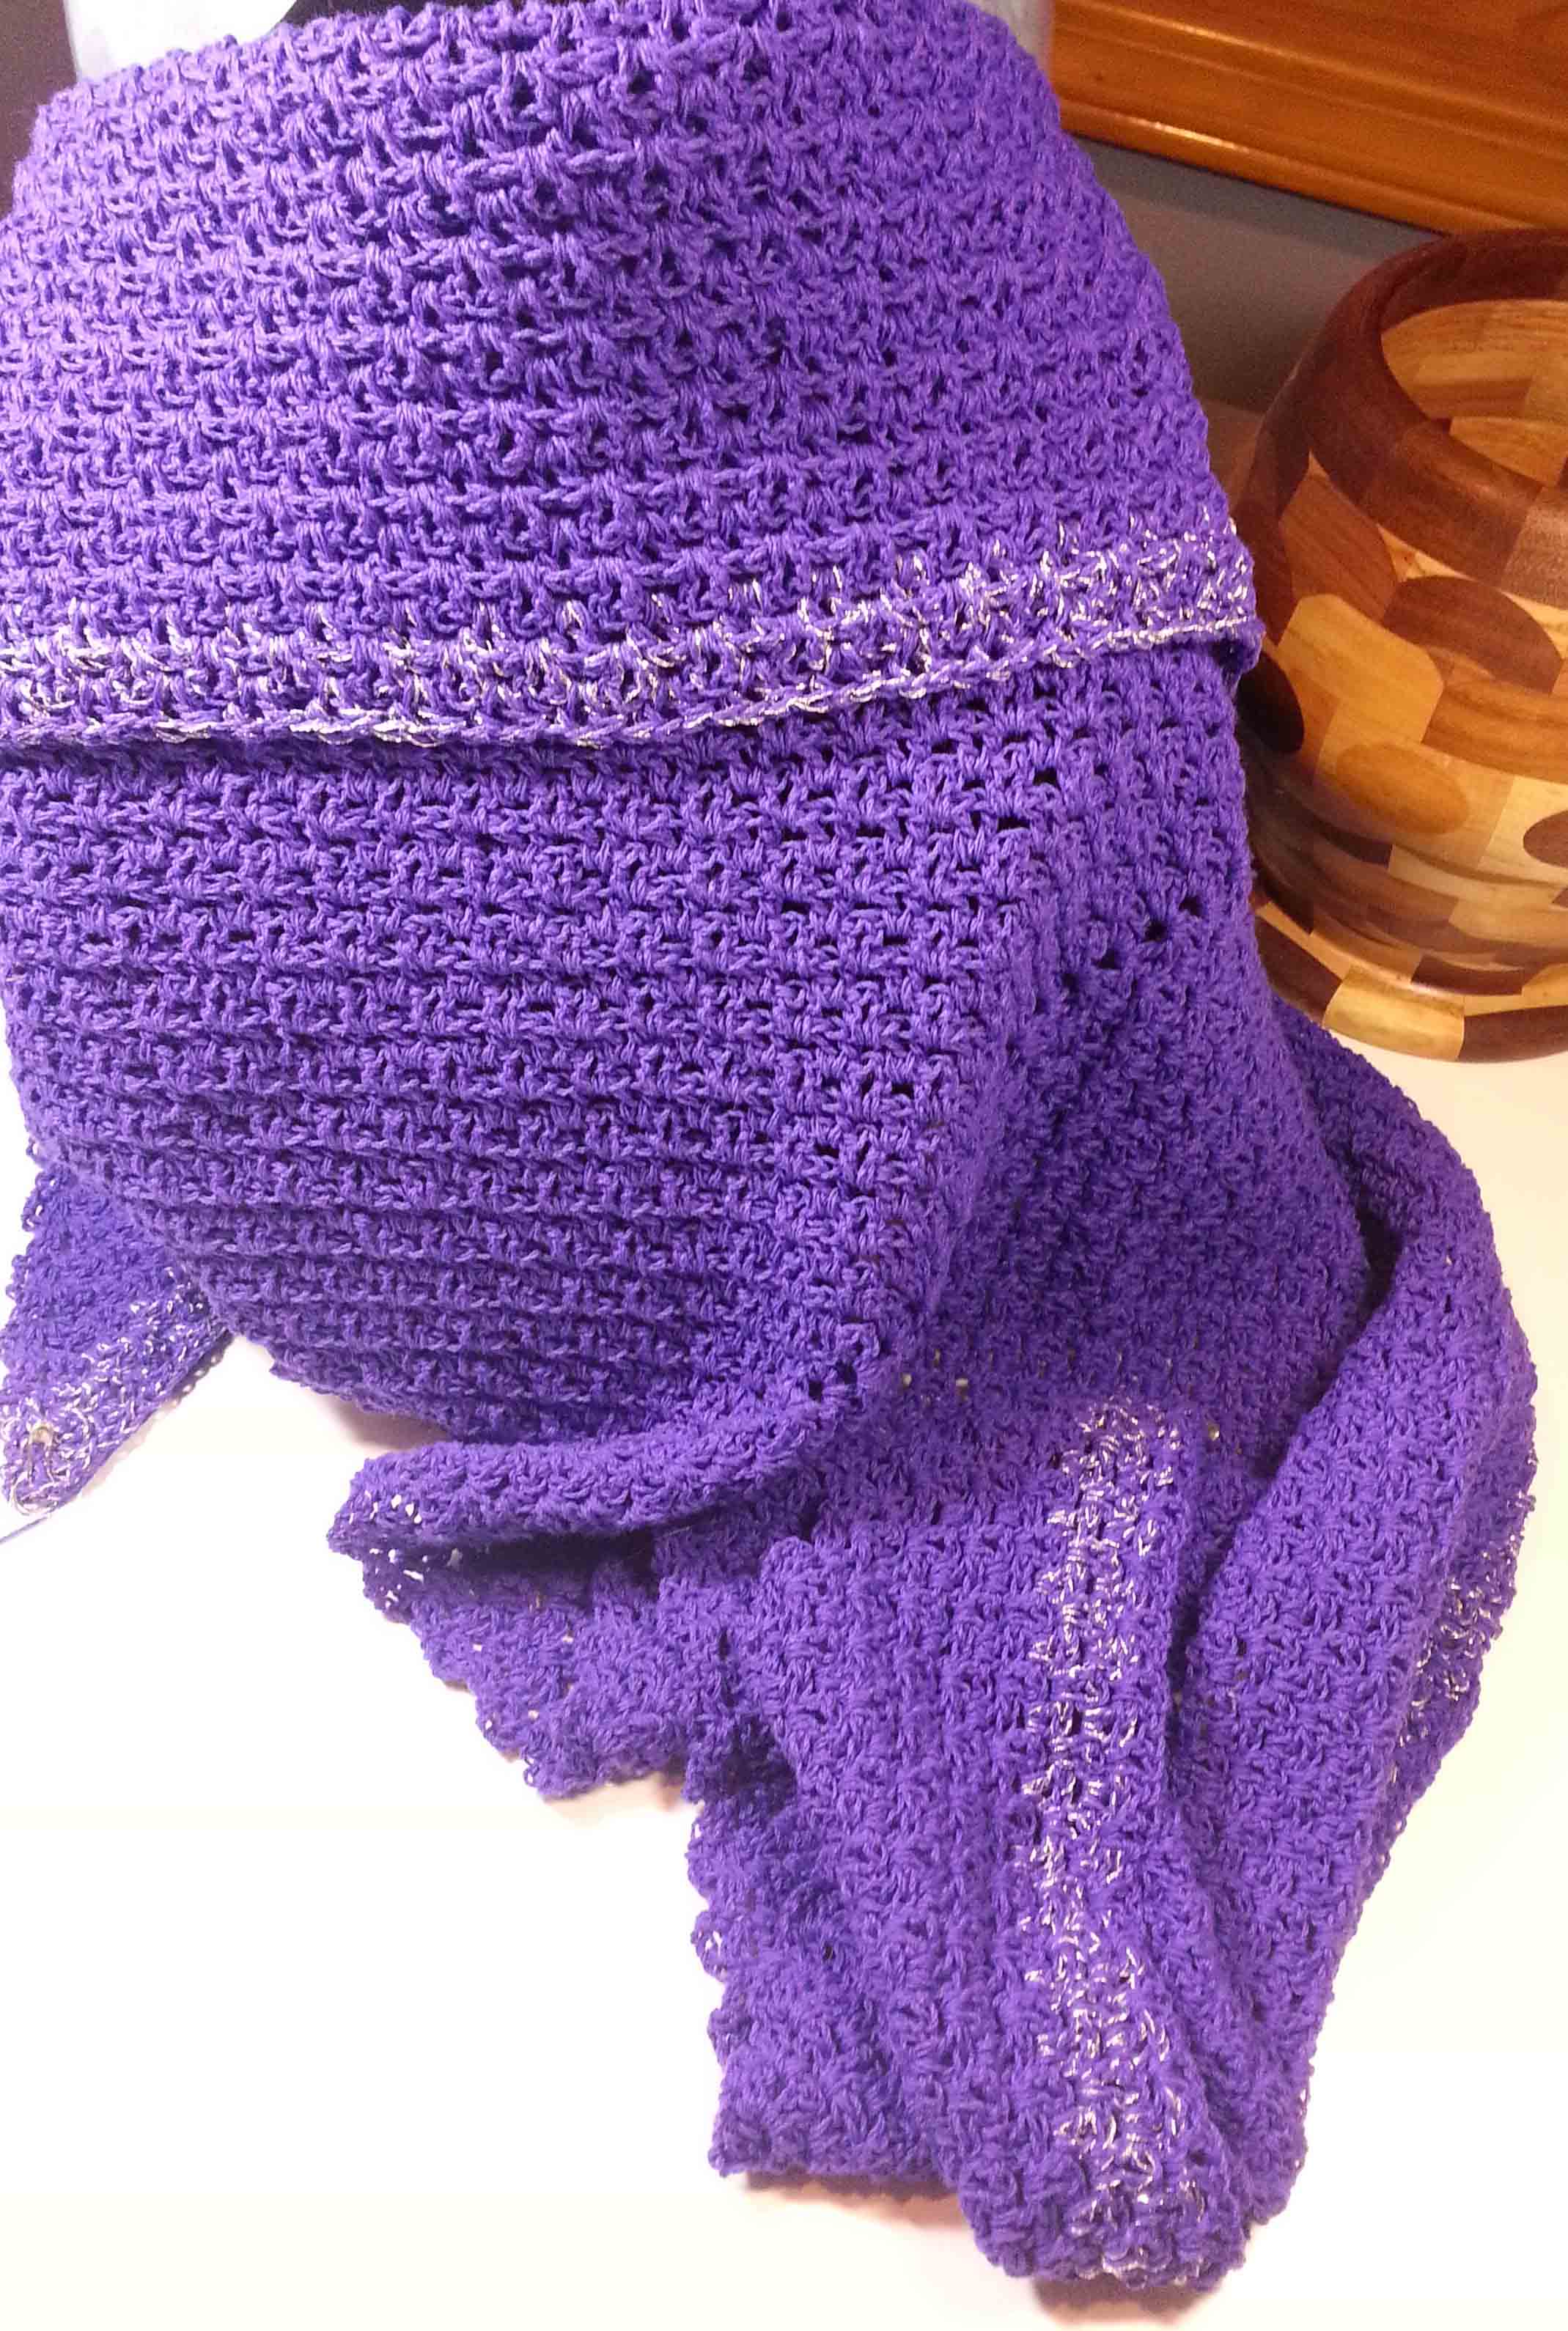
Between all the back to school stuff I have been working on swatching for new design projects. It has been a reminder that even with the best ideas and yarn, swatches don’t always come out the way I envisioned. Unfortunately I wasn’t happy with how the yarn I had picked was working with the hook I had chosen. I ended up starting and frogging around 10 times when all was said and done.

The good news is that none of that time is wasted. I always learn a lot when swatching and get to know the stitch patterns I’m working with. I have almost an entire notebook full of notes to work from that will become future designs. I also found out that this was an amazingly durable yarn to withstand being crocheted then pulled out so many times.

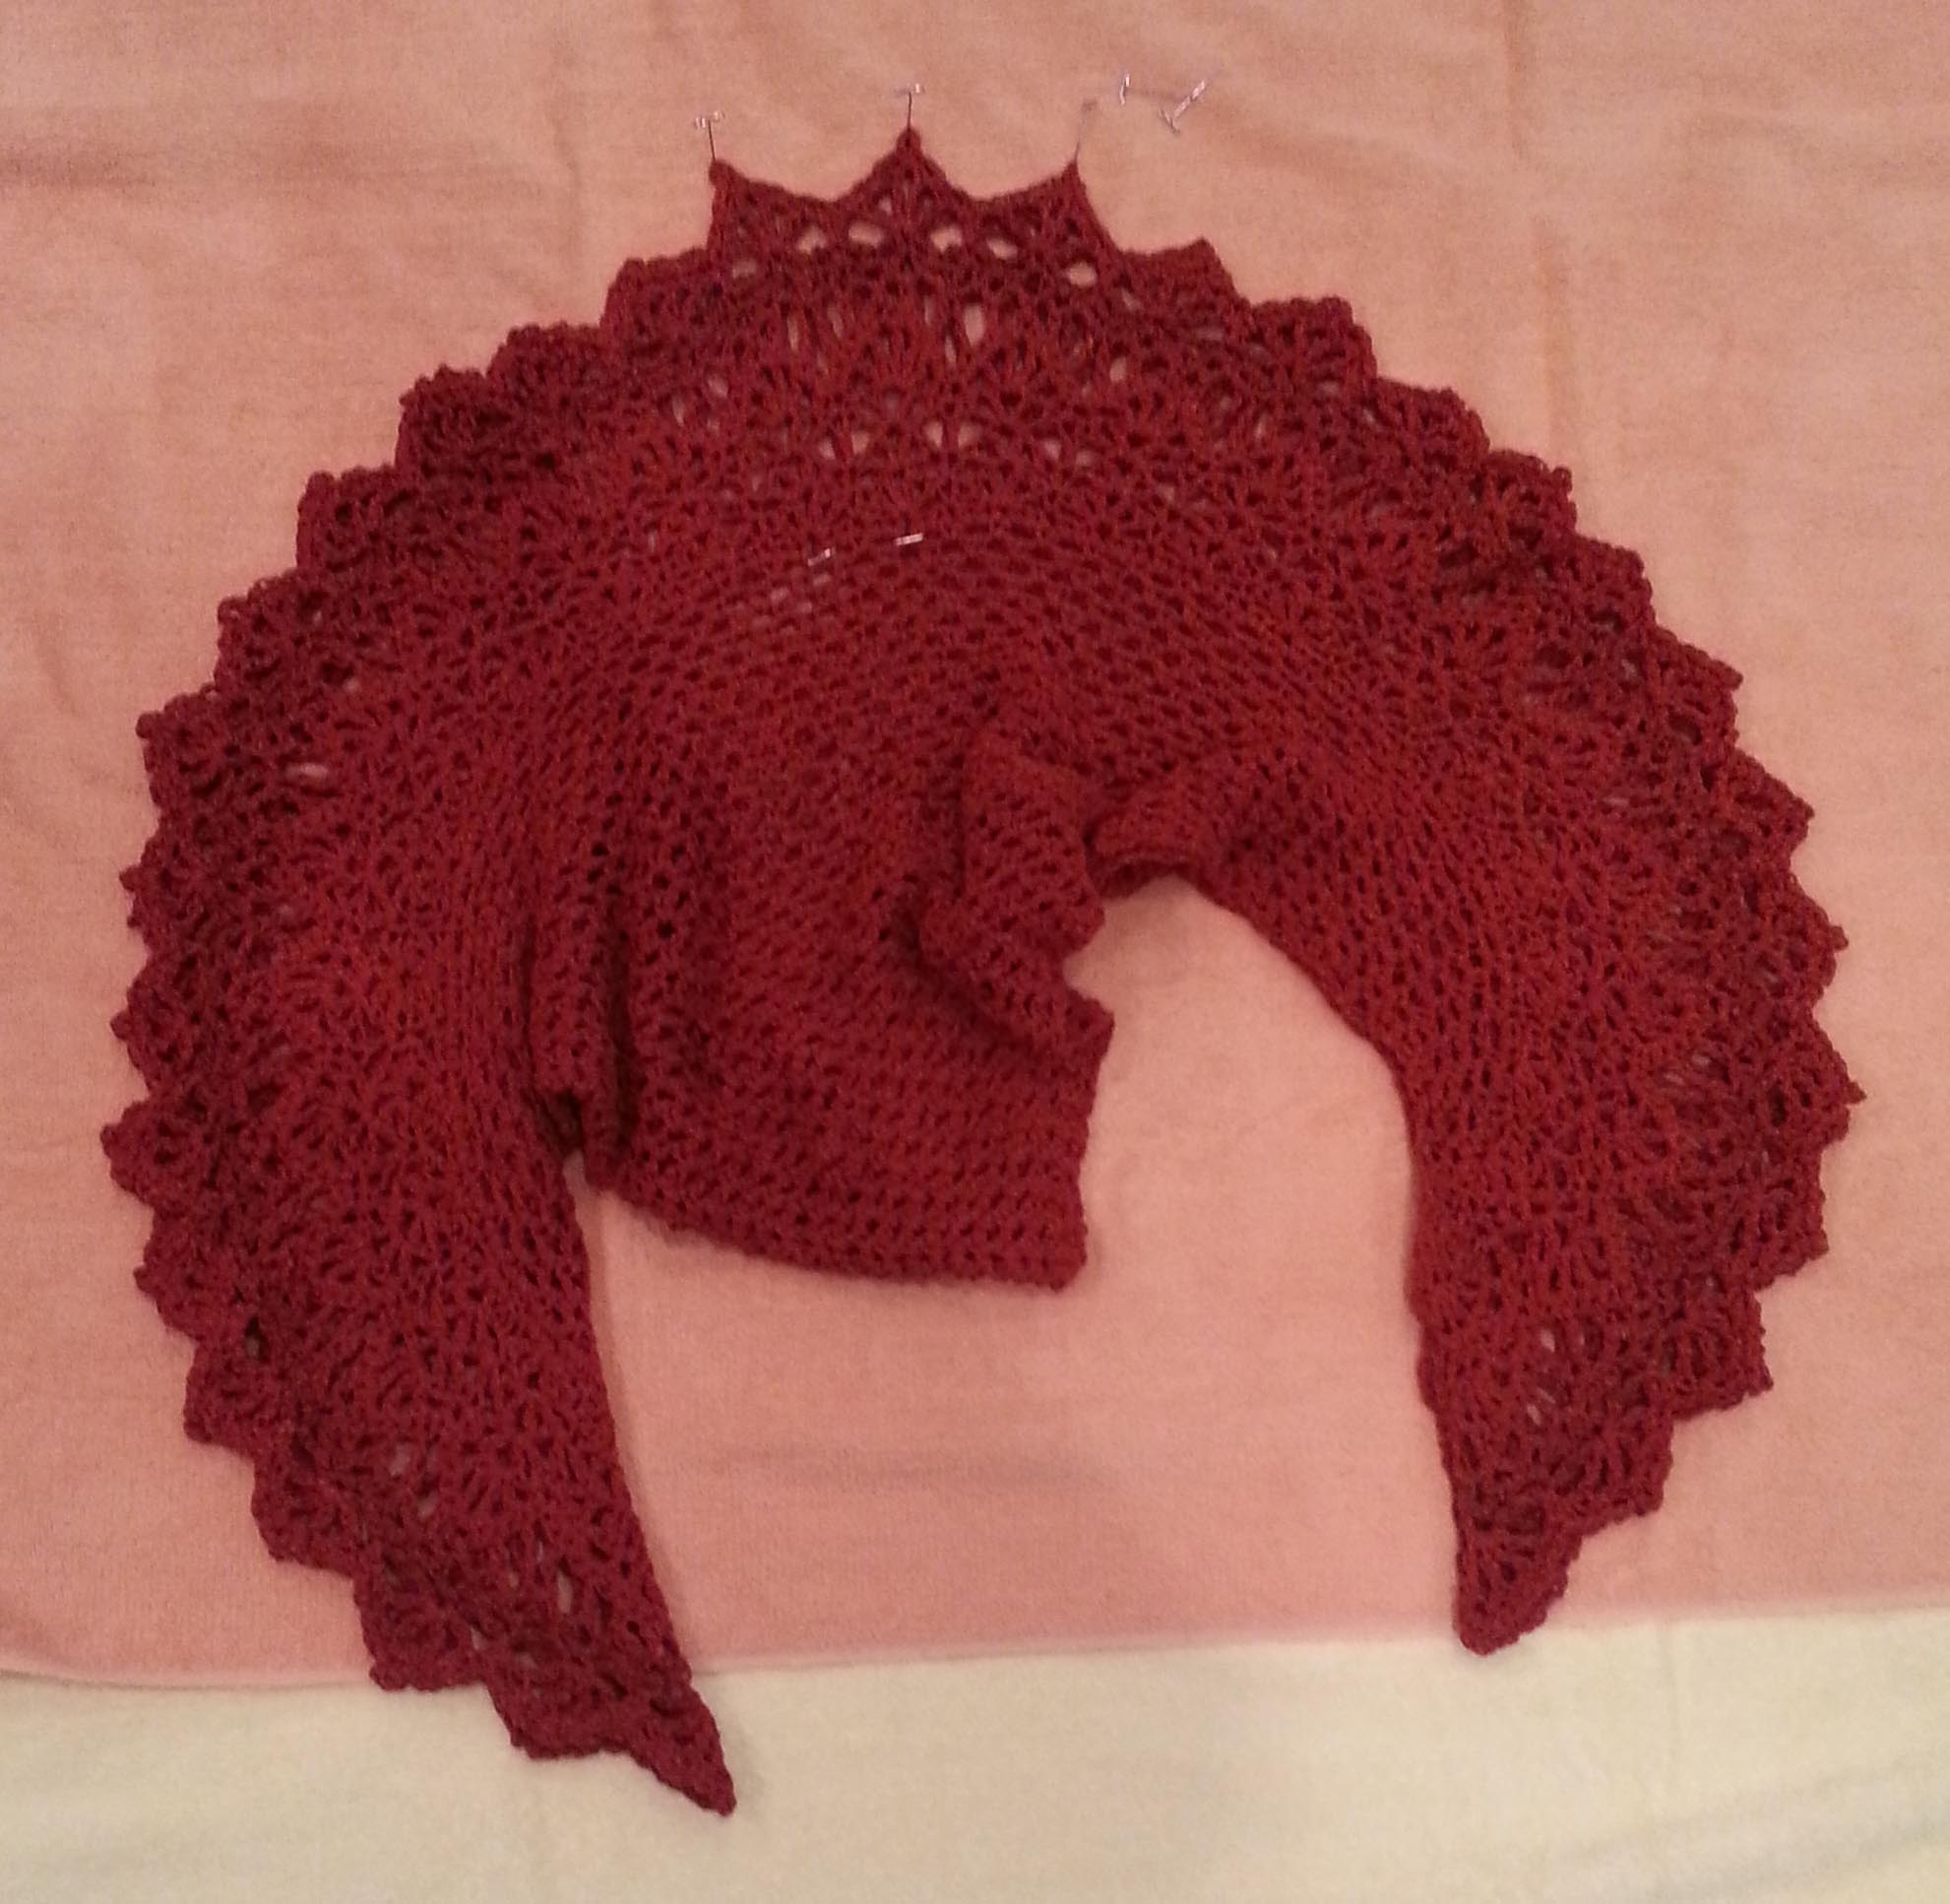
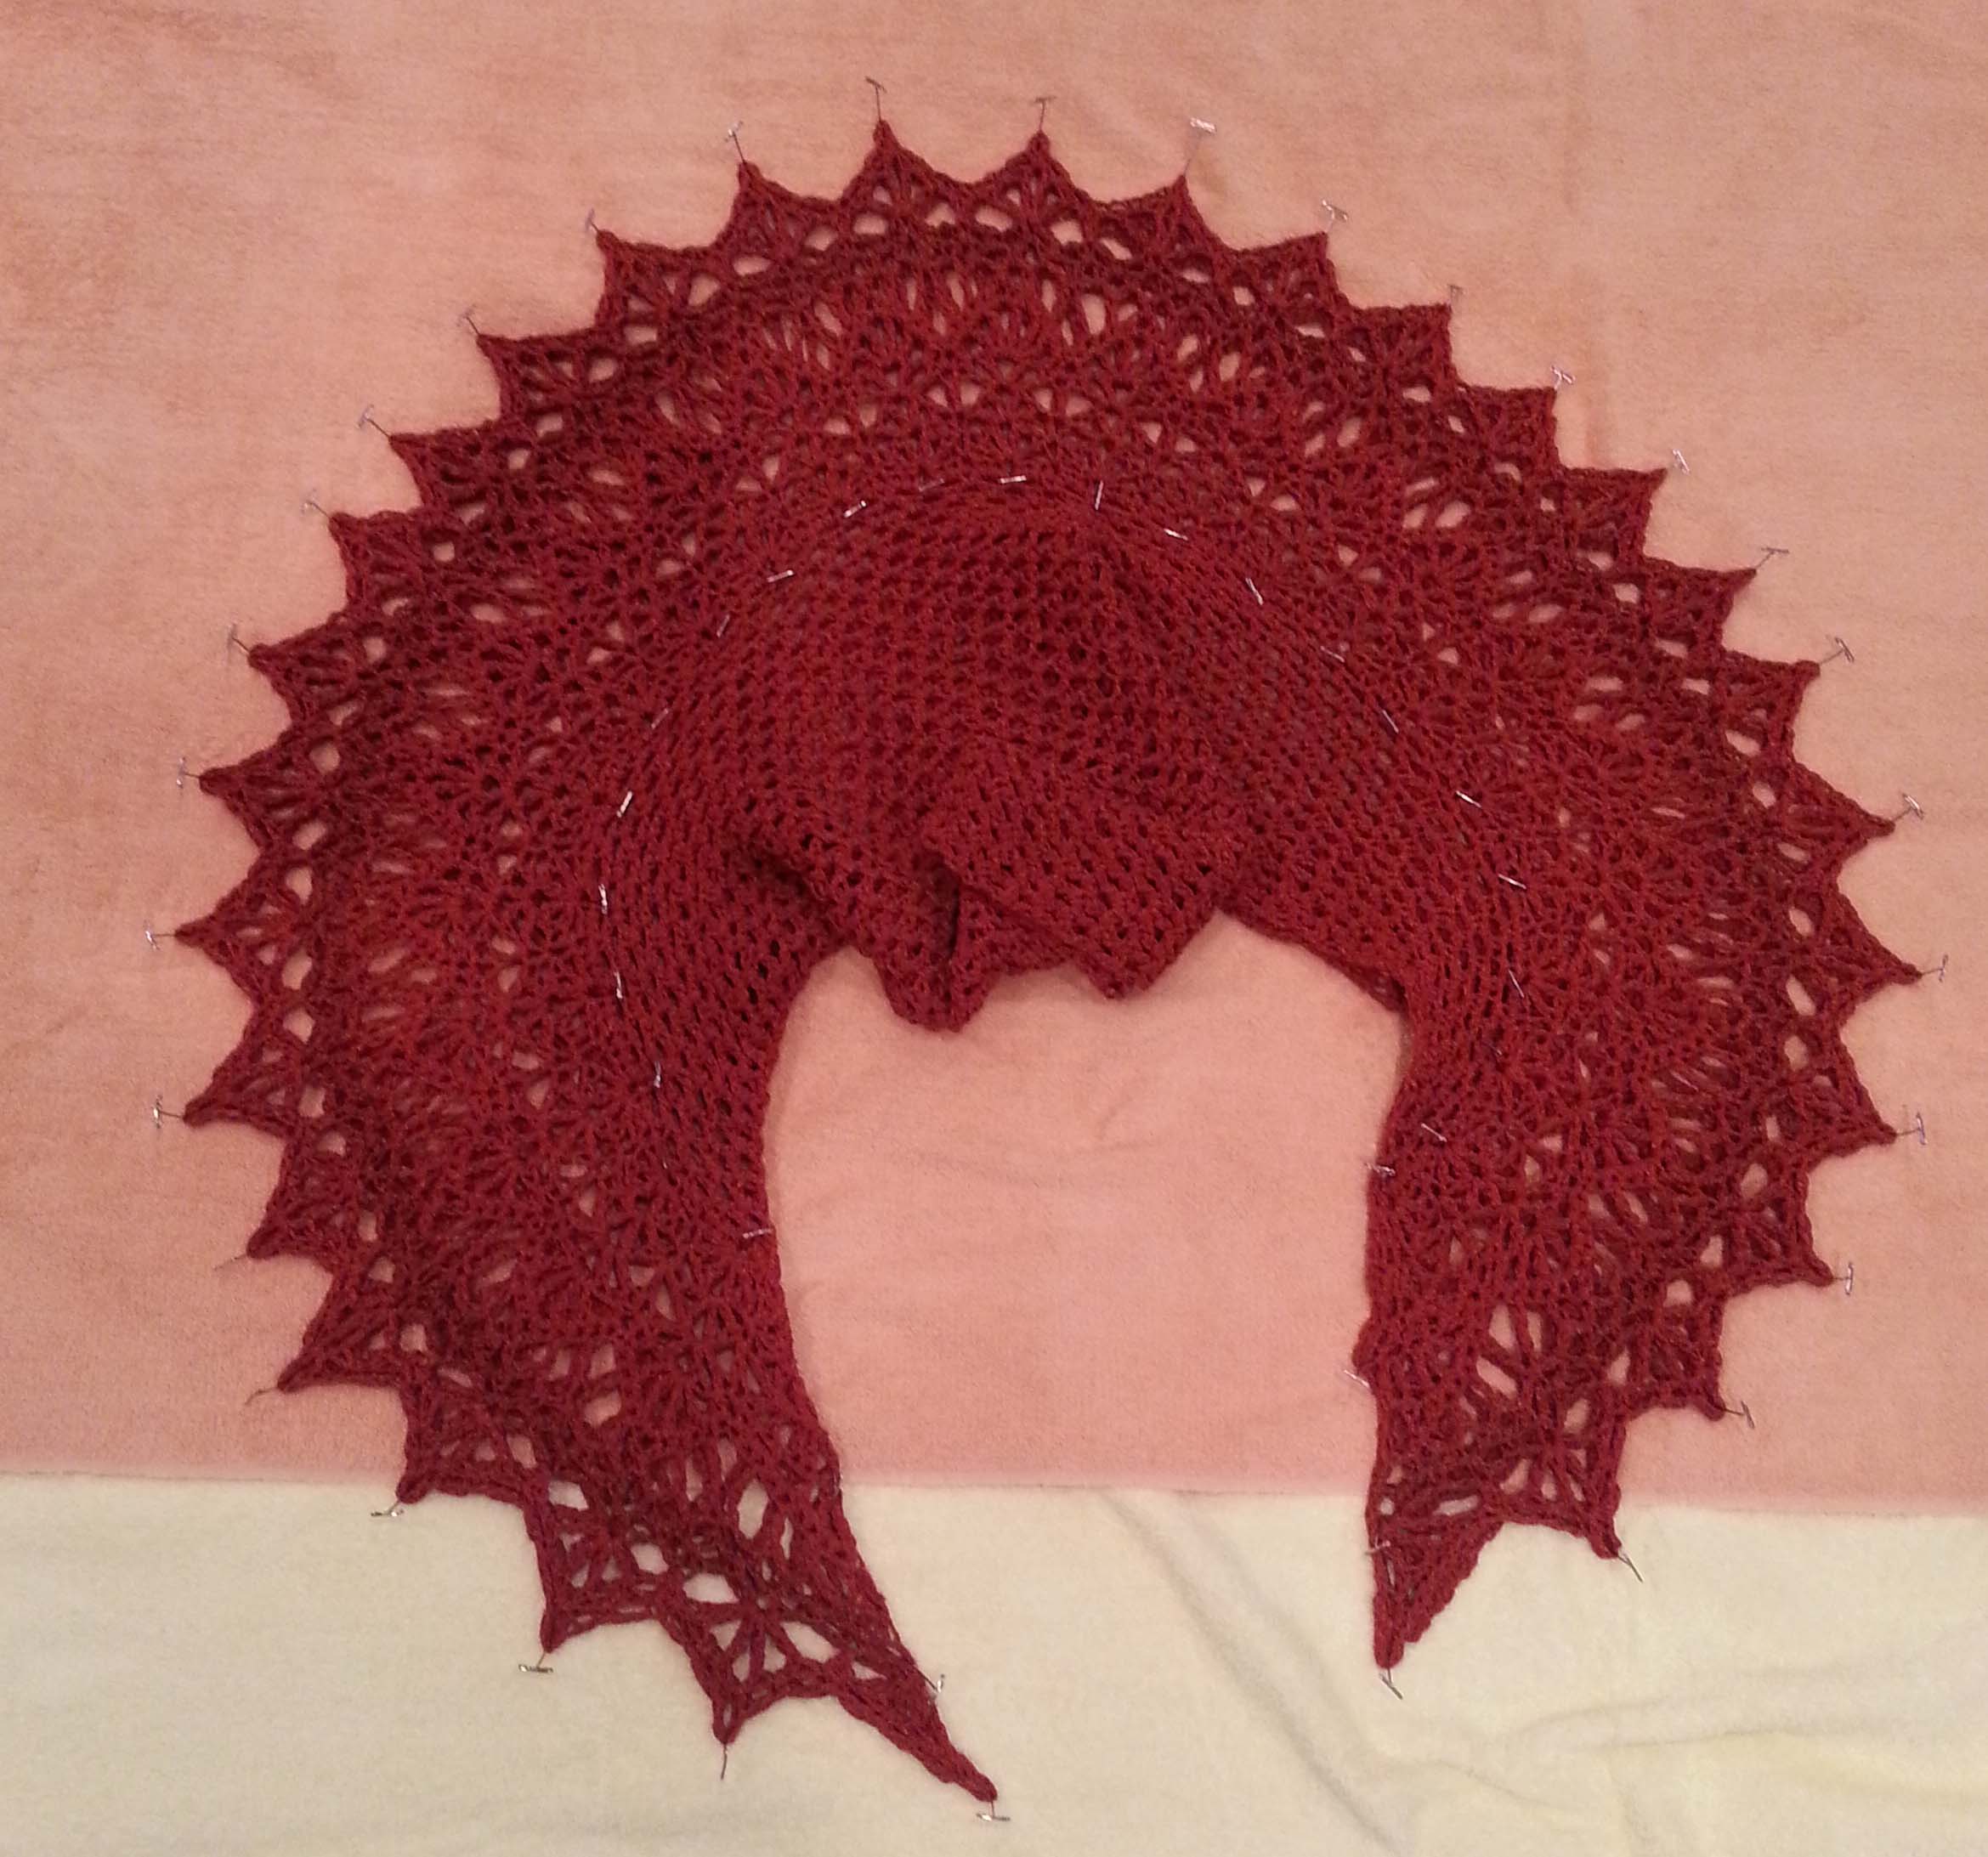
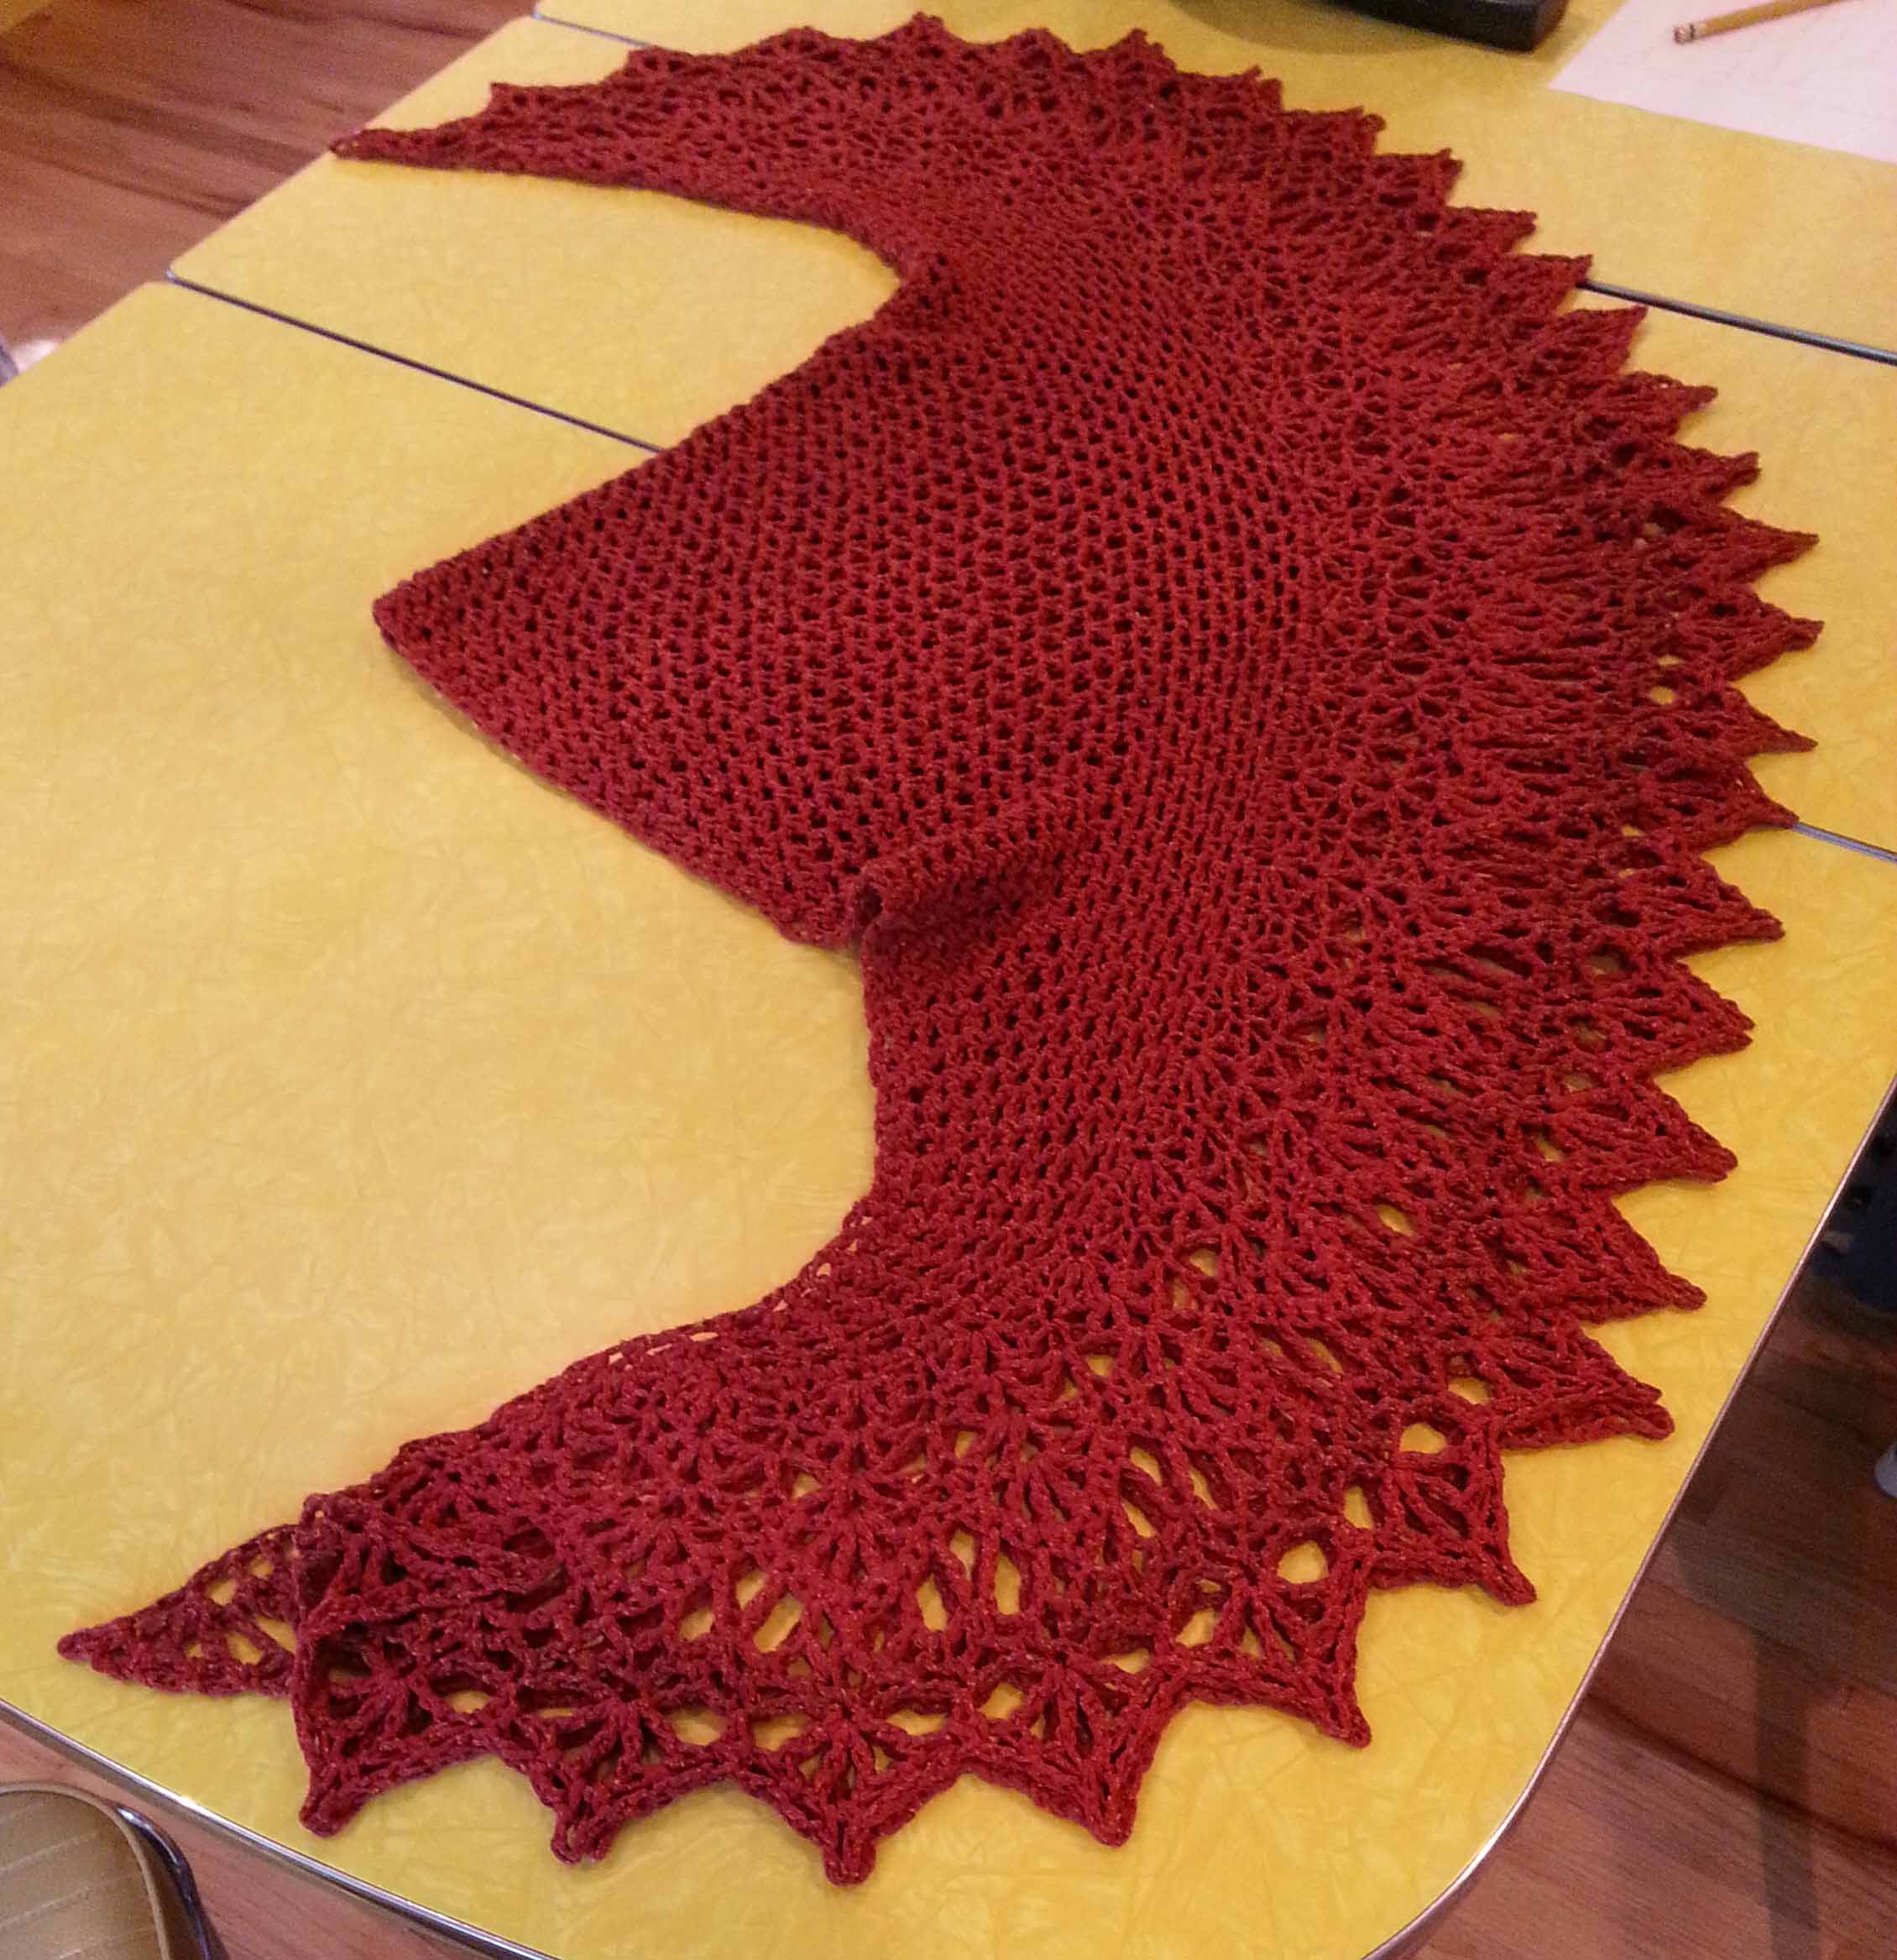
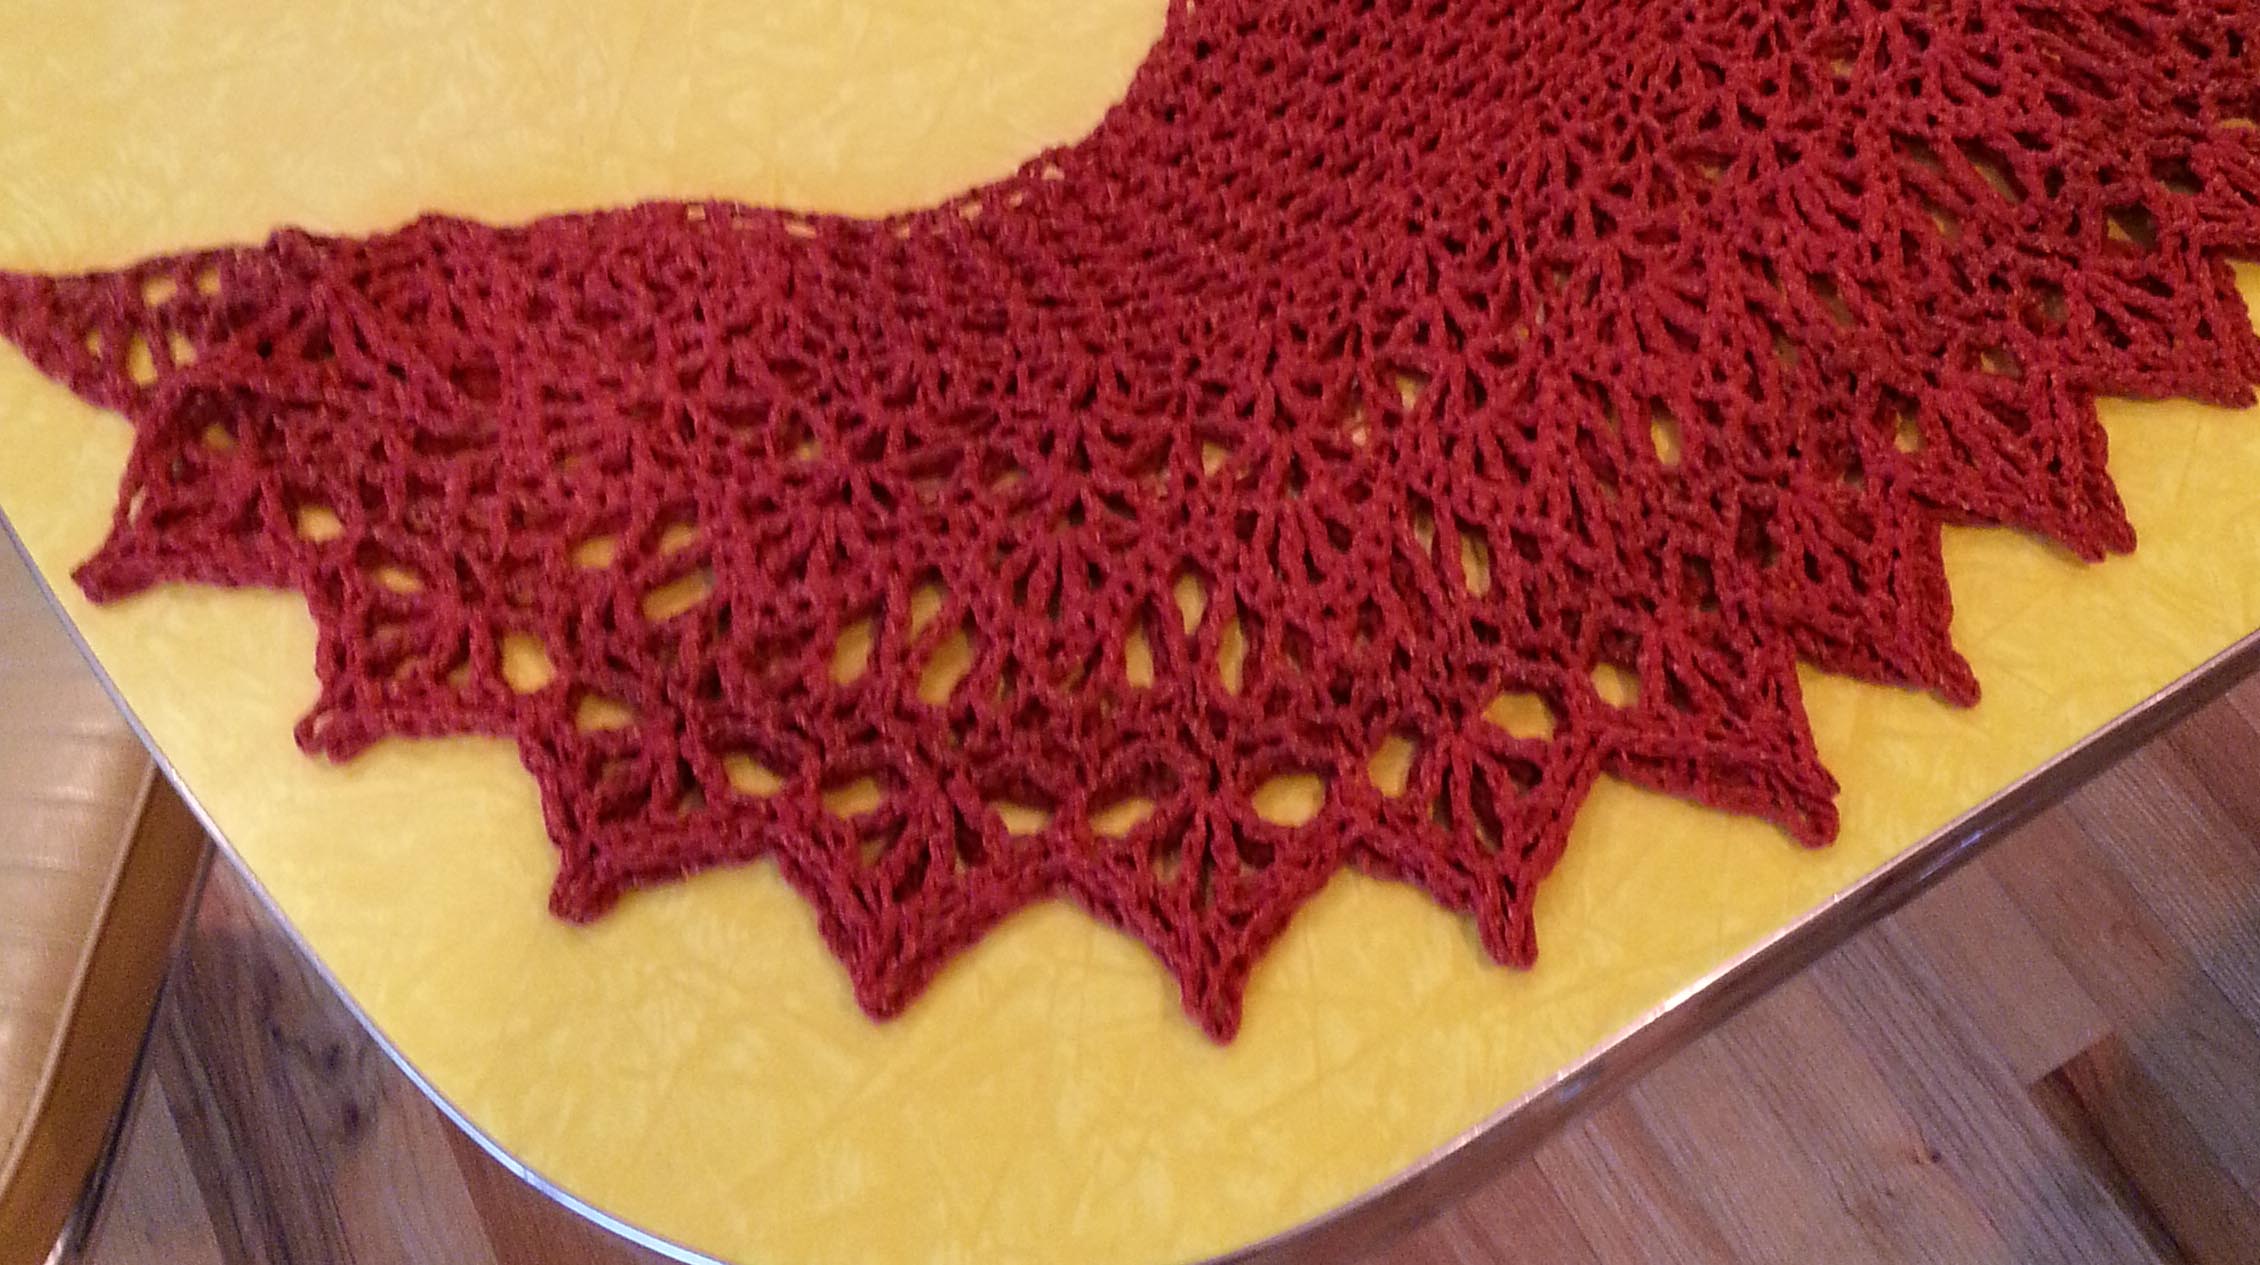
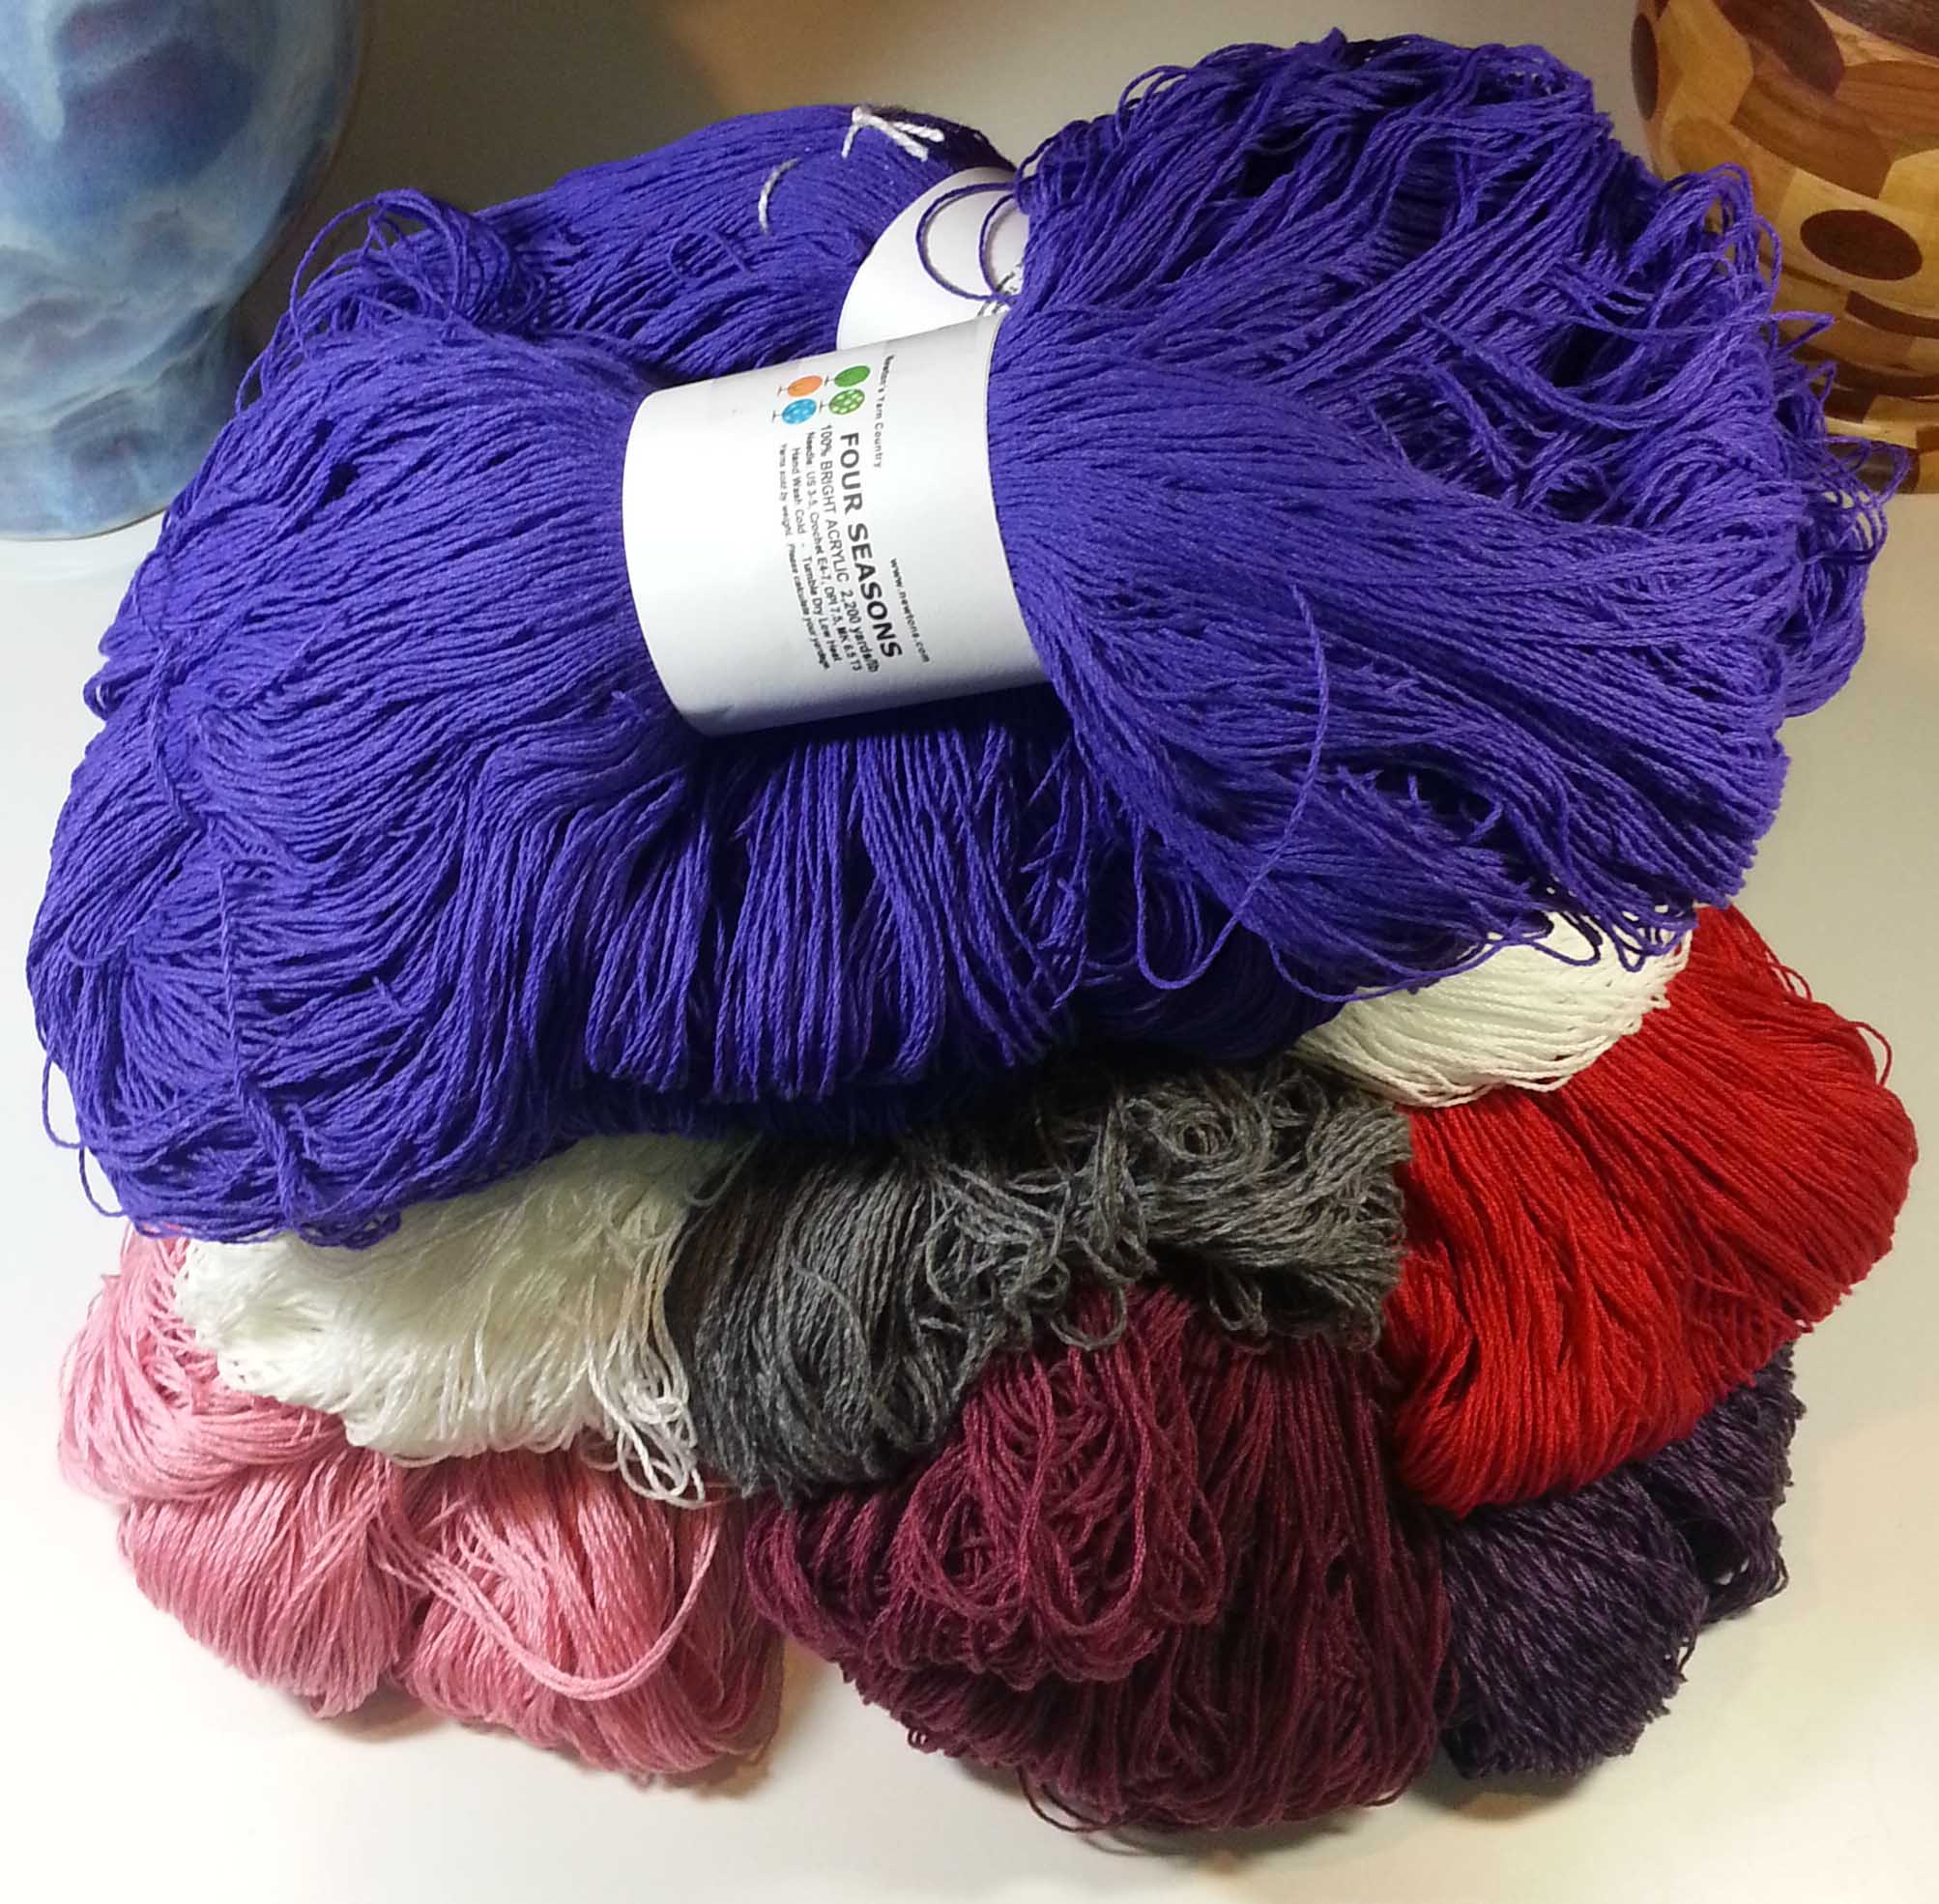
I was using the left-overs from a skein of yarn I purchased at the Estes Park Wool Market a few years back. Textiles A Mano’s “La Jolla” a 40% Silk – 60% Wool blend worsted/aran weight yarn. I don’t know if they are still around as I didn’t see them at the wool market this summer and couldn’t get to their website when I was writing this post.

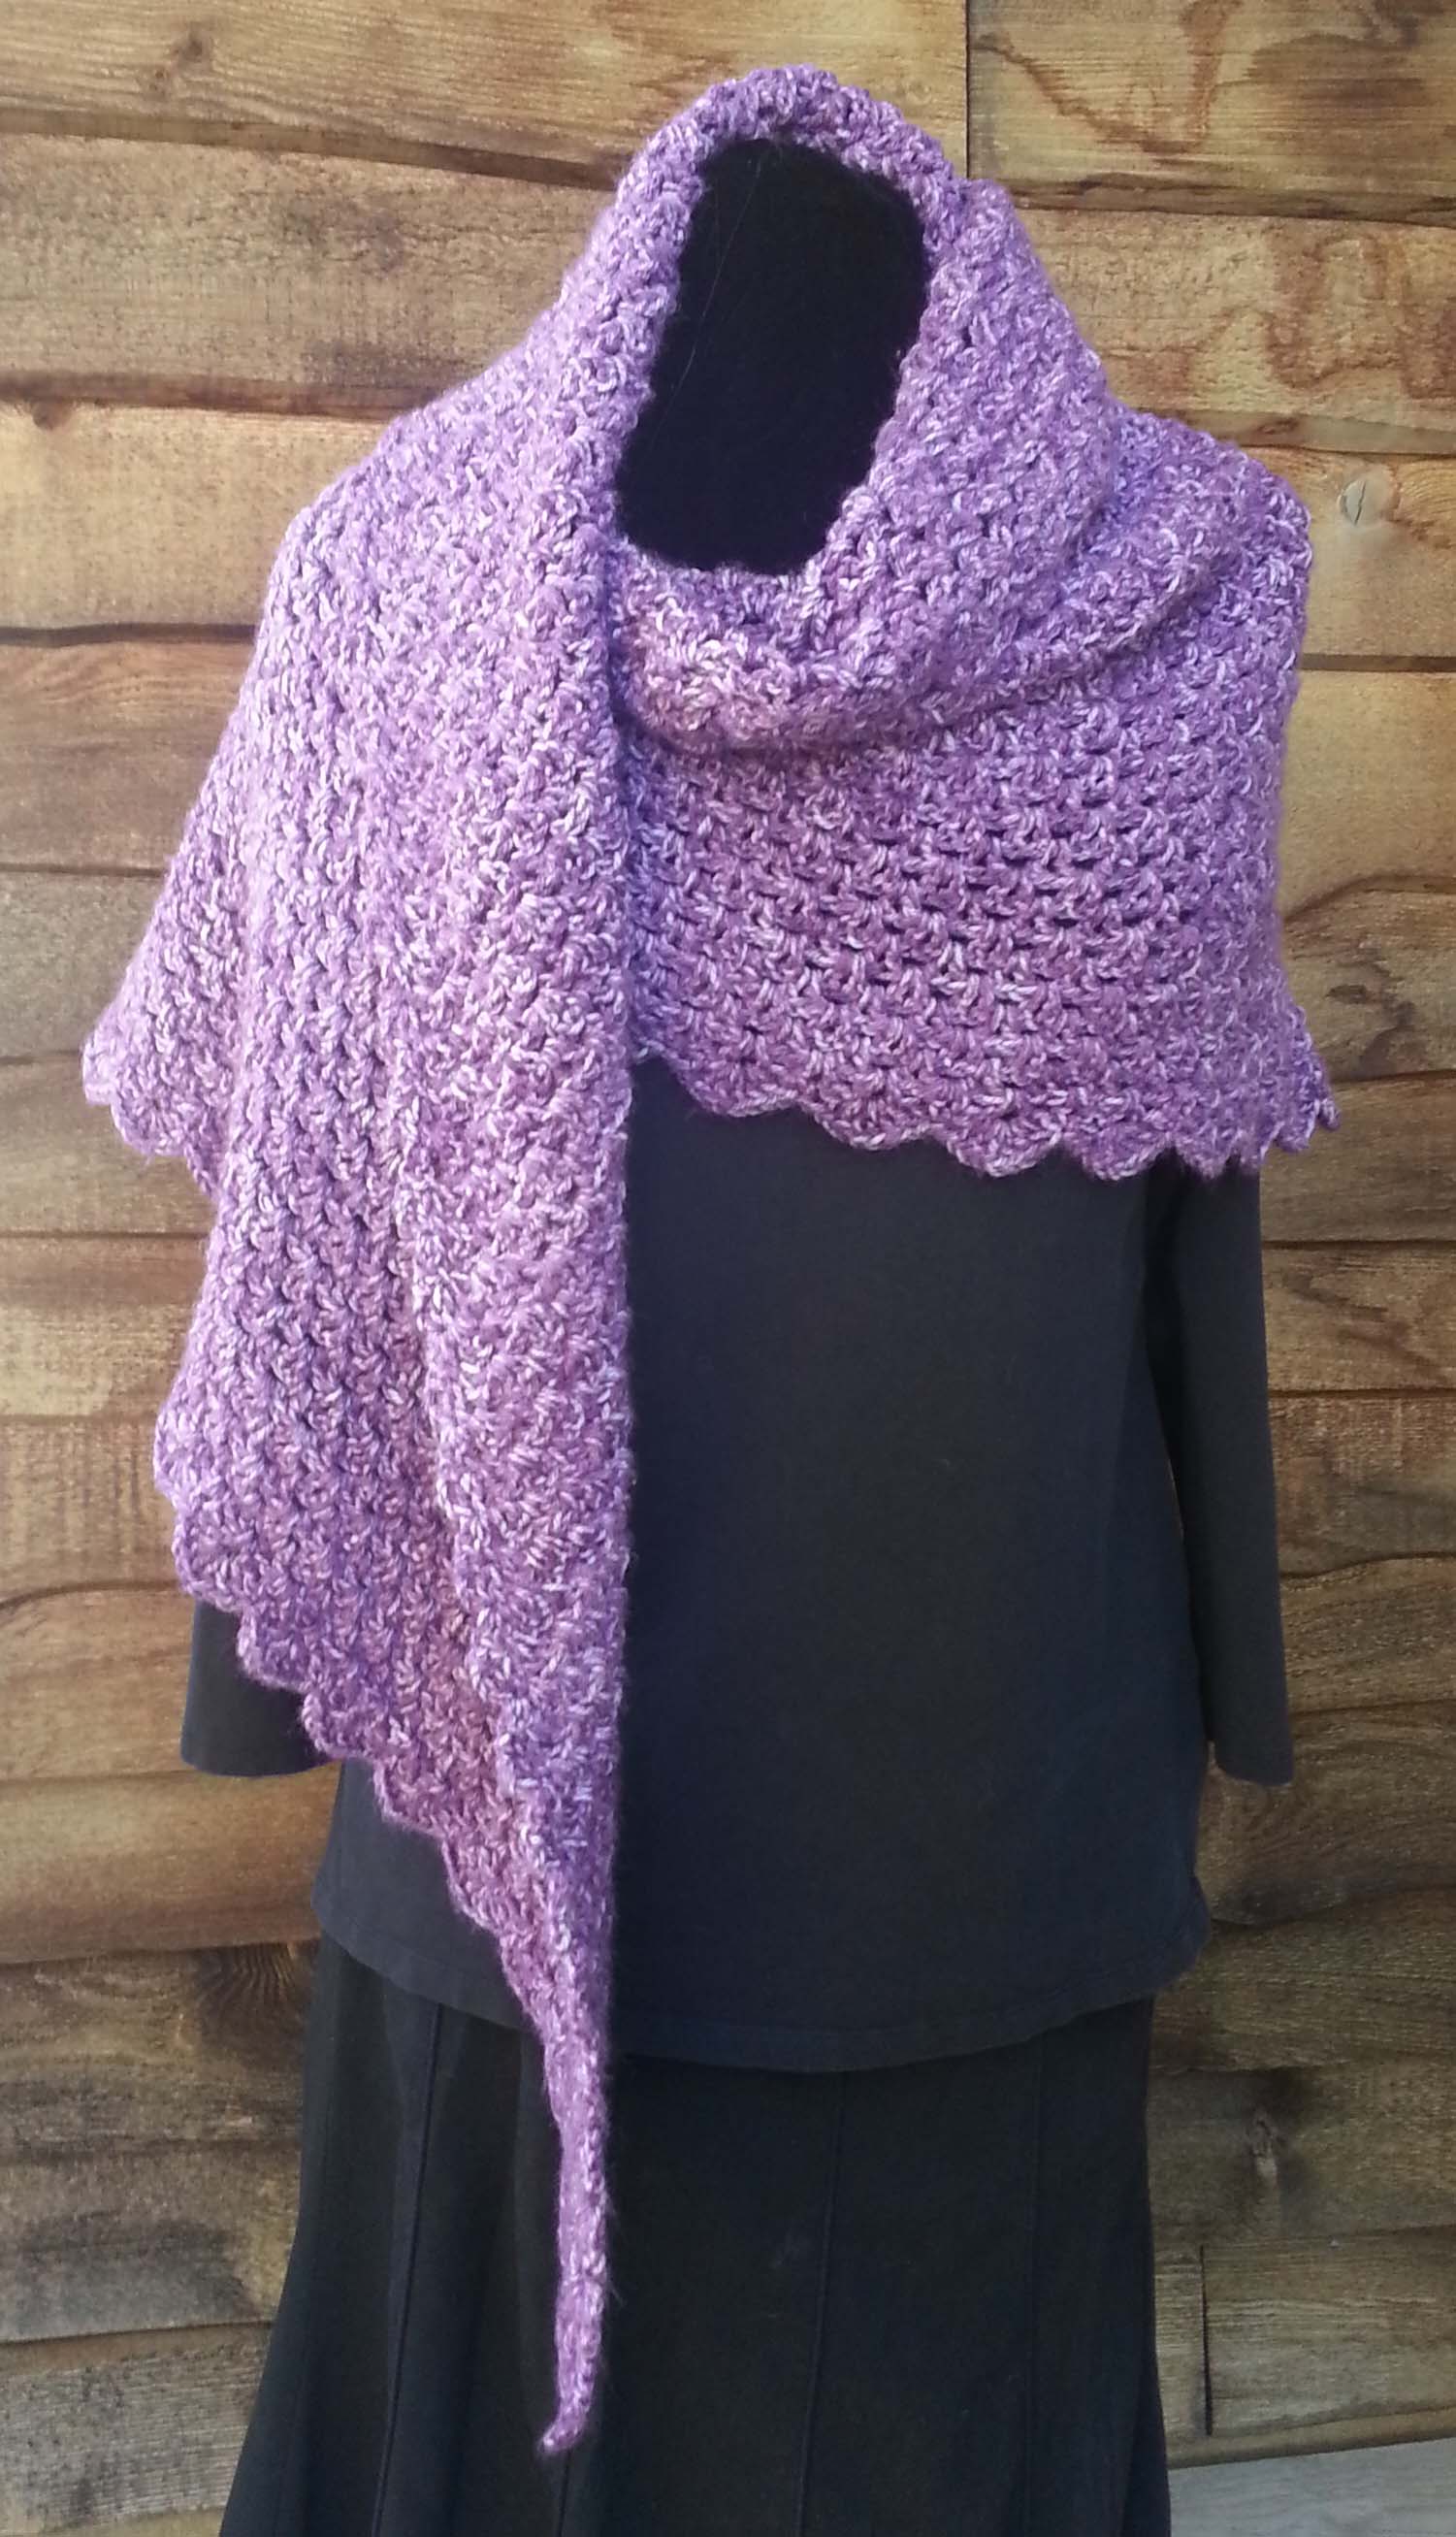
I had used part of the hank to knit my first ever lace project. It was a very large hank with approximately 500 yards in it, and I had plenty left over for swatching. I have 2 other hanks of this same yarn in different colors that I want to make into designs, so the swatching was to develop those designs. I’m hoping to revisit those ideas later this autumn.

The next 7 days should be very exciting. My family and I will be getting in a few last-minute summer vacation activities before the school schedule hits us full force. Then it all starts with my oldest and I stopping by his school this coming Wednesday for his locker assignment and getting his school photo ID. After that he is joining me at the Longmont Yarn Shoppe for my Causal Crochet group from 10:30a – 12:30p.

Mtn Top Beanie full view

He is going to be picking out the yarn for his new hat. He really liked my proto-type for the Mountain Top Beanie, but wanted a little calmer color.  Hopefully I will get it finished for him before the cold weather gets serious with us. If you want to make your own beanie for yourself or as a gift for someone else you can find the pattern in my Ravelry shop by clicking on the highlighted name above.

I’ll also be teaching a class at the Longmont Yarn Shoppe for this project on October 29th at 10 a.m. You can sign up for the class on the LYS website or by stopping by the shop.

I know some of you may have more summer vacation time ahead of you yet, so I’ll wish you a lovely break. For those of you that are in back-to-school mode like myself, buckle-up and away we go.

Painting with Yarn

One of the things keeping me really busy the last couple of weeks was finishing a free form crochet piece for the Fiber Arts Show in Mitchell, Nebraska at the Pinnacle Bank.  The show is running from August 5th thru September 2nd.

Finished Free Form Piece

I had started the beginning of this piece ages ago. I even had created a bag full of small balls of yarn in the colors and textures I was planning on using. These were actually from a Free Form class I took a number of years back with Myra Wood at one of the CGOA conferences.

Trying scrumbles on 12x12 canvas

In free form crochet I often don’t know for sure where I am heading with an idea until I have worked a few scrumbles, that is the name many free-formers call for the smaller pieces created). I started this project with some scrumbles I created in my class with Myra. I knew I wanted to make a small piece that could be hung on a wall. Texture and 3 dimensional shaping were both in my mind as I began to create more pieces and add onto my existing pieces.

Developing design on 12x12 canvas

I had a couple of inexpensive small blank canvases in my art studio, 12×12 and 11×14 inches. Originally I was looking at using one of them for the backing of this piece. I kept adding to the scrumbles and making more to begin to fill the 12×12 canvas. I was over-hanging the canvas in a lot of places and wasn’t too thrilled with that.

Switching to 11x14 canvas

I decided to try the 11×14 canvas. I left the plastic wrap on it so I could move the scrumbles around more easily. Still wasn’t completely happy with the way this looked.

Different Arngmt 11x14

This was my second attempt. Not quite working for me.

3rd try on 11x14

Maybe the third time will be the charm? Liking this a little better.

Filling in 3rd arngmt

I started filling in some of the remaining open space on the piece.

Getting Closer to Final version.

Getting closer to my final choices for the finished piece. Still a number of spots that need more work. At this point I’m feeling the pressure to get this piece finished and sent off to the folks putting together the show in Mitchell, Nebraska. Because the deadline crunch was getting intense I have less photos of the process.

I finished up all the crocheting part and had sewn or crocheted the pieces together. Then I sewed the entire crocheted piece to the backing fabric. At this stage I had decided that I didn’t want to use either of my canvases, instead I cut out backing board in an 14×16 size to stretch my backing fabric around.

Embroidering and beading stage.

The final stage was embroidering with metallic threads and glass beads to further embellish the crochet textures. Once I was finished with the embellishment, I used my hot glue gun to attach the fabric to the backing board.

Angled Close up of middle Left side2.

Close up Right upper corner

Angled Close up of middle Left side.

My boys helped me come up with the name for this piece. It is “Spiral Hills Island”.  I picked the colors for this piece by taking my color cues from a variegated hand-dyed yarn. I used the colors in that to help me select my solid colors and then picked some darker tones of the purples to act as dramatic contrast. I also used some of my collection of novelty fluffy yarns in this project to further emphasis the textural aspect.

If you want to try your hand at Free Form there really are no rules. Find some colors and textures of yarn that you like the way they look together and begin crocheting. It is a meditative exercise and the best bit is there is no wrong or right, though that can sometimes be the hardest part.

I seem to start most of my scrumbles with a circular or spiral motif, but you can start with any shape you like. I do recommend starting small initially and continuing to work on your scrumble until it is about palm sized. Remember to play and have fun with it. I’m hoping to find time to make quite a few more free form art pieces in the coming year. I love painting with yarn.

Pineapples and Charleston

Remember my last post? Yup, I still need a clone.

I’ve been crocheting like a wild woman on some garments that I want to wear at the Knit & Crochet Show.

Pineapples 2

The theme for the CGOA part of the show this year is Pineapples. Which is perfect for me as I adore crocheting pineapples and love the look of them. They are one of those crochet stitch patterns that look really intimidating, but are actually much easier than you would expect.

I don’t think I would start a beginning crocheter off with a project that used them. Then again that depends on how intrepid they are. It took me a long time to tackle pineapples in crochet patterns despite my love of them.

I really found my comfort level with them when I stumbled across stitch charts. Suddenly they made complete sense to me. Since then I have had a great time playing with them and have a couple of designs coming out in the next 6 months that include pineapples.

If you have been thinking about coming to the Knit & Crochet Show in Charleston you only have a few days left to do pre-registration. It closes July 1, 2016, that’s this Friday! If you miss the pre-registration you can still register for the show, you’ll just have to do it in person at the show.

Hope you can join me in Charleston. It’s going to be lots of fun.

Blocking a Ruffled Edge

Most Tuesday mornings my friend Val and I get together to crochet and visit. This last Tuesday we had a project to work on together. She wanted to block a shawl that has a deep softly ruffled border.

Eleonora Shawlette - Andee Graves/M2H Designs

Last summer Val had used my Eleonora Shawlette pattern to work up a shawl in some Silk/Rayon blend yarn she had in her stash. She has been working to decrease her stash a little and had been in search for a project for that yarn for ages. Once she finished the Eleonora we gently blocked it to open up the stitches a little, though not the aggressive blocking that I usually do.

Val liked the shawl, but she still had a lot of that yarn left over. She enjoys what we refer to as “seat of the pants” designing. The two of us have experimented with various crochet projects over the years and she doesn’t have any problem pulling out her work if she isn’t happy with it. She asked me if I could figure out a way to add to the shawl to use up more of the yarn she still had left-over.

In my original Eleonora the lace border fits with just a soft bit of ruffle.  I used 2 different yarns for the sample I crocheted. Berocco “Boboli” for the body and the little finer weight “Folio” for the border. This reduced the ruffle effect.

When Val crocheted her shawl with the same weight yarn for the body and the border, the ruffle was more pronounced. She liked the ruffle and for the additional rows she wanted even more ruffling.  She also liked the openness of the lace work and I kept that in mind as I was designing the new rows. I started sketching stitch diagram ideas for how to transition from the lace border to add length to the shawl and use up more of the yarn.

When she started working the new rows we kept experimenting with how much she could add to the shawl and still have enough yarn to complete it. She finally finished it in mid-May and told me she wanted to block it. We’ve both been a little busy with the start of summer-time, so this week was the first time we finally got a chance to block the shawl.

I brought my blocking mats and T-pins, Val dug up a couple of towels and her spray bottle to use. We got everything laid out on the floor and discussed what we wanted to do with the blocking. Val felt that she didn’t really need to block the mesh body since we had done that previously, she really wanted to open up the lace border more instead.

Because the ruffled border is actually much more fabric than the length of the last row of the mesh body, there is a curve to factor in when laying it out flat for blocking. I thought about it a moment and realized the border would curve in over itself if we opened out the shawl fully. Then I recalled that I had heard of folks folding their finished project in half to block it when they had limited room to block on.

Shawl folded in half pinning started.

I folded the shawl down the center point and spread it out. The lace curve would be completely manageable and the 2 halves of lace lined up beautifully. I began with pinning the base of the lace border and then gently stretching out the points. As you can see in the photo I started in the center of the lace so I could work out evenly from there. Val and I worked together pinning all the lace.

Shawl folded in half and pinned

Once the border was fully pinned it made a nearly complete circle. Then we sprayed it with water and patted it in to be sure both layers of the border were completely wetted.

Finished Shawl folded on table

Val took out the pins and laid out the finished shawl, still folded in half, on her table the next day.

Close up of blocked lace

You can see how much the lace opened up.

Finished Shawl

It looks even prettier when worn. I think Val is going to enjoy wearing this shawl for a long time. Now we just need to figure out what she can make with the one ball that is left-over.


I Love Wool!

Wool. Just the word is fun. Many of my Aussie friends refer to all yarn as wool. Though they have a wide range of yarns of various fibers available to them. It’s just what they call yarn. They have a lot of fun and sometimes confusing words for things, which gives us endless entertainment figuring out the translations. For most of us fiber arts types living in the USA though, wool is what comes off of sheep.

Margie's Herd
Margie’s Herd – Four Adults and 5 little lambs (one is hiding)

Yesterday I got a fun email from my next door neighbor Margie. She had some wool trimmings from her little herd of sheep that she wondered if I would like.

Um, YES!

A Bag of Wool

This afternoon my oldest and I walked over to her house. She had a bag of trimmings for me. I’ll likely be using them in some of my needle-felting projects. First I’ll be doing a bit of cleaning though. I love all the colors of wool that came off her adult sheep and hope that some of these trimmings will be usable as outer layers on my needle-felted critters.

New Crochet Design

The rest of my day I’ve been playing with an idea for a new crochet design. I’m working with some yarn that I purchased from Newton Yarn Country at the Knit & Crochet Show in Spring 2009. I don’t even know if they still have this yarn in stock.

My yarn stash is a bit out of control, so I’ve decided I need to work up some of it. I am hoping I have enough to  make a lovely lightweight sweater for myself. I’m experimenting with my favorite stitch the V-stitch. But this time I’m working it stacked and using different increase ratios.

Tomorrow I am headed over to Estes Park to check out the Estes Park Wool Market. I’ll be meeting my friend and fellow designer, Brenda Bourg, over there. Not sure if I’ll be taking my family with me. They generally get bored with it all long before I’m ready to call it a day. I’m telling myself that I won’t be buying yarn this time, will see if I can hold out against all the temptations though.

Sometimes you need to Color

As many of you know I’ve enjoyed arty pursuits most of my life. According to my parents I used to regularly decorate the walls of our early homes with whatever drawing instruments I could find to hand. That grew into my parents defense of presenting me with gifts of drawing pads and colorful implements for most gift-giving occasions throughout my childhood.

Sometimes though it is nice to just color pretty pictures that someone else has drawn, and this new trend of adult coloring books has been embraced even by creative types like myself. It is a restful quiet way to unwind from a busy day of crochet design and chasing around with my family.

In my Mail box

This week I celebrated the arrival in my mail box of a new coloring book from the wonderful imaginings and pen of Franklin Habit titled, “I Dream of Yarn”. I had pre-ordered it on Amazon, and had been stalking my mailbox all week in anticipation of it’s arrival.

I’ve enjoyed Franklin’s writing and humorous illustrations related to yarn crafts for sometime. So when I saw the announcement of this up-coming book I knew I needed to have a copy.

Franklin doesn’t disappoint in this coloring book. The drawings are clever and funny. I’ve been looking thru it with delight and trying to decide which I will color first. Picking a favorite is going to be hard. Currently it is a toss-up between the page of Escher like kitties playing with yarn or the lovely haughty goddess of crochet. There are hedgehogs, sweater wearing sheep, and a multitude of yarn in balls and skeins thru-out.

Ready to Color

This book is a great gift for any yarn loving crafter, whether they are devotees to the art of 2 sticks or one hook. You might want to get one for yourself as well. Now I’m off to do some coloring on this lovely Memorial Day weekend.

Pretty Pretty Flowers

Having way too much fun on my trip still, so the blog is getting a bit neglected. Tuesday and Wednesday of this week Jan and I drove down to the Philadelphia area to stay a couple nights with her sister and brother-in-law. The plan was to visit Winterthur and Longwood Gardens the 2 days we were down there.

Beautiful White Azalea bloom patterned with bright pink.
Beautiful White Azalea bloom patterned with bright pink from the Winterthur Gardens.

According to the weather dudes those were supposed to be our best days for outdoor outings. Unfortunately the weather dudes screwed up. Tuesday morning driving down it was spitting rain at us most of the way. Jan’s sister suggested when we got there that we do Winterthur that day, since lots of it was indoors touring the house.

Winterthur was quite lovely. A beautiful big house full of collections surrounded by a wonderful park-like estate. When we arrived at the visitor’s center we rode in the “Garden Tram” to the house and had a informative short tour of the garden with a very nice guide.

WT Azaleas

Jan loves Azaleas and our timing for this visit was perfect as they were at their peak. It did continue to rain, mostly it was only spitting and a bit gray. We still enjoyed walking around the gardens near the house and touring the collections in the house.

Steps down from the house into the garden.


Walking down the path into the reflecting pool garden.


The Reflecting Pool Seahorse decoration.


Back of the house from the reflecting pool.

Most of the good photographs I got that day were close-ups because the lighting really didn’t lend itself to distant outdoor shots.

White Snoballs and Purple Azaleas. These special azaleas are named "Winterthur".
White Snoballs and Purple Azaleas. These special azaleas are named “Winterthur”.


Fluffy white azaleas

One tool I was using a lot in my photography this trip was the “guidelines” on my smart phone’s camera view. Most smart phones have this option on them and I’ve found it really handy for helping me line up and compose my shots. My phone is the Samsung Note 2. I found the “guidelines” under the “settings” in the camera view.

Icelandic poppies and Violas around a fountain at Longwood Garden.

The next day dawned a bit gray still, but we headed out to Longwood Gardens. These gardens are incredible and even with the overcast weather that never quite left us, it was an amazing day. I managed to take over 200 photos there, of course some of that was because I take multiple shots with slight differences hoping to get a shot I like.

Banks of flowers along the path in Longwood Garden.

Despite most of my visit this week being marked by wet weather I’ve really enjoyed it. It is such a change to be somewhere so lush and green, compared to my mountain top. The tall deciduous trees and rampant green undergrowth is quite different from the evergreen forest that surrounds my home on the mountain.

I’ll share more of my Longwood Garden photos next week. I also hope to have a fun new animation video finished for you by then.

Mixing it Up

I’ve been having a lot of fun making some of my “Playing with Triangles Shawls”. So far I’ve finished two and am currently working on a third.

1st PWT

The first one I finished I used Lion Brand’s “Vanna’s Choice” 100% acrylic worsted weight yarn with a size J/6mm hook.

1st PWT back

It took almost all of 7 balls of yarn as I wanted the shawl to be very large.

2nd PWT

The second one I used Newton’s Yarn Country “Four Seasons” 100% acrylic fingering weight yarn with a size G/4mm hook. I added a carry-along thread (Kreinik “Twist”) in silver for a few rows and the border for some sparkle.

2nd PWT back

I used approximately 1,472 yards to make this shawl since I wanted a large shawl again. My finished shawl is 74 inches across the top edge and 32 inches long at the center point.

3rd PWT attempt

My third one is my WIP and I’m working it more of a shawlette size. I have 3 balls of Red Heart Boutique “Treasure” 70% acrylic/30% wool and am crocheting with a size J/6mm hook. I love the way this color changing yarn creates stripes in the shawlette.

You can find the pattern for this shawl in my blog post “Playing with Triangles” and the link to my video on YouTube is here.


Budding Leaves and Lilacs

It’s beginning to look like springtime finally. Off the mountain in town a lot of the trees are showing leaves and the flowers are in bloom. Up top though it’s been a slower sense of the season. Yesterday I was at my friend and neighbor V’s house for our weekly crochet and crafting visit.

V's Garden last Friday
V’s Garden last Friday

V has a lovely garden and a number of her bulbs were showing off blooms. Best of all to me though was that her lilac bushes are getting leaves and buds. I didn’t get any photos though since the weather got wet and cold. Hopefully the weather will be kind and the lilacs won’t be frozen before blooming and sharing their lovely scent.

Meanwhile we are still getting some cold days and a bit of snow up here on my mountain. We are at 8,400 feet above sea level and V’s house is around 7,000 feet.  There is a fairly big difference in the seasons between our houses, and V is a much more talented and dedicated gardener than I am.

Lilacs at Denver Zoo Spring 2012

I need to make a trip to the Denver Zoo with my family soon as the lilacs there are generally in bloom long before the ones up here on the mountain. They have a lot of lilacs on the zoo grounds and I always try to make at least one visit there while they are in bloom.

M2H Designs: Tumbling Leaves Scarf

I decided it’s time to crochet some transitional pieces to add to my wardrobe. It’s been over 4 years since I published my “Tumbling Leaves Scarf”. This is a fun project to crochet for experienced or intrepid intermediate stitchers.

Mochi Plus Scarf WIP

Originally I created this design with a bulky yarn worked with a P size hook, but I wanted to try it in a lighter weight yarn with a smaller hook for a skinny scarf to wear this spring. I picked a ball of Crystal Palace’s “Mochi Plus” that reminded me of my favorite colors of springtime and used an I (5.5mm) hook to crochet with.

Scarf SectionI love “Mochi Plus” because it comes in so many lovely color combinations. I enjoy working with and designing with yarns that have long runs of color that blend together and this yarn doesn’t disappoint. My original scarf was 6.5 inches wide and 75 inches long. Using the “Mochi Plus” and the smaller hook this scarf came out 3.5 inches wide and 41 inches long before blocking.

Because of the faux motif design of this scarf I am going to try a different blocking technique with it and will share my results with you later.

If you’d like to make a scarf like this you can purchase the pattern in my Ravelry shop by clicking here.

The pattern includes both US crochet terminology text and charted directions.


Adding a little Bling

As is well known to any of my readers that have been visiting me for a while, I love sparkly stuff. Glitter, beads, yarns with metallic threads; it’s all my favorite stuff. Though I do attempt to be tasteful in my use of those things in my art and crafting I often find it to be an uphill battle.

I’ve been working on some samples of my “Playing with Triangles Shawl” to show all of you. One version I am working on is using some of the gorgeous purple yarn I purchased at the Knit and Crochet Show last summer in San Diego.  I was excited to find some huge hanks of 100% acrylic light fingering weight yarn at the Newton Yarn Country booth. They always have some great deals and this yarn came in a lot of colors.

Newton YC purchases

The color I liked best though was the purple (it’s the one on top, though it looks a bit blue in the photo). It was just the right shade for my favorite baseball team: the Colorado Rockies. I also purchased some grey, white and red with the idea that I would use them in some baseball themed designs. The Rockies colors are purple and silver/gray.

Kreinik Twist label

I wanted to make a really large version of my “Playing with Triangles Shawl” using a fine weight yarn. My idea being to have a generous wrap that was light weight and not too bulky to travel with. But as I was working on it I realized I needed some “bling”. Then I recalled I had some Kreinik “Twist” carry along yarn in Silver color. Perfect!

Carrying along Twist w Yarn

This is a great product for adding some bling to a project because it doesn’t add a lot of bulk or weight to the finished item. It is listed as a “lace” Size 0 yarn on the label and comes in cones of 273 yards. I want to keep this shawl lightweight, so this is the perfect way to get the sort of sparkle I love.  You can purchase this product from the Kreinik website or ask for it at your local yarn shop.

Note though: when working with this product be attentive to your stitches. I was watching shows on Netflix when I started working with this last night and managed to make a bit of a tangle that became an interesting challenge to unravel. Once I got that worked out I made haste more slowly.

PWT Shawl WIP

I finished working 3 rows in the shawl with the silver carry-along thread today and then switched back to working the purple alone. I have this vision of working another large section of purple rows without the silver carry-along, then I’ll add in the carry-along for the last row and border. Will see how I like it when I get to that point though. That is the fun of a top-down project like this: playing with things as you go along.

Maybe bling isn’t your thing, instead you could put a stripe of a complimentary color in your shawl, or even a number of stripes to change up your shawl.

If you have scraps of yarn in the same weight that are colors that harmonize you can use them in a “Playing with Triangles Shawl”. Just alternate colors every couple of rows or start with the smallest ball of yarn and work rows until you run out, then go to the next larger ball of yarn. You may be pleasantly surprised at how your shawl comes out, and you will have put some of those odds-and-ends balls of yarn to use.

P.S. That purple color in the last photo is actually more the purple of the yarn. Still working on my photographic lighting skills.