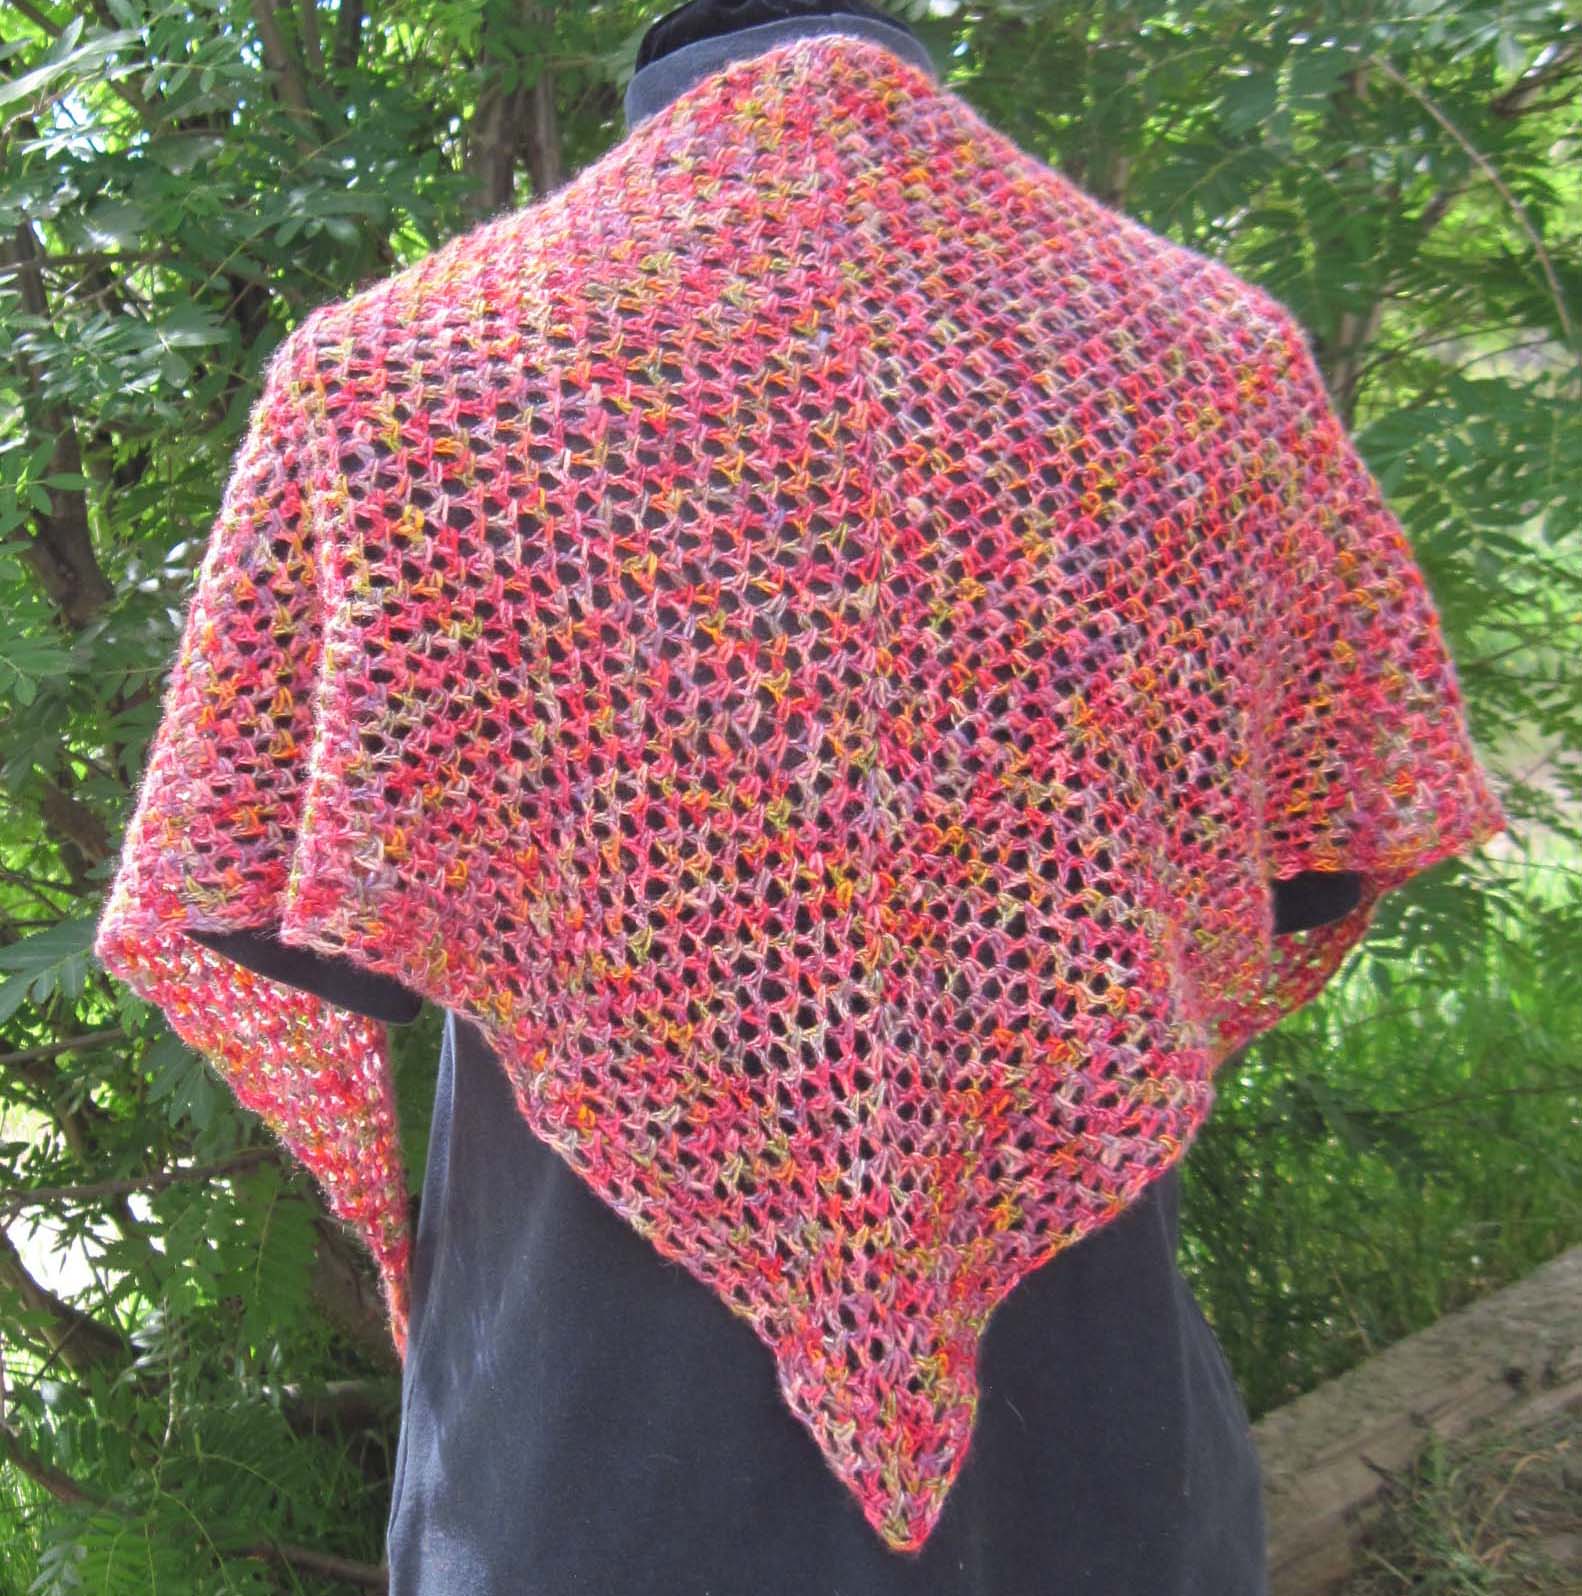
My latest moebius pattern is available thru my Ravelry Shop “Infinite Grande Cowl”. This a super simple long cowl designed in a luscious baby alpaca chunky yarn, Plymouth Yarn’s Baby Alpaca Grande. The hardest aspect of this pattern is the Foundation Single Crochet length and being sure you get your moebius twist correct. The rest of the pattern is single crochet, chains and slip stitches. Pattern instructions are in text using U.S. crochet terminology and stitch diagrams.
You can find the pattern on Ravelry, Click here to buy it now.
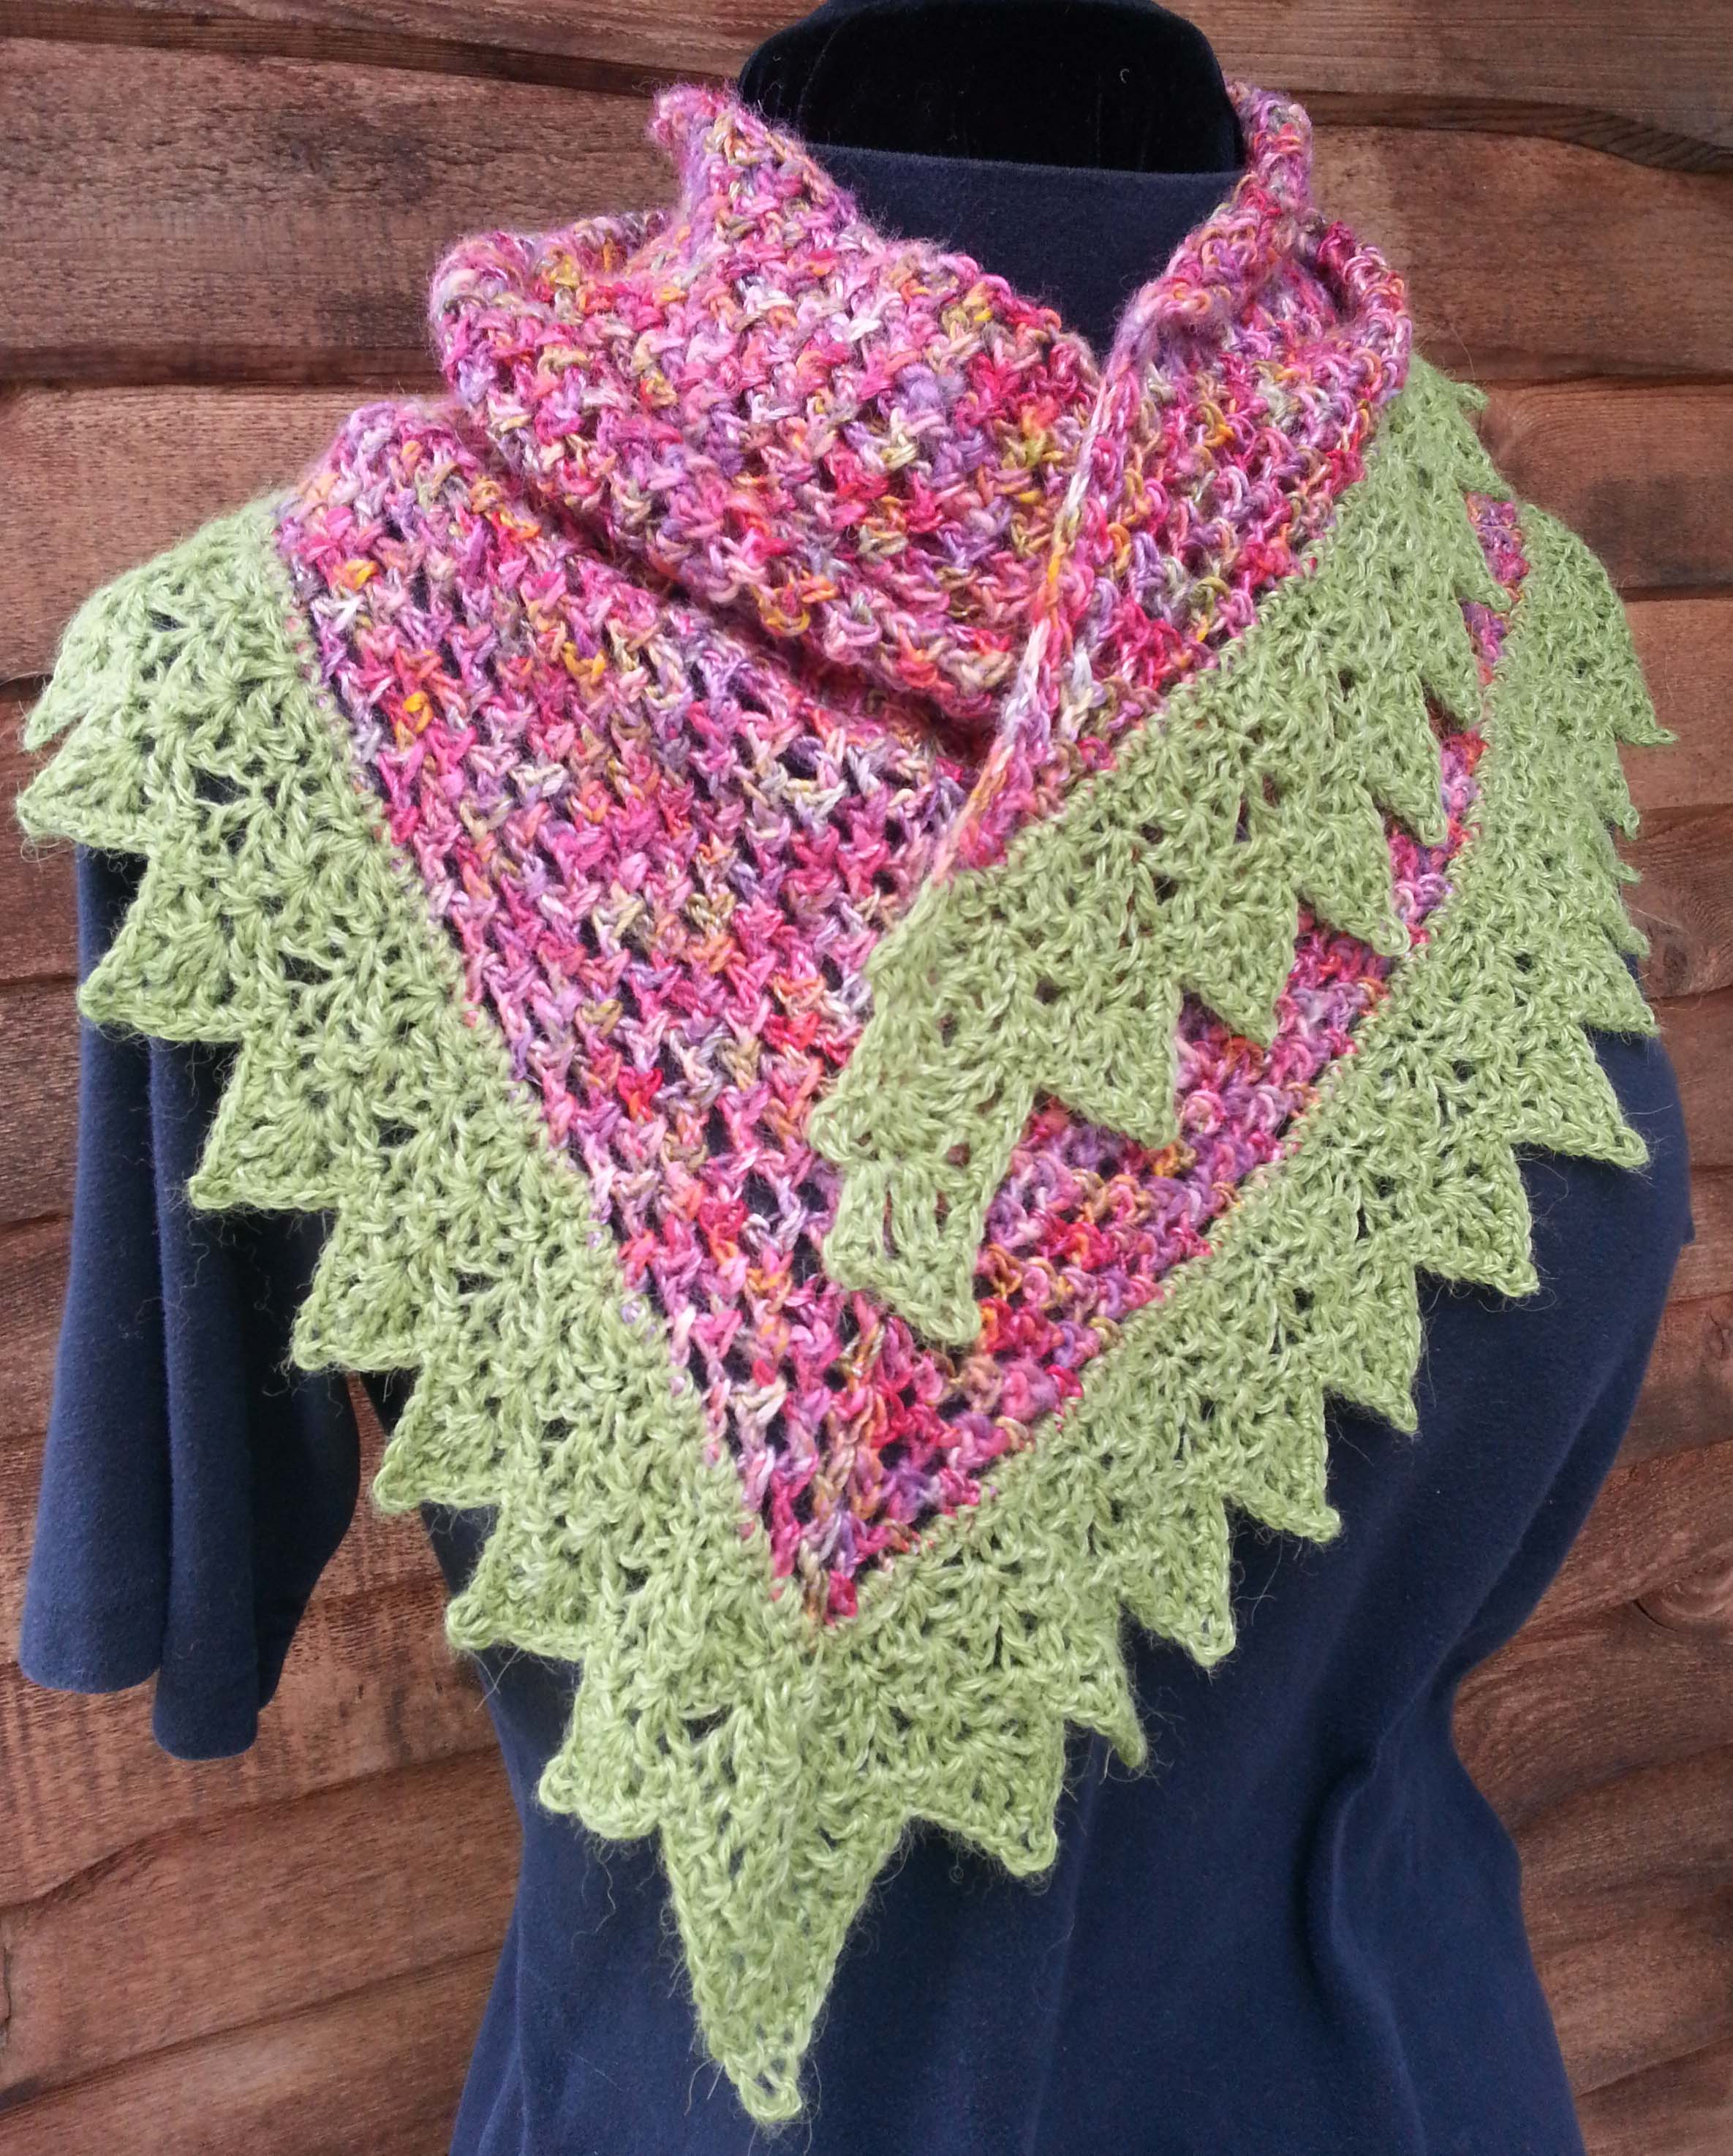
Looking at the patterns I have available you can see that my favorite foundation to use for a cowl or “infinity” scarf is a moebius. But a moebius does present you with some interesting challenges when it comes to blocking your finished project.
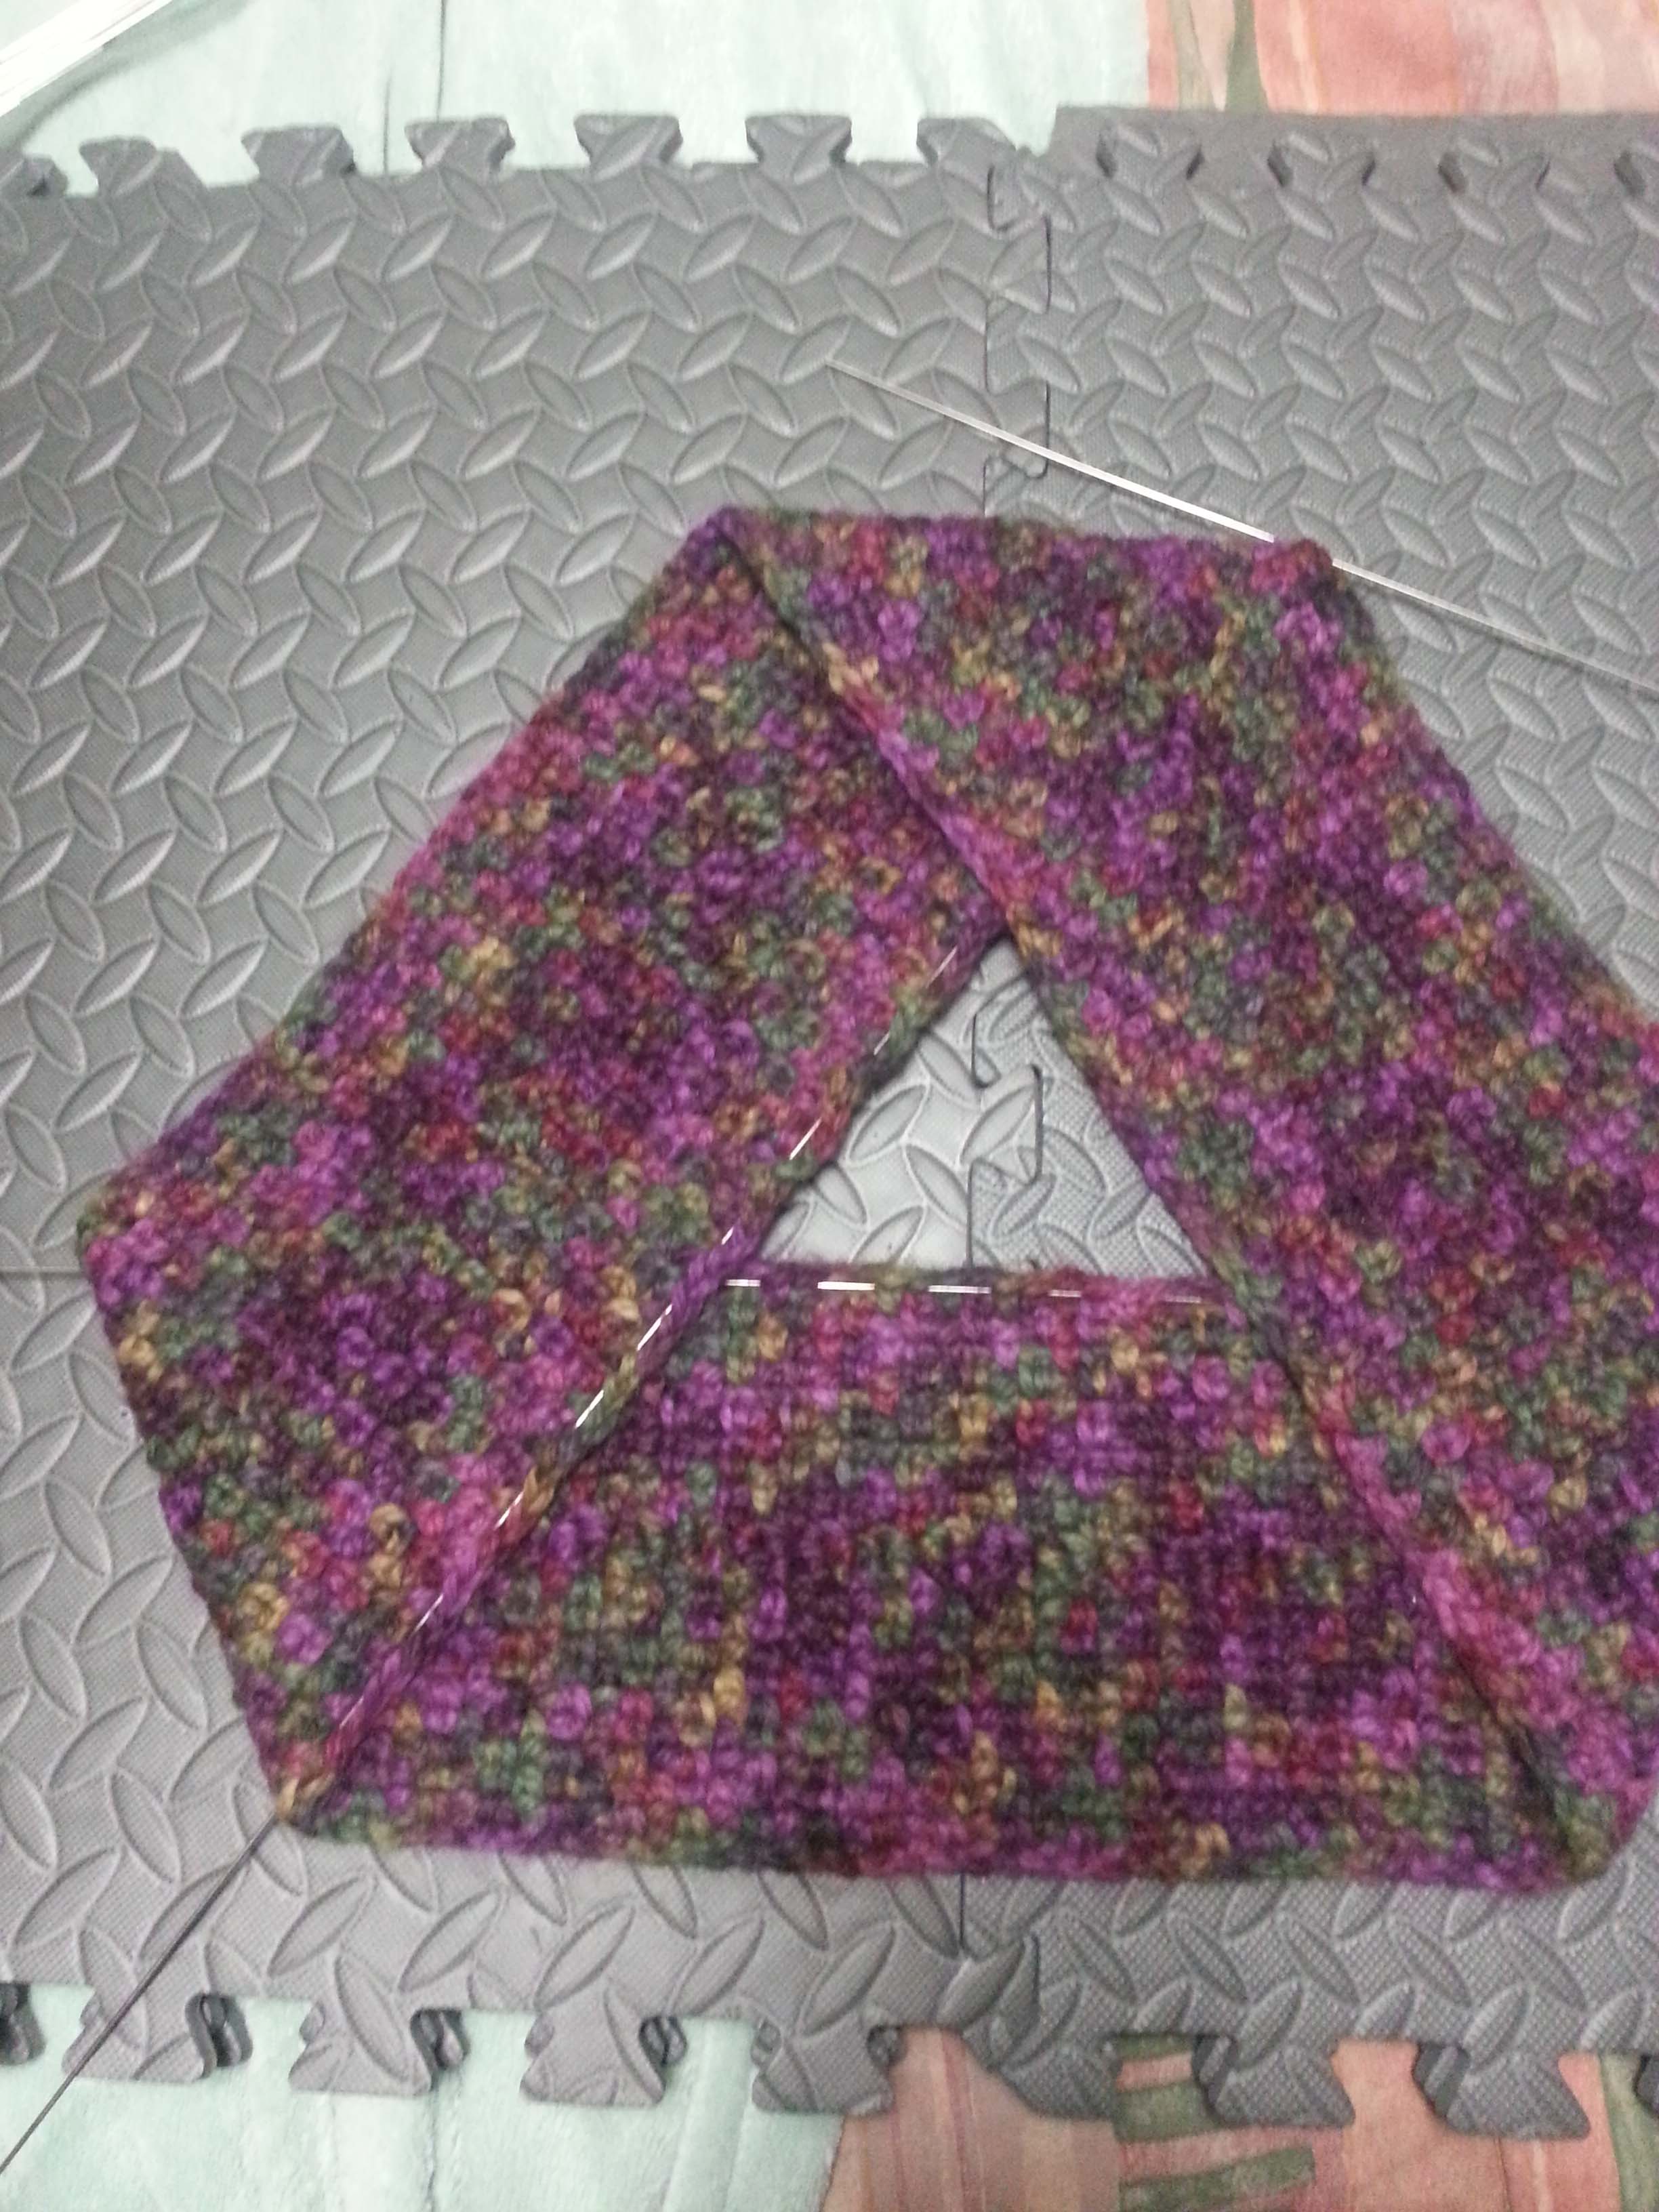
Because of the twist in the fabric a moebius doesn’t lay flat like most other projects. The best way to “flatten” a moebius is to lay it out in a triangular shape like above.
I like to block using my blocking wires. So my next step in blocking a moebius is to fold the “top” of the triangle down to expose the top edge of the bottom strip in the triangle. I then wove in one of my long blocking wires along that edge.
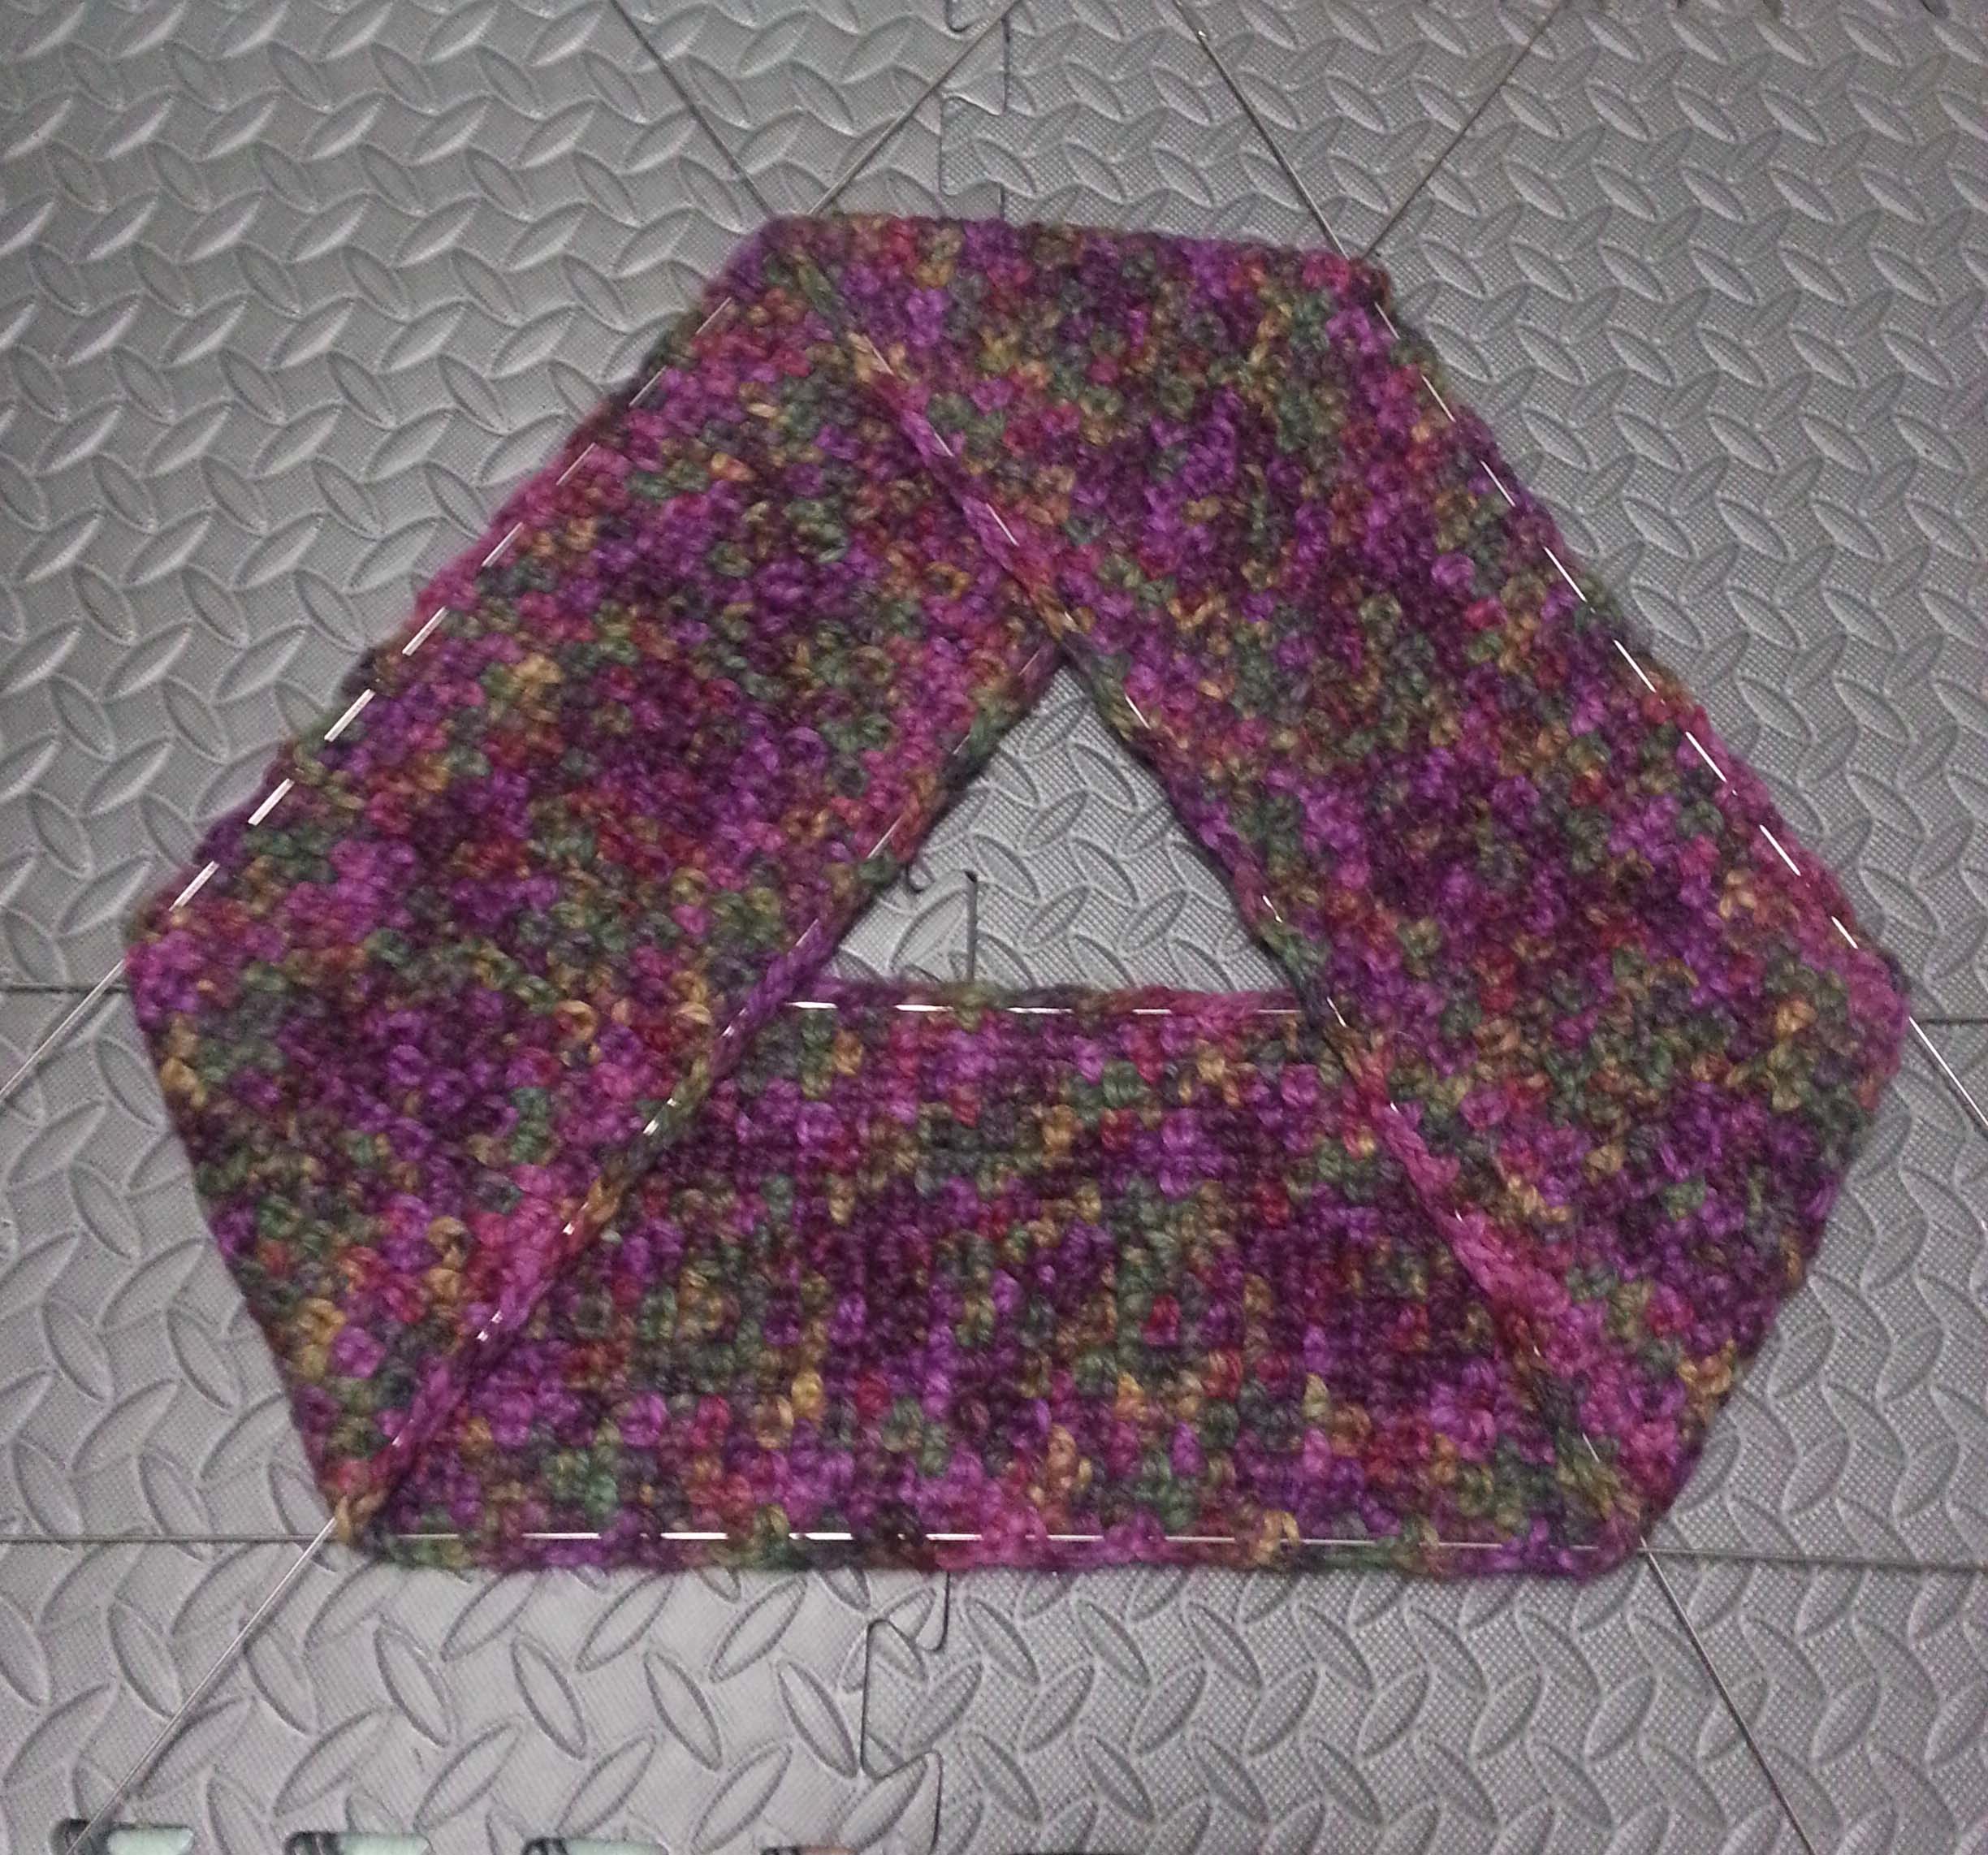
I then return the top of the triangle to the mat and flatten it out. The first wire sticks out of the corners on the bottom strip. I marked the top corner then weave my next wire along the inside edge of the next level of my moebius strip.
Last inside edge gets it’s wire next.
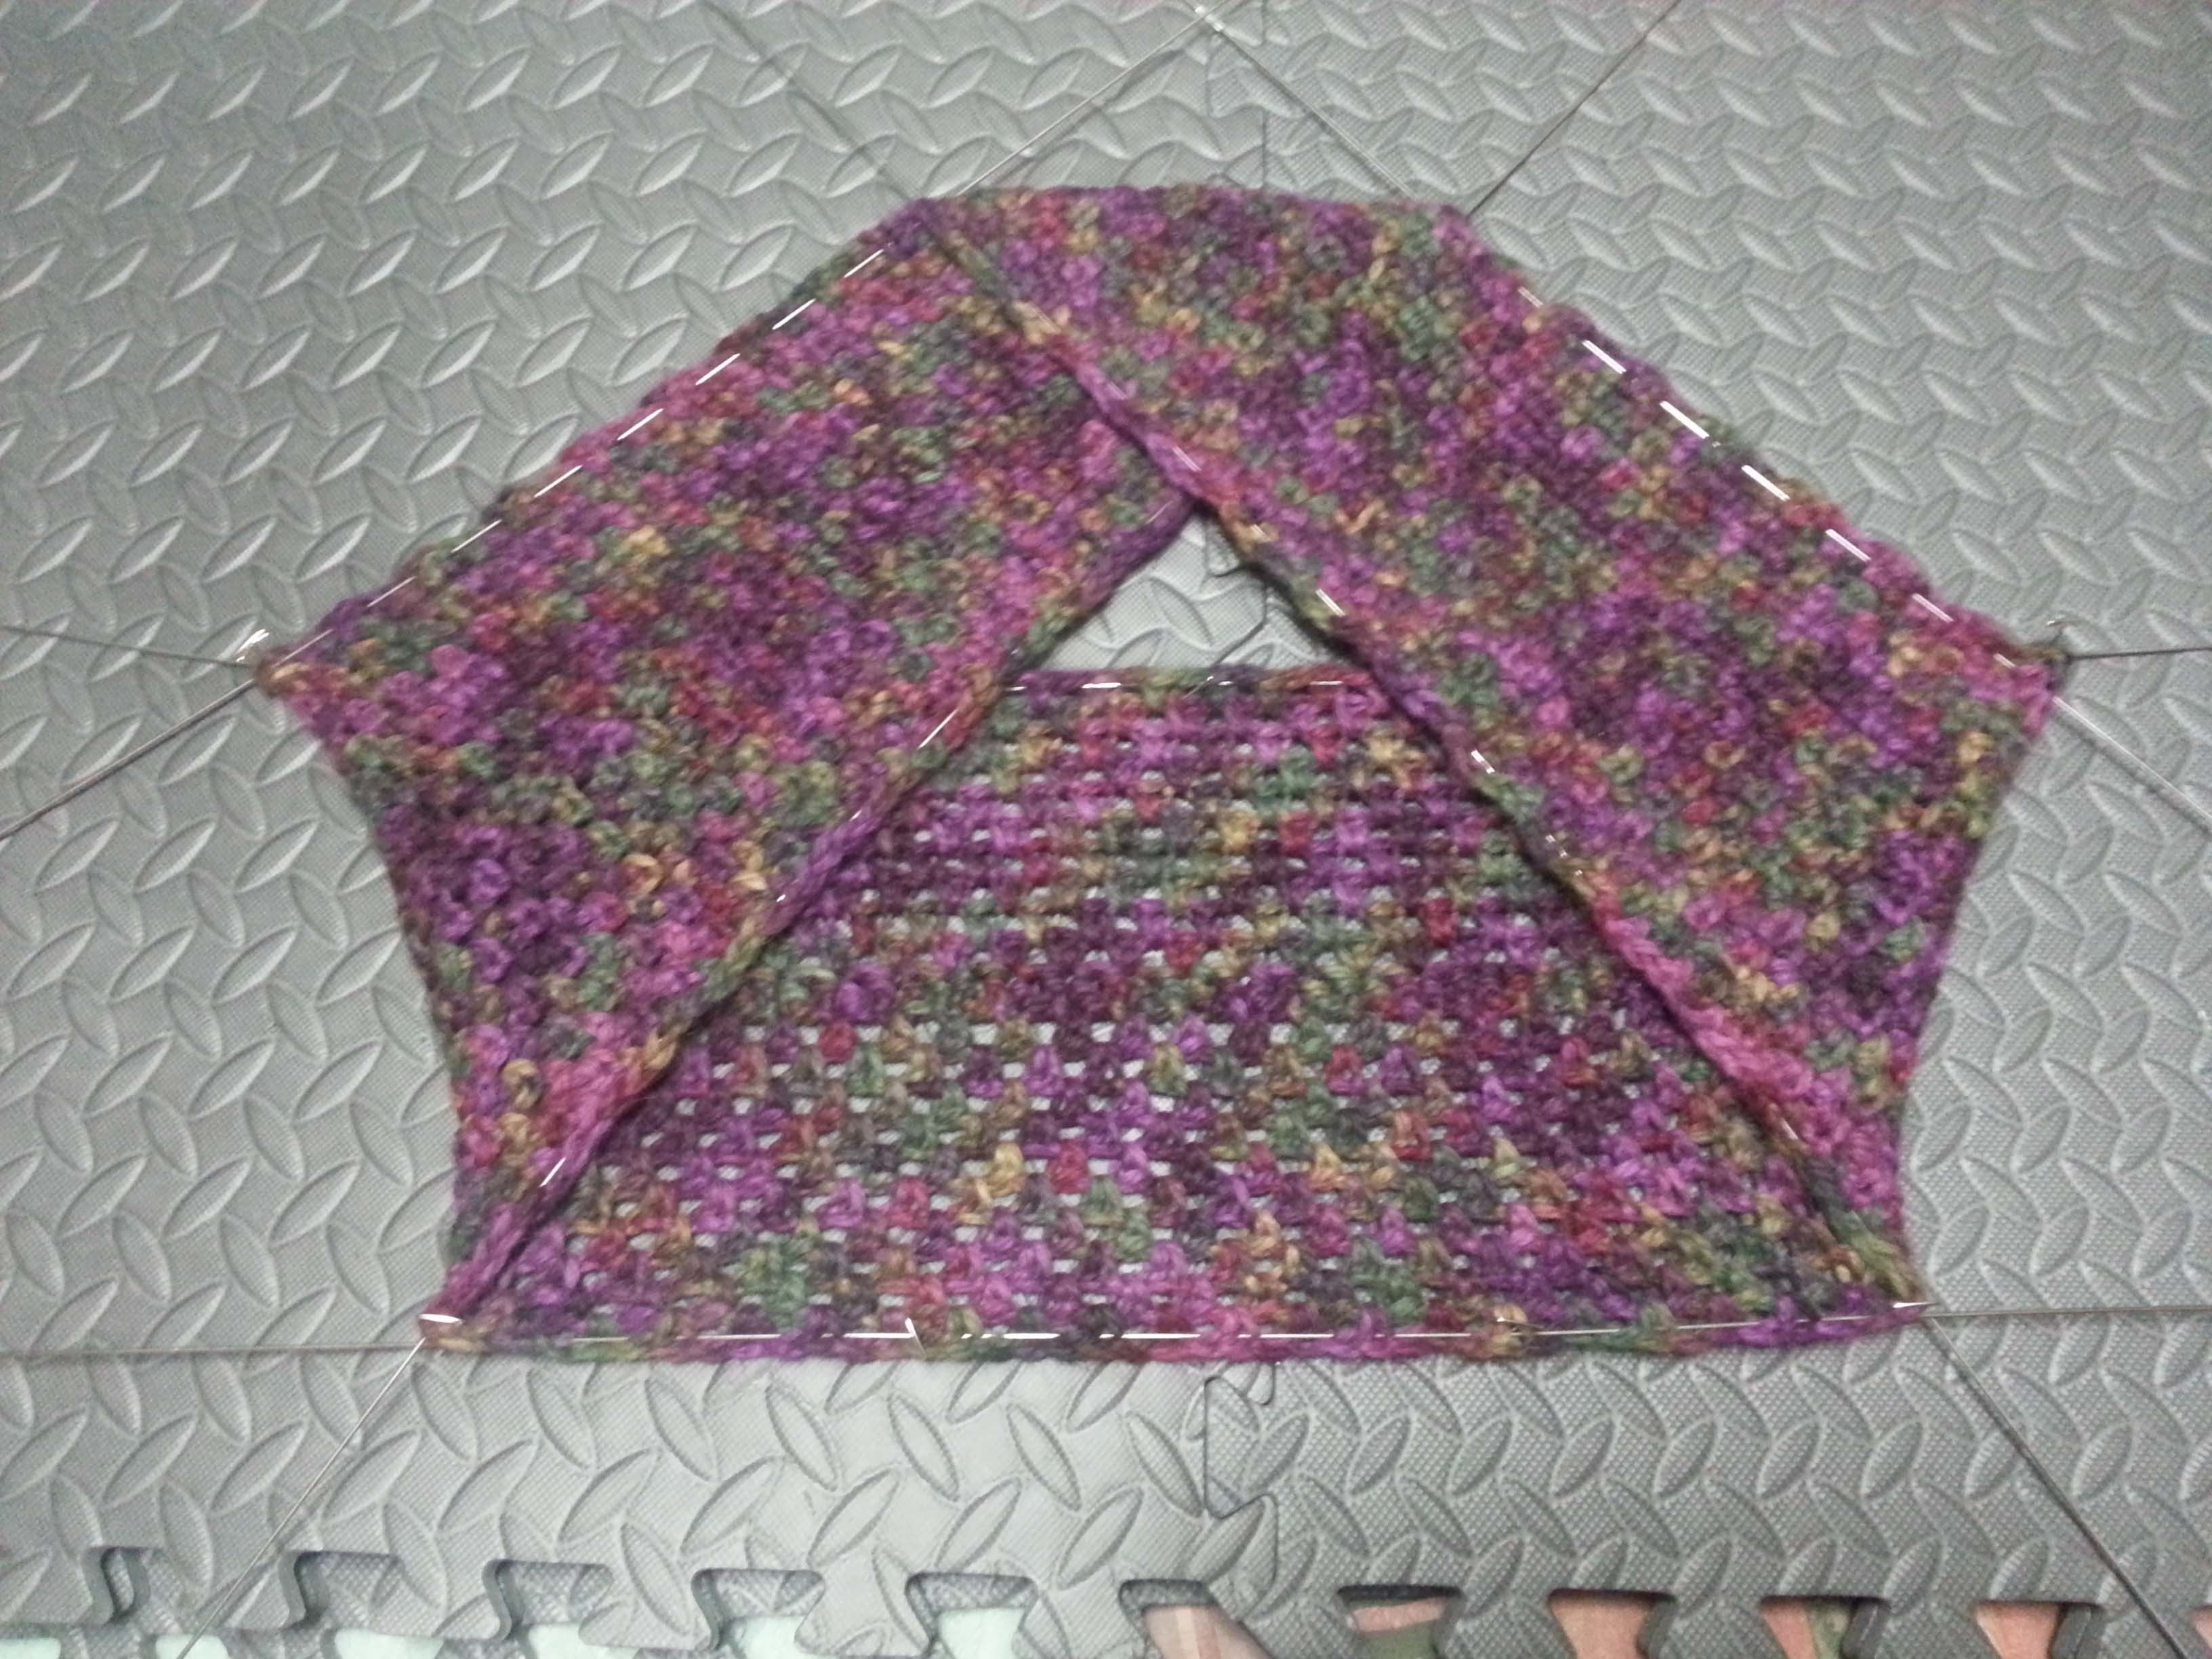
Now I weave wires thru the outside edges. We are ready to begin stretching out the project for blocking.
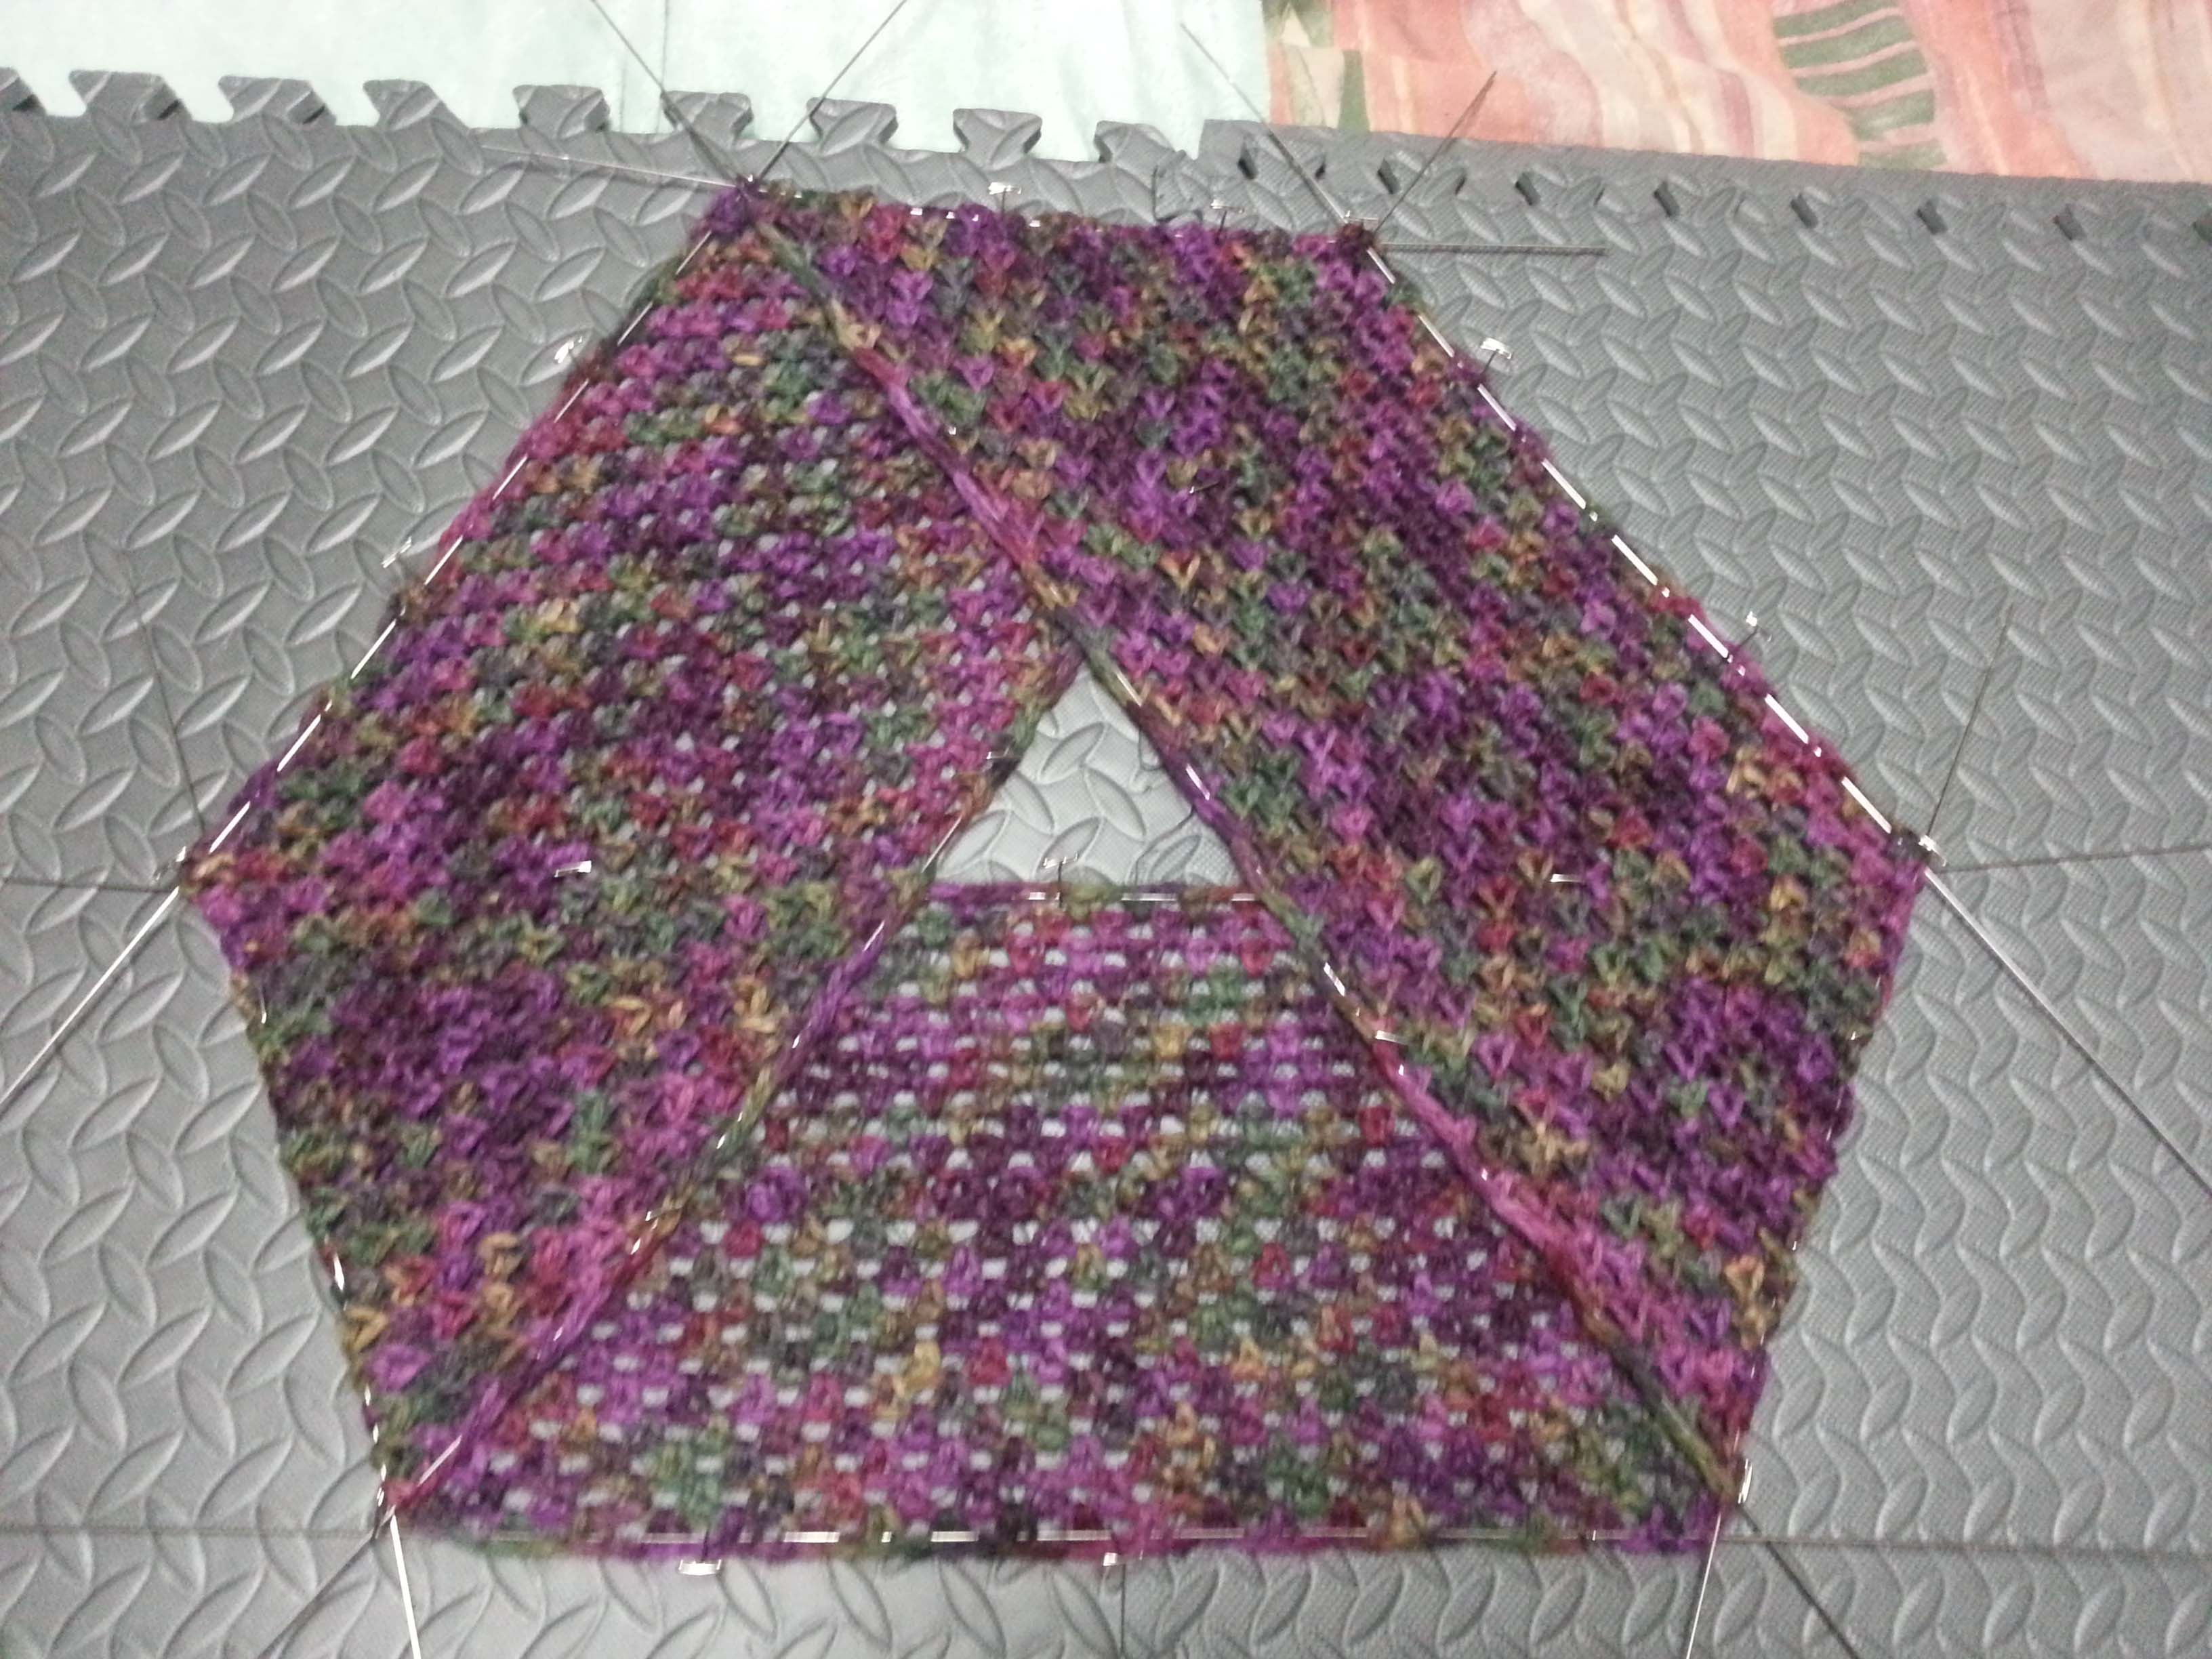
I tend to be pretty aggressive when I block and open the stitches as much as possible. I pin the bottom outside edge in place, then shift the inside wire upward to stretch open the fabric. I use nickel-plated T-pins to hold the wires in place. Nickel is important to use in blocking as it doesn’t rust and won’t mark your fabric when it is wet.
I work my way around the moebius pinning and stretching until I am happy with how much I’ve opened the stitches. Part way thru the stretching I realized I needed to place wires thru the “folds” at each corner of my triangle to keep the stretch from deforming the fabric. I just slipped the wires under the top layer of the strip at the corners.
Once everything is pinned out how I wanted I heated up my hand-held steamer and steamed the open fabric. I let it sit for about an hour to dry completely and then my cowl was ready to be photographed. Being this cowl is alpaca the stitch work didn’t open up tremendously, but the overall fabric was smoother and draped nicer afterward.
Now you know one of the ways to block a moebius. I hope you enjoy crocheting some in your projects. They are one of my favorite shapes to crochet.
When I spend time with other yarn enthusiasts I am often asked how I became a professional crochet designer.
The beginning of my journey as a designer was learning to crochet nearly 44 years ago. I loved to crochet, but never followed a pattern (which drove my mom nuts). I would just play with the yarn and stitches until an idea popped in my head for how to use what I was doing to make something I wanted. Whether that was a toy, a piece of jewelry or a garment.
By the time I was in junior high and on thru high school I was more interested in sewing, so I rarely crocheted. Instead I increased my knowledge of sewing and tailoring garments. My mother gave me my own sewing machine at age 15 and it became my favorite toy. I would sketch out ideas for garments and then modify existing sewing patterns to create the actual garments. I still sew occasionally, but as my life has become busier with motherhood and working as a crochet designer and teacher, my time for sewing has decreased.
I returned to crocheting about 15 years ago when I tripped over my dog and severely sprained my ankle. To avoid going out of my mind with boredom, while stuck on the sofa with my foot elevated, I started playing with yarn and hook again. I wasn’t great at reading patterns, but I could look at photos of garments or other crochet projects and get the gist of the pattern. After a month I was up and about again, but I was hooked on crocheting again.
I made lots of afghans for my house as well as for many members of my extended family. I made a blanket for our King Size Bed, which was a massive undertaking. There were also lots of scarves. Finally I decided to try tackling some shaping and made a hat, I kept messing with the stitches and working in the round until I had a hat I liked. In all my experiments I would write down what I did, but it wasn’t in the conventional sense of a pattern.
One day at the grocery store I discovered some crochet magazines on the newsstand beside the check-0ut. Someone else must have been looking at them and decided not to purchase them. Instead they went home with me. One of those magazines was “Crochet Today” which had stitch diagrams accompanying the patterns.
I had always found text instructions for crochet patterns to be rather tricky to follow, but the stitch diagrams made immediate sense to me. By using the stitch diagram I could finally figure out the text instructions. Suddenly it was all coming together for me.
I began to write down my creations in more conventional crochet pattern styles. And I would draw up my design notes in rough hand drawn stitch diagrams. These notes were not organized in any real way and often were on odds and ends of scrap paper tucked into a project bag with the yarn and hook.
In the back of my mind was the thought that someone had to be writing these patterns in the crochet magazines. I thought it would be great to be one of the people doing that. Then I discovered Ravelry.com, and joined the site in April 2008.
Jenny’s Books
Because of Ravelry I discovered all sorts of wonderful crochet artists and designers and became very interested in Free Form Crochet. One of the artists that I met on Raverly was Jenny Dowde from Australia. I purchased her books on Free Form Crochet and when I heard she was going to be teaching in the United States that Autumn I was very excited.
It turned out that one of the places she would be teaching was the Fall Knit & Crochet Show in Portland, Oregon. That was a short plane ride from Denver, so I decided I would go take classes with her there. That show really did change my life.
When I signed up for Jenny’s classes I discovered the Crochet Guild of America (CGOA) and joined it in order to get the discounts for the class fees, little knowing that a whole new world was about to open up for me. I was excited to go to the show even though I was traveling alone for the first time in 10 years. I was excited to meet other Ravelers and had even made arrangements to meet one of my Ravelry friends there.
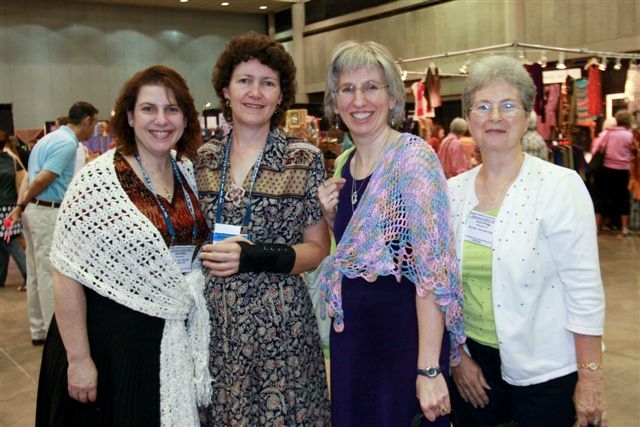
In my first class with Jenny, I met Pam Shore and Janet Bates, both who have become two of my very dearest crochet friends. We kept bumping into each other around the show. They were very bad influences when perusing yarn and/or hooks on the market floor. I had such a wonderful and inspiring time at the show, it really marked the end of me “crocheting alone”.
Pam recommended that I join the live chat room during Mary Beth Temple’s “Getting Loopy” podcast on Monday evenings. So I did and became one of the “Loopy Groupies” plugging in my headphones and typing away for 45 minutes each show. Then Mary Beth offered a class thru Crochetville called “Designing for Print Publishing”.
I decided to take the class, even though I wasn’t 100% sure how to even write a pattern yet. The class was about how to put together a proposal and present it to potential markets. As part of the class we had to create a proposal and send it out to a potential market.
I sent my proposal to “Crochet! Magazine” where Carol Alexander was the editor. I was very excited when I got an email from her saying that they weren’t able to use it in the issue that I had submitted it for, but wanted to hold it for consideration for their next issue. I contacted Mary Beth to see if this was the good news I thought it was. She said it was. A couple of months later I had sold my first design to Carol.
Lace With A Twist Wrap – Photo courtesy of Annie’s Publishing
That was how my “Lace with a Twist Wrap” came to be in the March 2010 issue of Crochet! Magazine. Of course there were other adventures with this as it was my first time writing a pattern. I think it was assumed by the Technical Editor, since I was a “new” designer, that I wouldn’t write the pattern correctly. Unfortunately the corrections that were made to the pattern actually introduced errors to it. Fortunately, many folks have successfully made this wrap and it spawned one of my most popular posts on my blog: “The Twists and Turns of a Mobius”
I had to turn in the sample and pattern in July of 2009 for that design, so as soon as it was out of the way Mary Beth was telling me not to sit on my laurels. She advised that I keep working on proposals for other designs and encouraged me to attend the Knit & Crochet Show that August in Buffalo, New York. I put together some ideas in a notebook and despite some nervousness went to the Meet & Greet at the show, where designers can meet magazine editors and others from the publishing business.
Shari White, Susan Lowman, Me, Joyce Bragg Waiting for Editors at Meet & Greet
While waiting in line I met a number of my colleagues who have become good friends over the years since. This show was also the first time that Mary Beth Temple and I got to meet face to face. I had only met her online before then.
Crochet Lace Fingerless Mitts – Photo courtesy Coats & Clark
I got leads on selling 3 different designs at that event, and made the contacts that led to many other publication opportunities later on. My first ever published design was sold to Bobbie Matela of Coats at the Meet & Greet. My “Crochet Lace Fingerless Mitts” this pattern came out in October 2009.
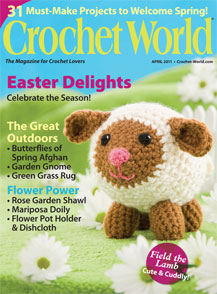
Cover of “Crochet World”
And Michele Maks (who was with Crochet World at the time) was very interested in my “Field the Spring Lamb” who went on to be on the cover of the April 2011 Issue.
I felt pretty confident at the end of that show that I could call myself a professional designer. Since then I have had over 100 designs published in magazines, Ezines, yarn company websites and my own pattern line: M2H Designs available thru my Ravelry shop or on this blog.
I know many of you are experiencing record-breaking hot weather right now and colder temperatures seem a dream. Up here on the mountain though the temperatures are beginning to feel a bit nippy. We are getting emails reminding us that school is starting up again in one short month. Augh! Summer always zips by so quickly.
Of course for those of you that are super organized it’s time to think about projects for your holiday gift giving. I’ll be releasing 5 patterns over the next week that are wonderful gift items that don’t take a lot of yarn or time to work up.
Anna Moebius Cowl
My crochet friend V was looking for quick projects for last-minute gifts for Christmas this past November. So I created this design. The cowl is worked off a moebius strip foundation with one ball of chunky size yarn and a large hook so you can make one in an evening. I named this design after my friend’s grand-daughter because she really loved the cowl and liked to wear ones with a shorter foundation as an ear-warmer.
My sample is worked using one ball of Plymouth Yarns “Gina Chunky” with a size L /8mm hook. The 100% wool of this yarn means you get a wonderfully warm cowl (or with a shorter foundation, ear-warmer), and the color changes in “Gina” make the shells in the stitch pattern stand out individually. Or go with a solid color yarn for a subtle textured look to your cowl.
This pattern is available in my Ravelry Shop for $3.99 BUY NOW
I’m heading to San Diego for the Knit and Crochet Show this coming Tuesday, but I will have more patterns posting while I am on my trip. Be sure to check back.
This photo was taken by my son a few months back, but it is an accurate depiction of what this past week has been like.
Been playing catch-up on pattern writing and proposal writing for new designs and classes. Hopefully will have some fun stuff to share with you later this week.
If I wasn’t crazy enough I realized this past week that Christmas is only 6 months away, as well as all the August, September, October and November birthdays in my large family. There are quite a few folks on the Crochet Worthy list in those months, so I am going to have to hop to it.
Have you started planning for your gift-giving crafting yet? Now is the time, otherwise you are going to be staying up into the wee hours in November and December with me.
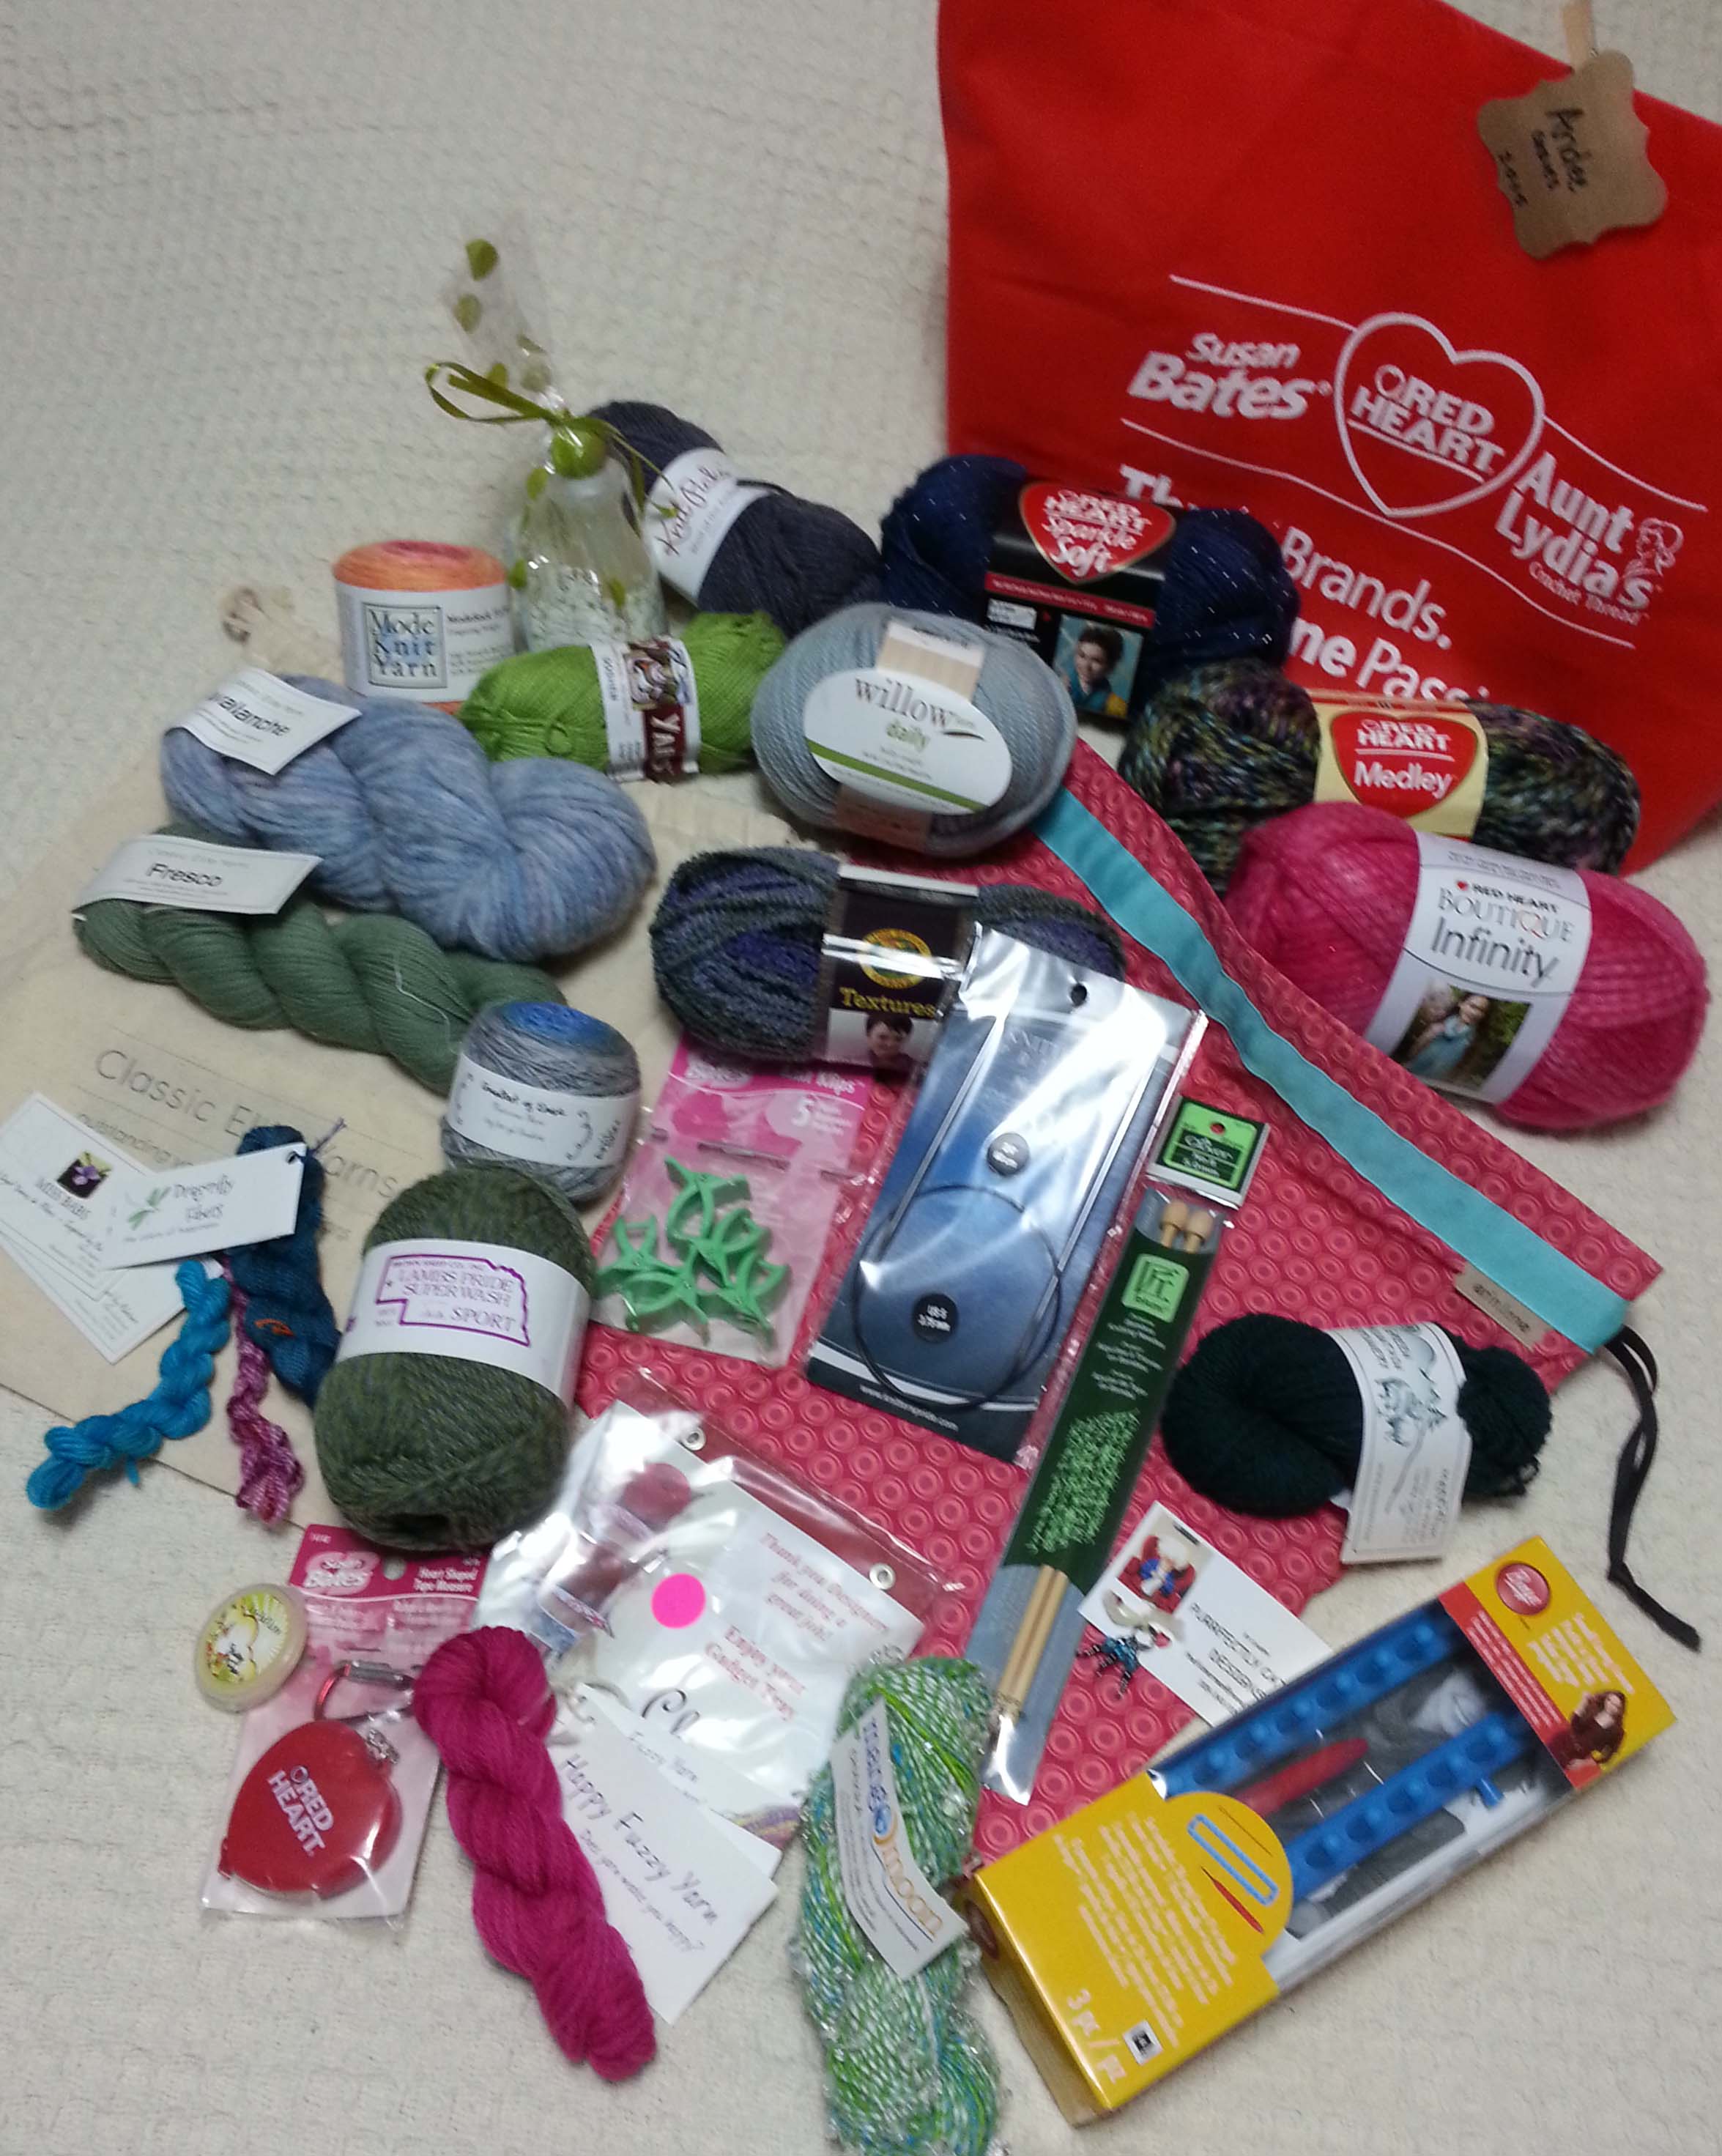
Here we are again, silence from me for a couple of weeks while I got ready for the TNNA Summer Trade Show. Now I am back and delighted with my meetings I had at TNNA and all the new yarns and other fun goodies that I saw there. I arrived in Columbus late afternoon on Friday and took a taxi with friends to our hotels adjacent to the Convention Center. That evening was the Fashion Show and the Designer Dinner. My Sunrise Shawl made in Elemental Affects “Civility” was the 12th item in the Fashion Show. Unfortunately, I wasn’t able to get a good photo of it at the show, my phone battery had died and the camera I borrowed from a friend at the event wasn’t up to the lighting challenges. So the photo taken on my dress dummy before I shipped the sample is all I have for the moment. The pattern for this design will be available June 20th (note: due to some family stuff the original release date of June 15th has been moved out). After the Fashion Show it was back to the opposite side of the Convention Center to the Crowne Plaza hotel to join many of my designing colleagues and other yarn industry folks for the Marly Bird Designer Dinner. Again not much in the way of photos since my phone was still dead. The dinner was interesting though I was sitting at a table with a bunch of folks I hadn’t met before. I did see a lot of my friends in the room and caught a quick moment to chat with some of them. Some were only at the TNNA show for that evening, so I was glad for a chance to see them. During the evening there were a couple fun give-a-ways, I ended up with the little goodies above. I got the yellow clips for having a crochet hook on me, surprising right? Me having a crochet hook (I see you chuckling). After dinner we were all presented with our official Goody Bags. Look at all the fun stuff that was in there! I was really glad the dinner was in the same hotel I was staying at. All I had to do was take the elevator to my floor and collapse into bed. I was wiped out. Saturday morning I was moving a bit slowly, but made it to the show floor only 15 minutes after they had opened the doors. I cruised around the floor checking out the new products and new yarns. Eventually I met up with my friend Tamara (Mooglyblog.com) and we continue to explore the booths. We made a stop at one of my very favorite vendors, Clover Tools. As you all know, I love their crochet hooks. I introduced Tamara to them and they showed us their newest addition to their Amour line of hooks, 12mm and 15mm sizes. I’m really looking forward to playing with these more. The rest of Saturday slipped by in a bit of a blur. That evening I had dinner with my friend Mary Beth Temple and then called it a night pretty early. Sunday morning I met up with Tamara and Jessie (JessieatHome.com) at the Willow Yarns designer brunch. All of us were given a fun messenger bag with balls of yarn and sample skeins. I did a quick dash back to my hotel room then I was off to a meeting. Later that day I caught up with Tamara and Jessie again, as well as Charles Voth and Mary Beth. I stopped by the Brown Sheep booth to chat with Peggy and her family. We were planning for my trip to Nebraska this September when I will be one of the teachers at the Scotts Bluff Valley Fiber Arts Fair. If you are in the area come join us for lots of fibery fun. That evening Tamara, Jessie and our friend Becky went out to dinner, then joined the big group of designers in the Hyatt lounge. It was after 11 p.m. when I got back to my room and realized I still needed to get all my stuff packed up for checking out the next morning. Yikes! Monday went by in a whirl between checking out of the hotel and then making a last trip around the floor. I picked up some yarn from a few of the vendors and said my good-byes to as many of my friends as I could. Then back to the hotel to get my luggage and rearrange things for my flight home. I had a few adventures getting back to Colorado, delays for flights and delays for luggage, but eventually I made it back (unlike a few of my East Coast friends who got stranded overnight in Columbus and Chicago). It’s been a week of recovery and reconnecting with my family since then. My boys are out of school for the summer break, so everyday feels a bit like a Saturday I’m going to have a lot of wonderful things to share with you this summer, so be sure to stop by regularly. Next weekend is the Estes Park Wool Market and I’ll be heading out again in 6 weeks for the Knit & Crochet Show in San Diego. So if you are going to be at either of those events be sure to look for me and say “Hi”.
Today I took a lengthy drive down the mountain to attend a baby shower. This was a very special event because this is my friend Terie’s oldest daughter’s first baby. I met Terie when she was expecting her second daughter, Meghan, and her oldest daughter, Amanda, was a tiny toddler.
Amanda, Meghan and J in May 2006.
I’ve watched these girls grow up over the years and it seems almost impossible that they are both adults with busy lives of their own now. Amanda was married just a few years ago, so I knew that a baby would very likely be in the near future.
Of course, babies and crochet go hand and hand for me. 2015 has been such a busy year for my crochet design and teaching work that I decided I would make a couple of hats for this new baby instead of my usual blanket. Turns out that was a good decision because Amanda got lots of blankets for the new arrival and a couple of them were even crocheted.
The one I liked the best, was crocheted by Terie’s mom for her new great-grandbaby. A lovely oversized granny-square blanket in blues and browns. This was accompanied by a couple of books that made Amanda and Terie get teary-eyed. Turned out they were books that Amanda’s Grandma had read to her when she was tiny.
My gift was a couple of crocheted beanies, one in a cotton/acrylic blend and the other in 100% cotton. Unfortunately with all the rushing around this week, I didn’t get a photo of the finished hats. In fact I was finishing the 2nd hat during the shower, which kept me from being tearful during the festivities.
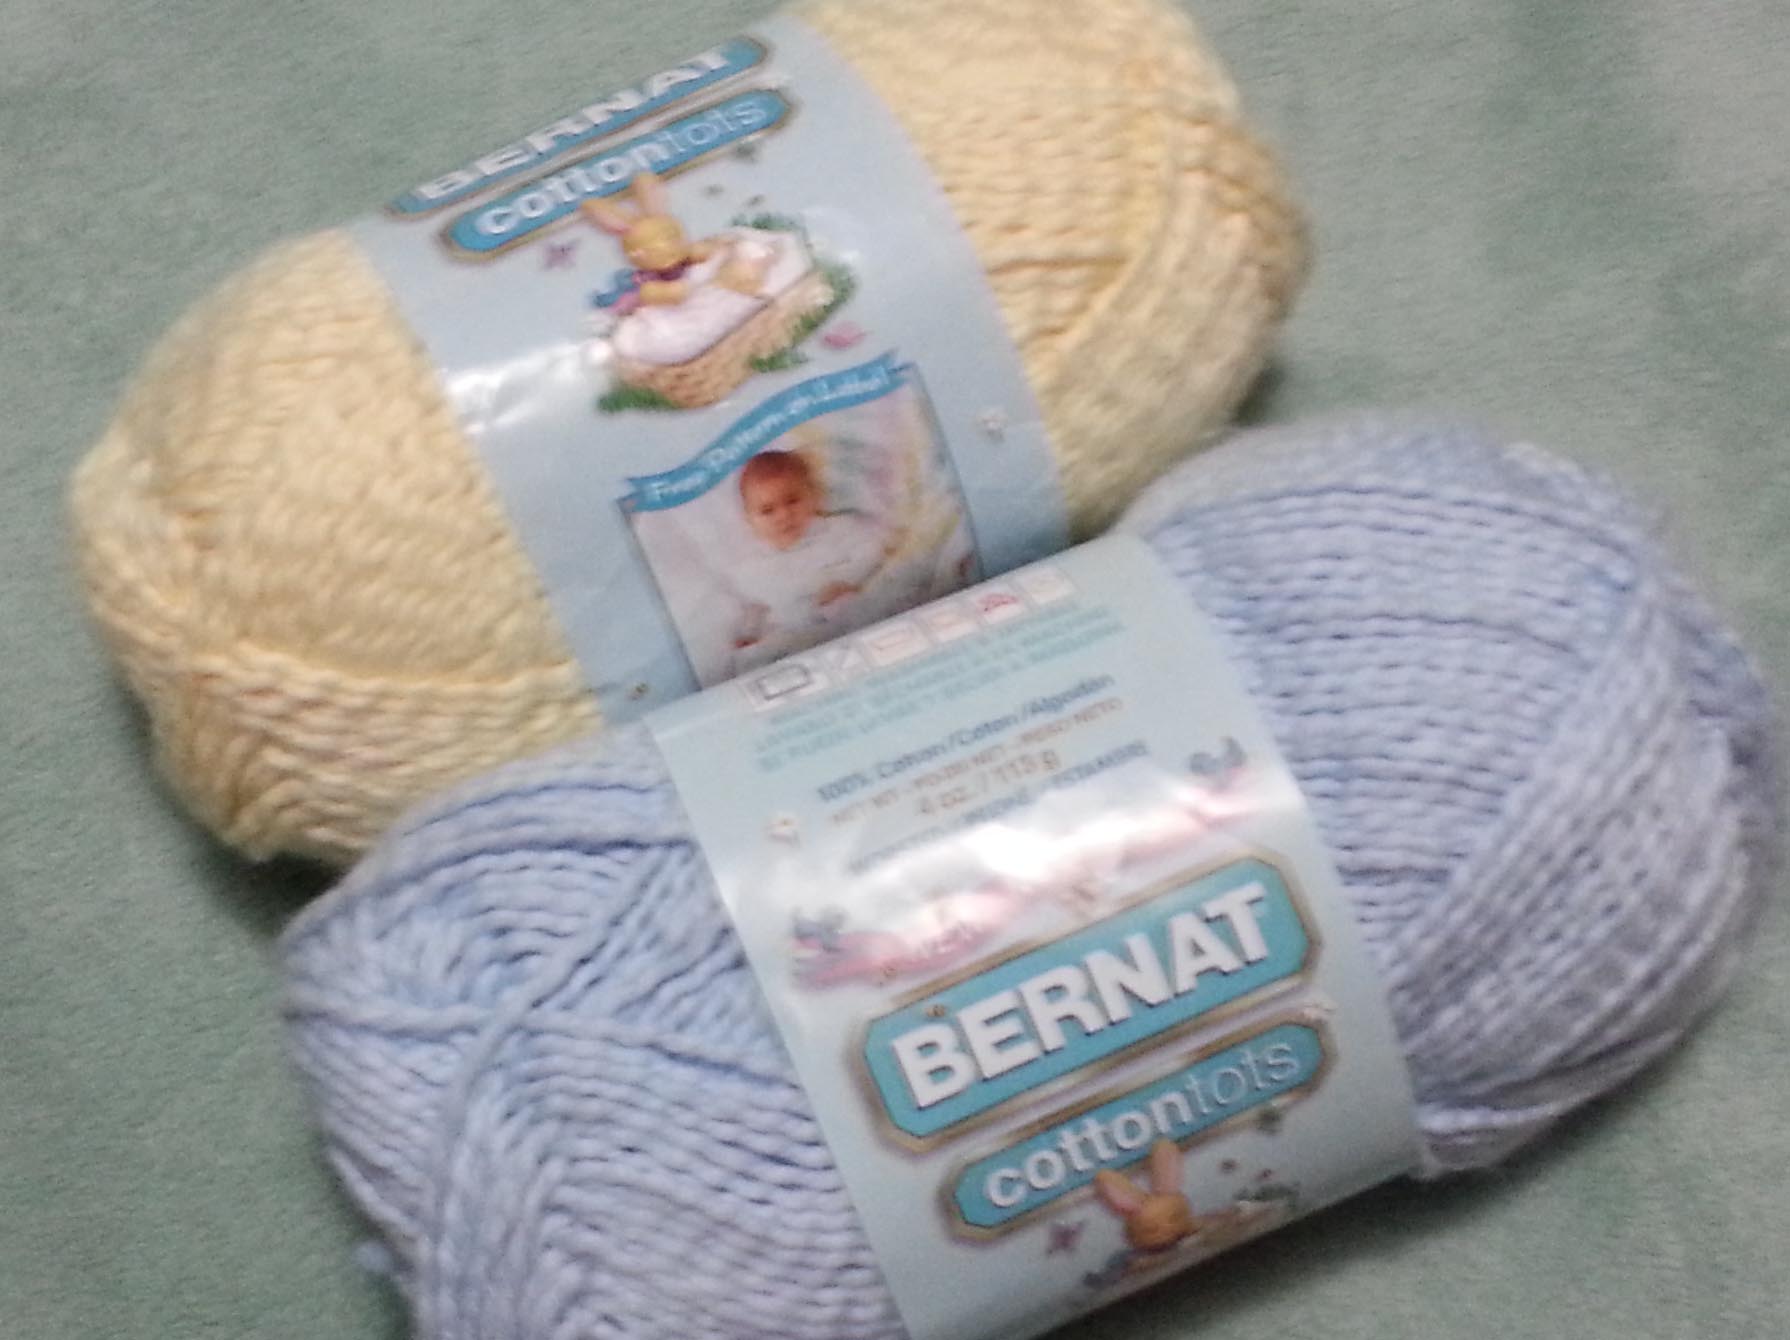
For the second crocheted beanie I used my standard hat pattern adjusting it to fit a baby’s head. I wanted it to be comfortable for summer-time wear as this baby is due the end of next month. I choose to use some Bernat’s CottonTots I had in my stash, 100% cotton and machine washable. Sadly this yarn is discontinued, but I still have quite a bit in my stash.
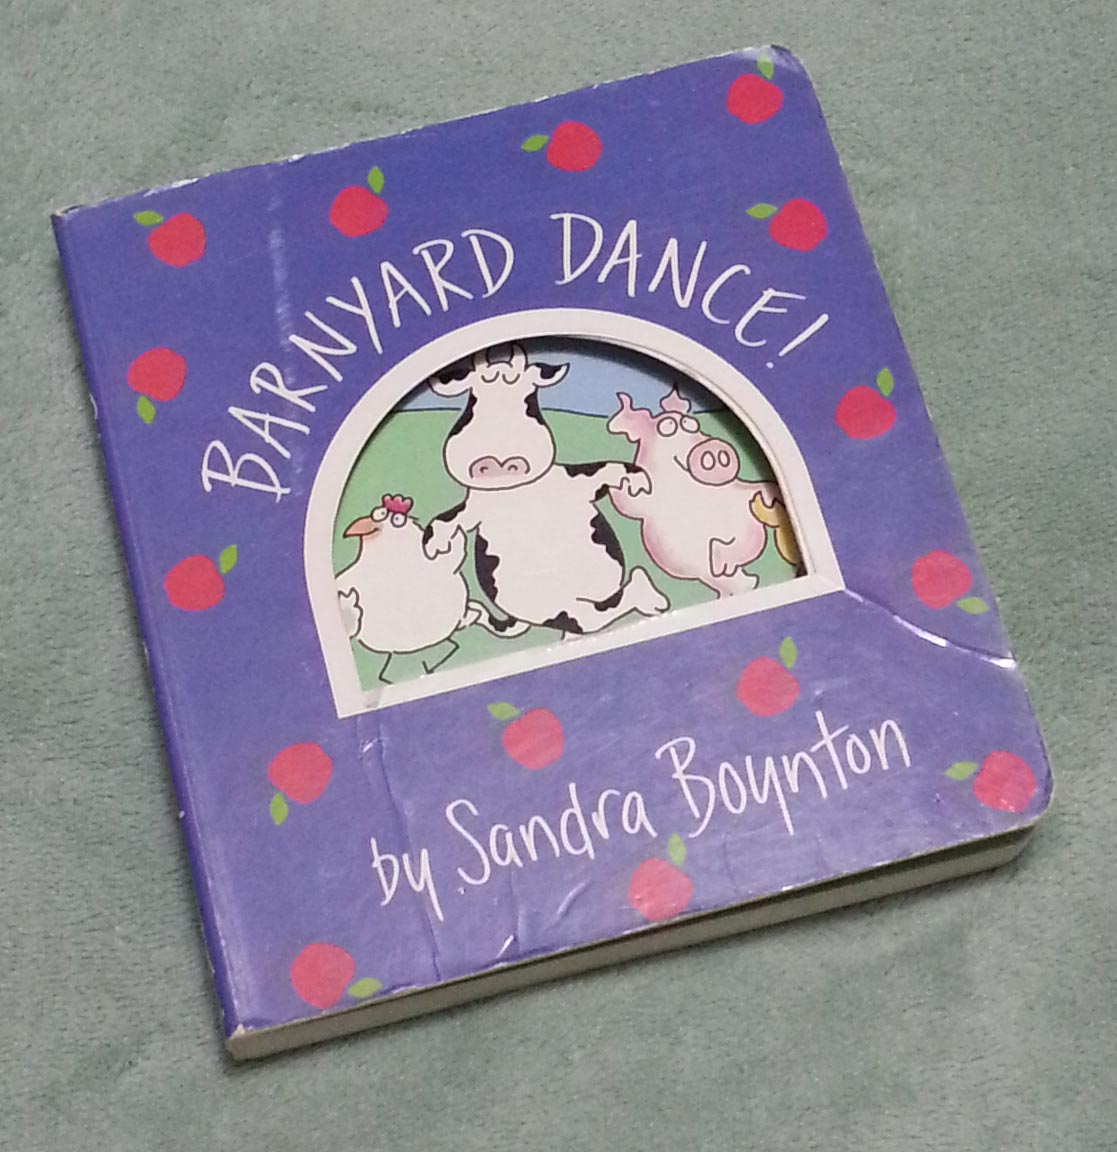
I also got the new baby a Sandra Boynton book “Barnyard Dance” that was my boys’ favorite when they were tiny. The photo above is of our very well loved copy. It is one of many things that are going into my box of items that will come out again someday in the distant future when I become a grandmother.
So my dear readers, what are your favorite baby gifts to make?
Sometimes we can’t be with those we love, but we can send our love to them. My favorite way of sending a package of love is in the form of a crocheted goodie. Usually it’s a shawl. They are marvelously useful and the closest to a warm hug that I can give when I can’t actually put my arms around a loved one.
My Eleonora Shawlette is a quick wrap project to crochet up. The shawlette size is made using just one ball of Berroco Boboli Lace yarn, but you can make it larger by using more yarn. The simple stitch pattern is easy to catch on to and makes a snuggly drapey fabric.
The pattern comes with instructions and charts for both the body of the shawlette and the lovely lace border. You can find the pattern in my Ravelry shop here.
I also wanted to share some links to wonderful shawl patterns that are available free from the blogs of my crochet designer friends. These lovely designs are available as free patterns because these designers have ads on their websites to help them make ends meet. I hope you enjoy checking out what they have available.
Tamara Kelly’s “Branching Out Shawlette” This is a terrific shawlette pattern that is interesting for experienced crocheters, yet simple enough that intrepid beginners can tackle it. If you want something different take a look at the other wrap patterns that Tamara has on offer at “Mooglyblog.com”.
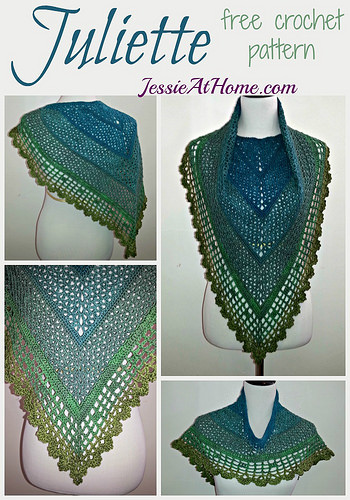
Jessie Rayot’s “Juliette Shawl“. I think this design is so clever. I love that it is actually a sort of “poncho” that won’t go slipping off your shoulders and getting lost. Jessie made her sample in a variety of lovely colors. If this particular shawl doesn’t catch your fancy, take a cruise around her blog “JessieAtHome.com” where she has lots of other lovely shawls and fun designs.
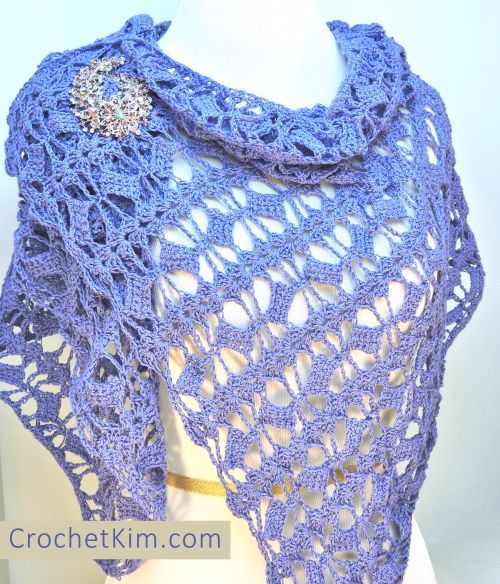
Kim Guzman’s “Butterfly Fling Wrap“. This beautiful wrap is an intermediate pattern and with the open stitch pattern is a perfect layer for warmer weather. I can totally see wearing this all scrunched up around my neck in the Fall and winter season as well, especially if made with an animal fiber blend like wool/silk. If this pattern isn’t quite the one for you, don’t worry, Kim has got loads of other beautiful wraps as well as garments to share with visitors to her blog, “CrochetKim.com”.
I hope everyone finds a shawl that is just right for making a “hug” for their loved ones. It may be too late this year to make a shawl for mother’s day, but you can put it on your “To-Do list” for next year. I’ll be celebrating Mother’s Day this year with my boys at the Colorado Chocolate Festival on Saturday. I’ll have lots of photos and news about that for you this weekend.
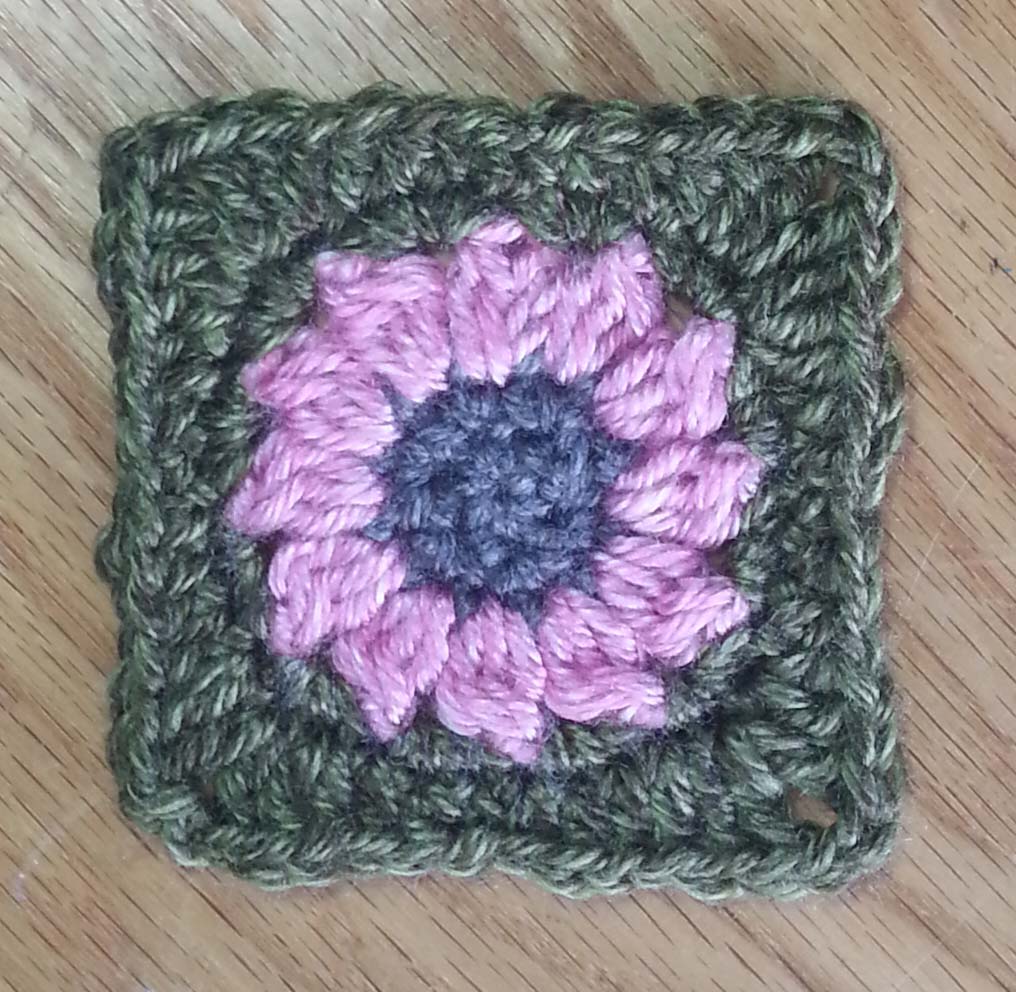
Hot Spot Square copyright 2015 M2HDesigns/Andee Graves
Last weekend I posted my Hot Spot Square pattern and I promised you some further fun with that pattern this weekend.
First a little history lesson. Many of those that have been crocheting for a long time may already know about crochet and motifs, but some of you might not.
A lot of crochet blanket projects that use motifs originally developed as a way to use up the left-over bits and bobs of yarn from other projects or from worn out clothing that had been unraveled, somewhat like the history of crazy quilts. Little bits of yarn would be wound up into small balls and stored for later use.
Some crocheters would work up parts of motifs when a little time could be found. The odds and ends of yarn would be sorted thru and the smallest ones selected to become centers of the motifs. Then more rounds would be added to these until squares of the desired size were completed. Those squares would be sewn together to make blankets.
In the late 60s and thru the 70s the Granny Square became very popular as the building block for all sorts of items; clothing as well as home décor. Color choices would sometimes still be somewhat random for the center of the squares, but often the final rounds of the squares would be a unifying color.
Over the years, the motif was modified and now you can find lots of wonderful books of crochet motif patterns. Some of those patterns are close to the traditional granny square with 3 double crochet shells separated by chain-1 spaces. Some are very far removed from that humble beginning.
My little Hot Spot Square is a nod to the Granny Square in that it is worked in concentric rounds and you can change colors at any point to give a completely different look to the square. I’ve also added a twist by having the circle-to-square thing happening.
The Floating Flower
For this look you’ll need 3 colors of yarn.
Color 1 for flower’s center: Approximately 2 yards for Rounds 1-2. (Sample shown uses Lion Brand “Heartland” yarn in color #125 Mammoth Cave)
Color 2 for your flower’s petals: Approximately 3.5 yards for Round 3. (Sample shown uses Lion Brand “Heartland” yarn in color #103 Denali)
Color 3 for Square border: Approximately 9.5 yards for Rounds 4 and 5 (I usually pick a color in the green range since I consider these rounds to be the “leaves” of my flower). (Sample shown uses Lion Brand “Heartland” yarn in color #174 Joshua Tree)
If you use the same color in all your squares for Rounds 4 & 5, the effect once joined, will be that of flowers floating on the background. You can use up all your bits and bobs of left-over yarn from other projects for the flowers, then use a single color for the background. You’ll be surprised at how lovely your project will come out despite it’s rag-tag beginning.
The Graphic Circle
For this look you’ll need 3 colors again, make sure that your 1st and 3rd color contrast strongly with the 2nd color for the boldest look.
Color 1 for the center circle: Approximately 6.5 yards for Rounds 1-3. (Sample shown uses Lion Brand “Heartland” yarn in color #103 Denali)
Color 2 for the graphic border surrounding the circle: Approximately 3.5 yards for Round 4. (Sample shown uses Lion Brand “Heartland” yarn in color #153 Black Canyon)
Color 3 for the contrasting square border: Approximately 6 yards for Round 5. (Sample shown uses Lion Brand “Heartland” yarn in color #150 Mount Rainier)
This square will also work well with a single color for the square border and that border can be used for a continuous join-as-you-go for all your “spots”. I prefer to use a method like that for joining all my motifs, rather than sewing them together. I’ll have more about that next month.
Another option for joining your squares is to crochet them together.
The Zipper Join
This join uses a single crochet to join the squares together. You work a single crochet in one square, then in the other square that you are joining. You repeat alternating which square you work into. You can chose to skip stitches to allow the seam to lay flat, or can work in every stitch to get a raised decorative ridge. Either one of these methods are usually worked on the Right Side of your project as they tend to be a design feature.
The Slip Stitch Join
This join is usually worked on the Wrong Side of your project. Slip stitches used for joining need to be a bit loosier than what you would use to join rounds in your motifs. You may need to go up a couple of sizes in your hook if your slip stitch tension tends to be tight.
Hold your 2 squares you are joining Right Sides facing, then bring your hook thru the edge stitches using the back loop of the first square and front loop of the second square. Work this way across the side of the squares until reaching the end. Generally you want to work one slip stitching into the corner chain spaces.
With either of the crochet joins you can create a full strip by carefully matching your squares stitches in one direction then skipping over or working around those seams when you go in the opposite direction.
I’m a designer. Which means I am always fiddling with design ideas. A few weeks ago I posted a pattern for a little square motif that I created rather quickly one evening at a party.
I’ve been re-thinking that design since then. There were a few things I wasn’t completely satisfied with. I liked the openness of the round center, but the center circles in the original inspiration photo were a bit more solid and there was a hint of texture. My pattern was also making the center more hexagonal than circular.
The round of stitches that I used to go from circle to square, were not squaring up as nicely as I wanted. Once the final round of single crochets were added it was fairly square but, being the recovering perfectionist I am, I knew I could make them better. Plus I had an idea in mind of a join-as-you go approach for the center circles using the squaring round. More about that later though.
This part of design work requires a lot of tearing out at times. I made 5 different attempts before I was happy with this approach. I hope you will like it too.
Hot Spot Square copyright 2015 M2HDesigns/Andee Graves
With this design the center circle is a little bit bigger and it can be stiffer. So you may want to try a few using different sized hooks with your yarn of choice to get the amount of movement and drape you want in your fabric. I’ve noticed that the fabric with the smaller hook will be especially stiffer with 100% acrylic yarns, you may want to go up as large as a size L (8mm) hook with those yarns.
Hot Spot Square (Annetta Square #2)
Designed by Andee Graves
Skill level: Intermediate
Finished Size:
Approximately 3.75” square
Materials:
Yarn
Worsted wt (Sample uses Lion Brand Heartland)
Yardage amounts allow for 6 inch beginning and ending tails
Center Circle (Rnds 1-4): 10 yards
Squaring Rnd (Rnd 5): 6 yards
Hook
K / 6.5mm
Notions
Yarn/tapestry needle
Gauge:
First 4 rounds of pattern = 3.25” in diameter
Special Stitches:
3 double crochet cluster st (Cl): (YO, insert hook in indicated st or sp, YO pull up a loop, YO pull thru 2 loops on hook) 3 times, YO pull thru remaining 3 loops on hook. (If you are having difficulty with the cluster stitches you can find a photo-tutorial on my post: Crochet & Springtime)
Beginning 3 dc cluster st (Beg Cl): Ch 2, (YO, insert hook in indicated st or sp, YO pull up a loop, YO pull thru 2 loops on hook) 2 times, YO pull thru remaining 3 loops on hook.
Pattern Notes:
Start square with an adjustable slip knot. Beginning tail tightens the loop on the hook.
Instructions
Rnd 1: Starting with adjustable slip knot, ch 2, 6 sc in 2nd ch from hook, sl st to first sc of Rnd. [6 sc]
Rnd 2: Ch 1, 2 sc in same st as join, 2 sc in next 5 sts, sl st to first sc of Rnd. [12 sc]
Rnd 3: Beg Cl in same st as join, (ch 1, Cl in next st) 11 times, ch 1, sl st to top of Beg Cl. [12 ch-1 sp, 12 Cl]
Rnd 4: Ch 1, (3 sc in next ch-1 sp) 12 times, sl st to first sc of Rnd. [36 sc]
Change color here to get circle in square look
Rnd 5: Ch 1, sc next st,(*hdc next 2 sts, (hdc, dc) next st, (dc, ch 2, dc) next st, (dc, hdc) next st, hdc next 2 sts,* sc next 2 sts) 3 times; Repeat from * to * once, sc next st, sl st to first sc of Rnd. [8 sc, 24 hdc, 16 dc, 4 ch-2 spcs]
Fasten off. Weave in ends being sure to tighten beginning tail to close center of circle.
April is National Stress Awareness Month, so today I thought it appropriate to share a story that I’ve never told on the blog. Last week was the celebration of my youngest son’s 9th birthday. And it got me thinking about how strange my journey to motherhood was. The short version is 8 years, 7 pregnancies and 2 healthy babies.
I had my boys a bit later than is the national average for motherhood in the USA, and quite a bit later in life for the average globally. Some of that delay was planned and some of it was a surprise.
When my husband and I met I was just beginning to attend school to become a medical massage therapist. So we didn’t want to start our family until I graduated. Once I graduated though, we were ready to begin our family.
I got a job with a local massage therapy office and began to work steadily. Just shortly after Christmas that year I discovered I was pregnant, 4 days later I lost the pregnancy. I had worried about being able to get pregnant, I had never considered the option of loosing a pregnancy. I was devastated.
Unfortunately this wasn’t going to be the only time this happened. I had 3 more pregnancies over the next 2 years that didn’t work out. My husband and I went thru tests and looked at various options for fertility treatment. But after a lot of research and discussion we decided that we wouldn’t do anything other than the diagnostic tests we had already done.
Mixed in among this rollercoaster ride of trying to have a baby was my return to crochet. I crocheted a lot as I stayed up late wondering if I would ever be a mother. I crocheted afghans for friends and family for Christmas, birthdays and other holidays, plus miles of scarves for charity. The hours of simple soothing stitches helped ease some of my heartache and gave me space to just be and not have to explain my sorrow to others.
When I wasn’t crocheting or working at the massage office, I was in my art studio. At that time I was working a lot with polymer clay. I was interested in doll making and of course primitive fertility images. I hadn’t reached my “Ah Ha!” moment where I would be adding crochet to my artwork yet. I created a number of images that I made molds for and then played with the plethora of color options available in polymer clay.
In the Spring of 2002 I became an Aunt for the 3rd time. My youngest sister had a baby boy and we were excited to meet him. We went to Kansas for his christening in April and I spent as much time holding this wonderful little fellow as I could. I told my sister I would just be the auntie that spoils her nephew rotten, since it looked like being a mother wasn’t in the cards.
We were leaving late that May for a 6 week-long trip to the United Kingdom and France. Part of the trip was for my husband’s work and the rest was for us to play tourist. I was taking an indefinite leave-of-absence from the massage office. I had also begun the lengthy process of filling out paperwork to return to college, I was going to tackle getting my pre-med degree to become a pediatrician. If I couldn’t have kids of my own, I would help take care of other people’s children.
Finally I had the house ready for our sitter and all our pets were with their care-givers. I hopped on a plane and flew to Manchester, England to join my husband. He had been there for over a week already. When I got there I was exhausted. Long flight plus very little sleep as I prepped for the trip. 2 days later I was still exhausted and a little suspicion had begun to niggle me. 5 days into the trip I finally caved in and purchased a test kit from the local pharmacy. Sure enough, I was pregnant.
This time was different though. I was the classic ill in the morning and tenderness in my body. A phone call back to the States to speak to my doctor was a big comfort when she reassured me that the symptoms I was having were all positive signs. We still managed to enjoy our trip, but I was a little worried.
When we returned home one of the first things we did was go to the doctors office for a check-up. The nurse did an ultrasound to determine how far along I really was, since my cycle calendar was a mess with all the traveling. They told me I was past 10 weeks and that it would be very rare for me to miscarry at this point.
When we got home that day I went to my yarn stash and took out some cotton yarn that I had been saving to make a blanket for “my” baby. I felt a little superstitious but wanted to make this blanket, plus I really needed a crochet project to calm myself. I think this is the first time I consciously realized that crocheting was my way of maintaining my mental health.
I made a simple oversized granny square for this blanket. I worked on it steadily for about 2 months and when my baby boy was born in January of 2003 I wrapped him up in his blanket.
I continued to crochet after his arrival, though not as frequently and sometimes I only had time for a row or 2 each evening. But I now knew that crochet was a wonderful way for me to manage stress, and I knew I was a happier person when I crocheted.
Life kept rolling along and after another miscarriage I had a second baby. By this time though I knew how important crafting and in particular crochet was for taking care of myself. In the picture above I was crocheting an afghan for my mom’s Christmas present, cuddling with my almost 4-year old and the baby #2 (also known as “the Bean”) was sleeping in his basket in front of me.
Even now with my busy crochet design and teaching schedule I try to always have a crochet project going that lets me just relax and unwind. For me lately that is usually hats; relaxing crochet and the joy of finishing a project pretty quickly.
The Craft Yarn Council released a video about the stress reducing effects of playing with yarn called “Stitch Away Stress” in honor of April being National Stress Awareness Month. Their video focuses a little more on knitting, but crochet is in there too. You can check it out here. Visit the webpage at the Craft Yarn Council to find even more fun facts about the stress reducing effects of crochet and knitting.
So how about you? Do you find crochet (or knitting) to be your un-winding activity? If you haven’t learnt to crochet or knit, maybe now is the time to do so. It’s a great way to be kind to yourself at the same time you can make something useful.