
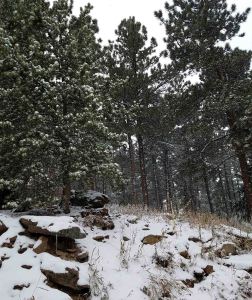
It is Winter up here on my mountain again, though technically it is still Autumn on the calendar. We have had numerous snow storms and a number of days that the temperatures barely crawled above freezing. I’m looking forward to the days of winter when the air sparkles with snowflakes in the sunshine.
I’m happy for the colder weather though, as it has helped me feel more in the mood for Christmas time.
I’m listening to my Christmas music and will be digging out my Christmas movies for watching after we’ve eaten our Thanksgiving dinner. Having gotten into a Christmas mood I’ve decided to get a head start on my Christmas gifts, and especially my gift to all my lovely readers.
Yes, my friends, it is time for a snowflake design again. This year I’m giving us all a bit more time to work on the new snowflakes. That way you can send some out with your Christmas cards if you want.
Not only do I have a pattern for you, but I am also including a photo tutorial on stiffening your snowflakes. Pattern first, since you’ll need some snowflakes to work with.

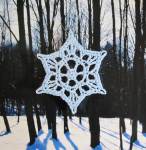
Sparkling Ice Snowflake
Designed by Andee Graves
Skill level: Easy
Materials:
Size 3 Cotton Crochet Thread with hook size: B (2.25mm)
Size 10 Cotton Crochet Thread with hook size: Steel 0 (1.75mm)
Notions
Tapestry needle for weaving in ends
Gauge
Gauge is not critical to this project.
Instructions
Rnd 1: Starting with Adjustable Slip Knot {if you need help with this technique check out my YouTube Video}, ch 2, 12 sc in second ch from hook, slip st to first sc of Rnd. {12 sc}
Rnd 2: Ch 1, (2 sc in next st, ch 1, skip 1 st) 6 times, slip st to first sc of Rnd. {12 sc, 6 ch-1 sp}
Rnd 3: Ch 1, sc in next 2 sts (ch 6, skip next ch-1 sp, sc in next 2 sts) 5 times, ch 6, skip next ch-1 sp, slip st to first sc of Rnd. {12 sc, 6 ch-6 loops}
Rnd 4: Ch 1, [(sc, hdc, 3 dc, ch 3, 3 dc, hdc, sc) in next ch-6 loop] 6 times, slip st to first sc of Rnd. {12 sc, 12 hdc, 36 dc, 6 ch-3 sp}
Rnd 5: Slip st in next hdc, *sc in next st, ch 3, skip next st, dc in next st, ch 2, (2 dc, ch 1, 2 dc) in ch-3 sp, ch 2, dc in next st, ch 3, skip 1 st, sc in next st,** skip 4 sts*; Repeat from * to * 4 times, Repeat from * to ** once, slip st to first sc of Rnd. Fasten off {12 sc, 30 dc, 6 ch-1 sp, 12 ch-2 sp, 12 ch-3 sp}
Finishing
Weave in all ends. Block snowflake and use favorite stiffening method.
If this snowflake doesn’t please you, I have 3 other snowflake patterns available here on the blog:
 Frozen Star – Pattern available here.
 Lacy Snowflake – Pattern available here for free text instructions only.
Or your can purchase the pattern in my Ravelry shop, this version includes a stitch chart as well as text instructions.
 Little Snowflake Ornament – Pattern available here.
Stiffening Your Snowflakes
When stiffening your snowflakes you want to consider the climate you live in. Especially the humidity of your region will effect what stiffening agent you should choose, as well as how you want to set up your drying area.
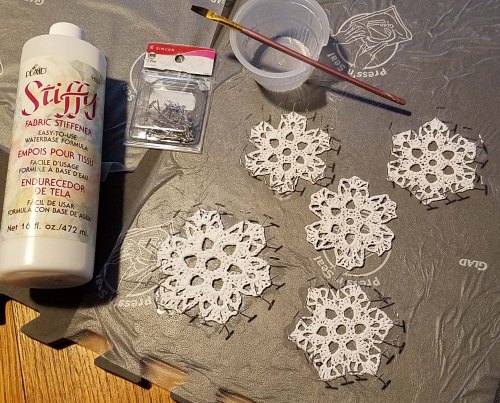
The basic supplies you will need to stiffen your crocheted snowflakes are:
Pins – Nickel-plated or rust proof pins are best, otherwise you can end up with rust marks on your finished snowflakes. My favorites to use are nickel-plated T-pins, Size 16, 1 inch long.
Waterproof (or resistant) Surface – You want to use something that will hold the pins firmly in place and can either be thrown away or washed off. Wax or Parchment paper over cardboard is an affordable option. Afterward the paper goes in the bin and the cardboard can be recycled or re-used if not too punctured. I didn’t have wax paper in the house for this latest batch of snowflakes so I used Press-n-Seal plastic over my surface. I liked using one of my foam blocking board as it held the pins better than cardboard.
Stiffening Agent – This can be anything that is initially wet enough to be absorbed in the cotton of your stitches without obscuring them, and that dries rigid. I use a product I purchase at my local Michaels store called “Stiffy” from the Plaid company (same folks that make Mod Podge), but something like PVA school glue can work too.
Some of the PVA glues are a little too flexible when dry, so if you want a more rigid finished object you can try adding a bit of corn starch to the glue. If your glue is too thick, you can experiment with adding water to thin it. I use distilled water when doing this. I find a very thin liquid to be best for maintaining the stitch definition of my snowflakes.
This post contains affiliate links. I may receive compensation (at no added cost to you) if you make a purchase using these links.
Brush and Bowl – No matter what application method you prefer you will need both of these objects. If you are planning on using the “soak” method you will want a bowl wide enough that your snowflake will fit inside it. For your brush you will want stiff short bristles, that can help get the stiffening solution down into the stitches or help remove excess solution from the pinned snowflake.
Drying Surface – An old towel or a piece of fine metal screening. If you live in a humid climate you really want a drying surface that lets air circulate around your snowflakes, you might even want to use a fan or a blow-dryer on a low setting. I tend to use a dry towel.
Getting Started
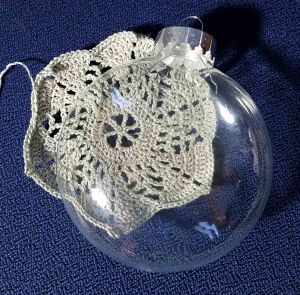
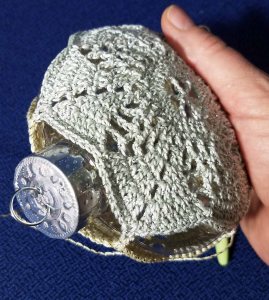
Obviously you first want to crochet your snowflakes, I like to have a pile to work with before I begin the stiffening process. Sometimes I will wet block my snowflakes first. The pinning process is the same as when I am stiffening my snowflakes.
If your snowflake is crocheted tightly and you wet block it with pinning you may have a stable shape without additional stiffening. Or it will hold the shape well enough to just brush on the stiffener without it being pinned. You will want to experiment.
I prefer to use the brush method of applying the stiffener as it helps me keep better stitch definition. If you want to do the soak method you will immerse your snowflake in your solution, then remove it from the solution letting excess drain off. Proceed to pin the snowflake to the desired shape. Once you have the snowflake pinned out, use paper towels to blot off excess solution. Be careful during the blotting that you don’t glue bits of paper towel to your snowflake.
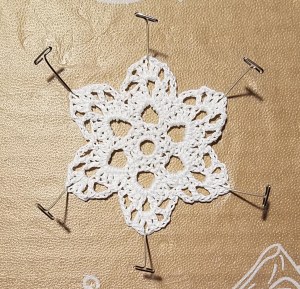
In this demonstration we are trying to get a symmetrical looking snowflake. I approach the pinning like stretching a drumhead (something I learnt from my younger brother, Cy the Drum Guy).

This means securing one point on the snowflake then stretching to the opposite point, continuing to work around the points of the snowflake back and forth.
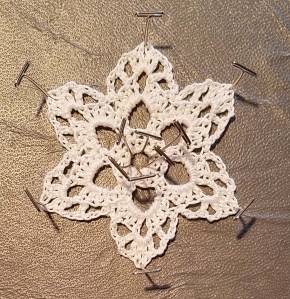
It can be helpful to also place pins in the center of the snowflake after securing the first 2 points. This is especially helpful with really open stitch work, it will keep the other 4 points from pulling it off center. I remove the center pins once I’ve got the 6 points secured.
Then look at the other areas of the snowflake that you might want to open up. This is how you can really change the look of your snowflakes even when they are crocheted from the same pattern.
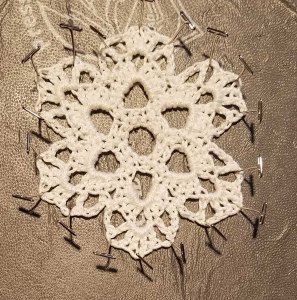
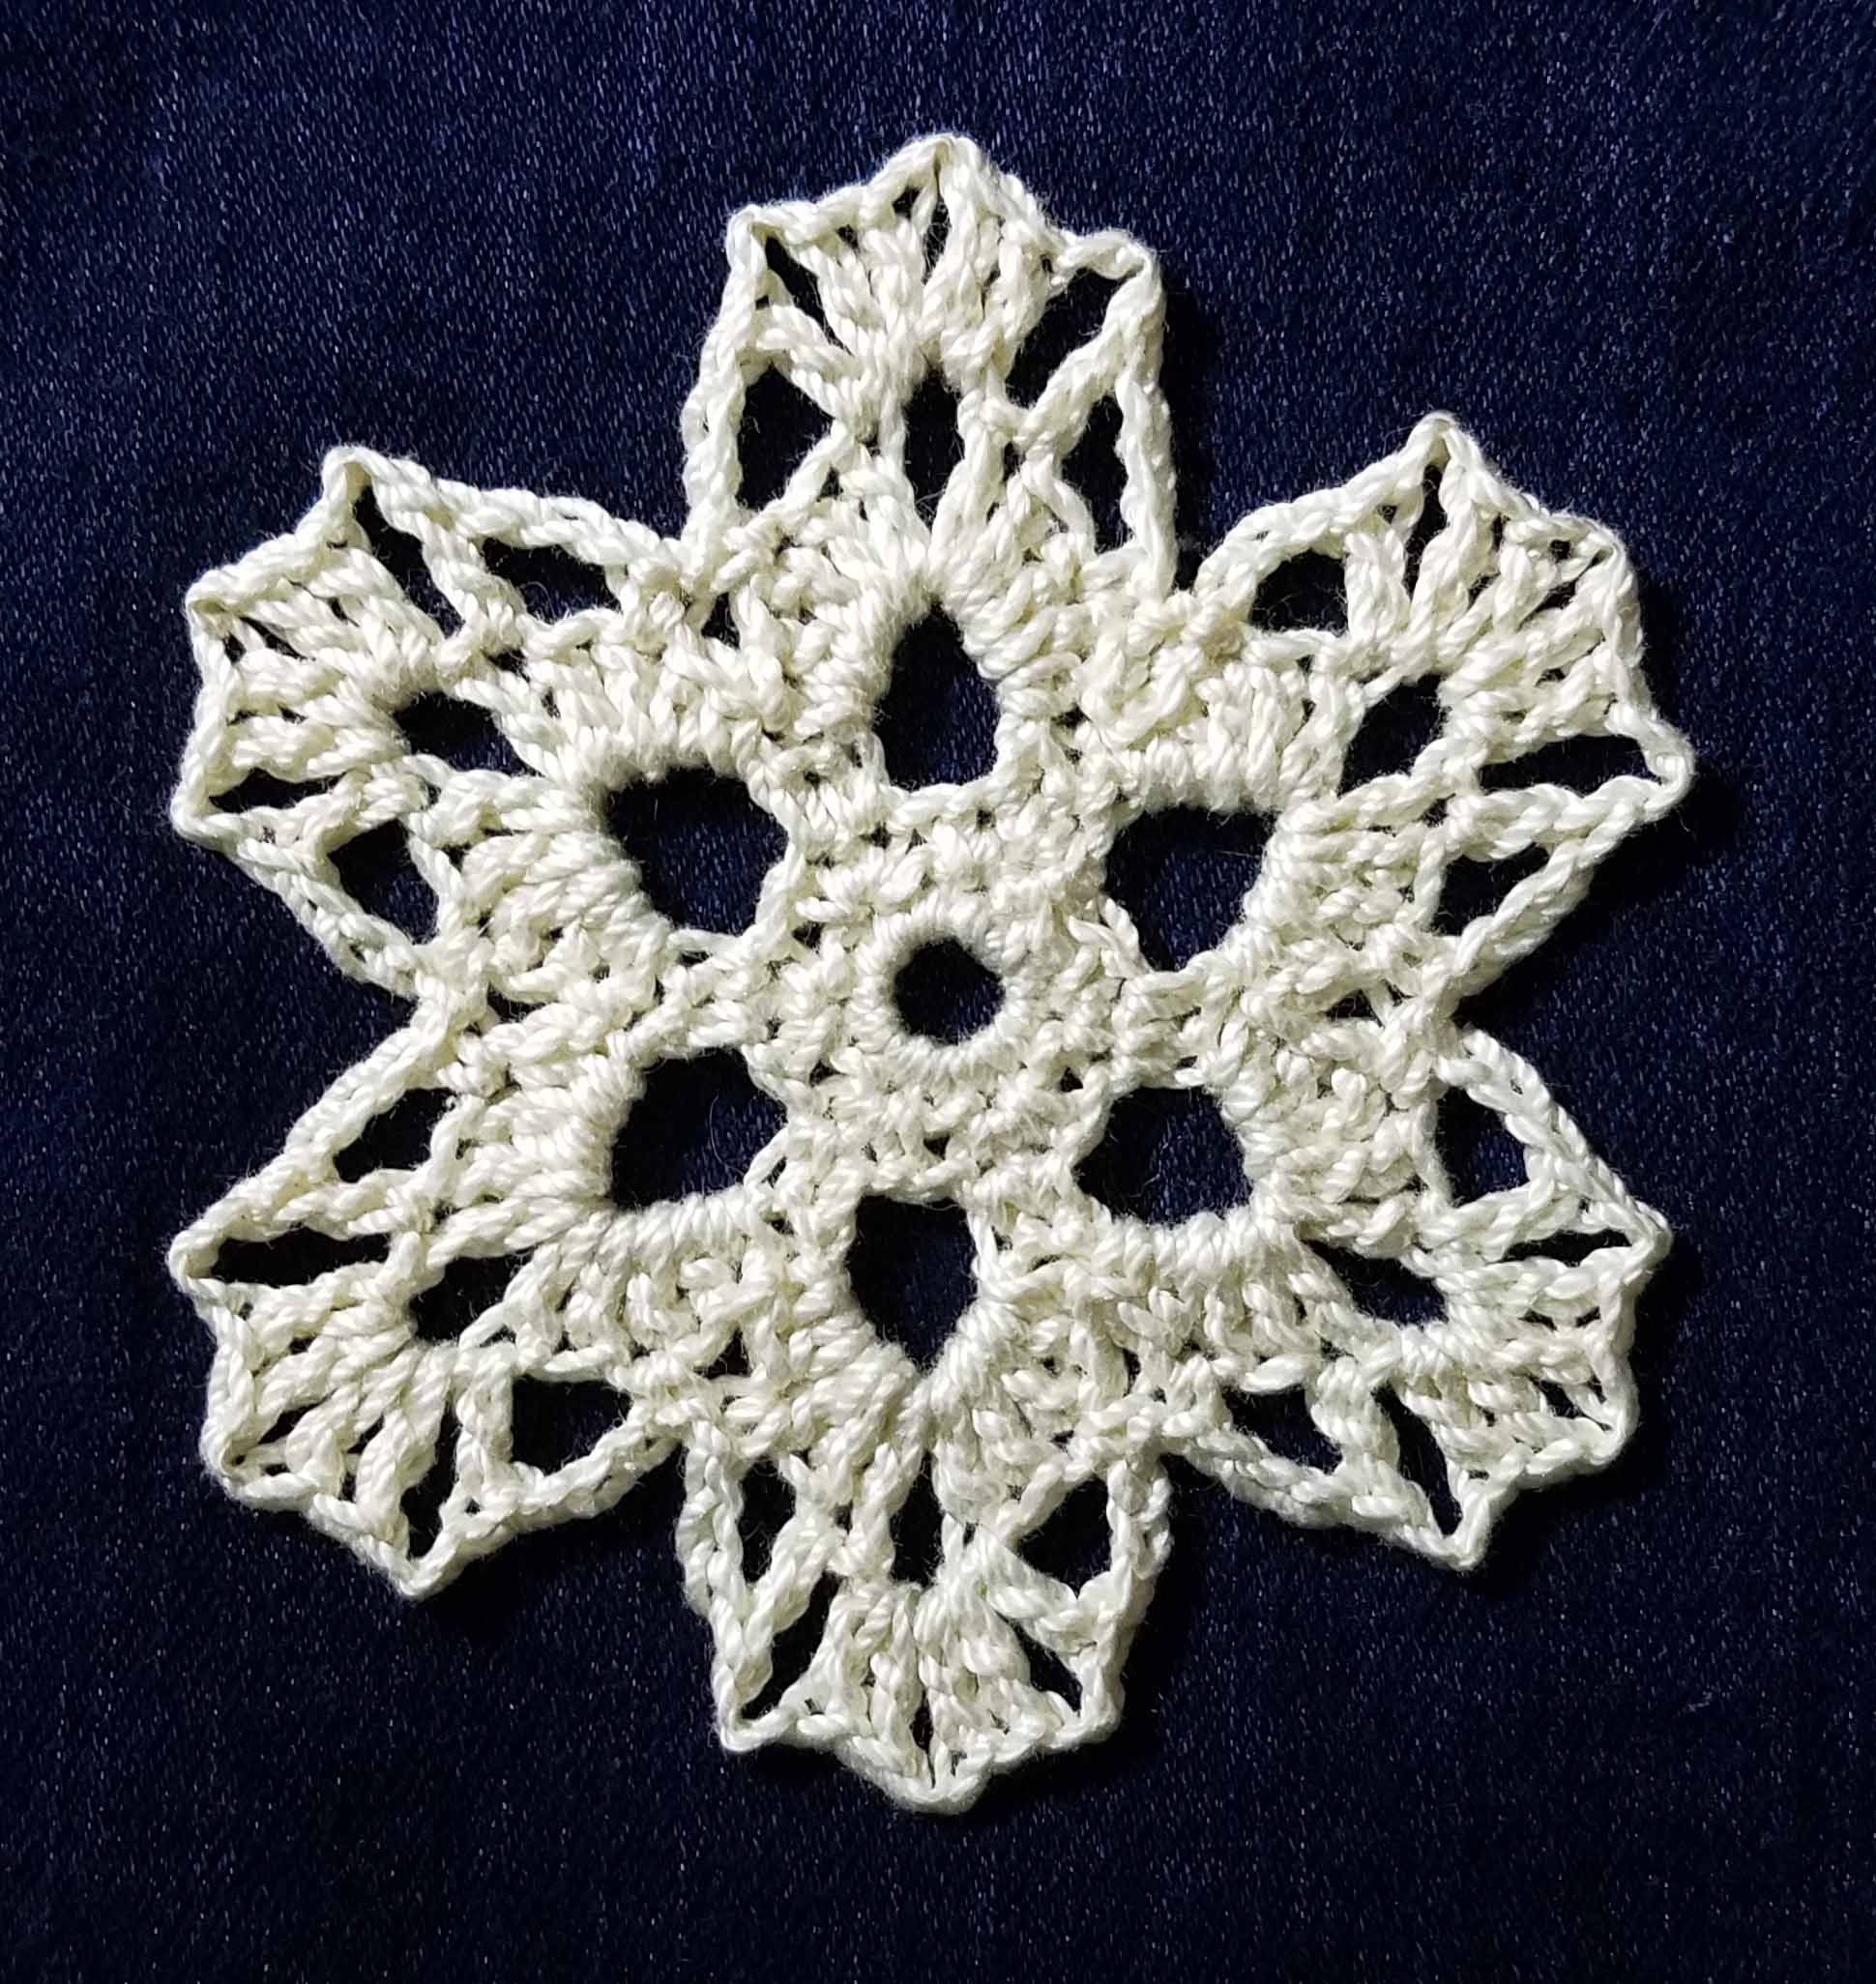
In the case of the Sparkling Ice Snowflake I added 2 pins to each point in the ch-2 spaces to square up the points of the snowflake, or….

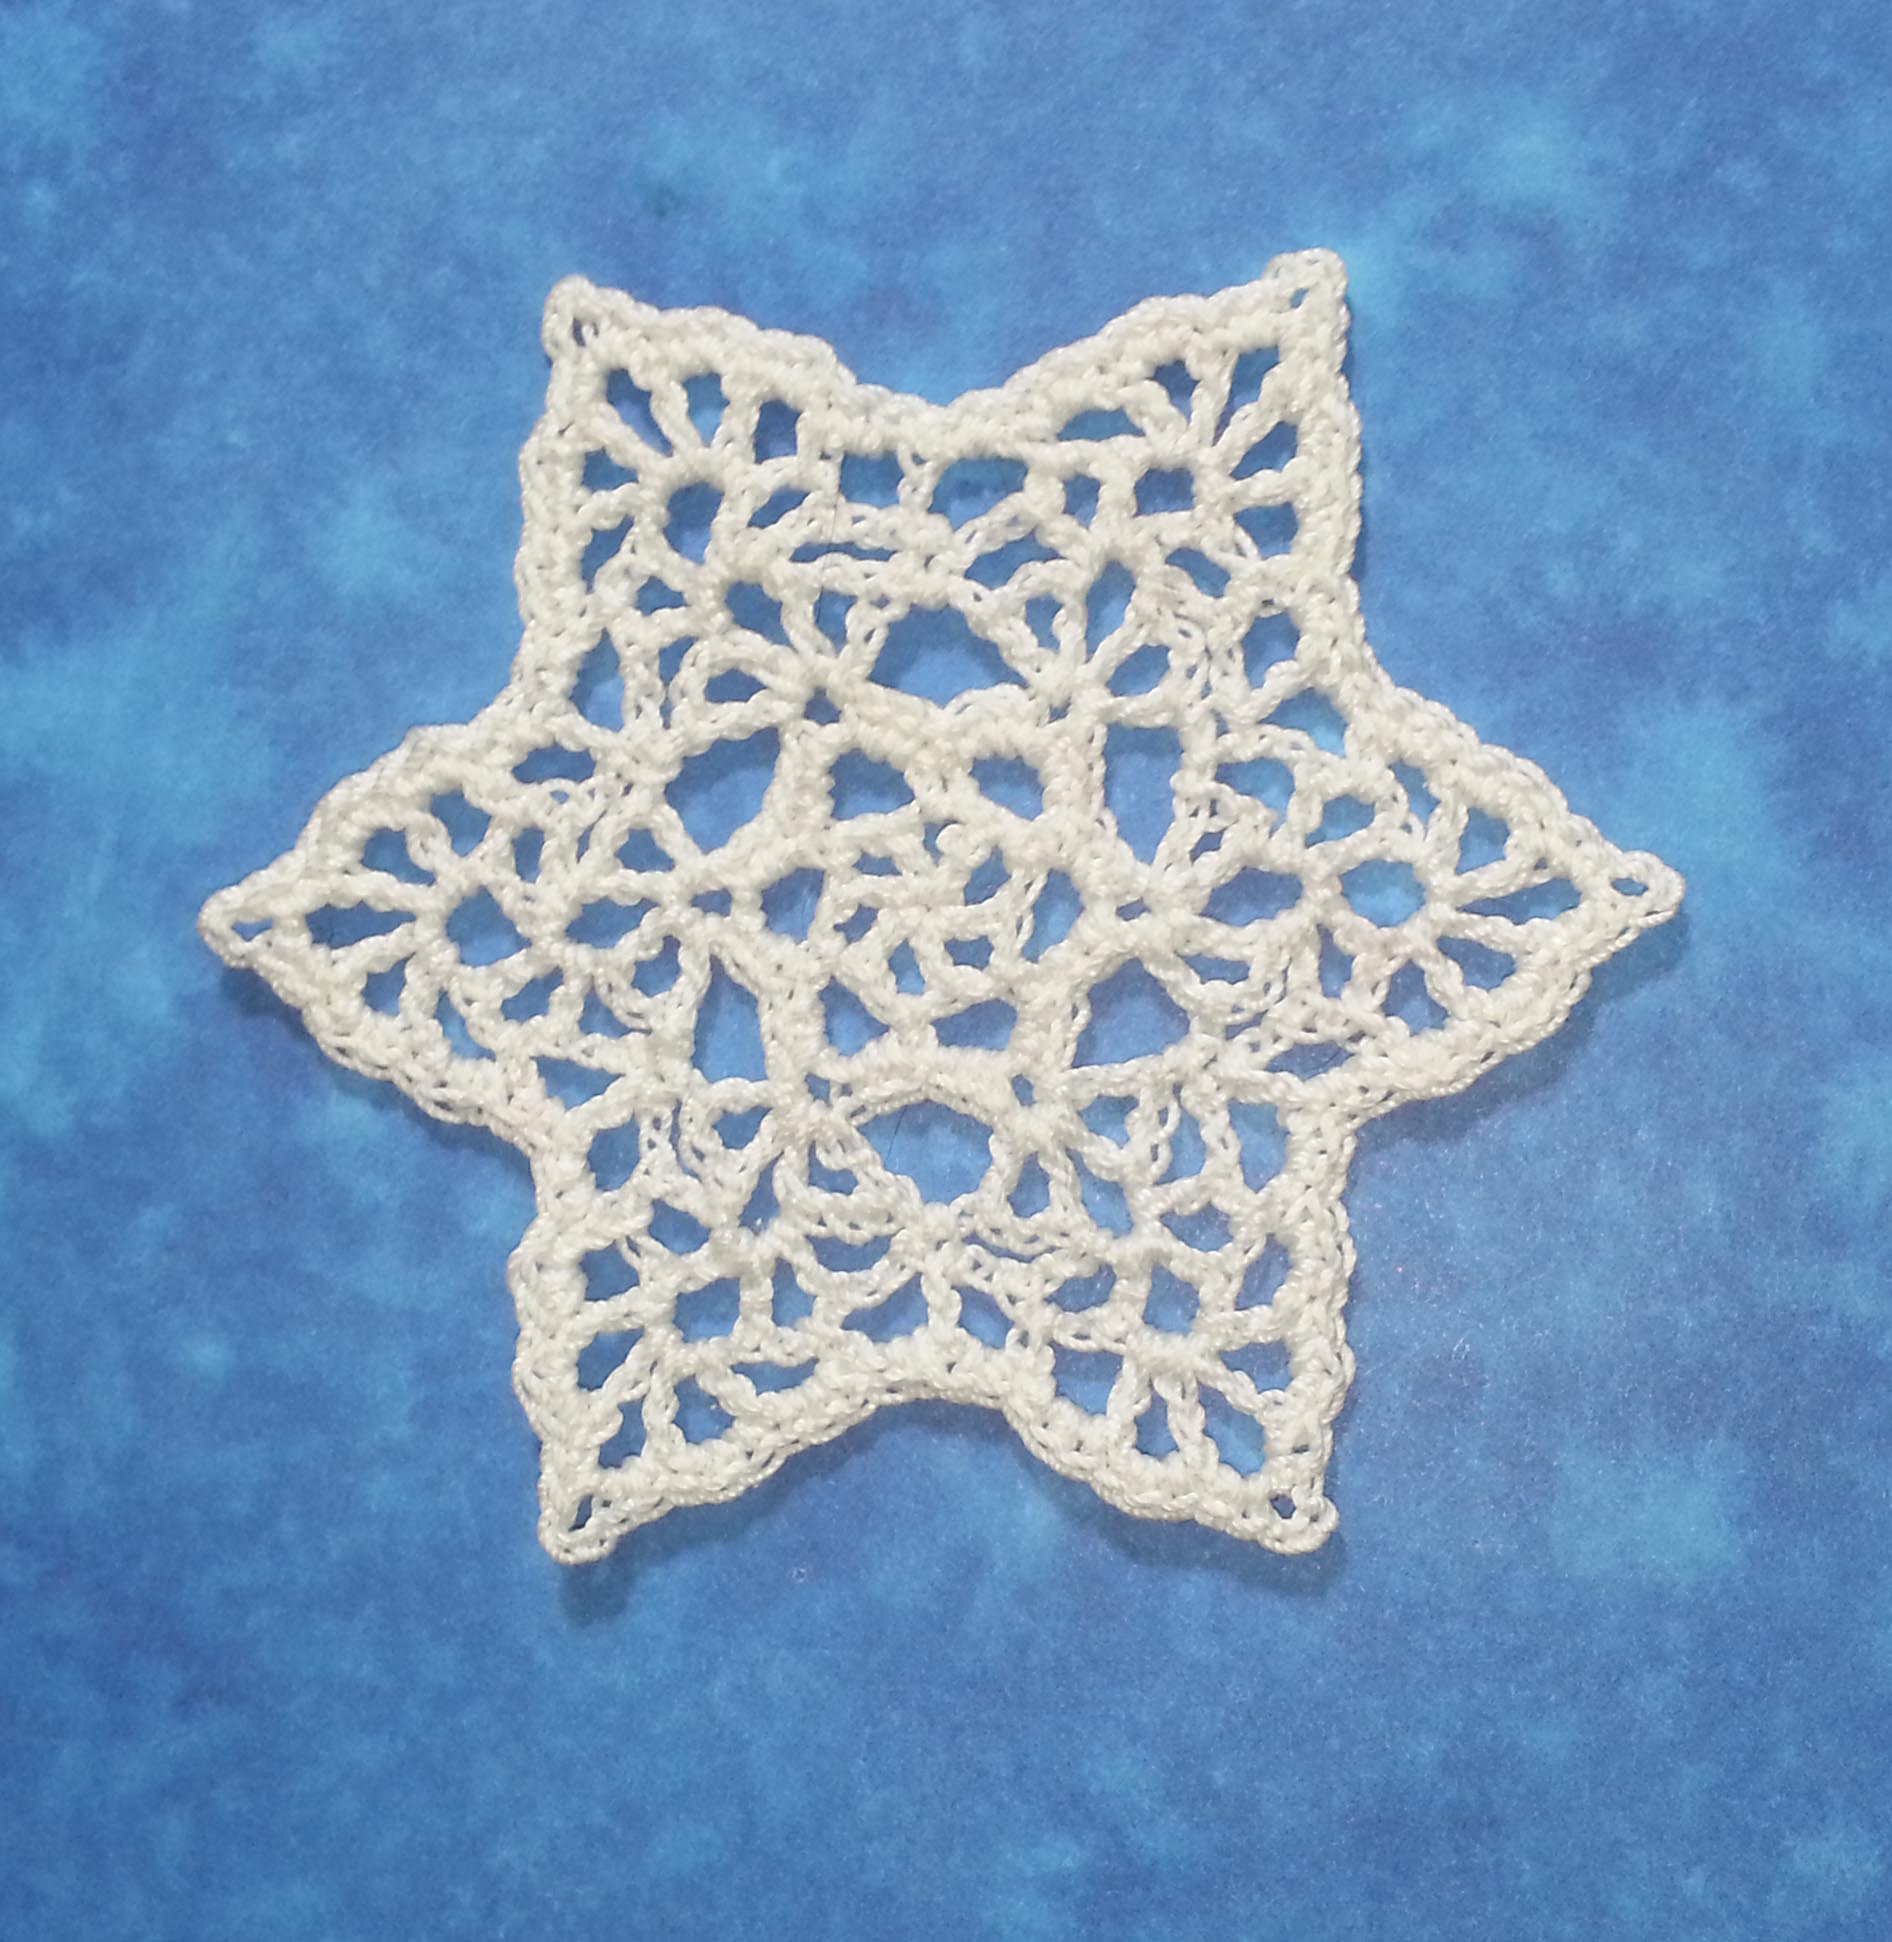
Placing the 2 additional pins in the ch-3 spaces creates a pointed look.
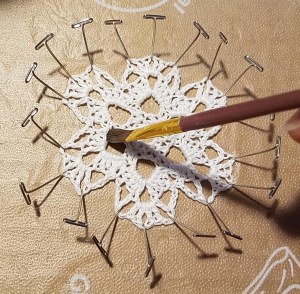
Now it is time to brush on the stiffening solution. I usually pin my snowflakes wrong side facing up and brush on the stiffening solution to set the shape. I keep brushing the solution to help it absorb and get deep into the stitches. Usually your thread will change color enough that you can see where you still need to brush on more solution.
Once the solution is dry I carefully un-pin the snowflake. Usually this isn’t stiff enough to hang, so I will turn over the snowflake and paint the other side of it with a light coating of stiffening solution. The shape of the snowflake is already set though and I don’t pin it in place again.
If you want to add some sparkle to your snowflake this is a good time to add glitter. Sprinkle glitter over the wet surface. Tap off any excess and set aside to finish drying.

I usually move the snowflake to the drying surface after painting on the second coating of stiffener to prevent it from sticking to the work surface. If you are in a humid climate you may want to un-pin and move your snowflake to the drying surface once it is mostly dry and set from the first coat, this will help it dry quicker.

Once your snowflakes are completely dry use ribbon or light weight nylon line to create hangers. I prefer the nylon line because it is nearly invisible. I usually use about 4-6 inches and thread it thru an opening on the edge of the snowflake and tie a knot over the 2 ends.
Have fun making snowflakes.


This post contains affiliate links. I may receive compensation (at no added cost to you) if you make a purchase using these links.


