Another Happy Birthday

Maple Leaves

I can’t believe it, but another birthday has come and gone. Now it really feels like Fall.

It was a great birthday, I spent the day with my family. We went to a photo studio and had some really nice pictures taken of the 4 of us, as well as a couple of just the boys. Next we headed down to the Denver Museum of Nature and Science. We explored the new Whale Exhibit and saw the Imax movie “Journey to the South Pacific” which had some awesome under water footage. Afterward we headed home and stopped for dinner at a nice restaurant.

Barn and Pumpkins 3

Now Halloween is just around the corner with the Thanksgiving and Christmas holidays not far behind. That has me thinking about my gift list and sending off Christmas/New Years cards and letters.

If you are making gifts for folks this year you might find the following pattern helpful. I love getting homemade jams and jellies at Christmas time, and I’m always impressed with the various presentations. Got me thinking though about ways of creating a gift that would still serve a purpose after all the yummy stuff is eaten.

Crochet Chain Tie

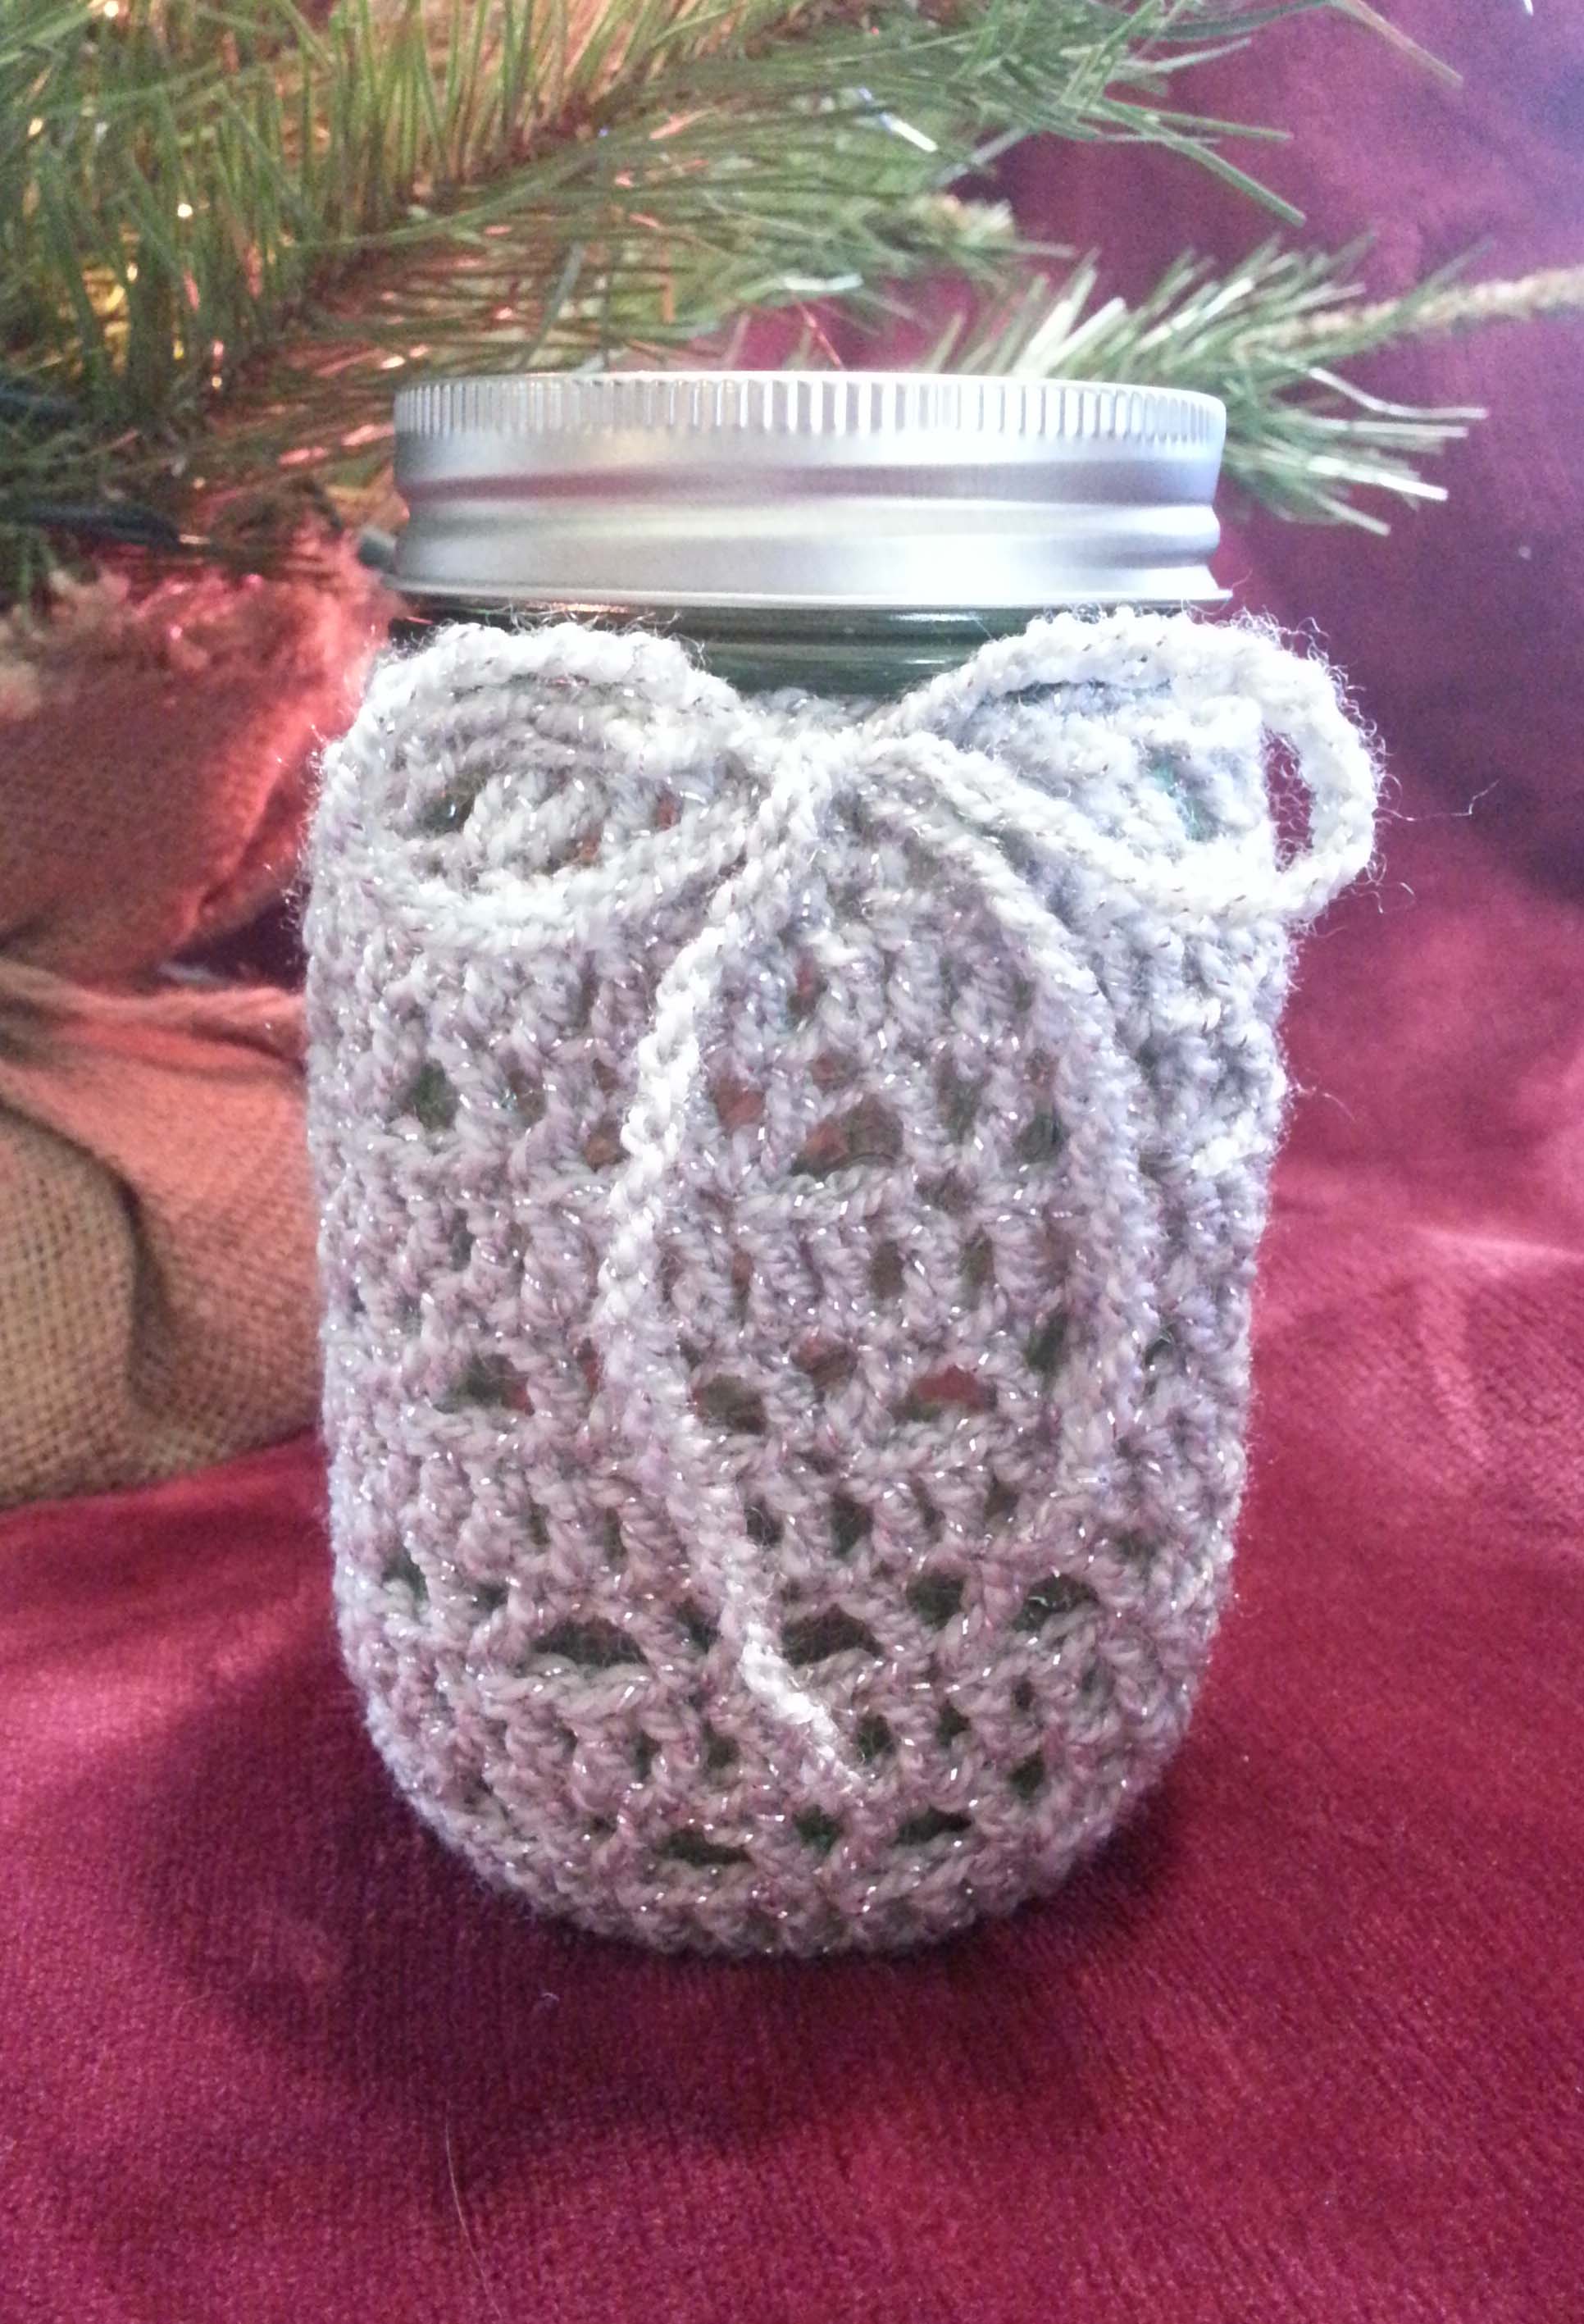
I came up with a jar cover. Once all the jam or jelly is gone you still have a pretty jar that can be used to send out your own home-made goodies, or you can remove the little cover and use it as a bag.

Ribbon Tie

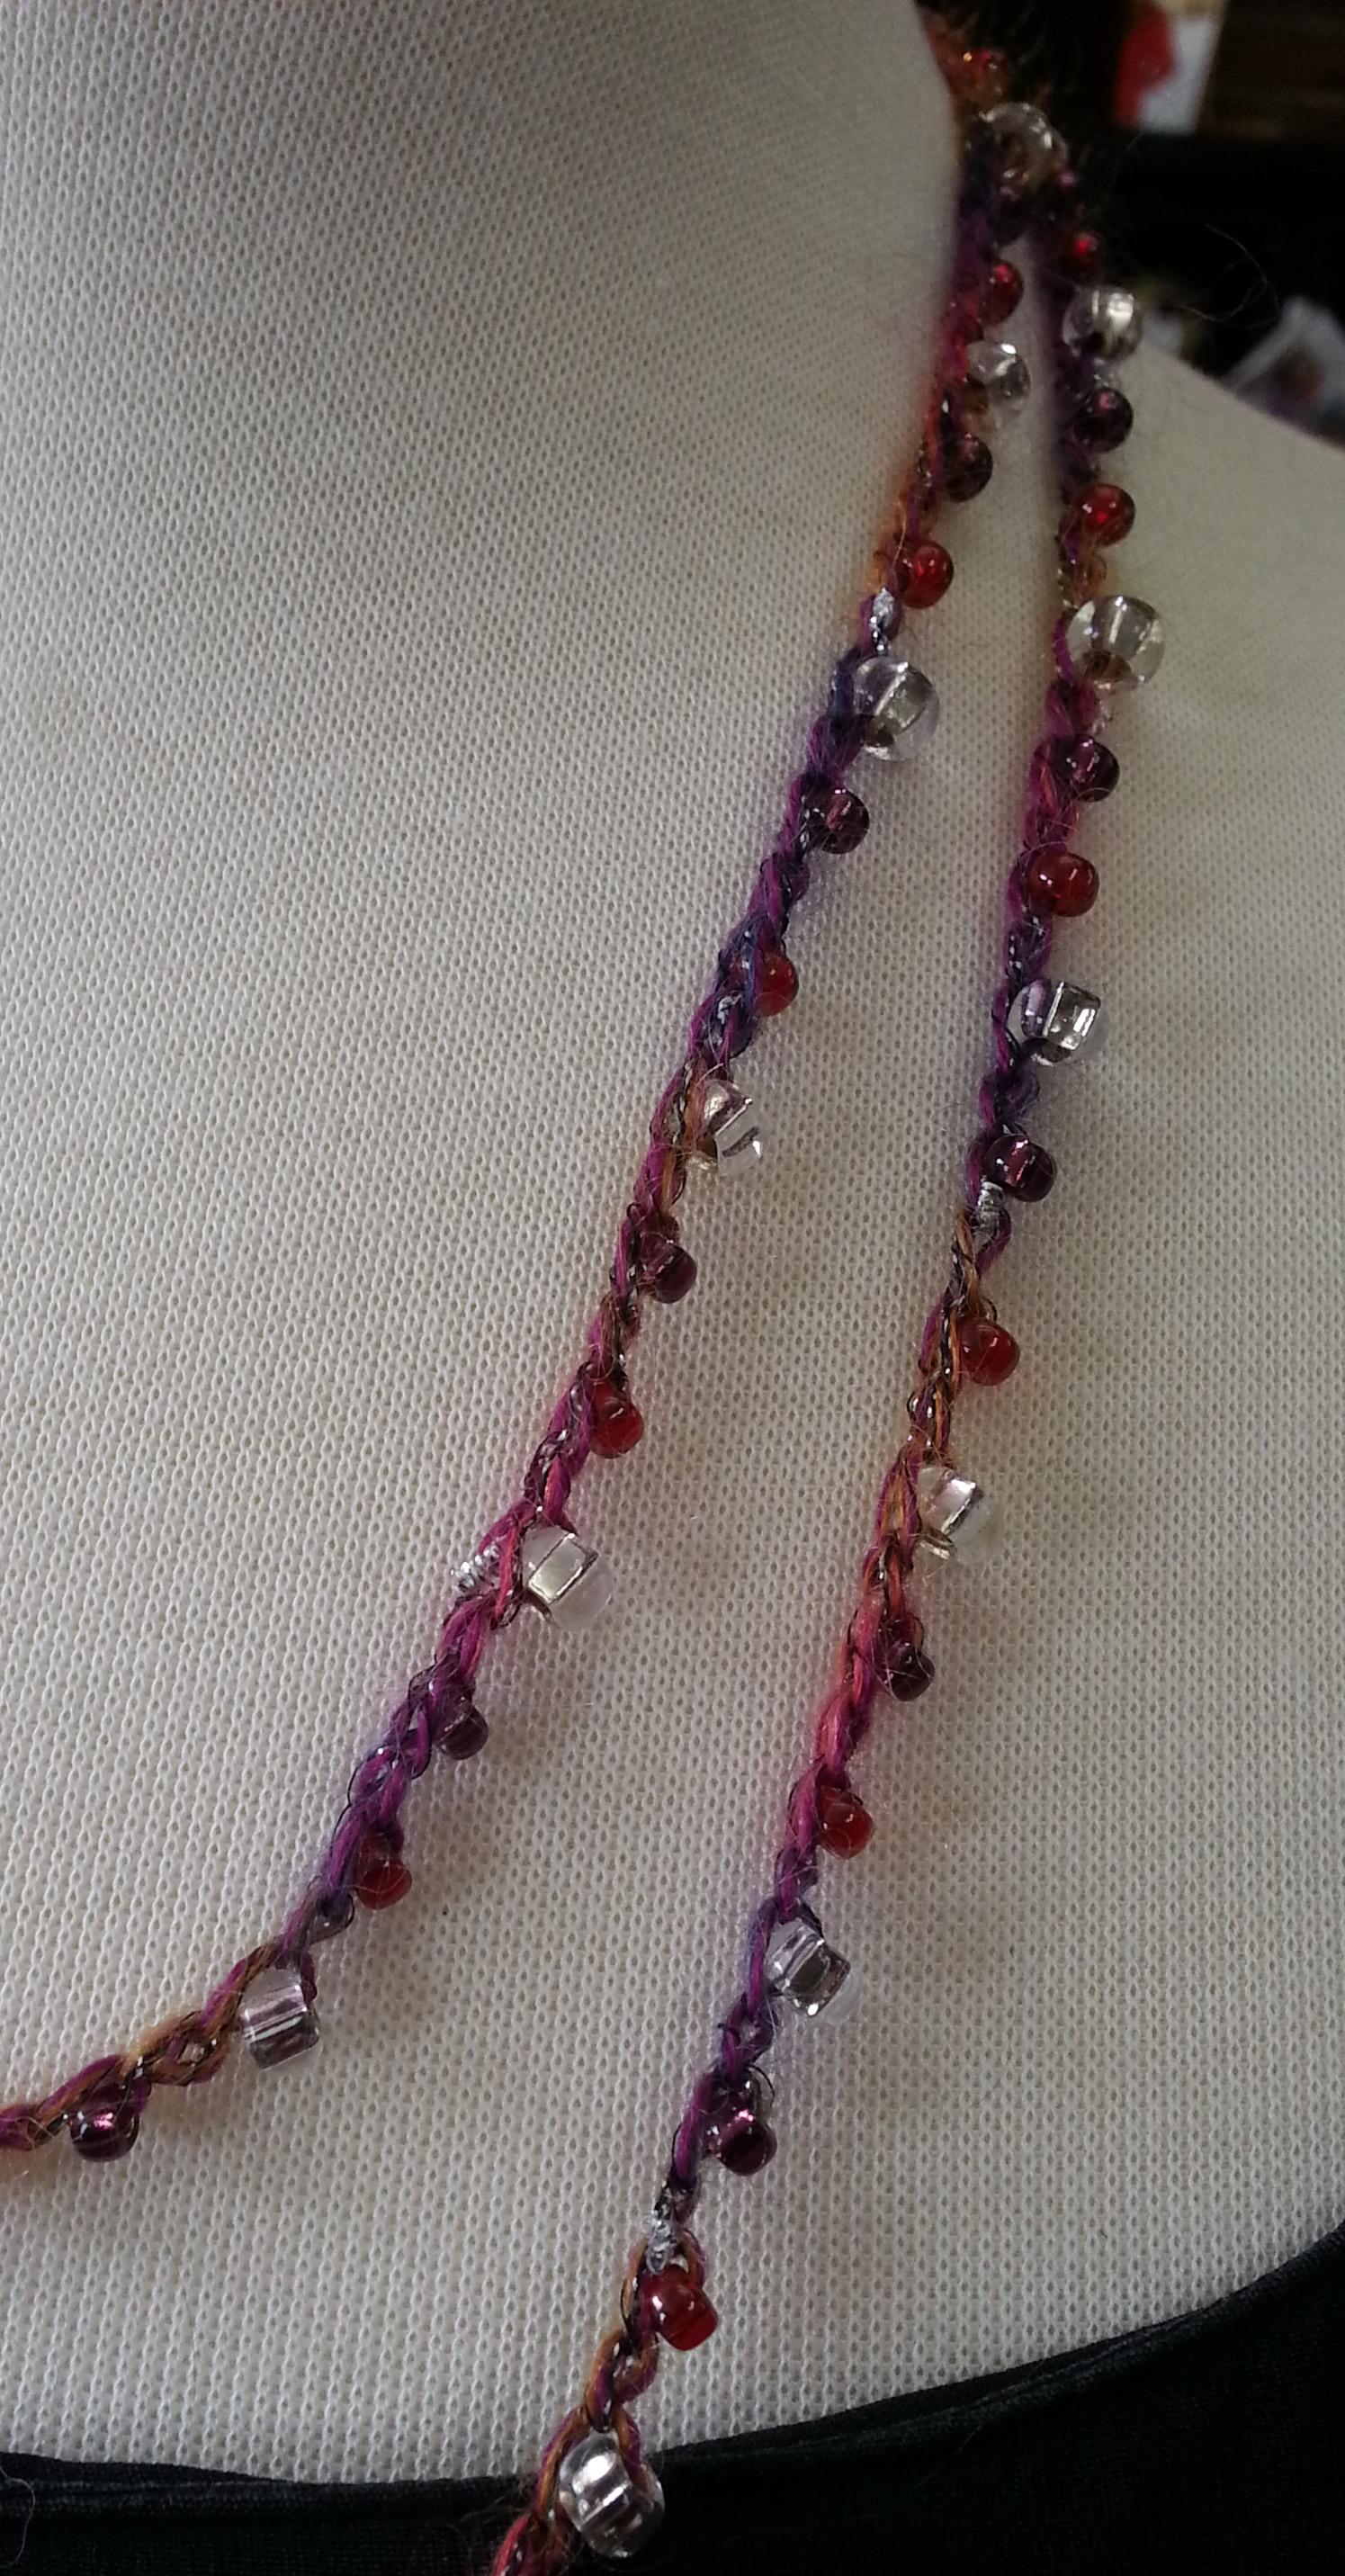
The tie for the cover can be crocheted or you can dress it up further by using a satin ribbon. In this example I used a 32 inch length of 1 1/2 inch wide ribbon.

SPARKLY JAR COVER

FINISHED MEASUREMENTS

Jar Cover is 9”/ 22.5cm around x 5 1/4“/13.125cm long.

Fits a Pint size Mason Jar

YARN

Lion Brand Yarns, Vanna’s Glamour (96% Acrylic, 4% Metallic Polyester), 1.75oz/50g, 202 yds/185m

Color used for sample is: #150 Platinum, approximately 12g/49 yards were used for sample
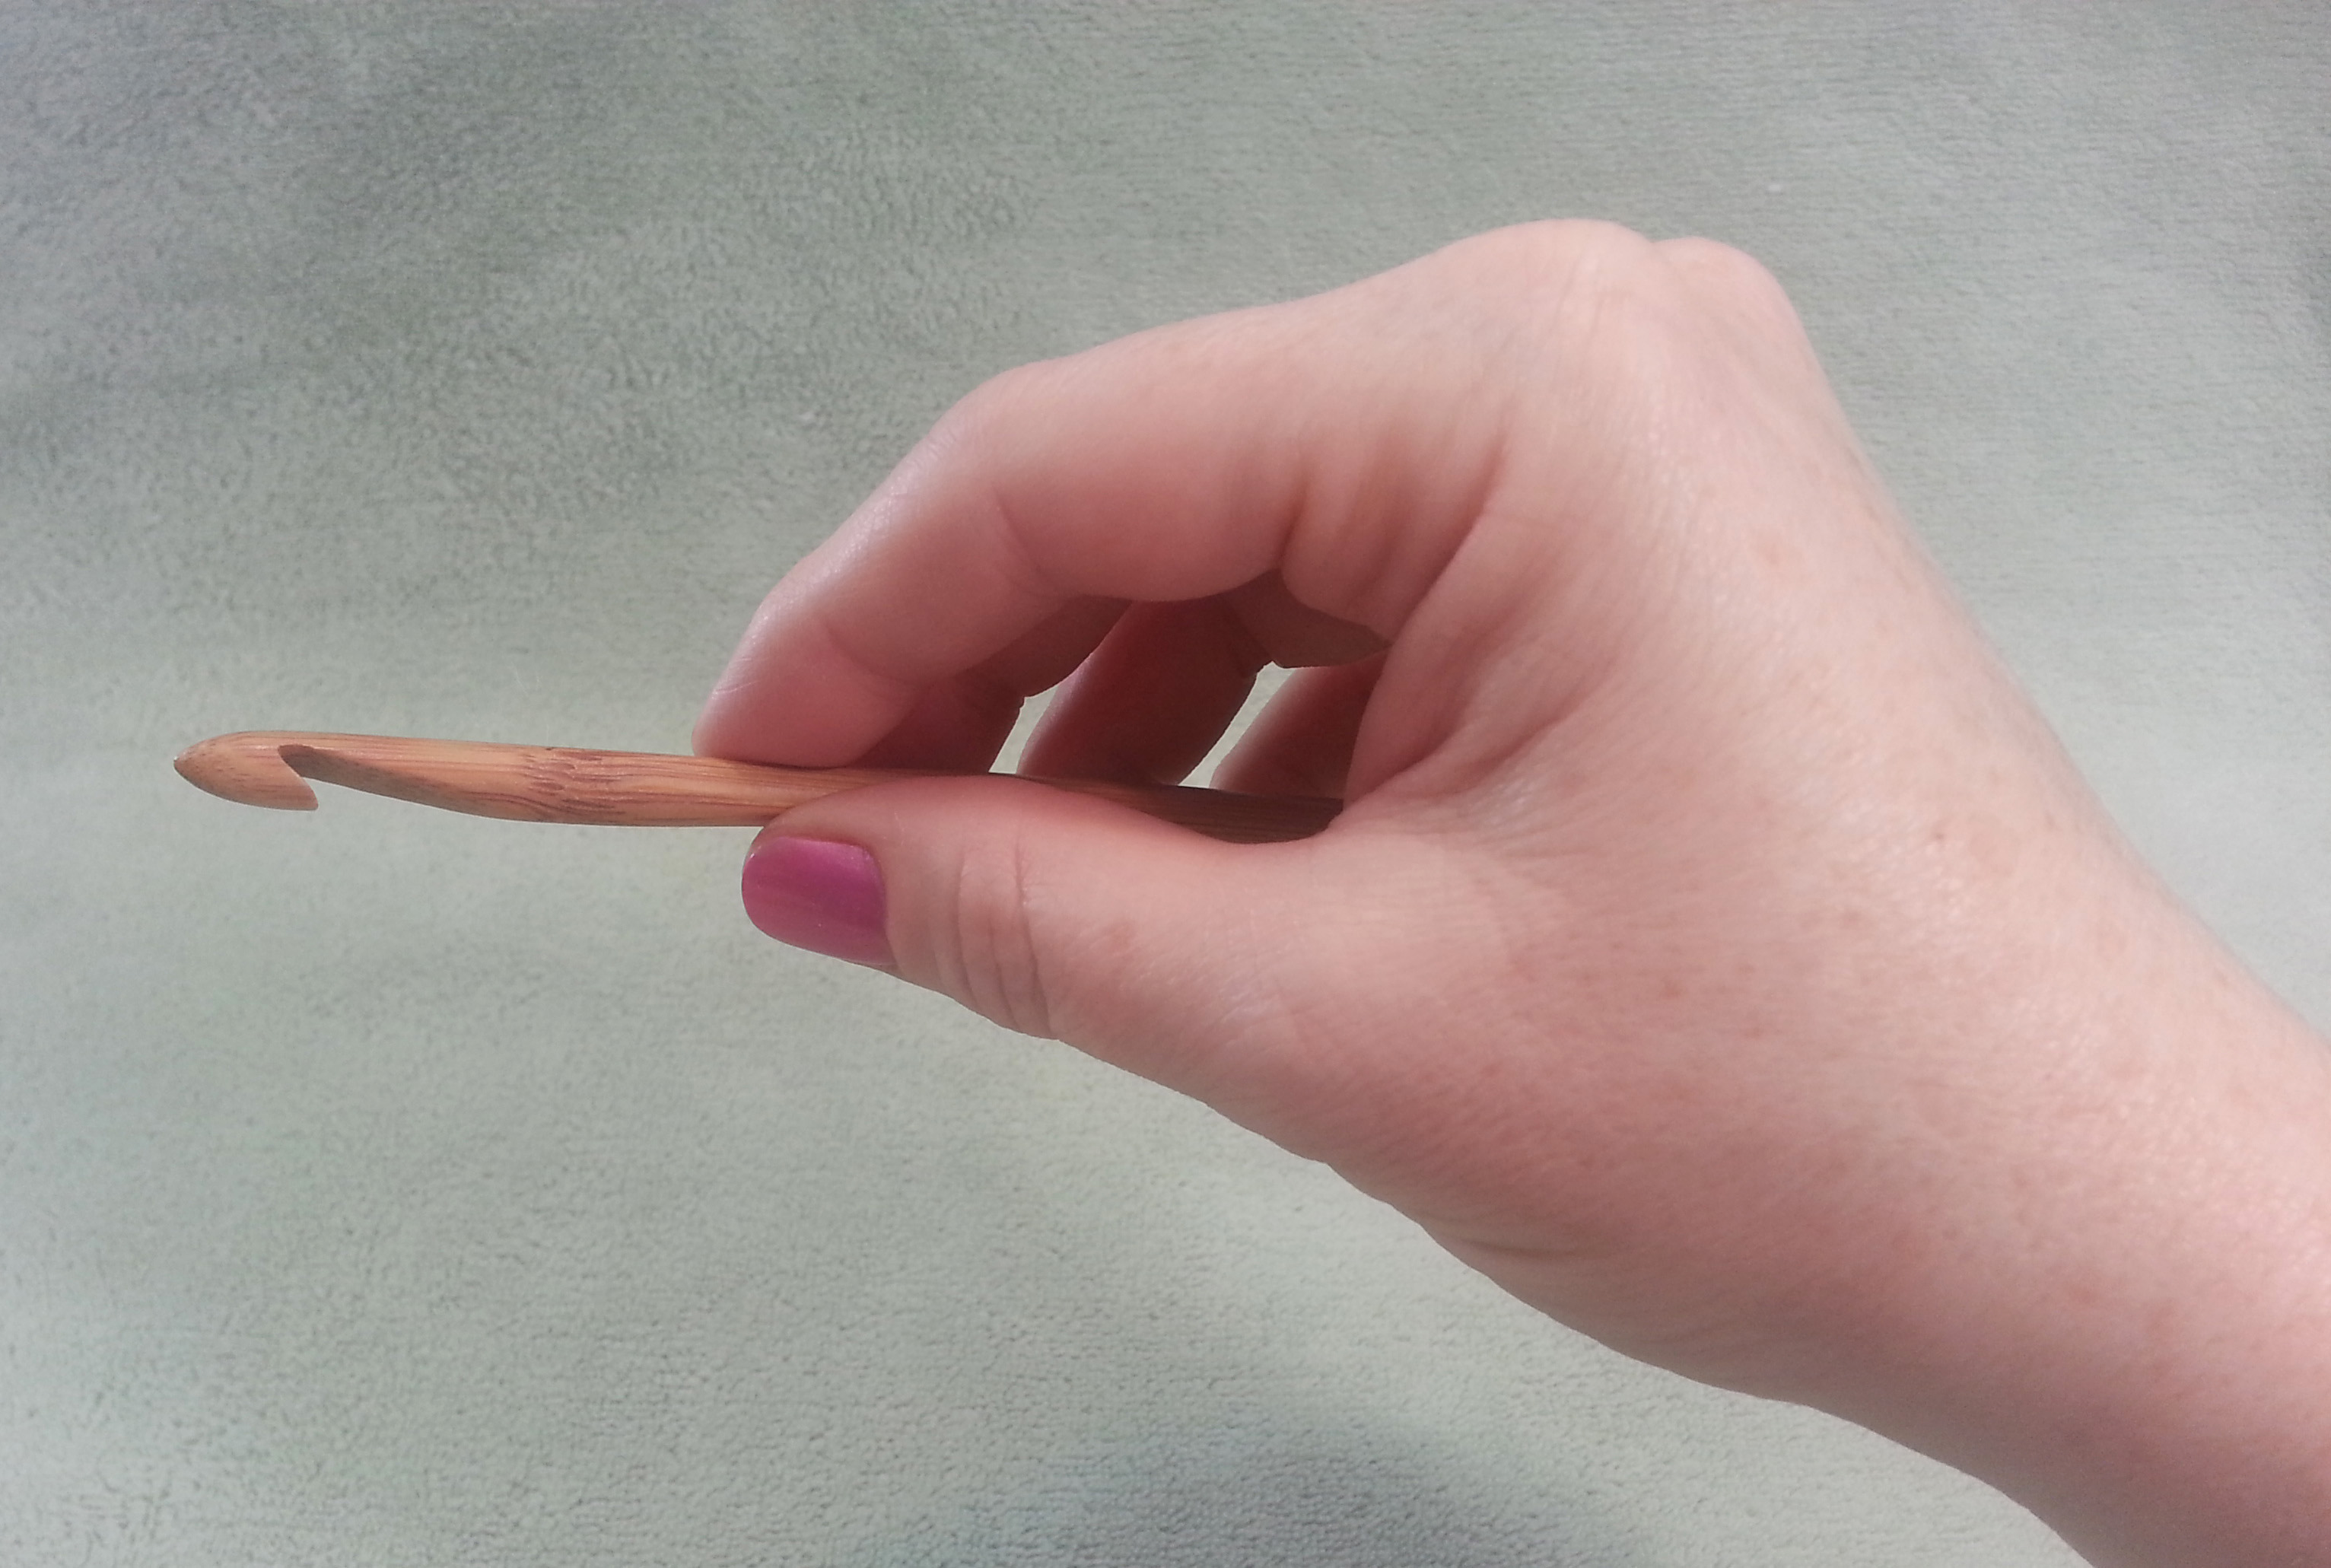
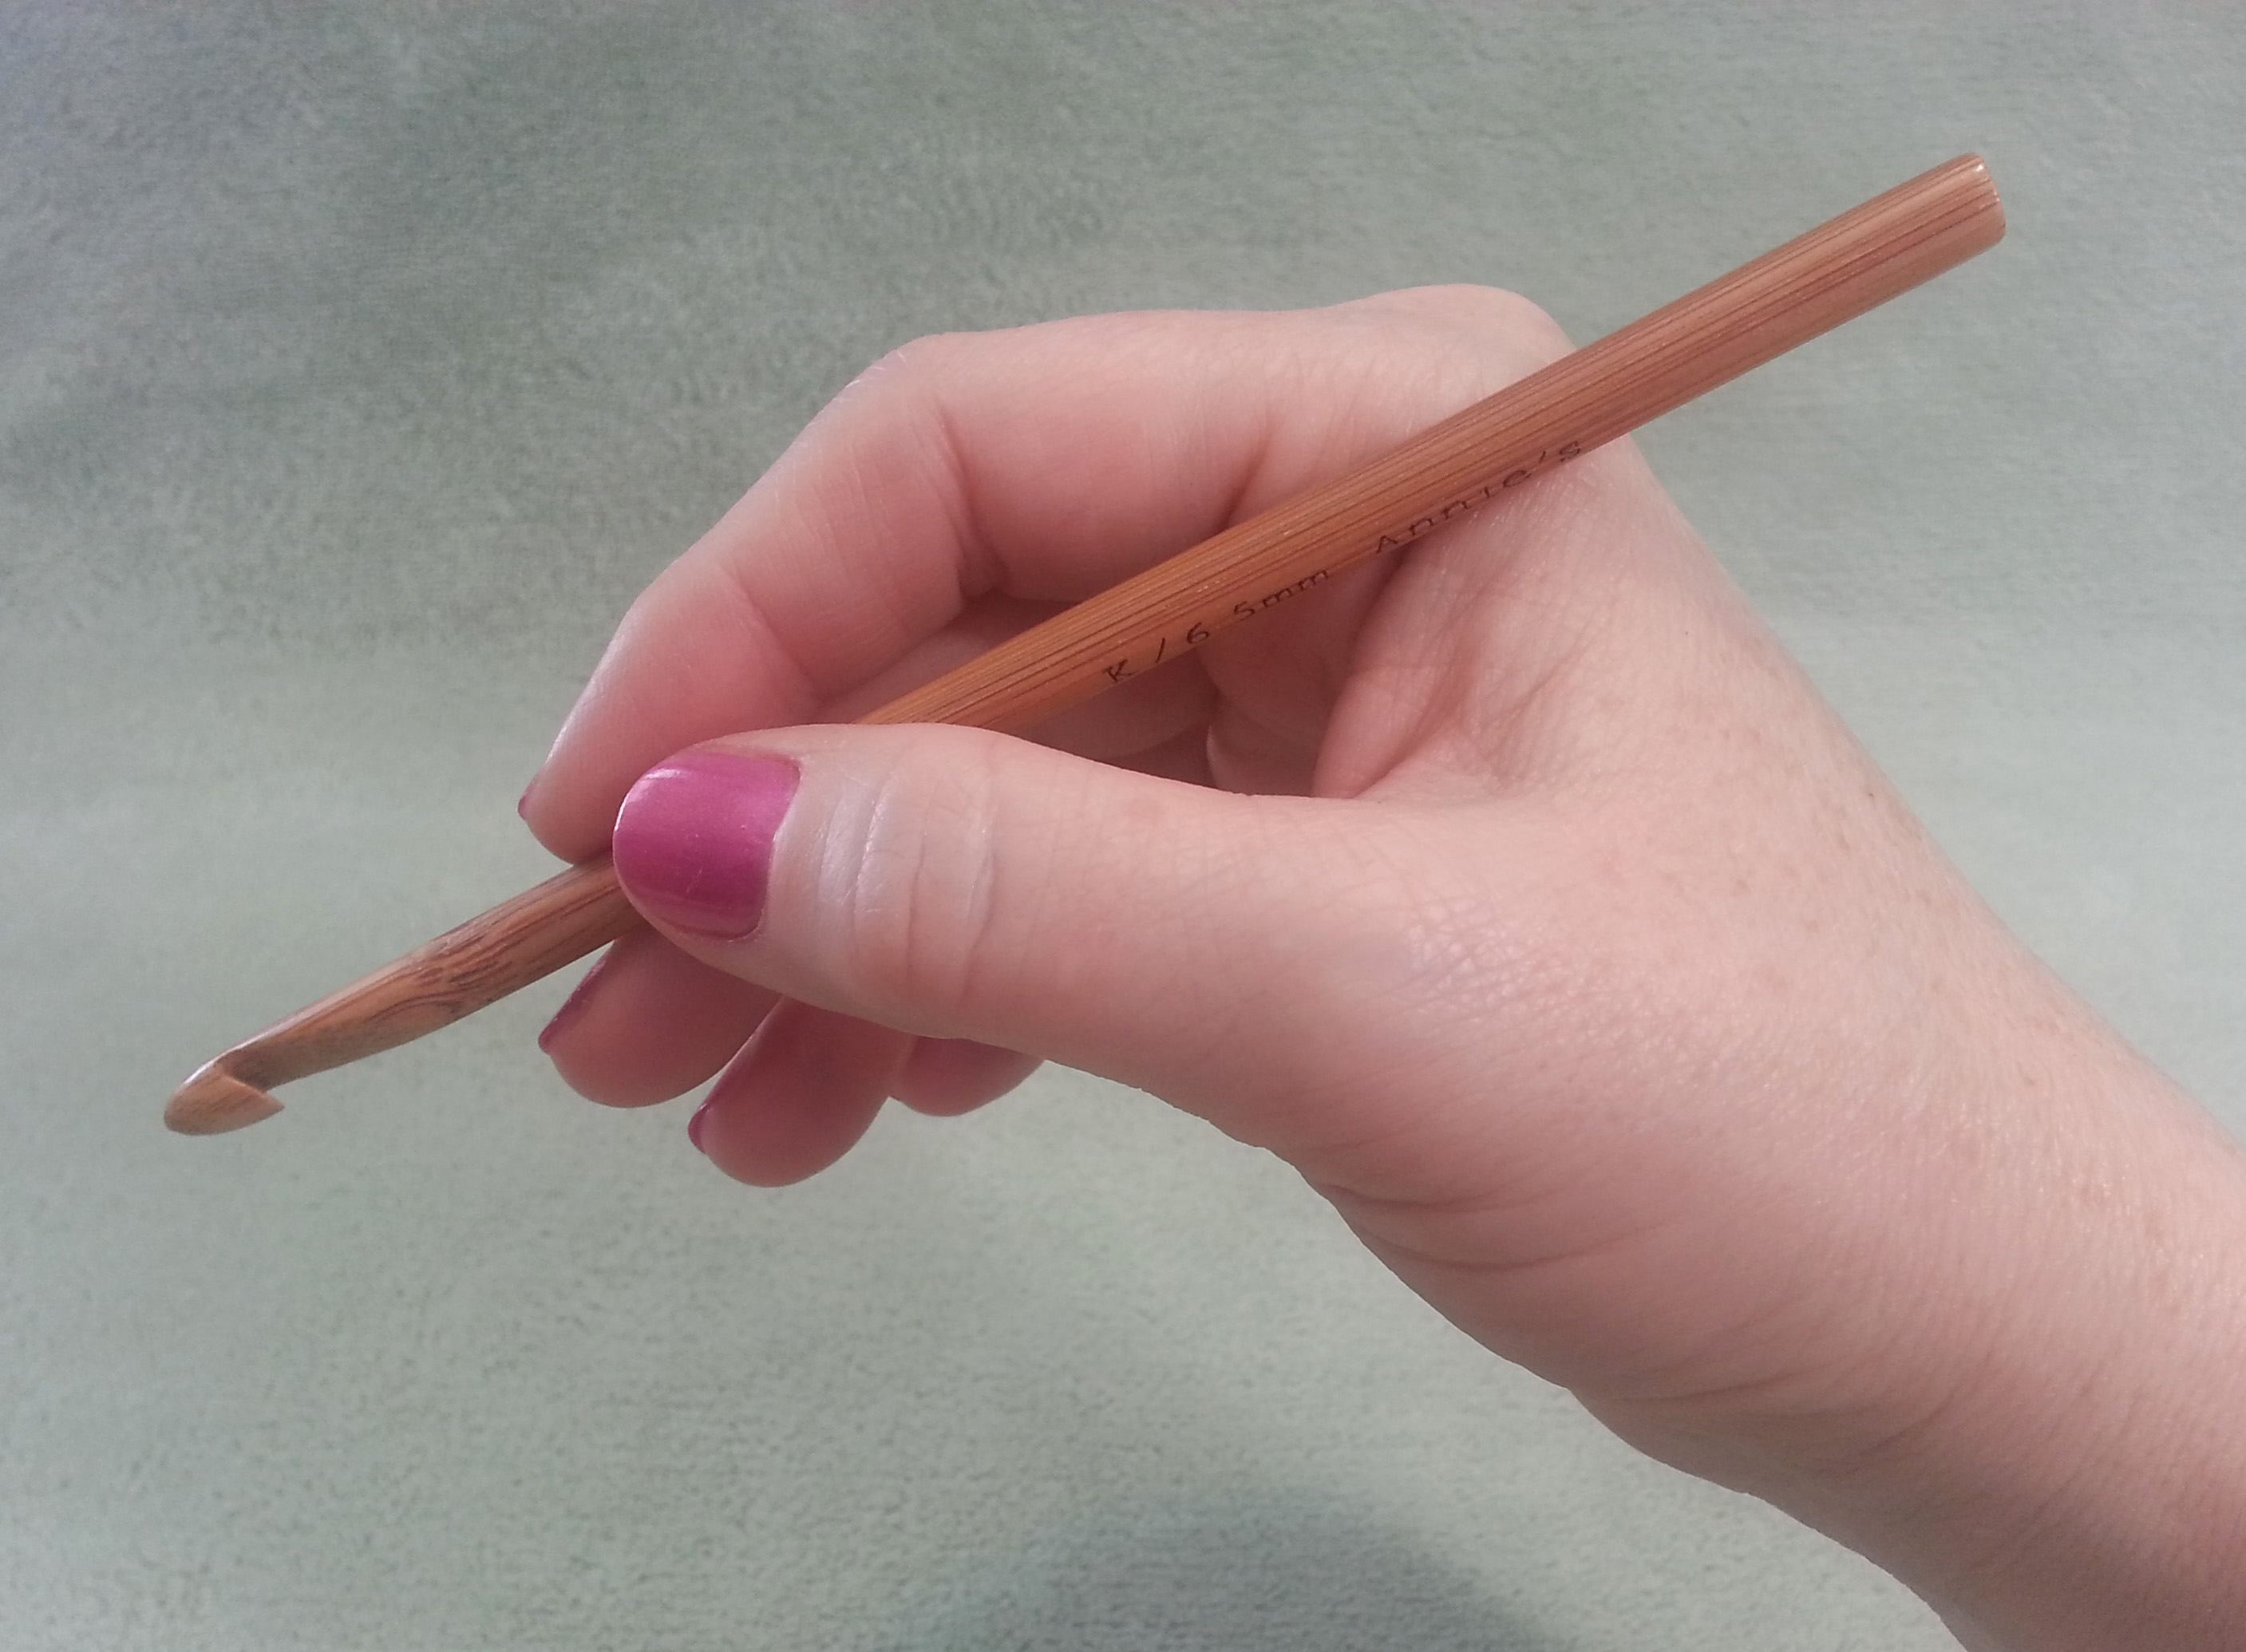
CROCHET HOOKS

Size US G=6 / (4mm) or size needed to obtain gauge

ADDITIONAL MATERIALS

Stitch markers

Yarn needle

Pint Mason Jar

Optional:

GAUGE

First 3 rounds of pattern = 2.5” in diameter

SPECIAL STITCHES

V Stitch (V-st): (Dc, ch 1, dc) in indicated st or sp.
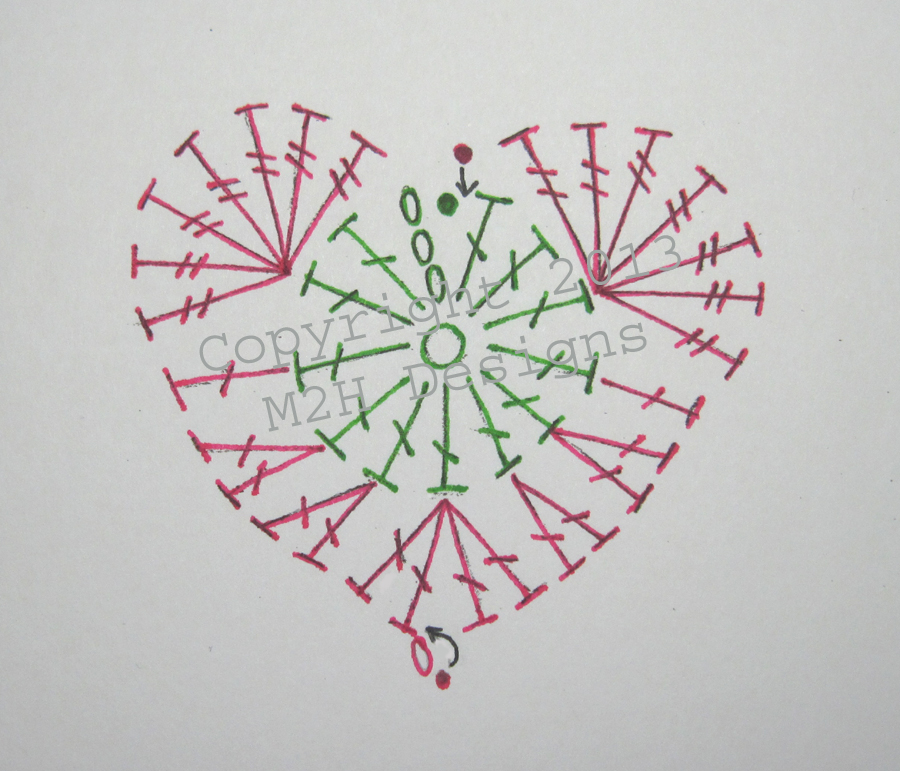
INSTRUCTIONS

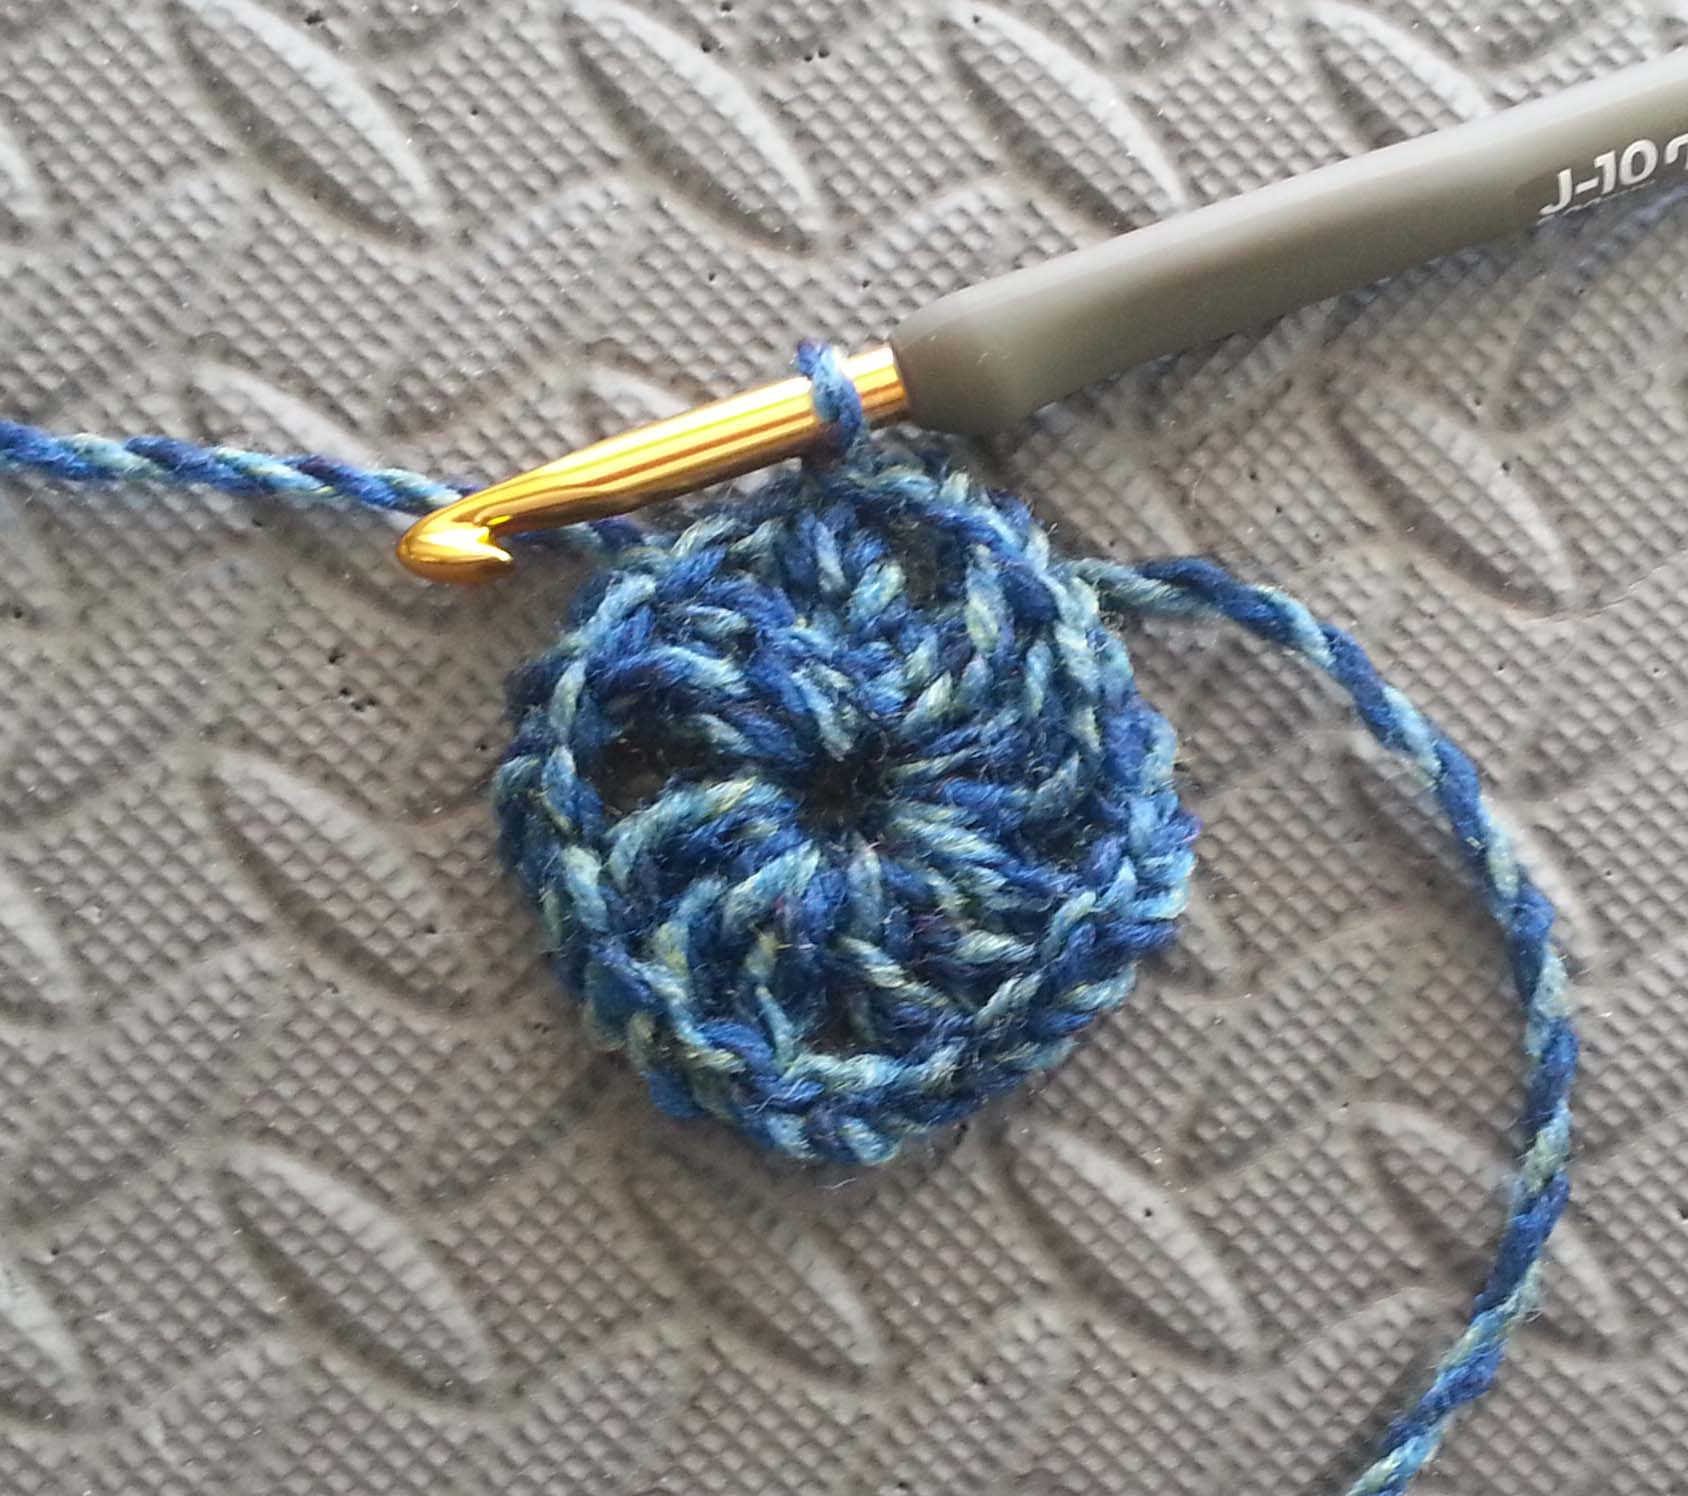
Rnd 1: Ch 4 (counts as 1st dc and center), 11 dc in 4th ch from hook, sl st to top of beg ch-4. [12 dc]

Rnd 2: Ch 3 (counts as dc here and thru out), dc in same spot as join, 2 dc in next 11 sts, sl st to top of beg ch-3. [24 dc]

Rnd 3: Ch 3, 2 dc next st, (dc next st, 2 dc next st) 11 times, sl st to top of beg ch-3. [36 dc]

Rnd 4: Ch 1, sc in same spot as join, sc next 5 sts, 2 sc next st, (sc next 5 sts, 2 sc next st) 5 times, sl st to first sc of rnd. [42 sc]

Rnd 5: Ch 1, sc in each stitch around, sl st to first sc of rnd. [42 sc]

Rnd 6: Ch 3, dc in next 41 sts, sl st to top of beg ch-3. [42 dc]

Rnd 7: Ch 4 (counts as dc and ch-1), dc in same st as join, (sk 2 sts, V-st in next st) 13 times, sl st in 3rd ch of beginning ch-4. [14 V-sts]

Rnds 8 – 15: (Repeat Rnd 6 then Rnd 7) 4 times.

Tie (Make 1)

Ch 100 and fasten off

FINISHING

Weave in tails.

Weaving in ribbon

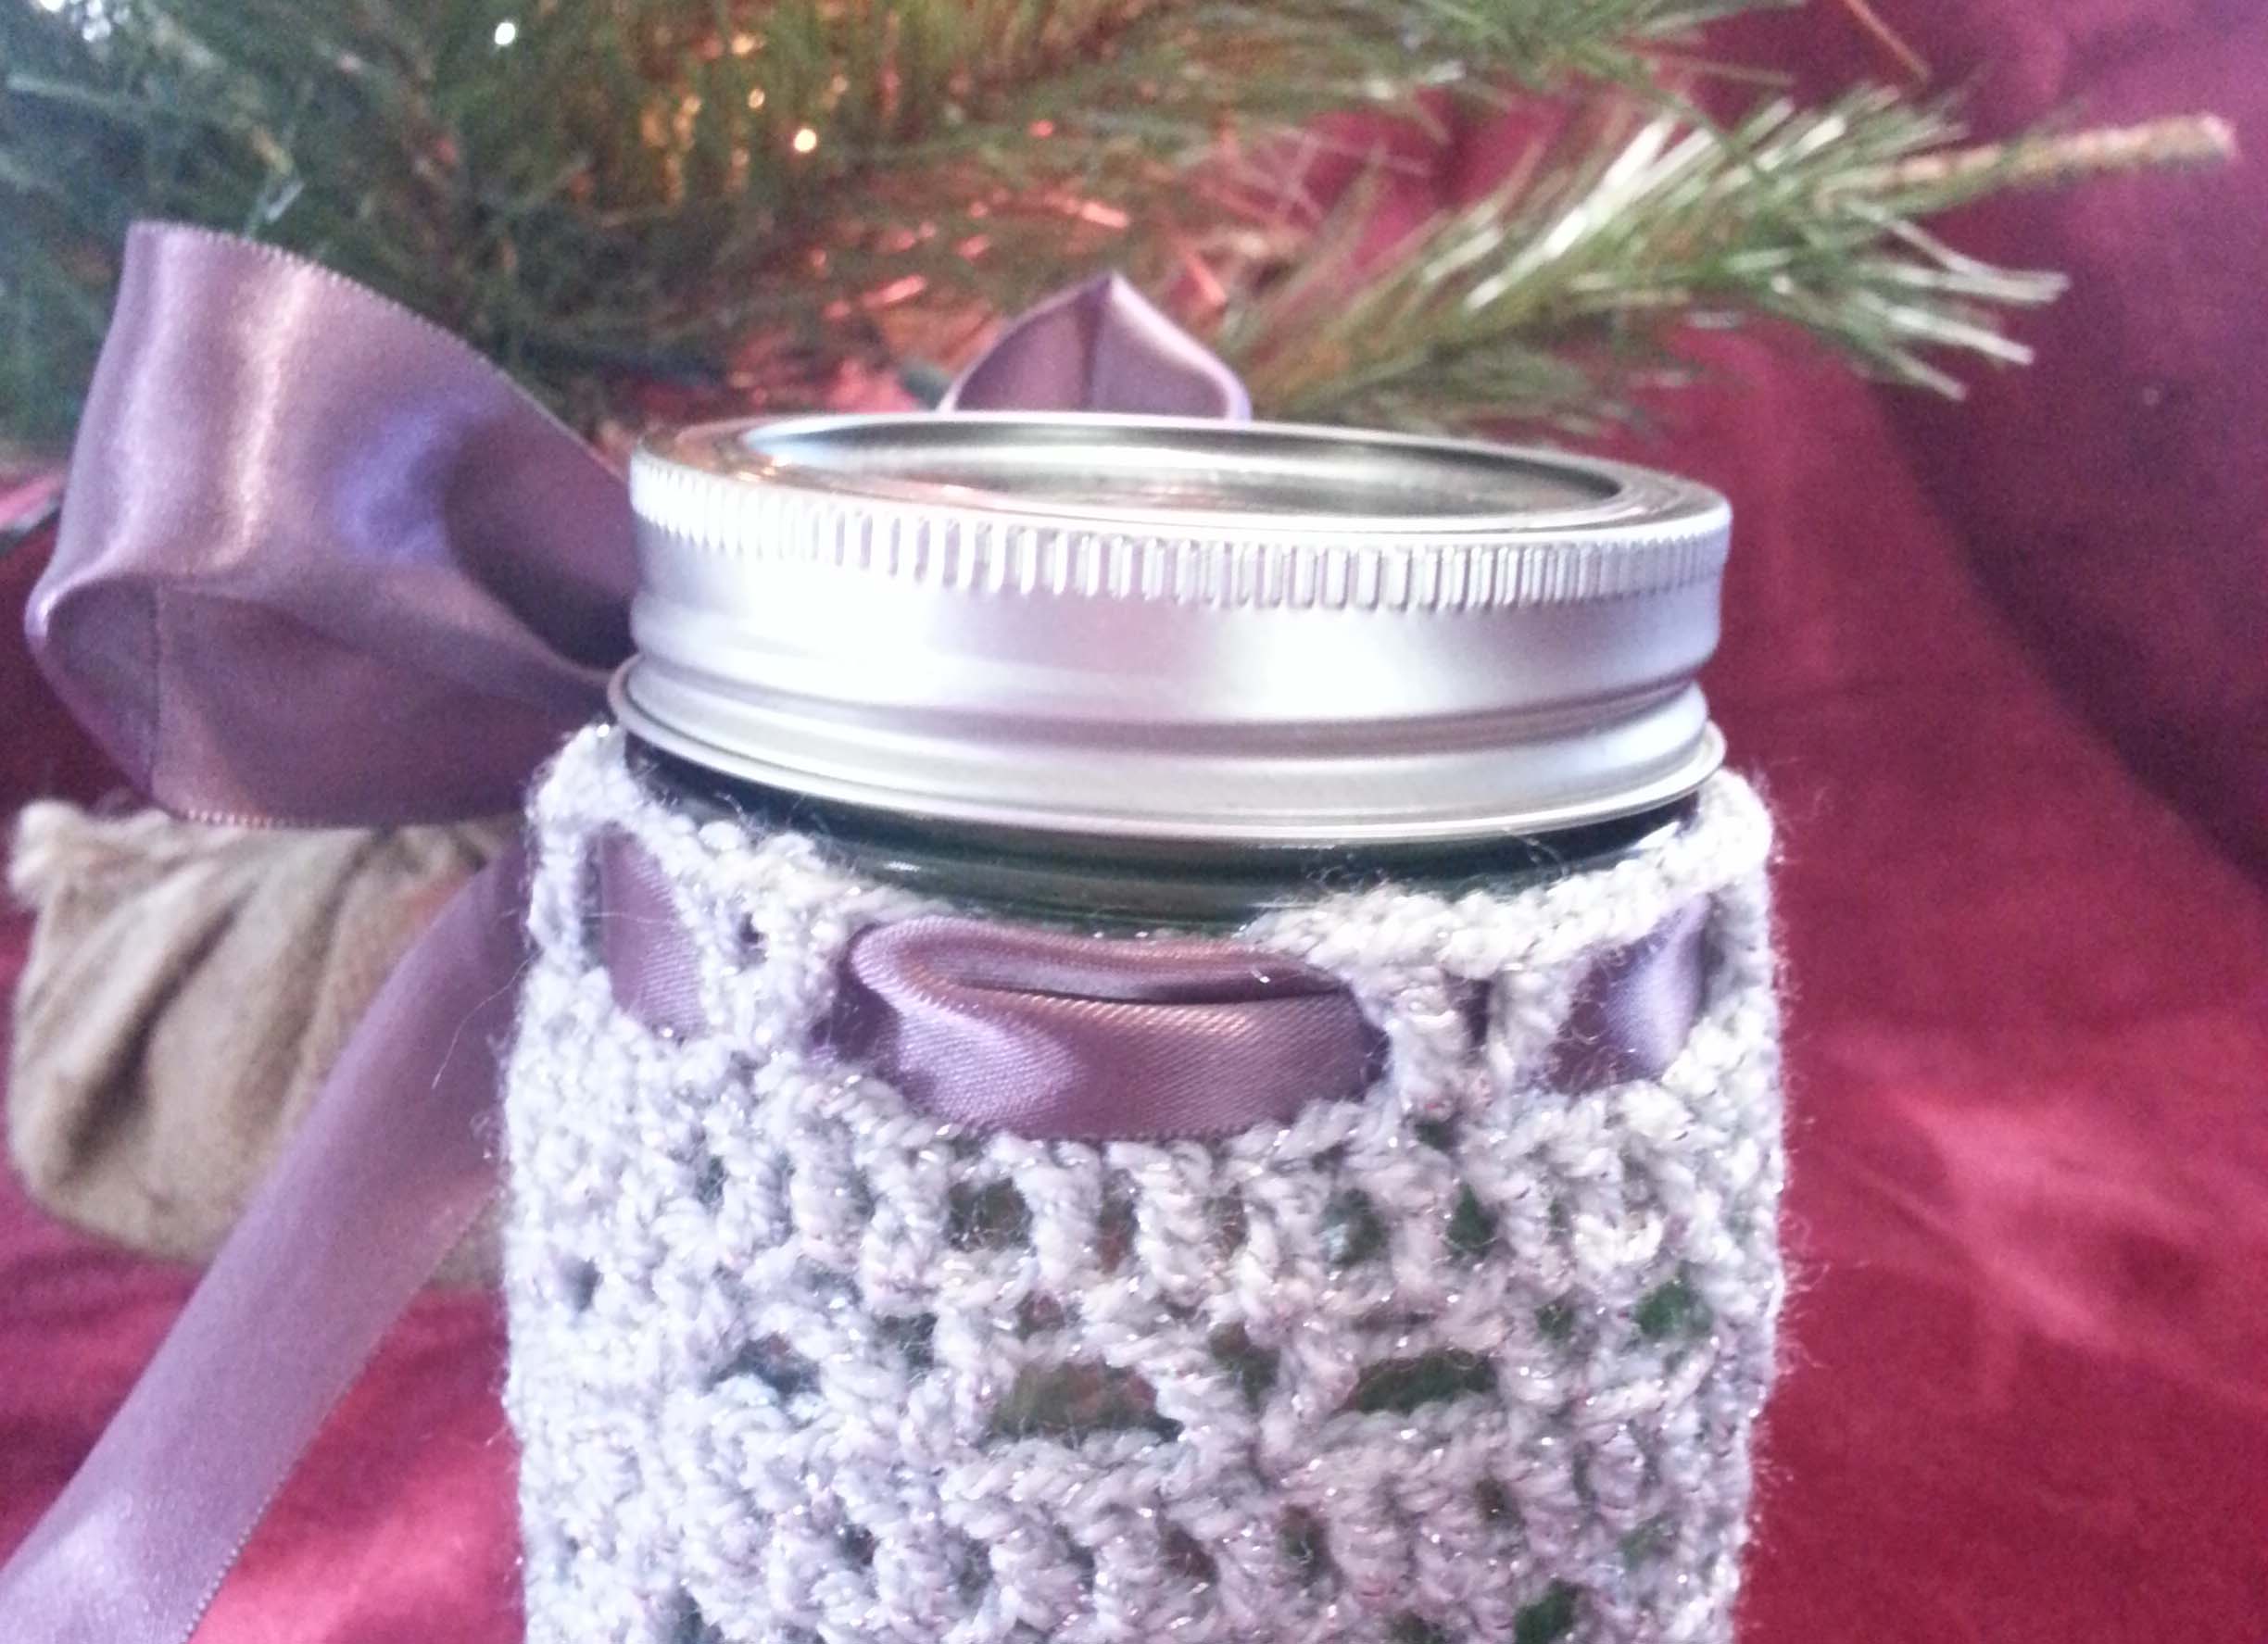
Thread the tie (or ribbon) thru the openings in the last round.  Slide the jar into the cover, tie a bow. Tie knots in the ends of the tie, cut off excess yarn.

The Humble Granny Square

Spring Break this year involved a long road trip for my family and me. My favorite way to entertain myself on a road-trip is to crochet and listen to music or pod-casts. Makes the miles go along quickly between stops for food, gas and restrooms.

We drove from our home in the mountains above Boulder to just outside of Kansas City, Kansas. All together it took us about 13 hours, that included 5 stops to re-fuel the car and kids and allow everyone to stretch their legs (including the dog).

I was capping off our week in Kansas City by attending and teaching at the First Annual Fiber Arts Day that following Saturday. One of the requests for those coming to the event was to contribute at least one 6 inch granny square. So I decided it was time to re-visit this old friend.

It had been awhile since I last crocheted a granny square and I had to experiment a bit to get one the size I wanted.  After I got the hang of it though, I was crocheting up 2 in no time at all.

Granny Squares

I am a big fan of letting the yarn do the heavy lifting, in this case I got the effect of a granny square worked in multiple colors without the tedium of having to weave in lots of yarn ends. As there are more and more yarns like this, with the long runs of colors changing into the next, you can find something in your nearby shops to use this way. When I use these sorts of yarn, I turn with each round since I am not changing the color, this allows me to work into the next chain space neatly.

The following is my recipe for my granny squares.

I used a size J/6 mm hook with Lion Brand Yarns “Unique” in the picture above, for my samples in the pattern I used Lion Brand Yarns “Tweed Stripes”. It didn’t take as many rounds to complete these squares because these yarns are slightly bulky, 4 rounds were a tiny bit shy of 6 inches though. I ended up putting a single crochet edging round to get the exact size.  You can use a lighter weight yarn, but you will need to add rounds to the squares and you may not get a 6″ square.

Instructions:

Start with an Adjustable slip knot (I use the adjustable slip knot so that the first chain can expand as I make Rnd 1), ch 5, sl st into 5th chain from hook to make a ring.

Rnd 1 Finished

Rnd 1: Ch 3, turn, (2 dc, ch 2, [3dc, ch 2] 3 times) into ring, sl st to 3rd ch of beginning ch-3. Pull gently on beginning tail to snug center opening.

Rnd 2 Finished_edited-1


Rnd 2: Ch 3, turn, (2 dc, ch 2, 3 dc) in next ch-2 sp, ch 1, [(3 dc, ch 2, 3 dc) in next ch-2 sp, ch 1] 3 times, sl st to 3rd ch of beginning ch-3.

Rnd 3 finished

Rnd 3: Ch 3, turn, 2 dc in next ch-1 sp, ch 1, [*(3 dc, ch 2, 3 dc) in next ch-2 sp, ch 1*, 3 dc in next ch-1 sp, ch 1] 3 times; Repeat from * to * once, sl st to 3rd ch of beginning ch-3.

Rnd 4 finished

Rnd 4: Ch 3, turn, 2 dc in next ch-1 sp, ch 1, [*3 dc in next ch-1 sp, ch 1*, repeat from * to * until reach corner ch-2 sp, (3 dc, ch 2, 3 dc) in corner ch-2 sp] 4 times, repeat from * to * until reach end of round, sl st to 3rd ch of beginning ch-3.

Rnd 5 finished_edited-1


Rnd 5: Ch 1, turn, [sc in each st and ch-1 sp til reach corner ch-2 sp, (sc, ch 2, sc) in corner ch-2 sp] 4 times, sc in each remaining st and ch-1 sp to end of round. Sl st to first sc of round and fasten off.

If you want to make your granny square larger, just repeat Rnd 4 until you reach the size you want, then work Rnd 5 to finish.

I’ll be working on more of these fun squares during our family road trips this summer. They are a great little project to carry along when traveling because they don’t take a lot of time or yarn and they don’t take a lot of concentration either. Once you get a pile of them finished you can join them together to make a blanket, a scarf, a bag or even a jacket.

Celebrating Crochet by Teaching

Today I’m honored to be a part of the 2014 Crochetville NatCroMo Designer Blog Tour. Amy Shelton and Donna Hulke of Crochetville included me last year in their National Crochet Month tour to celebrate crochet and it was great fun. These two are the right women to lead the celebration of all things crochet, visit them at the Crochetville site or their blog and you’ll know just what I mean.
You can find the links and dates of the other designers participating in the blog tour at the Crochetville Blog and on the Crochetville Facebook page.
 Thing 2s Scarf
My focus this year for NatCroMo has been teaching others to crochet. It’s been very exciting that my youngest son is learning. Above is his latest effort, he wanted to make a scarf so I got him started with the first row of this little V-stitch scarf and he is amazing me at how well he is doing. It’s also a great excuse for some cuddle time as we snuggle together on the sofa and crochet.
Wall w Crochet Sign
 Today I will be at the Longmont Yarn Shoppe from 12p – 1:30p with my local CGOA Chapter showing folks how to get started crocheting. We will be making quick fun little beaded bracelets that students can make and take away with them. Beaded crocheted chains are a fun easy project that give beginners the chance to make something beautiful with minimal crochet skills.
Bracelet sample
Our projects for the “Make & Take” will use plain worsted weight yarn and plastic pony beads.
Close up Tahki necklace
Switch out the yarn to something with silk or glimmering threads and the beads for lovely glass or semi-precious beads (just need holes big enough for the yarn to go thru), and you’ve got a beautiful piece of jewelry.
Tahki Necklace
Look at the lovely necklaces we have on display at the shop, these were all made just by stringing beads on the yarn then working crocheted chains to the desired length.
Mother of Pearl n Silver beads
For those of you that can’t be with us today I have included photos and instructions for you to practice at home. Or if you are an experienced crocheter teaching some one else how to get started, this is a great starter project as they get accustomed to working with the yarn and hook.
If you’ve never crocheted, or it’s been a long time since you crocheted, you may have forgotten how to hold your hook and yarn. These photos Show how to hold the yarn and hook if you are right-handed. For left-handed crocheters just reverse which hand holds the yarn and hook. The most important thing to remember when crocheting is to keep your hands relaxed.
Making a slip knot to place on your hook
making sl knot
I create a loop with the working yarn (coming from the ball of yarn) going over the top of the beginning tail, then reach thru the loop with my hook (or fingers) to pull up a loop from the working yarn, I place that loop over my hook and gently pull on the working yarn to snug the loop on my hook.
Holding your hook
There are 2 fairly common ways to hold your crochet hook…
Knife hold
The Knife or Toothbrush hold….
Pencil Hold
Or the Pencil hold.
Try them both out and see which is most comfortable to you.
Tensioning (holding) the yarn
You may need to adjust how you hold the yarn depending on how dry your skin is and the texture of the yarn you are working with.
Holding the Yarn 1
I loop the yarn around my left-hand pinkie…..
Holding the Yarn 2
then weave it thru my fingers over and under so the yarn going to my hook comes over the top of my index finger.
Holding the Yarn 3
I then use the middle finger and thumb of my left hand to hold at the base of the loop on my hook. This allows my hook to move freely in the loop.
To make a chain stitch
Step 1 Ch stitch
I scoop the tip of my hook from the front to the back of the strand of yarn coming from my index finger, then “hook” the yarn and pull it thru the loop on my hook.
Now you are ready to start on your bracelet project.
Simple Beaded Chain Bracelet
Slide bead up close to hook.
Materials needed:
Worsted weight yarn
Approximately 15 “pony” beads in desired colors
Size I (5.5mm)  or J (6mm) hook
Instructions:
 String 15 pony beads on yarn (note you may have beads left-over once your reach your ideal bracelet length).
Chain 1 and capture bead.
Make a slip knot in yarn,  ch 1, slide 1 bead up close to hook, ch 1 capturing bead, continue with alternating plain chain stitch and beaded chain st until strand measures 7 inches long (or long enough to fit loosely around wrist), finish with a final plain ch 1. Fasten off.
Tie ends together using a square knot, trim ends to 1″ long.
You can read more about my initial beaded chain projects in my post: The Beauty of Beads

Thanks again for making my blog one of your visits for our blog tour. I hope you come by to visit again soon.  Meanwhile if you are a more experienced crocheter, and like to make hats, please join us during NatCroMo in crocheting (or knitting) hats to support the Halos of Hope organization. There are many patterns at the Halos of Hope website to use for this effort or you can use my “Pi Recipe” to create a simple stretchy hat that will be very appreciated.

Crochetville has received a lot of support from the crochet community over the years. They believe strongly in the importance of giving back. In 2013, Crochetville became a corporate sponsor of a wonderful organization called Halos of Hope. You can read more about Crochetville’s fundraising efforts and hat collection on the Crochetville blog.

Halos of Hope is a 501(c)3 not-for-profit organization founded by Pam Haschke, herself a survivor of inflammatory breast cancer. Halos of Hope’s mission is to provide volunteer-crafted hats to cancer centers across the country. – See more at: Halos of Hope website  and the Halos of Hope Facebook Page.

As Amy said, ” Wouldn’t it be cool if we could somehow reach all of the 1.7 million crocheting households in the United States? If you’re going to dream, dream big, I say!”

A Tour Through Crochet Country

I am honored to be part of the “Tour thru Crochet Country” blog tour organized by Amy Shelton and Donna Hulke of Crochetville. I love that this is a great way to celebrate National Crochet Month and the CGOA (Crochet Guild of America).

I’ve been a CGOA member since the summer of 2008 and it has been the way I’ve met all sorts of crochet friends. Before CGOA I was crocheting and creating in a vacuum, now I get to share my love of crochet with thousands of folks. You can find out more about CGOA and join this wonderful organization at their website: Crochet.org.

As my gift to all you wonderful folks stopping by for the tour I wanted to offer a new heart pattern. I’ve been posting a heart pattern the last couple of years for Valentine’s Day, but this February got away from me.  Seems quite appropriate to celebrate NatCroMo with a heart pattern though, since we all love crochet.

____________________________________

Crocheted Love Sample photo

Crocheted Love

designed by Andee Graves

Pattern is in US terminology.

Finished size will depend on the size of yarn and hook you use. The heart in the photo was made with Cascade 220 Superwash and a Size G-6/4mm hook.

Start with an adjustable slip knot

Round 1: Ch 4, 12 dc in 4th ch from hook, sl st in top of ch-4.

Round 2: Sk 2 sts, 7 Tr in next st, dc next st, 2 dc next 2 sts, (2 dc, ch 1, sl st in top of previous dc, 2 dc) in next st, 2 dc next 2 sts, dc next st, 7 Tr next st, sl st between last dc and join of Round 1. Fasten off, pull beginning tail to close center snugly, weave in ends.

Crocheted Love Diagram copy

_________________________

Now that you are making quick little hearts, how about using some to embellish simple crocheted blankets for Project Night Night.

Project Night Night is a 501(c)(3) non-profit organization that provides over 25,000 Night Night Packages each year to homeless children. Each package consists of a new sturdy tote bag with a new security blanket, an age-appropriate children’s book, and a stuffed animal. These comfort objects help to reduce the trauma of homelessness for the children served by Project Night Night. Both the handmade blankets and stuffed animals provide the children with objects of love and security.

You can help all of us on this tour help Project Night Night by making and sending in new crocheted blankets (50” x 60” or smaller) and/or making financial donations. A group effort will help us do more for Project Night Night than any of us could possibly do on our own.

For more information about Donating a Blanket to Project Night Night visit this webpage.

For more information about Donating Money to Project Night Night visit this webpage.

And please stop by here to add your donations to our group tally.

Thanks for stopping by today. Remember to visit the other stops (listed below) on the Tour through Crochet Country all during March.

List of Stops Along the Tour

Click on any designer’s name to go directly to their blog.

While you are invited to visit any site at any time, a designer’s post created specifically for A Tour through Crochet Country will not be posted until his or her scheduled date.

March 1Jenny KingShelby Allaho
March 2Ellen GormleyNancy Nehring
March 3Phyllis SerbesMona Muhammad
March 4Amy O’Neill HouckAkua Hope
March 5Mary Jane HallLindsey Stephens
March 6Edie EckmanShannon Mullett-Bowlsby
March 7Jennifer CirkaAnnette Stewart
March 8Andrea GraciarenaLeAnna Lyons
March 9Dawn CoggerAngela Whisnant
March 10Andrea Lyn Van BenschotenRenee Rodgers
March 11Joy PrescottDonna Childs
March 12Pam DaleyDeb Burger
March 13Tammy HildebrandMarty Miller
March 14Jocelyn SassJennifer E Ryan
March 15Andee GravesKimberly McAlindin
March 16Laurinda Reddig
March 17Brenda Bourg
March 18Rhonda Davis
March 19Julie Oparka
March 20April Garwood
March 21Alaina Klug
March 22Erin Boland
March 23Margaret Hubert
March 24Bonnie Barker
March 25Kim GuzmanSusan Huxley
March 26Susan LowmanMichele Maks
March 27Marie SegaresBrenda Stratton
March 28Kathy WhiteLori Carlson
March 29Amy SheltonDonna Hulka
March 30Linda DeanKristin Dragos
March 31Karen C K BallardGwen Blakley-Kinsler

Warming up Winter

My favorite things to crochet, back before I became a crazy busy designer, were items for charitable giving. Everything from hats and scarves for the homeless shelter to preemie caps for Save the Children.  There were also a few child’s blankets in there for Project Linus.

Recently I learnt about a small organization in Massachusetts that helps get hats, scarves and mittens to various charitable groups in their region and they teach crochet and knitting.  They are called “Warmer Winters”, because New England winters can get bitterly cold.

Currently they are a bit low on donations to send out. They especially need Adult sized scarves and hats.  They can always use all sizes of mittens (adults, children & babies) as well as Hats and Scarves.

Donated items can be crocheted or knit, just need to be made in easy-care materials. No animal fibers to avoid any allergy issues.  If you don’t have time to crochet or knit an item but want to donate yarn for their teaching programs they prefer bulky and worsted weight acrylic yarns.

You can mail donations to:

Warmer Winters

22 Hill Top Drive

Leominster, MA  01453

Hat-n-Scarf

If you need an Adult hat pattern you can adapt my Little Bitty Noggin Cap pattern.  Use worsted weight yarn with an H (5mm) hook and work additional increase rounds until the diameter measures approximately 7″, then work even rounds until the measurement from the crown is 12 inches, work 1 or 2 more inches of alternating hdc post st ribbing and you have a hat that will fit most adult heads. This is my basic “go-to” hat pattern and it makes a nice stretchy hat.

Simple Double Crochet Scarf

This simple scarf uses worsted weight yarn with a size I-9 (5.5mm) hook. My gauge is 3.5 dc sts = 1″ & 2 dc rows = 1.25″. Finished scarf is 8″ wide and can be worked to desired length. The turning chains are left as a decorative edging and not worked into.

Scarf-close-up

Foundation: Start with a chain of 29, sc in back bump of 2nd ch from hook and in each chain to beginning of chain [28 sc]. If you are comfortable with the foundation single crochet (fsc) make 28 for your starting row instead.

Row 1: Ch 3, turn, work a dc in the first st and each st across [28 dc, 1 ch3].

Row 2 and following rows: Repeat Row 1.

For a 4′ long scarf work 76 rows, for a 5′ long scarf work 95 rows, for a 6′ long scarf work 114 rows. My sample in the photo was 84 dc rows.

Finishing Row: Ch 1, sc in each st across leaving ch-3 un-worked. Fasten off, weave in ends.

If sending items to Warmer Winters isn’t in the budget for you, but you want to help out, look for organizations in your locale that need items. Remember to contact them before sending stuff to see what they are needing and any restrictions.

Knitting a Hat

Okay, I know you are surprised to read that title in my blog, being as I am a crochet designer.

But I actually did design a knit hat recently. My younger brother Cy and his girlfriend, K, were here at Casa Graves the weekend before Thanksgiving for an early celebration. We did this early because K owns a retail shop and couldn’t be away during the actual Thanksgiving weekend.

While they were here I was teaching her to crochet and re-teaching Cy to crochet.  After awhile though K decided she would rather knit. She has been knitting since she was very young. But she has only knit rectangles. She said she primarily knits scarves.

So I grabbed a ball of yarn for her and she cast-on and began knitting away.

Meanwhile, Cy and I were crocheting hats and I was teaching him some of the more advanced crochet tricks I’ve acquired over the years.

When I finally started paying attention to what K was making I realized she wasn’t going to have enough yarn to make much of a scarf, but she did have enough stitches that she could make a knitted hat.  I asked her if she would like to have a hat from what she was knitting.

She was thrilled with the idea. So I told her to keep knitting until she had a long enough length to go around her head. Once she got to that length she was to bind-off and I would show her how to turn the length of fabric she had created into a lovely hat.

K was on a mission from that point onward. They were planning on leaving early Monday morning, so she wanted to finish before they left. By Sunday, after we had dinner, she had finished her knitting and was ready to bind-off.  She said it had been awhile since she had knit and she wasn’t sure if she remembered how to bind-off, could I help.

Yikes! Well, with the warning that this could be the blind leading the blind, I was game for it. Amazingly I actually remembered how to bind off. Soon her knitted fabric was ready to be transformed into a hat.

Now, she had been knitting pretty fast and her stitch count on every row wasn’t always the same, but I told her not to worry. This would become a “design element” in the finished hat.  We looked at the fabric and decided one edge was a bit straighter than the other, so it would become the “brim” edge of the hat.

I next set her the task to whipstitch the cast-on and bind-off edges to make a tube, lining up the “brim” edge so it matched on the seam line. Since her fabric was all knit stitches, ie…Garter stitch, there wasn’t really a right-side or wrong-side of the fabric to worry about.

Once that was done I had her take a doubled length of yarn (about 10″/25 cm)  and sew a running stitch on the “right-side” of the hat an inch down from the lowest point of the top edge.  We then pulled the yarn tight and closed the crown of the hat. The resulting gathering of the top edge created a sort of rosette on the crown.  I had her knot the yarn then tie a pretty bow and trim up the ends.

A-Knit-Hat

Of course, we were having so much fun with all the knitting and crocheting I didn’t even think to take photos of any of it.  So this is a picture Cy took for me after they got home.

I got the biggest kick out of how happy she was to have made a hat. I suspect there will be more hats in her future. And that is my story of how I, the crochet designer, designed a knitted hat.

Funny thing is, I have an idea for another simple knitted hat, so I may have to find time to pick up my needles very soon and work it out.

Transition Helper

As promised yesterday I’ve come up with a quick little pattern for a “Kennel Blanket”.  This little blanket can work well for dogs and cats and the size can be changed depending on the size of animal or kennel it is intended for.

Many of the kennel enclosures at shelters have wire bottoms or concrete floors, using washable blanket pads like this can offer the animals a bit of comfort while they wait to meet their forever families.  Most local shelters and rescue organizations need blanket/pads.

Since I was making this for our foster puppy I kept it somewhat smallish. Approximate dimensions are 16 x 23 inches (40 x 57.5cm).  My idea was that the blanket will go with Beatty when he leaves with his forever family. It will smell familiar since he has been sleeping on it and will hopefully help him make the transition more easily to his new home.

Kennel Blanket

Designed by Andee Graves

Yarn: 3 balls of Worsted Weight yarn (I used Caron One Pounds and about 2.5 oz/129 yds/71g of each color)

These blankets can also be made using up odds and ends of yarn. Sometimes work best to have one continuous strand in the mix though. Just add in another ball of yarn when you have about 6 inches (15 cm) of yarn left. Make sure you weave in ends good, taking it one direction then back the other direction so that puppies and kitties can’t eat the yarn ends.

Hook: Size P / 11.5mm (I used my Susan Bates Lucite hook)

Instructions:

Foundation: Holding 3 strands together, Chain 41,

Row 1: Turn, sc in 2nd chain from hook, (dc in next ch, sc in next ch) 19 times, dc in last ch. [20 sc, 20 dc]

Row 2:  Ch 1, turn, (sc in next st, dc in next st) 20 times. [20 sc, 20 dc]

Rows 3 – 25: Repeat Row 2 – 23 times.

Fasten off at end of Row 25, weave in tails.

I hope you have fun making kennel blankets for all the four-legged friends you know and your local shelters.

Everyone needs Hugs

One of my favorite things about crochet is using it to make gifts of love and support for my friends, family and even folks I’ll never meet.

It doesn’t have to be something fancy to give a “hug” to them. There are many wonderful patterns out there for afghans, lapghans and prayer shawls to make as gifts for someone you care about in your life, or even to organizations that reach out to folks in crisis.

My First Project Linus Blanket

One of my favorite programs is “Project Linus”. This wonderful organization provides blankets to children of all ages that are hospitalized or under-going a crisis. You can learn more about their program and ways you can help them out at their website.

Project Linus blankets don’t have to be crocheted or knit. They can also be quilts or fabric with edging treatments.

This is a simple blanket I made for my oldest son 6 years ago. It’s a wee bit ratty from all the love it has received over the years, but has held up well and is still his favorite to have nearby. I thought, in the spirit of giving and celebration of NatCroMo, I would provide a pattern for this blanket to my dear readers.

Boo’s Blanket

designed by Andee Graves

Finished size approximately 31.5″ x 42.5″

Yarn: Caron One-Pounder – 2 colors, plus a third color for border edging.

Hook: Size P 11.5mm

Note – Entire blanket is worked holding 2 strands of worsted weight yarn together. This is a child size blanket, but can be made larger by adding to the foundation chain in multiples of 2 and then working additional rows until you are happy with the proportions.

Close up of “Up and Down” stitch used for blanket.

Instructions (written in US Crochet terminology)

Row 1 – Foundation: Chain 85, working in back bumps of chain, sc in 2nd chain from hook, (dc in next ch, sc in next ch) 41 times, dc in last ch, turn.

Row 2: Ch 1, sc in first dc, (dc in next sc, sc in next dc) 41 times, dc in last sc, turn.

Rows 3-62: Repeat Row 2, 60 times. Fasten off.

Edging: Using 2 strands of third color. Attach yarn at any corner, ch 1, (sc, ch 2, sc) in corner st, [*ch 1, sk 1 st, sc in next st*, repeat from * to* to next corner, (sc, ch 2, sc) in corner] 3 times, repeat from * to * until reach beginning of round, sl st to first sc of edging and fasten off.

Alternate edging: Sc in every st with same treatment of corners as in first edging. Can do more than one round of edging to create a more substantial border by chaining 1 after the joining sl st, then working a sc in each sc and corner treatment in the corner ch-2 spaces.

I hope you have fun with this little pattern. Make a blanket for someone you love, or better yet, make 2 and send one to your nearest Project Linus chapter for a child that needs a hug.

All You Need is Love

Okay, now you have that Beatles tune running thru your head. Right?

Valentine’s Day is just around the corner and I am keeping with my tradition of offering a heart pattern as a Valentine to my readers.

In 2010 it was my Little Heart.

In 2011 it was my Spiral in a Heart.

So for 2012 I offer the Simple Sweetheart pattern.  This fun little heart takes just a bit of yarn and a few minutes to stitch up.

Simple Sweetheart  designed by Andee Graves

Start with an Adjustable Slip Knot (this is a slip knot that is tightened by pulling on the beginning tail instead of the working yarn).

SwthrtChart wCnotice

Round 1: Chain 2, 7 sc in 2nd chain from hook, sl st to first sc of round.

Needle Join at end of Round 2

Round 2: Skip 1 st, 5 dc in next st, dc next st, dc next st, ch 1 and sl st in top of previous dc, dc in same st, dc in next st, 5 dc in next st, sk 1 st, sl st in first st (or use a needle join into sl st). Fasten off.

Your little Sweetheart can now be used to decorate a card, or become a pin or magnet.  I used the tails of mine to sew pin-backs on them to make brooches.

Happy Valentine’s Day!

Happy Holidays

Wishing everyone a beautiful holiday week-end and a wonderous New Year in 2012.

Little Snowflake Ornament / Copyright 2011 M2H Designs

In celebration of this time of year I am sharing a fun little snowflake pattern with you.  For now it is just a stitch diagram, so my apologies to those of you who can’t read those yet.  Maybe a good New Year’s resolution is to learn that skill as it does open the whole world of international patterns to you.  If you have trouble reading the chart because of size, click on the photo and it should enlarge it.

Once you’ve stitched up your snowflake and tucked in the ends, pin it out and use your favorite fabric stiffener to make it into an ornament. I prefer to brush the stiffener on once the snowflake is pinned out, instead of dipping the fabric in the solution first.  Once one side is dry I un-pin the flake and if needed will brush more stiffener on the back.

You can also sprinkle a bit of glitter over the flake while the stiffener is wet to create a sparkly snowflake.

Enjoy!