Spring Fever

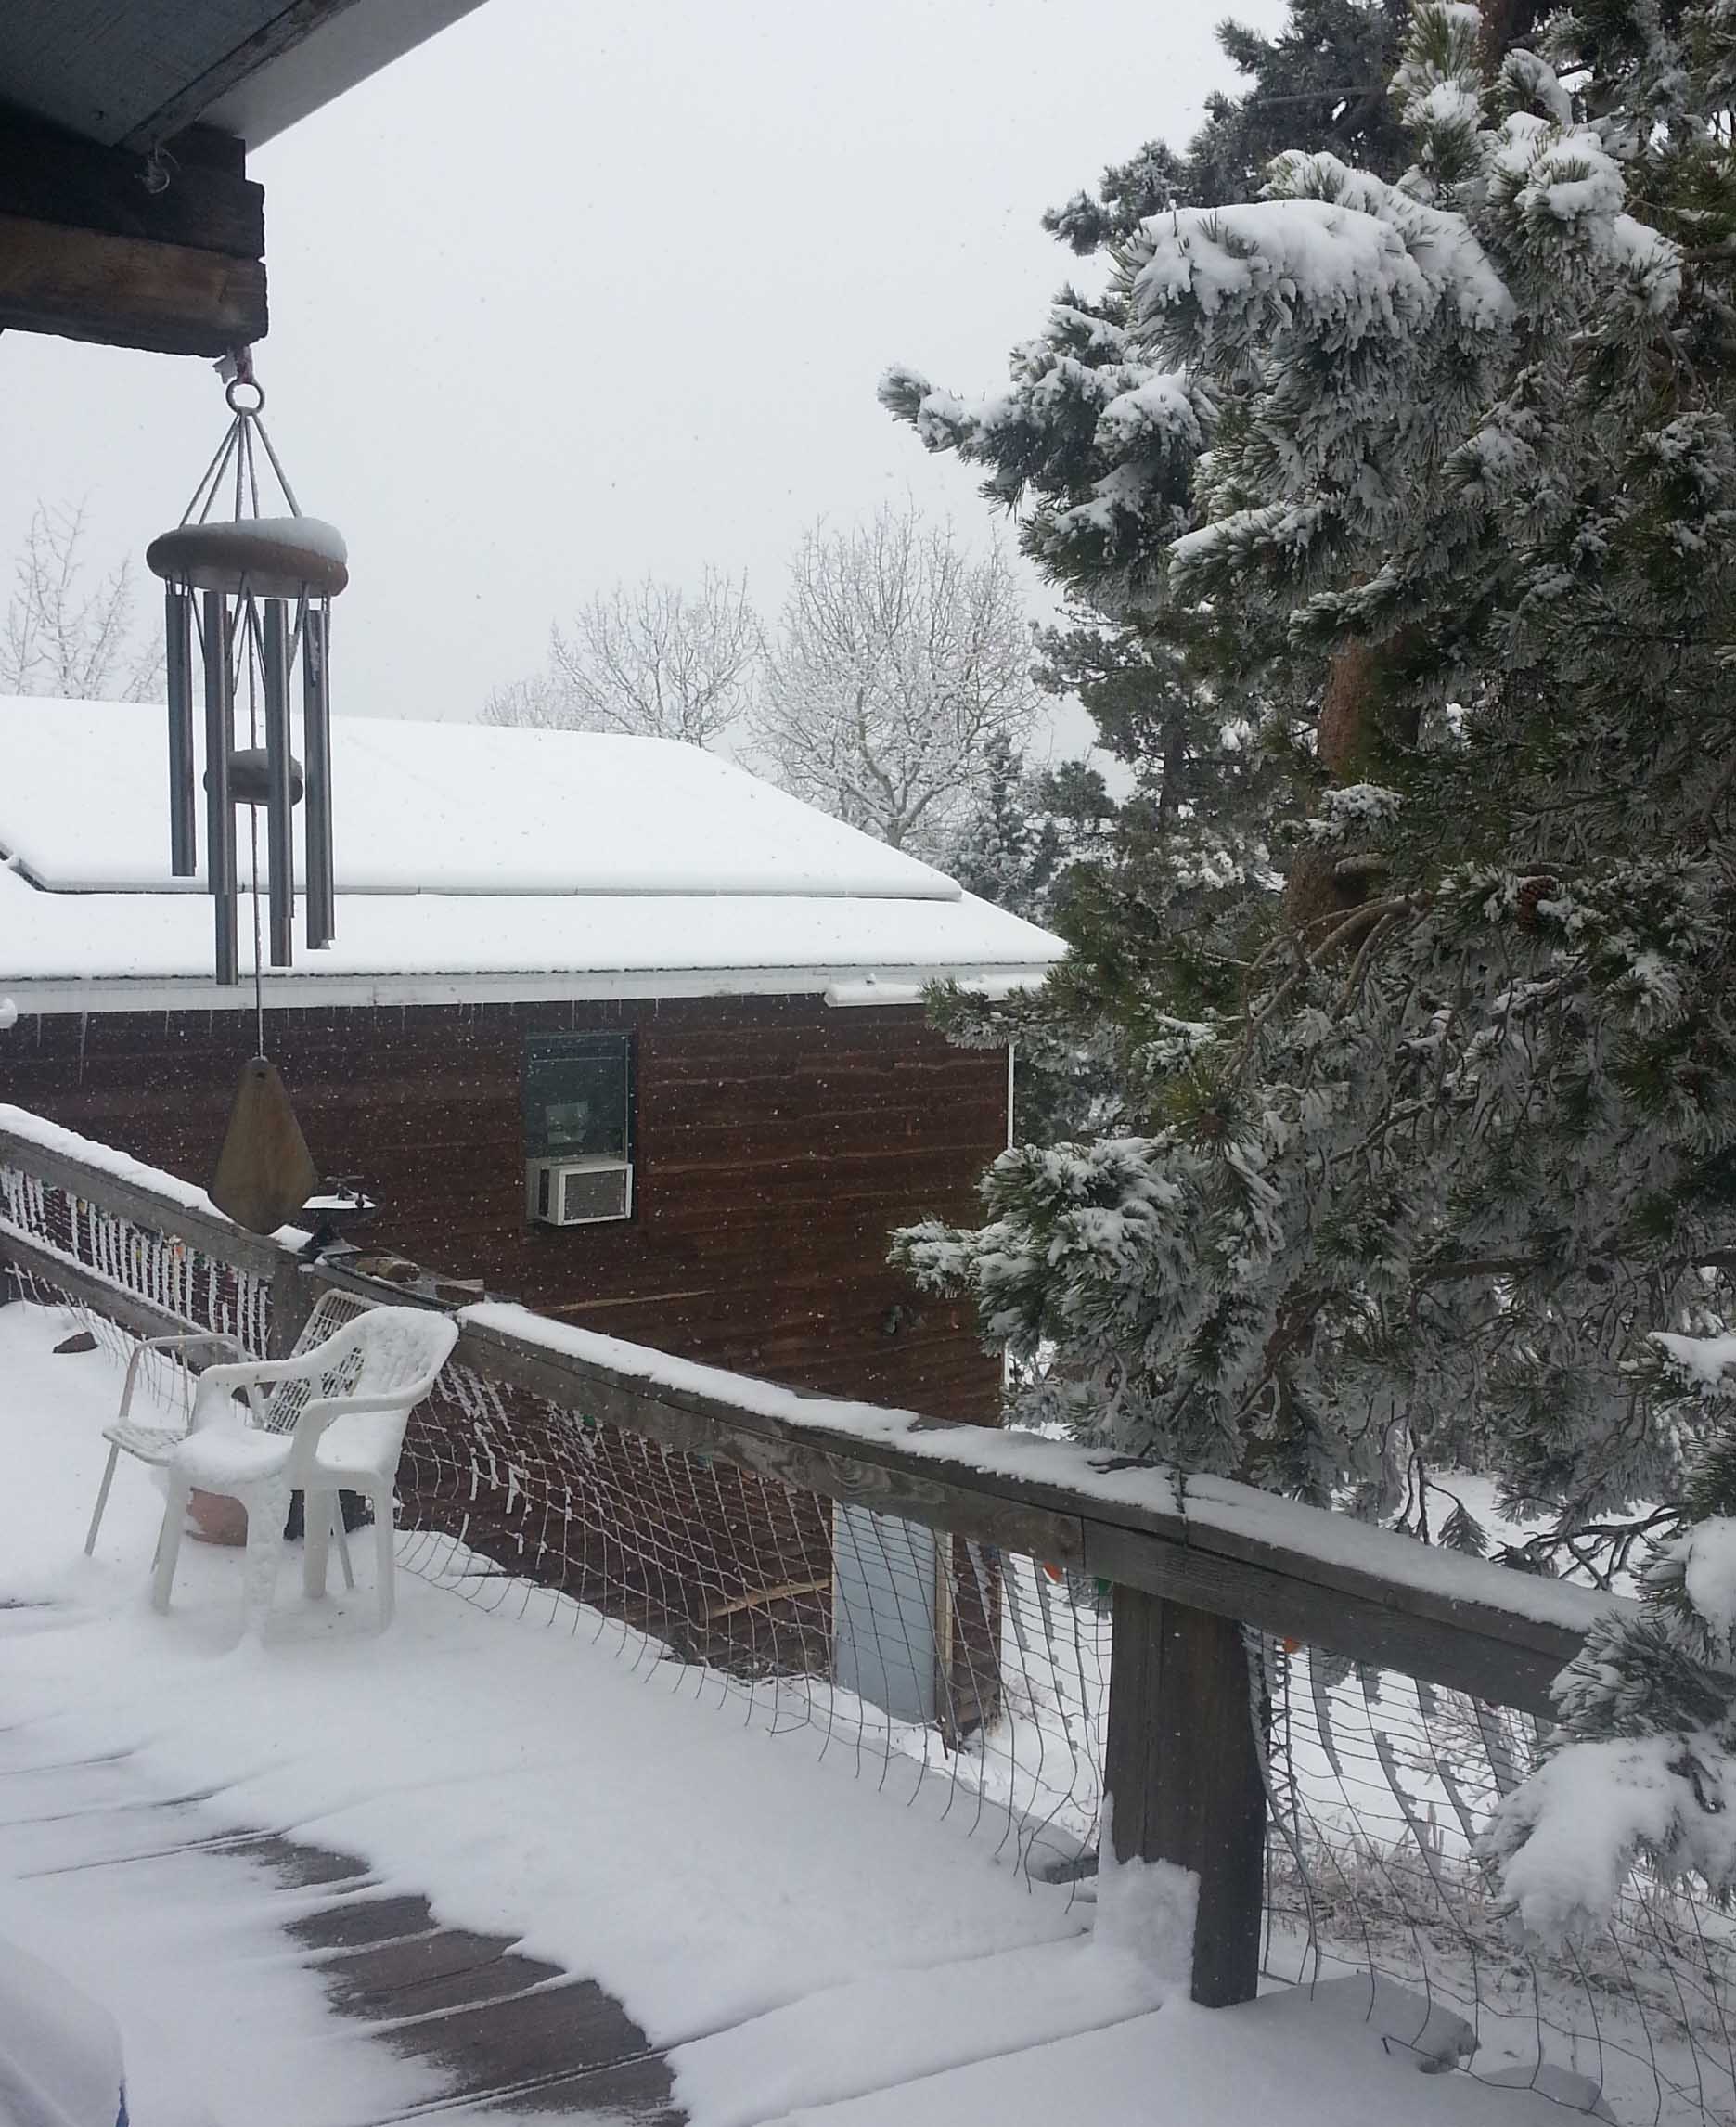
This has been a really weird spring weather-wise.  Snow in the spring on my mountain isn’t that unusual, and heavy snow amounts even. But usually it is warmer. I’m beginning to feel like a yo-yo going back and forth with nearly summer temperatures and then returning to freezing winter the following day.

It might be that I’m getting older, but this past winter was really challenging for me in the health area. I’ve had persistant colds, stomach flu and just over-all sinus unpleasantness. Things got really interesting 2 weeks ago right before I left on my trip to visit Jan.

I have ridiculously sensitive skin and often deal with hives on my face and shoulders. A common trigger for these is accidentally ingesting gluten. Gluten is used in more foods that you would initially realize, of particular note are candies and chocolates.

I had consumed too many Easter chocolates after Spring break and at the end of April I had a bout of hives on the right-side of my face. Fortunately it cleared up after a week. Then the Wednesday before I left for Jan’s I started getting another break-out. But this time it was more severe.

My first Saturday at Jan’s I was a mess with it. Itchy and very uncomfortable. That patch finally began to heal up and a new patch appeared on my forehead and along the left-side of my face. Nearly my whole face looked swollen and red, not attractive and not comfortable either. The Sunday before I was to fly back home to Colorado more hives began to appear on my shoulders.

Early in my visit with Jan I began to suspect that I was experiencing Shingles.  There wasn’t much I could do while in New Jersey so I spent my first full day back home on the phone getting a doctor’s appointment. After looking at the newest crop of sores on me the doctor told me this wasn’t Shingles. Unfortunately it appears to be a bit of a mystery as to what it is. I’m not showing any of the symptoms associated with the usual culprits.

My doctor prescribed a short course of steroids and recommended taking over-the-counter antihistamines to help with the itch. I’m also sticking with my routine of cold compresses on the affected areas and being hyper-vigilant about what I eat. Fingers crossed that I’ll be all healed up in a week or so.

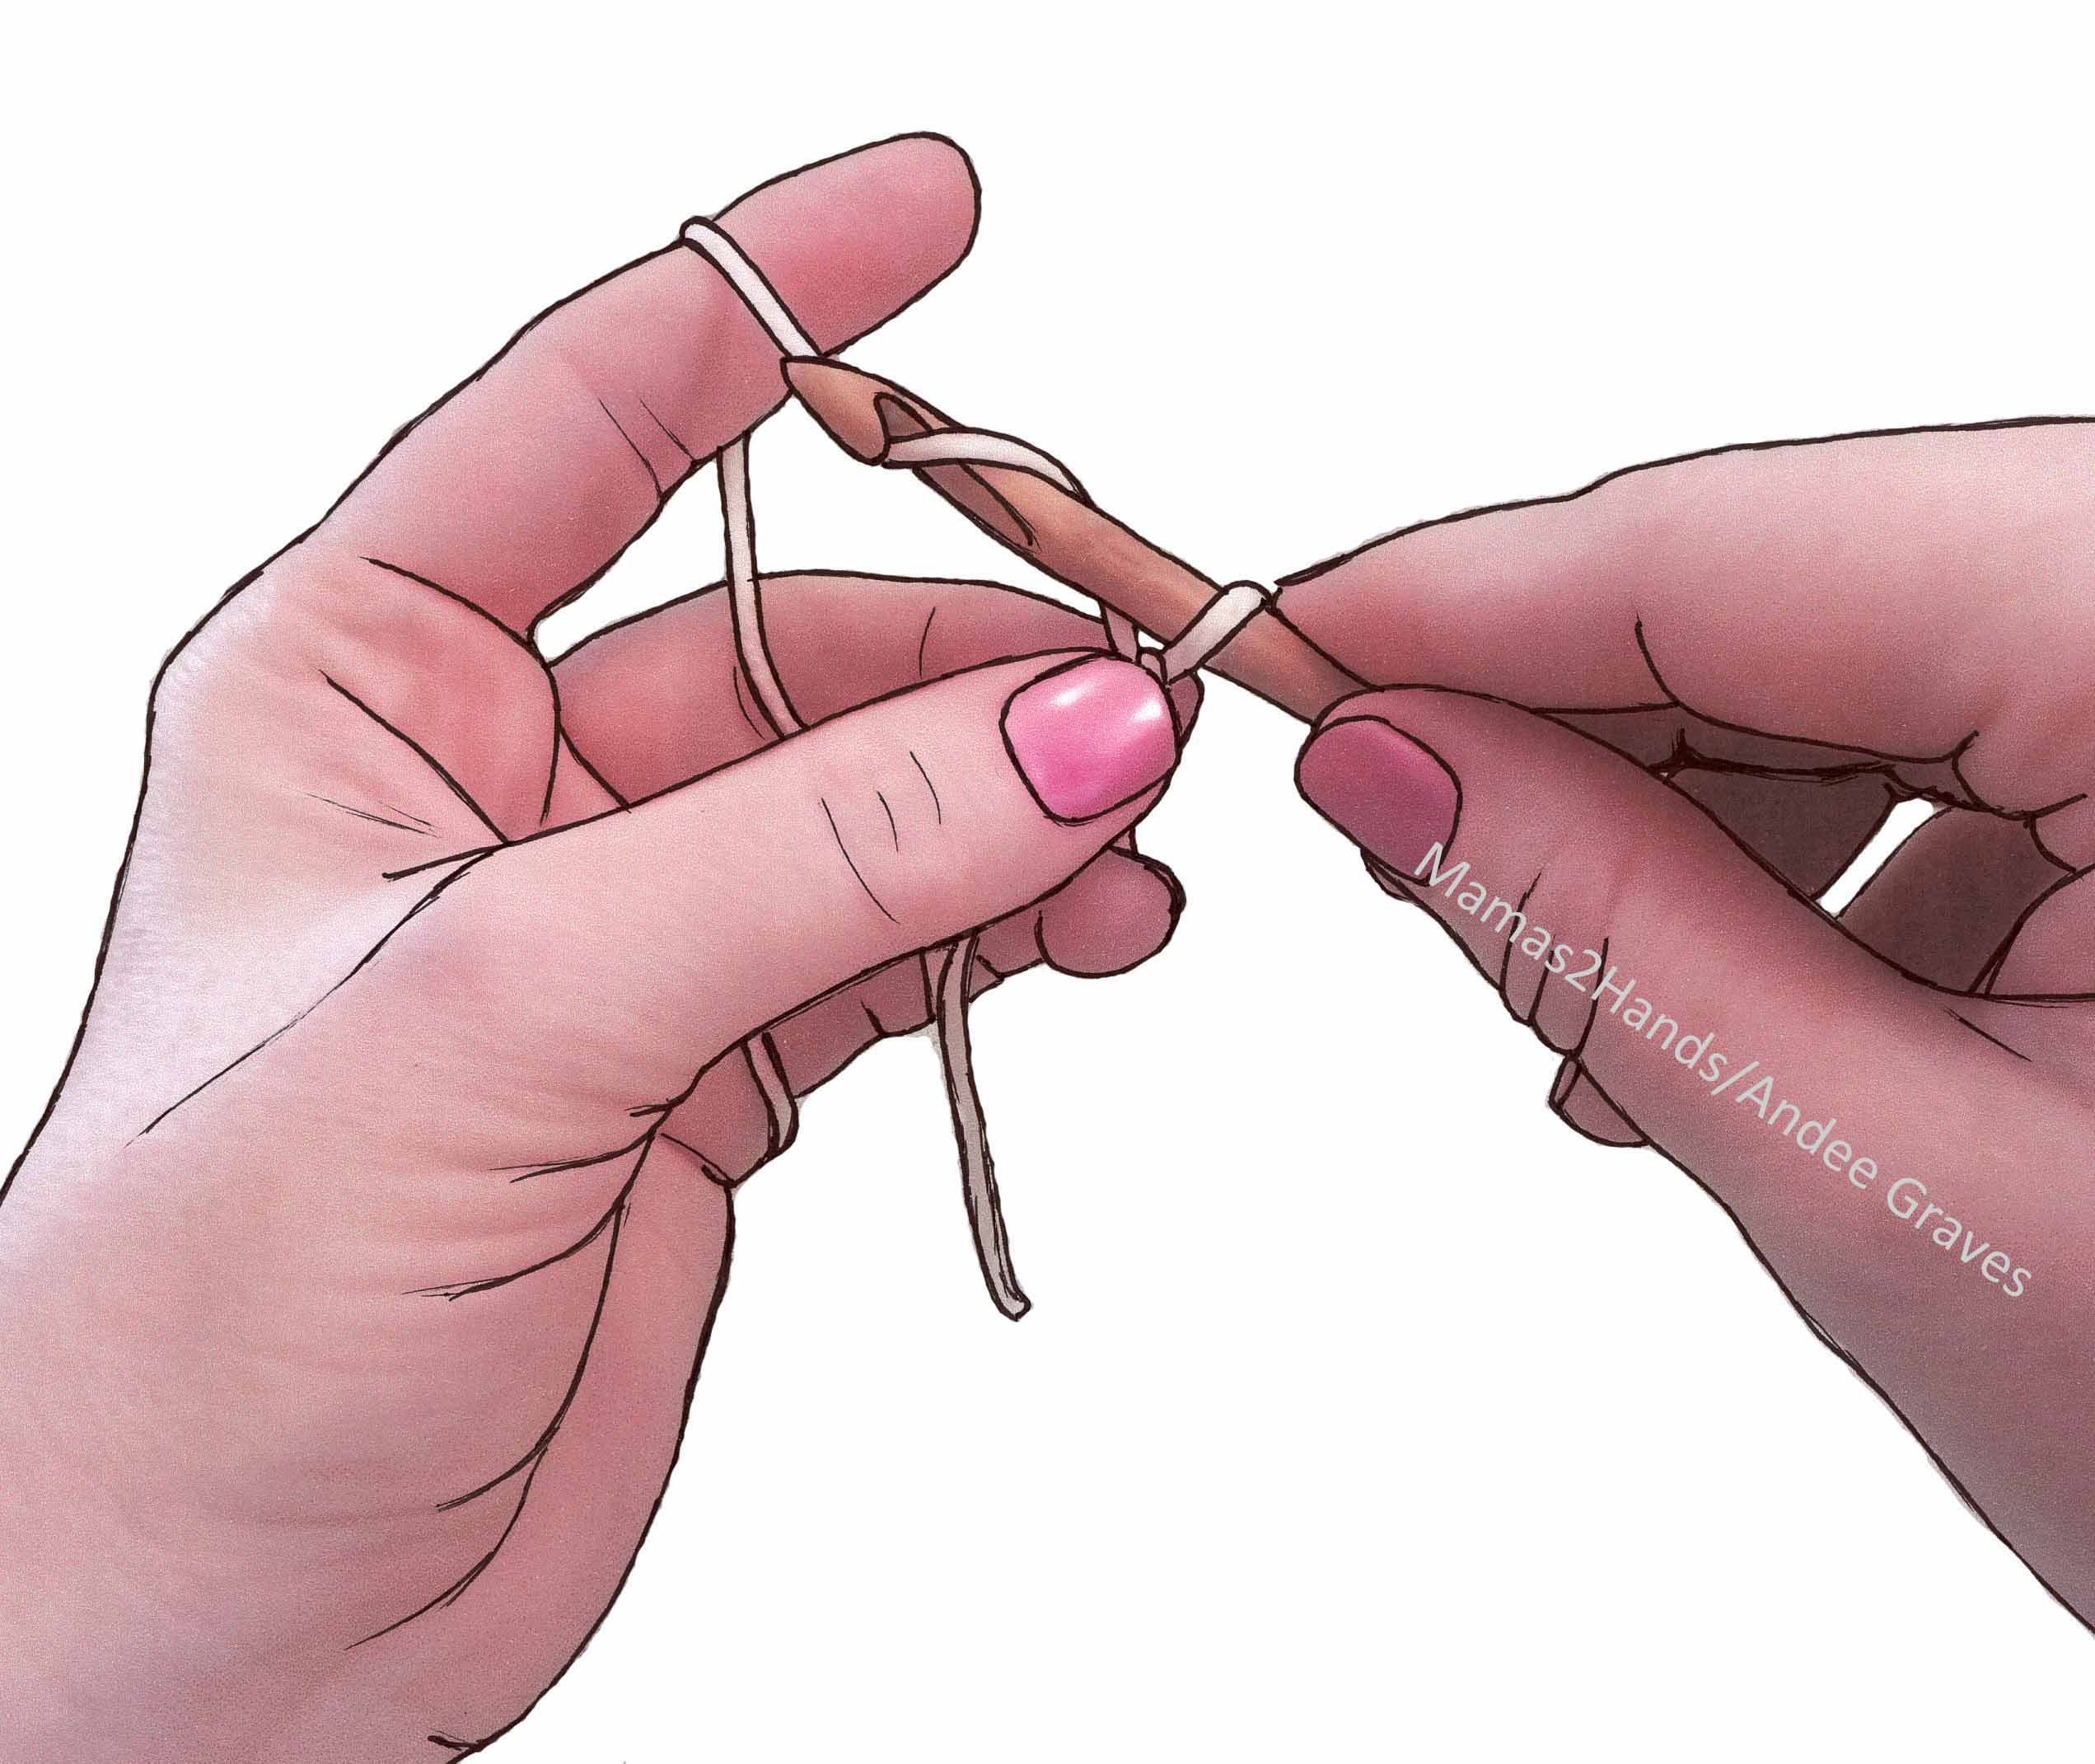
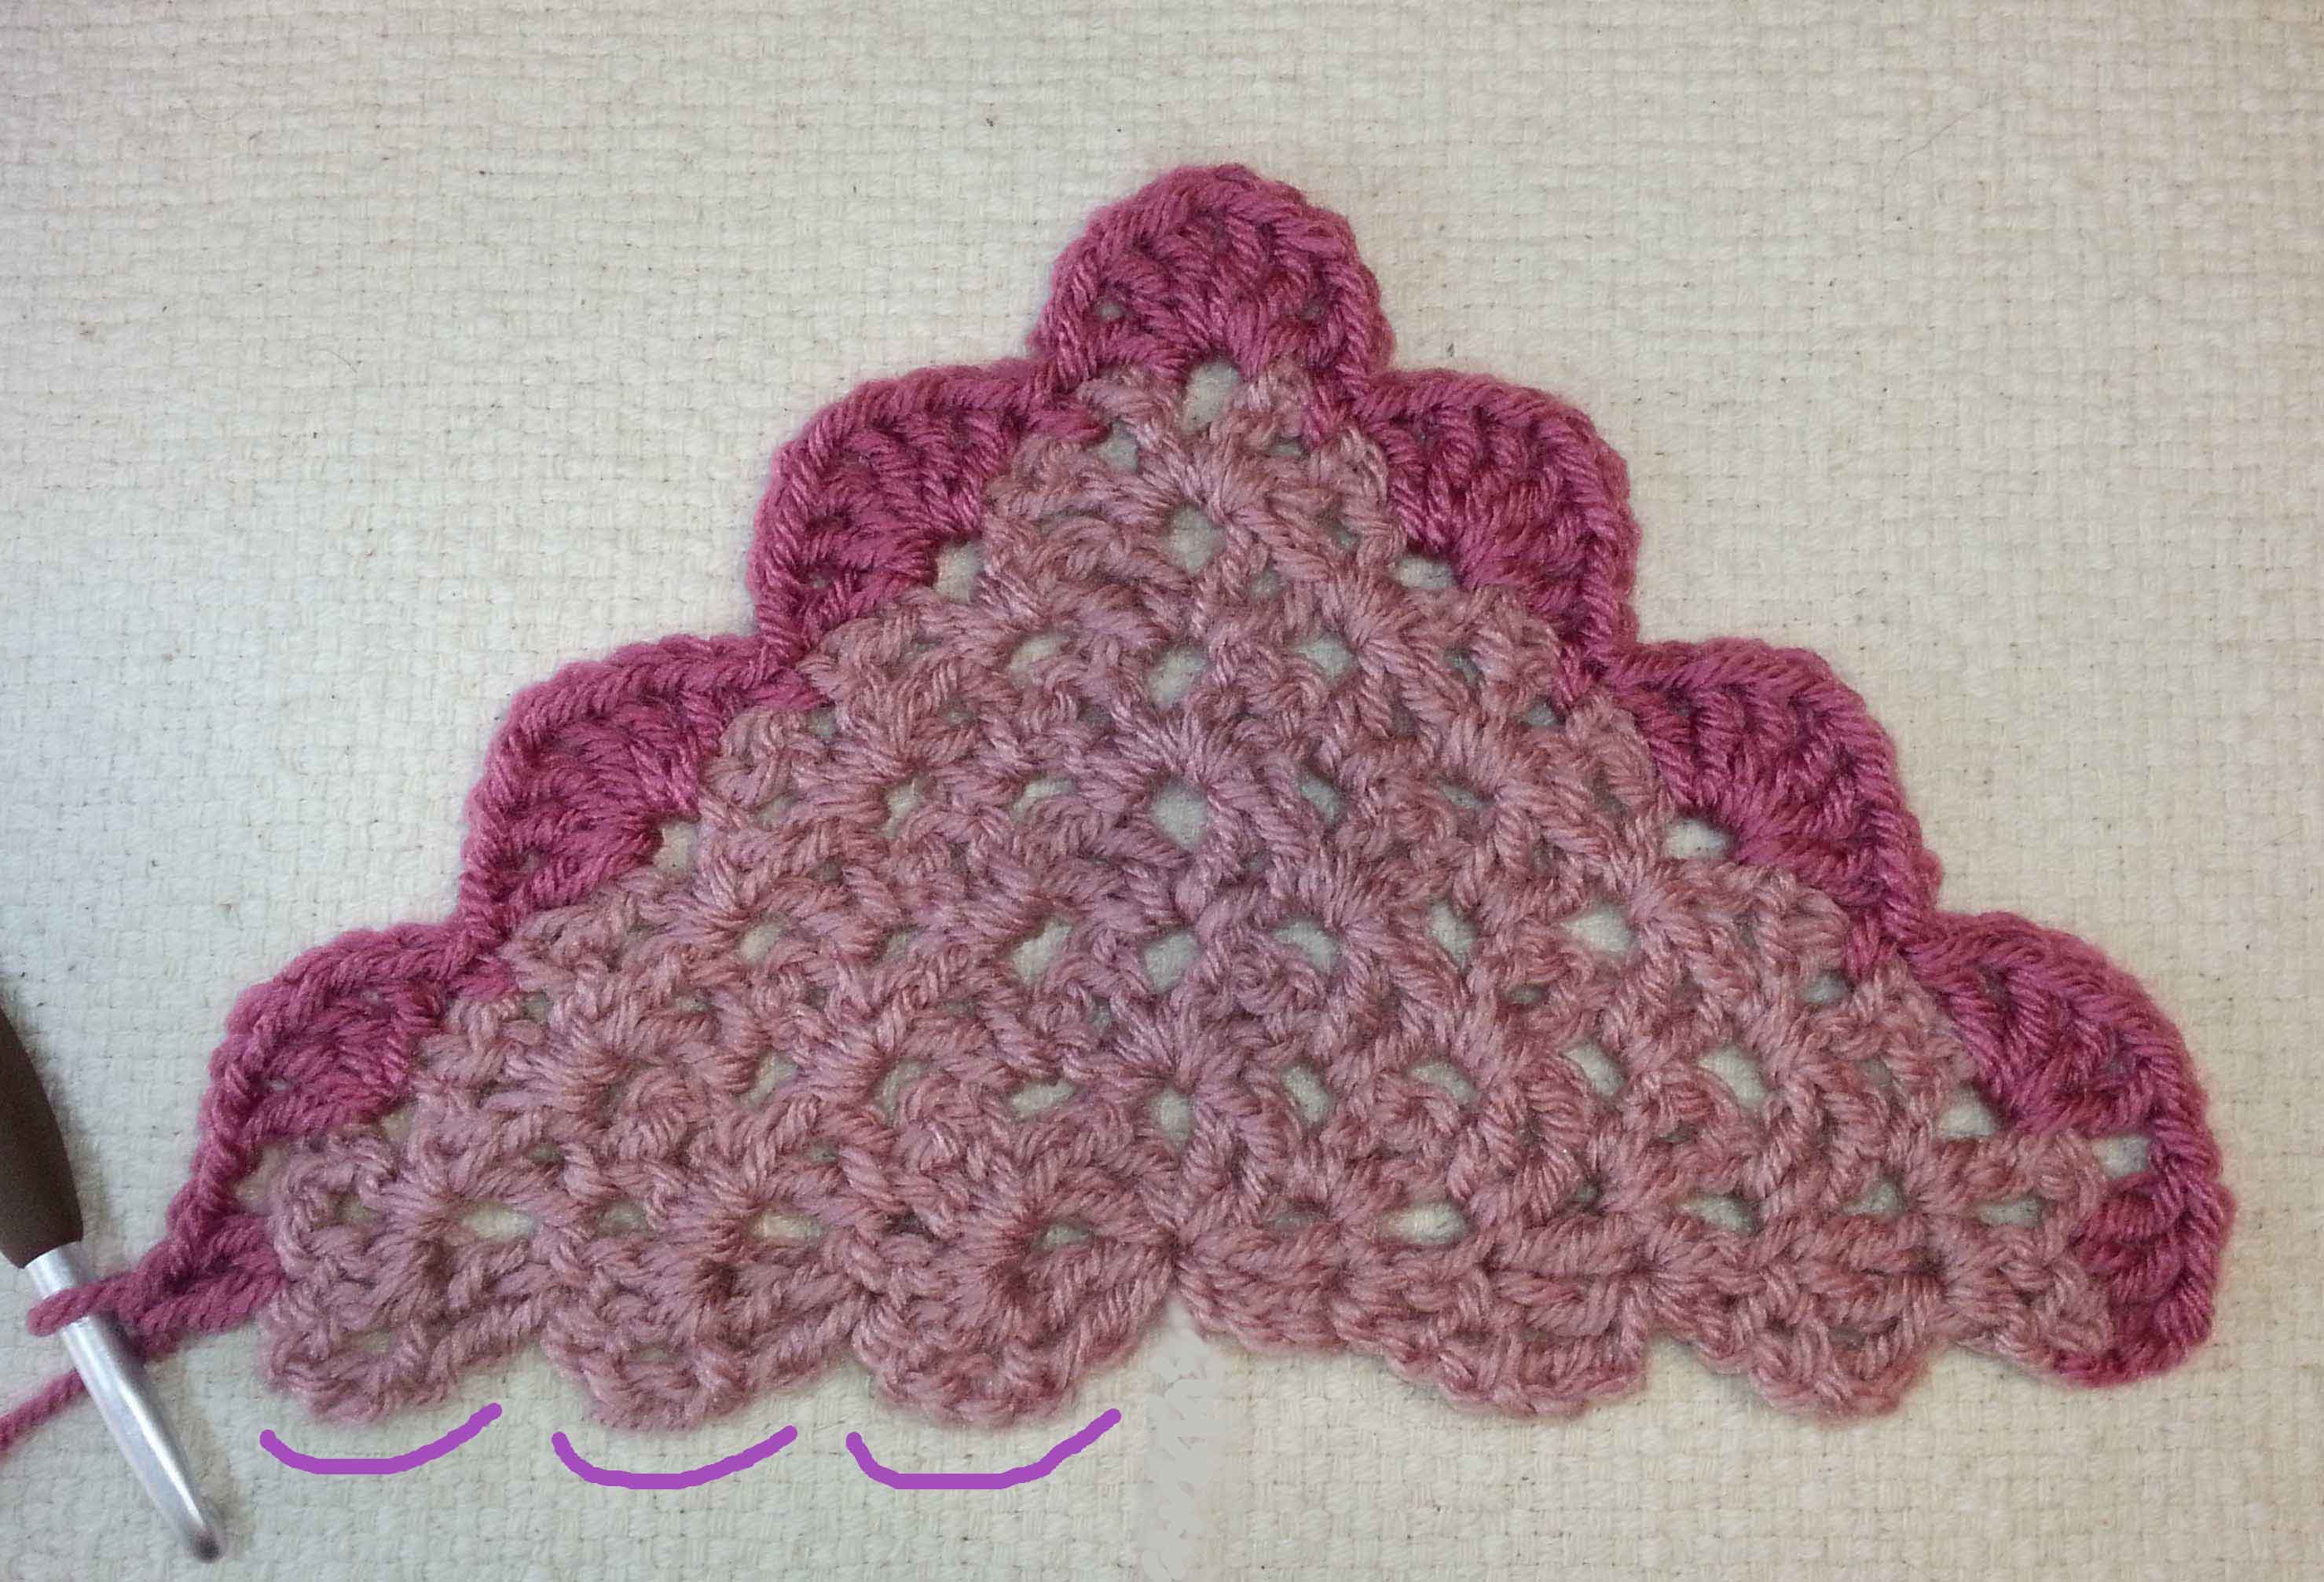
Meanwhile this has really cut into my crochet and design schedule.  Not to mention it was the reason I didn’t have any photos of me from my recent trip, I didn’t want to scare all my loyal readers.

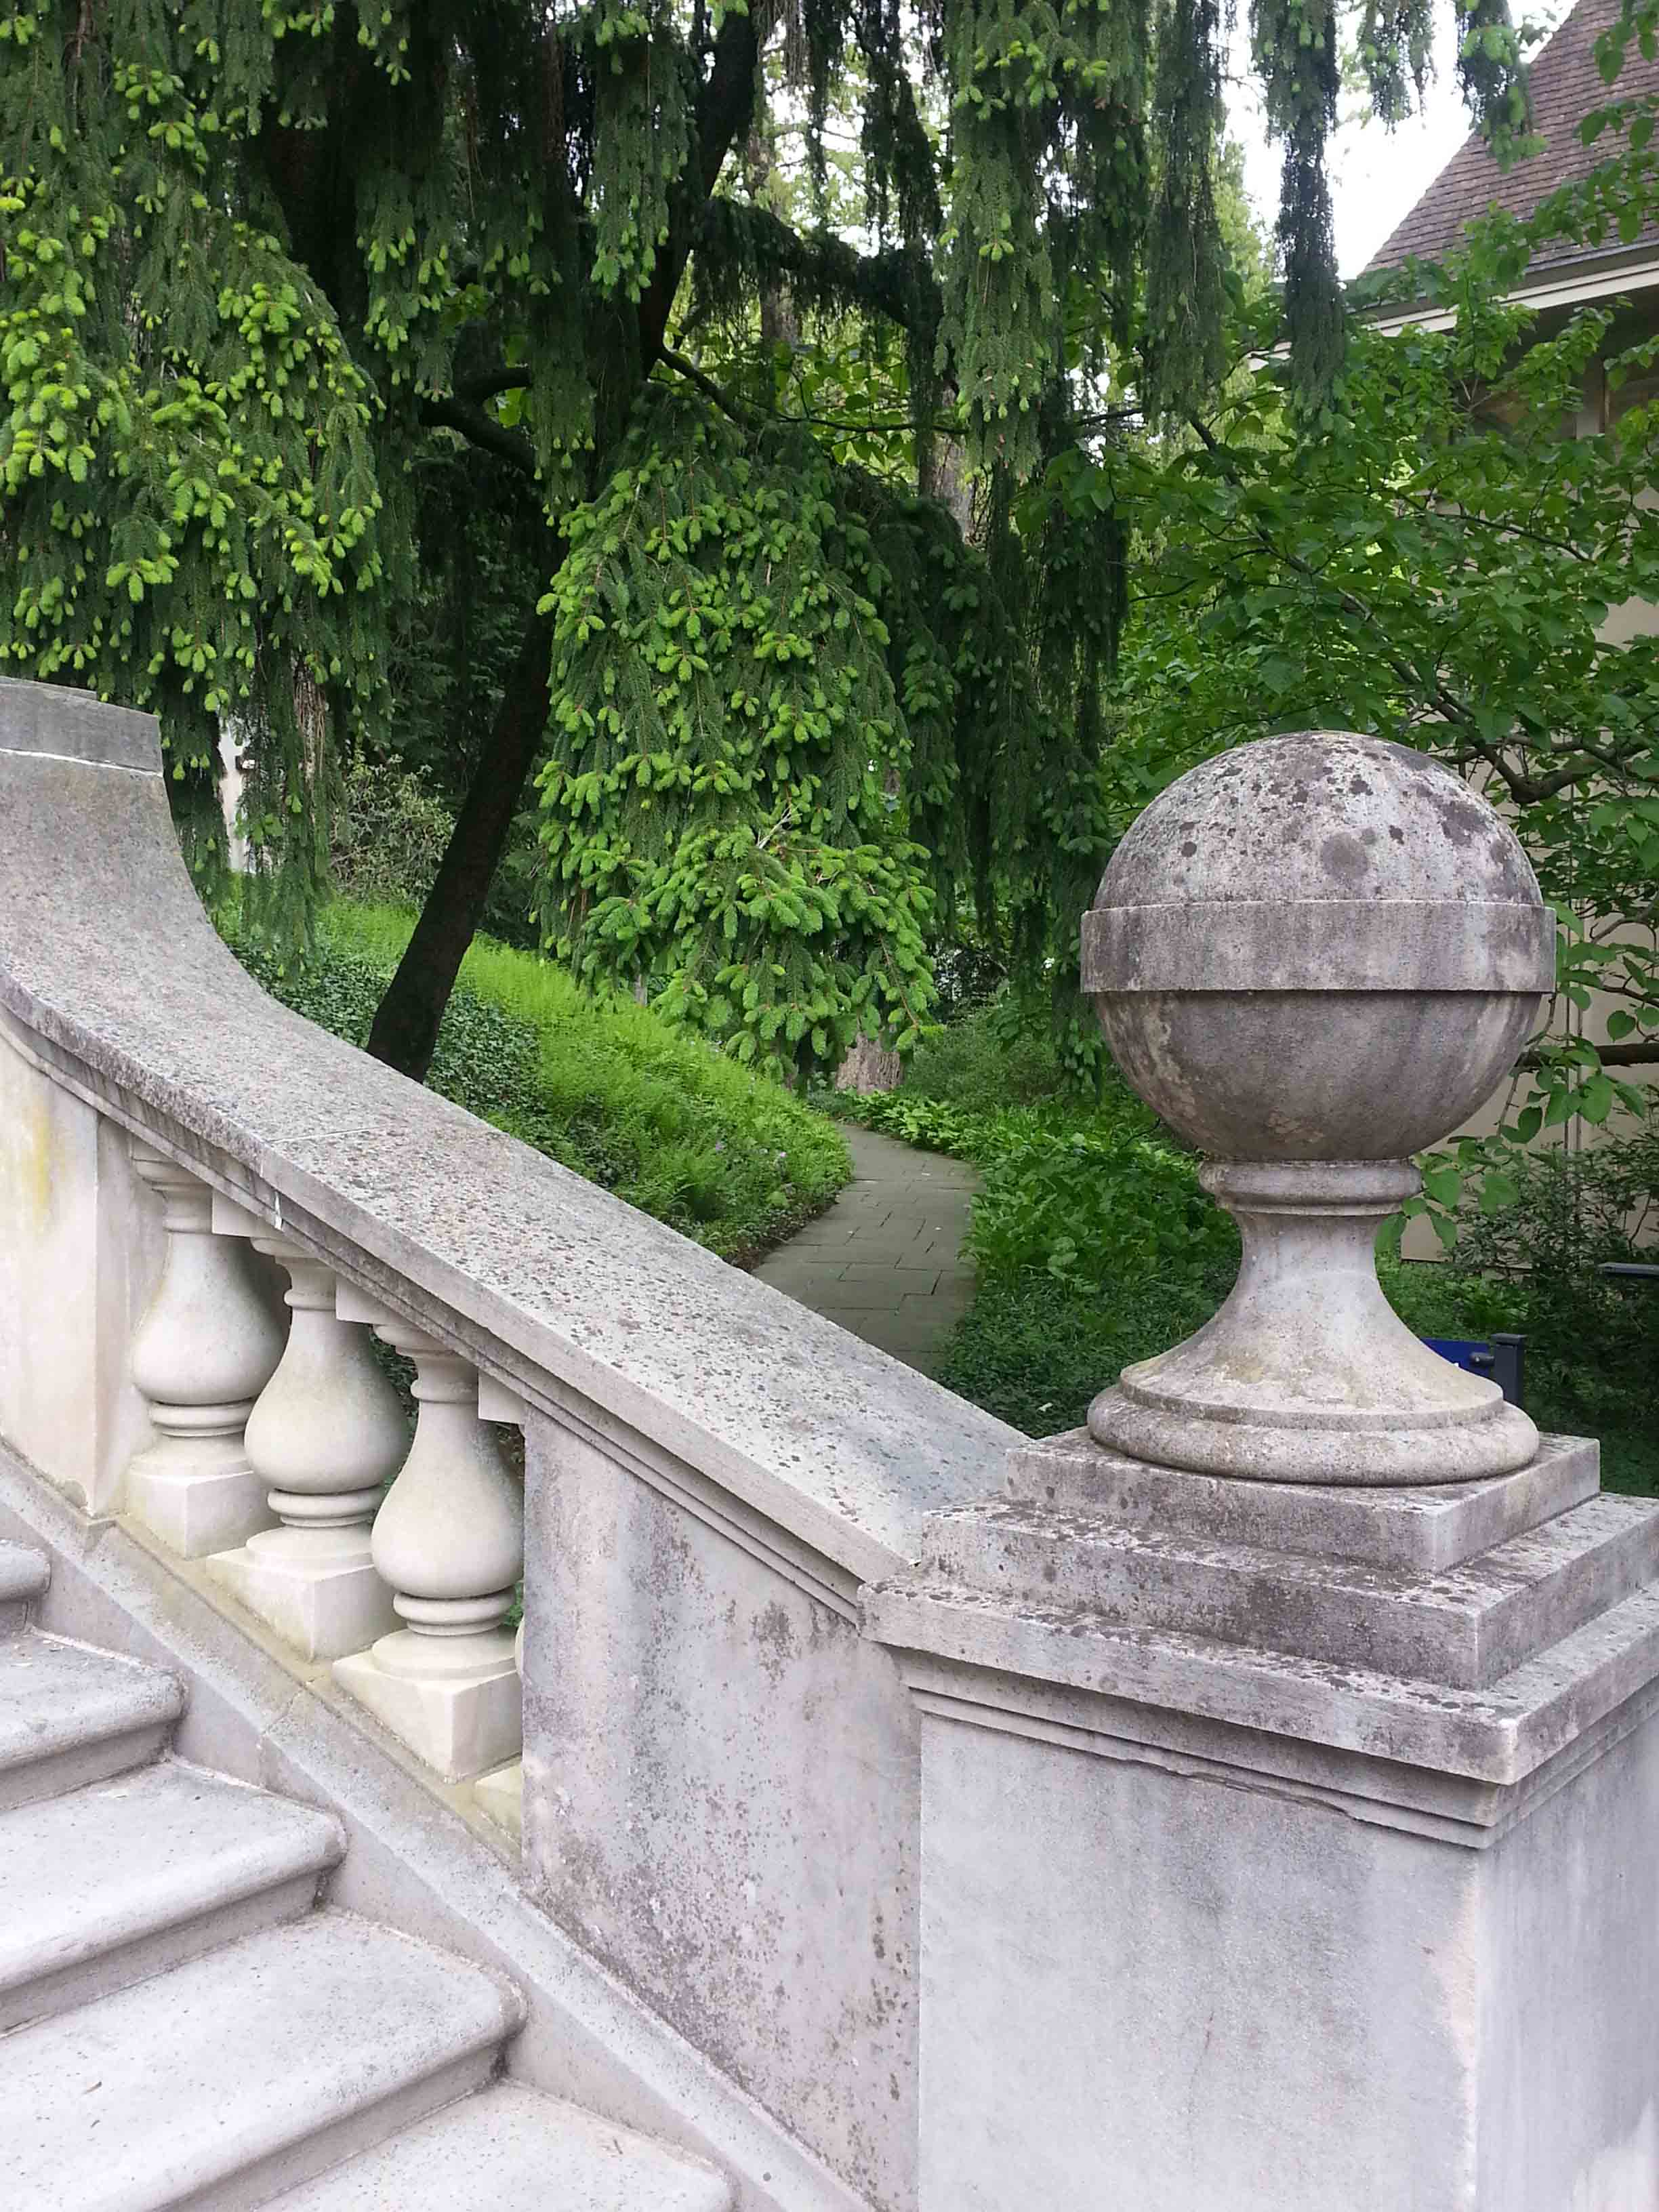
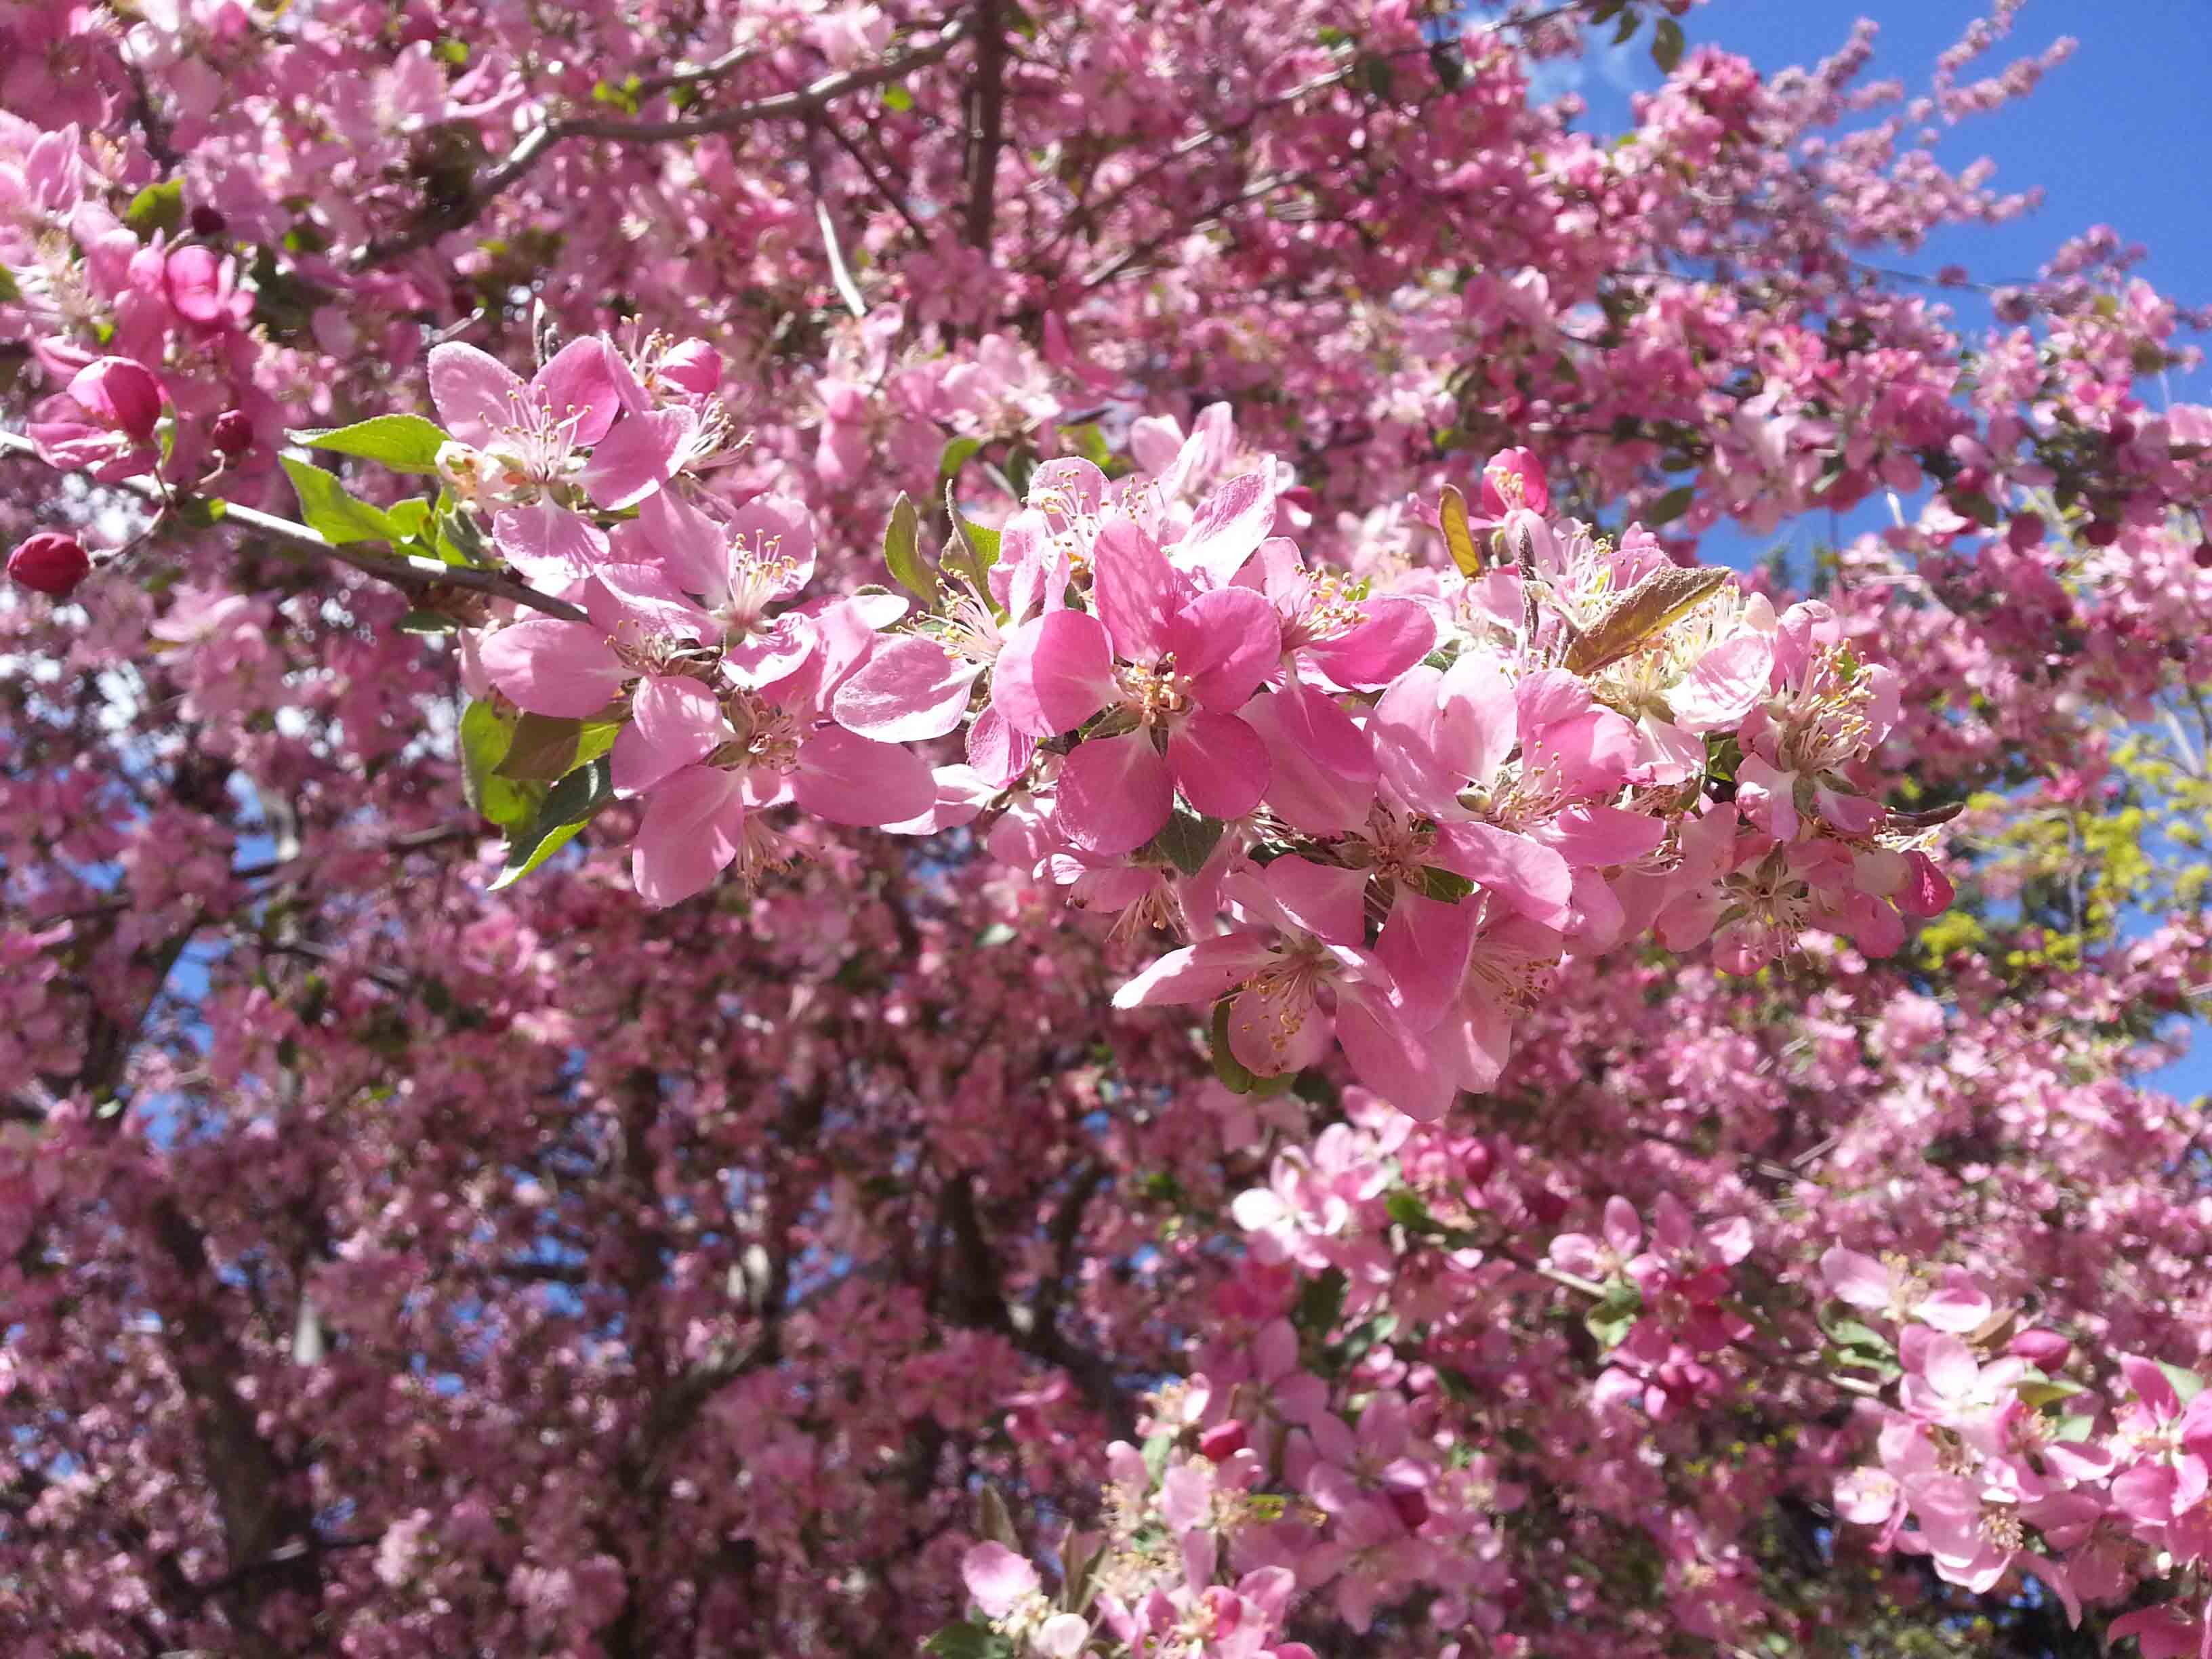
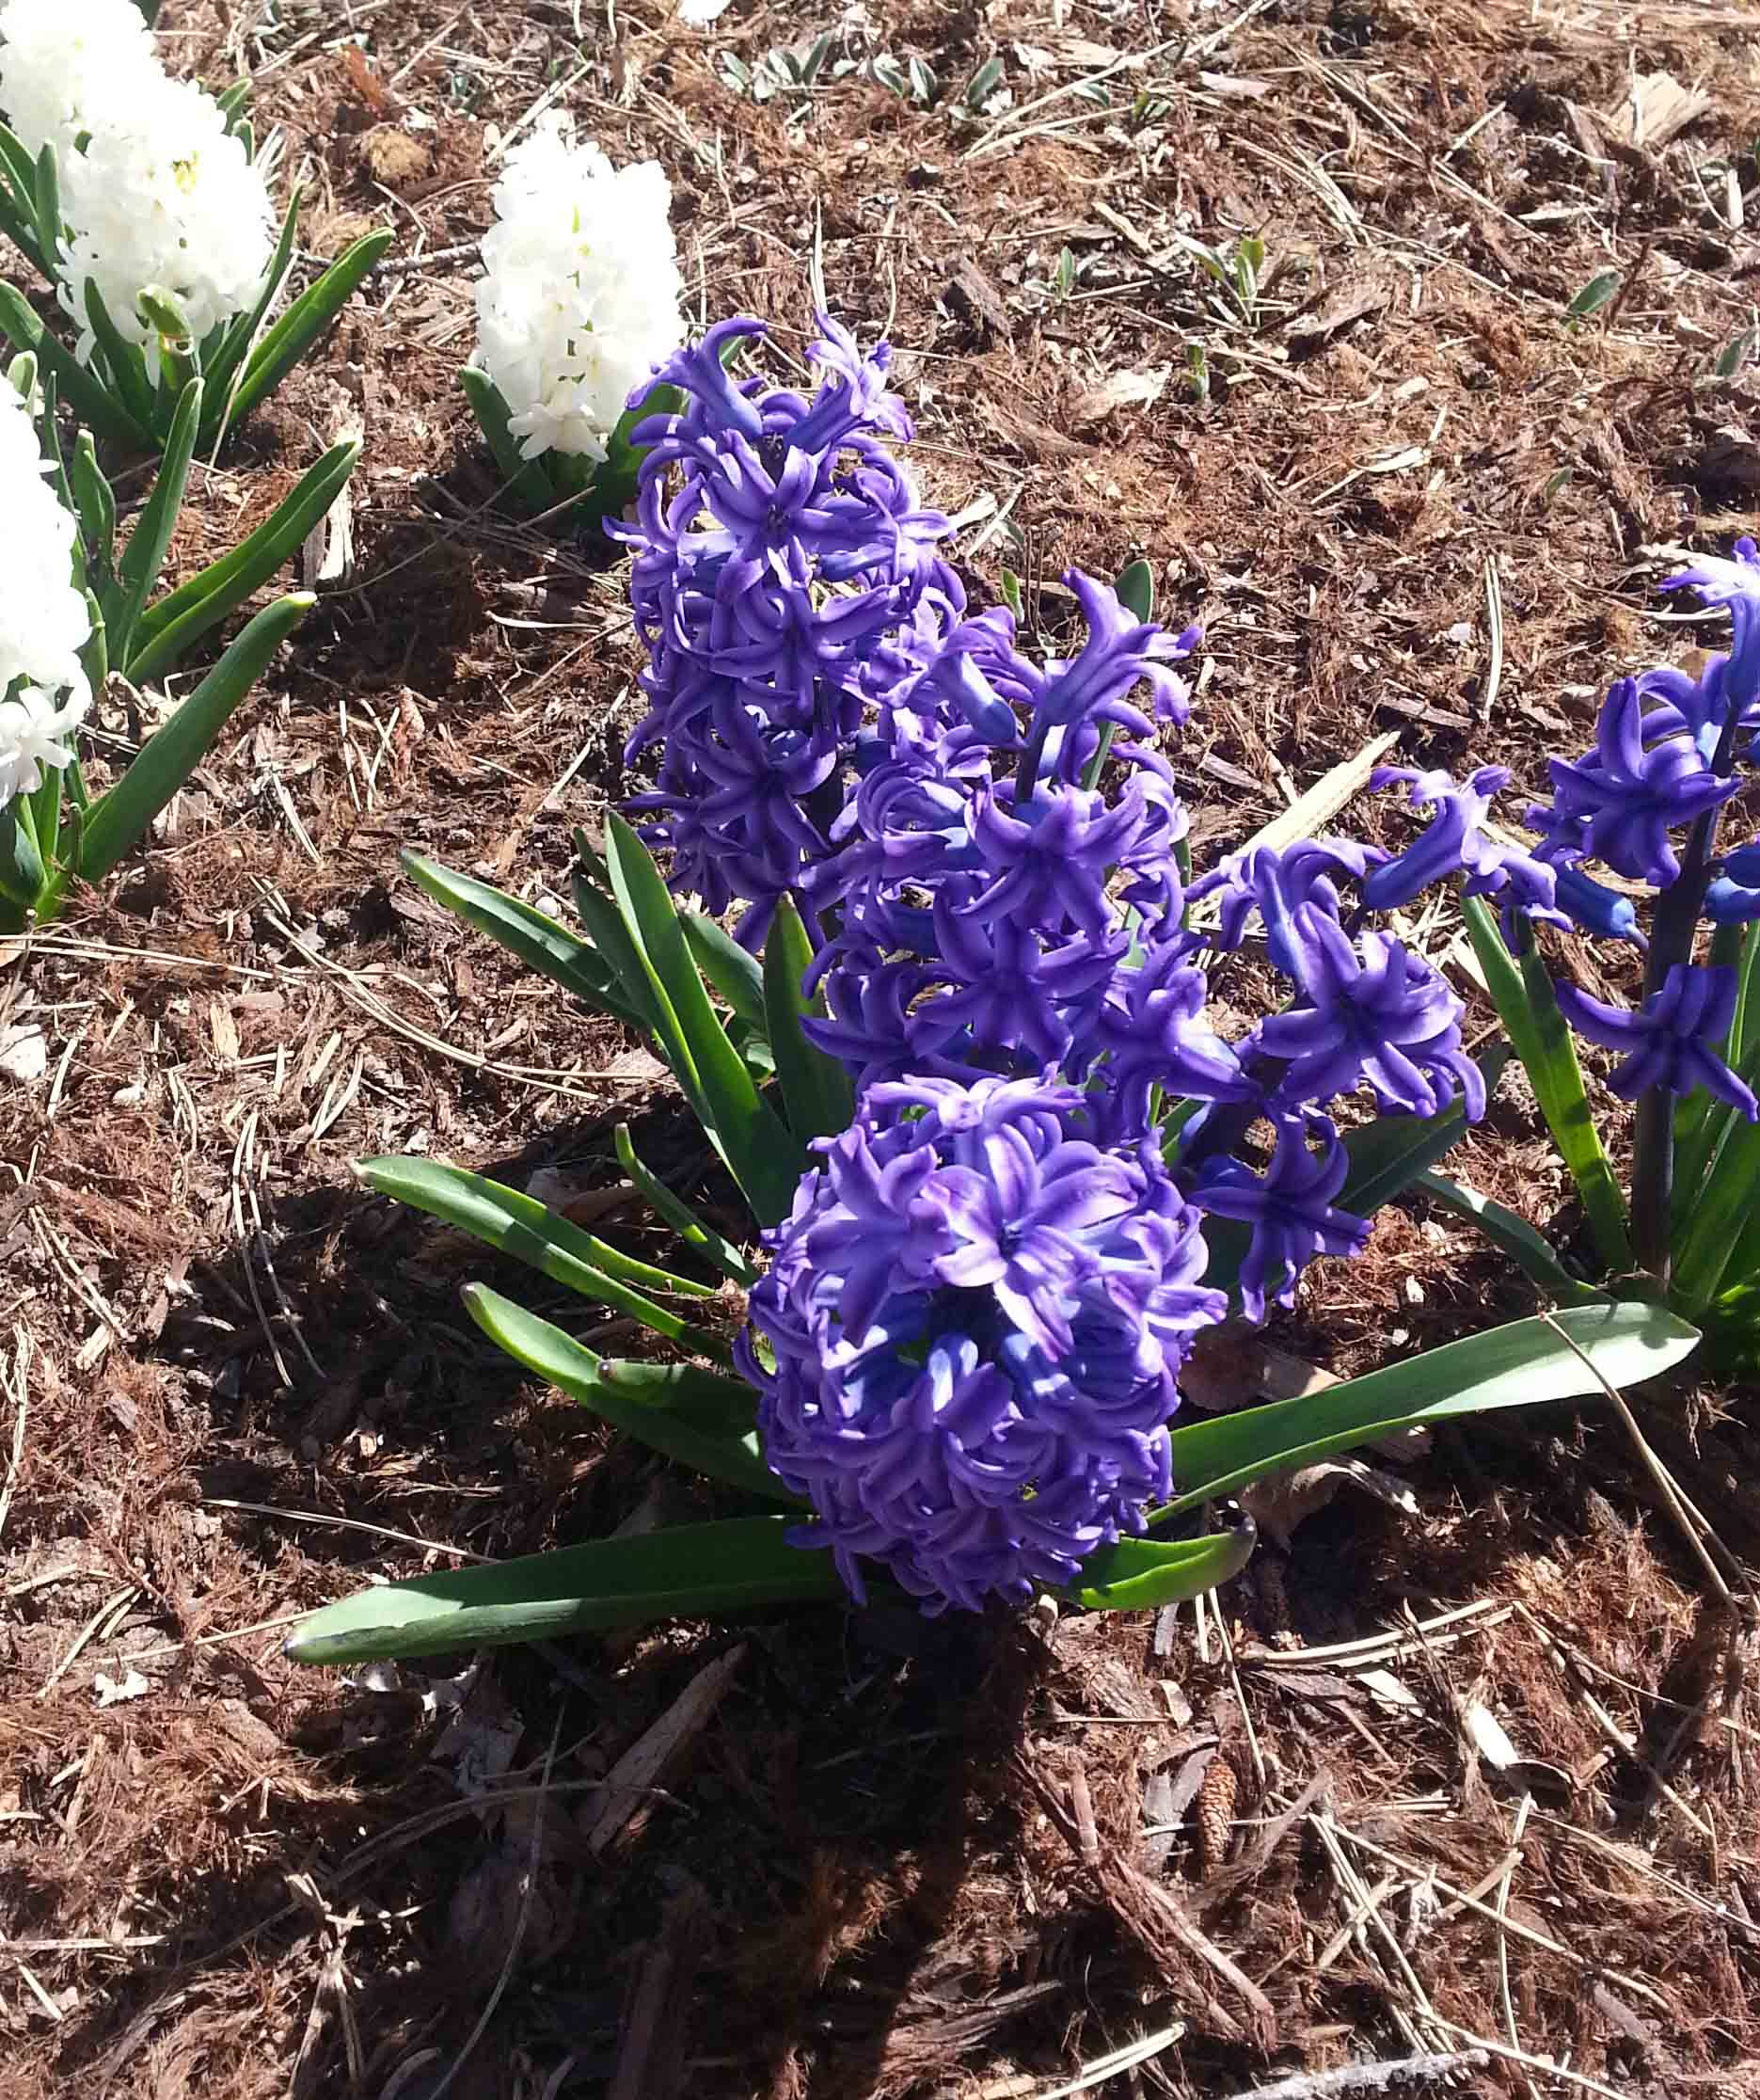
I’ll leave you today with some more photos from my Longwood Garden trip.

LG Dragon railing

The massive conservatory there is filled with beautiful flowers and everywhere I looked was something to intrigue the eye. I really loved the “childrens” area that had whimsical ironwork thru-out. This dragon railing looked almost alive.

LG Birds Fountain

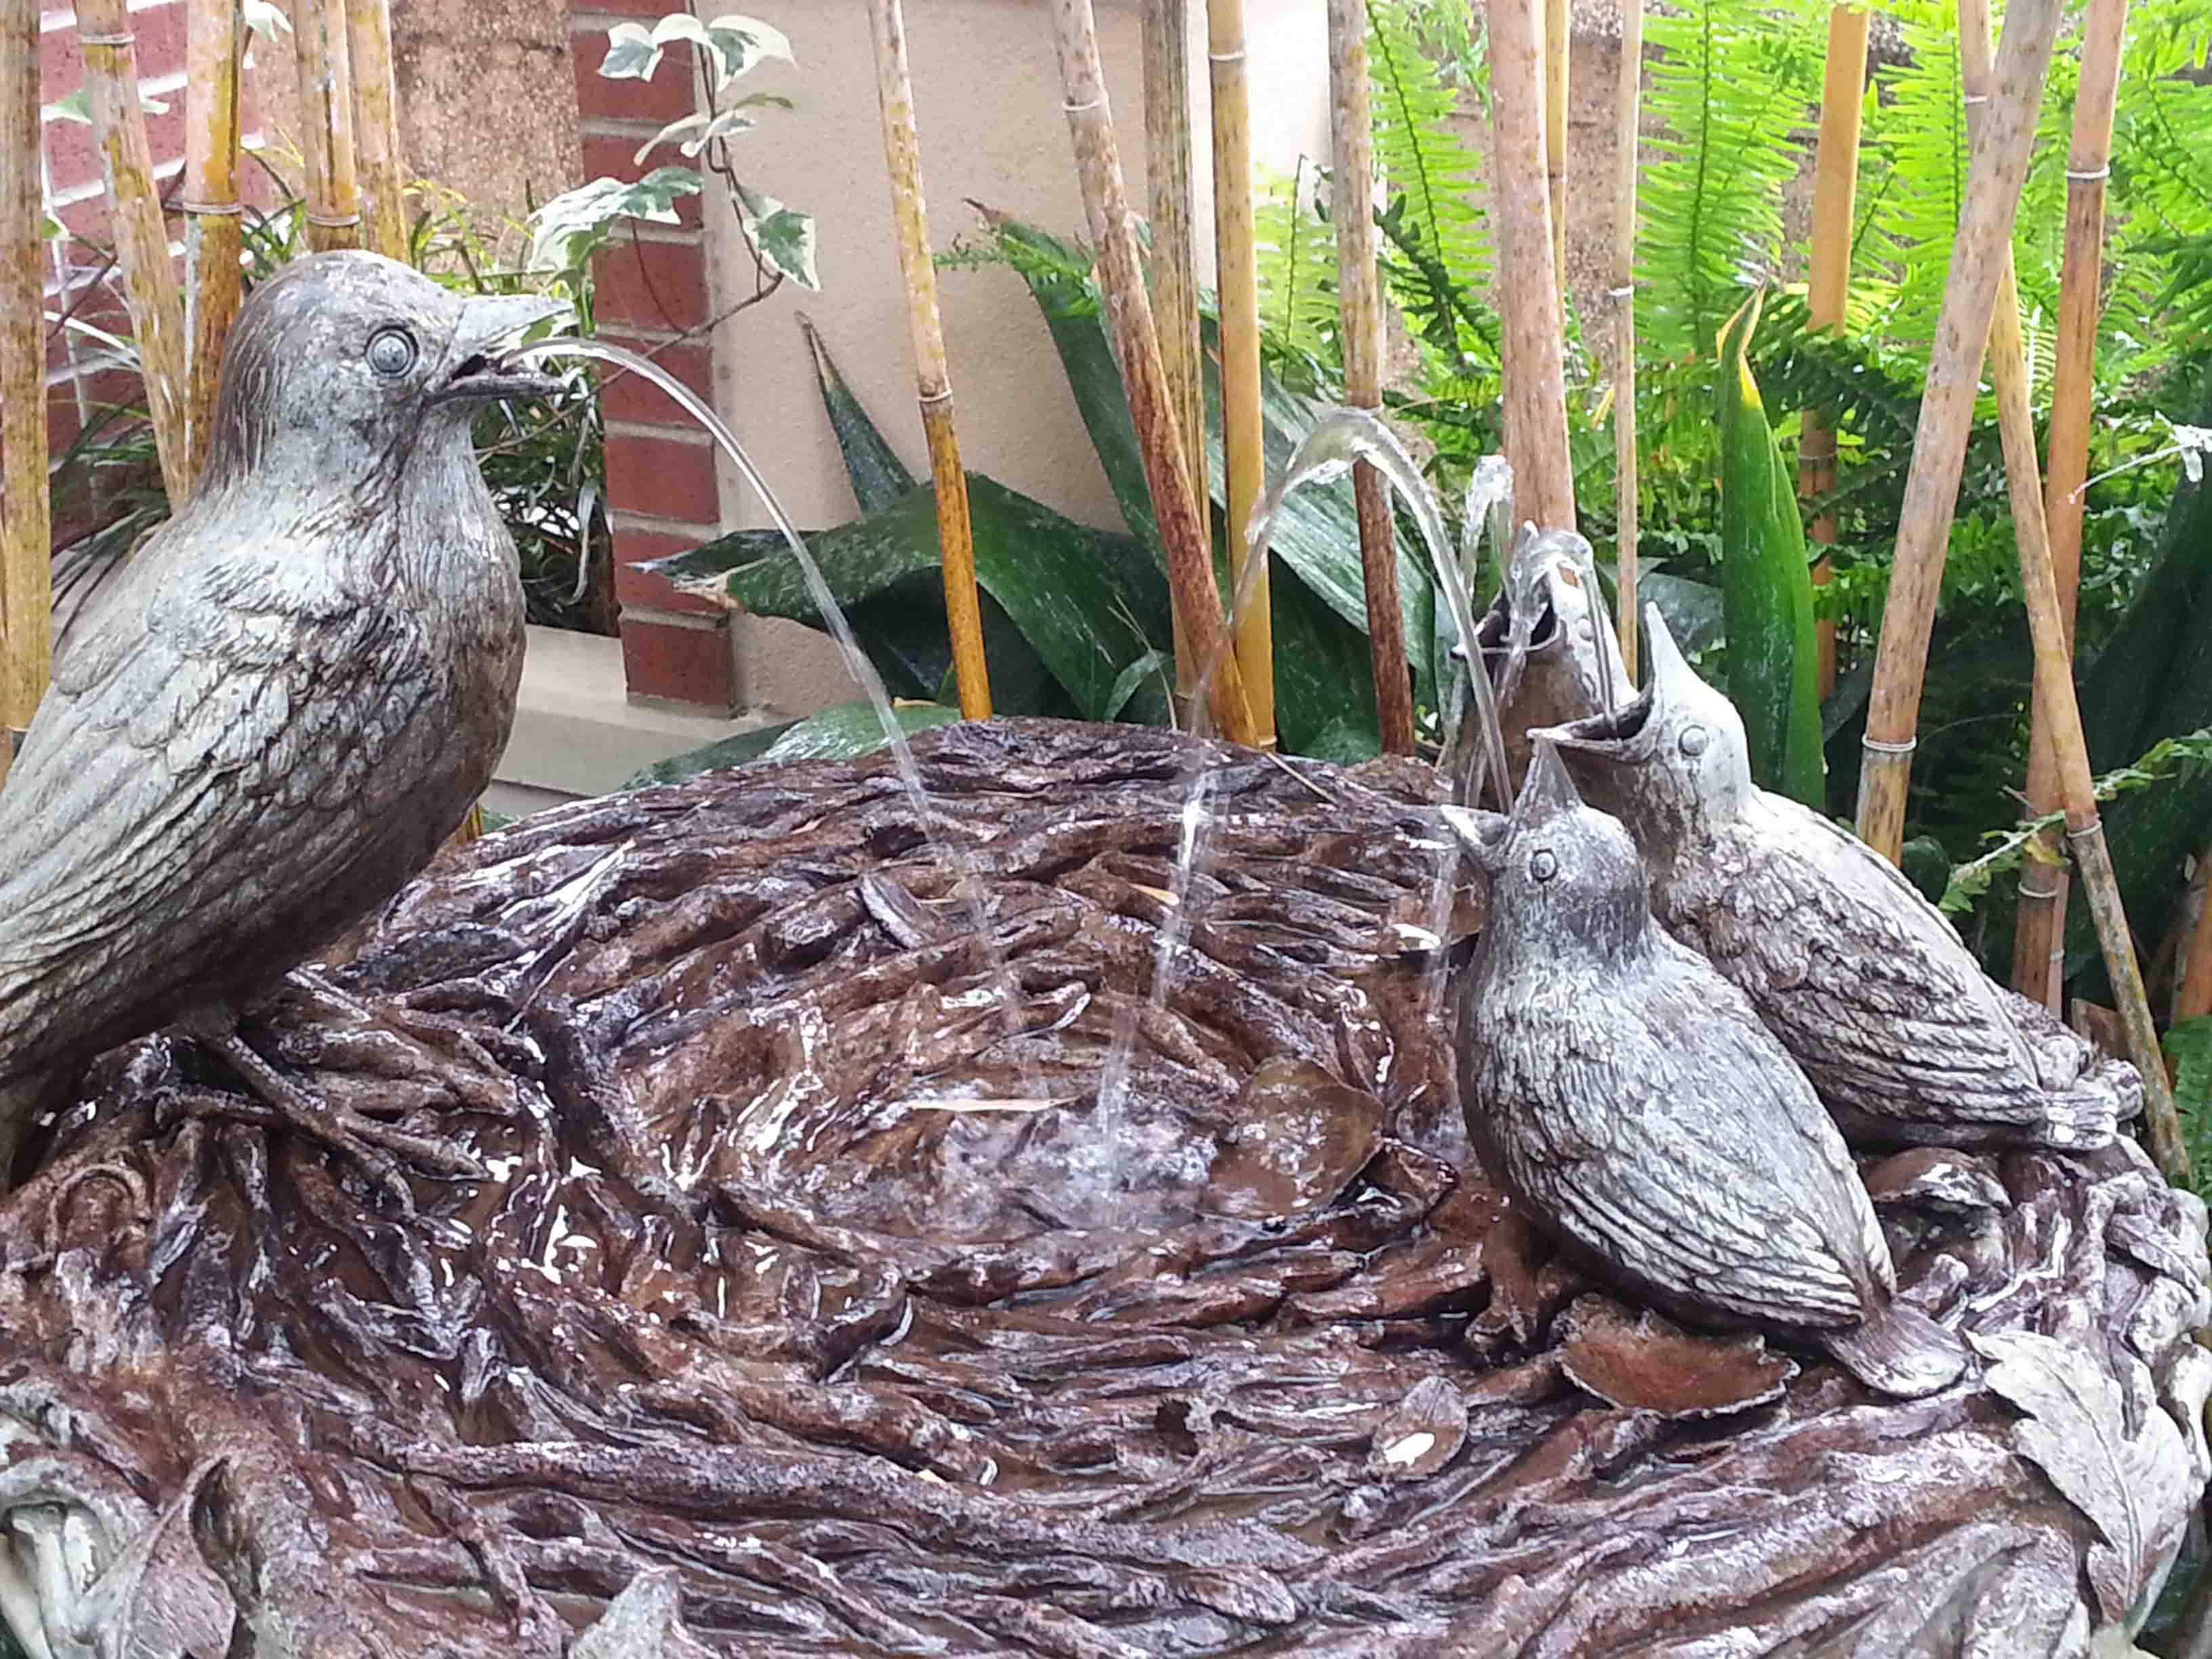
And this little bird fountain was very endearing.

LG Lace Hydrangea

Jan’s sister loves the Lace Hydrangeas, and I was really pleased with this photo of them.

LG Orchids 1LG Orchids 3

But where I really went crazy was the section filled with Orchids. So many colors and shapes, loads of inspiration for crochet motifs in the future.

LG Orchids 2


Pretty Pretty Flowers

Having way too much fun on my trip still, so the blog is getting a bit neglected. Tuesday and Wednesday of this week Jan and I drove down to the Philadelphia area to stay a couple nights with her sister and brother-in-law. The plan was to visit Winterthur and Longwood Gardens the 2 days we were down there.

Beautiful White Azalea bloom patterned with bright pink.
Beautiful White Azalea bloom patterned with bright pink from the Winterthur Gardens.

According to the weather dudes those were supposed to be our best days for outdoor outings. Unfortunately the weather dudes screwed up. Tuesday morning driving down it was spitting rain at us most of the way. Jan’s sister suggested when we got there that we do Winterthur that day, since lots of it was indoors touring the house.

Winterthur was quite lovely. A beautiful big house full of collections surrounded by a wonderful park-like estate. When we arrived at the visitor’s center we rode in the “Garden Tram” to the house and had a informative short tour of the garden with a very nice guide.

WT Azaleas

Jan loves Azaleas and our timing for this visit was perfect as they were at their peak. It did continue to rain, mostly it was only spitting and a bit gray. We still enjoyed walking around the gardens near the house and touring the collections in the house.

Steps down from the house into the garden.


Walking down the path into the reflecting pool garden.


The Reflecting Pool Seahorse decoration.


Back of the house from the reflecting pool.

Most of the good photographs I got that day were close-ups because the lighting really didn’t lend itself to distant outdoor shots.

White Snoballs and Purple Azaleas. These special azaleas are named "Winterthur".
White Snoballs and Purple Azaleas. These special azaleas are named “Winterthur”.


Fluffy white azaleas

One tool I was using a lot in my photography this trip was the “guidelines” on my smart phone’s camera view. Most smart phones have this option on them and I’ve found it really handy for helping me line up and compose my shots. My phone is the Samsung Note 2. I found the “guidelines” under the “settings” in the camera view.

Icelandic poppies and Violas around a fountain at Longwood Garden.

The next day dawned a bit gray still, but we headed out to Longwood Gardens. These gardens are incredible and even with the overcast weather that never quite left us, it was an amazing day. I managed to take over 200 photos there, of course some of that was because I take multiple shots with slight differences hoping to get a shot I like.

Banks of flowers along the path in Longwood Garden.

Despite most of my visit this week being marked by wet weather I’ve really enjoyed it. It is such a change to be somewhere so lush and green, compared to my mountain top. The tall deciduous trees and rampant green undergrowth is quite different from the evergreen forest that surrounds my home on the mountain.

I’ll share more of my Longwood Garden photos next week. I also hope to have a fun new animation video finished for you by then.

Jan & Andee’s NY Adventures

The last time I came out to visit Jan we had planned to take the train into New York City to go to the Lion Brand Yarn Studio and Kinokuniya Book store. Unfortunately, Jan injured her foot and was in no condition to deal with the amount of walking that would be involved. Instead, the lovely Mary Beth Temple drove us into the city and even got us to our various destinations.

Princeton Jnctn Stn

This trip Jan and I wanted to try out our original plan of taking the train from New Jersey to NYC Penn Station. Jan had done a lot of research and after a brief reccie the day before, we were ready to catch our train to the city Monday morning after most of the commuters had already taken their trains.

Degas Dancers

Our day’s itinerary was focused on going to MoMA to see the Degas exhibit. We would walk from Penn Station to the museum taking a route that passed by a number of iconic NYC sights like the Empire State Building and Rockefeller Center. So today’s post is all about photos.

Madison Sq Garden

I had headed Jan and I in the wrong direction from Penn Station but Jan got me straightened out. Clearly I’m good at geometry not geography. But I did get a decent shot of one of the entrances to Madison Square Garden.

Empire State Building

My first bucket list item was getting a photo of the Empire State Building. I got lots, but this is the one I’ll share with you today.

NY Public Library

Next we were headed north for MoMA, with plans to stop for lunch at a little restaurant that Jan had researched. Next photo stop was the NYC Public Library. I love the Lions on either side of the front steps.

Empire State Building

Then Jan spotted the Chrysler Building so I got a quick photo, that was a “bonus” sight and completely serendipitous.

Degas Dancers

After we purchased our lunch it was off to MoMA. No photo of the entrance cause I was too excited. Here is a photo of one of the Degas paintings. If you are in the area get yourself to MoMA to see this wonderful and inspiring exhibit.

MoMA Gifts for the boys

I got presents for the boys at the gift shop.

My Goodies from MoMA

And goodies for me (of course).

Rockefeller Center

Next we headed back to the train station. Stopping by Rockefeller Center on the way.

NBC Door Pull

Had to get a photo of the NBC Peacock door pull.

Gigantic Button and Needle in Garment District

Loved this gigantic button and needle in the Garment District.

More later.


Springtime Retreat

I’m a little tardy getting my weekend post up because I ran away from home yesterday. Well, not really. I’m writing you from lovely New Jersey at Jan’s house. Had quite the travel adventures getting here, but eventually it all worked out. Of course that means I arrived at Jan’s door at 2 a.m. today.

As you all know, Jan and I love to get together and crochet, so this is sort of our own little springtime retreat. Jan took time off from work and the 2 of us will be hanging out with hooks and yarn. We are also going to do a few fun day trips, heading into NYC to visit MoMA on Monday and maybe will get to see some of our NY friends while there.

The later part of next week is predicted to be fairly rainy, so we will be kicking back with some crochet projects and enjoying each other’s company. Of my 2 suitcases I checked, one is filled with crochet projects and yarn, so I’m all set.

Springtime Cowl 1

In the meantime, I finished my experiments with the Classic Elite Yarn’s “Santorini” yarn. It did grow up to become a cowl, but I changed the width of my fabric in order to get a bit more length from the 2 balls of yarn I had. I like the look of the finished project and it is a nice size for a little added warmth in transitional weather.

I wore it when traveling yesterday and it was handy at 1 a.m. waiting outdoors for the car service to pick me up. On the plane and in the airport I wore the cowl as an infinity scarf and when I needed warmth I doubled it.

Springtime Cowl 2

For those of you that would like to try out this design I have a pattern for you.

Springtime Cowl

Designed by Andee Graves

Skill – Beginner

Stitches you need to know: Chain (ch), Double Crochet (dc), Single Crochet (sc)

Finished size: Approximately 5” wide x 38” around

Special Stitches

Materials

Yarn: Classic Elite Yarns “Santorini”; 58% Vicose/42% Cotton, 50 grams/125 yards. (sample was made with 2 balls of color #2156)

Hook: I-9/5.5mm

4 stitch markers; 2 in each color

Blunt yarn needle

Gauge:

15 rows and 16 stitches in pattern = 4”

Pattern Notes

First row is worked in the back bump or “bar” of each chain st so that base of row will be Vs like the top of stitches.

When reach the last row fasten off with a long tail, this tail will be used to sew the final row stitches to the base of the first row of stitches.

Springtime cowl finished fabric

Twisting the strip of fabric 180 degrees turns your project into a moebius, if you want you can skip the twist and just sew the ends together to create a ring. Another option is to weave in the ends and make your strip of fabric into a short scarf.

Project used almost all the yarn in the balls, so if you don’t get gauge you may need to shorten your foundation or the number of rows you work.

Instructions

Row 1: Ch 21, working in back bumps, sc in 2nd ch from hook, (dc next st, sc next st) 9 times, dc in last ch. (10 sc, 10 dc)

Row 2: Ch 1, turn, sc in first st, (dc next st, sc next st) 9 times, dc in last st. (10 sc, 10 dc)

Rows 3 – 138: Repeat Row 2. Fasten off with long tail.

Springtime cowl fold n mark2

Lay out strip of fabric horizontally and mark top corners with one color of stitch marker, then mark bottom corners with other color of stitch marker.

Springtime cowl flipped

Fold strip so ends are close together with matching colors of stitch markers, twist top end so that stitch markers are mis-matched.

Springtime Cowl sewing

Using ending tail whip stitch tops of Row 138 stitches to bottom of Row 1.

Weave in all loose tails.

Gently block if desired.

Wishing all of you a very lovely spring weekend and a Happy Mother’s Day.

Mixing it Up

I’ve been having a lot of fun making some of my “Playing with Triangles Shawls”. So far I’ve finished two and am currently working on a third.

1st PWT

The first one I finished I used Lion Brand’s “Vanna’s Choice” 100% acrylic worsted weight yarn with a size J/6mm hook.

1st PWT back

It took almost all of 7 balls of yarn as I wanted the shawl to be very large.

2nd PWT

The second one I used Newton’s Yarn Country “Four Seasons” 100% acrylic fingering weight yarn with a size G/4mm hook. I added a carry-along thread (Kreinik “Twist”) in silver for a few rows and the border for some sparkle.

2nd PWT back

I used approximately 1,472 yards to make this shawl since I wanted a large shawl again. My finished shawl is 74 inches across the top edge and 32 inches long at the center point.

3rd PWT attempt

My third one is my WIP and I’m working it more of a shawlette size. I have 3 balls of Red Heart Boutique “Treasure” 70% acrylic/30% wool and am crocheting with a size J/6mm hook. I love the way this color changing yarn creates stripes in the shawlette.

You can find the pattern for this shawl in my blog post “Playing with Triangles” and the link to my video on YouTube is here.


The Joys of Designing

The end of this week has been a bit disappointing crochet-wise. I had hoped to have a new shawl design all worked out, but instead I ended up making 3 different swatches I was disappointed in and then ripping them out.

My usual designing method is to start with drawing out my stitch pattern and shaping ideas on paper in symbols. Then sit down with yarn and crochet to try out the idea and to determine gauge. Most of the time this works very well, though as this week proves, not always.

Friday afternoon Snow

This weekend is shaping up to be another snowy one, though not as heavy as what we got 2 weeks ago. I was really wishing I had a crochet project ready to go. Unfortunately I am in one of those odd periods with my crochet work that all I had in my work bag was swatching projects.

Ball of CE Santorini

I decided that this was a good time to work with some of the neglected balls of yarn that have been sitting in my stash too long. I have 2 balls of this Classic Elite “Santorini” that I had purchased at the Longmont Yarn Shoppe last year. It’s a very interesting yarn that changes texture and color thru-out its length. Sometimes it has the body of cotton and other times the slinky fluidity of rayon.

I’ve tried a couple of stitch patterns with it in the past and realized that the yarn needs a super simple stitch pattern to really shine. The colors don’t show up with any regularity and the resulting fabric has a rather random appearance that doesn’t look good with a defined lace pattern like shells, V-stitches or pineapples.

Swatch 1

I tried rows of single crochet worked in the front loop but wasn’t pleased with it. After a little experimenting I decided on one of my other favorite stitches the “Up and Down” stitch (that’s what it is called in Betty Barnden’s “Crochet Stitch Bible”). This is alternating single and double crochets on the first row, then working doubles in the singles and singles in the doubles on the following rows. I start my rows a bit differently than Betty shows them in her book.

I like to begin each row with a single crochet and end with a double crochet. At the start of my second row (and each following row) I chain 1, turn and work a single crochet in the last double from the previous row. This creates a nice clean edge on the rows that I can crochet off of or can just leave plain.

Saturday snow
Saturday morning snow

I’m going to keep going on this swatch to use up my yarn and see how much fabric I create, I’m thinking this might become a cowl.  Now I have a project to work on while it continues to snow outside.

Budding Leaves and Lilacs

It’s beginning to look like springtime finally. Off the mountain in town a lot of the trees are showing leaves and the flowers are in bloom. Up top though it’s been a slower sense of the season. Yesterday I was at my friend and neighbor V’s house for our weekly crochet and crafting visit.

V's Garden last Friday
V’s Garden last Friday

V has a lovely garden and a number of her bulbs were showing off blooms. Best of all to me though was that her lilac bushes are getting leaves and buds. I didn’t get any photos though since the weather got wet and cold. Hopefully the weather will be kind and the lilacs won’t be frozen before blooming and sharing their lovely scent.

Meanwhile we are still getting some cold days and a bit of snow up here on my mountain. We are at 8,400 feet above sea level and V’s house is around 7,000 feet.  There is a fairly big difference in the seasons between our houses, and V is a much more talented and dedicated gardener than I am.

Lilacs at Denver Zoo Spring 2012

I need to make a trip to the Denver Zoo with my family soon as the lilacs there are generally in bloom long before the ones up here on the mountain. They have a lot of lilacs on the zoo grounds and I always try to make at least one visit there while they are in bloom.

M2H Designs: Tumbling Leaves Scarf

I decided it’s time to crochet some transitional pieces to add to my wardrobe. It’s been over 4 years since I published my “Tumbling Leaves Scarf”. This is a fun project to crochet for experienced or intrepid intermediate stitchers.

Mochi Plus Scarf WIP

Originally I created this design with a bulky yarn worked with a P size hook, but I wanted to try it in a lighter weight yarn with a smaller hook for a skinny scarf to wear this spring. I picked a ball of Crystal Palace’s “Mochi Plus” that reminded me of my favorite colors of springtime and used an I (5.5mm) hook to crochet with.

Scarf SectionI love “Mochi Plus” because it comes in so many lovely color combinations. I enjoy working with and designing with yarns that have long runs of color that blend together and this yarn doesn’t disappoint. My original scarf was 6.5 inches wide and 75 inches long. Using the “Mochi Plus” and the smaller hook this scarf came out 3.5 inches wide and 41 inches long before blocking.

Because of the faux motif design of this scarf I am going to try a different blocking technique with it and will share my results with you later.

If you’d like to make a scarf like this you can purchase the pattern in my Ravelry shop by clicking here.

The pattern includes both US crochet terminology text and charted directions.


Getting Started with Crochet

Most of my reader’s are experienced crocheters, but today I wanted to address the needs of those of you that want to learn to crochet. These instructions assume that you already know how to make a slip knot and have placed your yarn on the hook shaft. If you need help with making a slip knot click here to see a post that will help you.

One of the things I like to emphasize when I am teaching new crocheters, is holding your yarn and hook so that your hands are comfortable. After all you are starting on a new crafting adventure and you don’t want it to end prematurely due to injury.

Crochet is a craft that utilizes both hands. For most folks it is easier to hold the hook with your dominant hand and the yarn is held in your non-dominant hand. The majority of crochet project samples you will see in magazines and on yarn company sites show projects worked with the hook in the right-hand. When the hook is held in the left-hand the stitches will look slightly different because they will slant in the opposite direction from stitches made with the hook in the right-hand.

Some left-handed crocheters hold their hook in the right-hand and the yarn in the left-hand. They use a crochet technique where they manipulate the yarn more than the hook when making stitches. If you are left-handed you can experiment to see which technique works best for you.

Anatomy of your Hook

Hook-Anatomy

Holding the Hook

There are 2 common ways to hold your crochet hook: Knife Hold, sometimes called the “toothbrush hold” and Pencil Hold. Either is fine depending on which is more comfortable to you. You need to grasp the hook so that the shaft, throat and head of the hook are un-obstructed.  Most important is not to hold the hook too tightly. I generally hold my hook using a Knife Hold.

Tensioning the Yarn

Begng Crochet 3R
Right-handed Tensioning of Yarn

“Tensioning the yarn” is just another way to say “holding the yarn”. You want to hold the yarn in such a way that it isn’t too tight or loose. Your “tension” makes a big difference in the uniformity of your stitches when crocheting.  The wrap of yarn shown in the above photo is my favorite method. I have very dry smooth skin, for folks with less dry skin you might want to eliminate the extra wrap about the pinky.

Left-handed Tensioning of Yarn

Making a Chain Stitch

Step One

Right-handed grasp of Working Loop

Once you have chosen your hook hold and have the yarn tensioned use your non-dominant hand to grasp the base of the loop on your hook (called the “working loop”) with your thumb and middle finger. This creates a strand of working yarn for your hook to move around freely.

Left-handed grasp of working loop
Left-handed grasp of Working Loop

Wrapping the Yarn

Step Two

Right-handed Yarn Over

You want the yarn to wrap around the shaft of your hook from back to front. So scoop the head of your hook in front of the working yarn strand and then behind it. This is called a “yarn-over” in crochet. Catch the yarn strand with the throat of your hook and let your forefinger move toward the working loop as you pull the yarn thru it.

Left-handed Yarn Over

You have now pulled up a loop and you need to slide that loop to the shaft of your hook and grasp the base of that new loop with your thumb and middle finger. Let the working yarn slide through your tensioning hand as you return your fore-finger to the original position it was in.

Continue to repeat steps 1 & 2 until you have the number of chain stitches or length of chain that you want. You can use pretty yarns to create lengths of chain to use as ties for packages or other decorative purposes. You can also add beads to your yarn and make beaded necklaces using the simple chain stitch.

Click here to visit my blog post about working beaded chain stitches and for more details on getting started crocheting.


A Finished Shawl

Finished PWT before tails woven

It took a bit longer than I had hoped, but I have finally finished my first “Playing with Triangles Shawl”. In the end I decided to make it 54 rows before putting on the border. My finished shawl is 76 inches along the top span and 36 inches long at the point.

Even Rows

One of the things I learnt working this first shawl is that I can keep track that my rows are even by keeping an eye on the scallops (highlighted with purple lines) on the “even” side of the top center.

Tail ends

I really had a lot of tails to weave in when I reached the finish. Took about an hour to weave them all in because I plan to use this shawl a lot and didn’t want them popping loose on me. I ended up with 25 tails total.

Snowy Outdoors

It was another cold snowy day up here on my mountain, so the new shawl got an immediate wearing. It’s wonderfully cozy and comfy.

Me in PWT

You can find the free pattern for this shawl on my blog post: “Playing with Triangles” . I also have a video on my YouTube channel that walks you thru the steps of working the first 4 rows and the border: Click here to see the video.

That is Why You Count

Glorious Spring Beauty

It’s been a lovely week weather wise. Down in town many of the flowering trees were in blown and lots of bulbs had made an appearance.

Spring hyacinths

Thursday was really amazing down in Boulder, it was in the high 70s for temperatures (up on the mountain it was in the 60s) and I had a lovely walk at one of my favorite parks where I took the above photos. There had been warnings all week that a big snow storm was moving in this Friday, so I wanted to enjoy as much of the gorgeous weather as possible.

I had hoped to finish my Playing with Triangles Shawl in Lion Brand Vanna’s Choice worsted yarn today. It seemed a very good idea to have a warm shawl to wrap up in as the storm is supposed to stay with us until Tuesday. Fortunately the boys have a long weekend off from school, so at least we weren’t going to be driving up and down the mountain in the snow.

Snowy Friday

Friday morning I woke up to sunshine, but it was definitely colder than it had been Thursday morning. By early evening, we had 5 inches of snow. So the boys and I spent the day staying warm inside and watching shows on Netflix. I was crocheting on my shawl.

I had decided to make this shawl as large as my yarn stash would allow. I had 7 balls of the color I had chosen and had worked the body of the shawl for 52 rows using 6 balls and starting into the 7th ball. I was so happy to start on the border because I thought I was nearly finished with the shawl.

Oh No 1

I was rocking along on the border and then I realized that I had a problem with my stitch count. According to my stitch pattern I had a single crochet stitch where the blue dot is, but my single crochet should have ended up where the first red dot is then I would have 3 V-stitches in the chain space where the red arch was with another single crochet in the next red dot.

I ended up counting my stitches and rows again to figure out if I had mis-counted my rows originally. But I had counted the rows correctly. Unfortunately I was on an even row, but I had an un-even number of V-stitches in the first side of my shawl. When working the body of this shawl each row should give you the same number of V-stitches along one side as the number of the row.  So I should have had 52 V-stitches along the side instead of the 53 I had. Somewhere I had added a stitch.

Markers every 10 rows

Now I had to find where I had messed up. I laid the shawl out on the surface of my bed and marked the center point of every 10th row. Then counted the V-stitches to either side until I found where I had messed up. Unfortunately I found it on the 21st row.

Found my goof 1

I had been crocheting along and slipped into working stacked instead of staggered V-stitches, then switched back to staggered. If I had been counting my V-stitches along the sides regularly I might have caught my mistake sooner.  I debated about if I was going to tear-out all the work I had crocheted on the shawl after the mistake. But I knew I would end up doing it.

Ready to begin again

I spent the rest of the afternoon pulling out my work and winding up the yarn. This is a photo of all the rewound yarn and what my work-in-progress looks like now. Maybe I’ll get it finished this weekend while we wait out the snow-storm. You’d better believe I’ll be counting my stitches at least every 10 rows to be sure I haven’t goofed again.

Sometimes even “expert” crocheters need a reminder that counting is important.