Last Wednesday was the “Causal Crochet” meet-up at the Longmont Yarn Shoppe. The 3rd Wednesday of every month crocheters can get together from 10:30 a.m. to 12:30 p.m. to crochet and learn new crochet tips and tricks.

At last week’s meeting we started our CAL. We are making a corner to corner scarf to practice the corner-to-corner (C2C) technique. If you have never tried making corner-to-corner project this is a good starting project that works up fairly quickly. All the crochet skills you need are Chain, Slip Stitch, and Double Crochet.
Corner to corner projects are about the direction the stitches are worked. Projects begin with a single square, following rows of squares are worked on the diagonal with increases until the desired width is reached. Then rows of squares are worked along the diagonal with an increase at one end and decrease at the opposite end until the desired length is reached. Once the desired length is obtained, decreases are worked to square off the final corner.
The C2C Basics Scarf uses 3 different squares made with a ch-3 and 3 dc. Increase, Regular and Decrease Squares.
The first square of the C2C project is basically an Increase square.

You start by chaining 6, you will want to keep all your chain stitches relaxed as you will be working back into the actual chains.
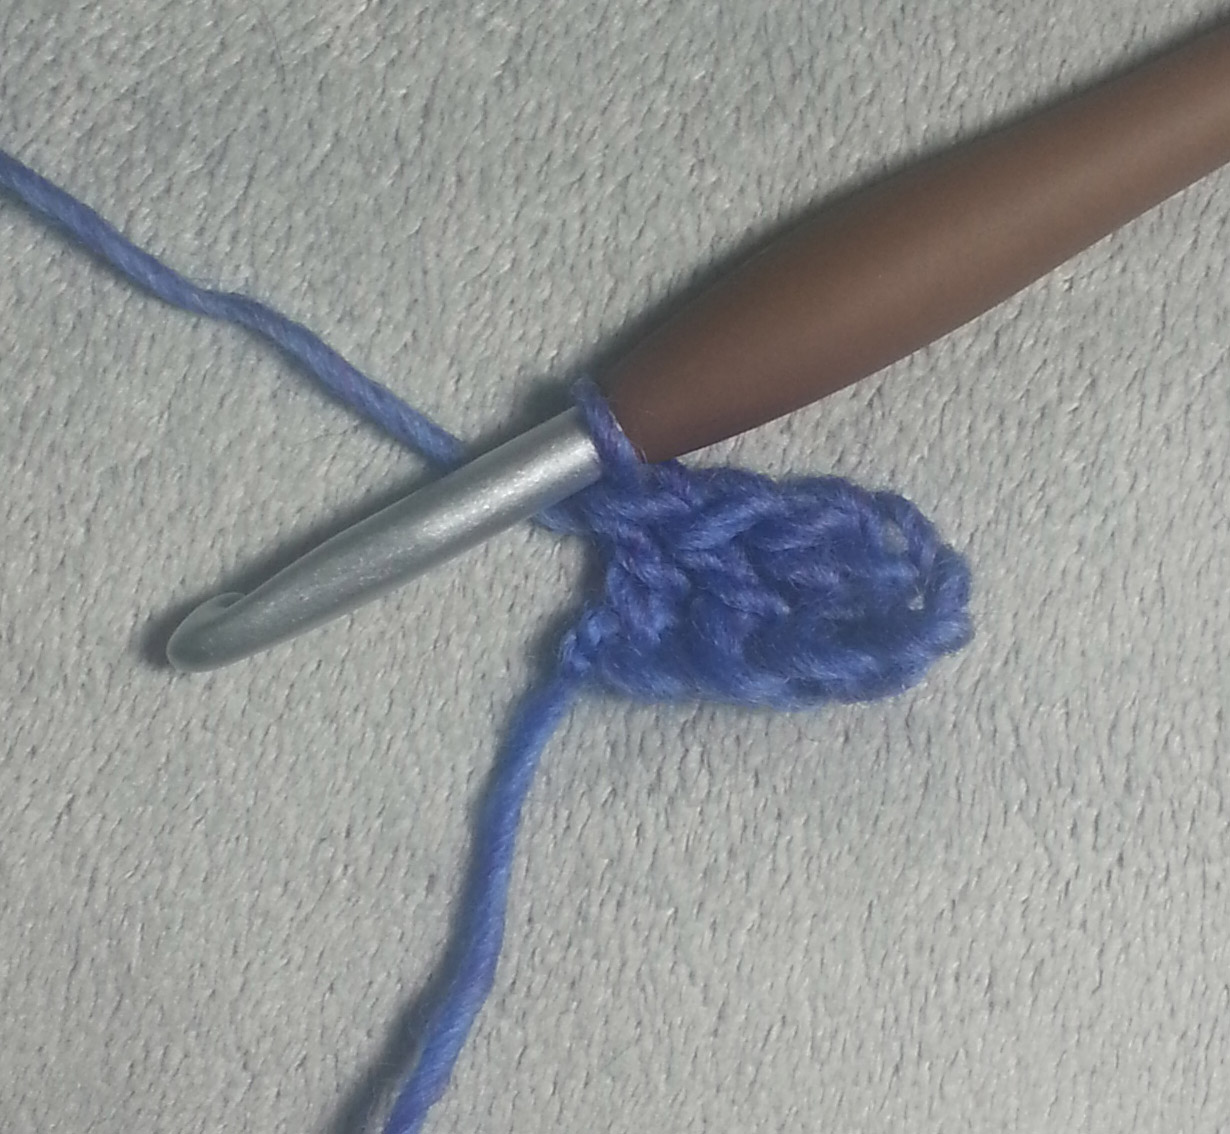
The first square is counted as your Row 1 for this pattern.
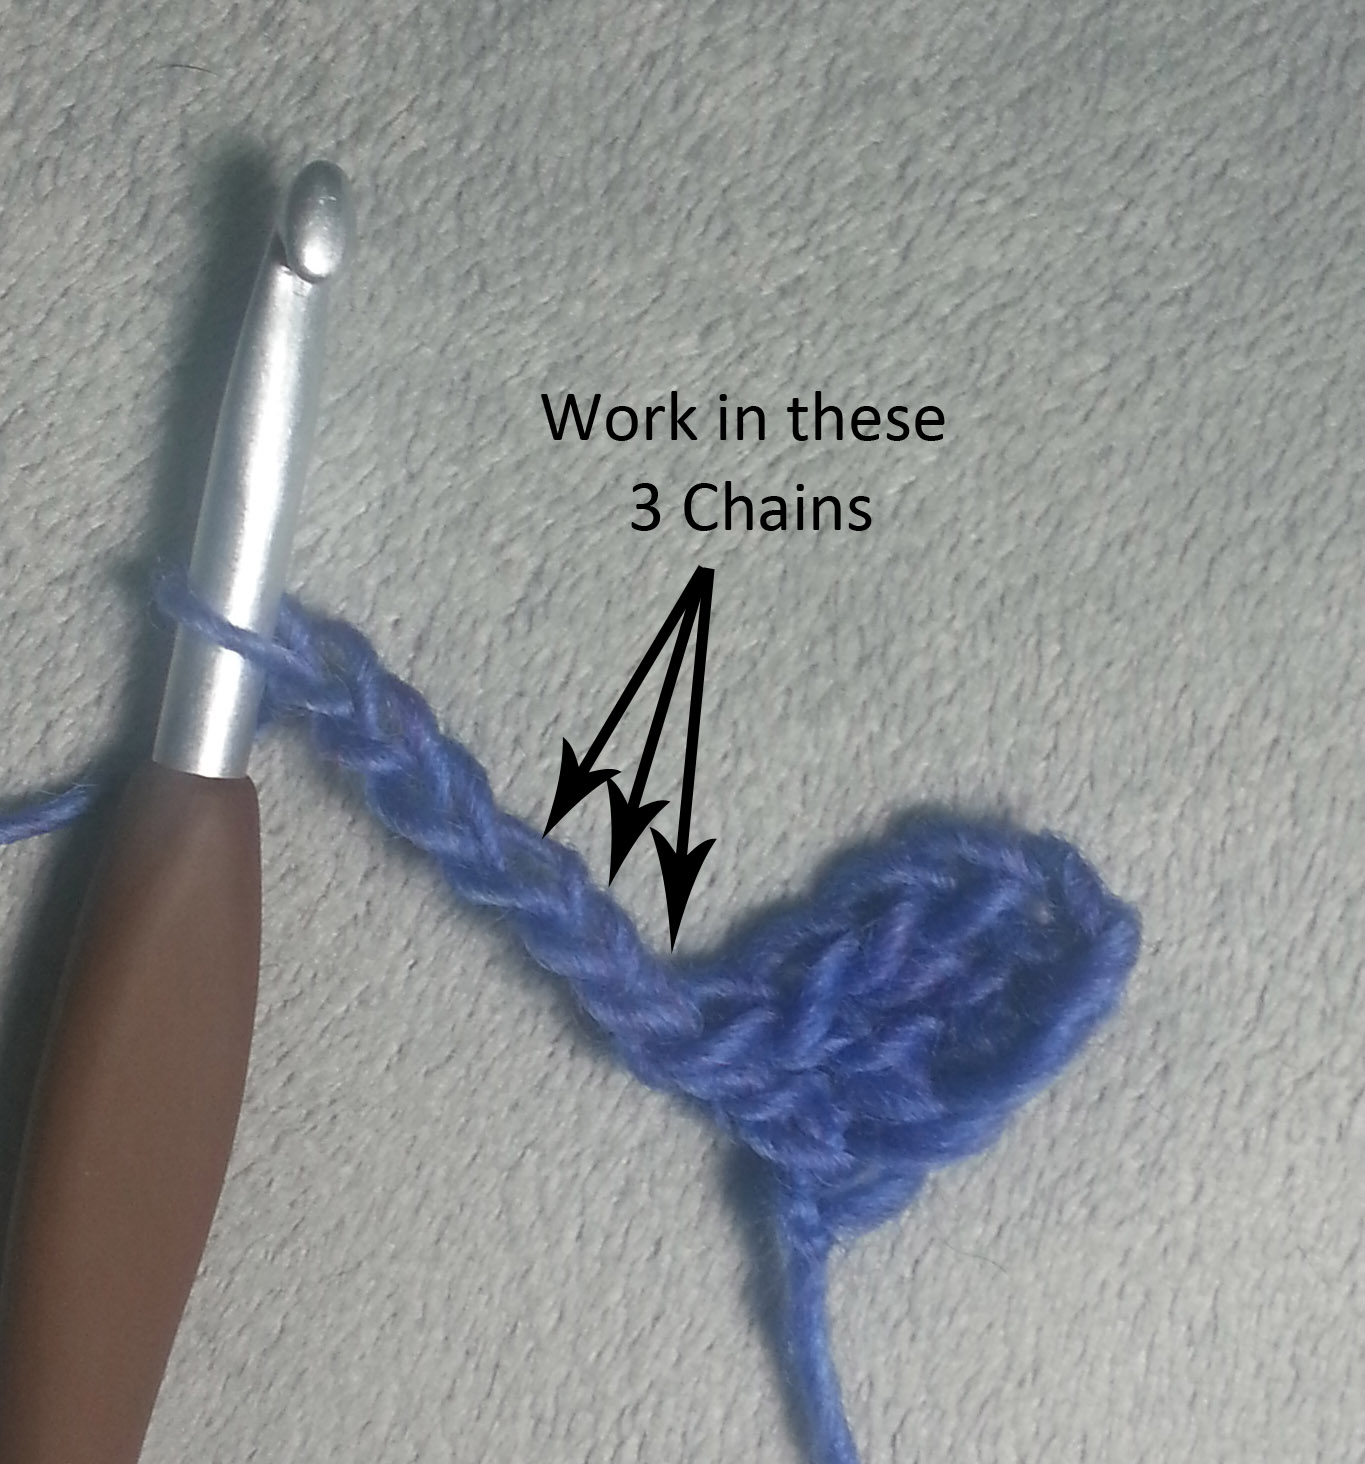
To begin Row 2 you start with an Increase Square again.

Once you have made that square, you flip up the first square to work in it’s begining chain 3. Marked in the photo above with yellow dots.

The second square for Row 2 is a Regular Square. This involves working a slip stitch, ch 3, dc all in the first chain stitch (first yellow dot on the right), then working a dc in each of the next 2 chains of that same square.
I prefer to crochet all my C2C squares by working into the chains. You can also work the Regular and Decrease squares by working into the space below the Ch-3, but this does give you a very different look to the overall fabric and the edges.
Once you have worked the number of increase rows you want for the size of your project, you will need to start decreasing along one side to keep your rows the same length (working “even”). Sometimes you will create your increase by working on top of the last square in the row and your decrease by not working on top of the last square in the row.

When you need an actual Decrease square will be when your last square in the previous row ends next to the completed fabric. You will use a ch-3 to get your hook back to the right spot. The solitary yellow dot in the photo above is where you work the connecting slip stitch at the end of the previous row.

Your ch-3 will be connected to the first chain of the next ch-3 (marked with 3 yellow dots) with a slip stitch followed by a chain 3.

You then work the same as you would for a Regular Square. Continue working regular squares in the chain-3s marked with yellow dots.
Your next “even” row will begin like Row 2, with an Increase square, but will end with a square worked into the ch-3 of the next to last square of the previous row.

Once you’ve crocheted the “even” rows to the length you want your project you need to make your second corner by decreasing at both ends of each row. The red square in the above photo is where the last square is worked for that row.

Next to last row of corner decrease.

Final square for corner decrease, the last sl st is worked into the chain indicated with a blue dot in the above photo.
Now you are ready to make your own C2C project. Be sure to read thru the pattern thoroughly before starting, and refer to the tutorial above if you get stuck.
C2C Basics Scarf
Designed by Andee Graves
Skill level: Easy
Finished Size:
Approximately 6”wide x 48” long
Materials:
Yarn
Ella Rae Seasons (76% Acrylic, 14% Wool, 10% Polymide; 3.52 oz/100g, 219 yds/200m) 1 ball
Hook
J-10 / 6mm
Notions
Yarn/tapestry needle
Stitch markers
Gauge
5 squares = 4 inches
Abbreviations/Special Stitches
Increase Square: Ch 6, dc in 4th ch from hook, dc in next 2 chs
Decrease Square: Ch 3, (sl st, ch 3, dc) in top of ch-3 of next square, dc in next 2 chs of same ch-3.
Regular Square: (Sl st, ch 3, dc) in top of ch-3 of next square, dc in next 2 chs of same ch-3.
Pattern Notes:
When working into chain stitches go under 2 strands of yarn.
Your beginning tail will help you identify the bottom right hand (or left hand) corner of your scarf when you begin working even rows. It is also helpful to mark the bottom (first) end of your scarf with a stitch marker.
Instructions
INCREASING FOR FIRST CORNER
Row 1/First Square: Ch 6, dc in 4th ch from hook, dc in next 2 chs. [1 ch-3, 3 dc]
Row 2: Ch 6, dc in 4th ch from hook, dc in next 2 chs, flip work up to (sl st, ch 3, dc) in top of ch-3 of 1st square, dc in next 2 chs of same ch-3. [2 ch-3, 6 dc {2 squares}]
Row 3: Ch 6, dc in 4th ch from hook, dc in next 2 chs, flip work up to* (sl st, ch 3, dc) in top of ch-3 of next square, dc in next 2 chs of same ch-3*; Repeat from * to * once. [3 ch-3, 9 dc {3 squares}]
Row 4: Ch 6, dc in 4th ch from hook, dc in next 2 chs, flip work up to* (sl st, ch 3, dc) in top of ch-3 of next square, dc in next 2 chs of same ch-3*; Repeat from * to * until work in ch-3 sp of last square in previous row. [4 ch-3, 12 dc {4 squares}]
Rows 5-7: Repeat Row 4. Count at end of Row 7 [7 ch-3 sp, 21 dc {7 squares}]
WORKING EVEN ROWS
Row 8: Ch 3, flip work up, *(sl st, ch 3, dc) in top of ch-3 of first square, dc in next 2 chs of same ch-3*; Repeat from * to * until work in ch-3 of last square in previous row.
Row 9: Ch 6, dc in 4th ch from hook, dc in next 2 chs, turn work to* (sl st, ch 3, dc) in top of ch-3 of next square, dc in next 2 chs of same ch-3*; Repeat from * to * until work in ch-3 of next to last square in previous row, sl st in top of ch-3 of last square in previous row. [7 ch-3 sp, 21 dc {7 squares}]
Rows 10 – 60: Alternate repeating Row 8 and Row 9.
DECREASING FOR SECOND CORNER
Row 61: Ch 3, turn, (sl st, ch 3, dc) in top of ch-3 of first square, dc in next 2 chs of same ch-3*; Repeat from * to * until work in ch-3 of next to last square in previous row, sl st in top of ch-3 of last square in previous row. [7 ch-3 sp, 18 dc {6 squares}]
Rows 62 – 66: Repeat Row 61.
Finishing
Fasten off, Weave in tails and block if desired.

I love the look of C2C, but have never done any of it. o_0
I recently repaired an afghan for a friend that was knit this way, and it is an amazing fabric! Thanks for the tutorial photos!!!
I like the way you break it down. Thanks!