Last night I had crocheted on the new hat for Thing 2 for 10 Rounds. I used the same increase formula I used in my “Little Bitty Noggin Cap” pattern here on the blog, with 8 increases each round.
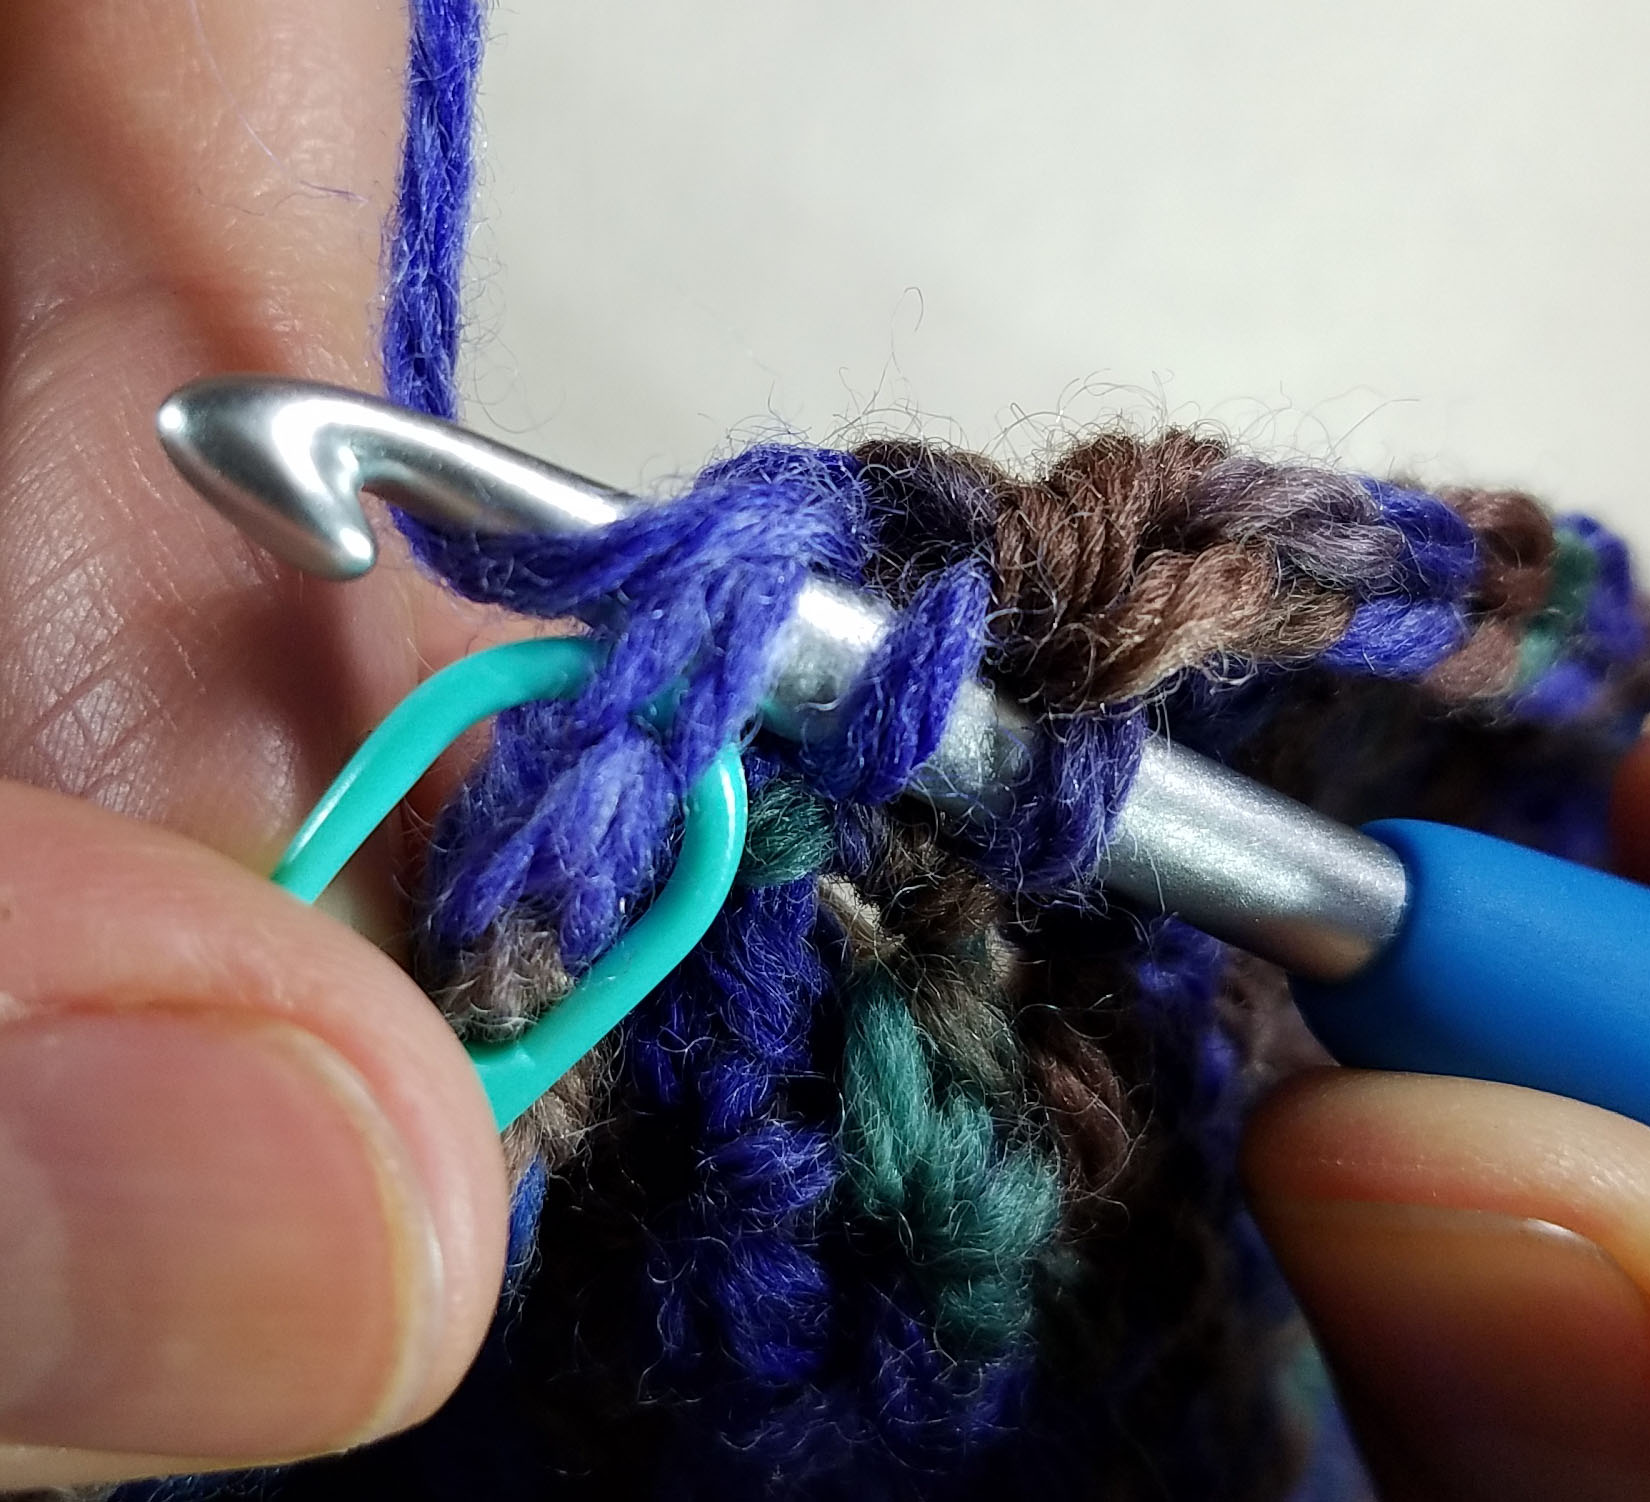
I worked the increase by making the first stitch like a normal stitch, inserting my hook under both strands at the top of the stitch.

For the second stitch of the increase I work into the back loop of the same stitch. This creates an interesting texture on the crown of the hat and decreases the size of the hole made for the increase.

The finished increase looks like this. If you look at the hole under the first stitch you will see that it is similar to the other stitches. The hole you see under the second stitch is obscured once the next regular stitch is worked.
I had measured Thing 2’s head circumference (22″) and asked him how he wanted his hat to fit. My husband prefers his hats to be fairly loose, so I actually add ease to the size of them. Thing 2 wanted his hat to be a bit snug, so I calculated that I would want 21″ for the finished circumference, negative ease of 1 inch. That meant a target measurement of 6.69″ for the diameter of the crown before I started working evenly.
Unfortunately, though the math works out, the stitches don’t always cooperate. The expansion of the diameter can be affected by the height of the stitches being used in the hat. Once I had reached 10 rounds for the crown I knew that another full round of increases would make the hat too large. But there is a simple work around for that.

In Round 11 I only worked 4 increase points, instead of 8. I used this same method of limited increases in my Simple DC Hat pattern as well. At the end of Round 11 I had 84 stitches around the circumference. Knowing my number of stitches is a great way of checking my target measurement too. I knew that I had 4 stitches per inch, so 84 stitches = 21 inches.
Now I’ve got a lot of rounds of working evenly (without increasing or decreasing) before I’m ready to create a ribbed brim.

This is a great tip! I know how to do an invisible decrease but never thought about how to make the increases less noticeable. Thank you!!
A lovely hat! I found this very helpful hat sizing guide, I am currently making a hat and when I finished the increases per the pattern, it looked rather small to me. Sure enough, according to the chart it would only fit a 12-18 month old! So I need to do a few more increase rounds.
Glad you figured out the size of your hat before you got too far along in your project. I include a sizing guide for hats in my “Perfect Fit Crocheted Hat” teaching pattern available thru my Ravelry shop.