
Last night I finished Thing 2’s hat. It was just in time as the weather took a turn toward freezing cold temperatures again. This morning he happily wore his new hat to school, though getting a clear photo of him wearing it was a bit of a challenge.

The only part I had to finish yesterday evening was the ribbed band at the brim of the hat. This gives the classic ribbed look around the face, but it also acts to draw in the fabric of the crown and sides for a snug fit around the ears.
For my ribbing I use post stitches. For those of you that have never worked post stitches, their name comes from the fact that they are worked around the “post” of a stitch instead of under the top 2 strands of a stitch. This gives them much more of a textured look and changes how the fabric behaves.
With a taller stitch like the double crochet it is quite easy to see the “post” of the stitch and to work around the center of this post when working post stitches. For a stitch like the Half Double or Single crochet that becomes a bit more fiddly to find.
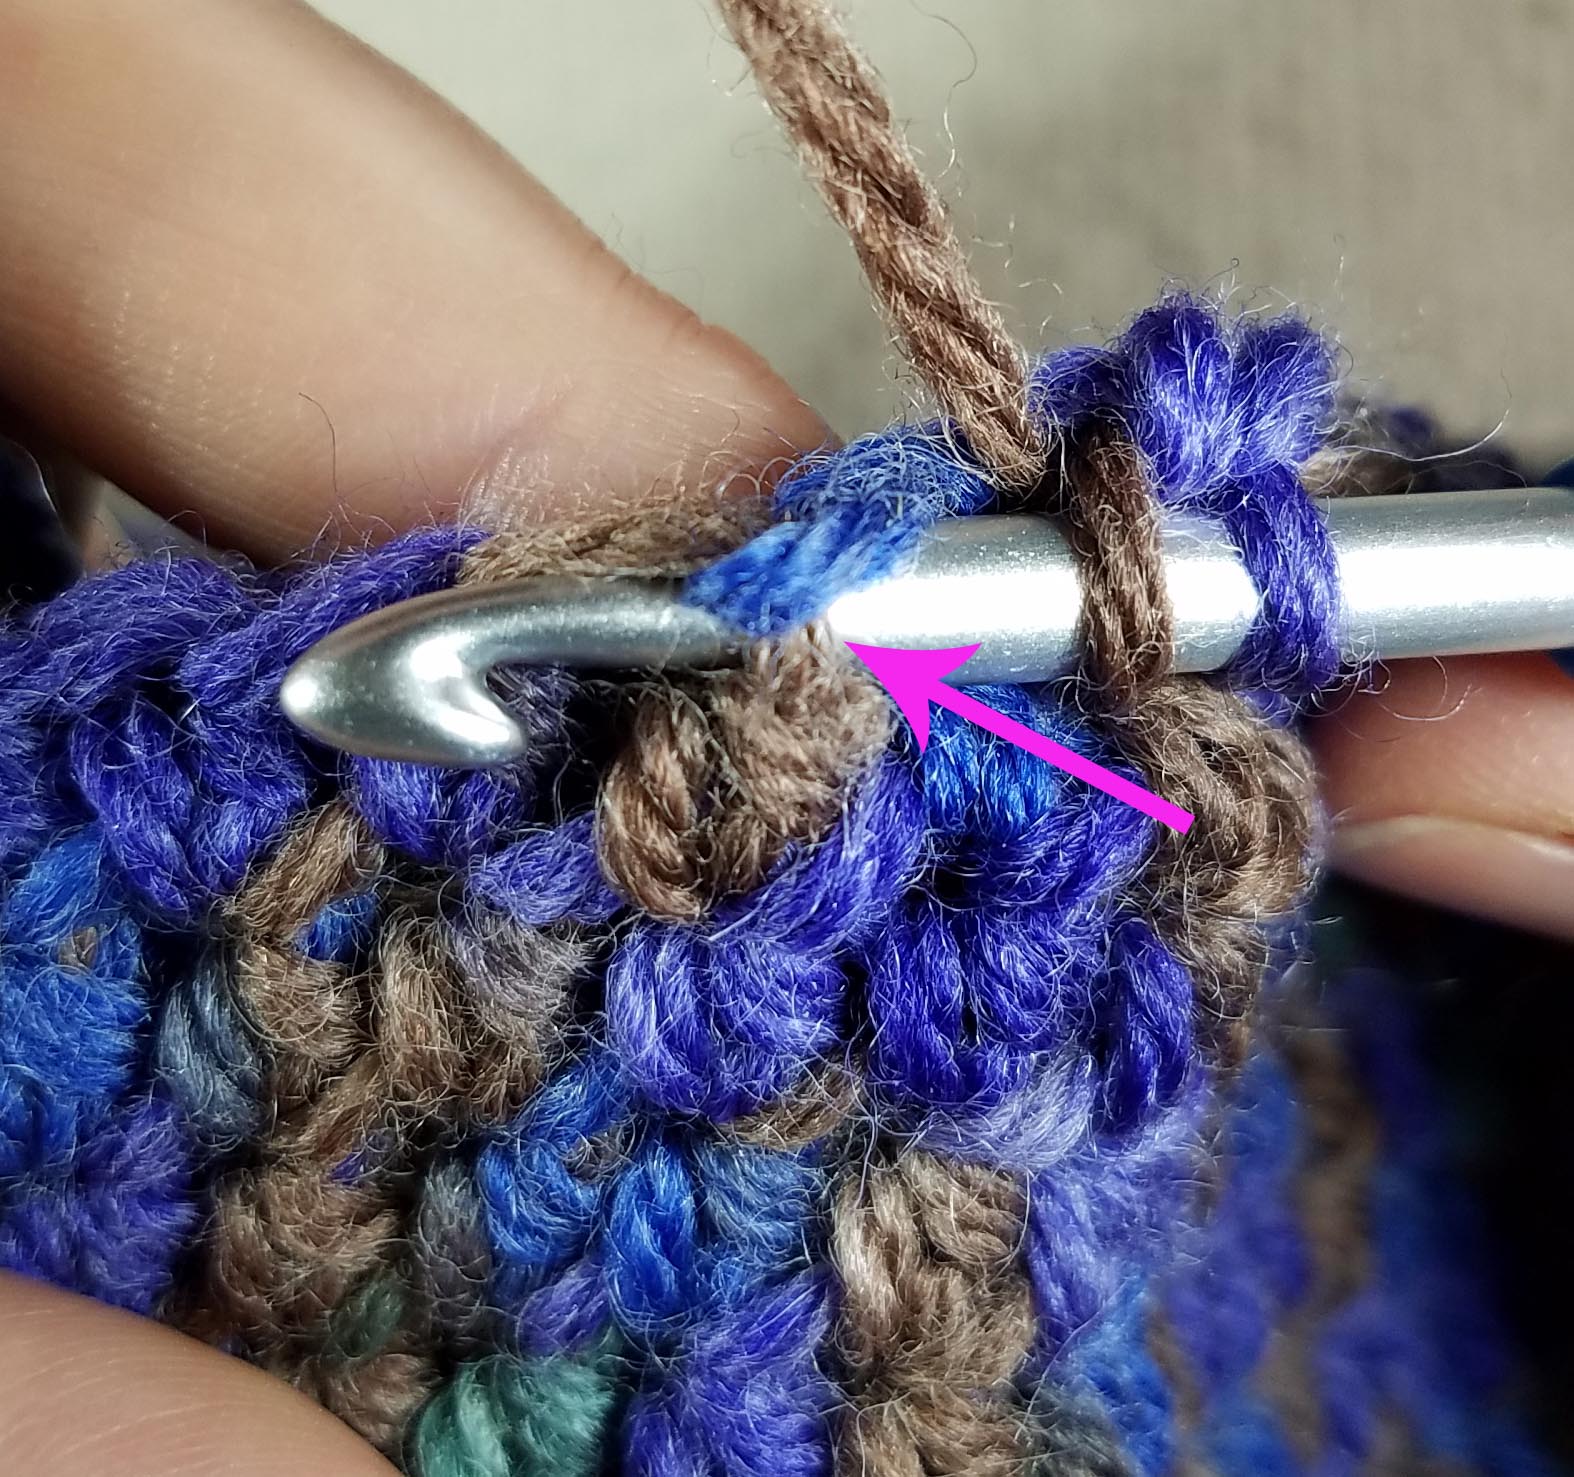
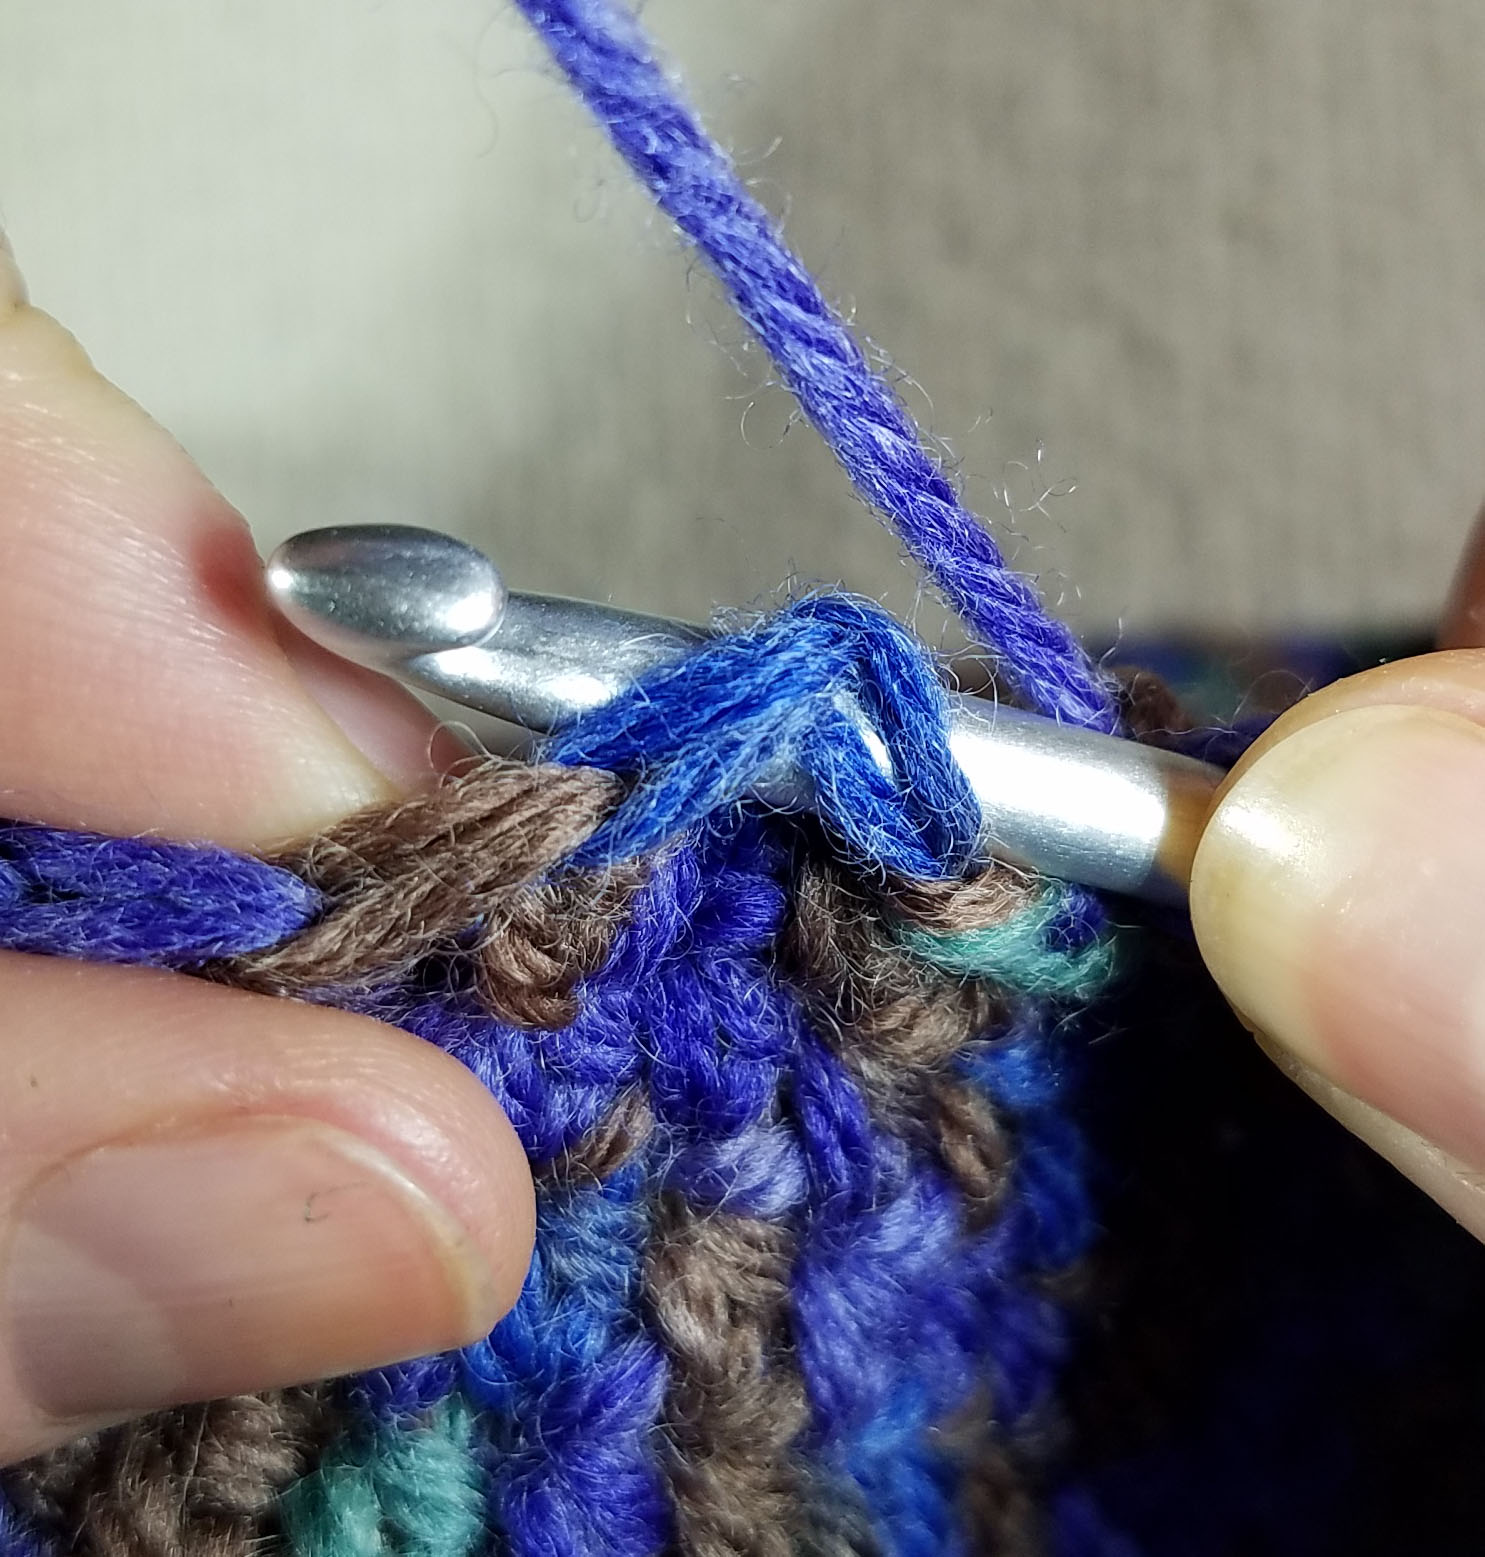
The first time I tried using post stitches for my ribbing I decided to do what I call “skinny” post stitches. Instead of working down into the stitch, I use the very top of the post just under the “v” that makes the top of the stitch (the bit of brown yarn the arrow is pointing to in the photograph above). This creates a slimmer looking stitch because the base of the post stitch isn’t stretched around the thickest part of the other stitch.
For the ribbing affect I alternate my post stitches, so I needed an even number of stitches. I generally start with a FPhdc, and end the round with a BPhdc. The first round of ribbing is the trickiest.
Once you have finished that round it just becomes a matter of working FP stitches into FP stitches and BP into BP.

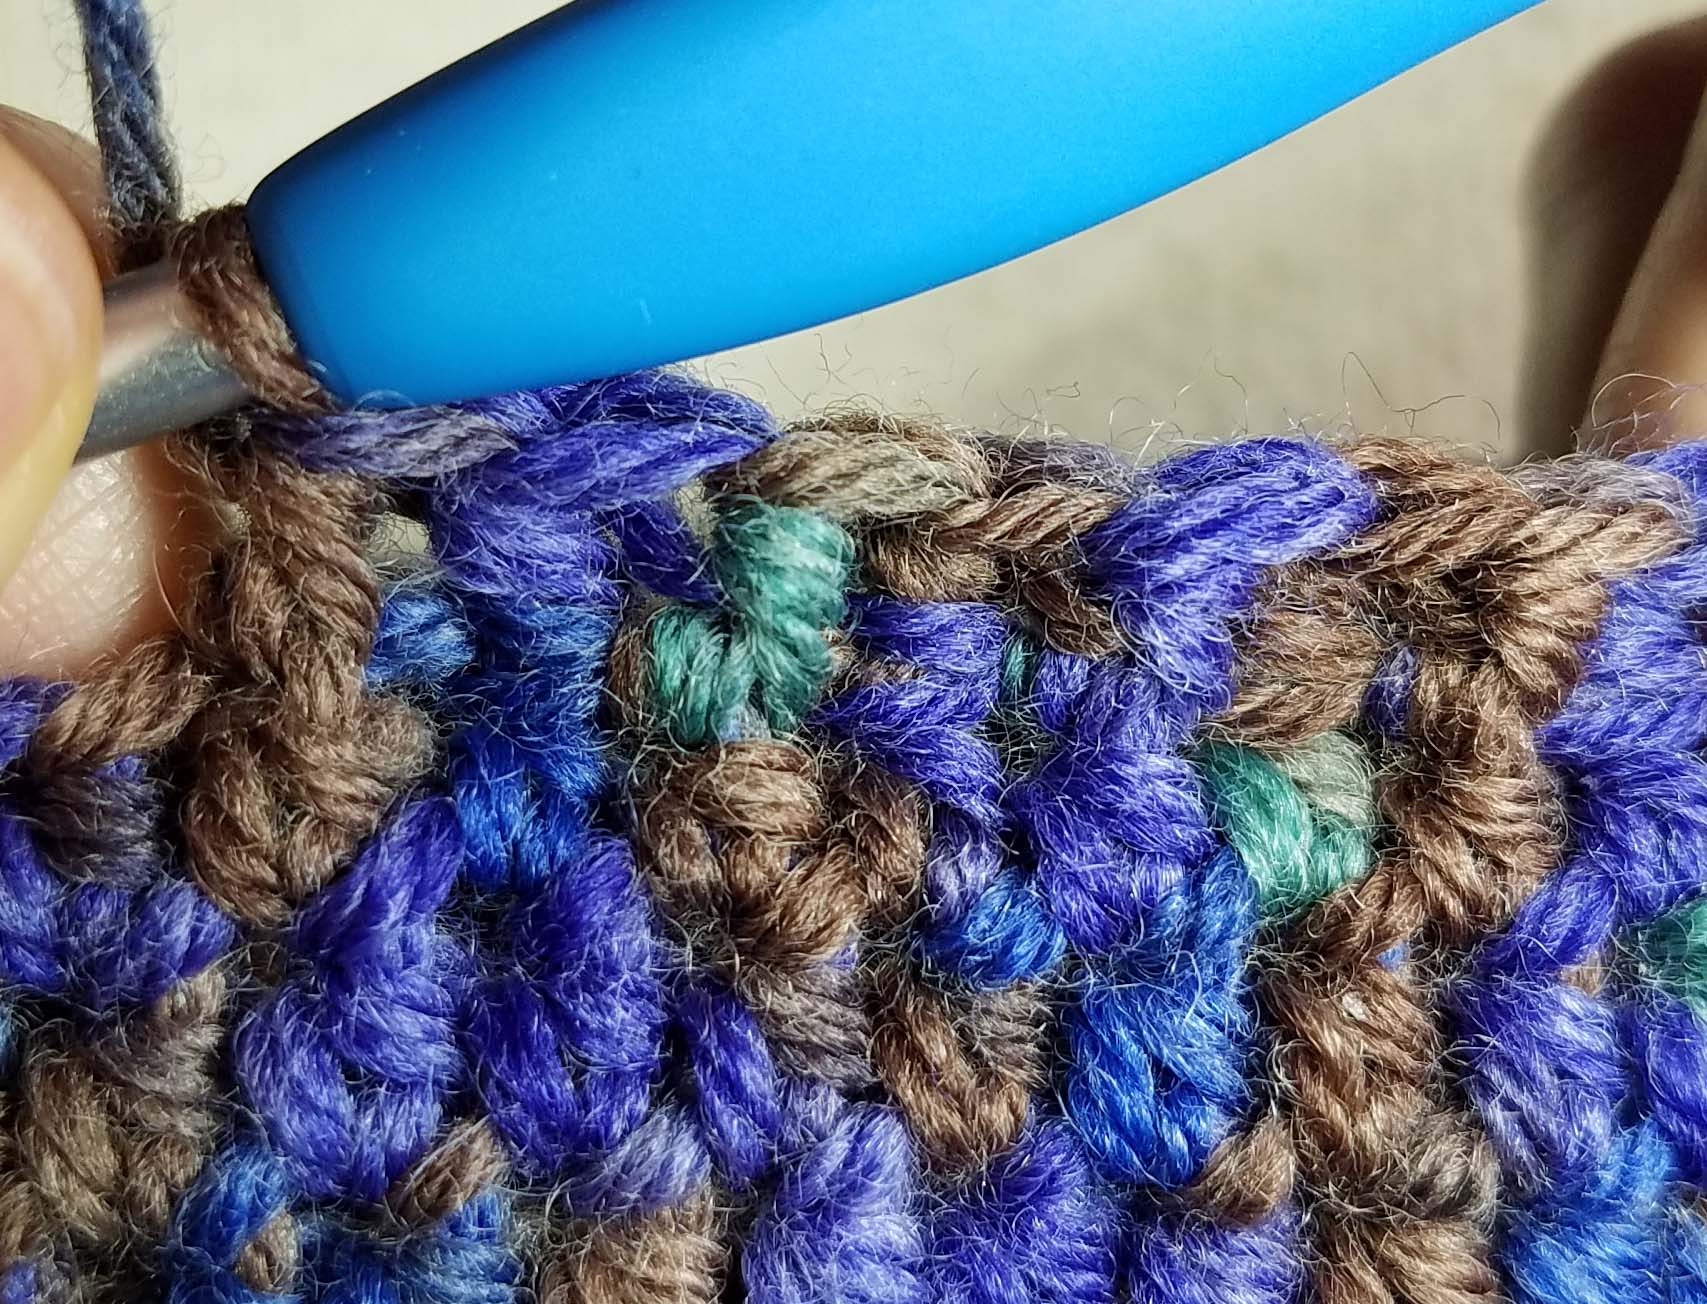
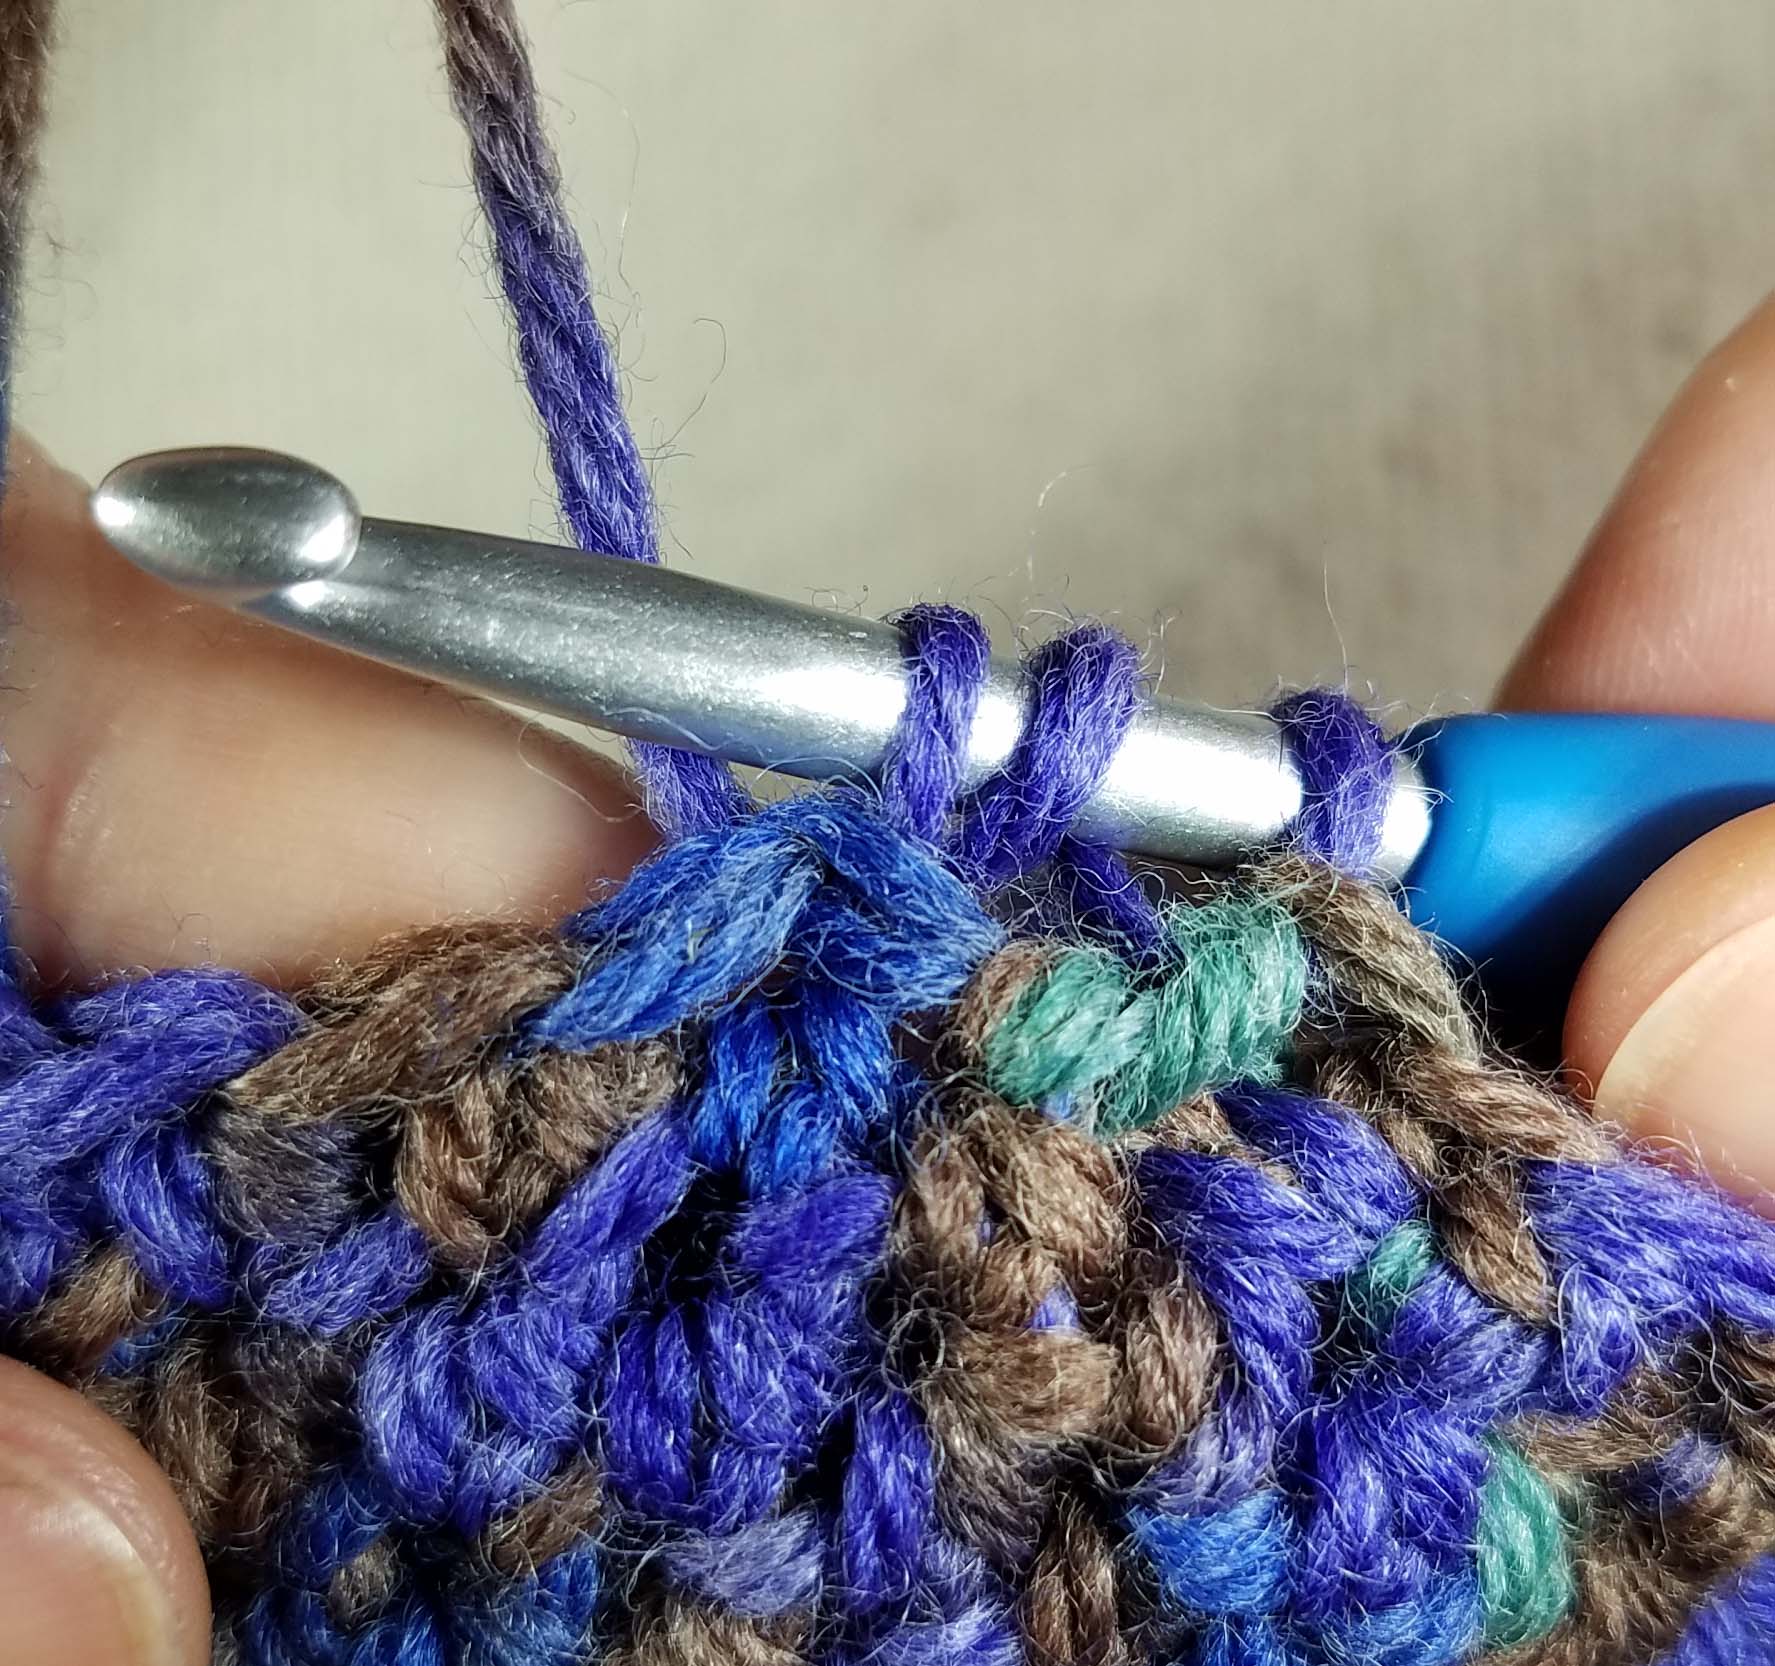
For a Front Post half double crochet (FPhdc): Insert the hook from front to back to the right of the post you want to work around, then bring the hook from the back to the front under the top of the stitch to the left of the post (indicated by arrow in photo above). Yarn over and pull up a loop thru all the stitches, yarn over and complete your hdc. The post of this new stitch will be sitting on the front of your fabric.
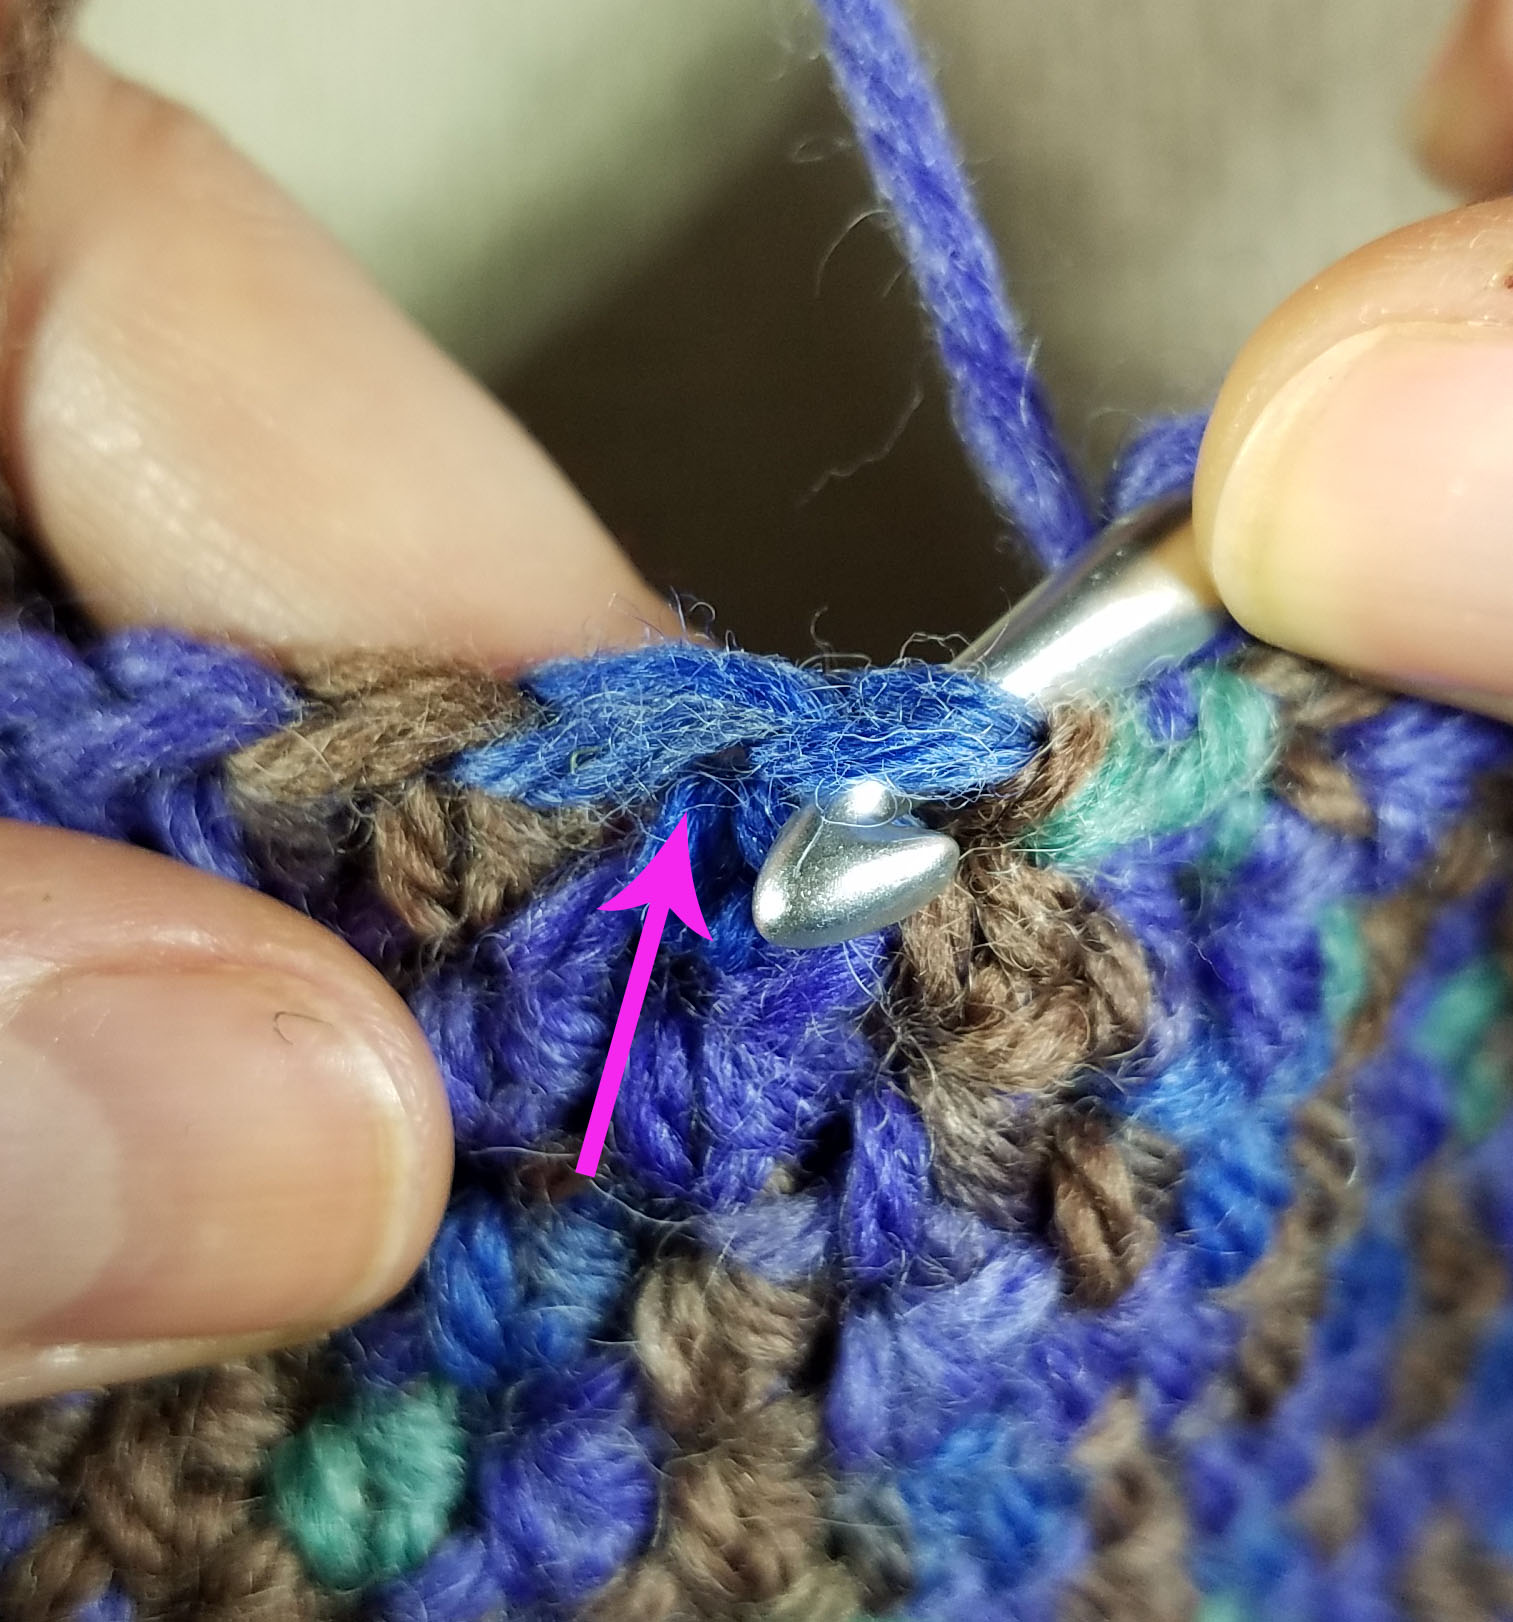
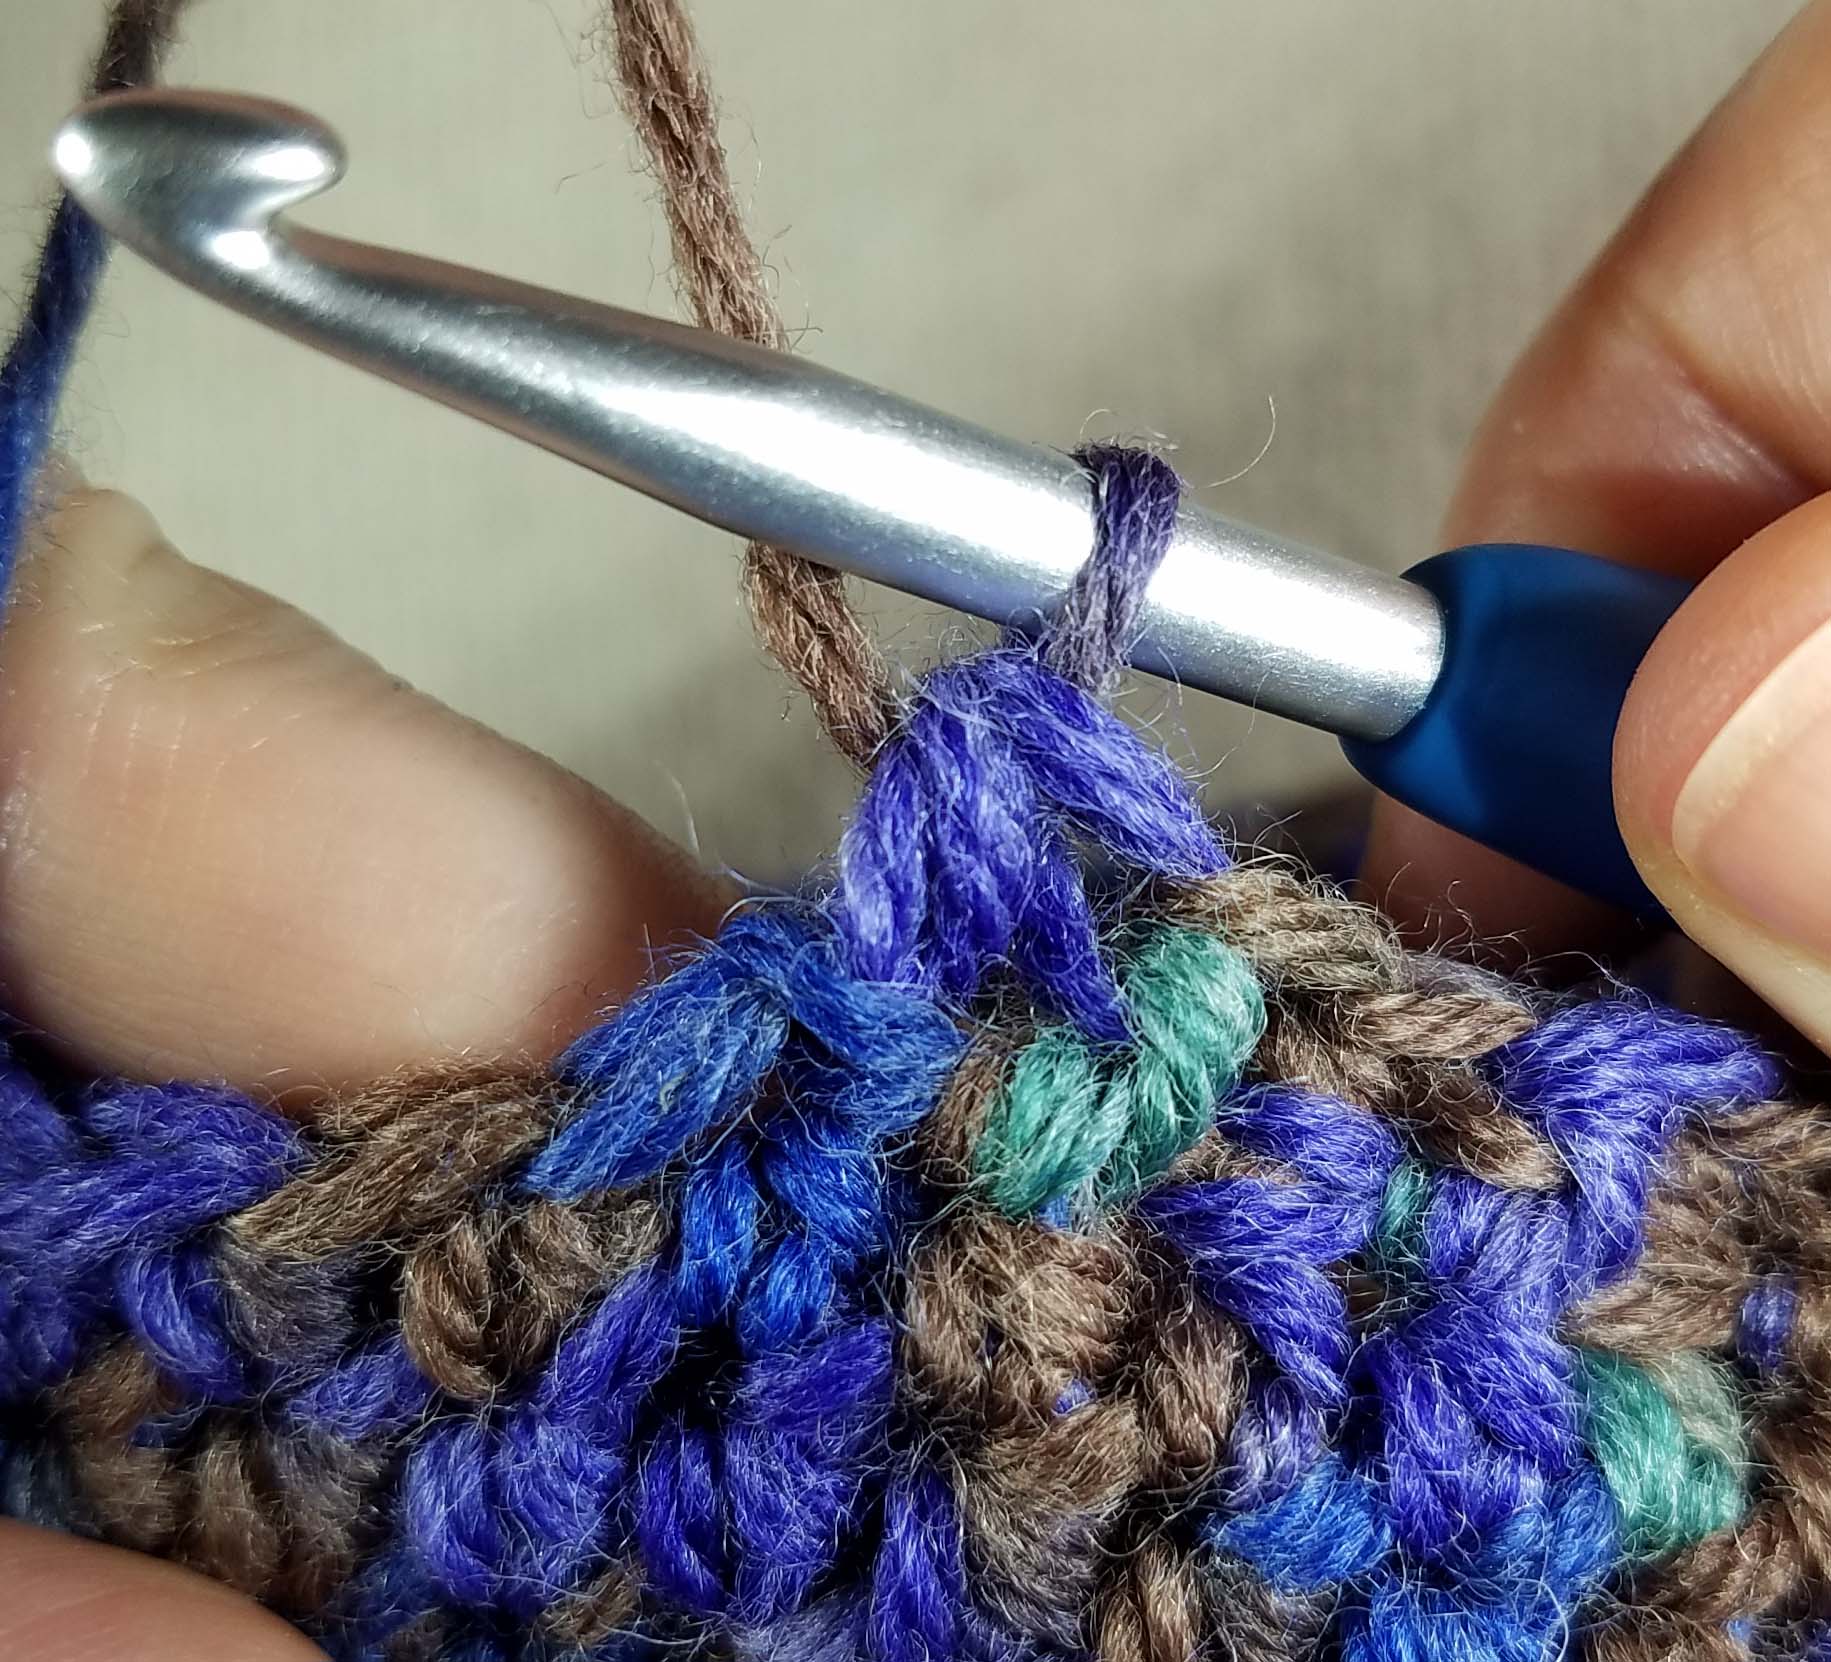
For a Back Post half double crochet (BPhdc): Insert the hook from back to front to the right of the post you want to work around, then bring the hook from the front to the back under the top of the stitch for the left of the post (indicated by arrow in photo above).
Yarn over and pull up a loop thru all the stitches, yarn over and complete your hdc. The post of this new stitch will be sitting on the back of your fabric.
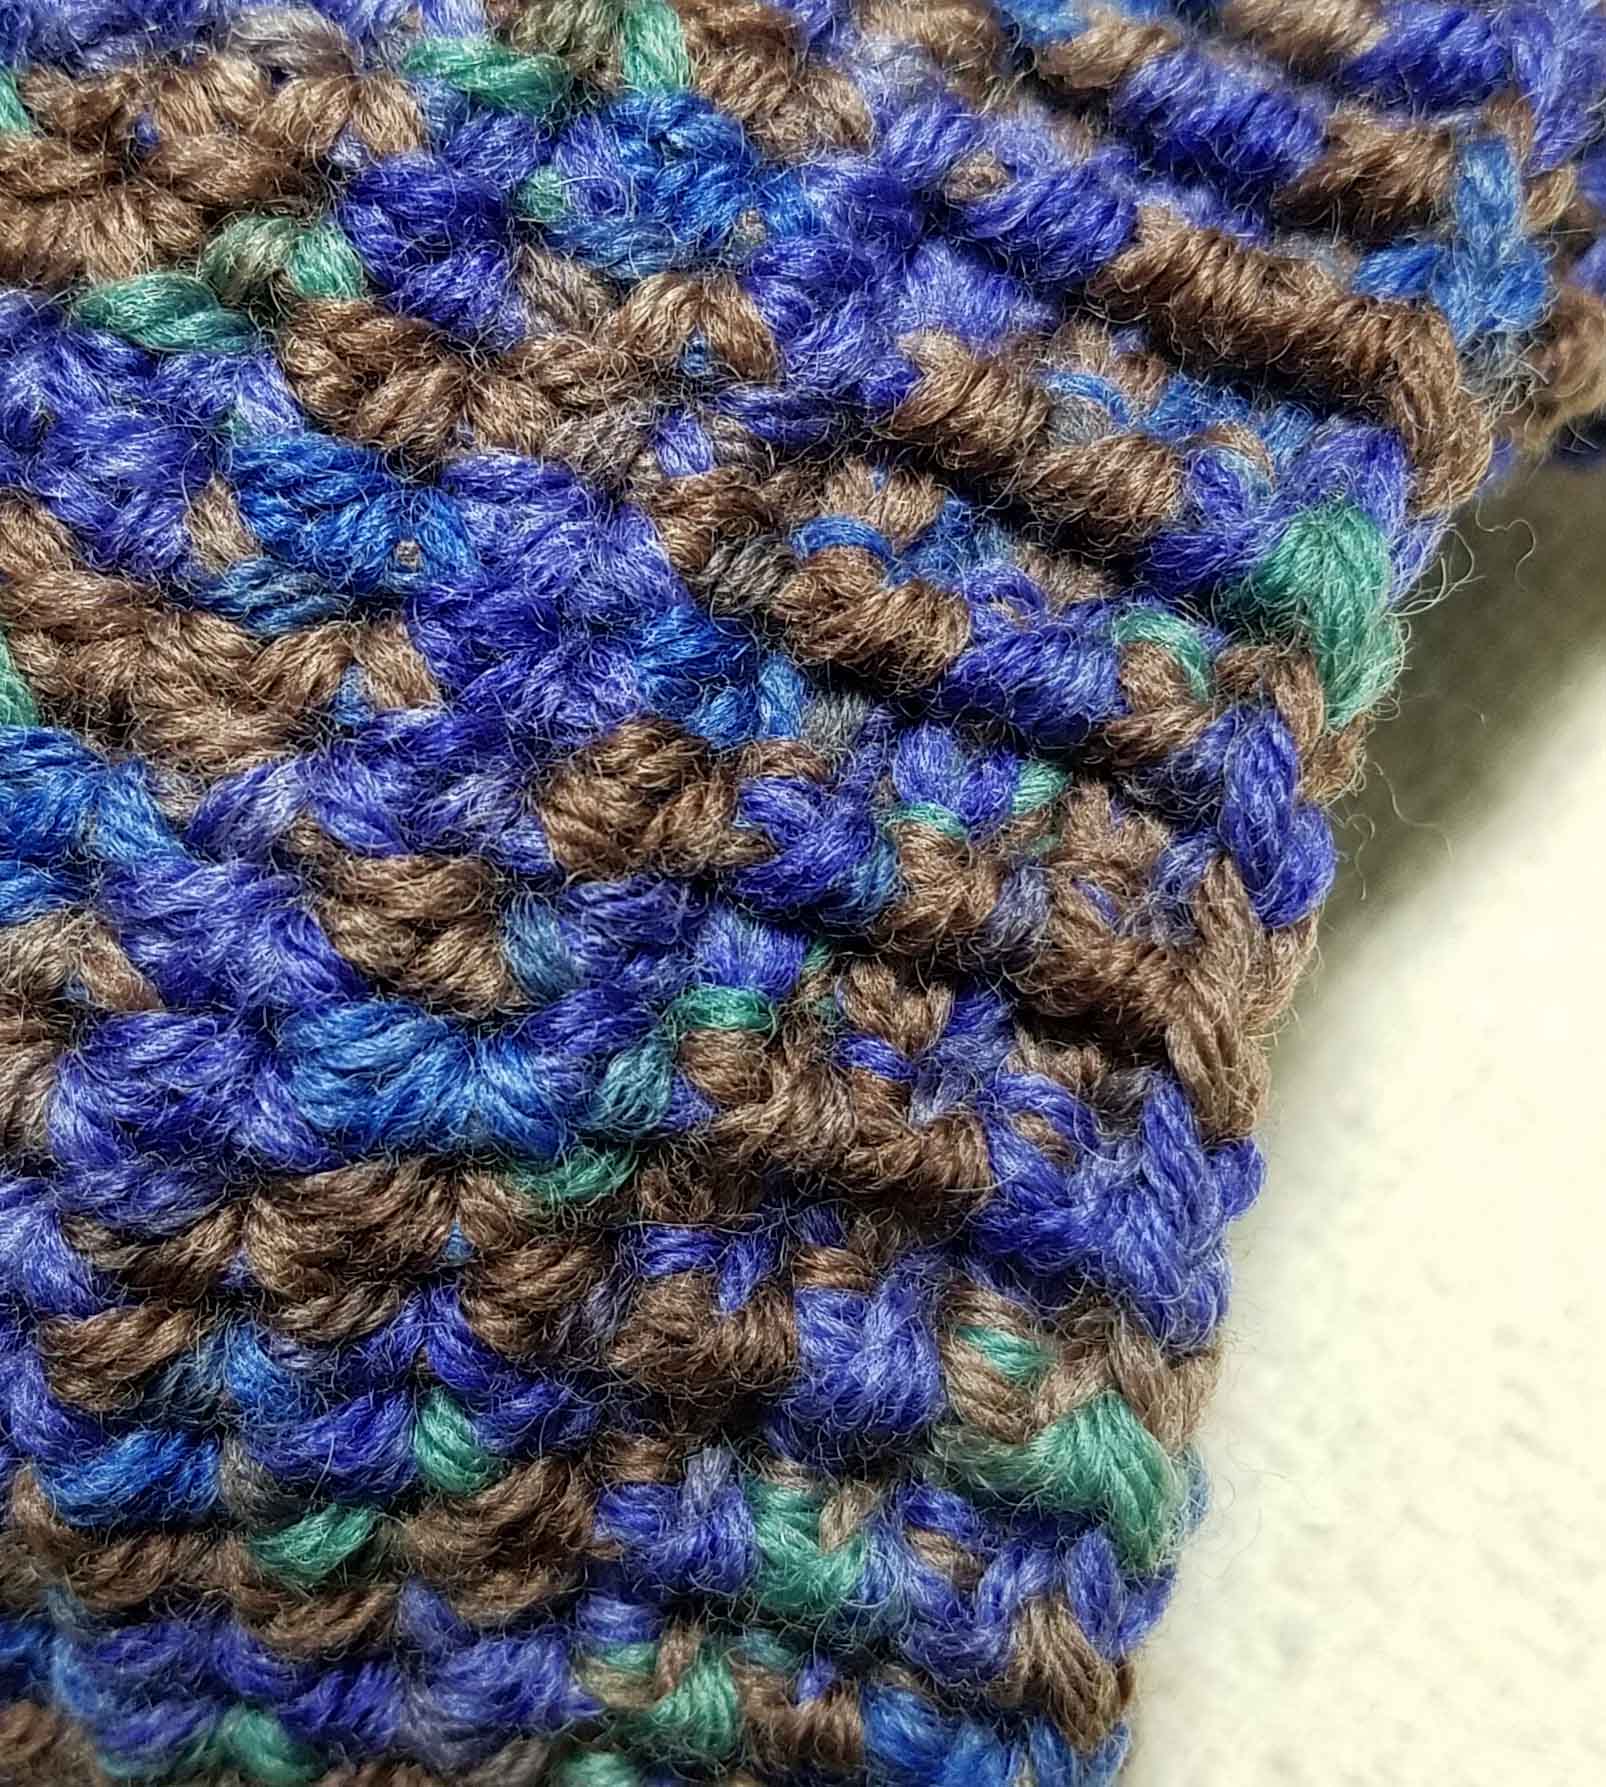
 Finished BPhdc.
Once I finished the ribbing for Thing 2’s hat all I needed to do was weave in my beginning and ending tails. The tail at the crown is fairly easy to weave in, I’m just careful not to pull the tail too tight and create holes in the crown. For the ending tail at the brim, I want to be sure the tail is woven in so that it doesn’t create a tight spot in the fabric. I weave on the inside of the hat and keep my weaving restricted to 1 “column” of stitches.
I’m always careful with my end weaving to be sure that the tails are well secured. Hats get lots of handling and I want to be sure that this hat doesn’t become un-raveled. The very final step for me was to make an identifying tag that has our family name and phone number, just in case this hat gets misplaced. Hopefully the contact info will insure that the hat makes it back to us.

That came out awesome! I really like the colors!! 🙂
Thank you, he was really happy with it.
I just discovered post stitches this year and I’m completely in love. Not only do they look good, I feel like a real technical crochet expert 😉
Post stitches are so fun, and you are a real technical crochet expert if you have added them to your crochet tool box. Congrats!
Andee, Thanks so much…..see you Tuesday!