Spring Break – Crocheting on the Road

Once again it is time for the kids’ school Spring Break. This year we decided on a trip to the Grand Canyon. It’s a shorter drive than going home to Kansas and Ohio and it is a destination I’ve always wanted to take the kids to. We had talked about going there last summer, but Arizona in the summer time seemed ill-advised for mountain dwellers like ourselves.

It looks like we will be having some fairly cool temperatures for the majority of our trip. We will also be doing a lot of driving. This means my packing is very creative. I need my warm layers of clothing so I can adapt to the weather as it changes. But I also need to have lots of “car crochet” projects as well.

What makes a project good for “car crochet”?

For me, I want it to be fairly small, something that will fit easily into a bag that sits on the car seat or in the foot well. It is helpful if it is also in a yarn that can be washed easily, getting in and out of the car on a trip with my family can mean dirt, mud and sometimes food ends up on the yarn. Fussy fibers like silk, mohair and baby alpaca need to sit the ride out, superwash wool and acrylics are more the ticket.

Berroco yarns for on the road

Berroco Yarns “Ultra Wool” is one of my favorite superwash wools these days. I’ll be taking a few colors of it with me on the trip and will be working on mittens and hats.

What are your favorite crochet projects for traveling?

Just a Suggestion

Sometimes I get questions about my patterns that are like the person is asking permission to make a change to how the they work the pattern. Here is the thing…if you want to crochet a project that looks very close to my sample in the photos…you need to follow the pattern as it is written; same yarn (could be a different color), same hook, same gauge. The pattern instructions I have written are to guide you in making a project very similar to the one I made.

But you don’t need permission to take things in a different direction, there are no Crochet Police. For myself pattterns have always been just a suggestion. A place to start, but not necessarily the place I’ll end. My mother has often said that I have never followed a pattern. I guess that is part of why I became a designer.

I think that some of my attitude toward patterns comes from sewing so much. Especially when sewing clothing, adapting the pattern to get the right fit is typical, most sewing patterns even have notes of where to adjust for size changes. No one sees any thing odd about this, though many of us feel overwhelmed by the challenge.

I’ve been asked how I learned to make those modifications in crochet. The simple answer is, a lot of failures.  I experiment all the time, and only 10% of those experiments become part of a design that will be published. The best advice I can give (and not just about crocheting) is “Don’t be Afraid of Failure”.

If you really want to hone your skills on adapting garments for fit, I recommend taking a sewing class. Most will cover fitting, and if you already have the basics of sewing, you will quickly see how you can apply these ideas to your crochet garments.

For a more gradual approach to modifying patterns try playing with substituting yarns. We yarnie types tend to accumulate yarn stashes over time, and wanting to work with the yarn you have on hand is understandable. It just means you need to a have a bit of flexibility in your approach to the pattern you are subbing with.

Using a heavier weight yarn and still trying to match the pattern gauge is a really bad idea. Instead you will want to experiment with increasing the hook size appropriately to the weight of the yarn you have picked. You may have to fiddle with the dimensions of your finished project to get things to come out as desired.

Also keep in mind the fiber content and tightness of the twist for the yarn you’ve picked. If it is very different from the yarn in the original pattern, you may be surprised by the results. Sometimes this is a pleasant surprise, other times not so much.

When substituting yarns your best friend is the swatch. For 3 swatches above I was trying out different size hooks with the same yarn to see which fabric I liked best. I know many crocheters hate to swatch, but it can save you a lot of heartache down the road. Working a swatch that is approximately 6×6 inches is usually enough to give you a feel for what the fabric is going to be like in a larger project. If there is intense blocking needed it is a good idea to block your swatch to see what result you will get.

For many of my design swatch experiments I often don’t cut the swatch from the ball of yarn. Instead I place the remains of the ball in a ziplock style bag sealed over the working strand. Then I handwash, spray and/or pin for blocking to see how the yarn responds. If it’s all a bust, I’ll eventually carefully unravel the swatch and rewind it on the original ball of yarn.

Now you have a few of my tricks to try out it is your turn to begin experimenting. Remember to enjoy the journey of discovery, after all crocheting is supposed to be fun.

2×2 Shawl

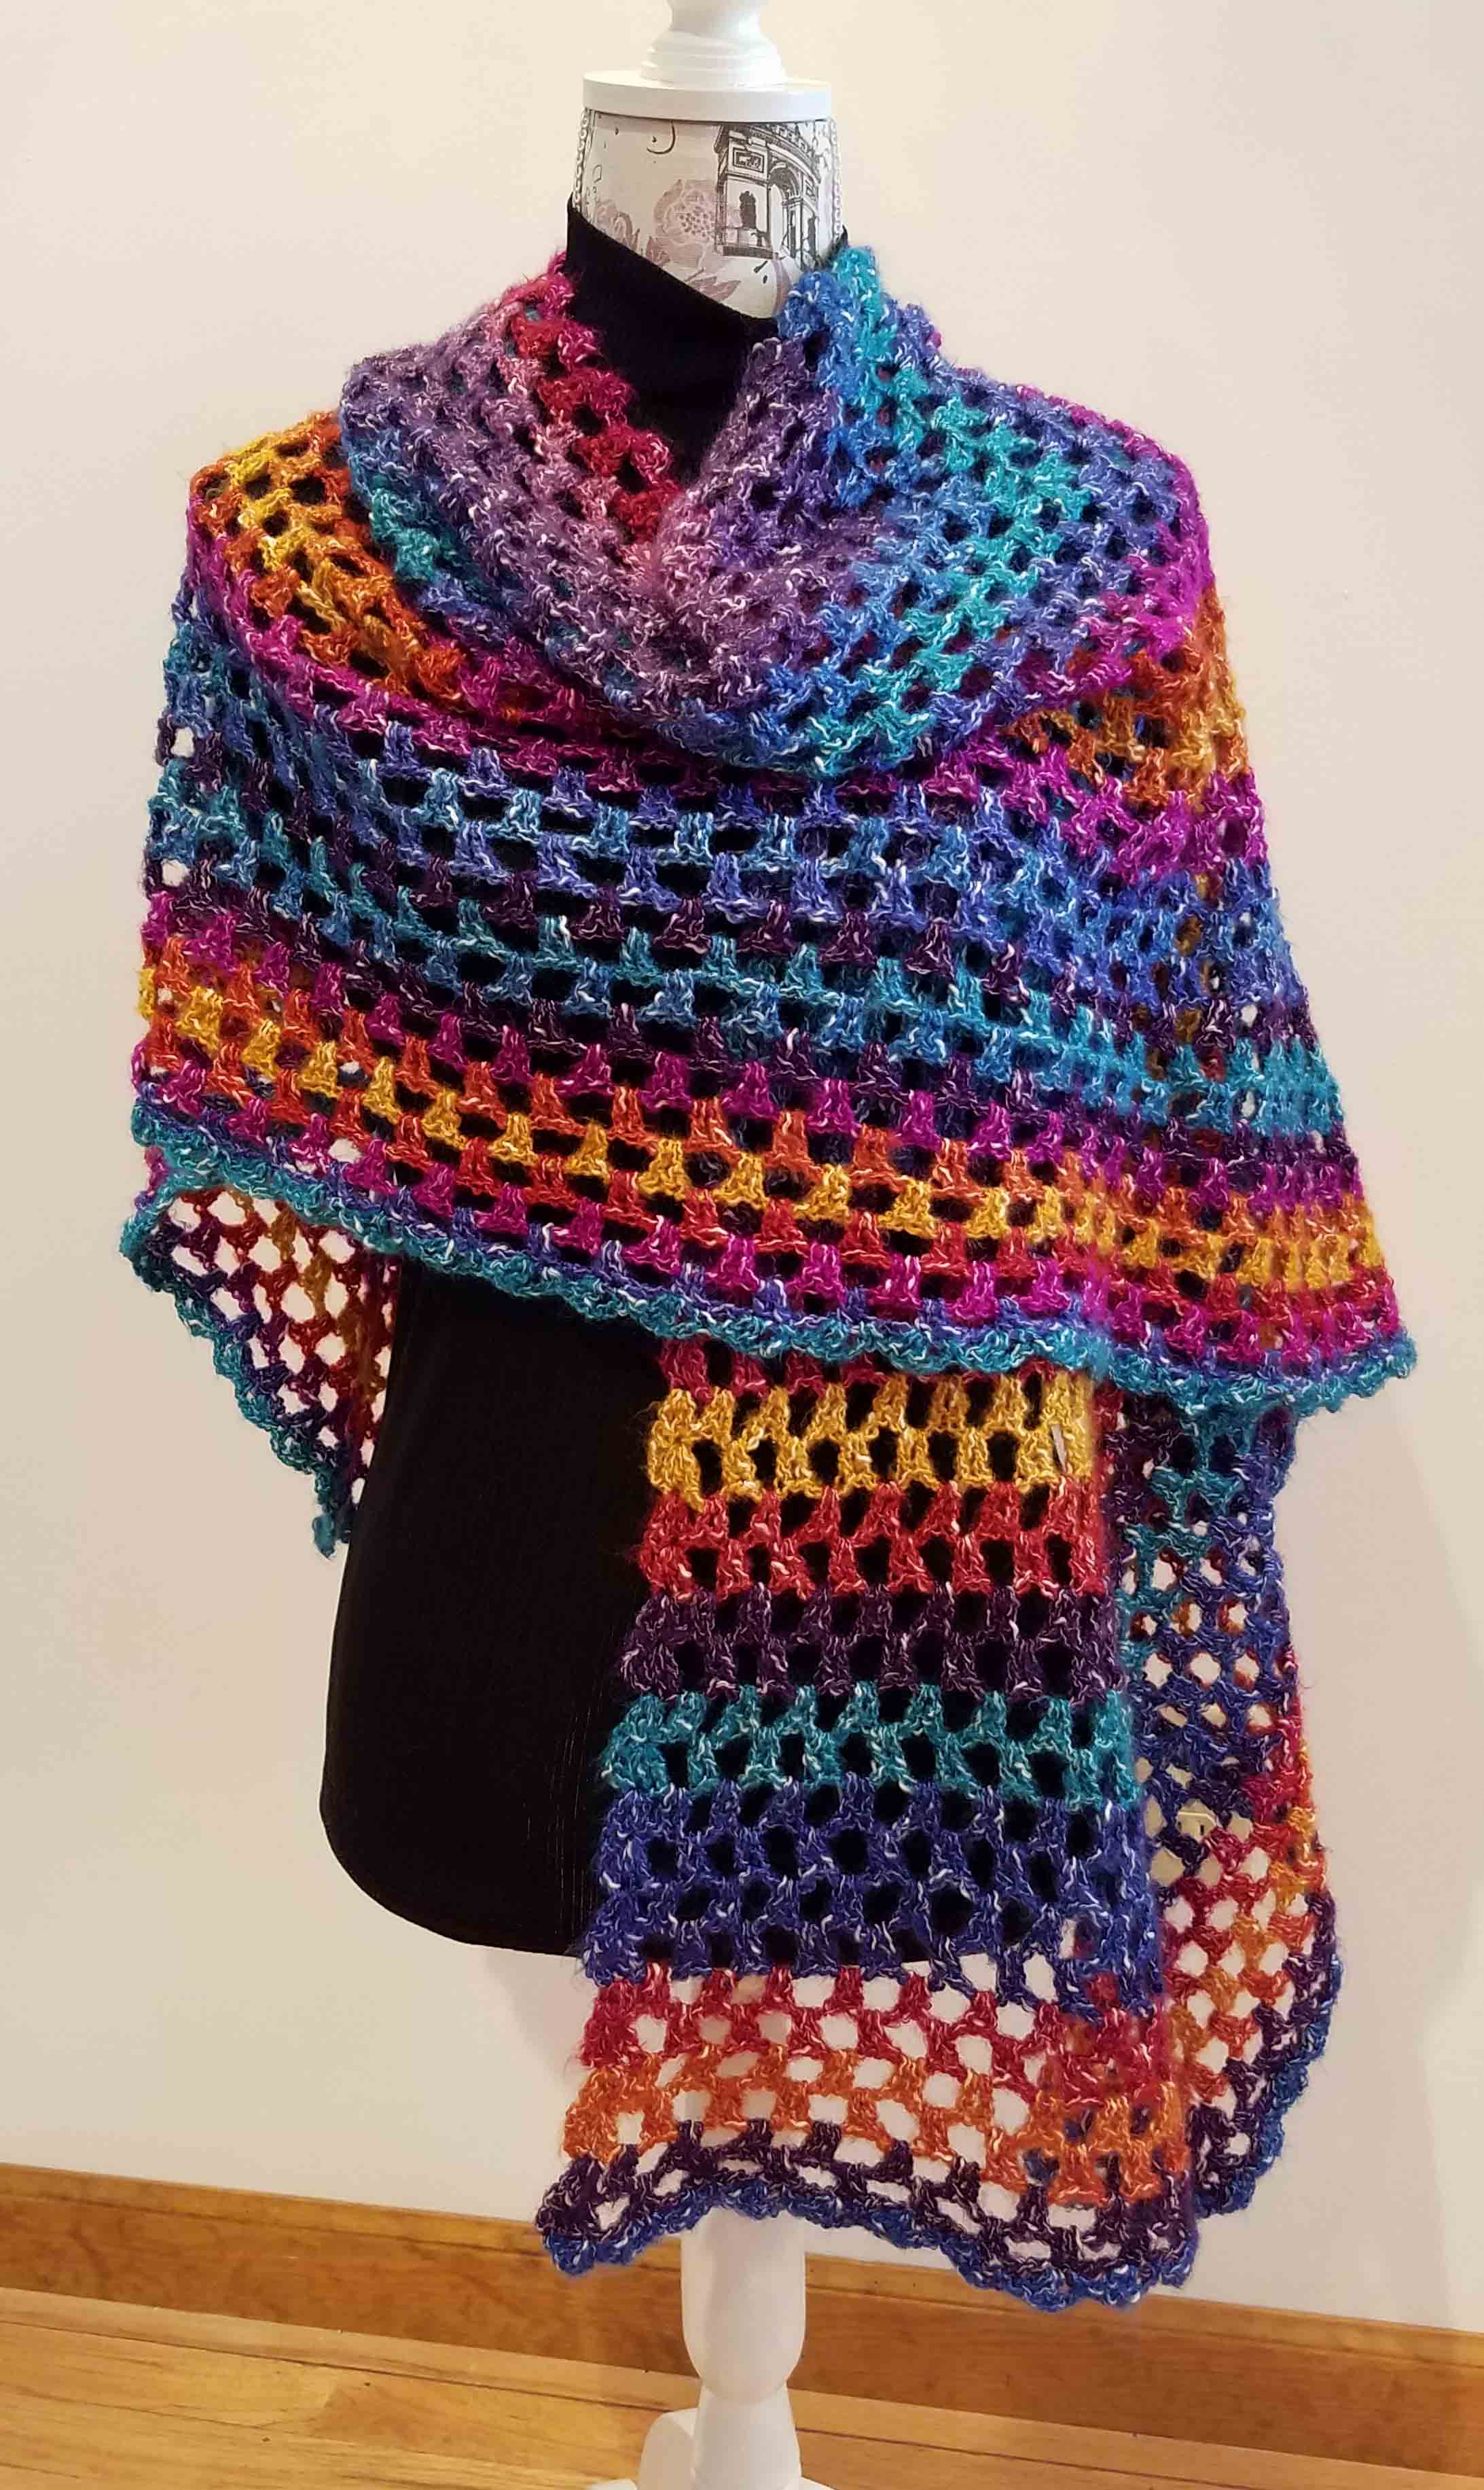
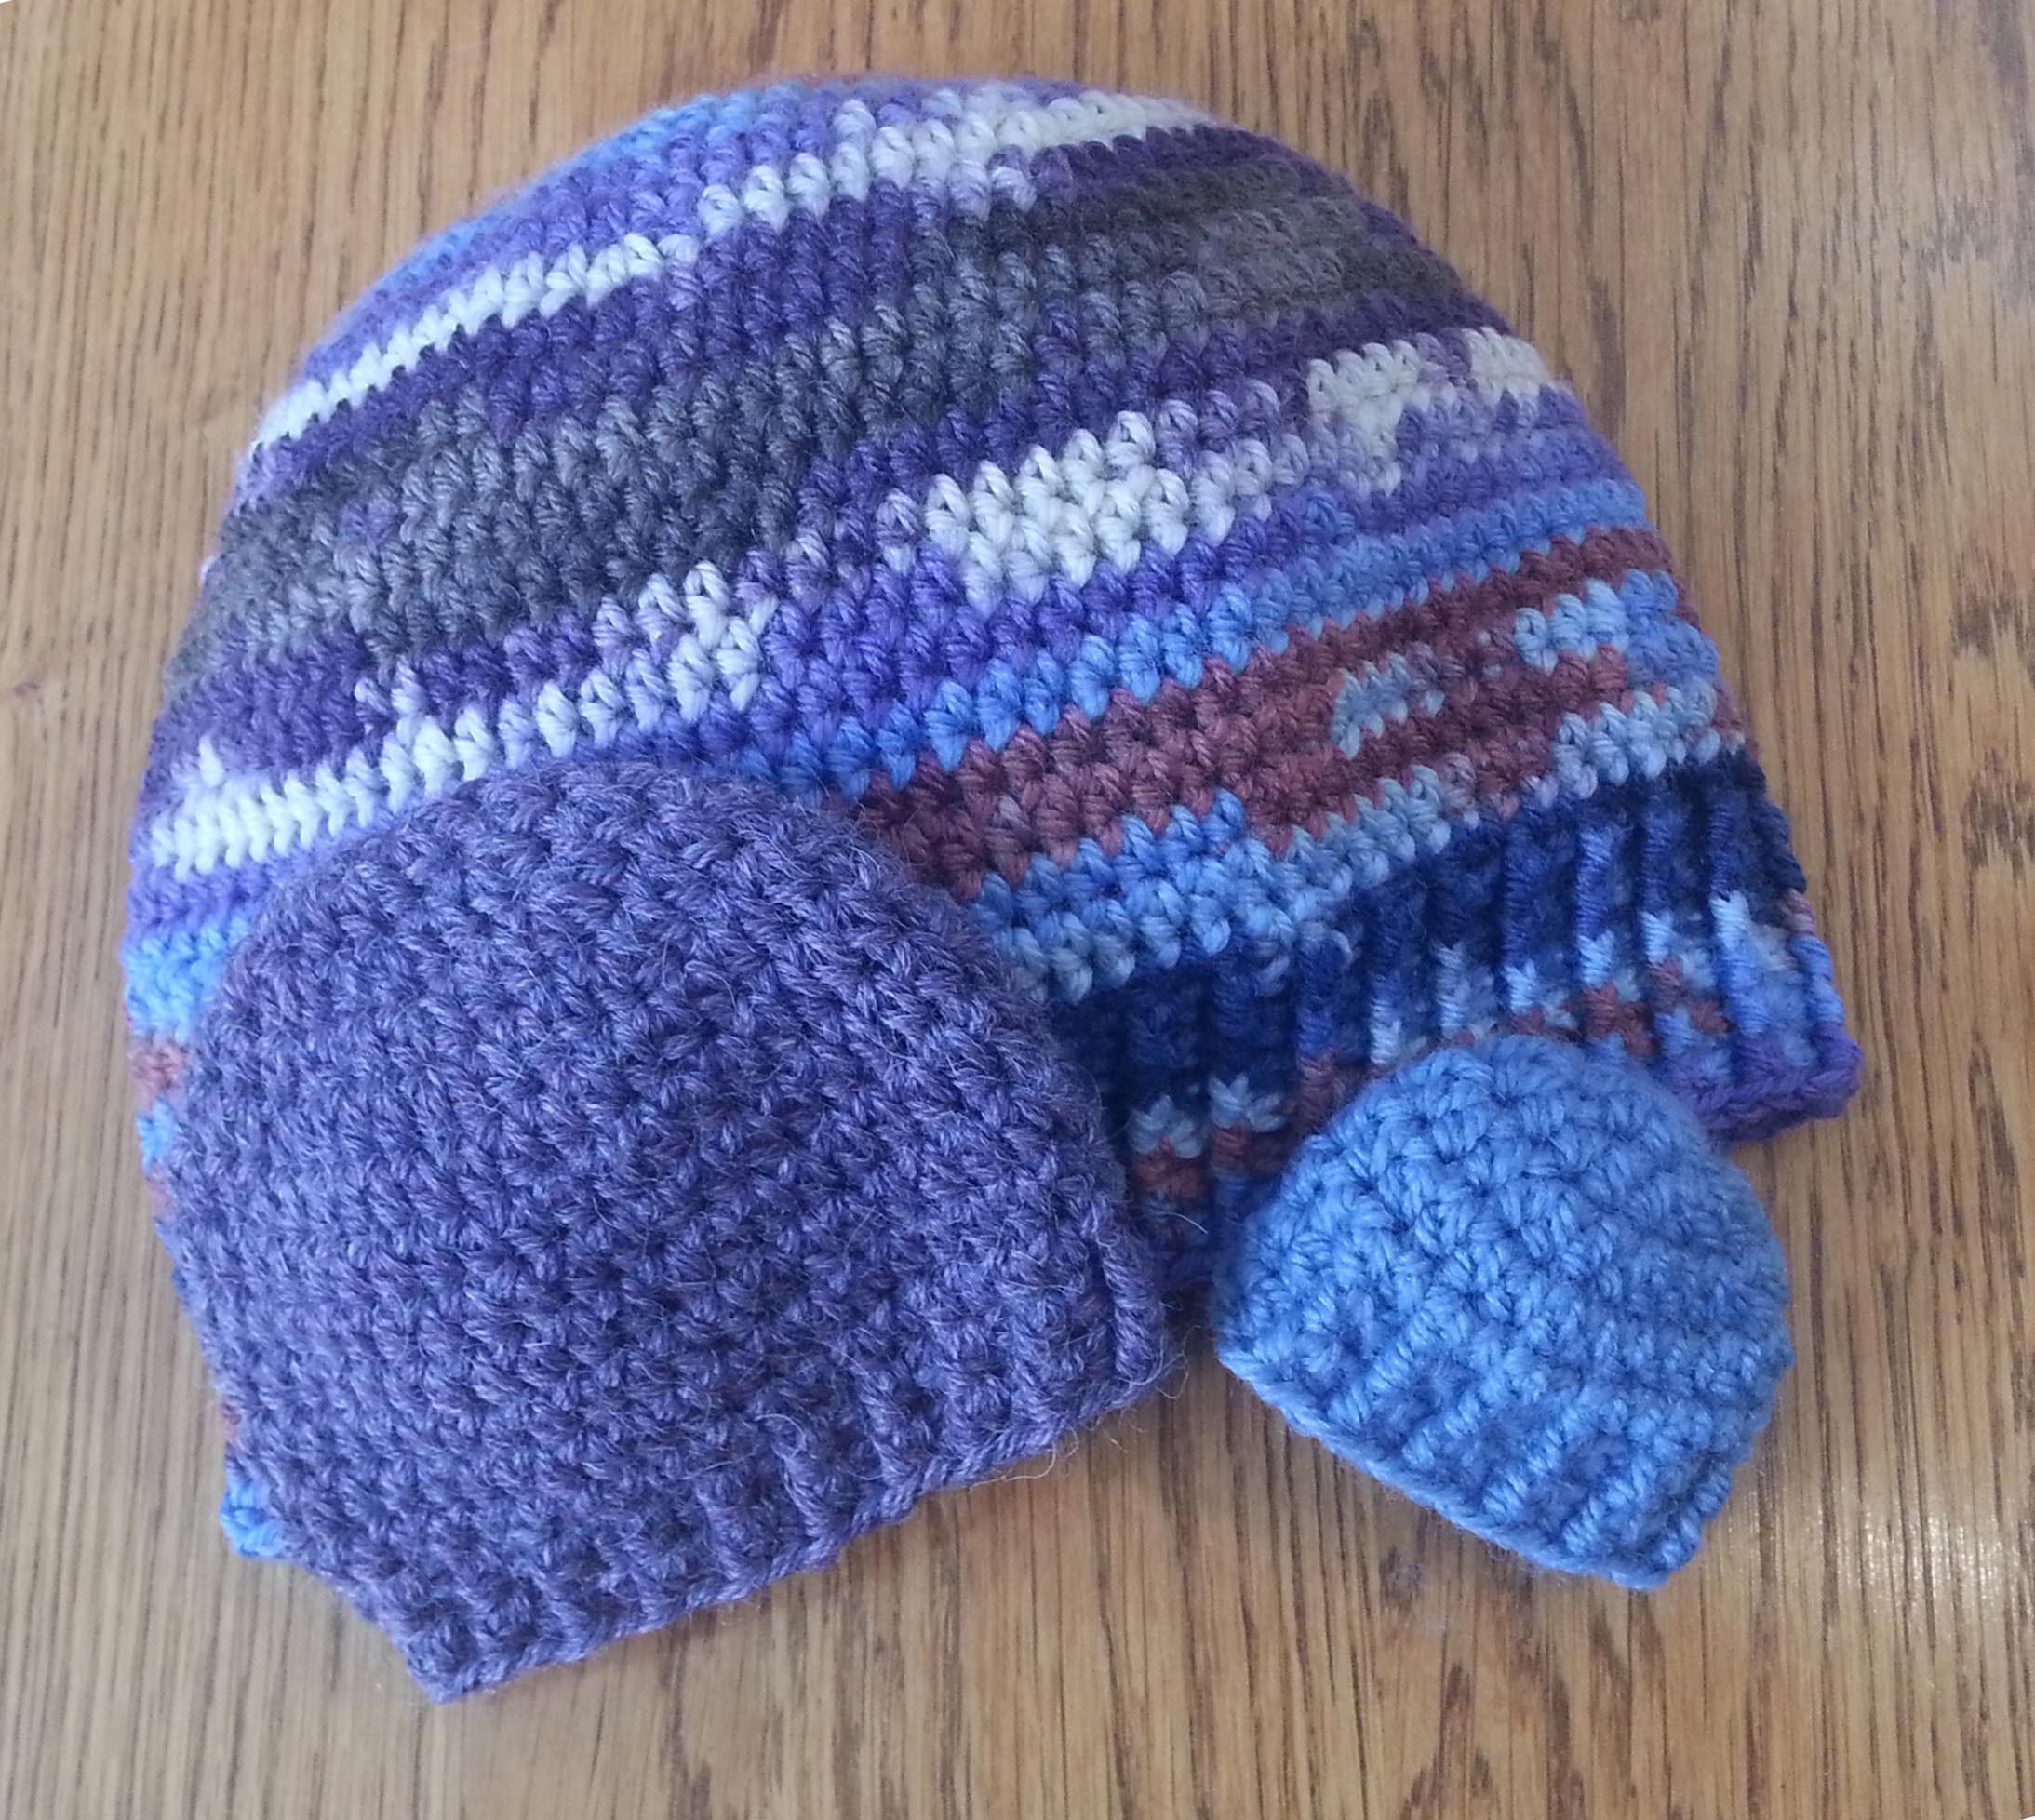
As part of my continuing celebration of National Crochet Month I am sharing a pattern for my newest shawl design the 2×2 Shawl. I wanted to create a top down shawl in a simple stitch pattern that is relaxing and meditative to crochet. It is a perfect project to work on when crocheting with friends.

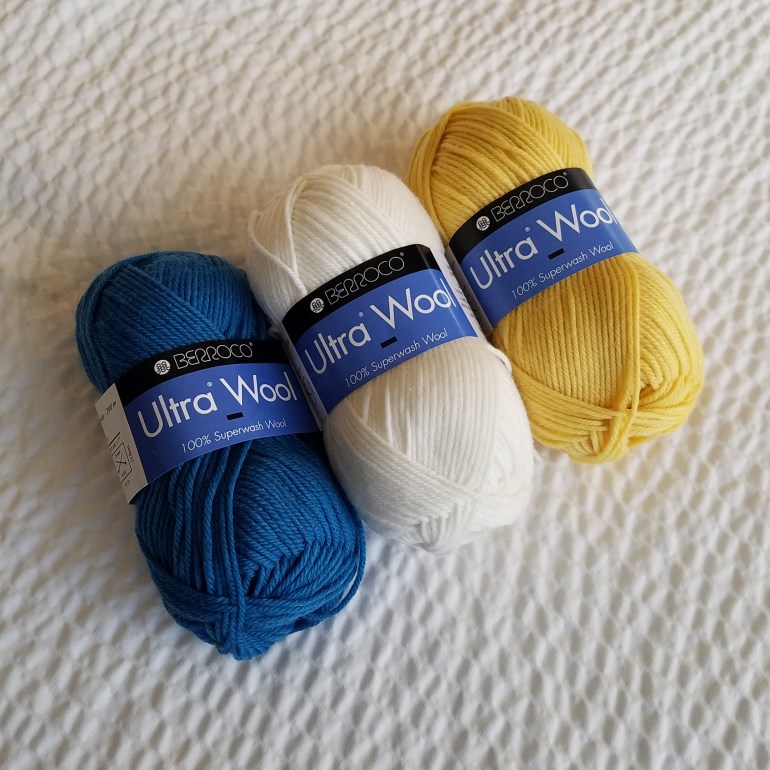
The simple stitch pattern really lets the vibrant color changes of Lion Brand Yarns “Shawl in a Ball” shine. Watching how the colors will come together is half the entertainment.  I wanted a big snuggly shawl that would really provide some coverage so I used 2 balls of this yarn.

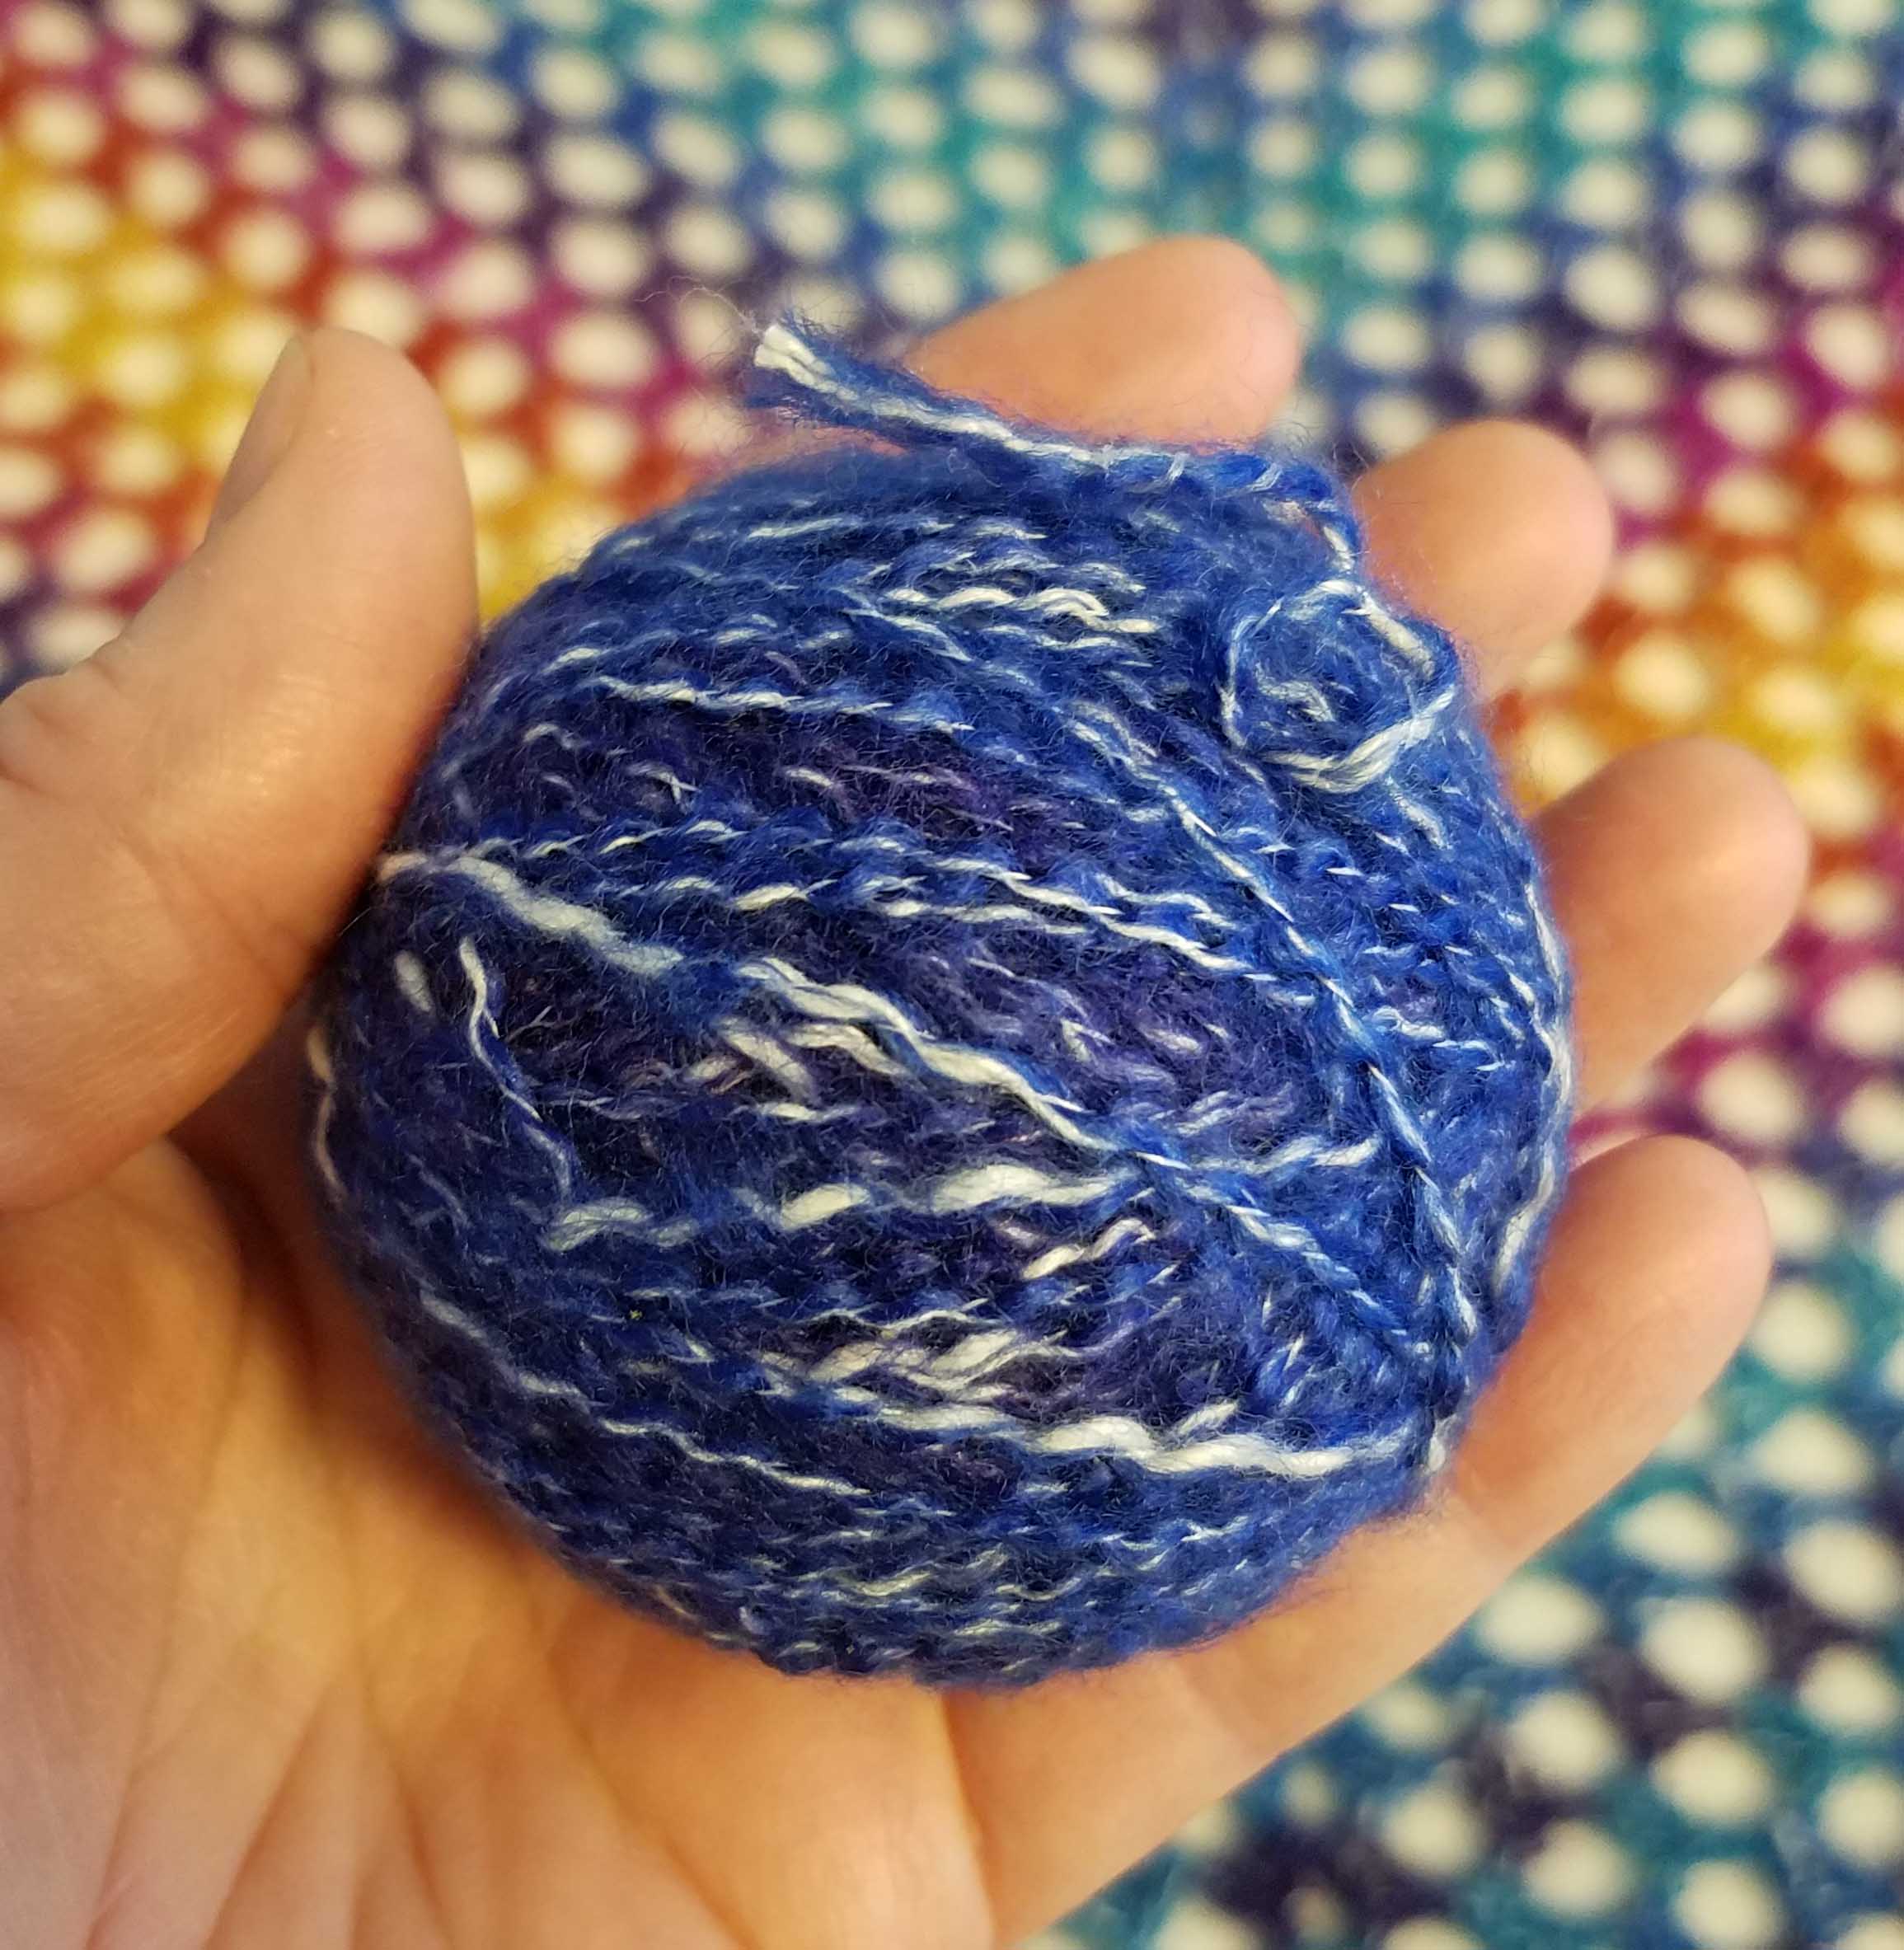
I had only 22 g/70 yds of yarn left from the second ball. My favorite thing about a top-down shawl is that you can stop wherever you want, depending on the size shawl you want and the amount of yarn you have.

2×2 Shawl

Designed by Andee Graves

Skill level:       Easy

Finished Size:

2 balls = 74” (187.96 cm) wide x 32” (81.28 cm) tall

1 ball = 54” (137.16 cm) wide x 18” (45.72 cm) tall

Materials:

Yarn

Lion Brand Yarns “Shawl in a Ball” 58% Cotton, 39% Acrylic, 3% Other fiber (5.3 oz/150 g, 481 yd/440 m)

2 Balls of Color # 201 – Restful Rainbow

Hooks

J-10 / 6 mm

Notions

Yarn/tapestry needle

Stitch markers

Gauge:

Approximately 14 stitches and 5.5 rows = 4” (10.16 cm)

Special Stitches or Abbreviations:

PM – Place stitch marker

Pattern Notes:

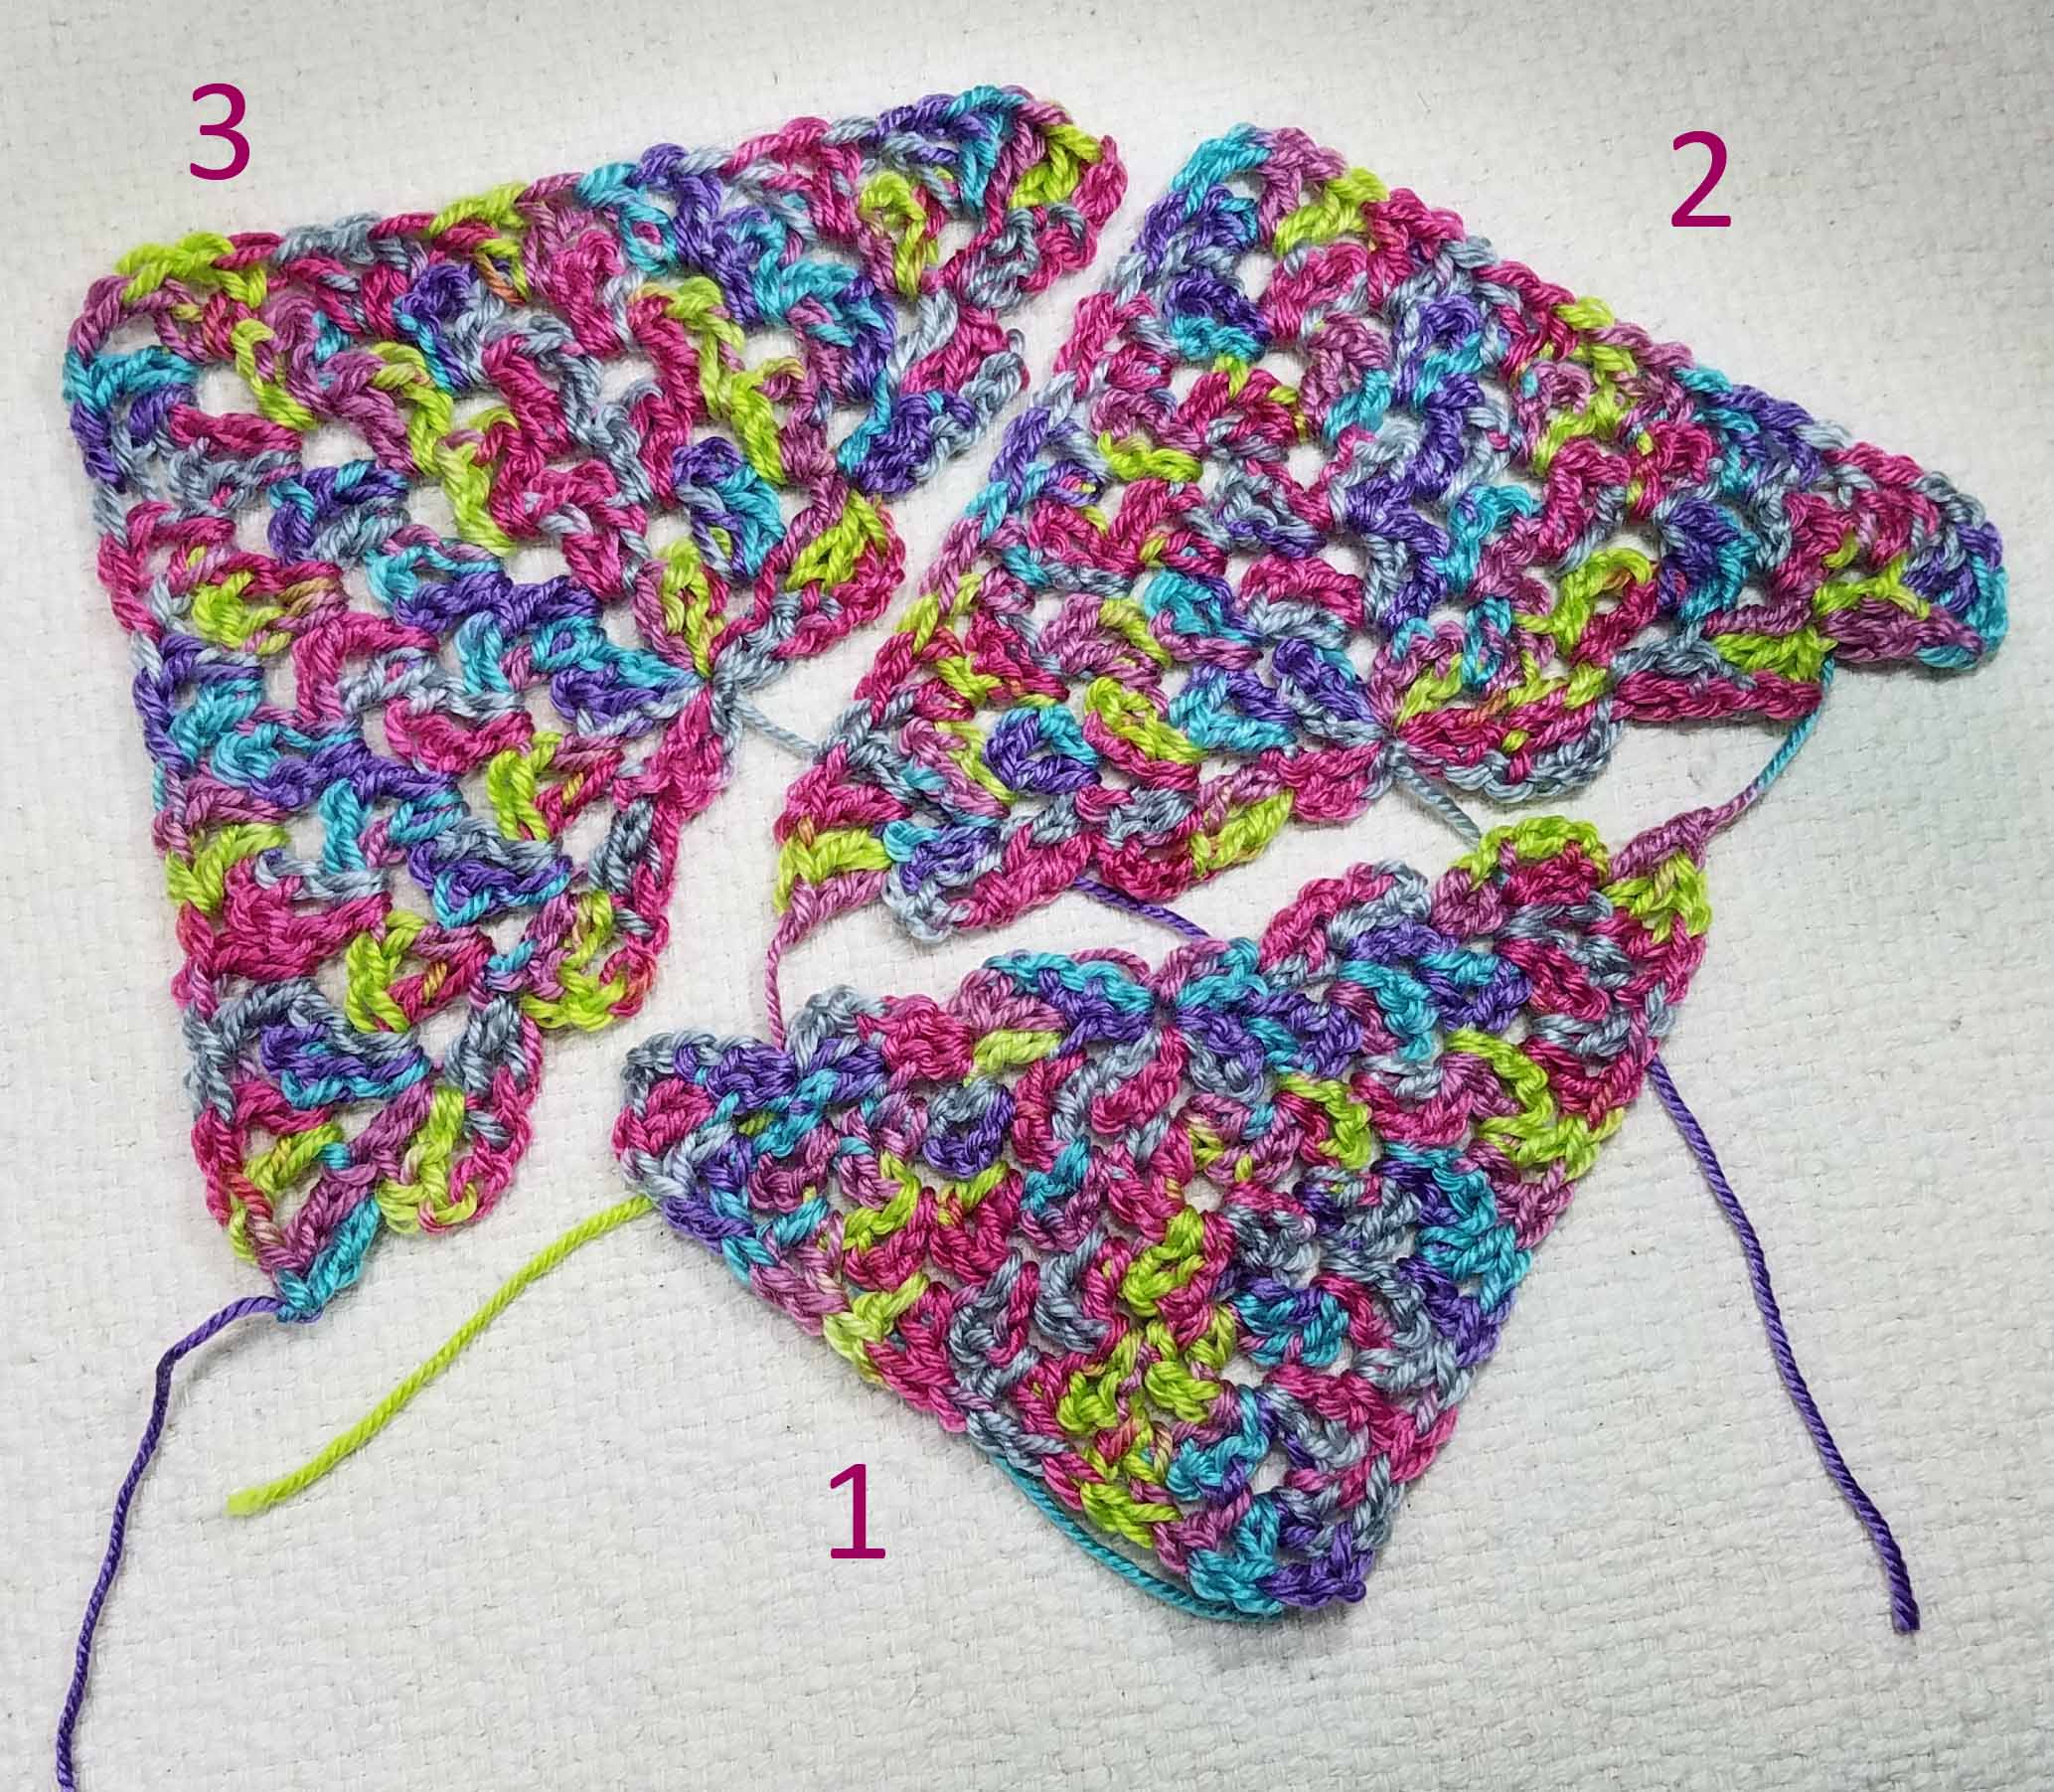
Shawl is worked top-down with 3 increase points from a stacked rows foundation. 

If you wish to make a smaller shawl work the instructions for the body of the Shawl for fewer rows being sure to stop with a repeat of Row 4, then working the edging row (Row 35) to finish.

Instructions:

Foundation Rows

Row 1: Ch 2, sc in second ch from hook.

Row 2: Ch 3, turn, 2 dc in sc.

Row 3: Ch 1, turn, sc in first dc.

Rows 4 – 41: Alternate repeating Rows 2 and 3 (ending with a Row 3).

Shawl Body

Row 1: Ch 3, turn to work into sides of sc rows, (3 dc, ch 2, 2 dc) in first sc row, PM in ch-2 sp just made, *ch 2, skip next dc row, 2 dc in next sc row*, Repeat from * to * 8 times, ch 2, skip next dc row (2 dc, ch 2, 2 dc) in next sc row, PM in ch-2 sp just made, Repeat from * to * 9 times, ch 2, skip next dc row, (2 dc, ch 2, 3 dc) in last sc row, PM in ch-2 sp just made. [23 ch-2 sps, 50 dc]

The marked ch-2 spaces will be the increase points for the rest of the body of the shawl.

Row 2: Ch 3, turn, skip 1 st, 3 dc in next st, ch 2, skip 1 st, (2 dc, ch 2, 2 dc) in marked ch-2 sp, move marker up to ch-2 sp just made, [*ch 2, skip next 2 sts, 2 dc in next ch-2 sp*, Repeat from * to * until work in marked ch-2 sp, (ch 2, 2 dc) in same marked ch-2 sp, move marker up to ch-2 sp just made] 2 times, ch 2, skip 1 st, 3 dc in next st. [27 ch-2 sps, 58 dc]

Row 3: Ch 3, turn, skip 1 st, 3 dc in next st, skip 1 st, 2 dc in next ch-2 sp, ch 2, skip 2 sts, (2 dc, ch 2, 2 dc) in marked ch-2 sp, move marker up to ch-2 sp just made, [*ch 2, skip next 2 sts, 2 dc in next ch-2 sp*, Repeat from * to * until work in marked ch-2 sp, (ch 2, 2 dc) in same marked ch-2 sp, move marker up to ch-2 sp just made] 2 times, ch 2, 2 dc in next ch-2 sp, skip 1 st, 3 dc in next st. [29 ch-2 sps, 66 dc]

Row 4: Ch 3, turn, skip 1 st, 3 dc in next st, ch 2, skip 3 sts, 2 dc in next ch-2 sp, [*ch 2, skip next 2 sts, 2 dc in next ch-2 sp*, Repeat from * to * until work in marked ch-2 sp, (ch 2, 2 dc) in same marked ch-2 sp, move marker up to ch-2 sp just made] 3 times, Repeat from * to * until work in last ch-2 sp of Row, ch 2, skip 3 sts, 3 dc in next st. [33 ch-2 sps, 70 dc]

Row 5: Ch 3, turn, skip 1 st, 3 dc in next st, skip 1 st, 2 dc in next ch-2 sp, [*ch 2, skip next 2 sts, 2 dc in next ch-2 sp*, Repeat from * to * until work in marked ch-2 sp, (ch 2, 2 dc) in same marked ch-2 sp, move marker up to ch-2 sp just made] 3 times, Repeat from * to * until work in last ch-2 sp of Row, skip 1 st, 3 dc in next st. [35 ch-2 sps, 78 dc]

Rows 6 – 34: Alternate repeating Row 4 and Row 5 ending with a Row 4.

Stitch count at end of Row 34 [123 ch-2 sps, 250 dc]

If using only 1 ball of “Shawl in a Ball” stop at Row 22. [87 ch-2 sps, 178 dc]

Edging

Row 35: Ch 2, skip 1 st, sc in next st, ch 2, 2 dc in next st, *skip next ch-2 sp, sc in next st, ch 2, 2 dc in next st*, Repeat from * to * until work in next to last st of Row, slip st in next st. Fasten off. [124 sc, 124 ch-2 sps, 248 dc]

Finishing

Weave in tails and block.

It’s All by Design

Last week I posted about Jan and I having a great time exploring the sites in downtown Chicago after the Chain Link conference. Today I’m writing about the 2018 Chain Link Conference in Portland, Oregon. For me this is going to be a bit of a home-coming.

The first CGOA show I went to was in Portland in September 2008. I’ve told the story before how I met some of my dearest friends at that conference, two of them being Jan and Pam. In fact I met them both in my first class there.

Who could have guessed that a little less than 10 years later I would be returning to Portland for a conference as a board member? It will be a very busy conference for me as I hope to meet as many of our membership as possible, while also attending to my board responsibilities.

One of the exciting events at each conference is the Design Competition. The chair person this year for that committee is Louise Thurman and I am the board advisor. She and I have been working to get everything in place for the competition and I’m excited to see it coming together.

If you haven’t ever entered a piece in the Design Competition then this could be your year, you just need to be a member of CGOA to enter. The deadline for entries is June 30th, so you have plenty of time to get something ready. If you’ve been one to experiment with crocheting you may already have a finished piece that can be entered. It doesn’t have to be recently crocheted, it just needs to be your original design and not publicized or published before.

This year we will have 6 categories, that will be awarded a First, Second and Third place prize:

  1. Fashion: garments (not accessories), including sweaters, tops, jackets, vests, skirts and dresses.
  2. Accessories: including wraps, scarves, cowls, socks, mittens, hats, bags, belts and jewelry.
  3. Home Décor & Afghans: items primarily for the home, including afghans, throws, and baby blankets.
  4. Tunisian: 80% of design needs to be Tunisian crochet.
  5. Artistic Expression: items more artistic in nature, including free-form or mixed media pieces, wall hangings, and wearable art.
  6. Thread Crochet: anything made in crochet thread or fine/lace weight yarn (CYC category #0/Lace); this category may overlap other categories, and includes doilies, garments, baby clothes, or accessories.

Then there will also be the $1000 Grand Prize, the Technical Merit Award, and the People’s Choice Award.

Judging will take place at the conference Wednesday and the winners will be announced Friday evening at the Awards Ceremony. All the entries will be on display Thursday evening thru Saturday afternoon at the marketplace. Folks attending the conference will be able to cast a ballot for the People’s Choice Award, which will be announced Saturday evening at the Closing Ceremonies Banquet.

You can find out more details about the Design Competition and how to enter it at the CGOA website: Crochet.org. From the home page use the Members Only drop down menu at the top, then go to Design Competition.

A Perfect Fitting Pi-Day

It is March 14th again and that means it is Pi Day! For those of you that might have forgotten your circular geometry, Pi is the number used to calculate the circumference of a circle. It’s really much more than that, but that covers the most pertinent aspect for those of us yarnie arts folks. It has decimal places going on to infinity, but is generally written 3.14, which is similar to the order we Americans write the date March 14th: 3/14.

If you have been reading my blog for some time, you already know that I’m a bit of a geek. For my new readers, Welcome, and you’ll figure it out in this blog post.

As a designer my geeky math nature provides me with helpful tools in figuring out shaping and fit for garments as well as for calculating yardage for an afghan. Most of the time in my patterns I have worked all the math for you. But a few years back I had a request from some of my fans for the formulas for making perfect fitting hats. Considering the number of different sized heads out there and the variety of yarn weights this seemed like a very good idea.

But how to make a pattern, that could cover all that? Initially I created a class to teach the formula and then I came up with my “teaching” pattern the “Perfect Fit Hat” available in my Ravelry Shop. In this pattern I demonstrate the measurements you need from the head you are trying to fit and illustrate how to make them. As well as a primer on using Pi to get the size hat you want, the pattern includes step by step photo tutorials, stitch charts and a sizing cheat sheet for those that don’t want to mess with the formulas.

To celebrate Pi Day I am offering my Perfect Fit Hat pattern for 25% off sale in my Ravelry shop. This discounted price will only be available for 24 hours ending March 15, 2018 at 10:00 a.m. (Mountain Daylight Savings Time). You will need to enter the Coupon Code: CelebratePiDay2018 when checking out on Ravelry.

Spiraling Stripes Hat

I love spirals. You can probably tell that just by looking at my logo above. One of my happiest crochet moments was when I realized that I could crochet spirals, since then I have put them in many of my designs. My newest pattern is not only  a celebration of the beauty of spirals it is also a celebration of the functionality of spirals.

This is my Spiraling Stripes Hat. It is crocheted using 2 colors and a 2 – armed spiral. Spirals are another version of continuous rounds in crochet. This sort of construction makes a lovely elastic fabric for hats because you don’t have a seam of tight slip stitches joining each round.

The pattern is available for purchase in my Ravelry Shop. This pattern includes a step by step photo tutorial and detailed stitch chart to help you understand crocheting the spiral.

I used Round Mountain Fibers worsted weight Superwash Merino wool for this hat. These were 2 colors from their Ornithology Collection: Puffin Blue and California Quail. Their hank size is 174 yards in 100 grams, so this is a slightly heavier weight worsted.

The CGOA Mega CAL continues

We are still celebrating National Crochet Month, which means a new pattern is now available for the CGOA Mega CAL.

This week’s pattern is “Almost Spring Mitts” designed by Karen McKenna. Be sure your CGOA membership is current because you won’t want to miss this out on this pattern and the others being offered the rest of this month.

Shining Day Wrap as Scarf 800 - Andee Graves M2H Designs

If you missed out on my Shining Day Wrap pattern don’t worry. It is now available for purchase thru my Ravelry Shop.

Jan & Andee’s Chicago Adventure – Part 2

Since I’m now on the CGOA Board of Directors I am very involved with helping to plan the 2018 Chain Link Conference this coming July in Portland, OR. With that in mind, I thought I should get Part 2 of Jan and I’s Chicago adventure up on the blog.

When Jan and I heard that the 2017 Chain Link Conference was going to be held in Chicago we were very excited. Jan lived in Chicago for 10 years before she moved back East to be closer to her family. She says Chicago was one of her favorite places. I’ve always wanted to visit Chicago because of the Art Institute. They have an amazing collection there, especially of Impressionists (my favorites). I also am very interested in architecture and I knew that Chicago has some famous buildings.

Jan and I generally plan to travel on the Tuesday before the conference starts and then we stay an extra day if it is a place we want to explore. Being Chicago was definitely a place we wanted to explore we decided to stay 2 extra days. Honestly, a week extra is really needed to fully explore all downtown Chicago has to offer.

The first challenge we faced when planning our outings for our 2 days was how to best get from the Westin Hotel in Itasca to downtown Chicago. I was in favor of riding the El, but we still needed to get from the hotel to the nearest station. Fortunately this is where meeting Mike, the friendly cab driver, earlier in the week came in handy.

Jan had done all kinds of research for our 2 days to get the most out of the time we had to explore. Sunday we had reservations to go on an architectural boat tour on the river.

It was a great way to see a lot of the landmark buildings of downtown with a super informative guide (and without getting blisters on our feet).

It was amazing to me how much of Chicago’s impressive architecture is visible from the river.

Our second day was dedicated to the Art Institute.

Jan was a little worried that I was going to hyperventilate in the room where the Monet paintings were on display. I wasn’t really in trouble, but I was excited to see those paintings. Most of them I had only seen as photos in books.

It was wonderful to get close enough to the canvas and see how Monet had picked up various colors of paint in one brush stroke. Made my fingers itch to paint again.

It wasn’t just the Monets though, there were also many other paintings that I’ve always wanted to see. Like the beautiful “A Sunday Afternoon on the Island of La Grand Jatte” by Georges Seraut. This is a massive canvas that took up most of one wall in the room with the Monets.

There was this lovely little painting by Degas, “Danseuse rose {Pink Dancer}“.

One of the things I most enjoyed about Chicago was the use of intricate metal working in the architectural details.  Jan had taken us on a specific path thru the city from the El to the Institute so I could see the beautiful Carson, Pirie,  Scott & Company store building (also known as the Sullivan Building). She was a bit horrified to realize it had been converted into a Target store. Though we were glad that the conversion was subtle, it had actually taken us sometime to realize it was a Target store and no longer the department store that Jan had known.

The Art Institute had many beautiful examples on display,

as well as some fascinating stone work.

We really could have spent a lot more time at the Art Institute, but our time was limited. I wanted to make it to the harbor to see Lake Michigan before we were heading back to our hotel.  I wasn’t able to get a really good photo of the lake, but I did get to see some ducks that were begging food off other harbor visitors.

Then we hiked back to our station to catch the El to head back to the hotel. We spent the evening discussing how we needed to do another trip to Chicago together as there were lots of other sites we never got to.

Later this summer I’ll have Jan and I’s next adventure to blog about when the 2 of us re-unite in Portland, Oregon at the 2018 Chain Link Conference. I hope you’ll be there too.


Ring Around the Posies

Springtime is in the air, today it is warmer up here on my mountain and the snow is melting. Of course it’s all a bluff as we will likely have more lots more snow before we are completely finished with winter weather. In the meanwhile it is time to celebrate my latest published pattern “Ring Around the Posies Skirt”, worked in Designing Vashti’s: Lotus Yarn, in the April issue of “I Like Crochet” online magazine.

This skirt is one of my most ambitious designs to be published so far. It’s an advanced level project written in 5 sizes and will definitely build your skills.  The most challenging aspect is the floral motif hemline, so I created placement and joining illustrations to help. These are offered as downloads in the sidebar of the pattern page.

This design includes a center back zipper. I have an article on adding a zipper to your crochet project in the same issue to help with this aspect. If you haven’t had a chance to get a subscription to “I Like Crochet” it is a great way to celebrate National Crochet Month.  Every issue is full of a variety of fun and exciting projects and your subscription allows you access to all the previous published issues as well.

Needle Felting with Students

Last Saturday I taught a needle-felting class at the Longmont Yarn Shoppe. The shop is very small, so a full needle-felting class is only 6 students. This makes for fun classes where each student gets personal attention from the teacher. I have such a great time teaching and often time my students come up with new ideas or ways of looking at the project that really add to the experience for everyone.

3 of my students were a mother with 2 young daughters (9 and 12).  I generally don’t design my classes for children under 13 years of age, but these 2 young ladies were both very dedicated yarn crafters already. When the shop called to check with me I said let’s give it a try.

Saturday morning we had one student cancel because she had the flu, so we ended up with only 5 students in the class. We all had a great time and my 2 youngest students were intrepid and diligent in the class. The 9 year-old was really determined to work on one of the more challenging techniques for creating the “fleece” of her sheep.

This technique is one I used for creating my original Sheep Toy for the SBVFAF class I taught last September at the SBVFAF in Scotts Bluff, Nebraska. It requires quite a bit of patience as you make loop after loop in yarn and needle them into place.

The 12 year-old came up with a fun technique of her own for making a bumpy “fleece”. She wrapped bits of plain roving around her needle and then pushed them into place on her sheep.

My other three adult students were having fun making “curly” sheep using mohair locks for the fleece. Again there was so much creativity amongst the students about how they would incorporate the locks. One student made a soft cloud of locks that she had gently teased apart.

My young students mom had fun creating a special curl over her sheep’s forehead.

The last student was very charmed by my original “curly” sheep, so she worked on adding her locks similar to how I had used them.

We had quite a fun little flock of sheep by the end of the class. Best of all, all 5 students were feeling very inspired and wanted to do more needle felting. I’m always happy when my students are excited to continue with the craft.

I’ll be teaching more needle felting classes this Fall and hope to create some that combine needle felting with crochet.  Keep an eye out here for more news about my upcoming classes.