I’ve been busy crocheting away on some designs I can’t share yet, but I wanted to be sure to let you know some other fun things coming up this Spring. I’m one of the Instructors for Interweave YarnFest in Loveland, Colorado this year!

Currently workshops are available at the Early Bird pricing through this Friday, February 10th. So hurry on over and pick your workshops now.
I’ll be teaching 4 workshops.

Stitch Chart Bootcamp – Crochet: Workshop is Thursday, April 13th, 9:00 a.m. – Noon.
Have you ever wondered exactly where the next stitch is supposed to go? You know that the stitch chart probably holds the answer to this question. You may have even referred to a chart in a crochet pattern that uses both text and chart, but are you ready to work from only the chart? A whole world of international patterns opens to you when you can decipher stitch charts, even if you don’t understand the written language that accompanies the chart. In this class, you will learn how to work solely from a stitch chart to crochet a lovely motif. You’ll learn what the symbols in the charts stand for, how they may change depending on the country of origin, and the skill to get results that please you when working from the charts alone. The class handout includes over 5 stitch chart patterns for you to practice with.

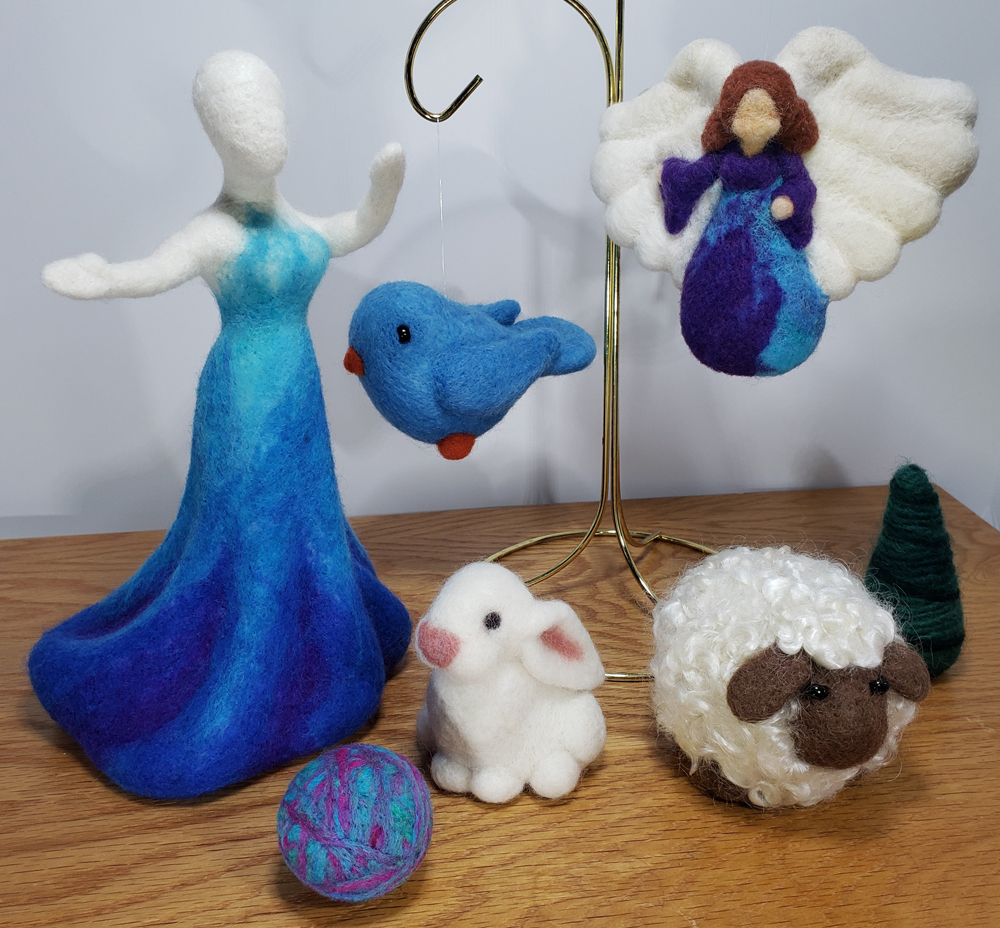
Needle Felting in 3D: Workshop is Thursday, April 13th, 1:30 p.m. – 4:30 p.m.
This is the workshop for you if you have ever wanted to learn how to create something three-dimensional out of wool! Needle felting is a great fiber art for creating sculptural pieces. It is a wonderful medium for making everything from toys to jewelry to art. The possibilities are endless. This session will be all about creating fun and engaging 3D characters and critters with confidence. Learn everything you need to use your felting needle safely and ergonomically. This class also covers the following: creating different shapes from loose fiber and joining them together to make an object that can stand up; using a “frame” to create the base of your three-dimensional pieces; making both “hard” and “soft” felt; and embellishing your sculpture with yarn, beads, and fabric. You will leave class with a full-color booklet of how-tos, your own felting needle, and a bag full of fiber. The class kit will have everything you need to practice in class. I’ll provide work surfaces for students to use during class as well.

Rollie Pollie Sheep – Needlefelting: Workshop is Friday, April 14th, 9:00 a.m. – Noon.
Don’t be Baaaashful! Ewe know you want to learn how to create this adorable cuddly round sheep. This little sheep is a perfect soft toy or decoration for a fiber loving friend. I originally designed my first rollie pollie sheep for a friend’s grandchild. In this workshop, you will be confident with using a variety of needle felting sculptural techniques to create your own lovable little sheep. This project will introduce creating a sphere base form, creating three-dimensional shapes on a base form, and embellishing your sculpture with curly mohair locks. We will also discuss modifications for making your sheep more toddler or baby friendly. Class kit contains everything you need to make one cuddly sheep. I’ll provide work surfaces to use during the class.

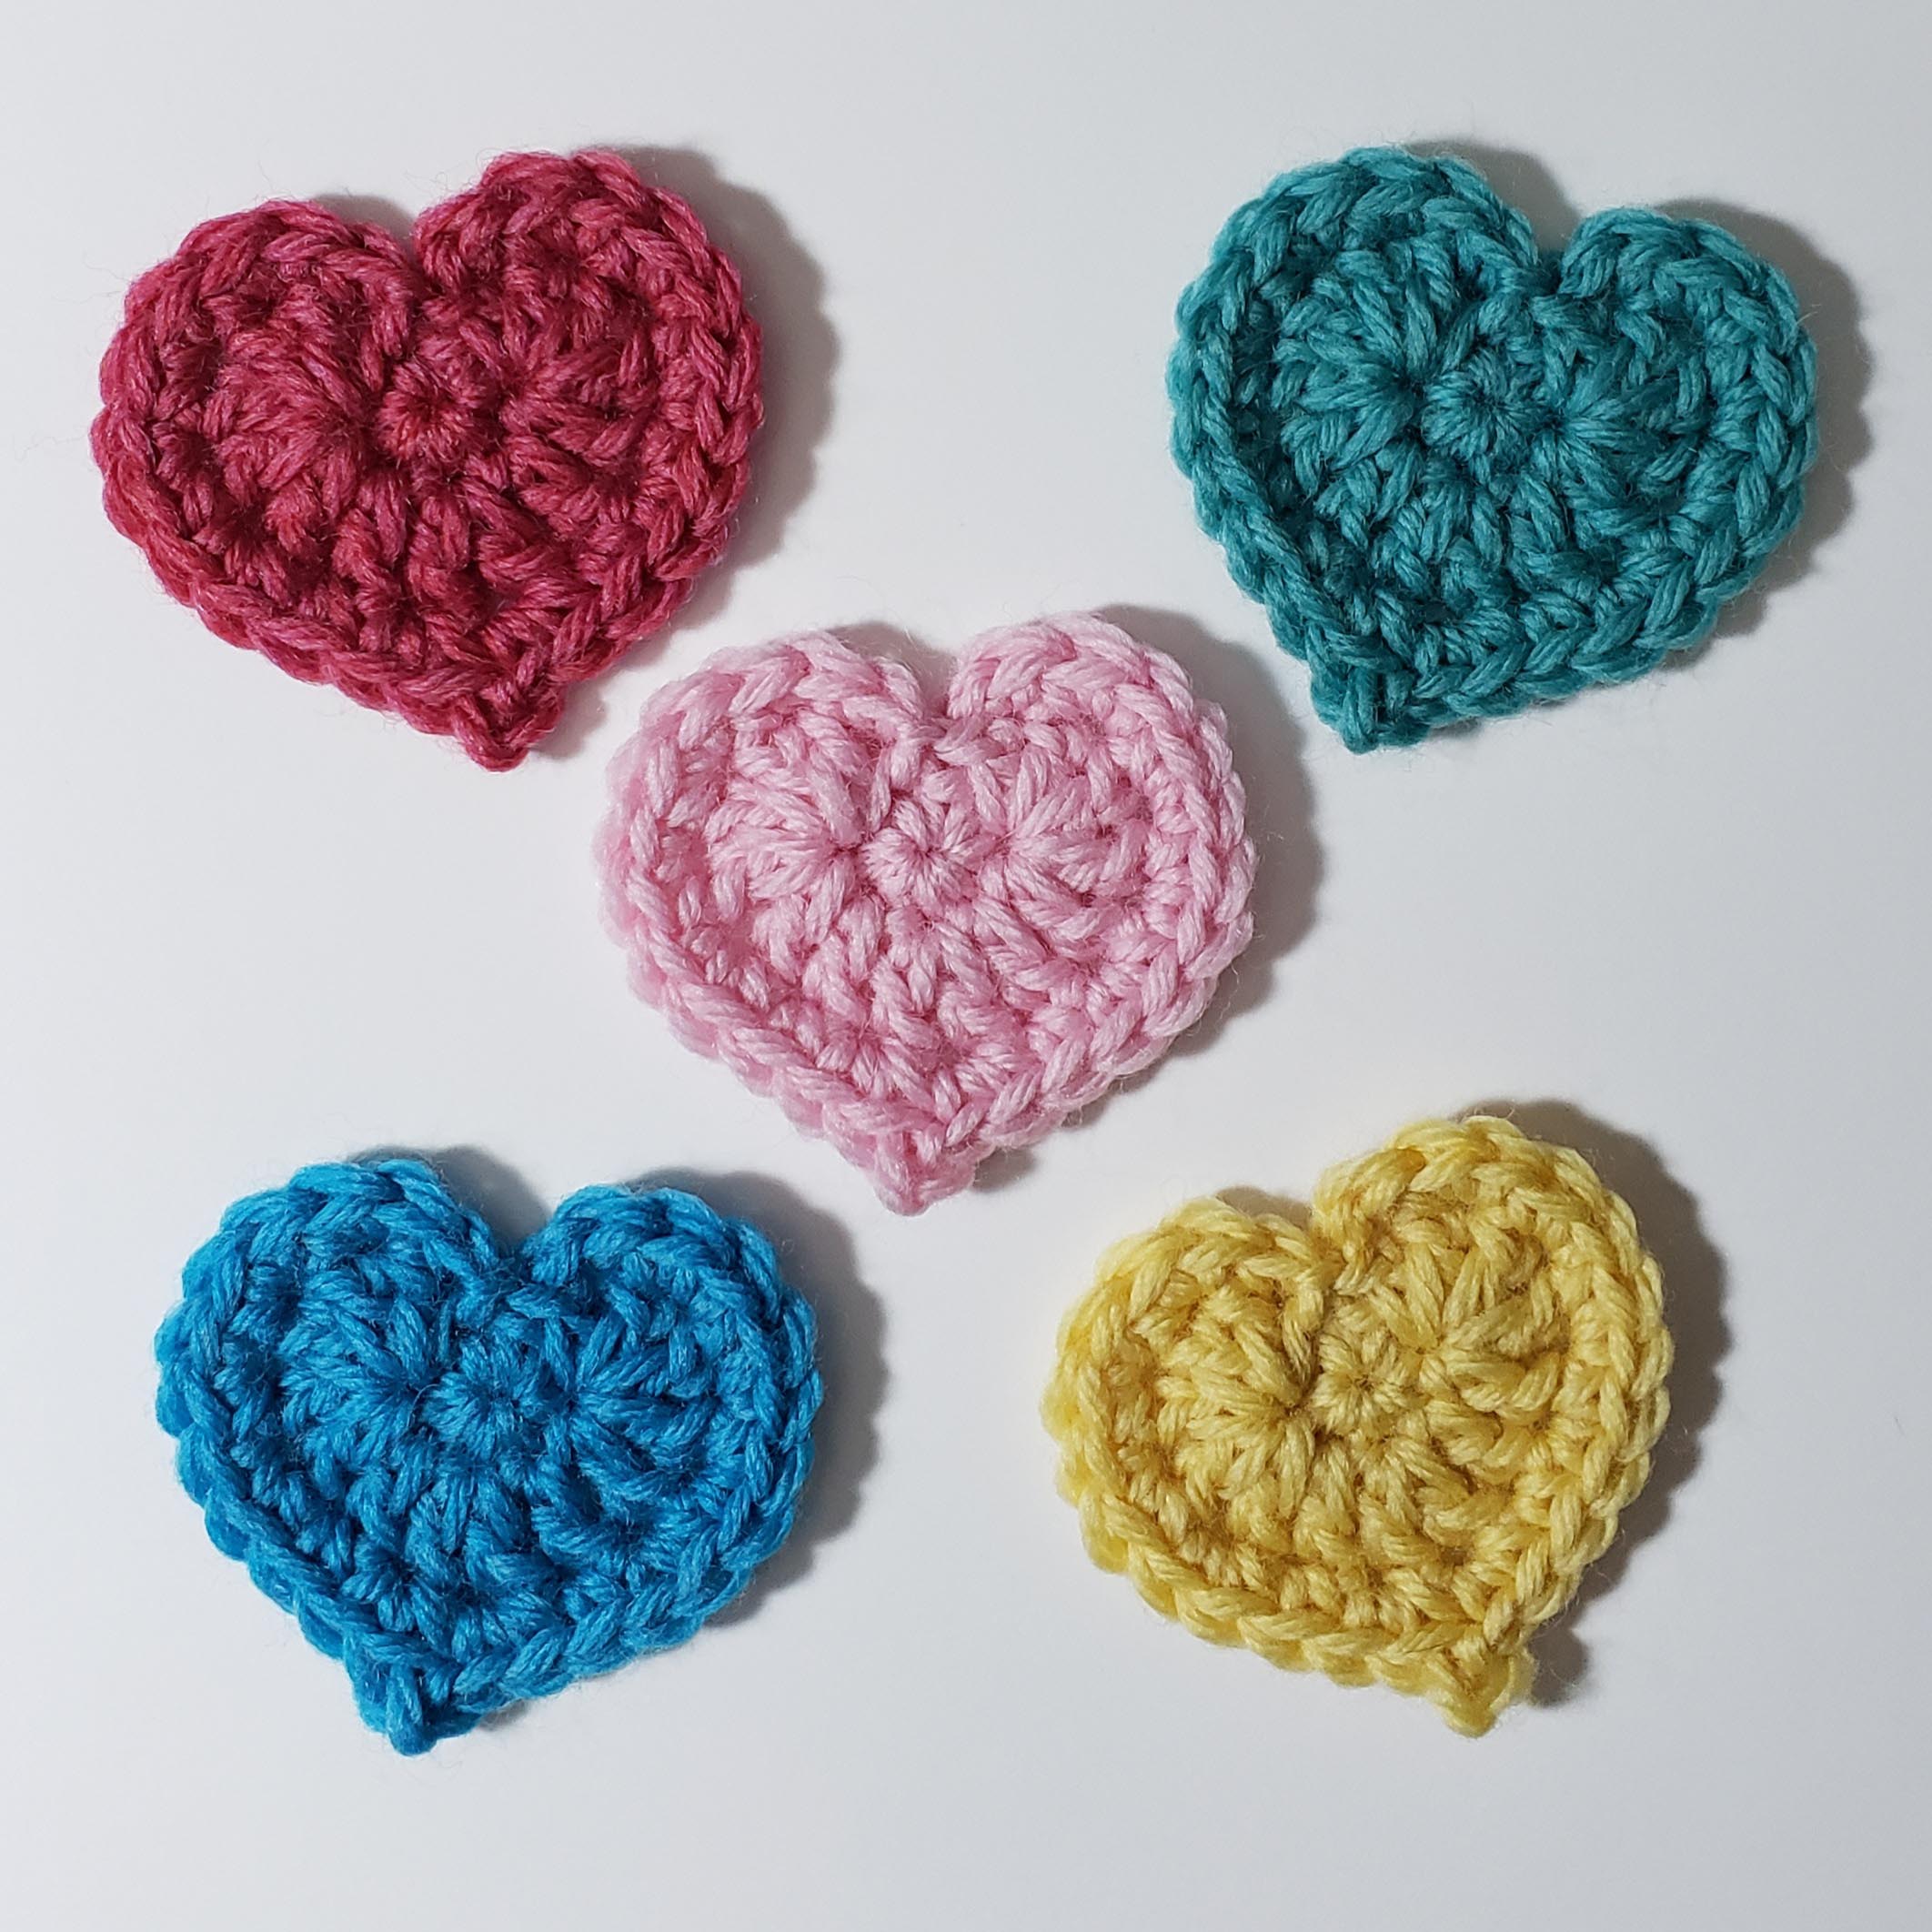
Heart Full of Love Pin – Needlefelting: Workshop is Friday, April 14th, 1:30 p.m. to 4:30 p.m.
Have you always wanted to try needle felting but you’ve been intimidated by the needles? This class is a great introduction to needle felting! You will learn how to add sculptural needle felting to a simple crocheted base, how to work safely on small projects and create dense durable felt. At the end of the class, you will have at least one little heart pin completed. You can wear your heart on your sleeve or your jacket collar, or give it away to someone you love. The class kit comes with enough supplies to make two heart pins, including a crocheted heart and the yarn to crochet your own little heart. Class handout will include instructions to crochet your own heart. I will also cover how to crochet the heart for students who are interested.
I hope you can join me for one or more of these fun workshops in beautiful Loveland.