I’m so excited to be part of the 4th Annual Stitch & Hustle Blog Hop: The Perfect Picot. Links to visit the other participating designers patterns are after this pattern, as well as a link to the “Win All You Need to Make This” Giveaway information. A big Thank You to WeCrochet.com for providing the yarn for all these designs.
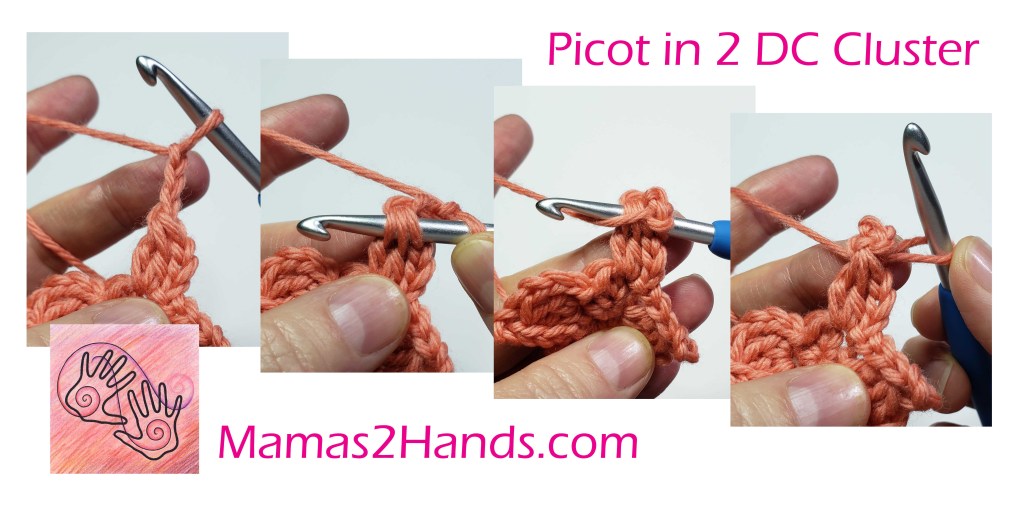
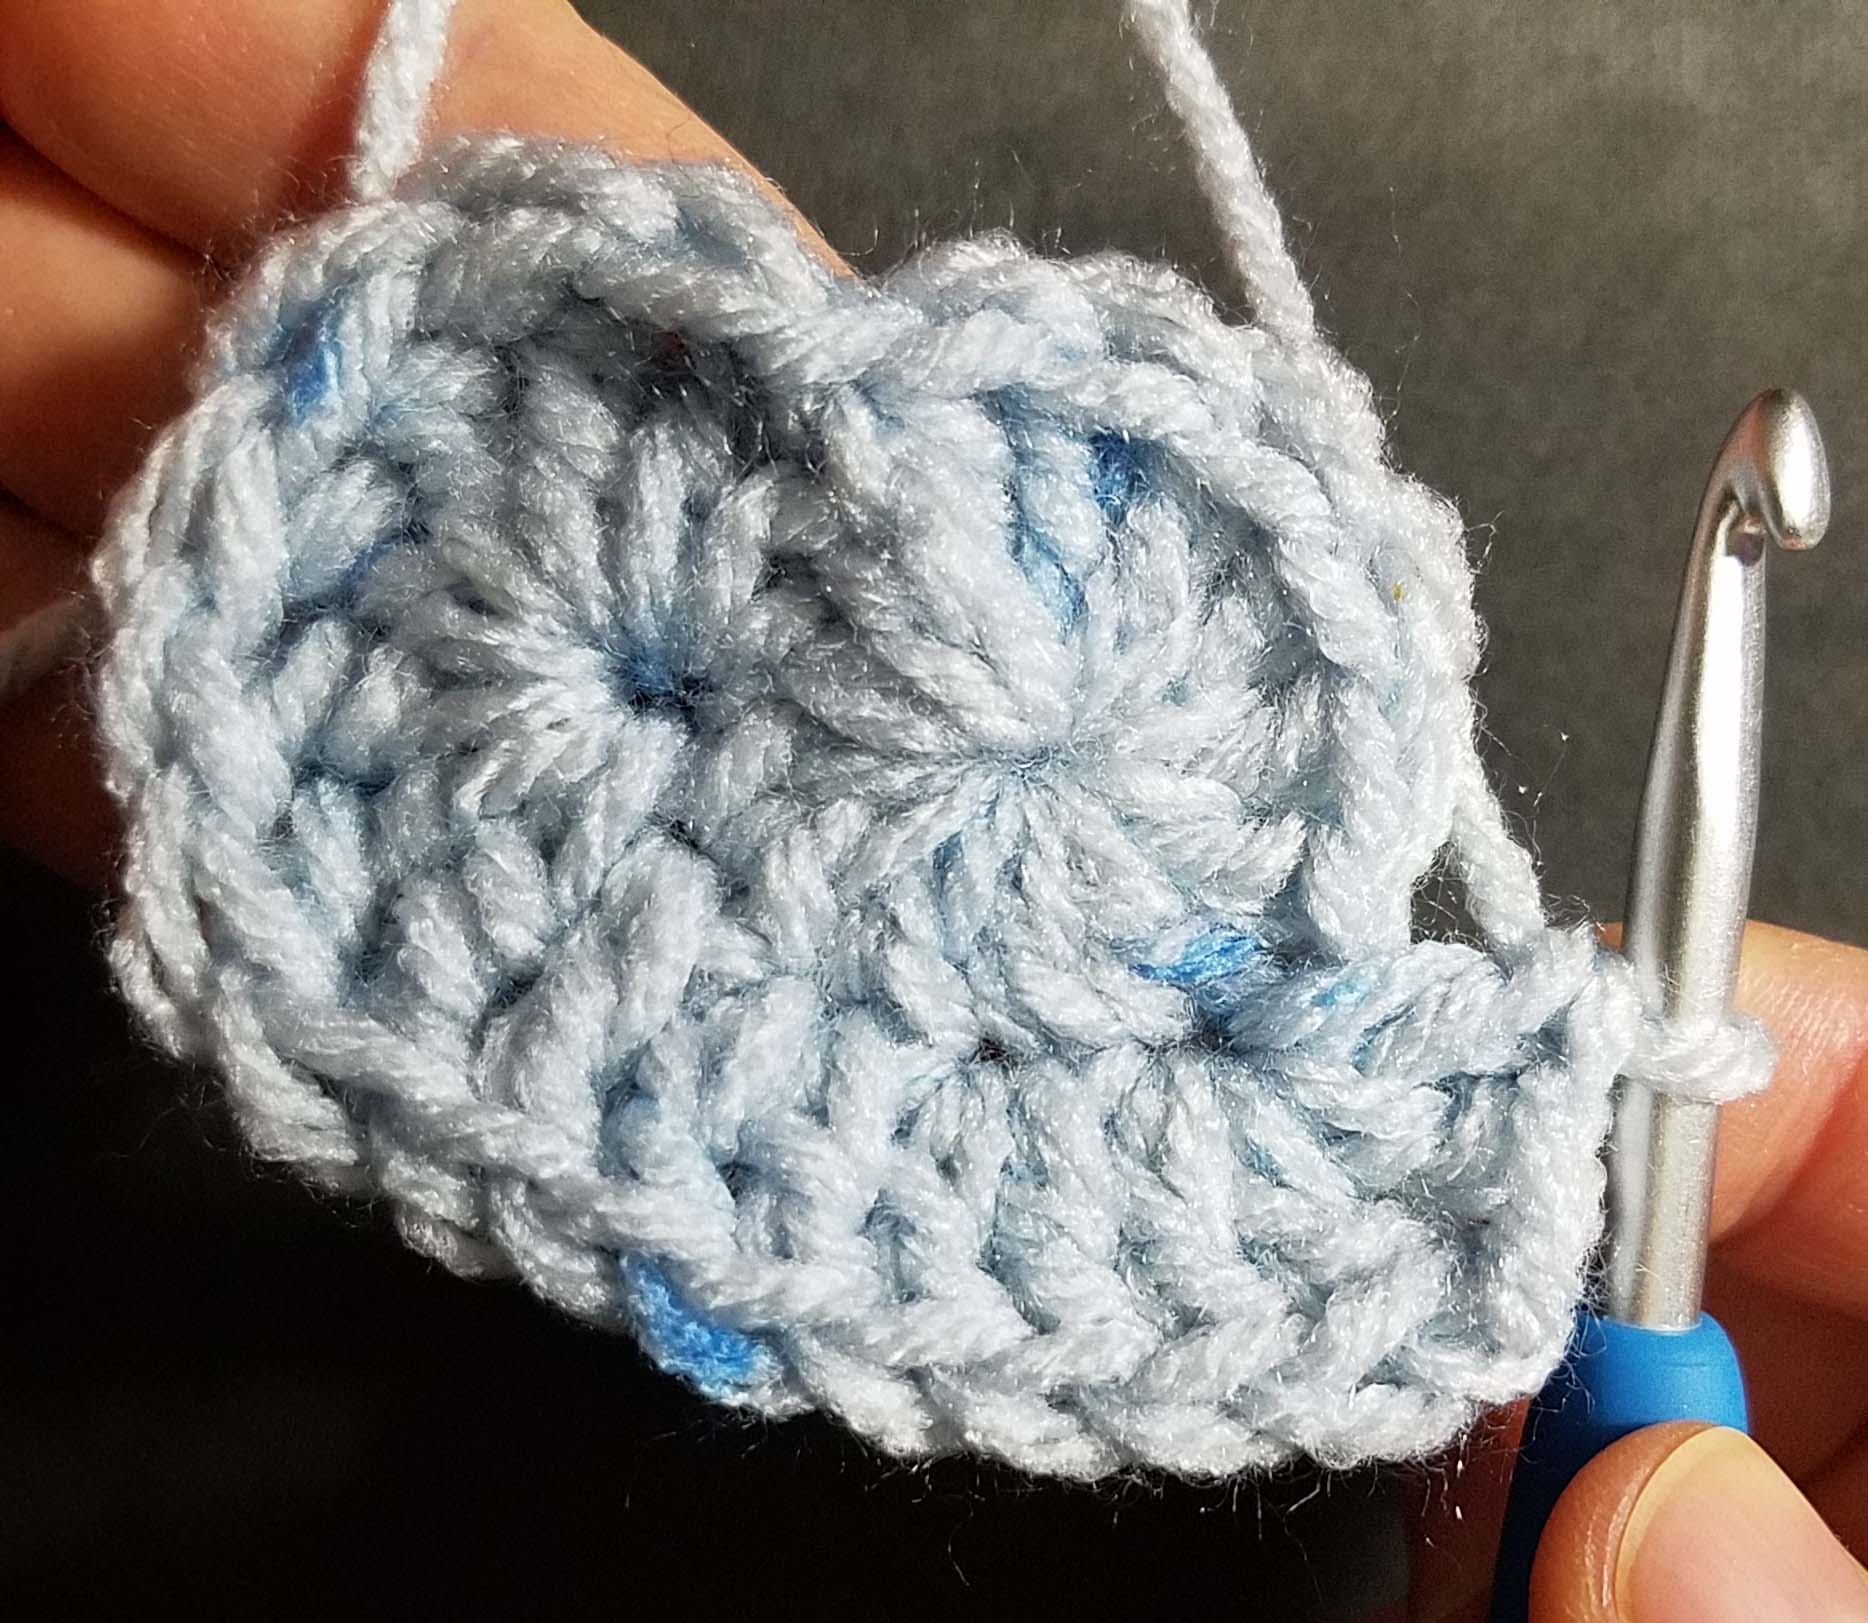
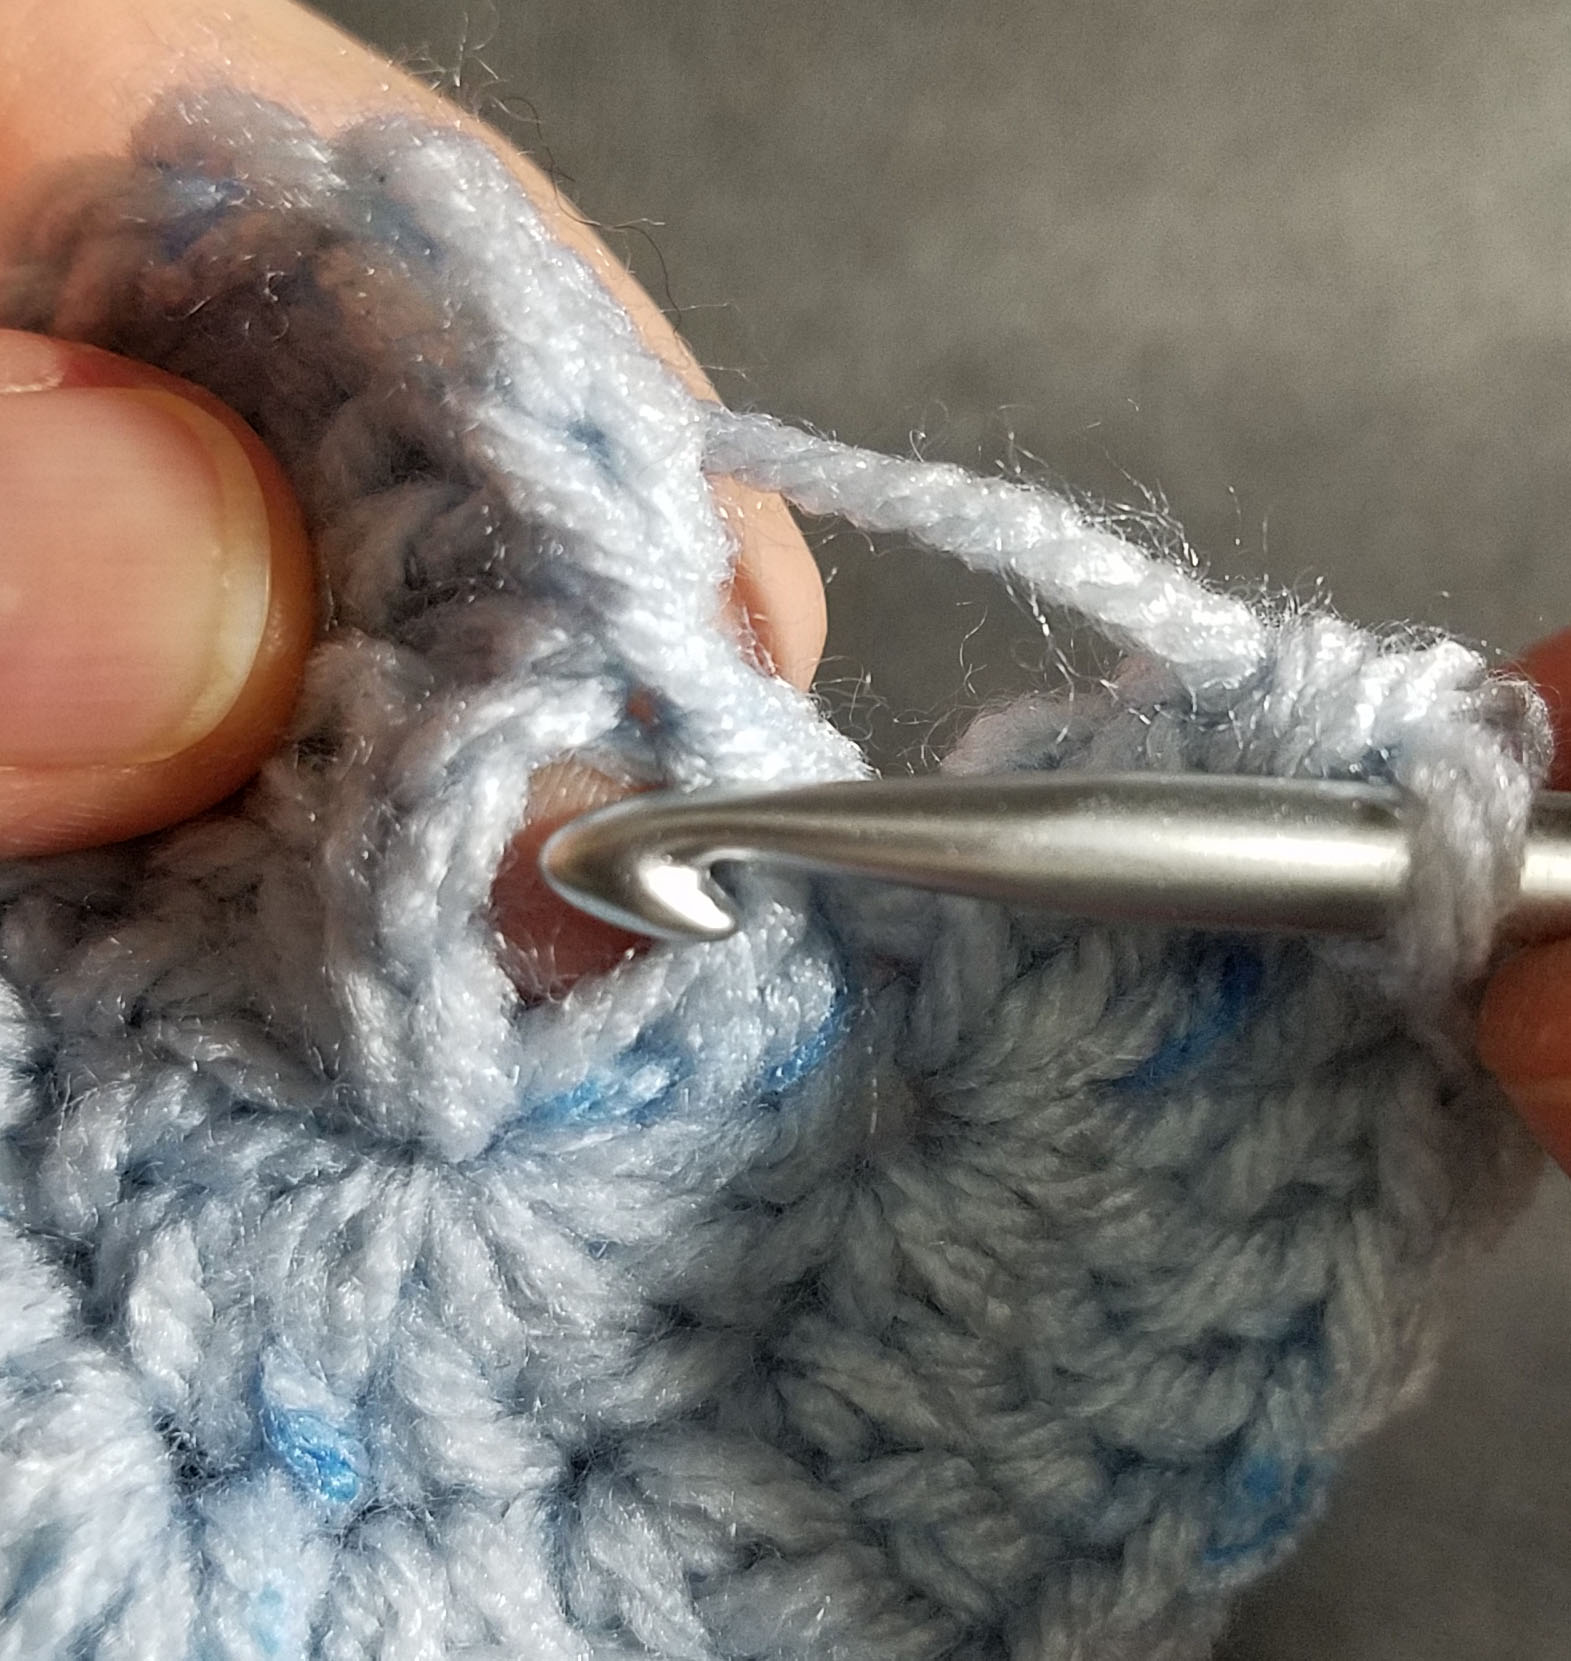
Picots are a stitch that I love for edgings because they add a visual texture that creates a finished look. For this pattern I have incorporated the picot stitch for the edging on the brim of the hat and each flower has picots for additional texture and shaping of the petals. If you have a hard time working picots you can check out my blog post: Don’t Fear the Picot with photo tutorials to help you see how I work them. I have also included a mini photo tutorial in the instructions for Flower 1 to help you with the picots worked into the cluster stitches.
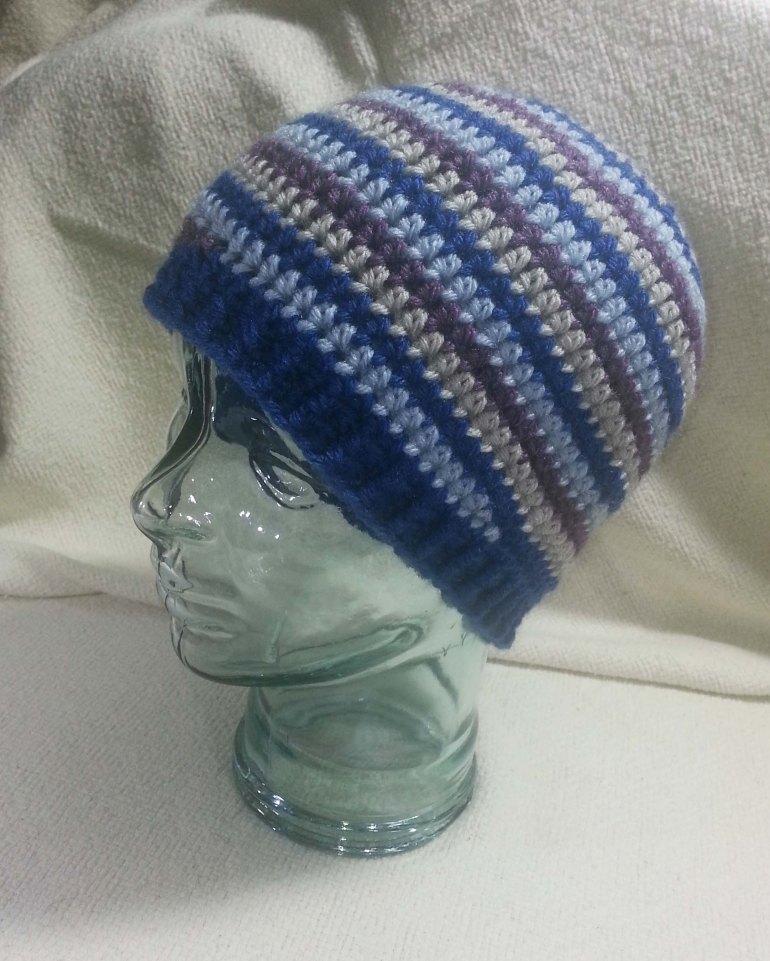
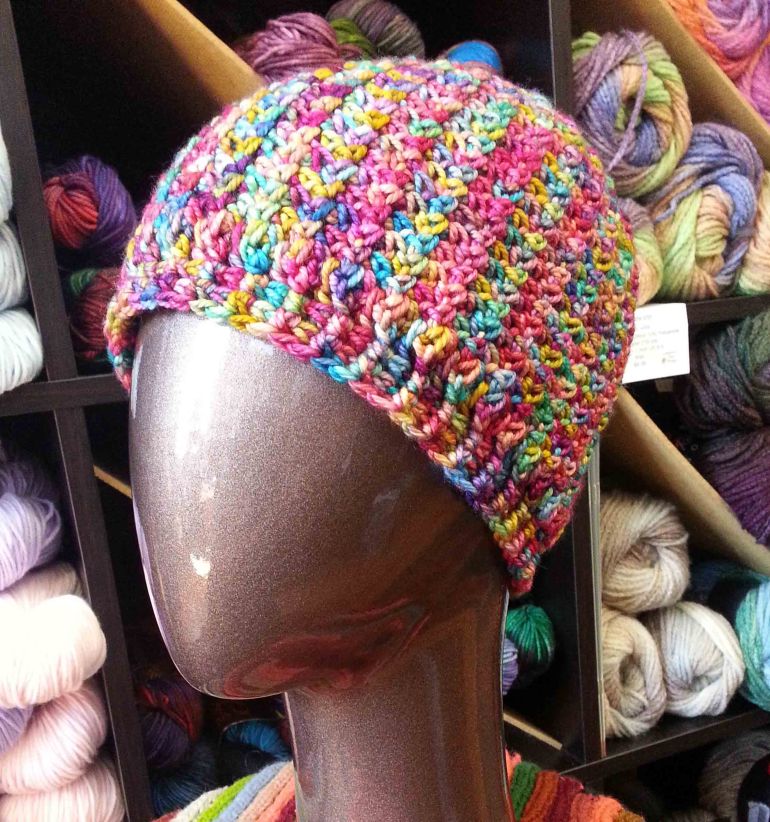
I hope you enjoy my pattern for this fun Cloche Hat. I named it after my Great Aunt Josephine, who was quite the style maven in the 1920s. I’ve always loved looking at old photos of her from those years and she was my inspiration.
I have been wanting to design a winter hat that shaded my eyes a bit during the winter as our Colorado winters can be very sunny. I have lots of summer hats that provide plenty of shade from the sun, but most of my winter hats are beanie styles. The drunken brim on this hat is has just enough extension to give a little protection, while the wool yarn makes for a lovely warm hat perfect for the colder weather.
Josephine Cloche
designed by Andee Graves
Pattern Details
Skill Level: Intermediate
Stitches used – Chain (ch), Single Crochet (sc), Half Double Crochet (hdc), Double Crochet (dc), Cluster (Cl), Extended Double Crochet (Exdc), Picot (picot)
Size: Finished size 23 inches head circumference at beginning of brim.
Materials:
Yarn – We Crochet “Swish Worsted”, 100% Fine Superwash Merino Wool (50 g; 110yds), #4 weight category
Color A – #25630 Rainforest Heather (Dark Teal)
Color B – #26067 Wonderland Heather (Pale Aqua)
Color C – #25147 Amethyst Heather (Deep Purple)
Color D – #26068 Conch (Bright Peach)
Hook – H (5mm) or size needed to obtain gauge.
Notions –
yarn/tapestry needle,
16 stitch markers in 2 colors: 8 in first color, 8 in second color
Gauge: Diameter of first 6 Rnds of Crown, also 9 rows and 16 sts of double crochet worked in the Rnd, both = 4 inches (10 cm)
Special Stitches/Abbreviations:
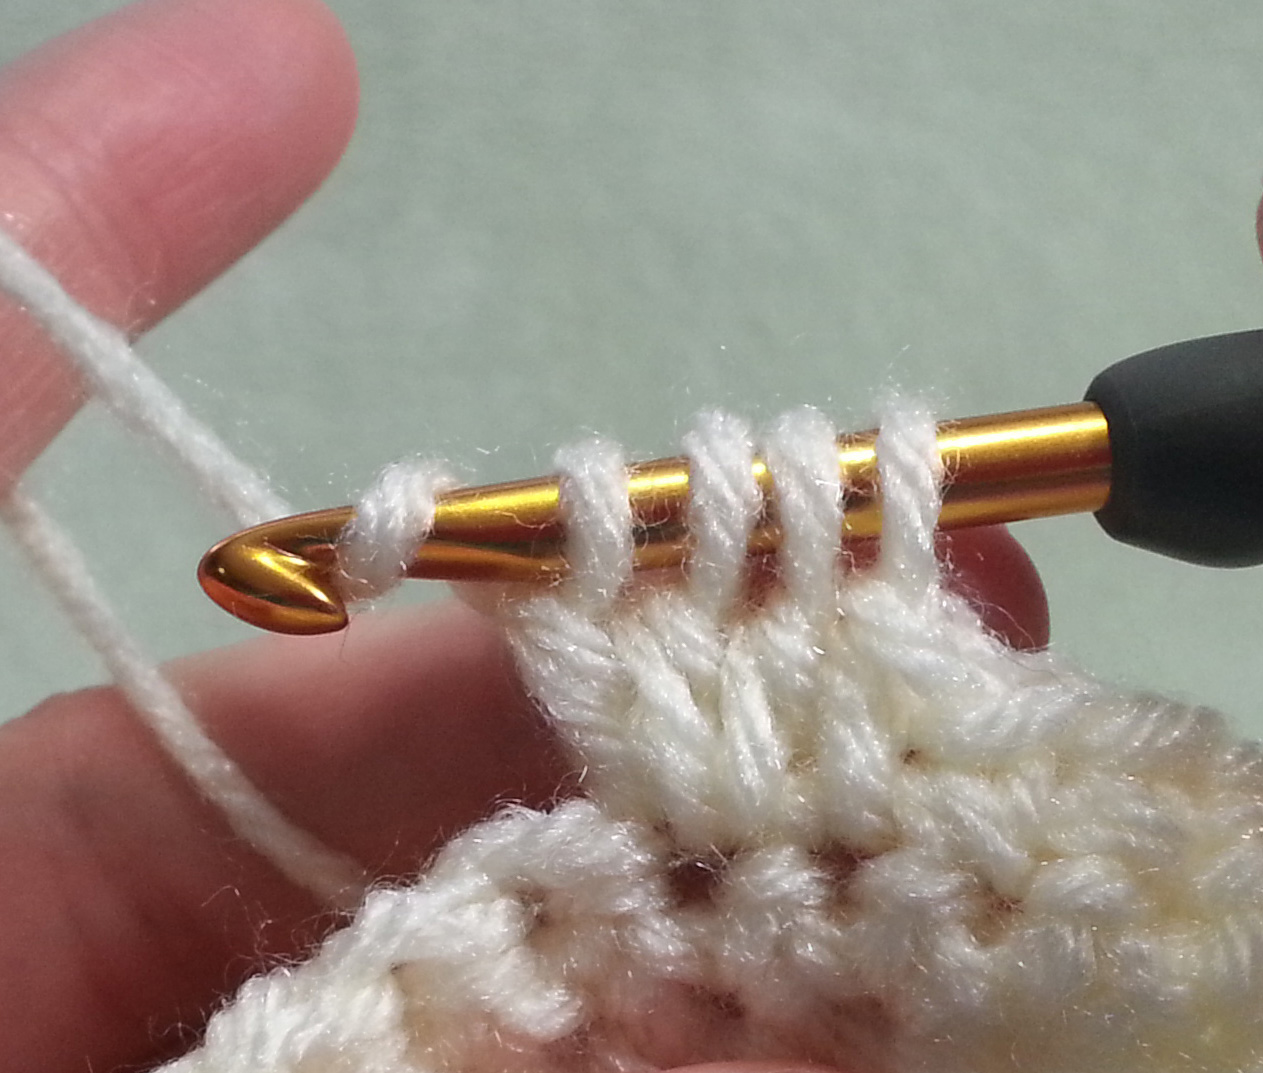
Picot – ch 3, insert hook thru front loop and top side loop of indicated st, YO, slip st tightly.
Cl (2 dc cluster) – (YO, insert hook in indicated place, YO, pull up a loop, YO, pull thru 2 loops) 2 times, YO pull thru remaining loops on hook.
Exdc (Extended double crochet) – YO, insert hook in indicated place, YO, pull up a loop, YO, pull thru 1 loop, [YO, pull thru 2 loops] twice.
PM (Place Marker)
Pattern Notes:
This hat is worked crown down with standard increases in continuous rounds for the first 13 rounds, then worked is turned so that the front of the previous rounds’ stitches become the wrong side of fabric.
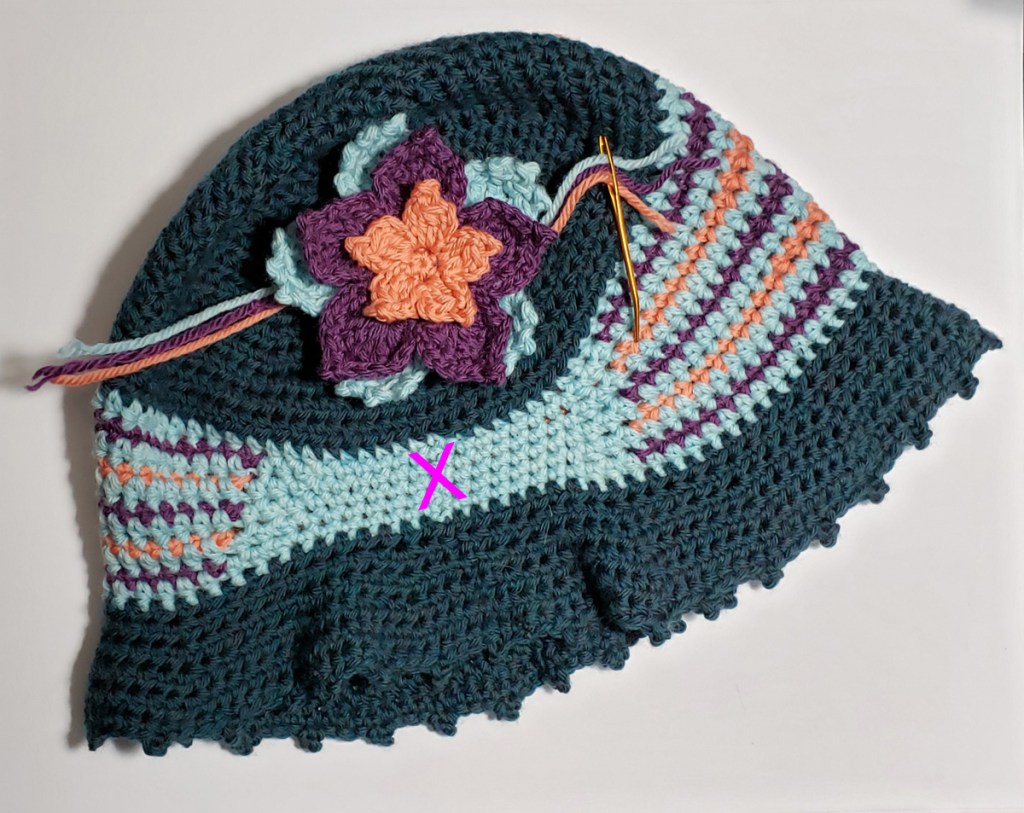
The band of the hat is worked in joined rounds with short rows worked to create an asymmetrical shaping. All band rounds and short rows are worked in the same direction. I have included a photo of how I used stitch markers to help me keep track of where the stitch heights change. I used a different color marker for the regular band rounds from the markers for the short rows.
After band is finished work is turned again. Next a flared “drunken” brim is worked in joined rounds, without turning. Then work is turned to crochet the edging. If a more structured brim is desired the edging can be crocheted over millinery wire to stiffen.
Flowers are worked separately and can be sewn to the hat band or sewn to a pin backing to attach to hat.
Instructions
Crown
Rnd 1: Start with Color A using an adjustable slip knot, ch 2, (1 sc, 7 hdc) in 2nd ch from hook. PM in last hdc with first color st marker. [1 sc, 7 hdc]
Rnd 2: 2 hdc in each st, PM in 2nd hdc made using second color st markers 7 times, move last st marker to last st made. [16 hdc]
Rnds 3-10: Hdc in each unmarked st, 2 hdc in each marked st moving st marker to 2nd st made. At end of Rnd 10 remove all markers except last st marker. [Count at end of Rnd 10 – 80 hdc]
Rnds 11 – 13: Hdc in each st to last st, move st marker up to last st of Rnd.
Step down at end of Rnd 13: Sc in next st, loosely sl st in next st, sl st in next st. Fasten off Color A, change to Color B.
Band
Rnd 1: Continue with Color B, ch 1, turn, sc in loose sl st from step down, sc next 6 sts, hdc next 18 sts, dc next 30 sts, hdc next 18 sts, sc next 7 sts, join with sl st to first sc of Rnd. [14 sc, 36 hdc, 30 dc]
Short Row 1: With Color C. Attach new yarn with sl st at 10th st from beginning of previous Rnd, sc next 10 sts, hdc next 10 sts, dc next 20 sts, hdc next 10 sts, sc next 10 sts, sl st next st, fasten off yarn. [20 sc, 20 hdc, 20 dc]
Rnd 2: Ch 1, sc next 7 sts, hdc next 18 sts, dc next 30 sts, hdc next 18 sts, sc next 7 sts, join with sl st to first sc of Rnd. [14 sc, 36 hdc, 30 dc]
Short Row 2: With Color D. Repeat Short Row 1.
Rnd 3: Repeat Rnd 2.
Short Row 3: With Color C. Repeat Short Row 1.
Rnd 4: Repeat Rnd 2.
Short Row 4: With Color D. Repeat Short Row 1.
Rnd 5: Repeat Rnd 2.
Short Row 5: With Color C. Repeat Short Row 1.
Rnd 6: Repeat Rnd 2. Fasten off Color B, change to Color A.
Brim
Rnd 1: Continue with Color A, ch 2 (does not count as a st), turn, hdc in each st around, skip beginning ch-2, join with sl st to first hdc of Rnd. [80 hdc]
Rnd 2: Using 8 st markers PM in 3rd st then in every 10th st around, ch 2, hdc in each un-marked st, 2 hdc in marked sts moving st marker to second st made, skip beginning ch-2, join with sl st to first hdc of Rnd. [88 hdc]
Rnd 3: Add a st marker in 5th st past current st markers, total of 16 markers, ch 2, hdc in each un-marked st, 2 hdc in each marked st, move st markers to second st made, skip beginning ch-2, join with sl st to first hdc of Rnd. [104 hdc]
Rnd 4 & 5: Ch 2, hdc in each un-marked st, 2 hdc in each marked st, move st markers to second st made, skip beginning ch-2, join with sl st to first hdc of Rnd. [end of Rnd 5 – 136 hdc]
Rnd 6 (Picot edging): Ch 1, turn, sc next 2 sts, picot in sc just made, (sc next 4 sts, picot in last sc just made) 33 times, sc in next 2 sts, join with sl st to first sc of Rnd. Fasten off. [136 sc, 34 picot]
All flowers start with an adjustable slip knot, if substituting magic circle ch 1 at start instead of ch 2.
Flower 1
Rnd 1: Color D, ch 2, 5 sc in 2nd ch from hook, tighten center of circle, join with sl st to first sc of Rnd. [5 sc]
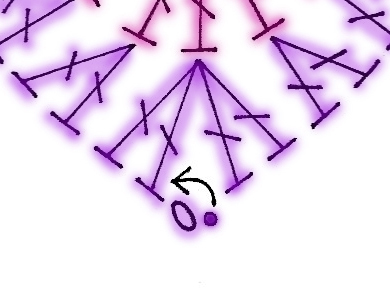
Rnd 2: Ch 3, Cl in same sc as join, picot in Cl, ch 3 [(sl st, ch 3, Cl) in next sc, picot in Cl, ch 3,] 4 times, sl st in first sc again. Fasten off.
Flower 2
Rnd 1: With Color C, ch 2, 10 sc in 2nd ch from hook, tighten center of circle, join with sl st to first sc of Rnd. [10 sc]
Rnd 2: Ch 1, sc in same sc as join, [ch 3, sc in next st, ch 1, sc in next st] 4 times, ch 3, sc in next st, ch 1, join with sl st to first sc of Rnd. [10 sc, 5 ch-1 sp, 5 ch-3 sp]
Rnd 3: Ch 1, [(sc, hdc, dc, 3 Exdc, dc, hdc, sc) in ch-3 sp, skip to next ch-3 sp,] 5 times, join with sl st to beginning ch-1 of Rnd.
Rnd 4: [Ch 2, skip 2 sts, sc next st, ch 2, sc next st, (sc, picot in sc just made, sc) in next st, sc in next st, ch 2, sc next st, ch 2, skip 2 sts, sl st before next sc] 5 times. Fasten off
Flower 3
Rnd 1: With Color B, ch 2, 10 sc in 2nd ch from hook, tighten center of circle, join with sl st to first sc of Rnd. [10 sc]
Rnd 2: Ch 1, [(sc, ch 5, sc) in next st, ch 1, skip next st] 5 times, join with sl st to first sc of Rnd. [10 sc, 5 ch-1 sp, 5 ch-5 sp]
Rnd 3: Ch 1, [(sc, hdc, 2 dc, Exdc, ch 1, Exdc, 2 dc, hdc, sc) in next ch-5 sp] 5 times, join with sl st to beginning ch-1 sp.
Rnd 4: [Ch 2, skip 2 sts, sc next st, ch 2, skip 1 st, {(sc, picot in sc just made) in next st/ch sp} 3 times, ch 2, skip 1 st, sc next st, ch 2, skip 2 sts, sl st before next sc,] 5 times. Fasten off
Finishing
Weave in tails for hat.
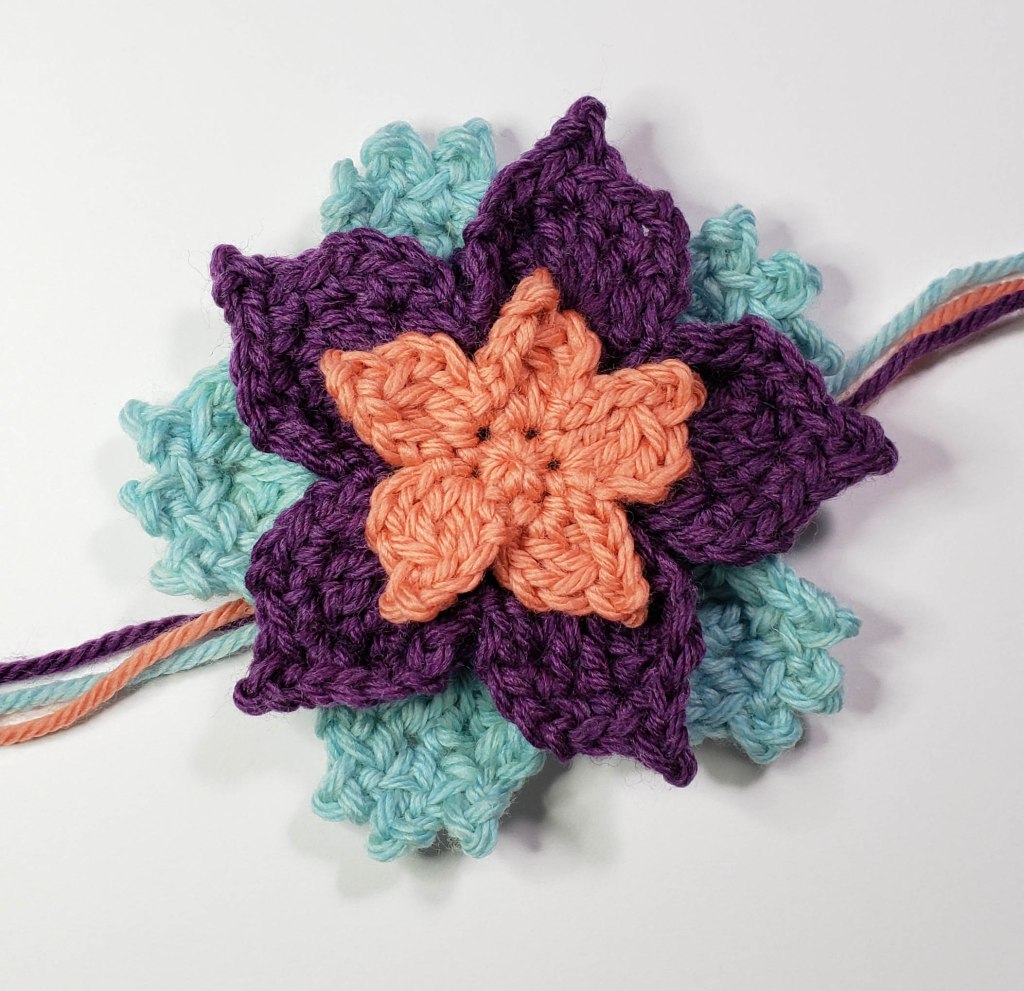
Stack Flowers sandwiching flower 2 between 1 and 3. Use tails to sew them together referencing photo for staggering of petals.
Finish by sewing flowers to hat band where the pink X is shown in photo, or sew to a pin backing to make removable.
A PDF version of this pattern is available in my Ravelry Shop and includes stich charts for the flowers and crown. You can purchase it by clicking here: BUY NOW.
You can visit all the other designers in the Perfect Picot Blog Hop using the links below:
Be sure to enter the drawing for the fantastic giveaway “Win All You Need to Make This”. There will be 5 lucky winners for 5 different groups of designs. The drawing is open Worldwide and ends October 9th. Visit the Stitch & Hustle blog hop main post for all the details.